Overview
Retrospect Virtual consists of two core software components:
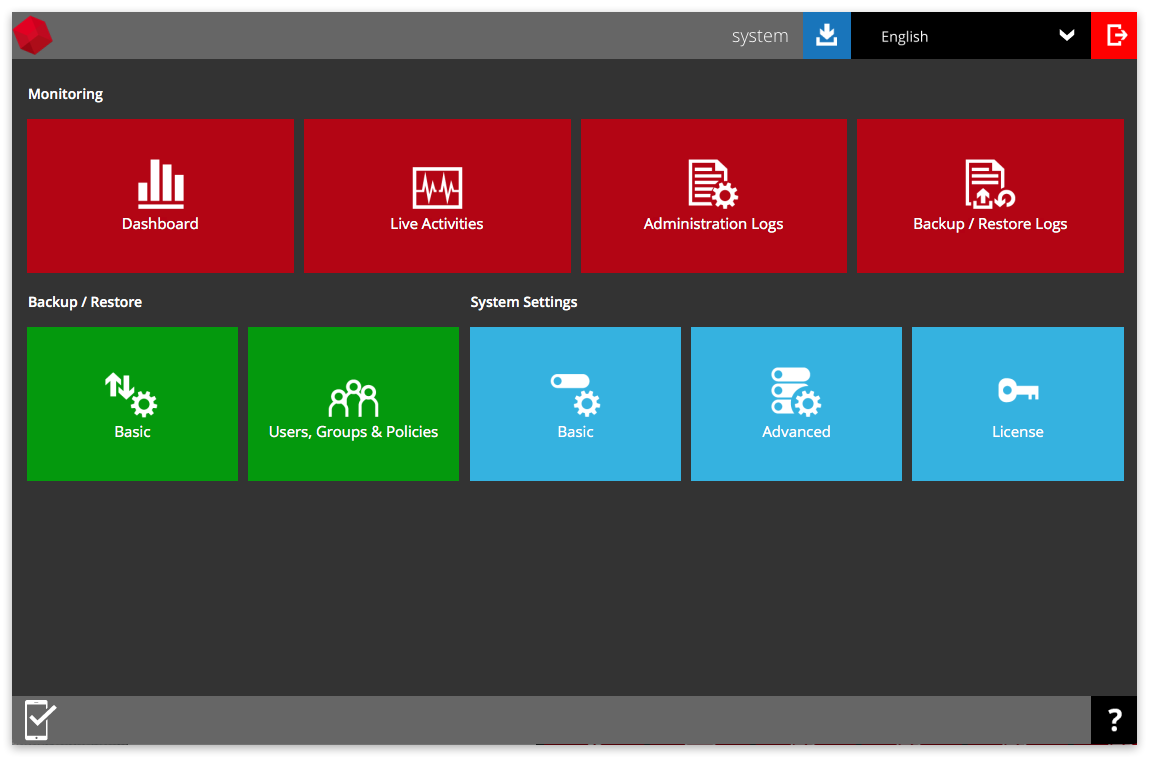
Retrospect Virtual Console is the backup server software: a web-based centralized management console for managing backup and monitoring restoration.
Retrospect Virtual Host Server is the backup client software for installing on your VMware and Hyper-V virtual environment. With Retrospect Virtual Guest Add-on or Retrospect Virtual Socket Add-on, you can protect your virtual environment. Retrospect Virtual Host Server can also be installed within a guest to provide application-level protection for a virtualized application: Microsoft Exchange Database, Microsoft Exchange Mailbox, Microsoft SQL Server, Oracle Database, Lotus Domino/Notes, and MySQL.
See our Knowledgebase article for detailed licensing instructions.
System Requirements
As a prerequisite, a fixed remote IP and internal IP are required for the Retrospect Virtual Console. Also, the firewall should support the TLSv1 cryptographic protocol.
Installation
- Download the Retrospect Virtual Console installation package.
- Run the downloaded installer.
- For the ports, enter the ports to be used by Retrospect Virtual Console. By default, the ports are 80 and 443 (HTTP and HTTPS respectively). If these ports have been used by other applications, e.g. Microsoft IIS, Apache or other applications, please use alternative ports such as 8080 and 8443. Click Next to continue when you are done setting.
- Click Install to start the installation.
- Click Finish to complete the installation.
- Run services.msc to open Services from Windows to confirm that the Retrospect Virtual Console service has started. In the following screen shot, the status of Retrospect Virtual Console is “Started” and the status of the NFS Service (Retrospect) is “Started”.
- After successful installation, you can access the login page by opening localhost (https://127.0.0.1/) in a browser.
License Setup
- Open Retrospect Virtual Console from your browser, e.g. https://<your-backup-server>;.
- Log in to the Retrospect Virtual Console with the following default credentials.
- Login name: system
- Password: system
- To activate the license, click the License icon.
- Applying the license key
- If you are evaluating the Retrospect Virtual Console, you can use the evaluation license key provided on the page by default and click the Update button.
- If you have a purchased license, copy and paste the licensee name, license key into the relevant field, then click the Update button.
- Click the green Save icon at the bottom right corner of the page to save the settings.
Note: If you are using the evaluation license key, you will be able to evaluate the Retrospect Virtual Console for 60 days. After which the Retrospect Virtual Console service will automatically stop working. Although the service is still active, the Retrospect Virtual Host Server clients will not be able to connect to perform any backups or restores.
Offline License Activation
Offline License Activation is used to activate the license keys that do not have an Internet connection.
- Go to the main page and click "License".
- Scroll down to Offline License Request and Import License.
- Click the Generate button to generate an offline license request file, req.olr.
- The req.olr file is an encrypted file that contains all the information required for the activation process, for example, MAC address and local IP address. The system will prompt for the location to save the offline license request file.
- When the offline license request file is ready, please send it to the Support team. An offline license file, license.olr, will be generated and sent back to you. This file is used to offline activate the license key.
- After you have received the offline license file, you would need to import it to the server to complete the offline activation process.
- Click the Choose File button under the Import License section to select the offline license file (license.olr). Click the Off-line Update button to complete the license activation process.
Please note that the req.olr file is required to set up Retrospect Virtual in a closed network.
Storage Setup
Set up a user home in your Retrospect Virtual Console to store the user’s information and back up files in your local location.
- Click the blue Basic icon on the Retrospect Virtual Console main page.
- In the User Home tab, click the + icon.
- Enter the directory path in the Home Directory field (e.g. D:\my_user_home) and click the + icon at the bottom right corner when done.
- Note: It is not suggested to store your user home in your system partition, e.g. C:\.
- Click the Save icon at the bottom right corner to save the new user home settings.
User Setup
Create a user account for the backup machine.
- Click the Users, Groups & Policies icon under the Backup / Restore section on the Retrospect Virtual Console main page.
- Click the + button to create a new user account.
- Enter the Login Name and Password in the relevant fields. The password should be at least 6 alphanumeric characters.
- Optional: Click the check box in front of the user group if you need to assign a user group for this user. The assignment can also be done later.
- Click the icon at the bottom right corner to continue.
- If you need to assign a dedicated storage location for the backup account, select Manually assigned and choose the storage location under the Home Directory section. If you select Auto assigned, you can skip this step.
Optional: Host Name & Alias can be left empty if you do not know or do not want to enter the details at this stage.
- Set the desired Subscription Type. Select Paid User if you are creating an account for a user with no expiration period. If you select Trial User, service will be suspended for this user on the date you specified under the Suspend At drop-down menu.
- Select the status for this user account.
- Select time zone for this user and then click the → icon at the bottom right corner to continue.
- Select the backup user type the Backup Client section. You will need to select "Retrospect Virtual Host Server".
- Click the checkbox(es) to select the Add-on Modules for this backup user.
- Be sure to check "In-File Delta" to enable incremental backup. Otherwise, you will only be able to do full backups. See further settings in Incremental Backup
- Enter the backup quota value, and select the unit of this value from the drop-down box and then click the → icon at the bottom right corner to continue.
- Click the + icon to add user’s contact information.
- Fill in the contact details and then click the * icon at the bottom right corner to return to the previous *Add New User* page. Click the * icon at the bottom right corner again to continue.
- Click the Save icon at the bottom right corner to save the user information.
Client Setup
- In a browser, download Retrospect Virtual Host Server by clicking the blue Download icon at the top right corner on the Retrospect Virtual Console main page.
- On the download page, select "Windows".
- Run the installer.
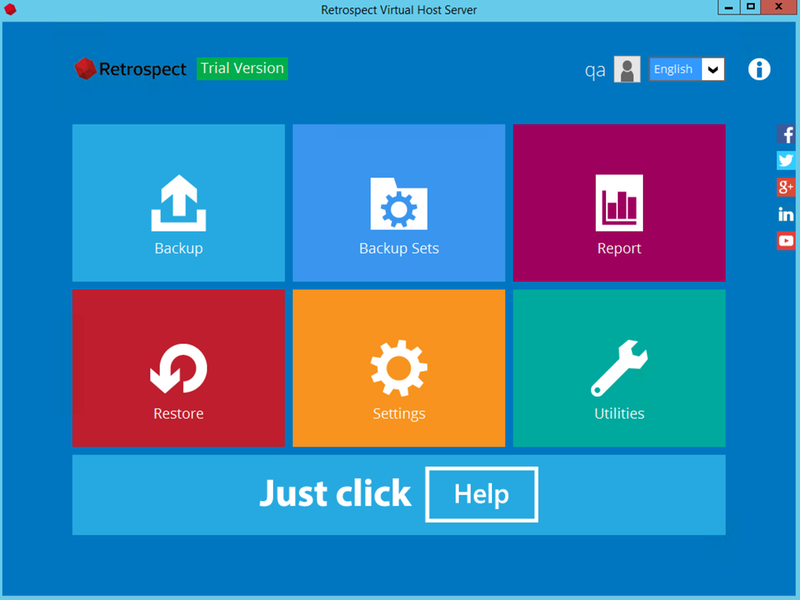
- Launch Retrospect Virtual Host Server.
- Login to the Retrospect Virtual Host Server application user interface.
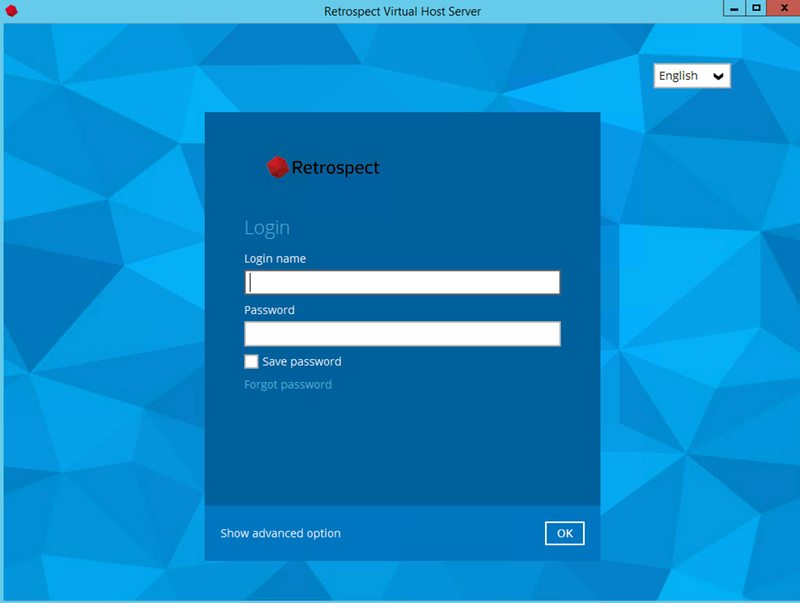
- Enter the Login name and Password of your Retrospect Virtual Host Server account. Enter the host name or IP address of the Retrospect Virtual Console under "Show Advanced Options".
- Click OK afterward to login to Retrospect Virtual Host Server.
Incremental Backup
In addition to "In-File Delta", please verify the following when enabling incremental backups:
- The VM must be hardware version 7 or later.
- The VM must have zero (0) snapshots when CBT is enabled.
- The virtual disk must be located on a VMFS volume backed bySAN, iSCSI, local disk, or a NFS volume.
- RDM (Raw Device Mapping) in physical compatibility mode is not supported
- The virtual disk must not be in Independent Mode (Persistent or Nonpersistent).
Cloud Deployment
Retrospect Virtual is a flexible backup solution that you can deploy to the cloud in a virtual machine instance and connect to your on-premise network using a site-to-site connection and a virtual private network.
You can deploy Retrospect Virtual to Amazon AWS, Microsoft Azure, and Google Cloud. Let’s walk through cloud deployment on Amazon EC2.
Account Setup
Follow these steps to quickly create a Amazon AWS Account. If you do not already have one, create one for free at Amazon AWS.
See the following video or the steps below to quickly create an Amazon AWS account.
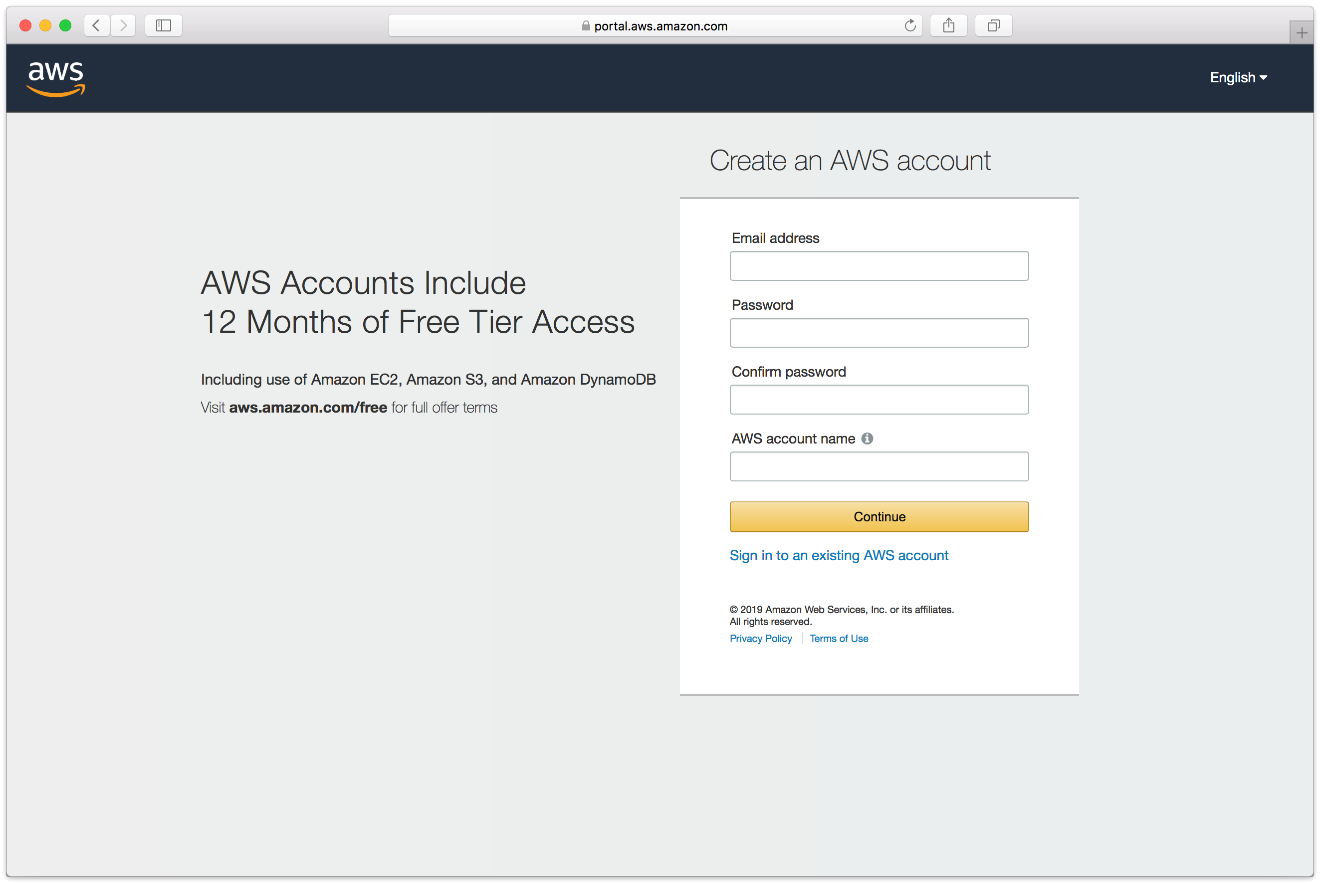
- Visit Amazon AWS to start the account creation process and click "Create an AWS Account".
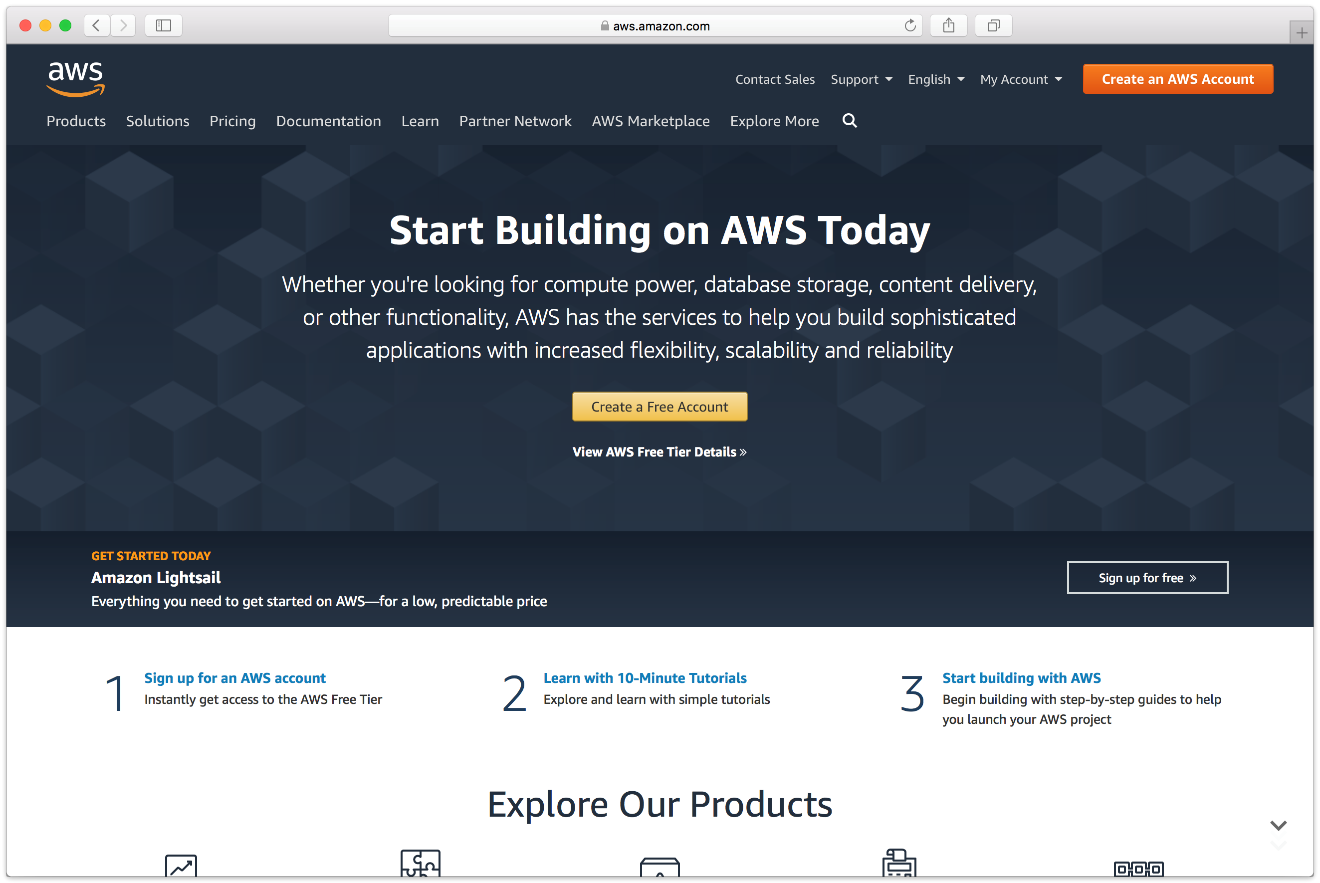
- Fill in an email address and password.
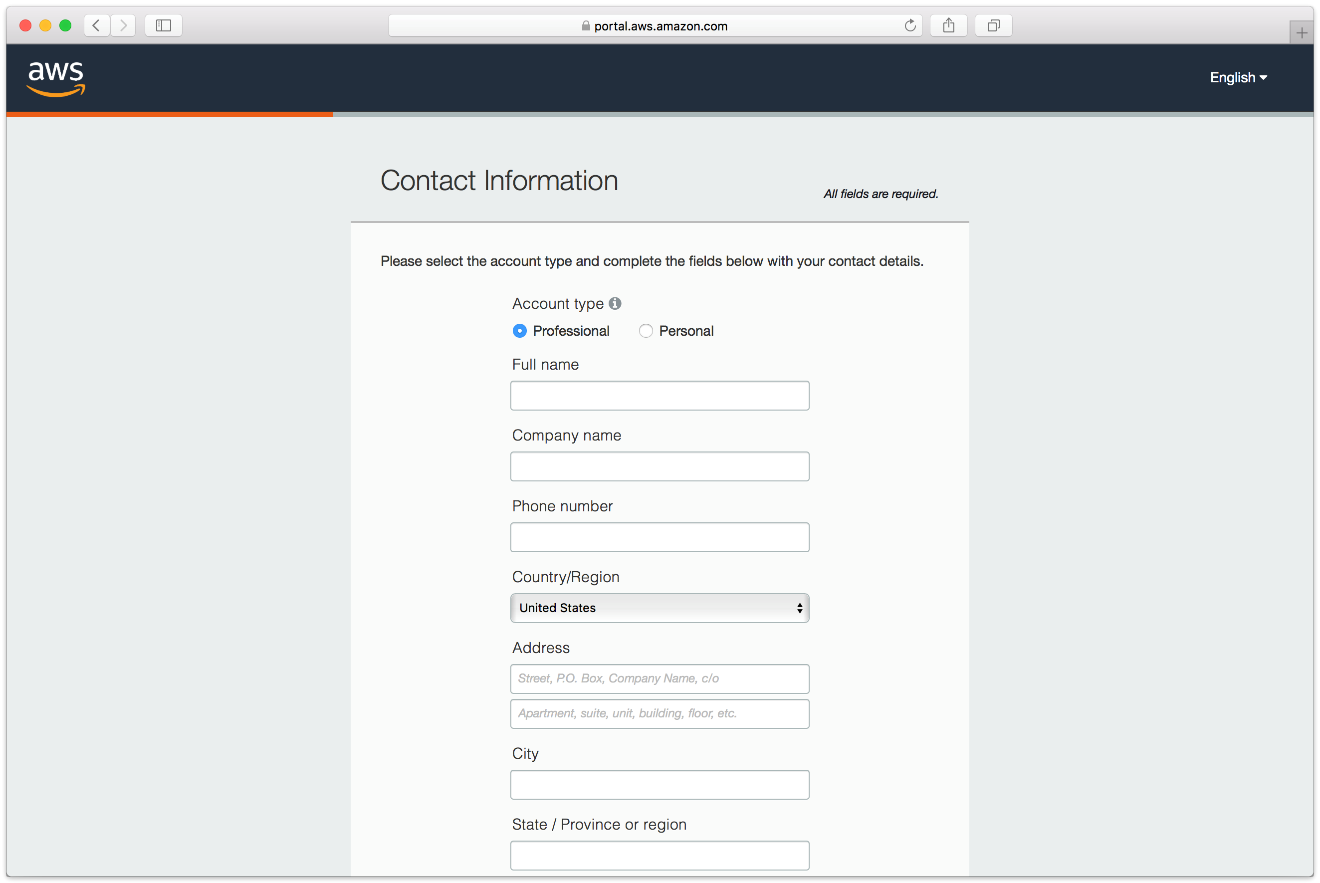
- Complete the contact information form.
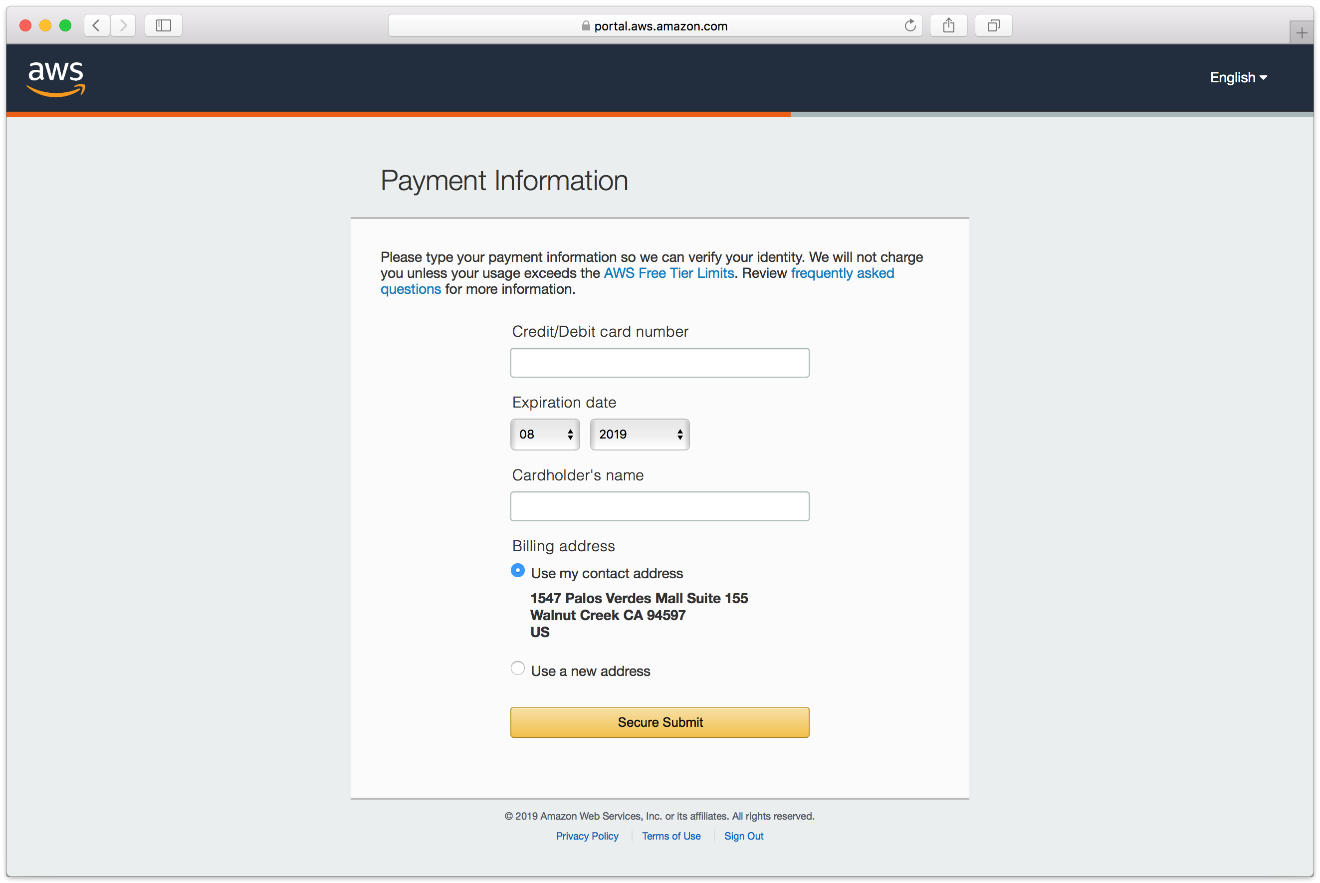
- Complete the payment information form.
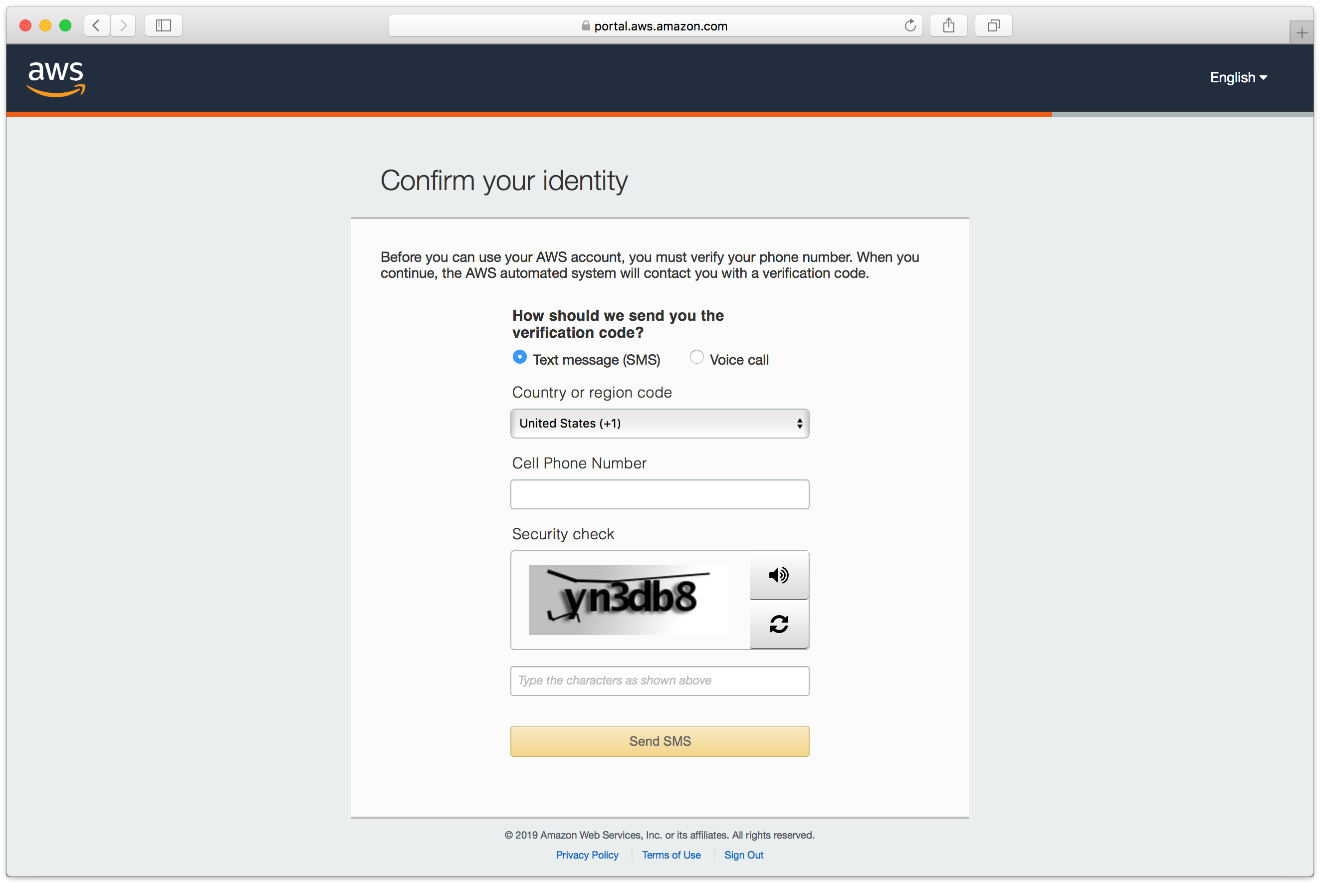
- Complete the identity verification.
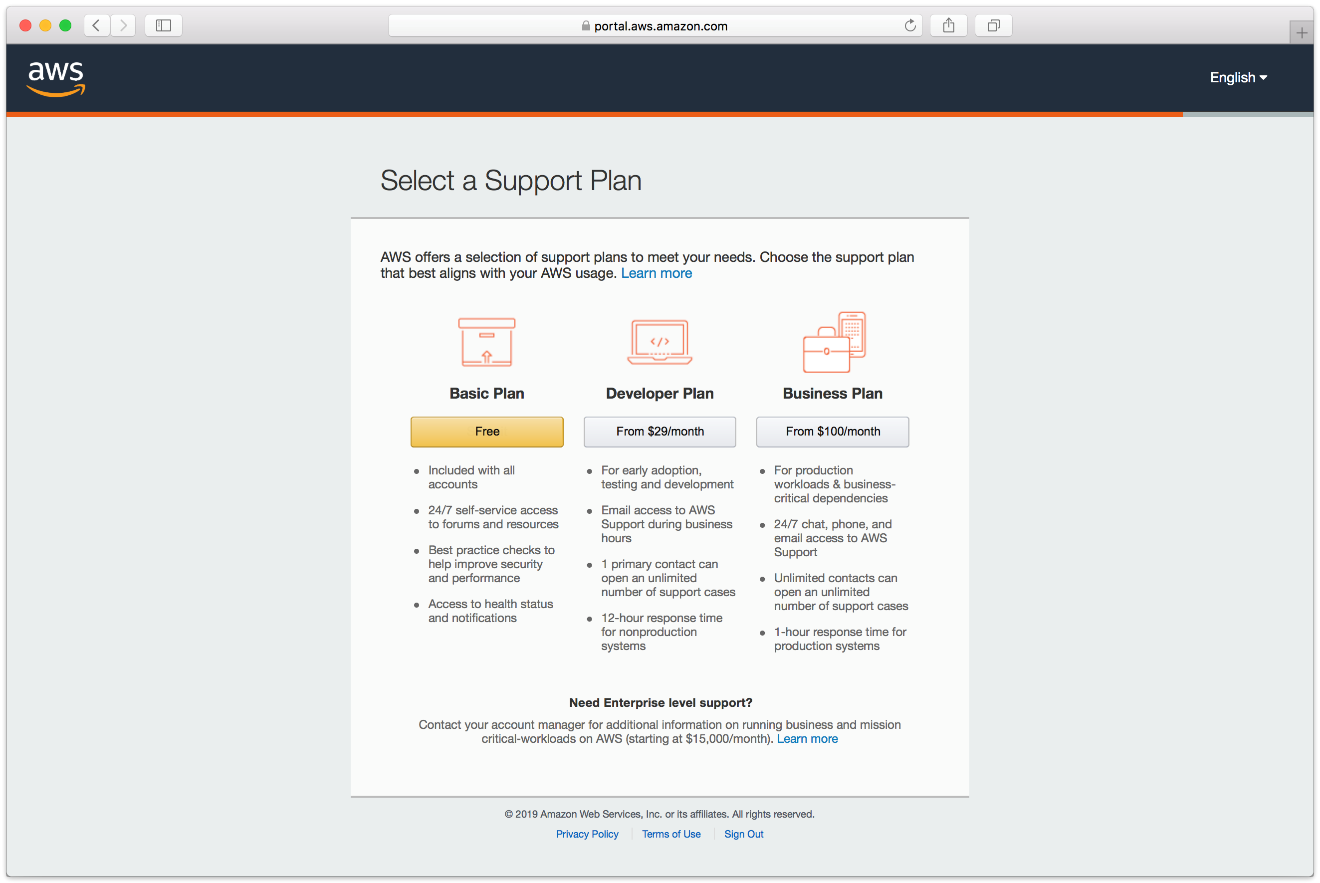
- Select an appropriate Support Plan.
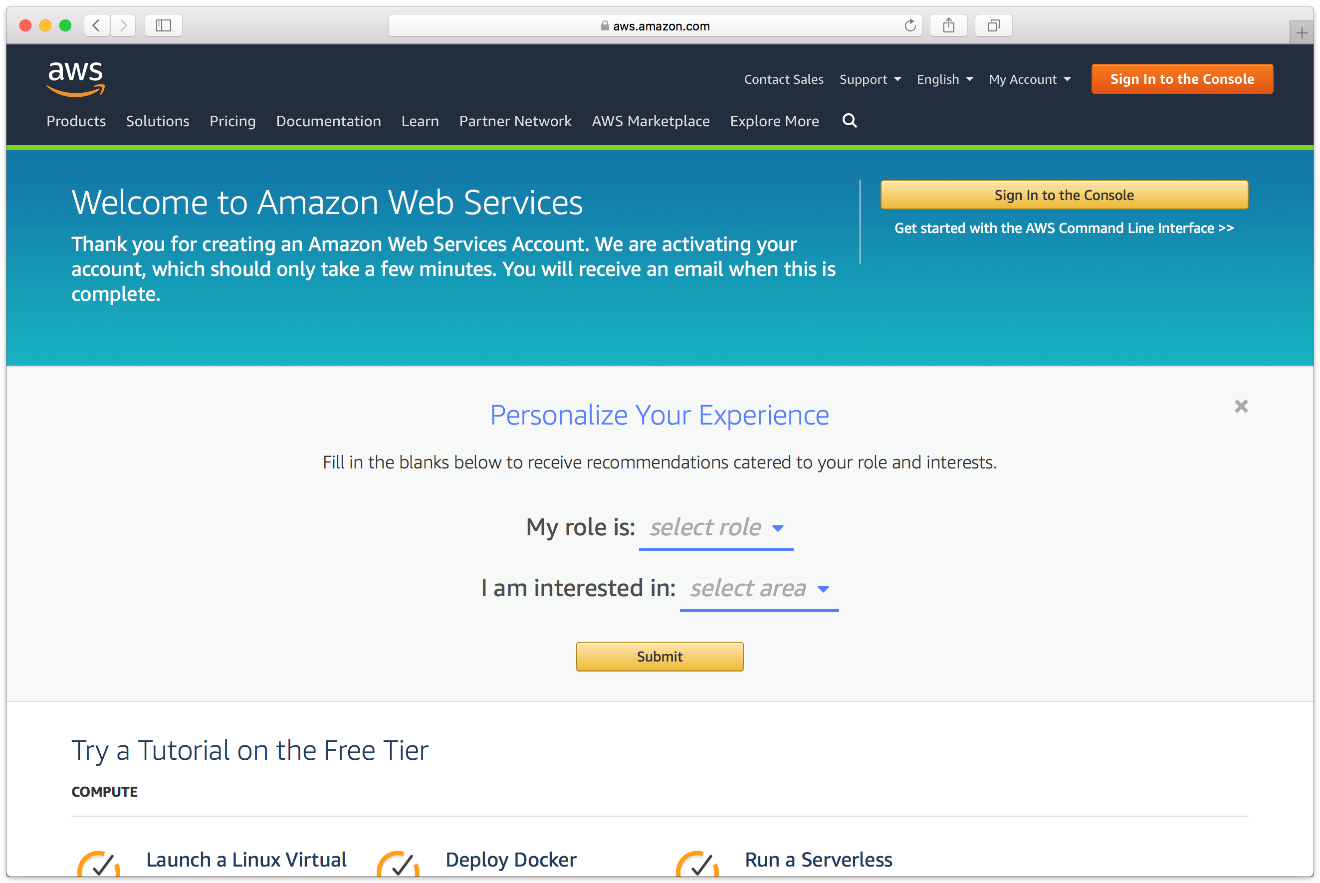
- The new account is created.
Cloud Deployment
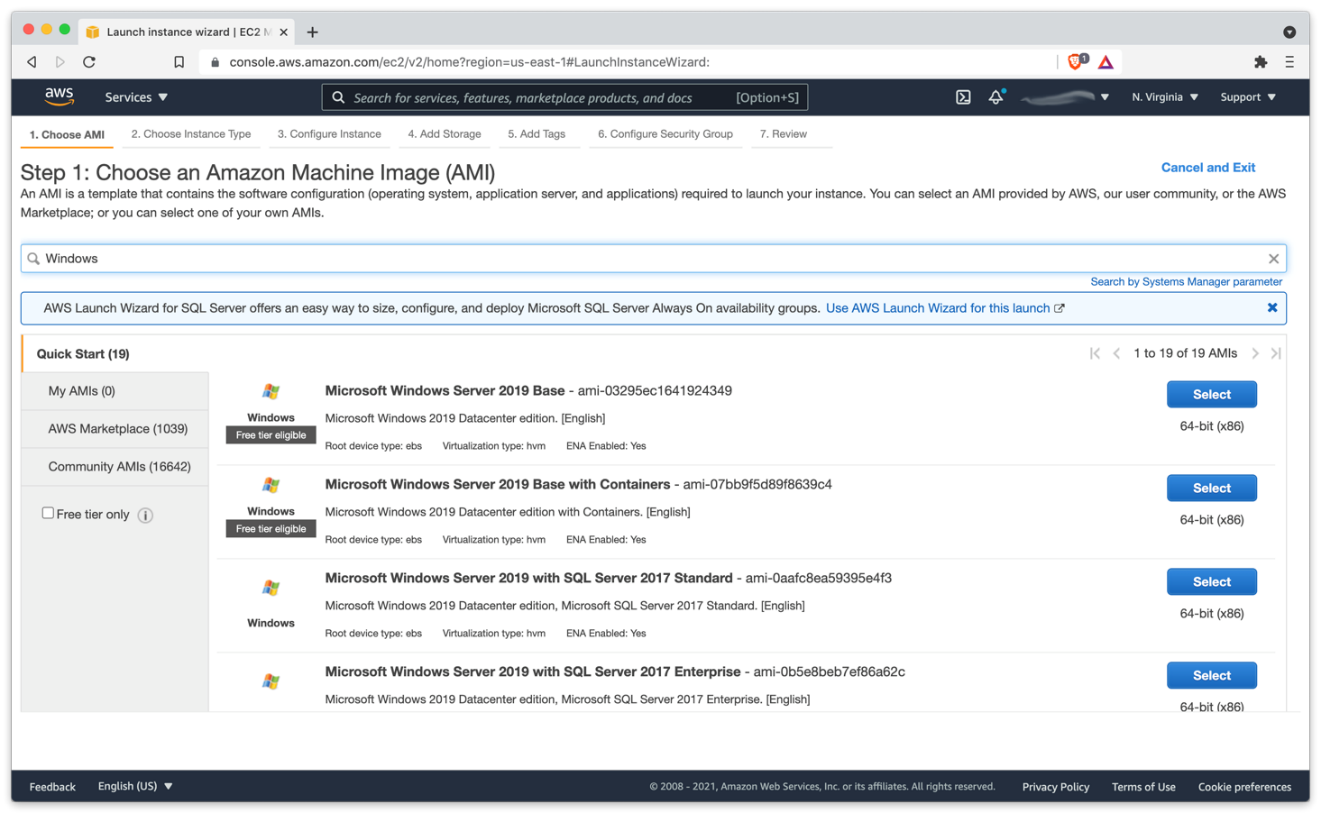
Retrospect Virtual can be installed on any modern Windows OS, both server-level and endpoint-level, including Windows Server 2019. To deploy in AWS EC2, you will need to create a Windows virtual machine and install Retrospect on it.
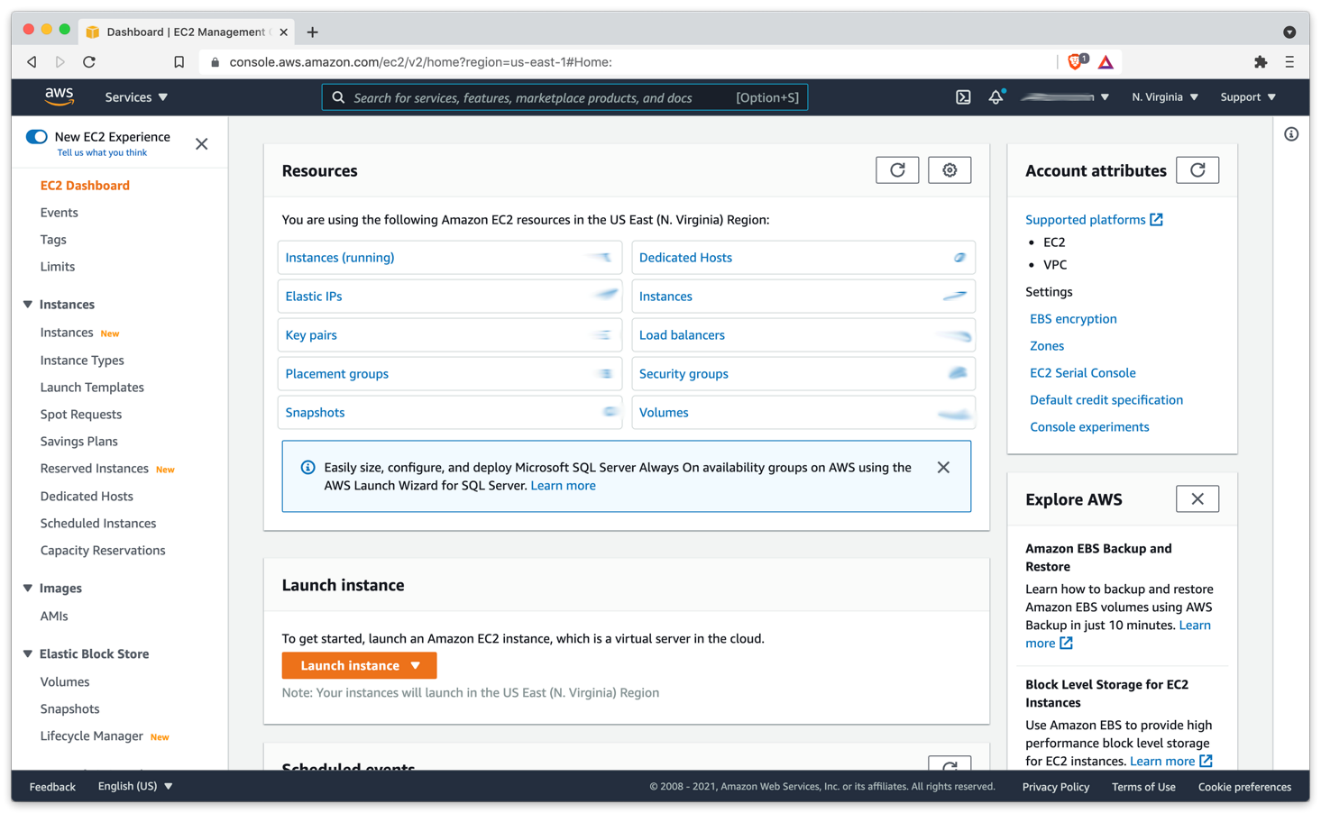
- AWS Console: Visit "EC2" and click "Launch Instance".
- AWS Console: Create an appropriate Windows virtual machine.
- Instance: After the instance is started, log into it using Connect to your Windows instance using RDP.
- Instance: Download Retrospect Virtual onto the instance and install the package.
- Instance: Run Retrospect Virtual and add your license key. You are now ready to use Retrospect. Please see Retrospect Documentation if you need further assistance.
Virtual Private Cloud (VPC)
AWS provides Virtual Private Clouds (VPC) for creating a virtual private network in their cloud. You can use this to connect multiple VM instances, and you can also use this service to extend your on-premise network with a site-to-site connection. Follow AWS’s What is AWS Site-to-Site VPN? .
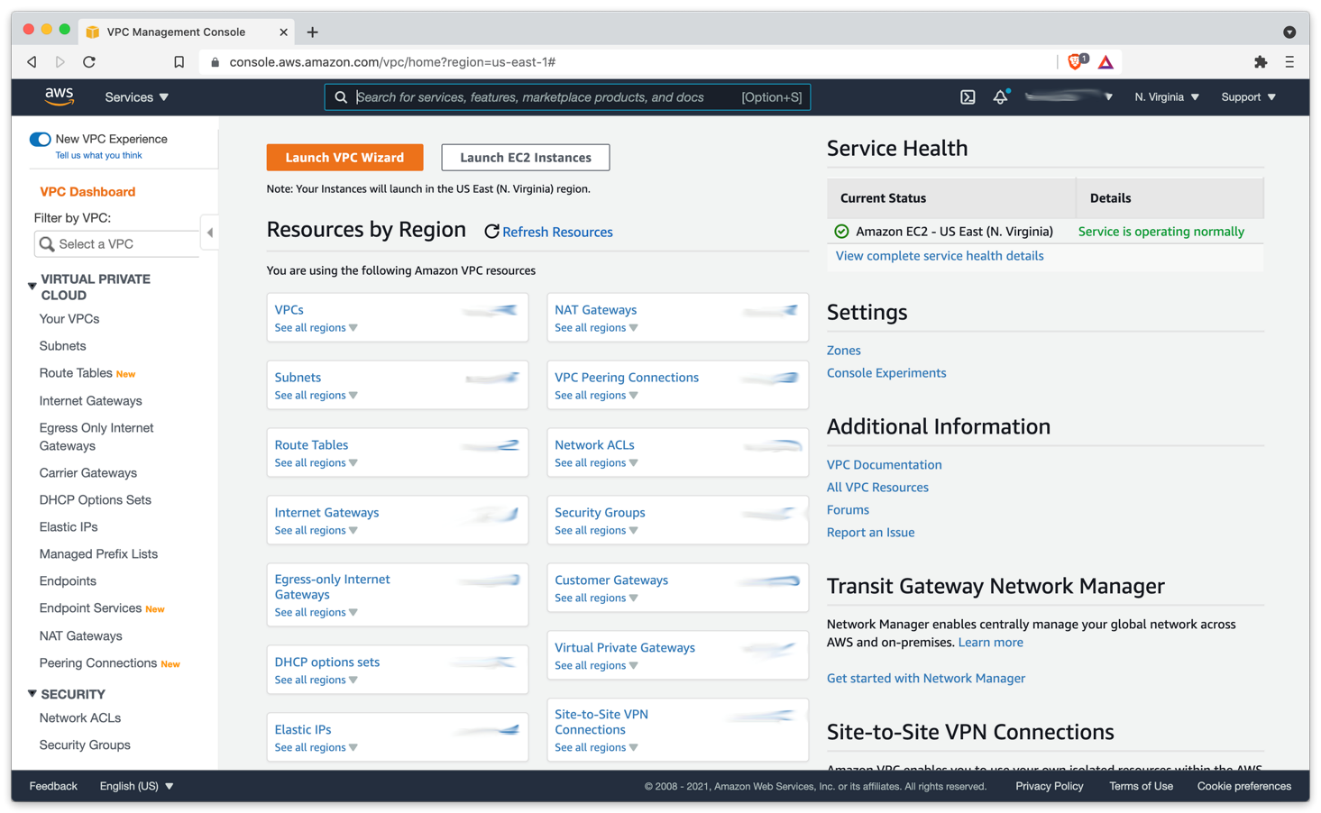
Use AWS VPC to set up the appropriate virtual network for your business, including a site-to-site connection if it’s needed.