Restoring Data to a New Folder in Retrospect for Macintosh
This document explains how to restore selected files from a Retrospect backup to a new folder on your Macintosh, ensuring the restored data is clearly separated from your existing files.
Step 1: Open the Restore Options
At the top of the Retrospect window, locate and click the Restore button.
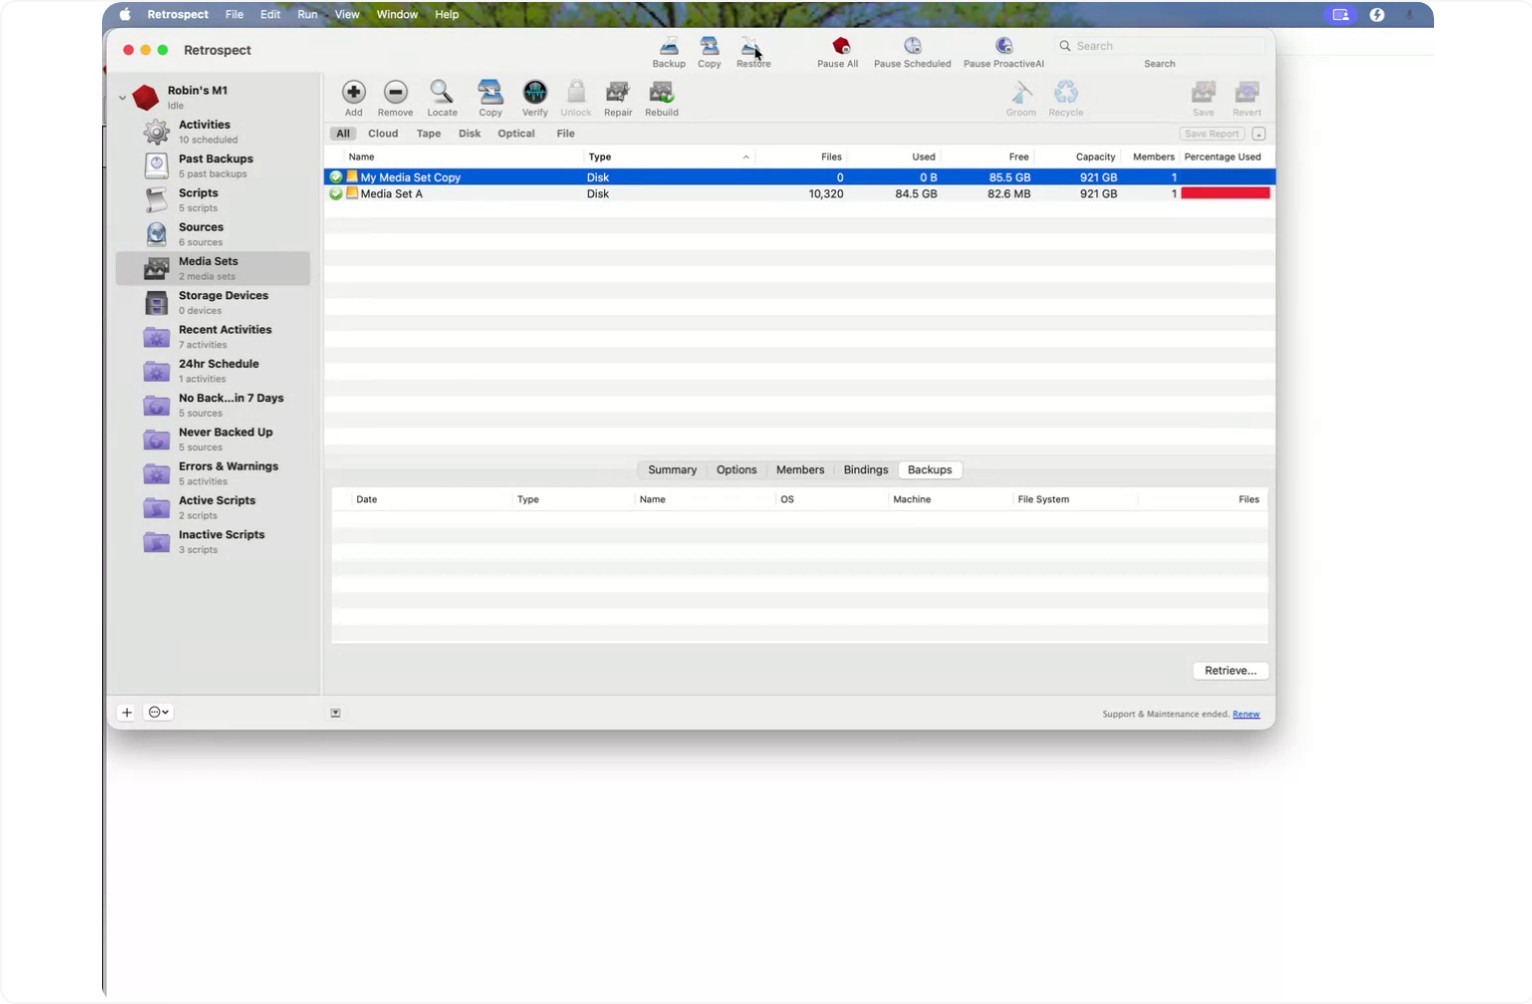
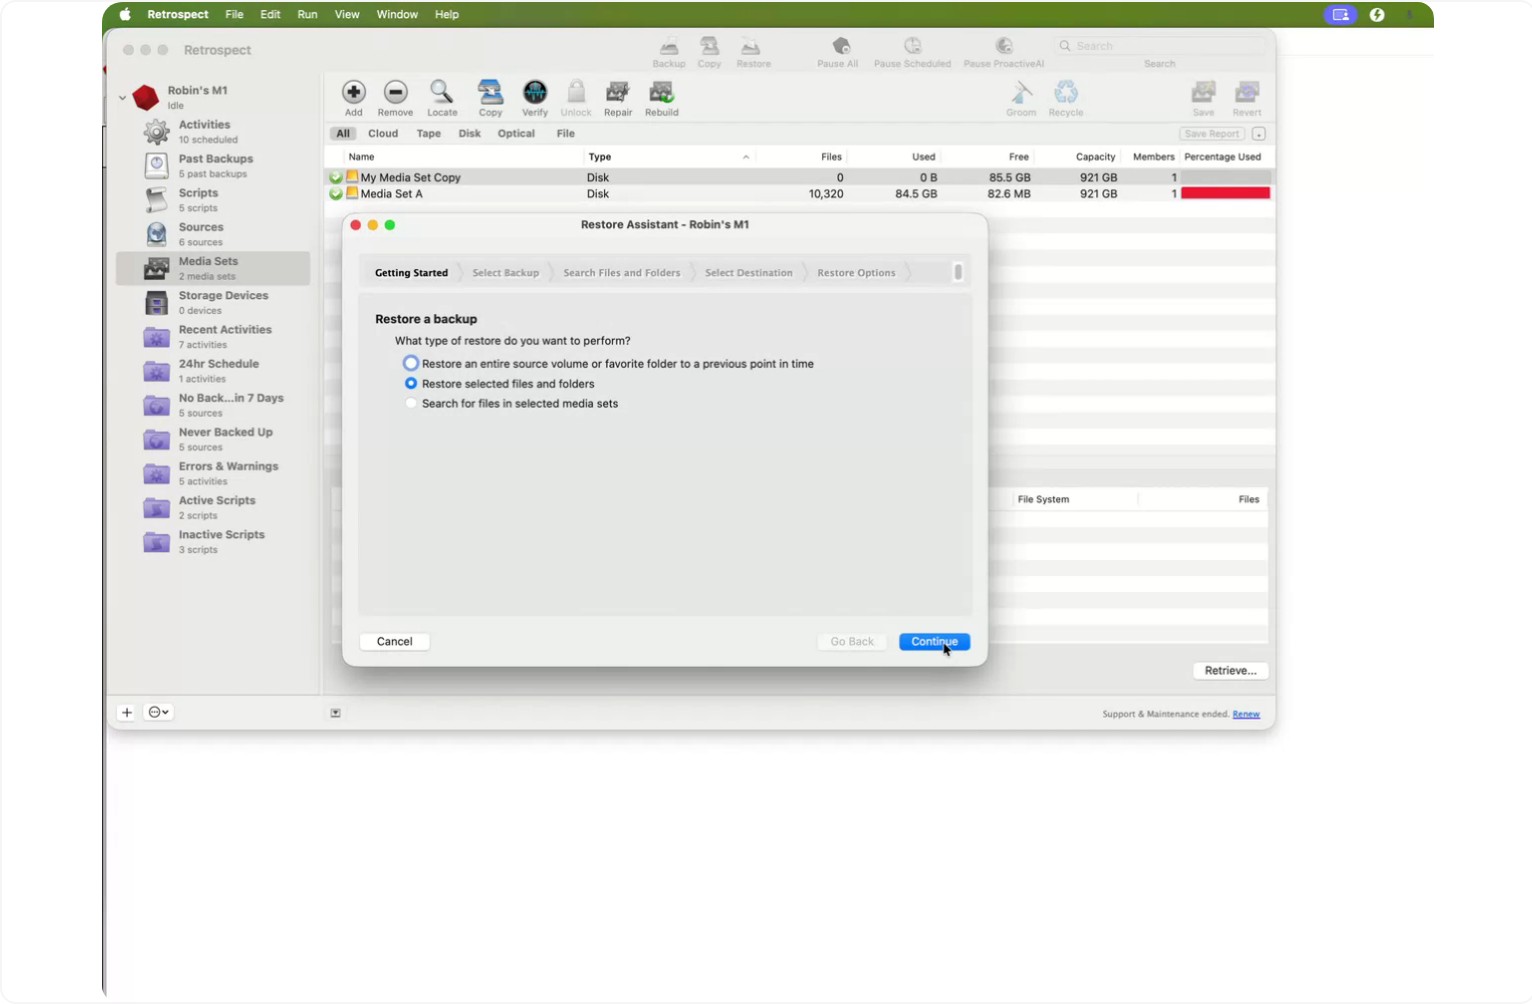
You will see several restore options:
- The top option is used to restore an entire hard drive.
- The middle option is used to restore individual files or folders.
- The third option lets you search for files by name or other criteria.
For this process, select the middle option for restoring individual files and folders, then click Continue.
Step 2: Choose the Backup Snapshot
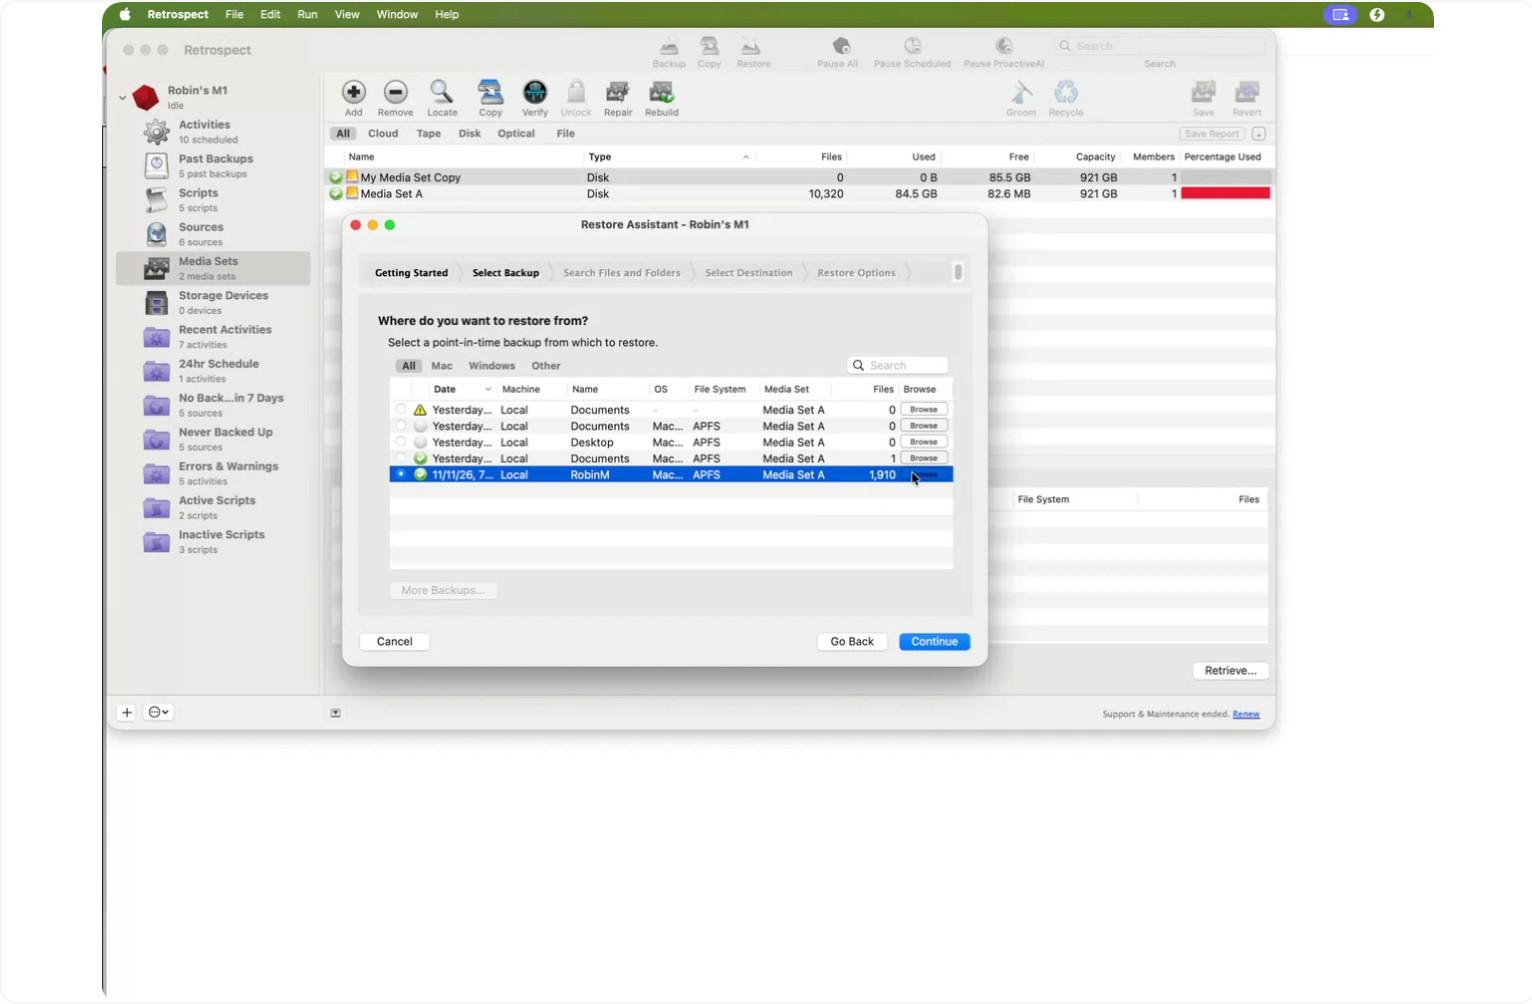
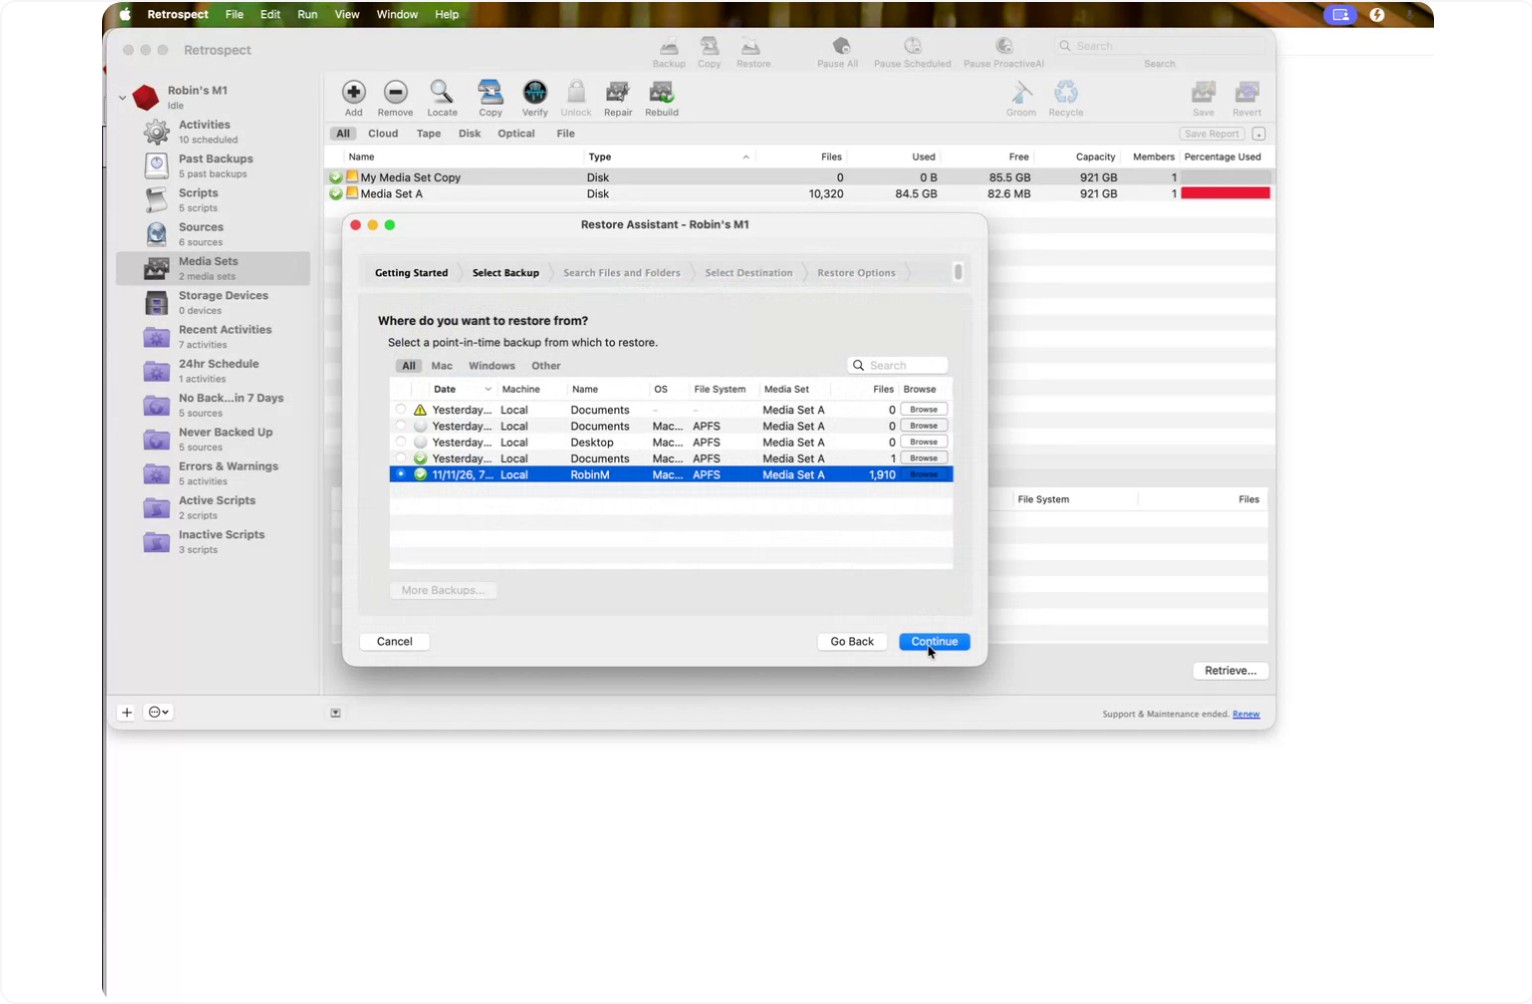
Select the date of the backup you want to restore from. Retrospect will display:
- The name of the disk the backup came from
- The name of the computer
- The name of the media set
Choose the snapshot with the specific date and time that contains the version of the files you need.
To pick individual files, click Browse.
Expand the list of folders and files.
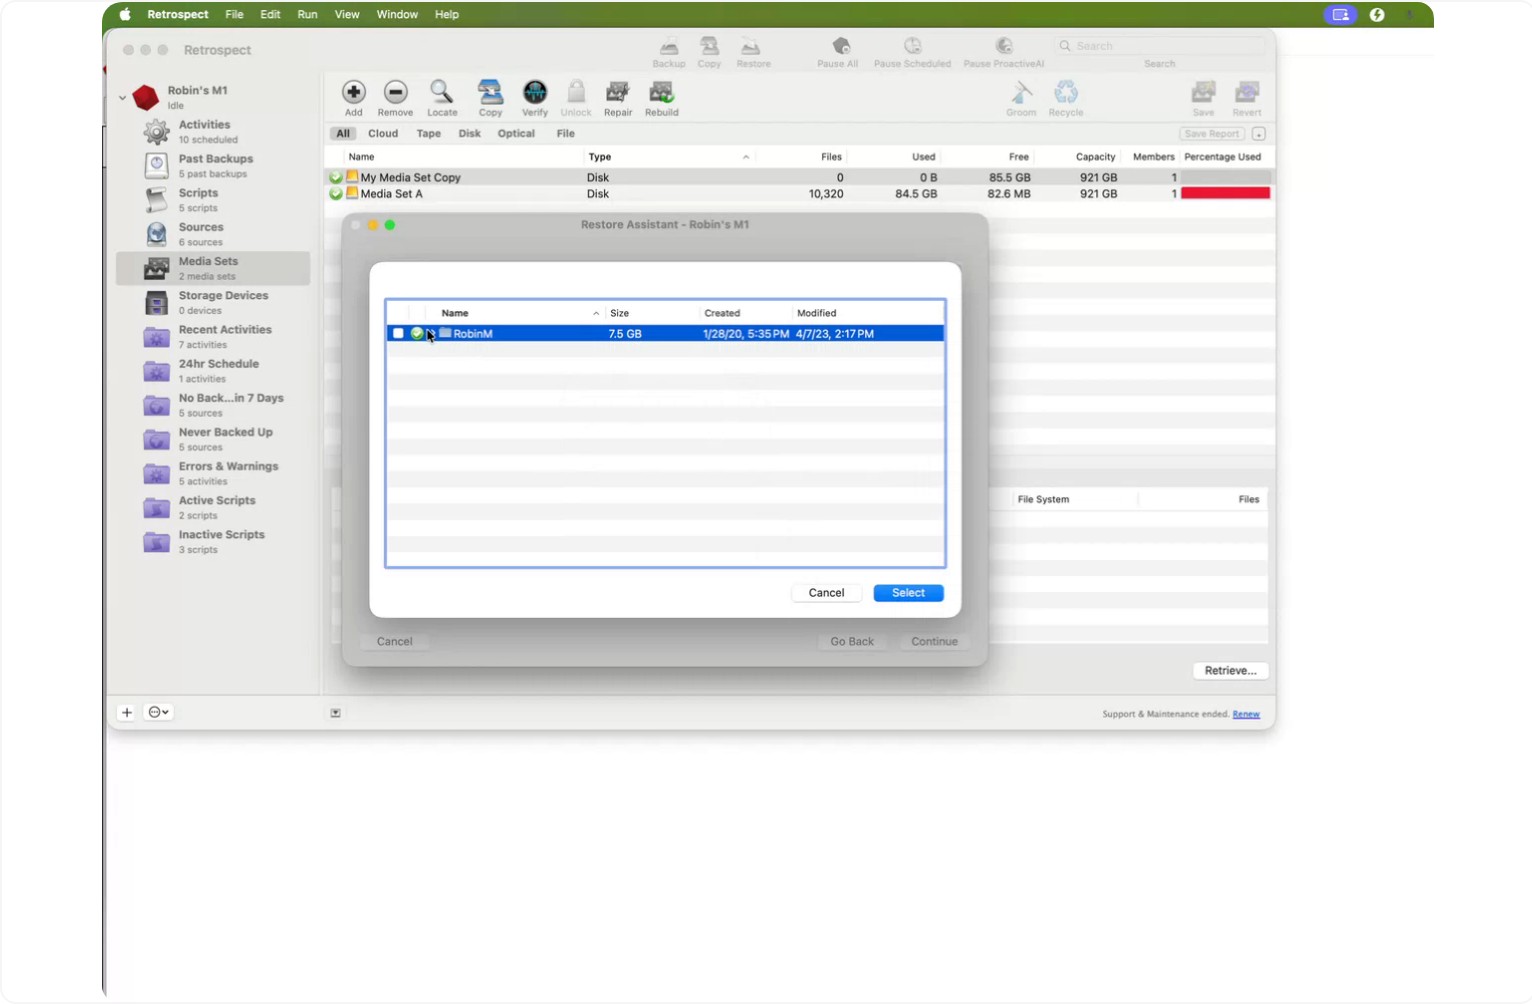
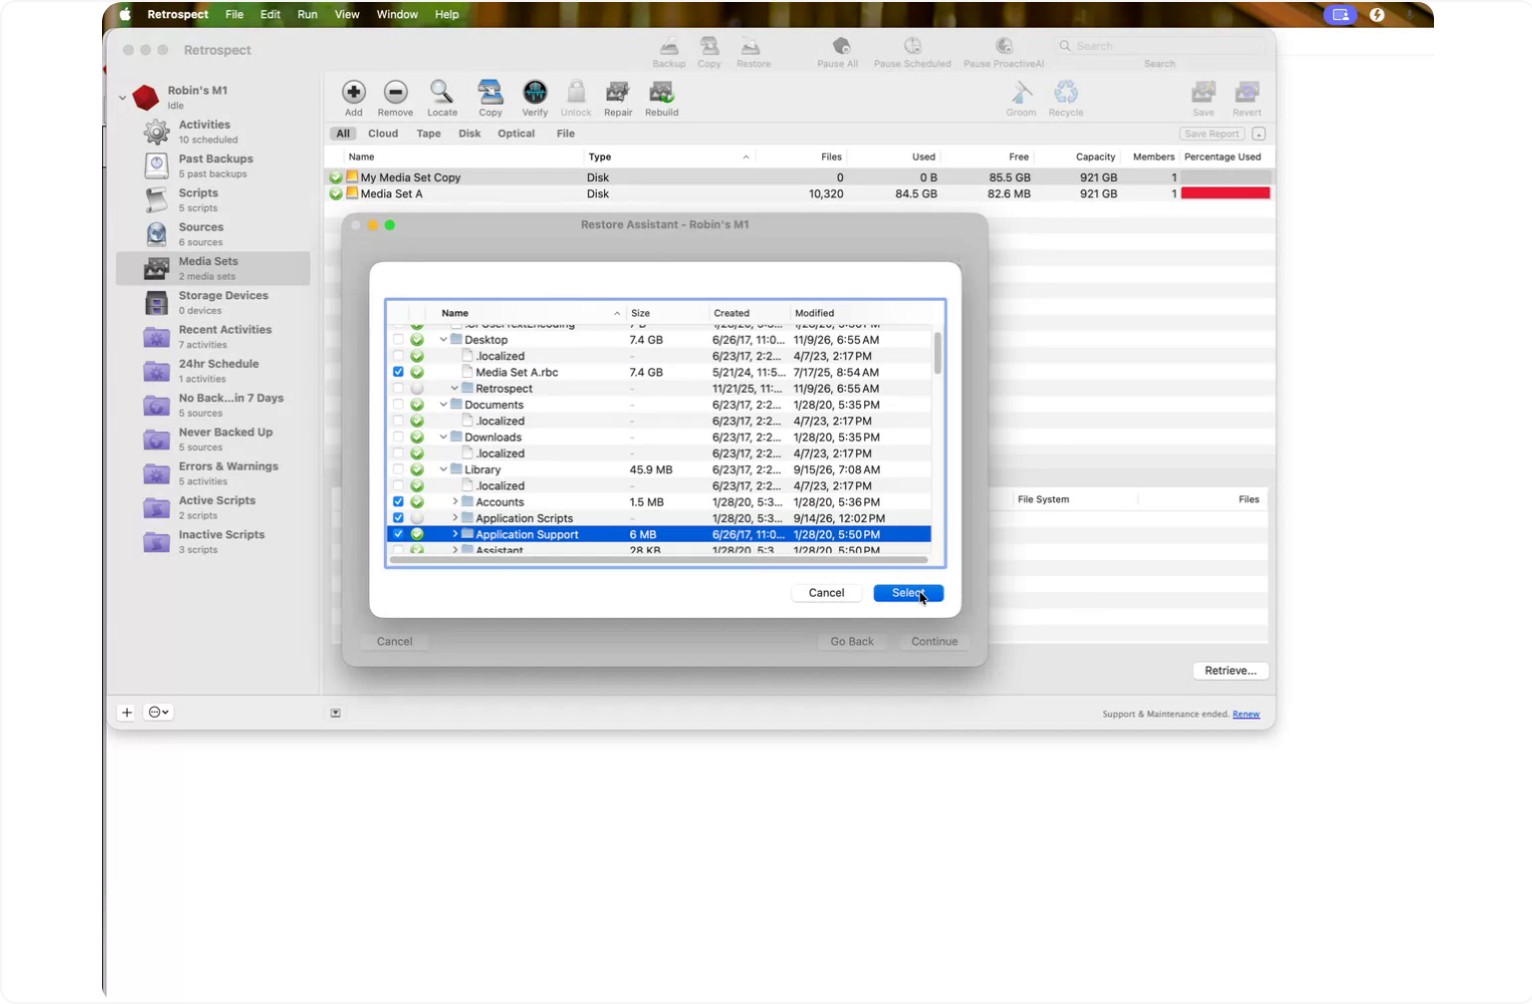
Locate and select the items you want to restore. In this example, a Retrospect catalog file is selected, along with a couple of other folders.
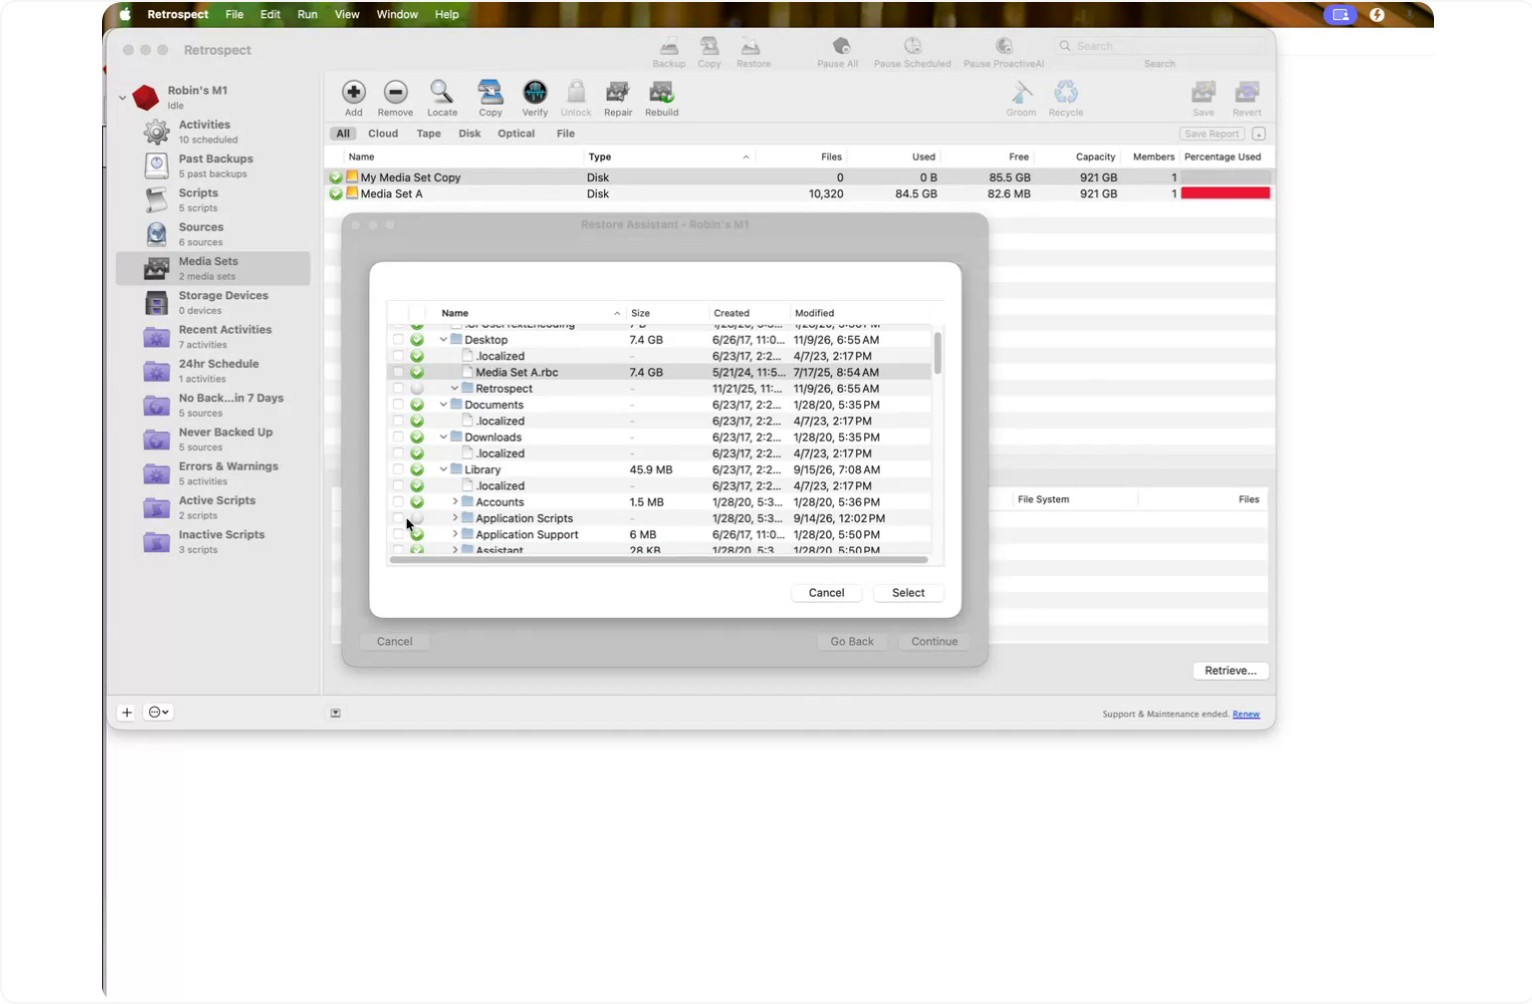
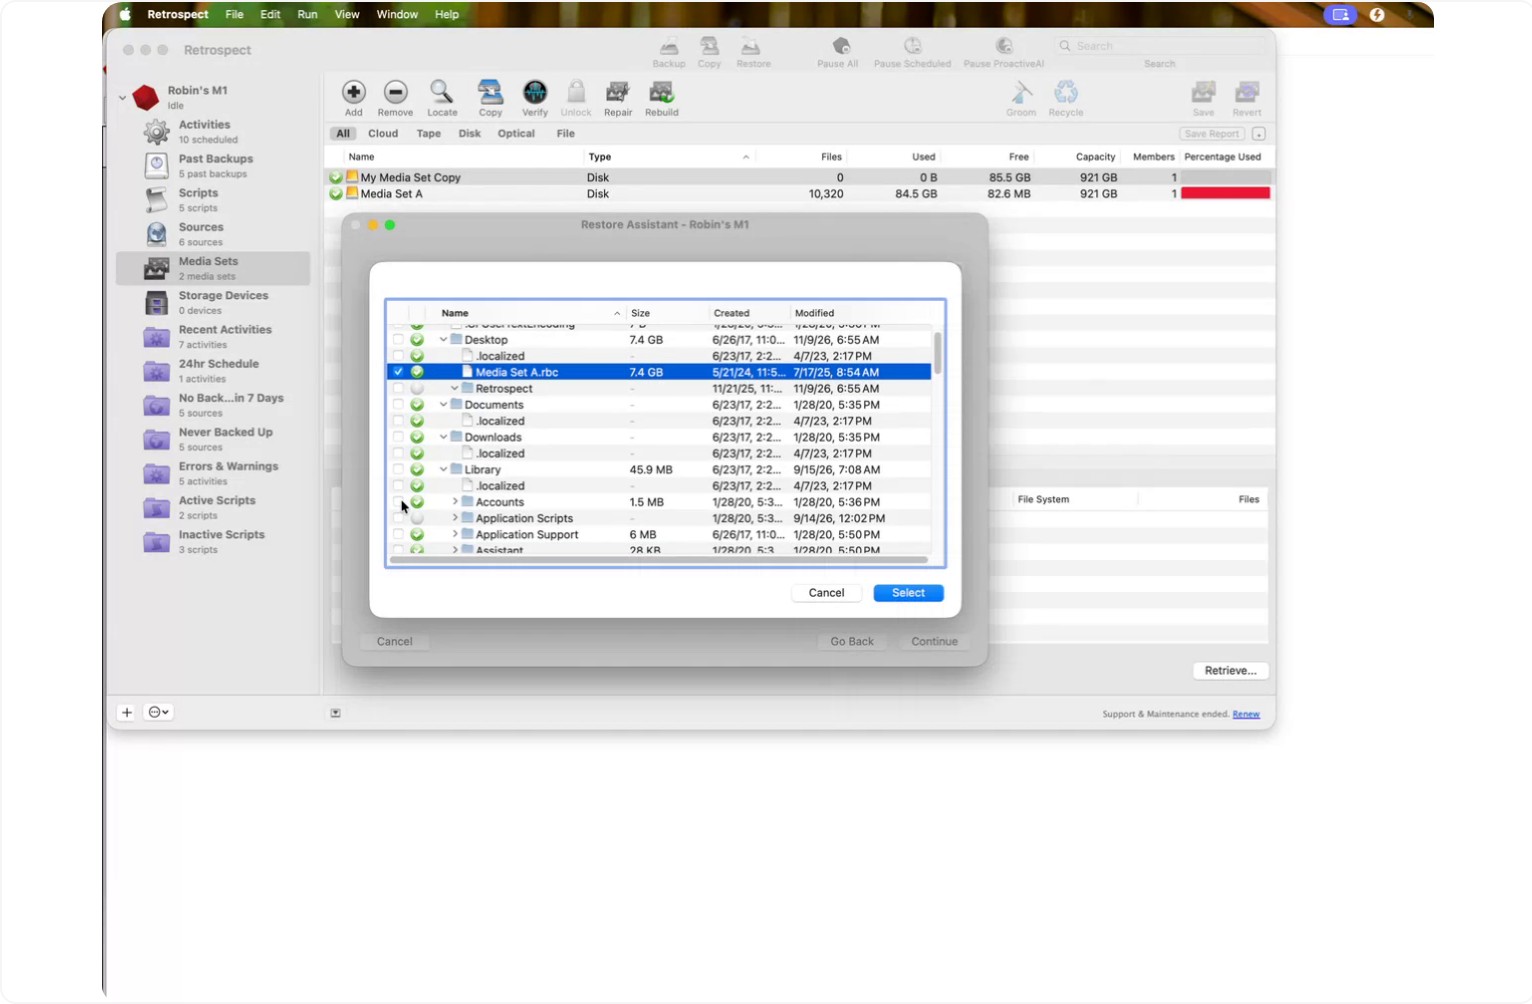
When you have selected all required files and folders, click Select.
Then click Continue to proceed.
Step 3: Specify the Destination Folder
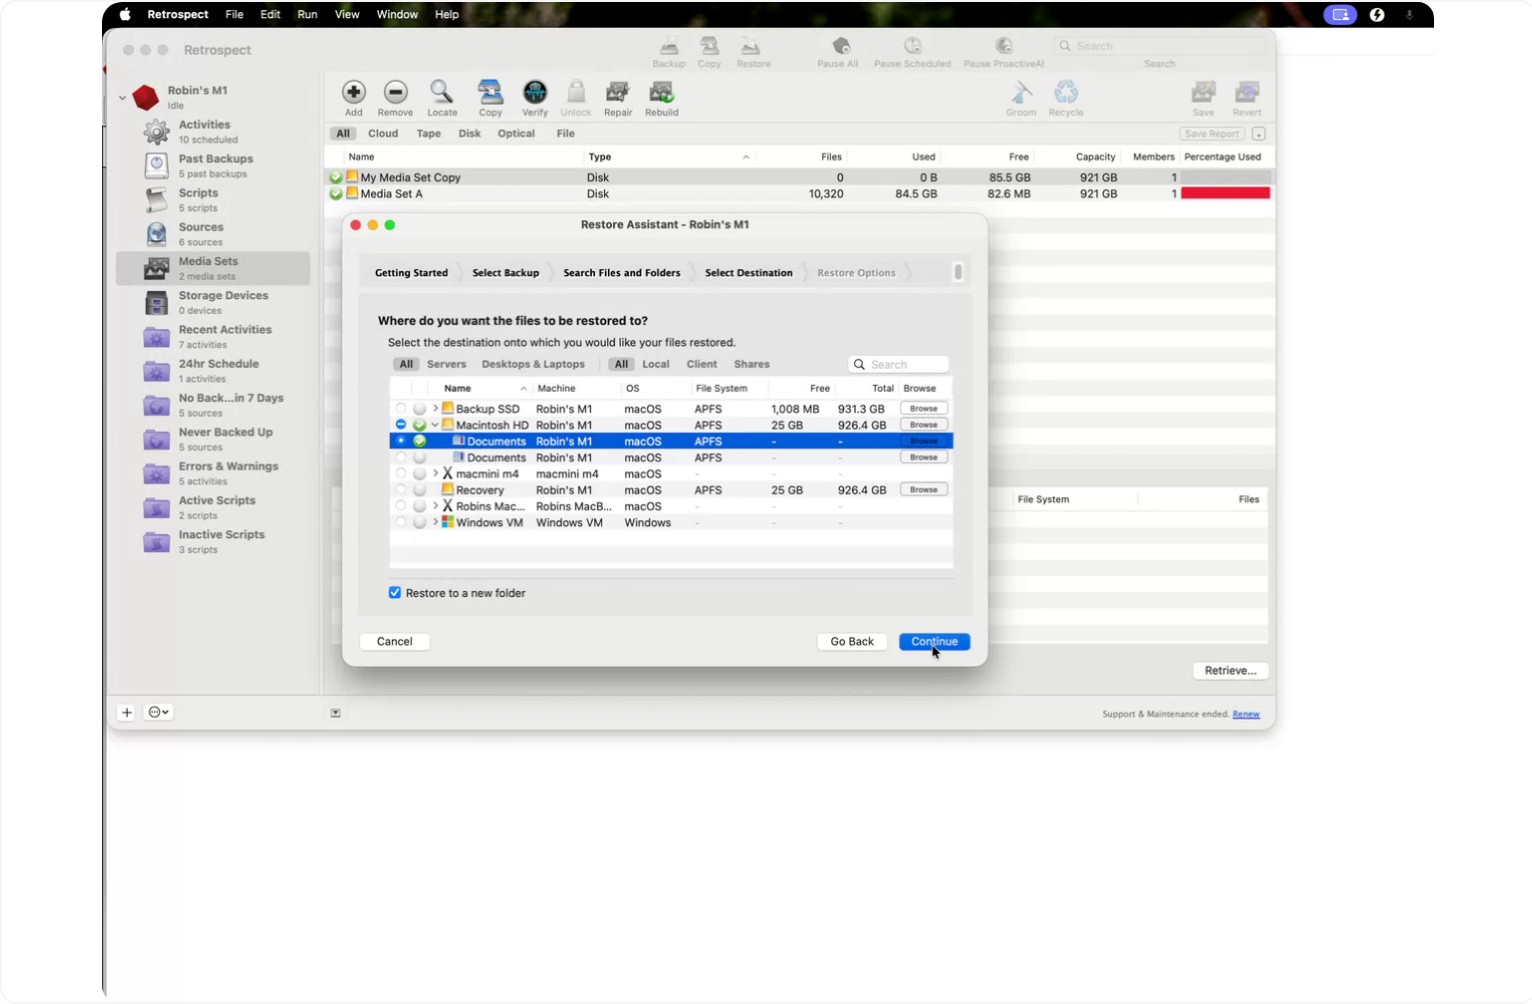
Retrospect will now ask where to place the restored data. You cannot select the Macintosh hard drive root as the destination.
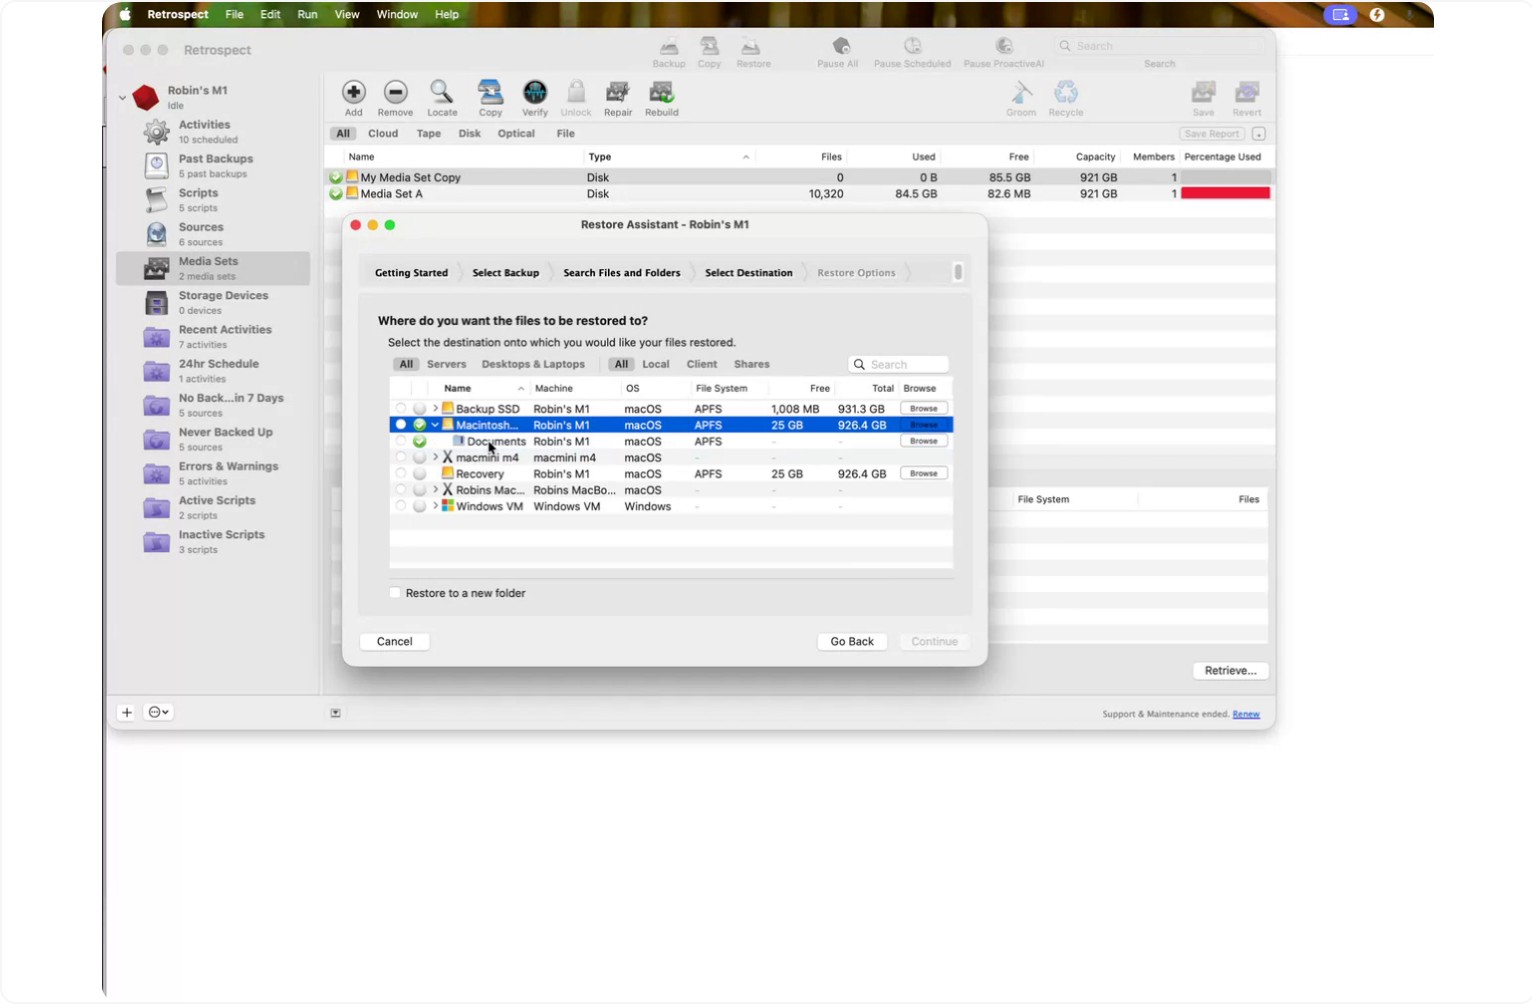
Instead, you must choose a specific folder. Click Browse.
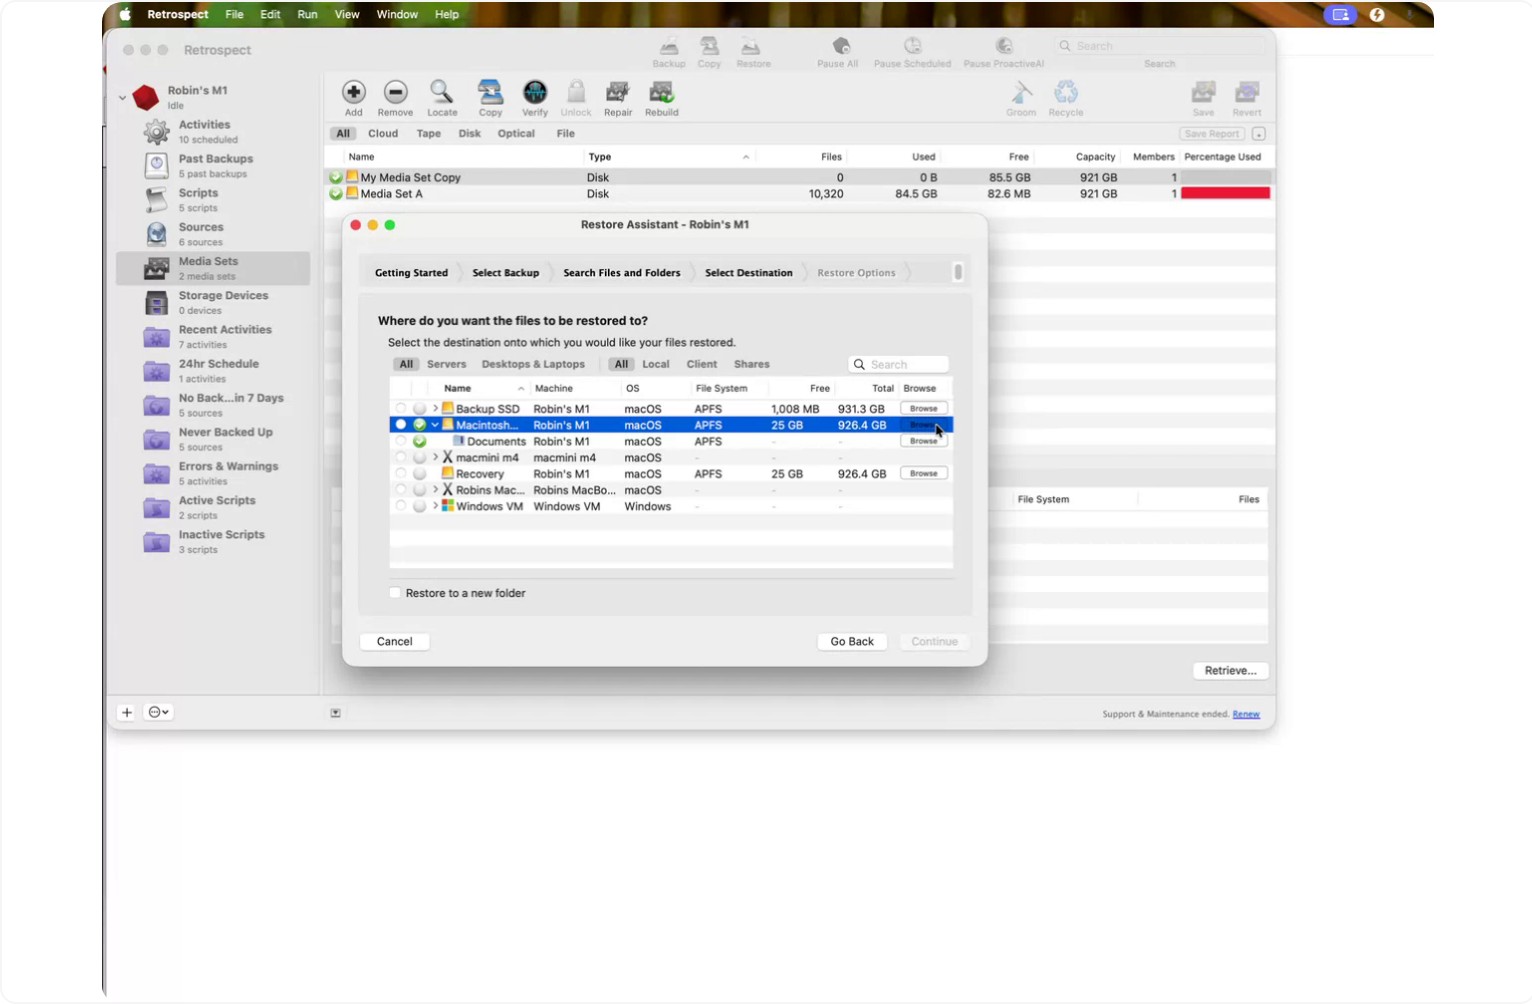
In the browser:
- Expand the drive or volume as needed.
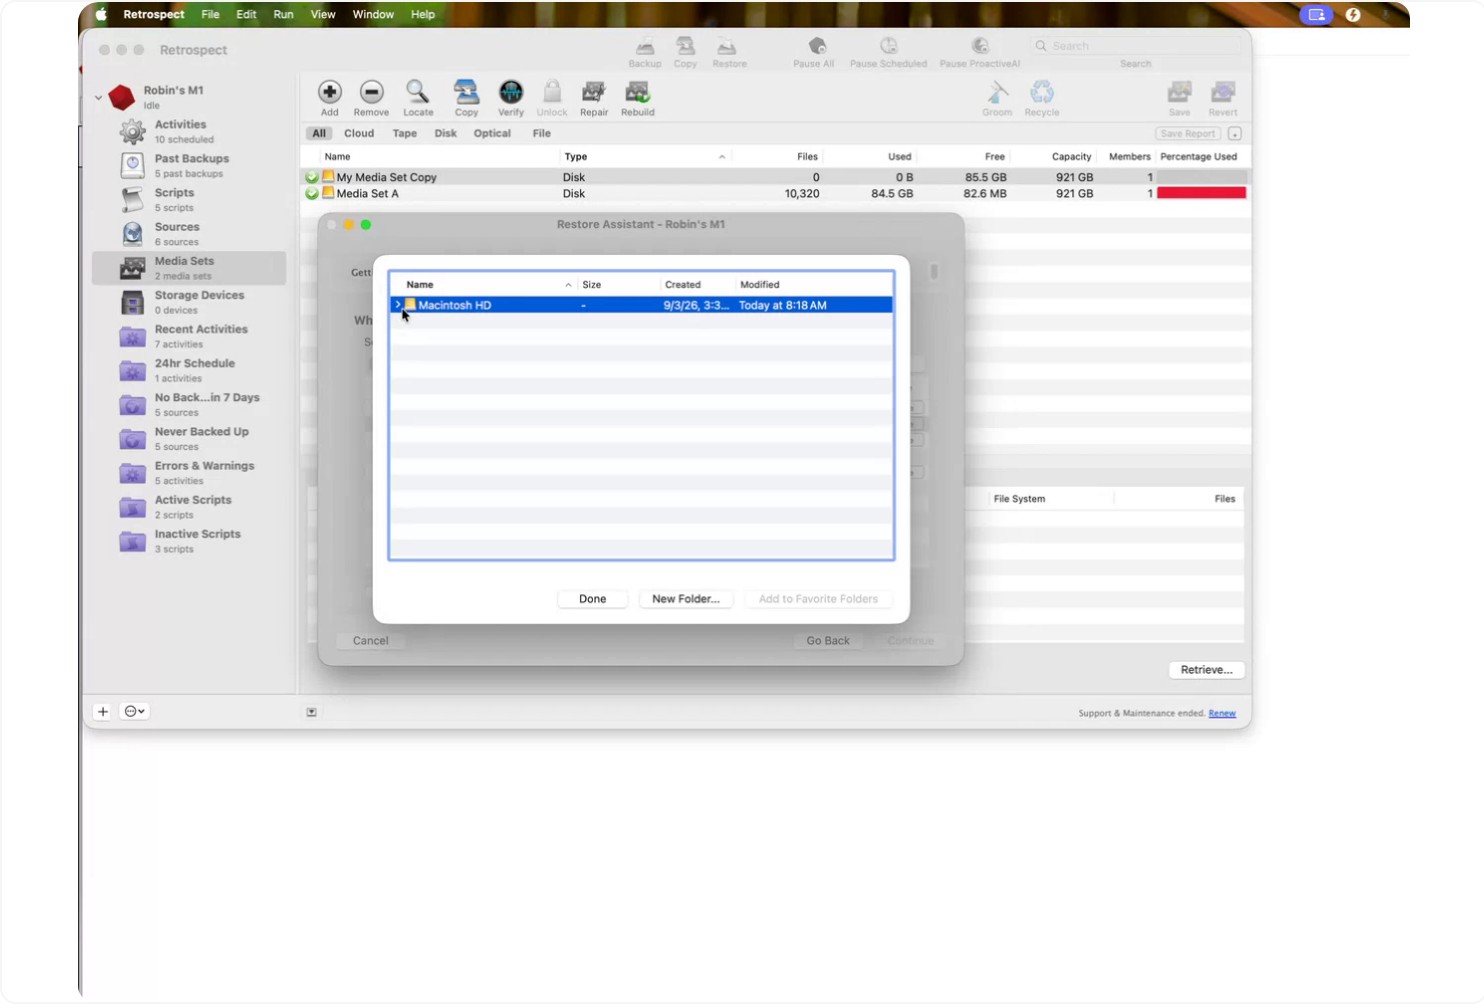
- Navigate to the Users folder.
- Open your user account folder.
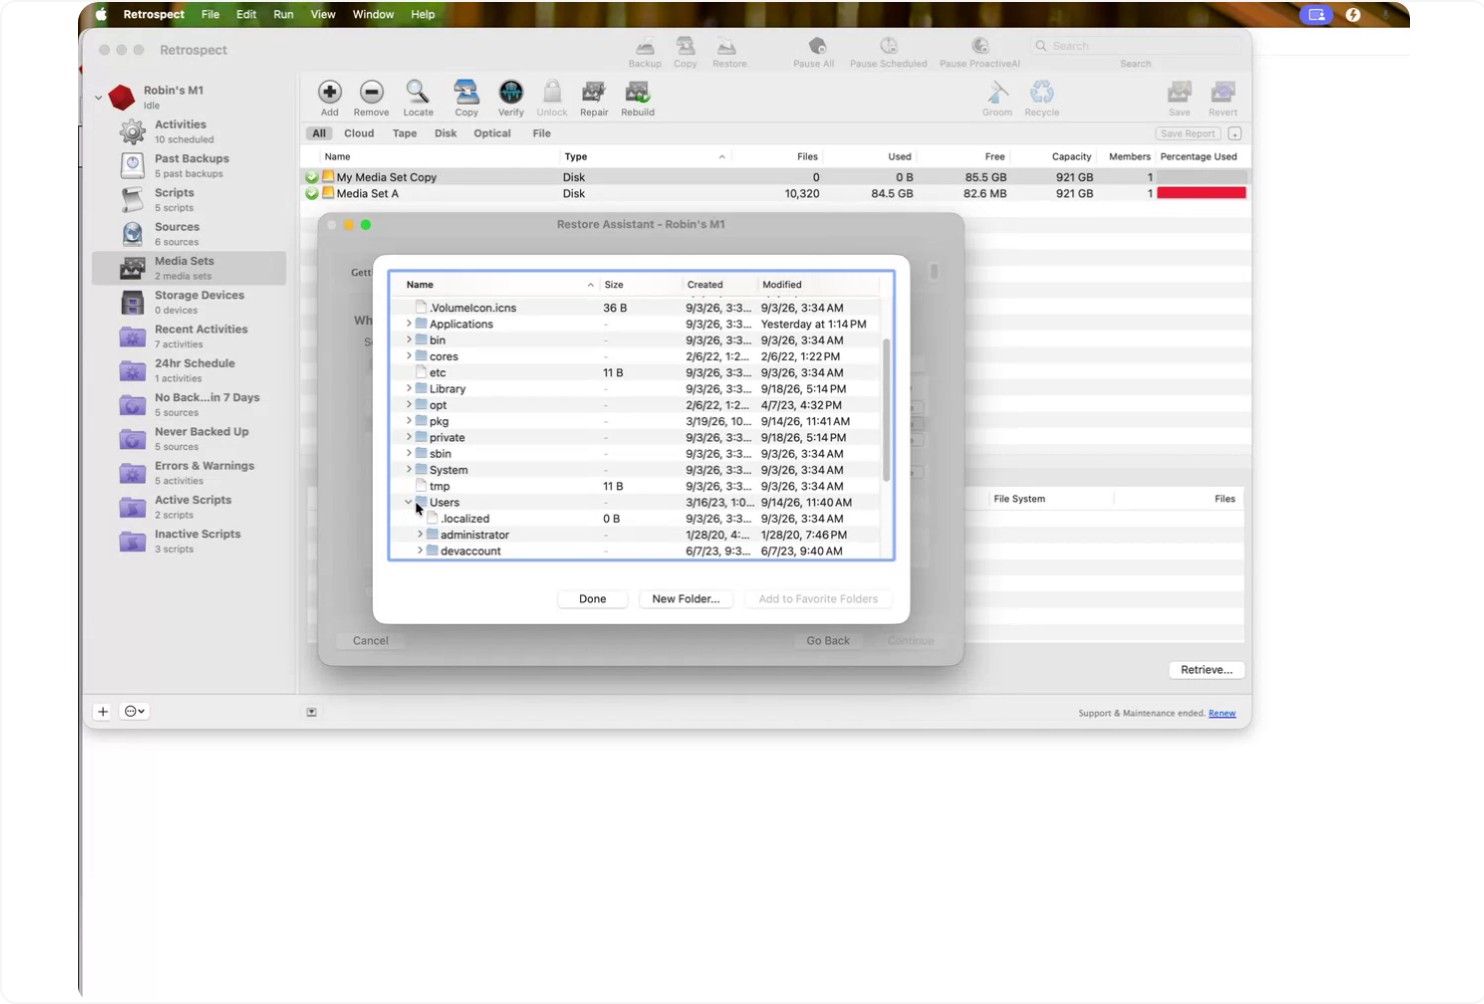
- Choose a destination such as Desktop or Documents (any clearly known location is fine).
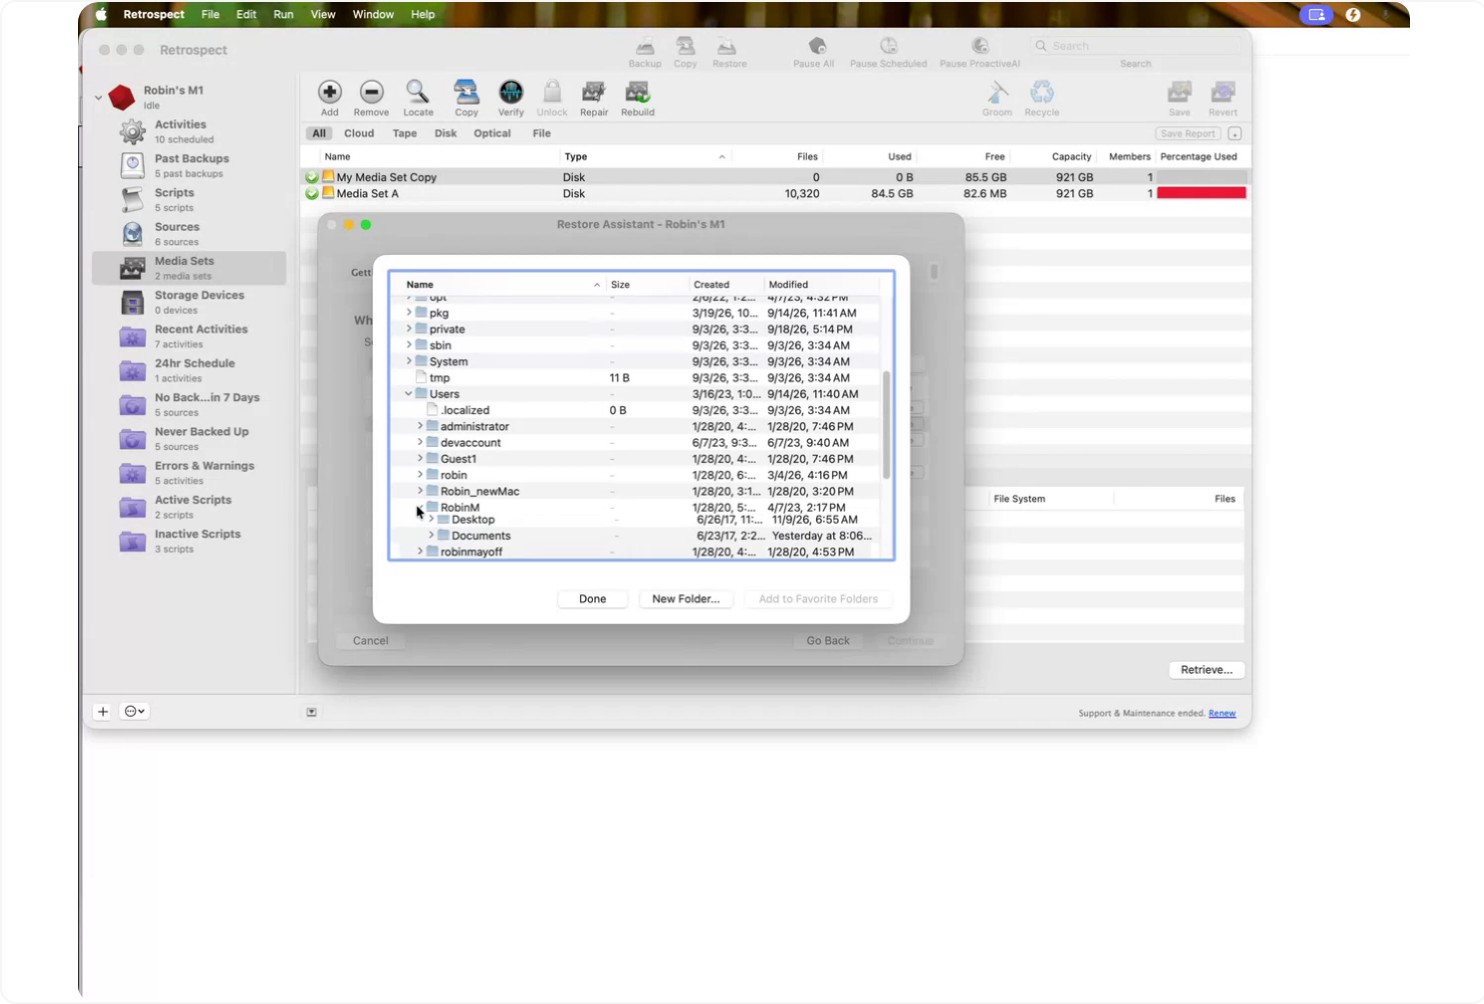
Once you have highlighted the desired folder, click Add to Favorite Folders so it will be easy to reuse.
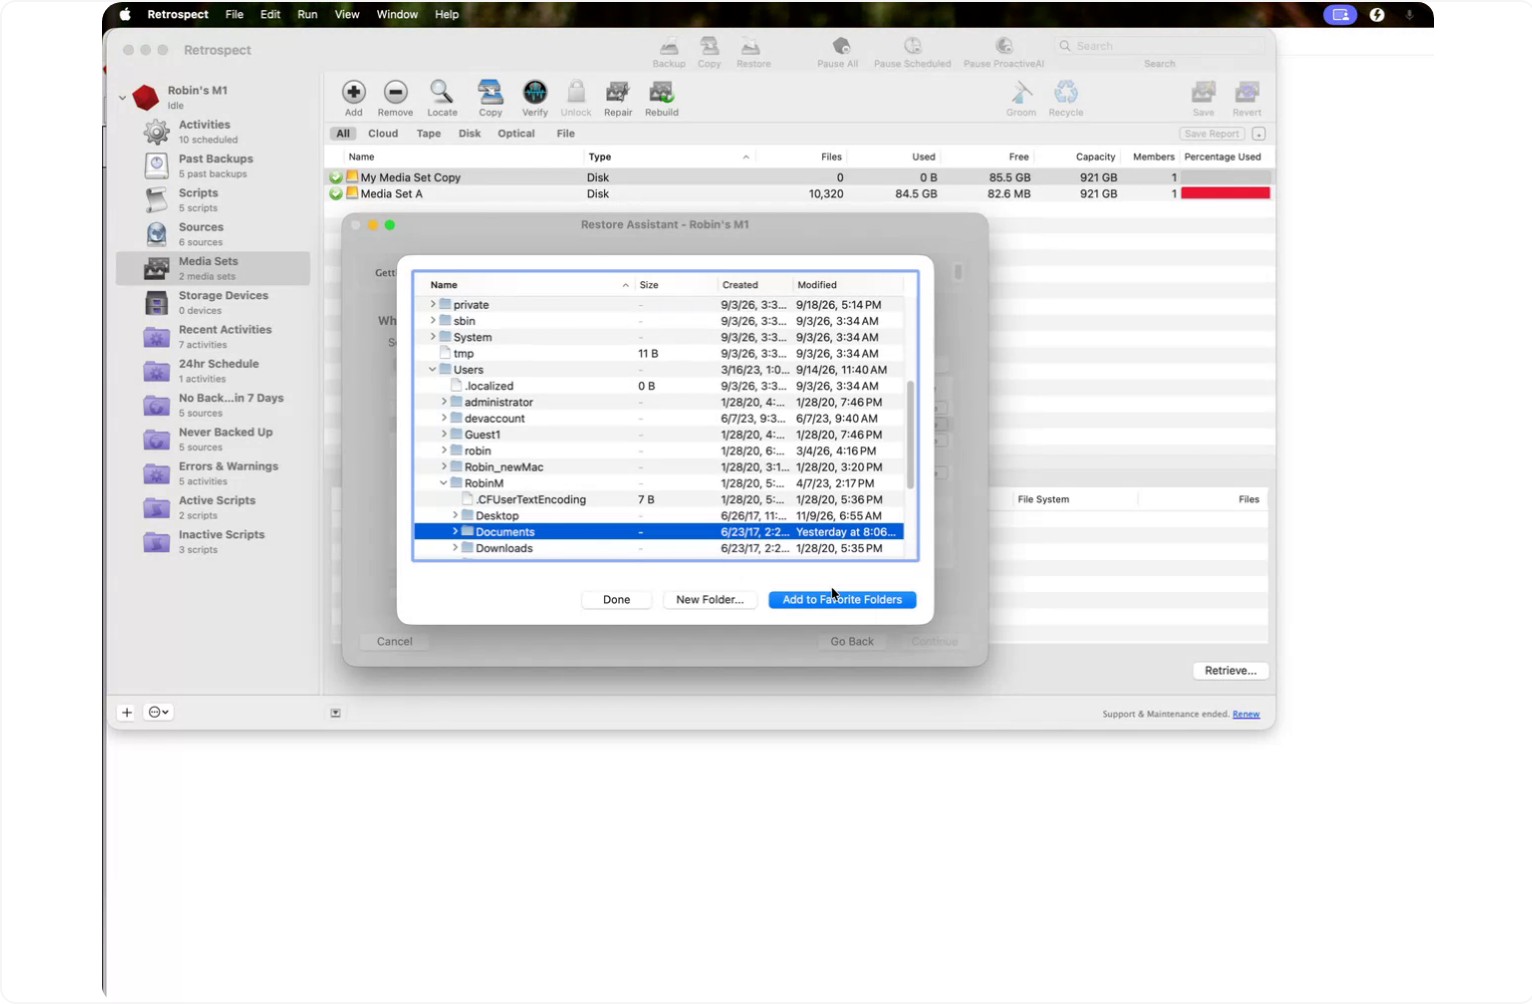
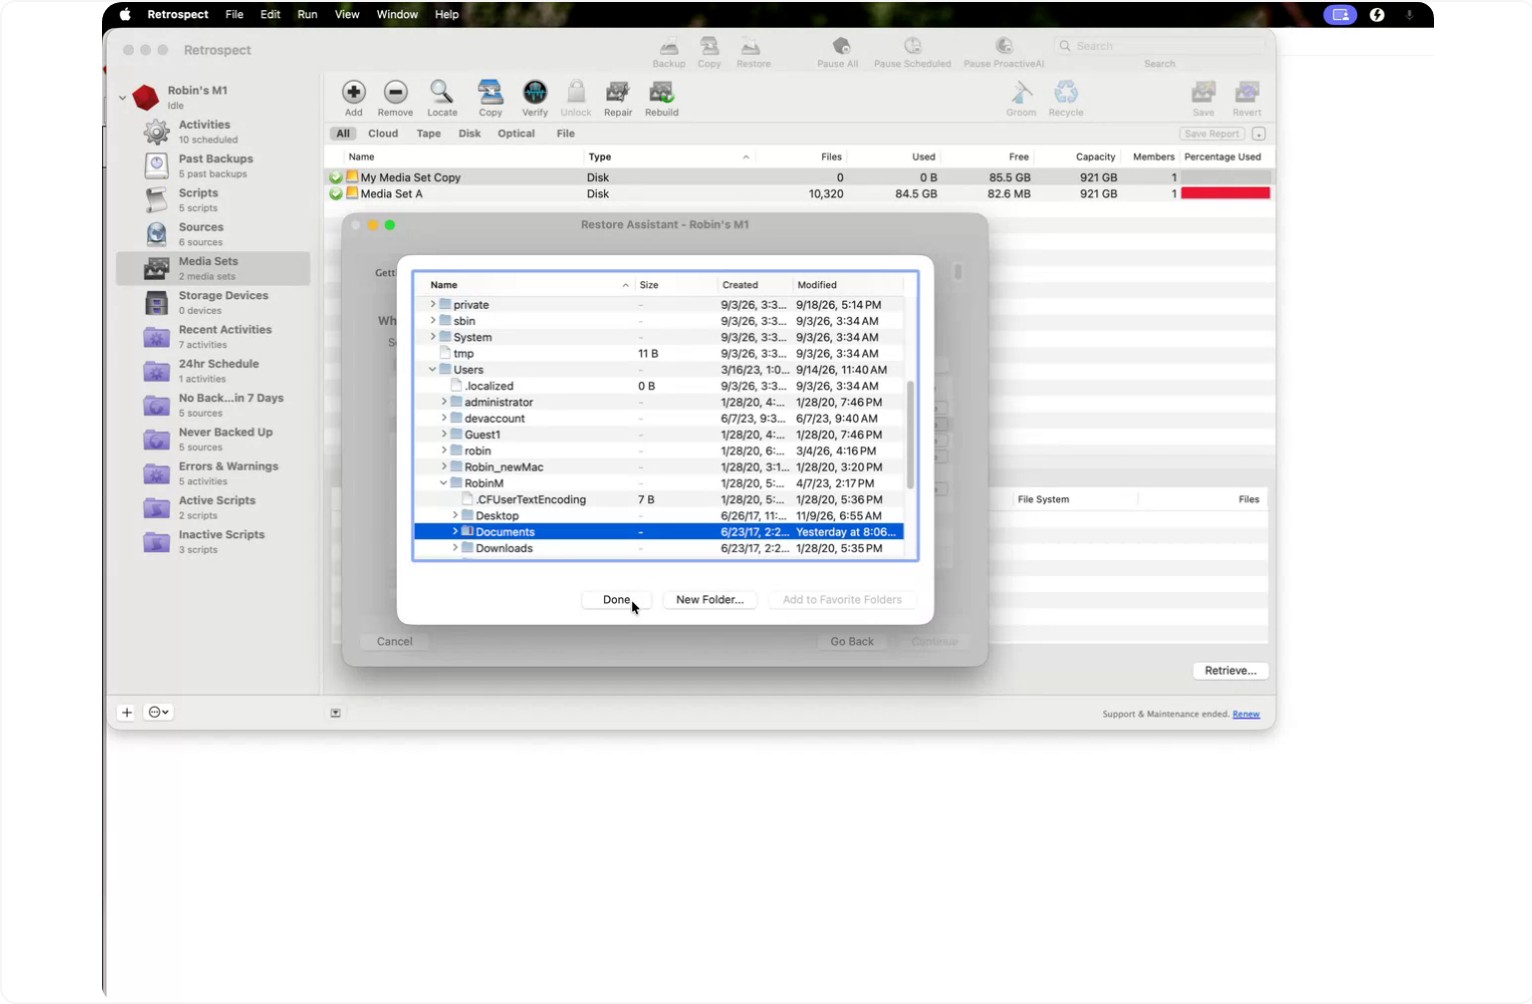
Click Done to close the browser.
Step 4: Enable Restore to a New Folder and Start the Restore
Back in the destination selection screen, select the folder you just added as a favorite.
At the bottom of the window, check the option Restore to a new folder.
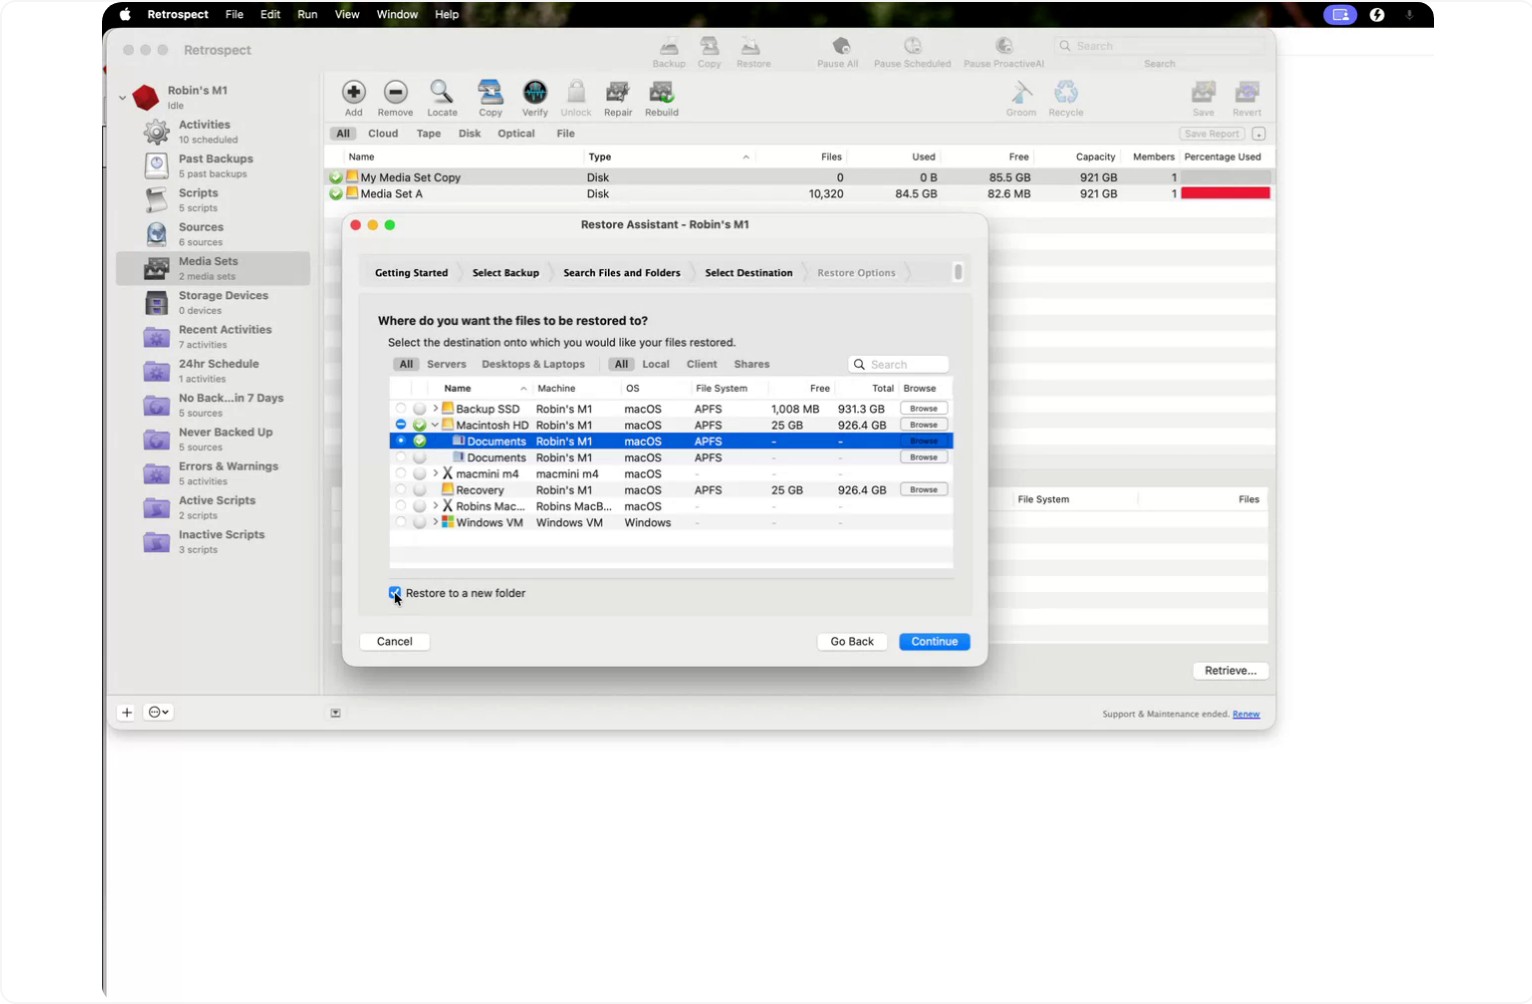
This tells Retrospect to create a new subfolder inside the chosen destination folder, using the media set name as the new folder’s name.
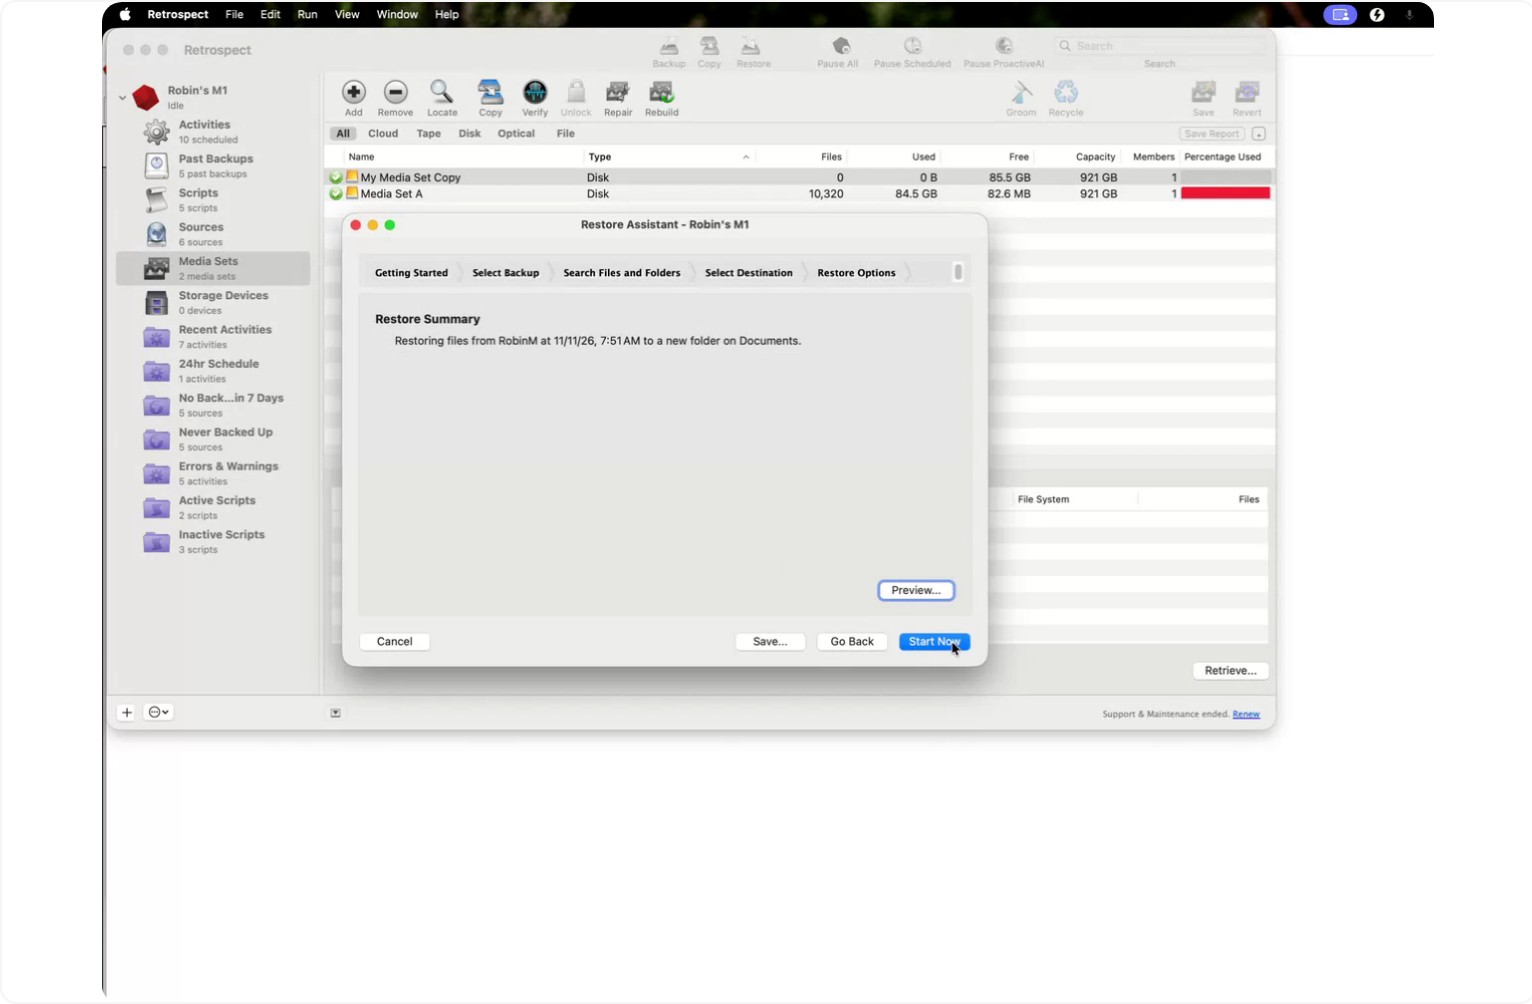
Confirm your selection and click OK or Continue.
Click Start Now to begin the restore operation.
Step 5: Monitor and Complete the Restore
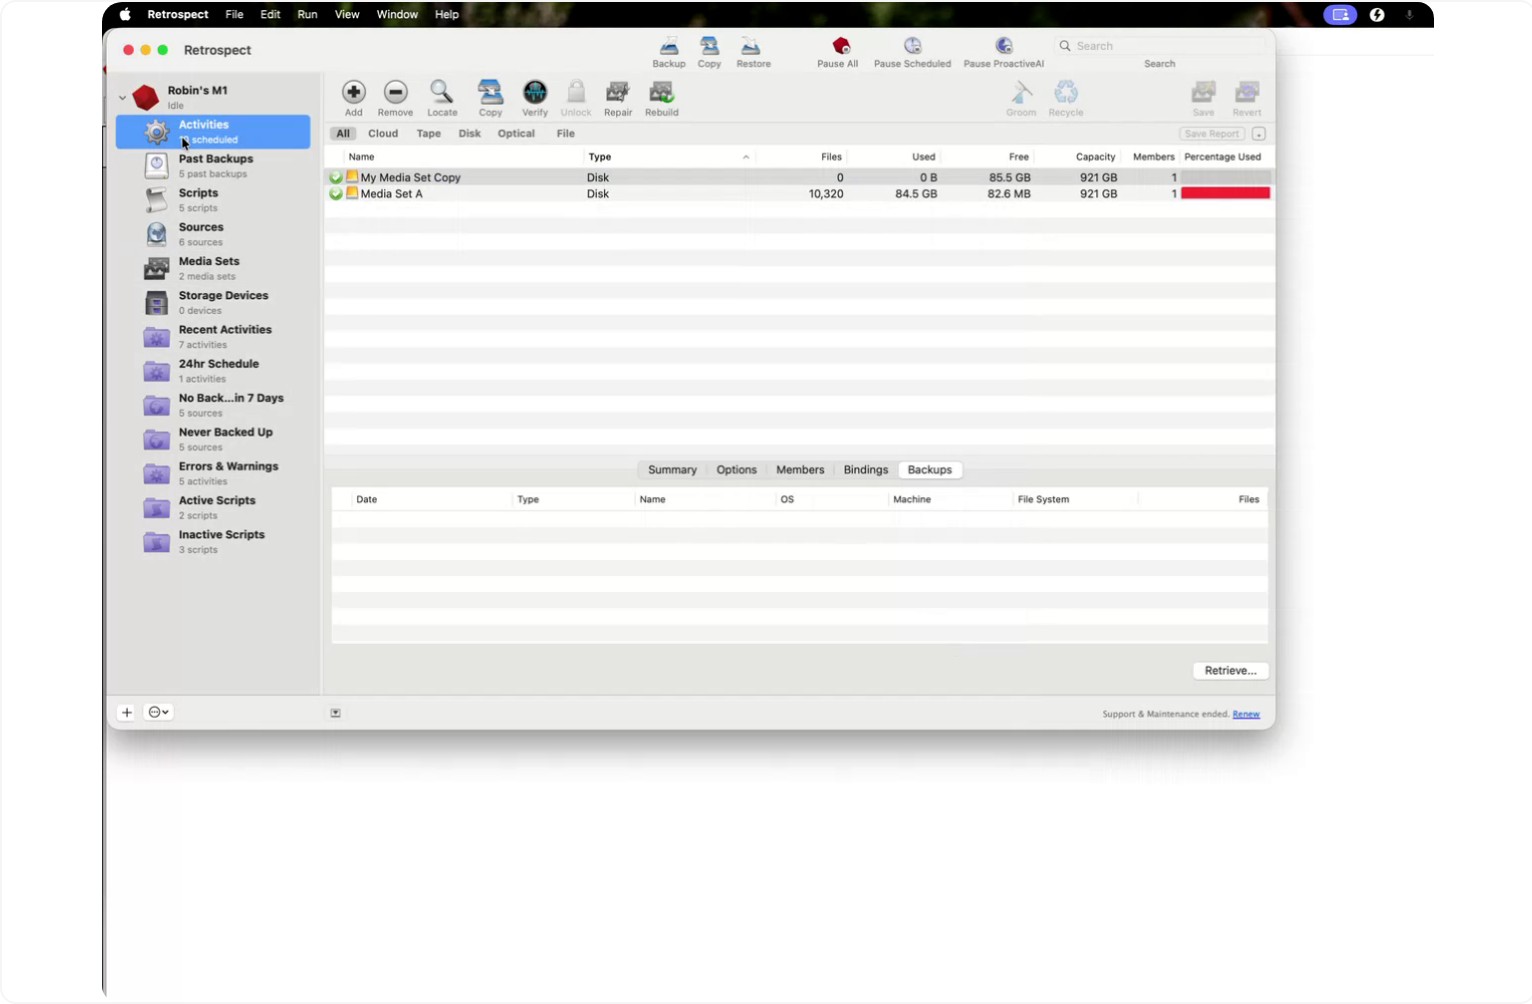
You can monitor the progress of the restore under Activities and then Running.
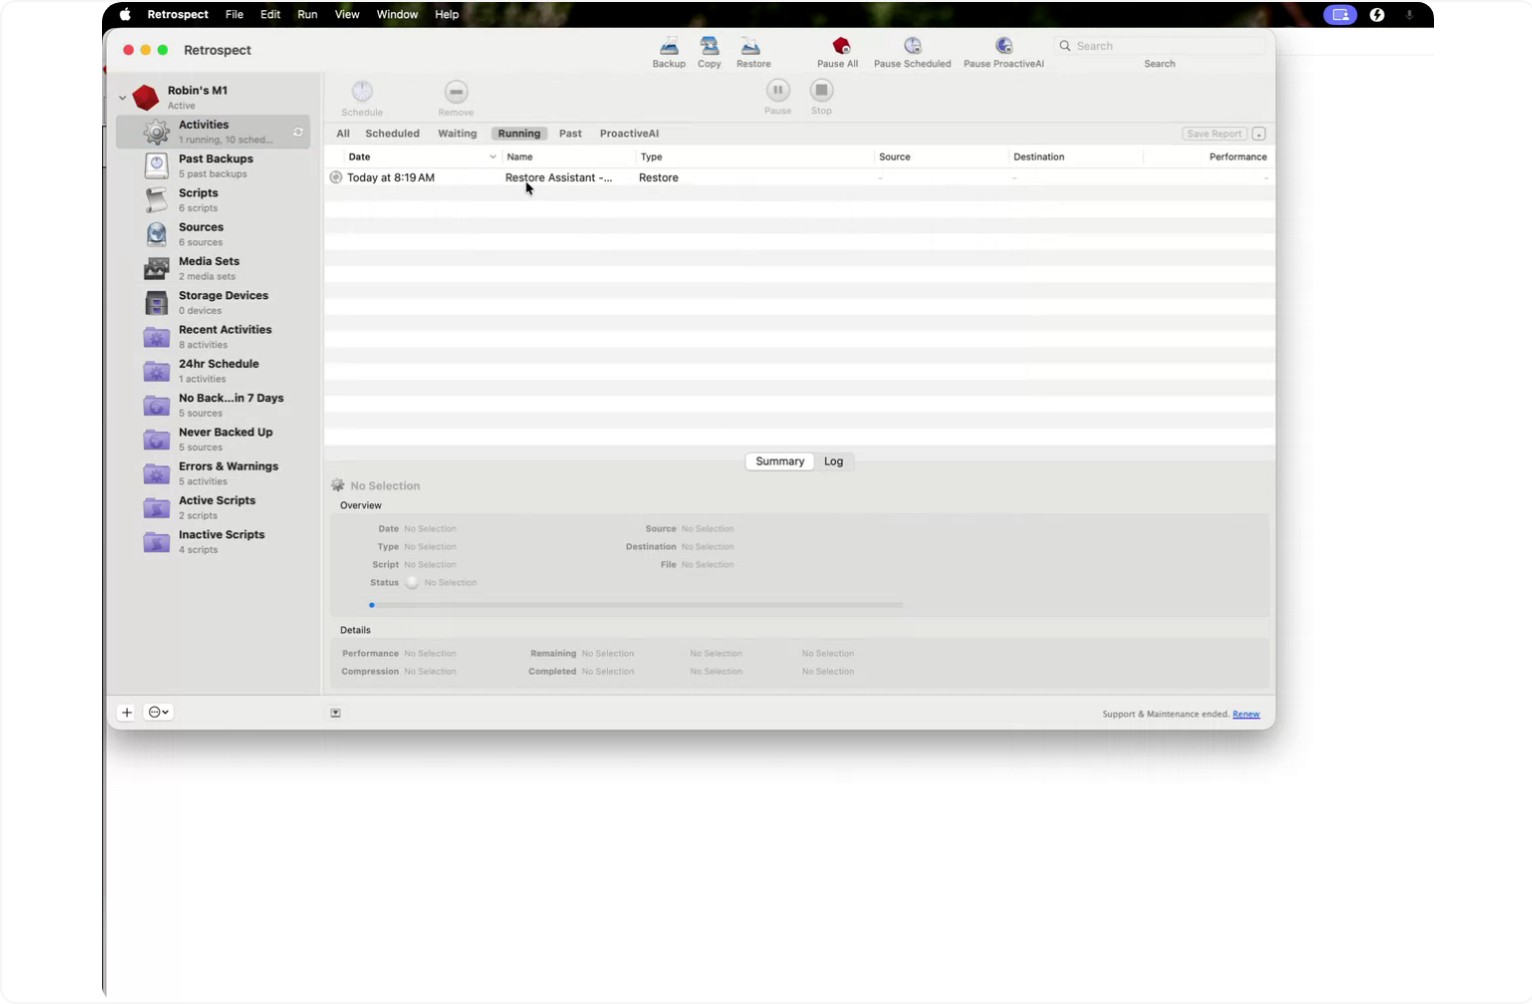
Retrospect will restore the selected files into the new folder inside the destination folder you chose (for example, inside Documents). After the restore completes, you can move the restored files to any other location on your Mac as needed.