Performing an Immediate Backup in Retrospect for Mac
This document describes how to perform an immediate backup in Retrospect, including selecting source data, creating or choosing a media set, monitoring the backup progress, and reviewing backup history and logs.
Step 1: Open the Backup Customization Screen
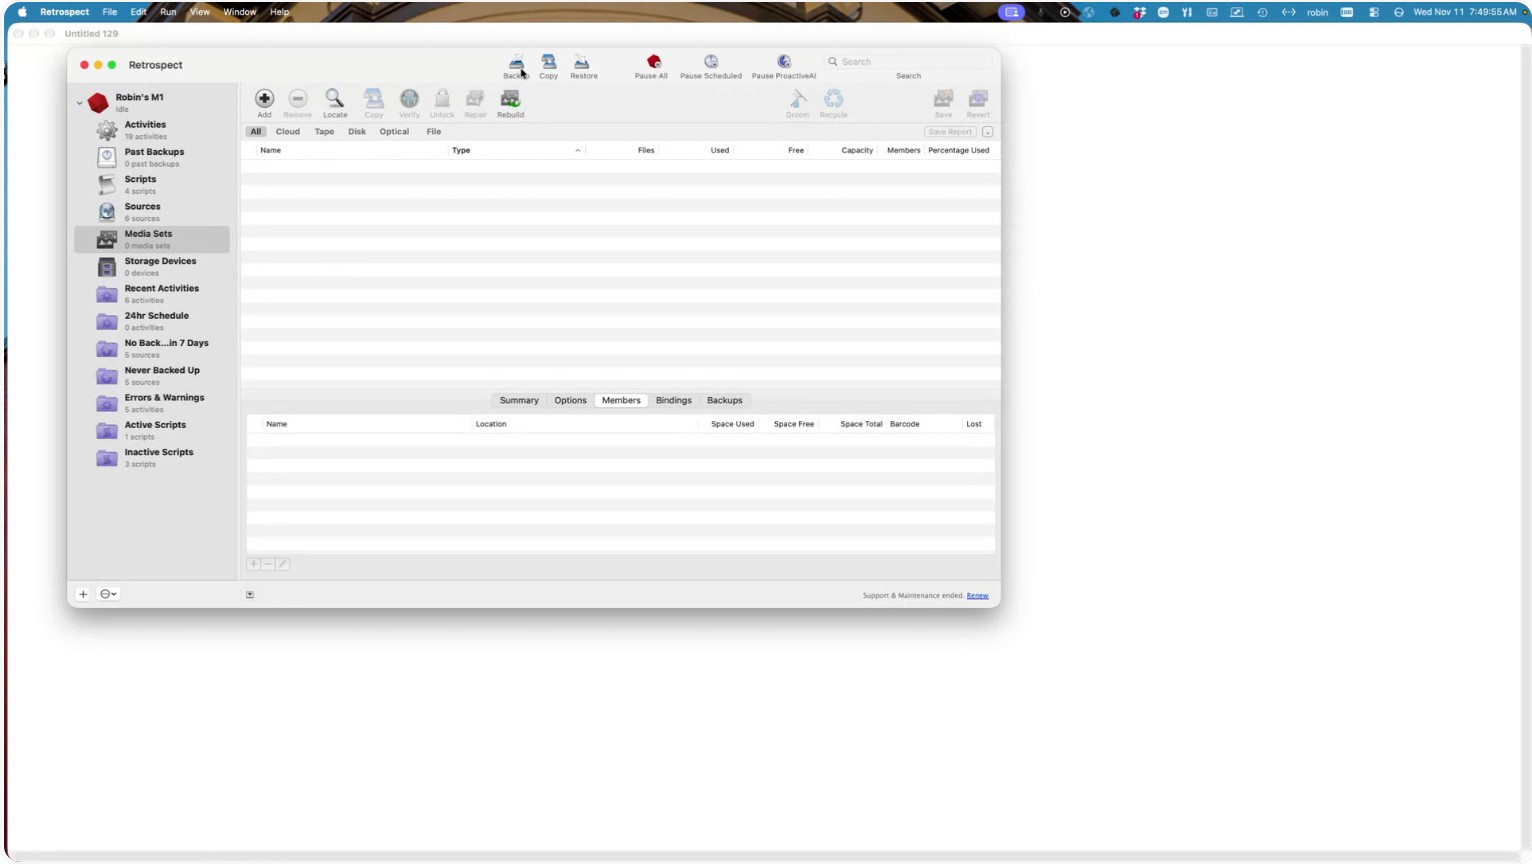
Click the Backup button at the top of the Retrospect screen.
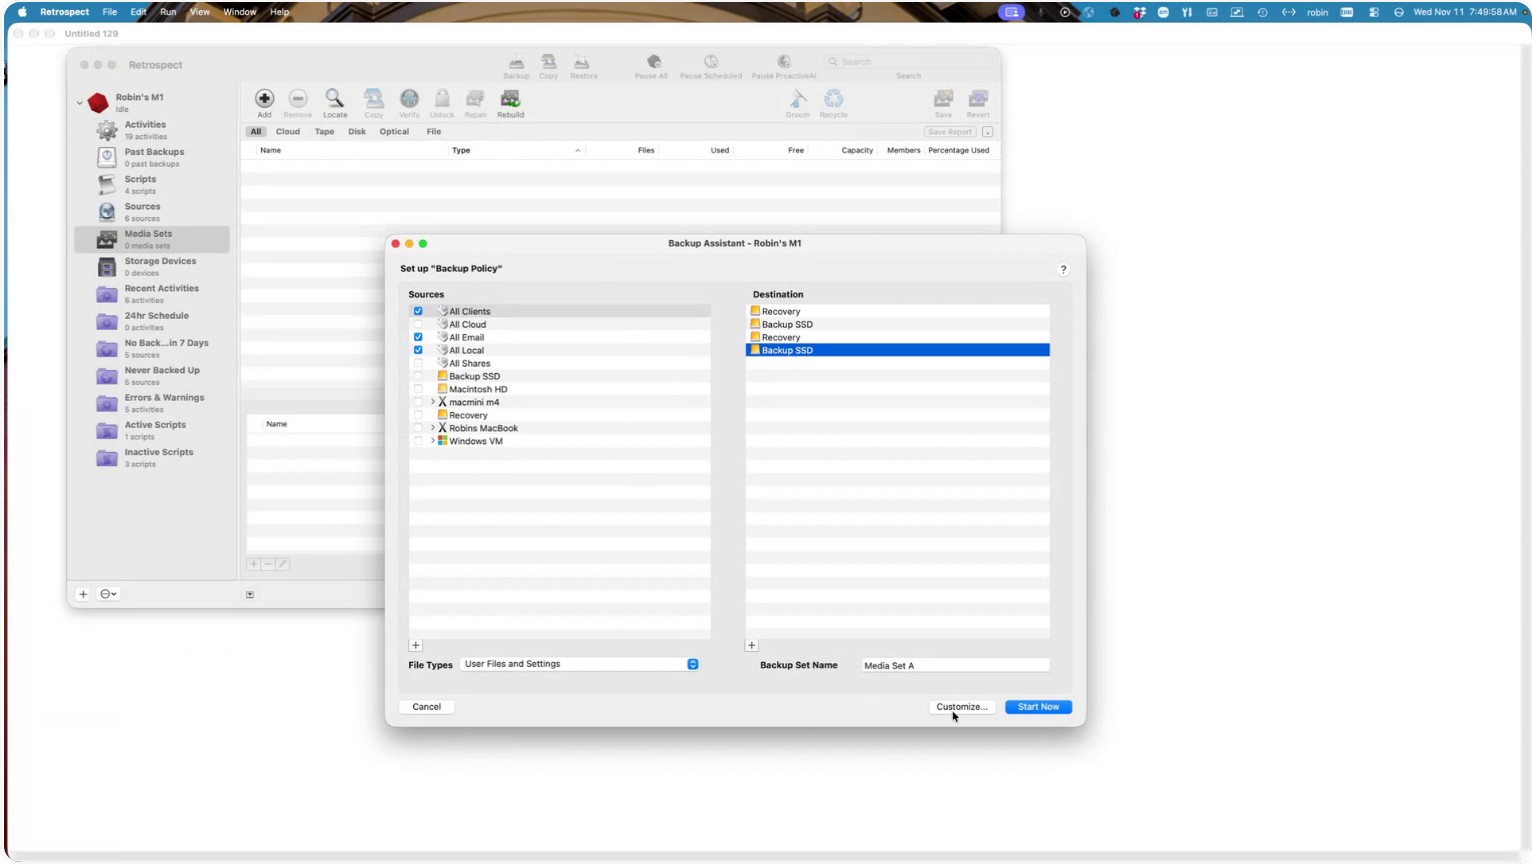
Then click Customize.
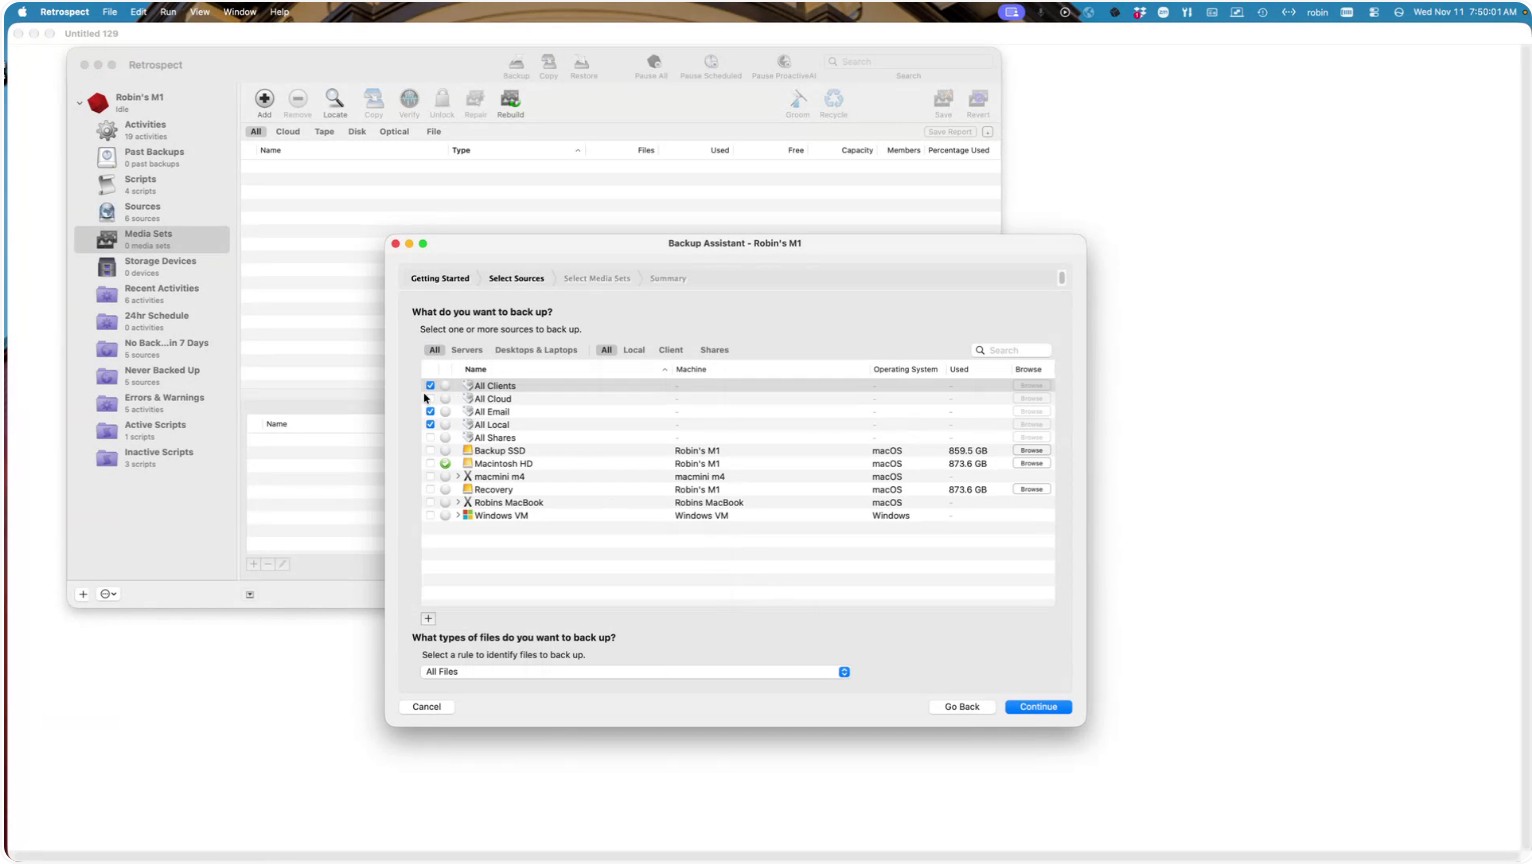
Step 2: Choose What You Want to Back Up
Uncheck any items you do not want to include in the backup.
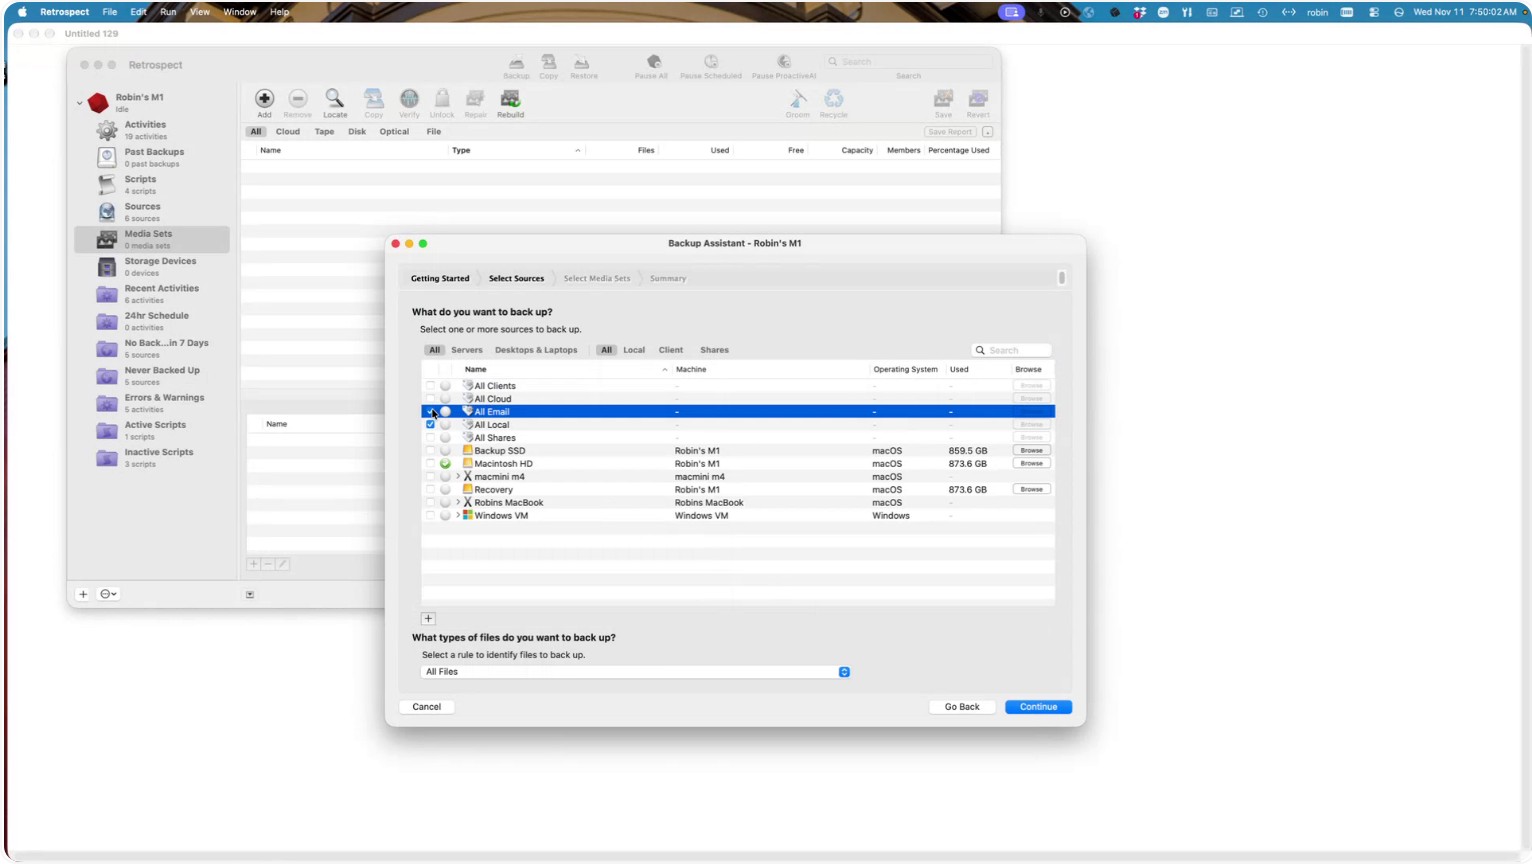
Then decide what you want to back up.
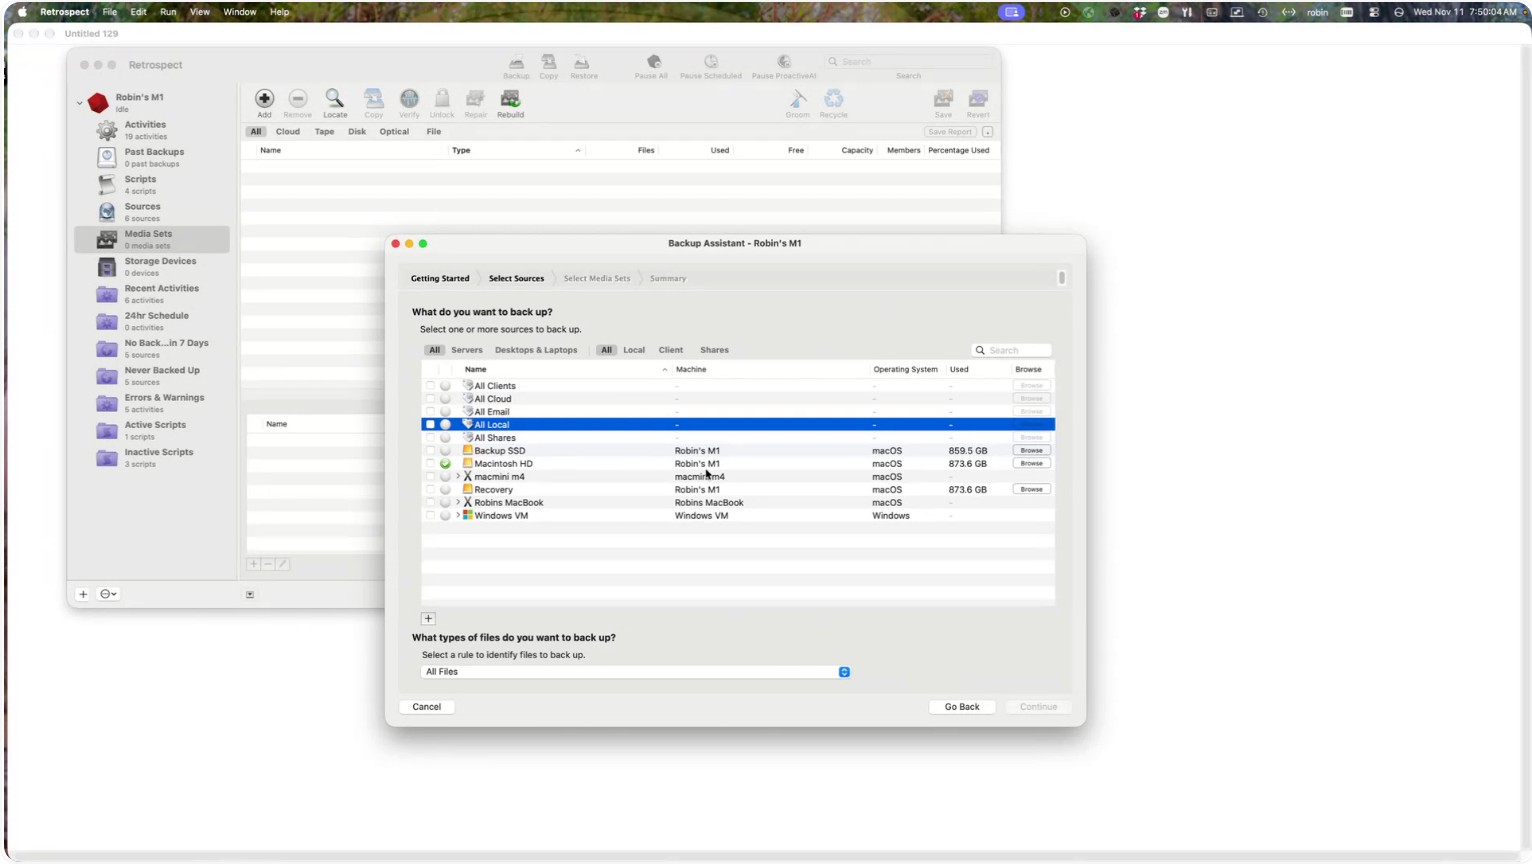
You can select your entire hard drive, specific folders on a hard drive, or other computers on your network.
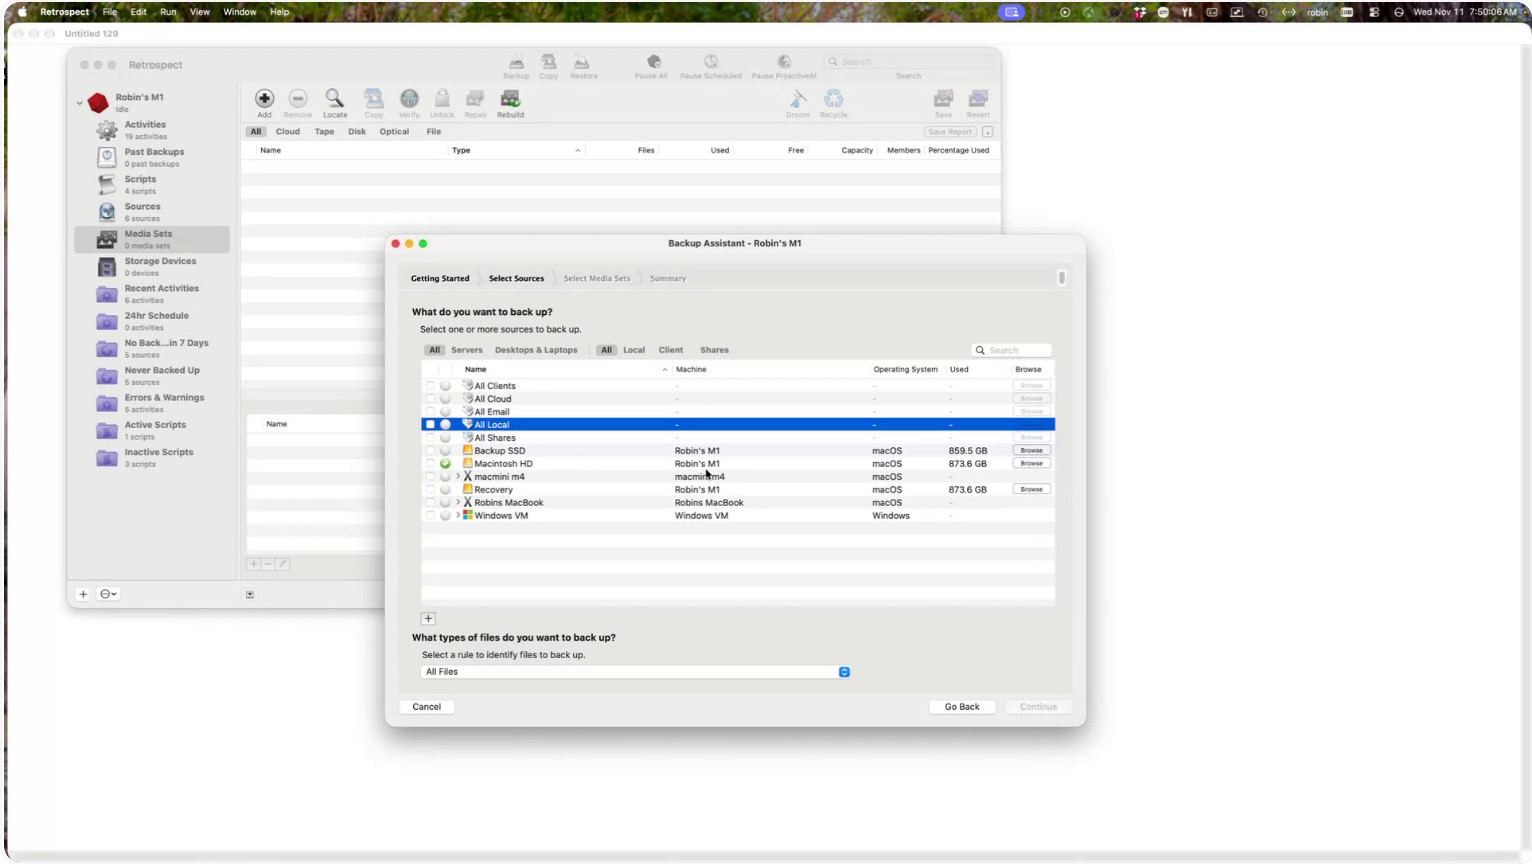
Step 3: Select a Specific Folder as the Backup Source
To pick a specific folder, choose your hard drive and click the Browse button at the on the right.
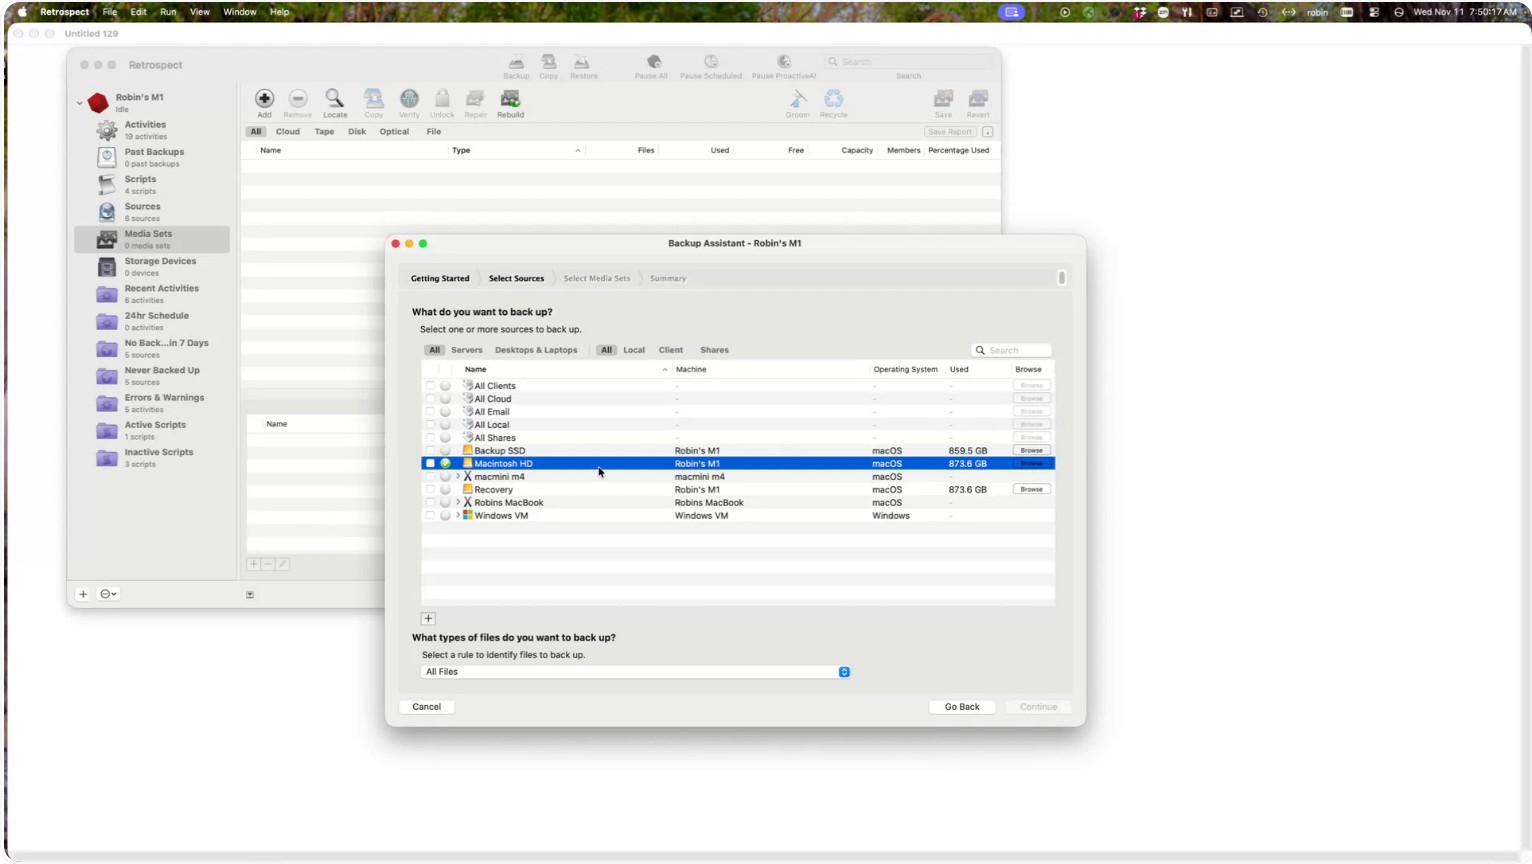
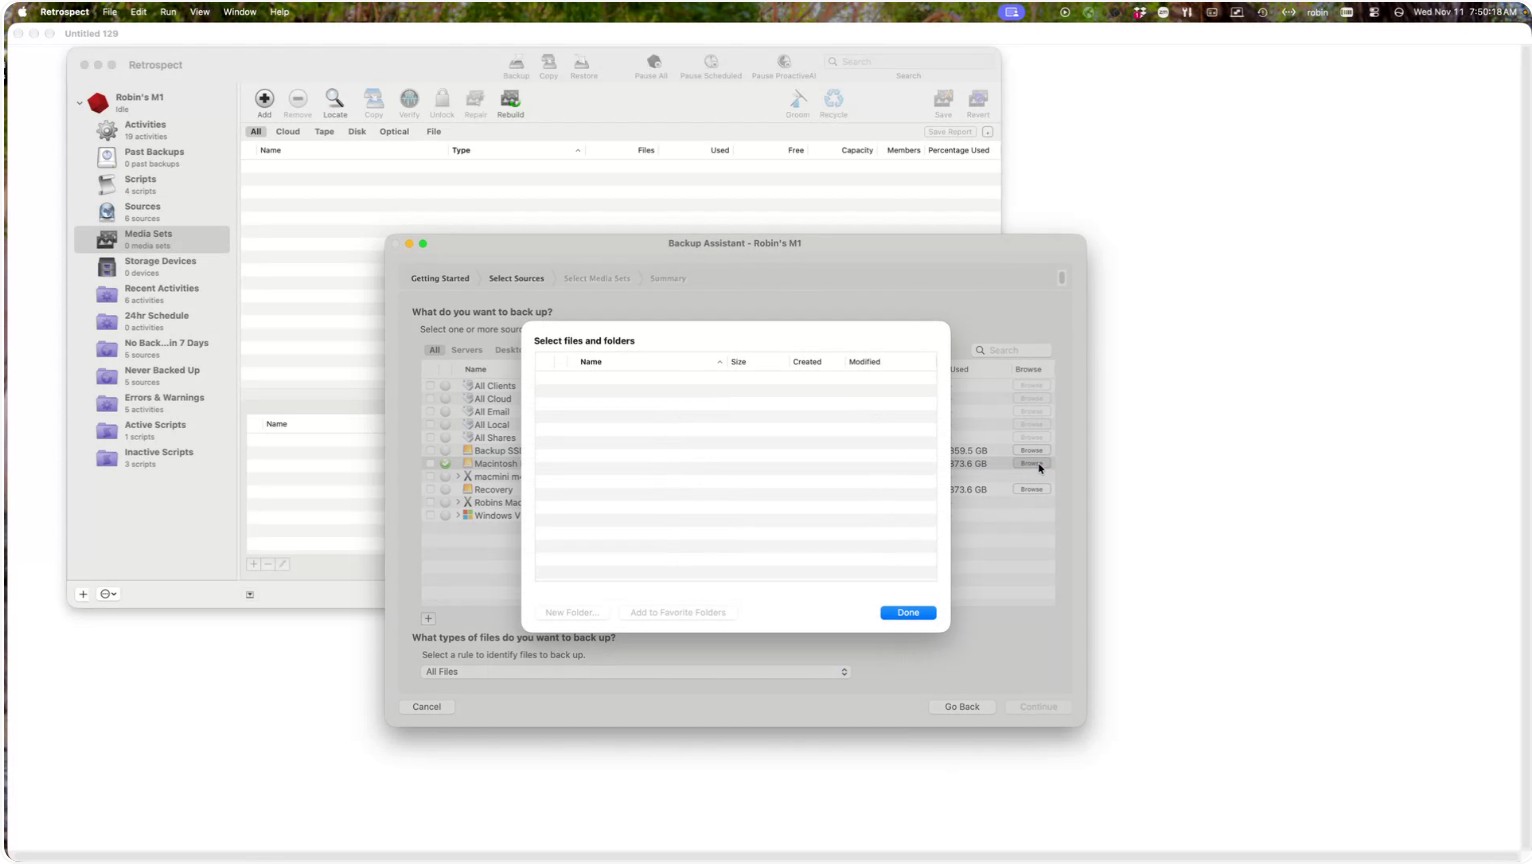
Navigate to the folder you want to back up and select it.
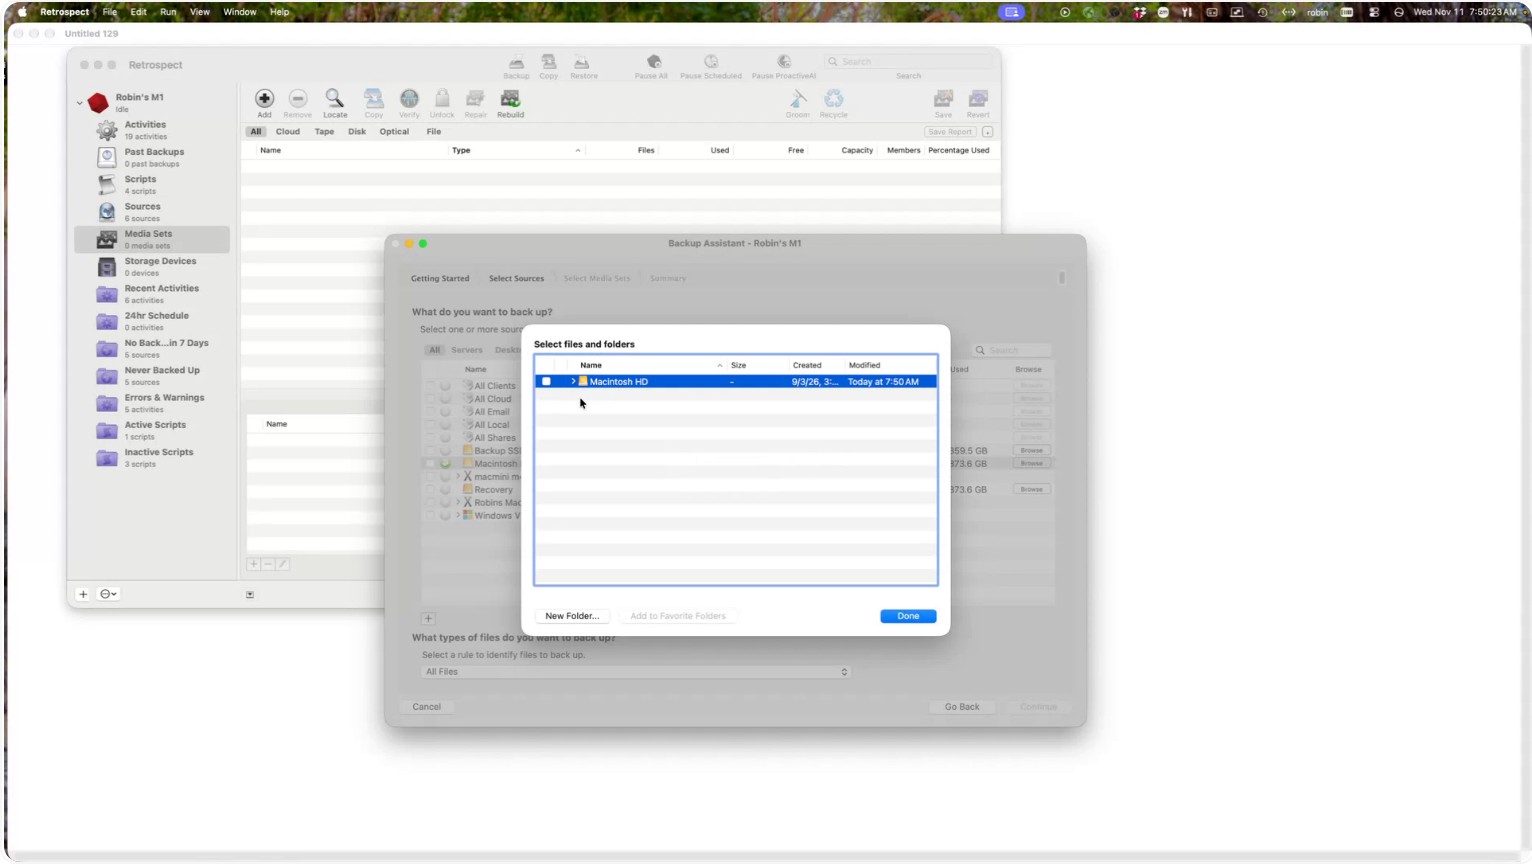
Then click Add to Favorite Folders.
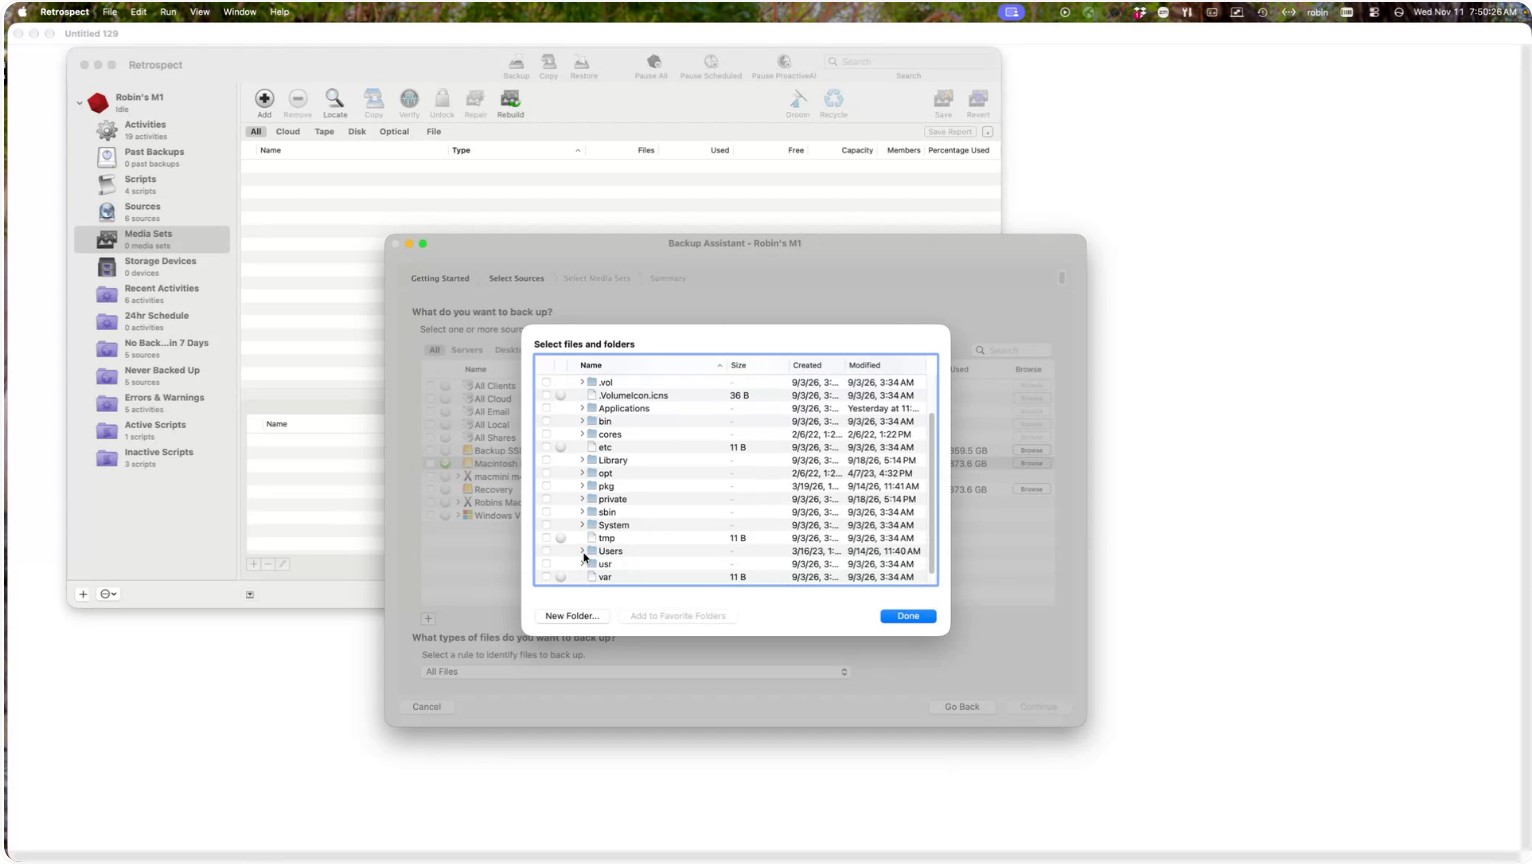
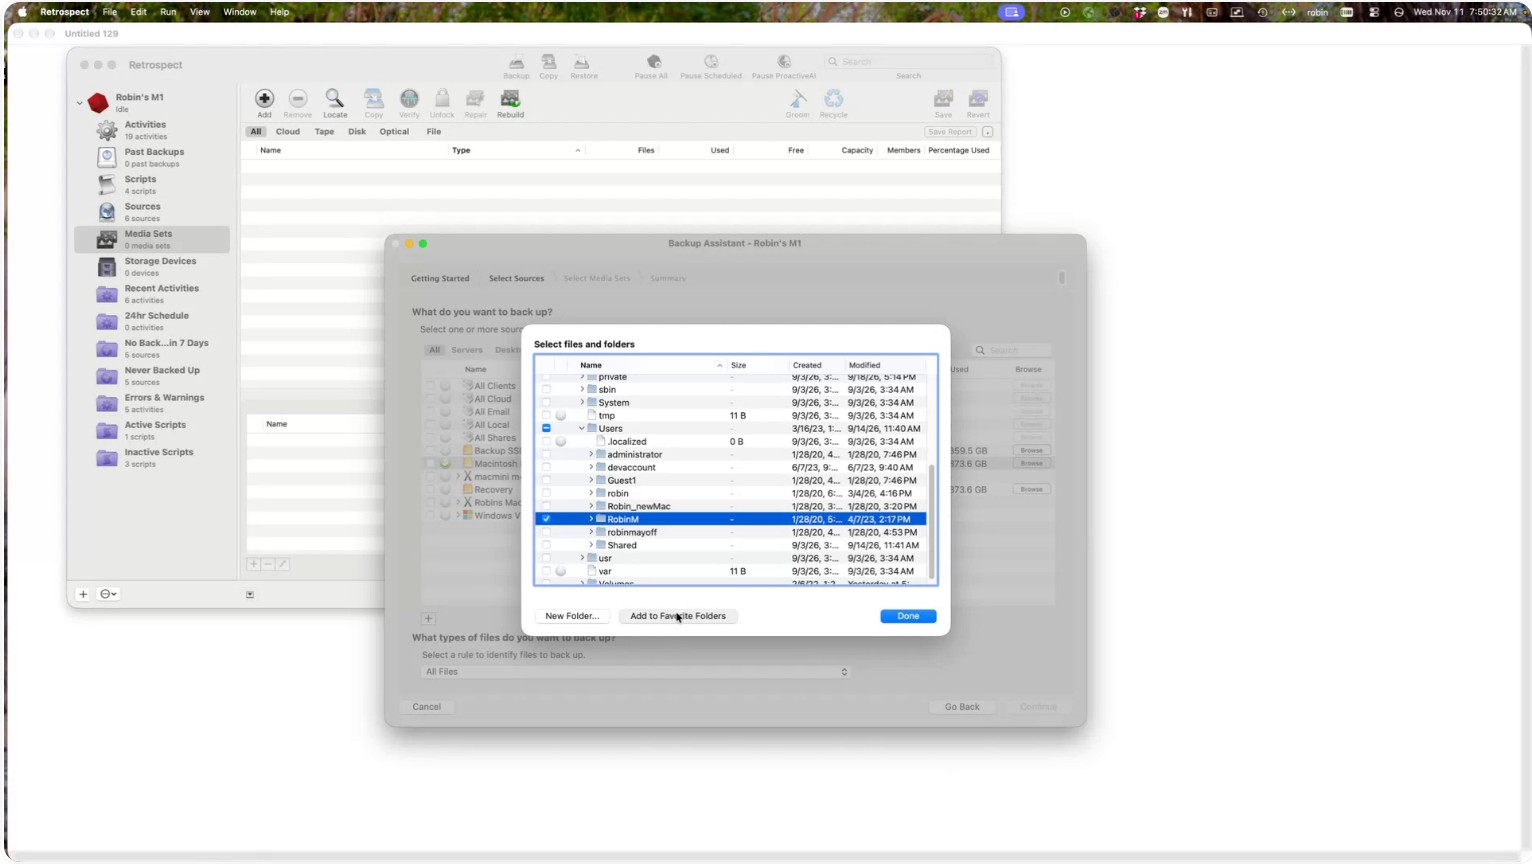
Click Done to confirm your folder selection.
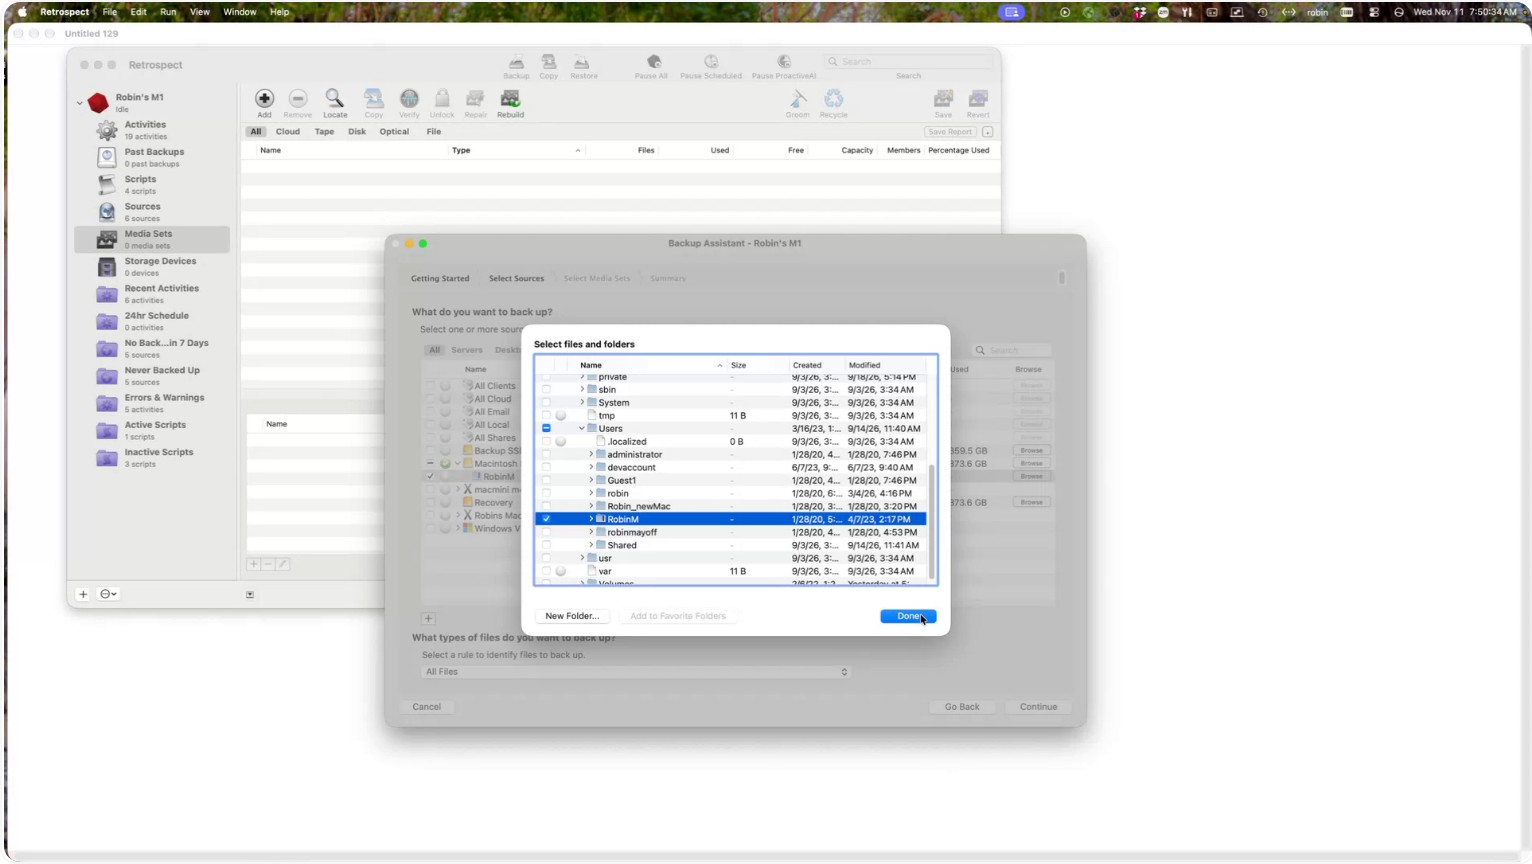
Step 4: Confirm the Source and Proceed
Once your folder has been selected, click Continue.
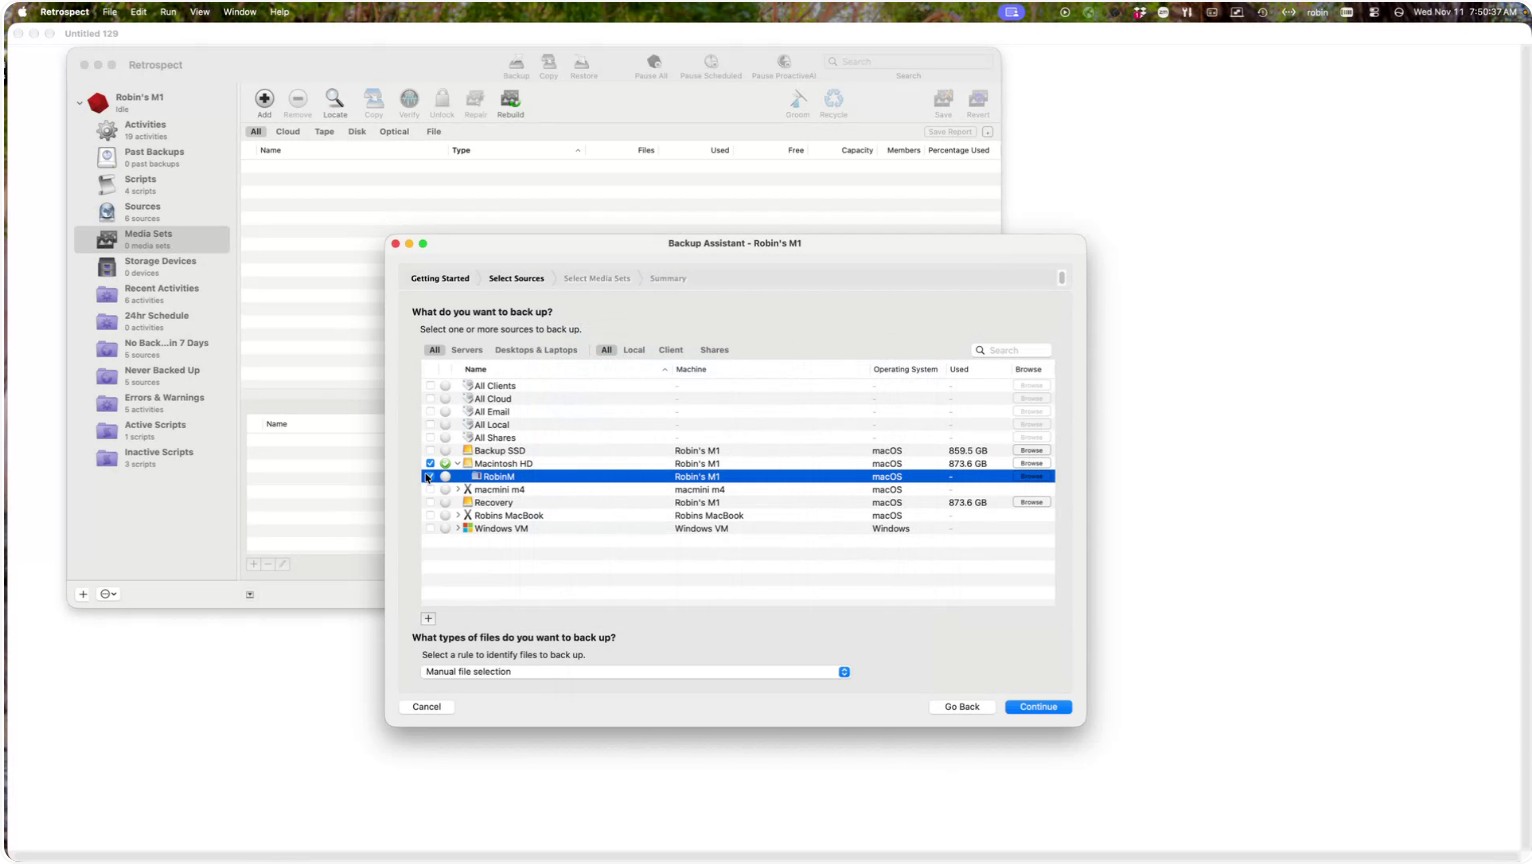
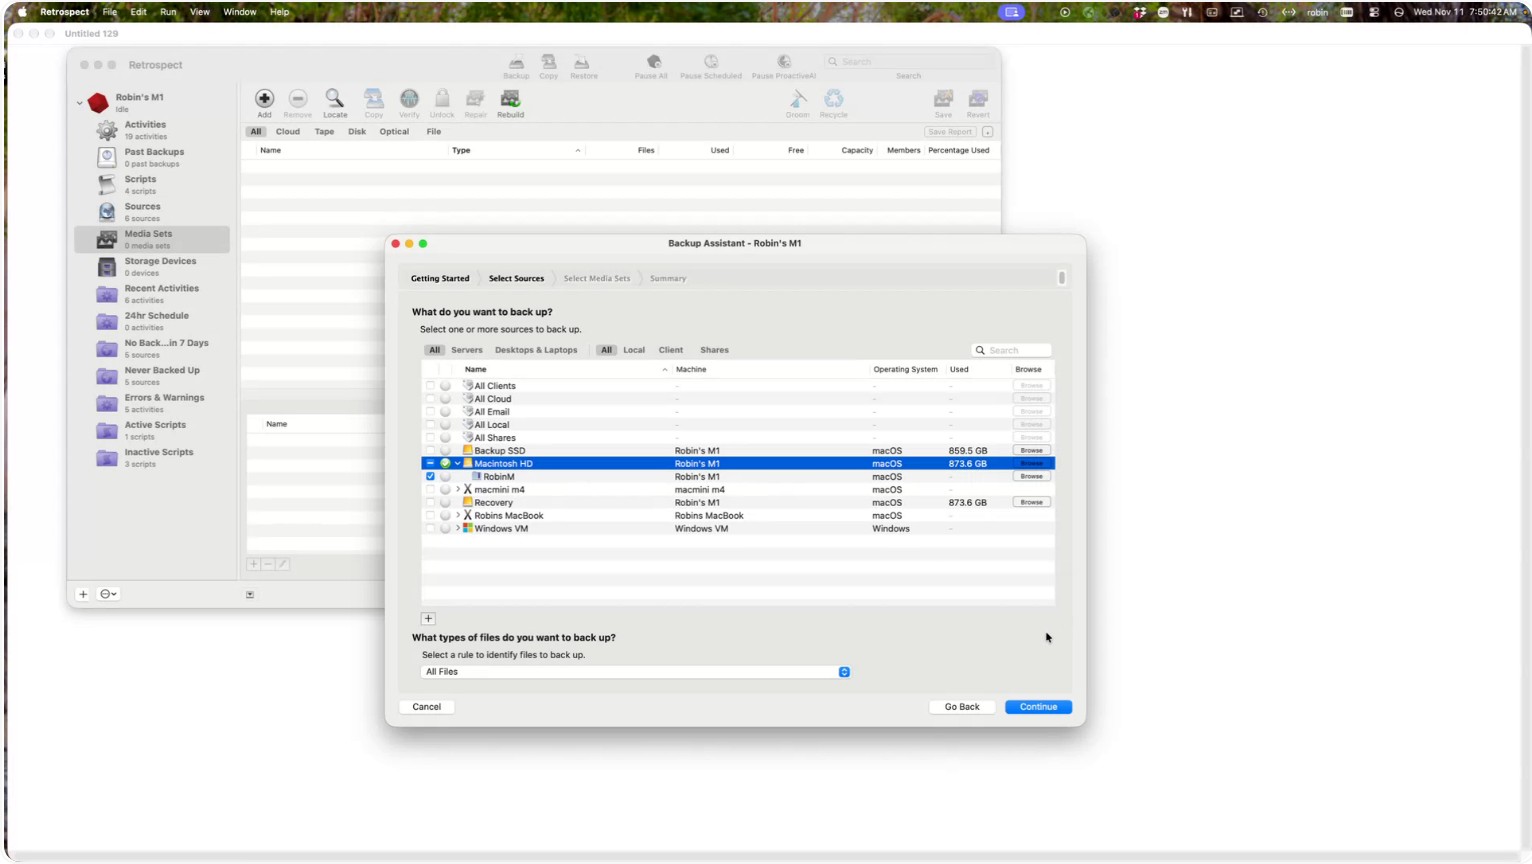
You can now choose an existing media set or create a new media set as your backup storage location.
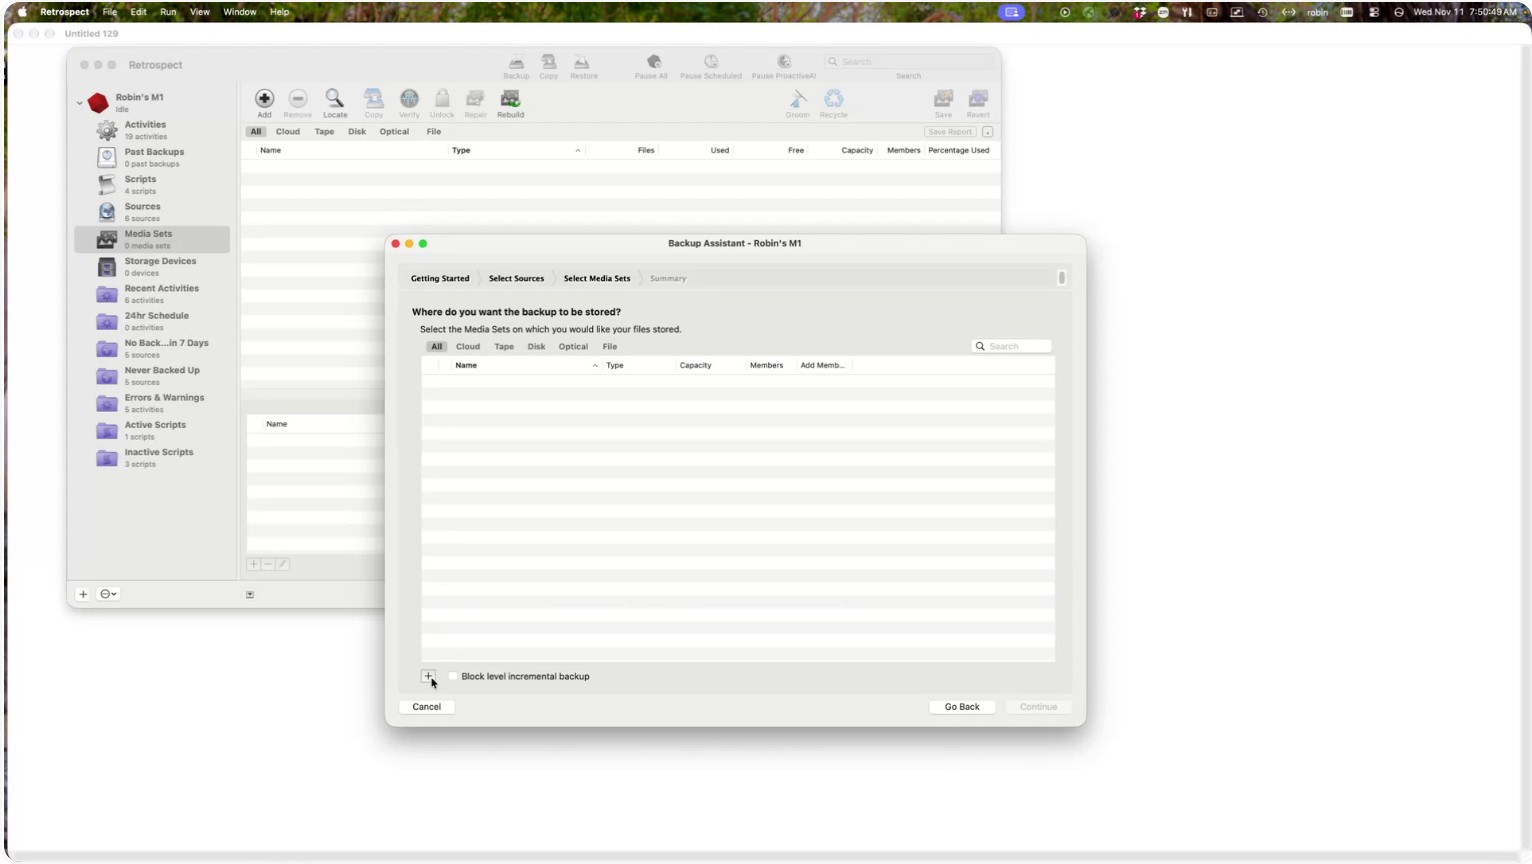
Step 5: Create a New Media Set
Click the plus (+) button at the bottom to create a new media set.
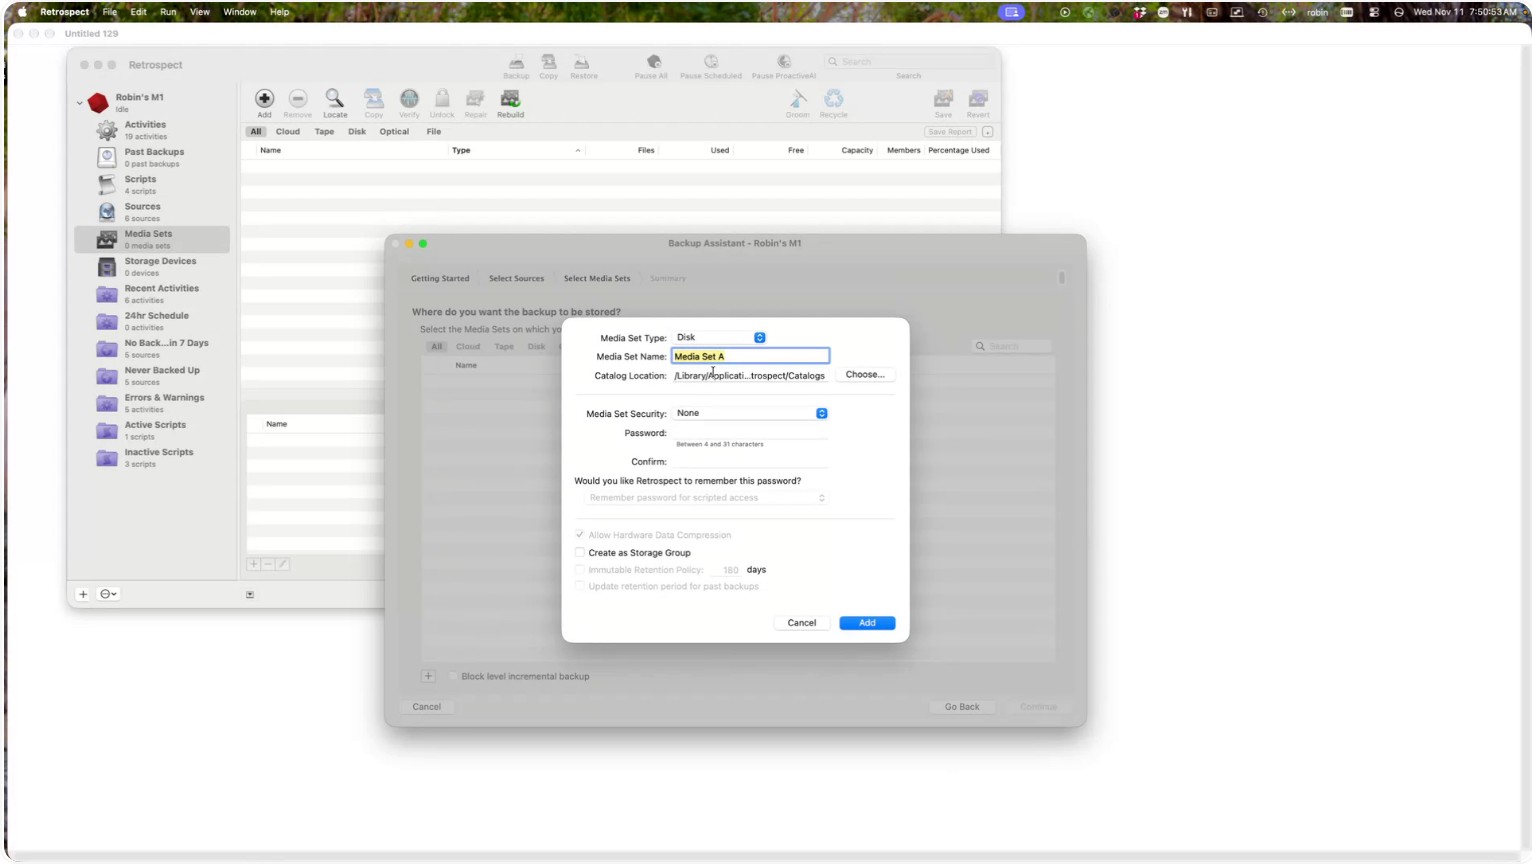
Choose the media type: Disk, Tape, or Cloud.
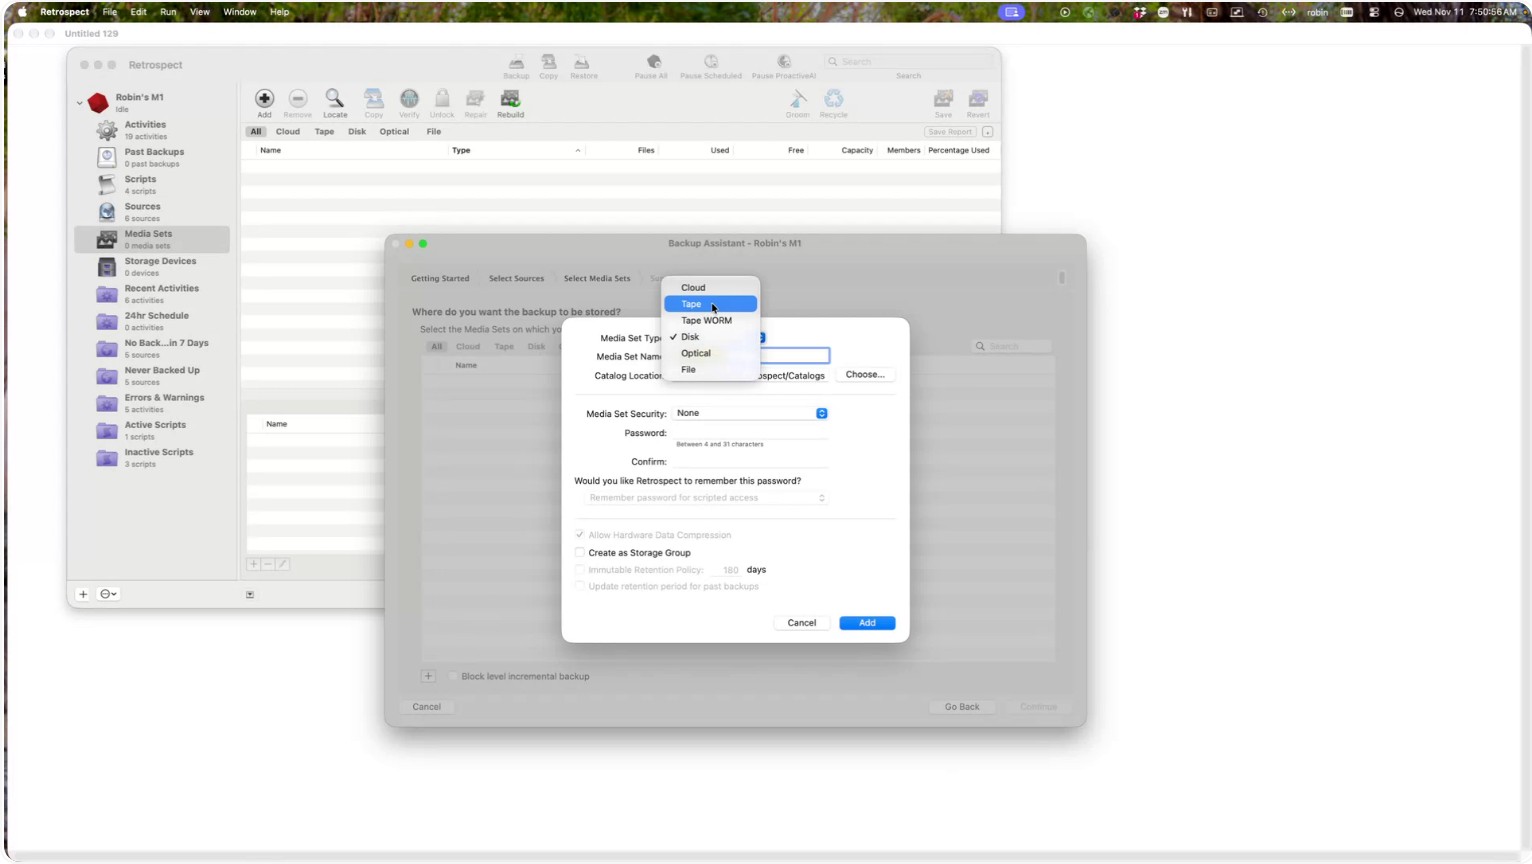
In this example, select Disk. Use the default media set name so Retrospect will save the catalog file in the default location.
Choose whether to use encryption for this media set.
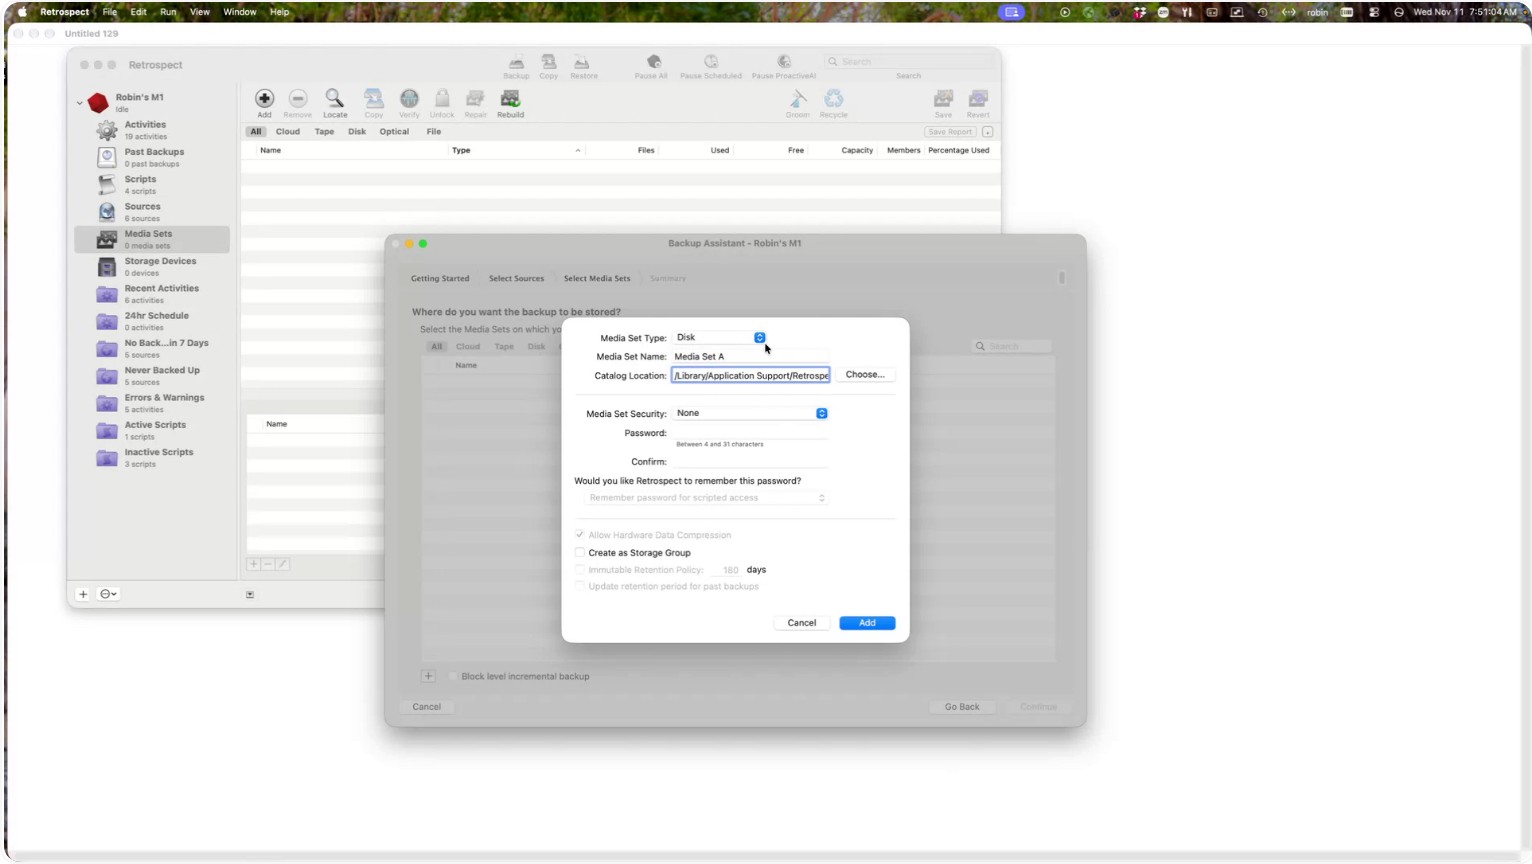
In this example, do not enable encryption.
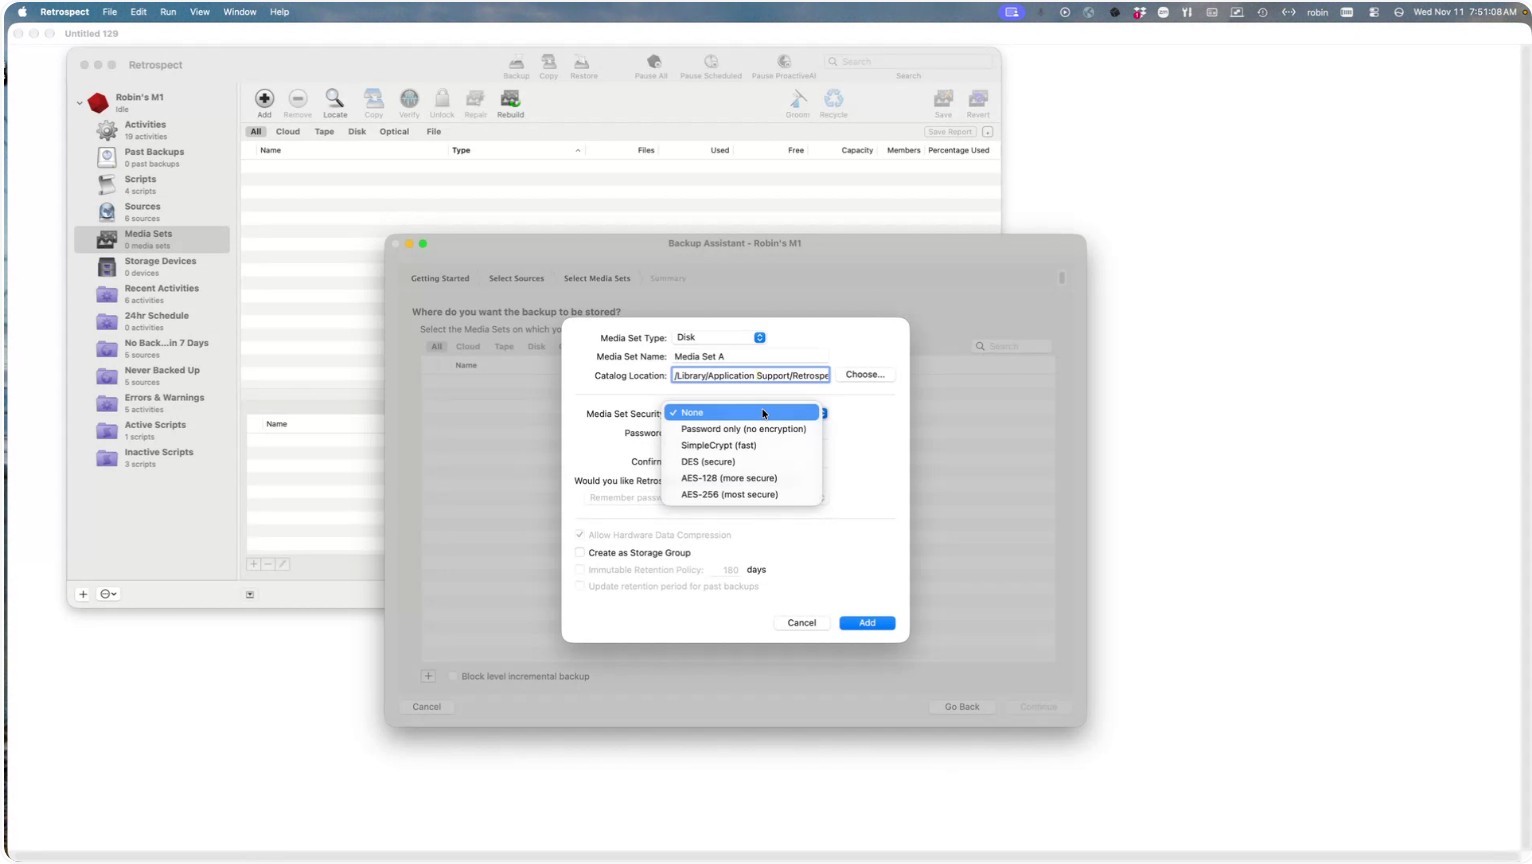
Click Add to create the media set.
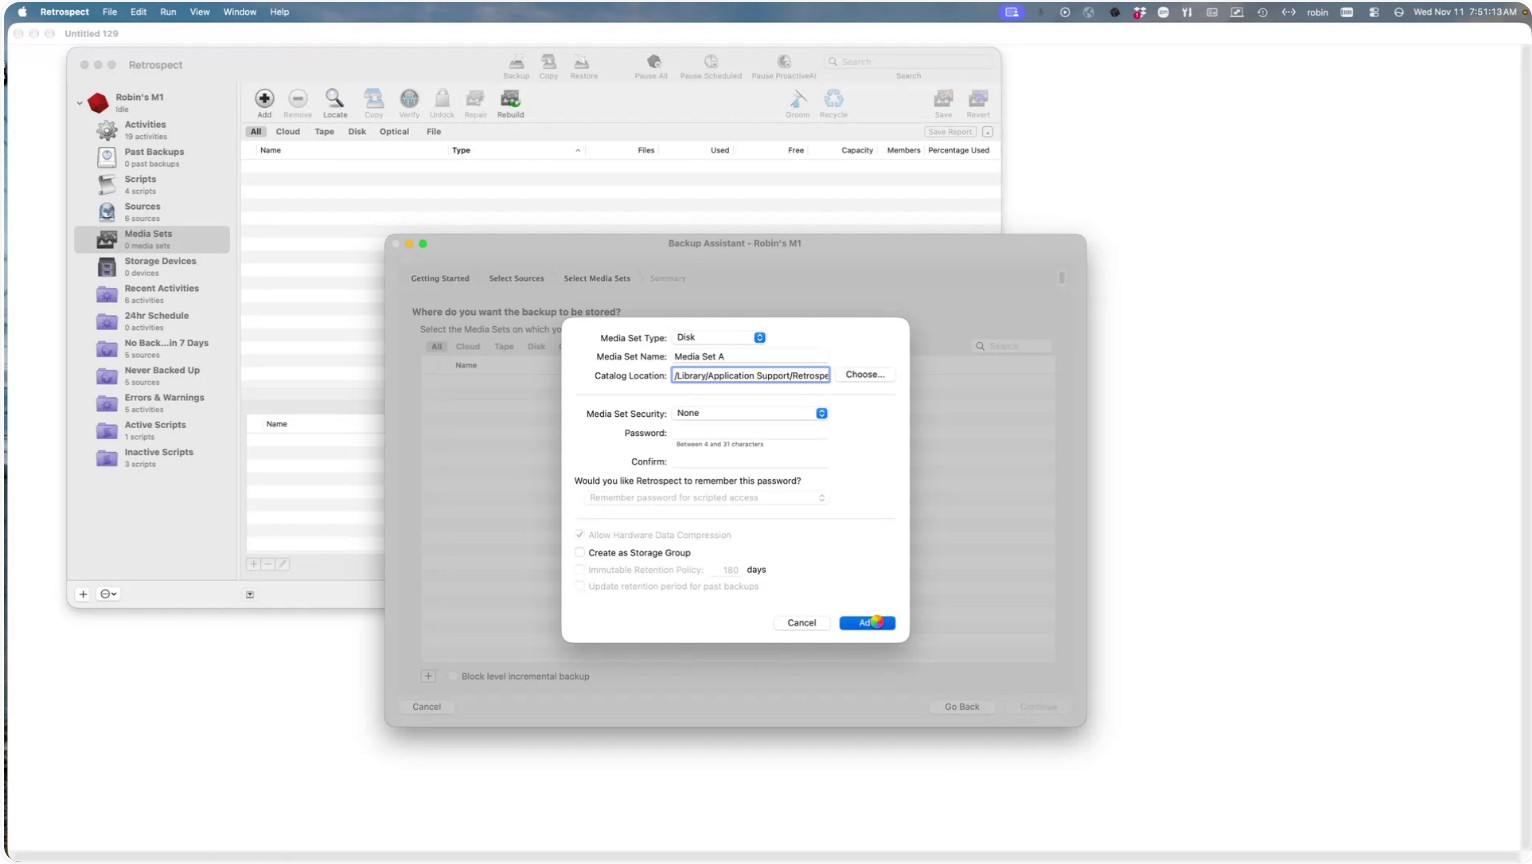
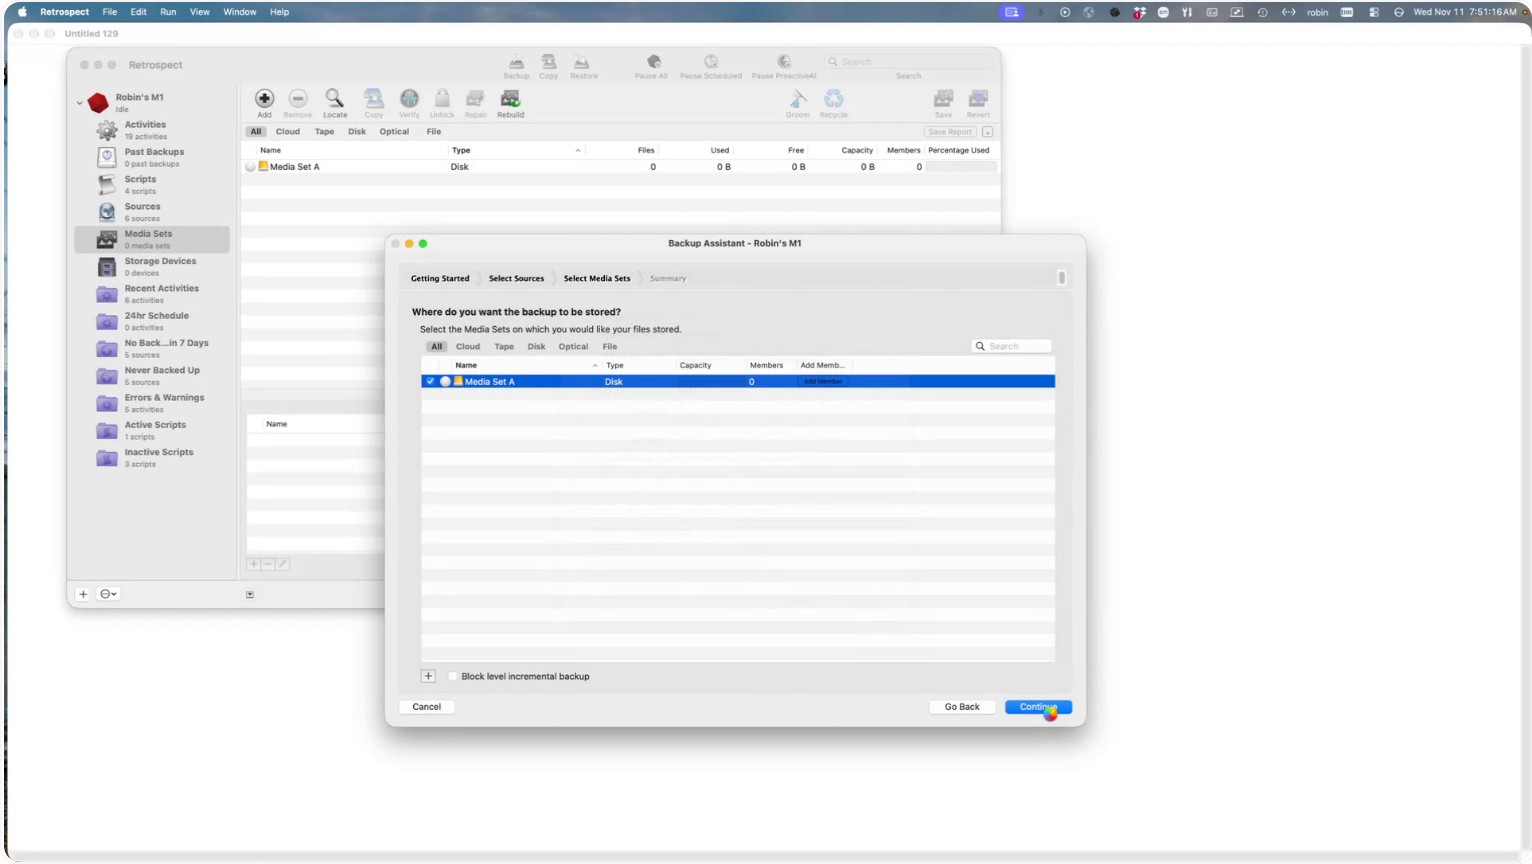
Step 6: Select Backup Storage Location and Capacity
Select the location (disk) where you want your backup data to be stored.
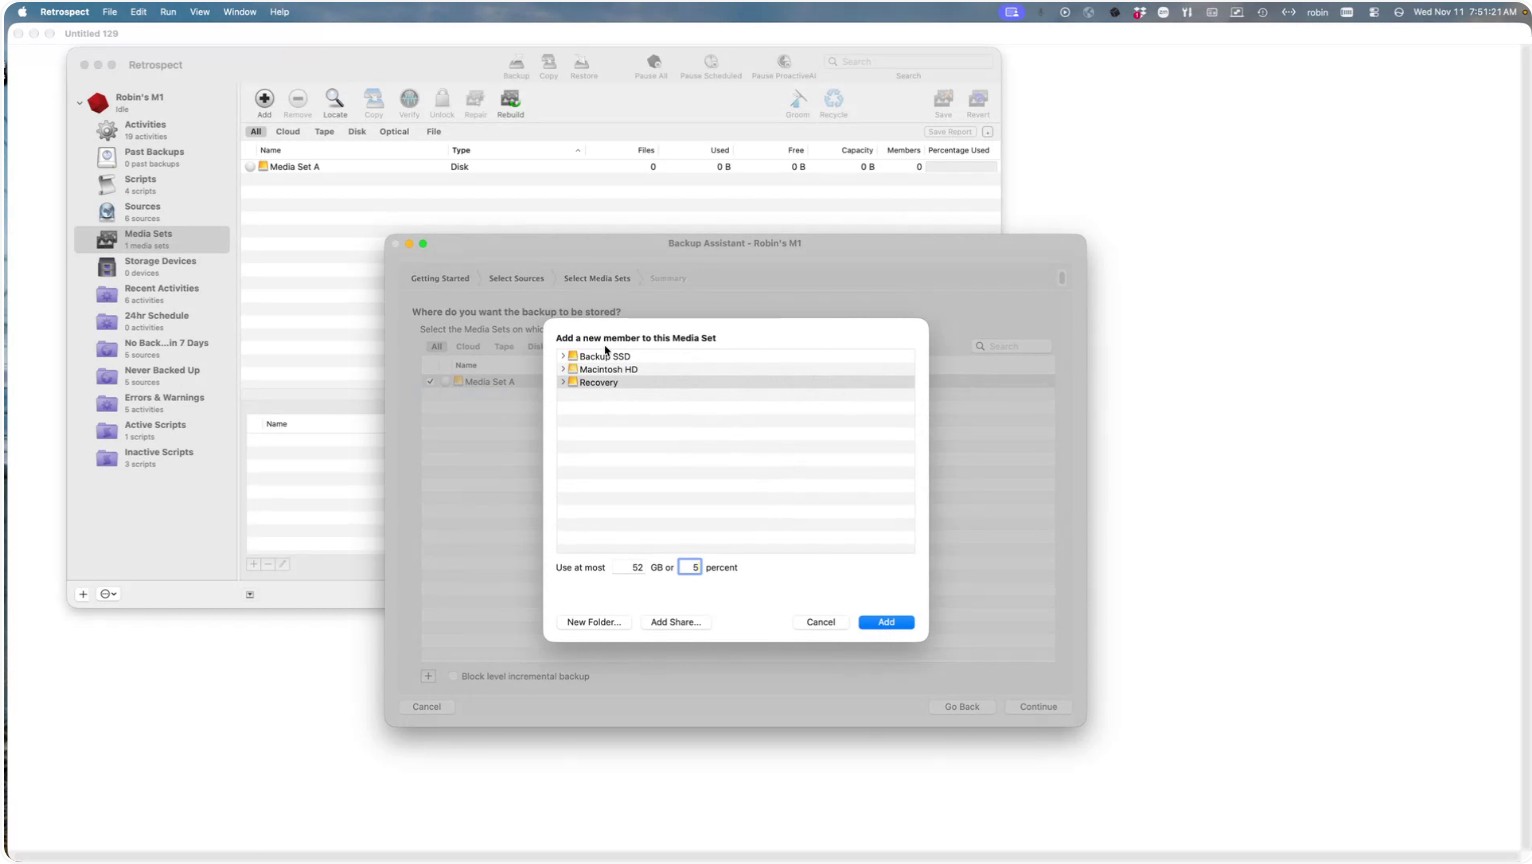
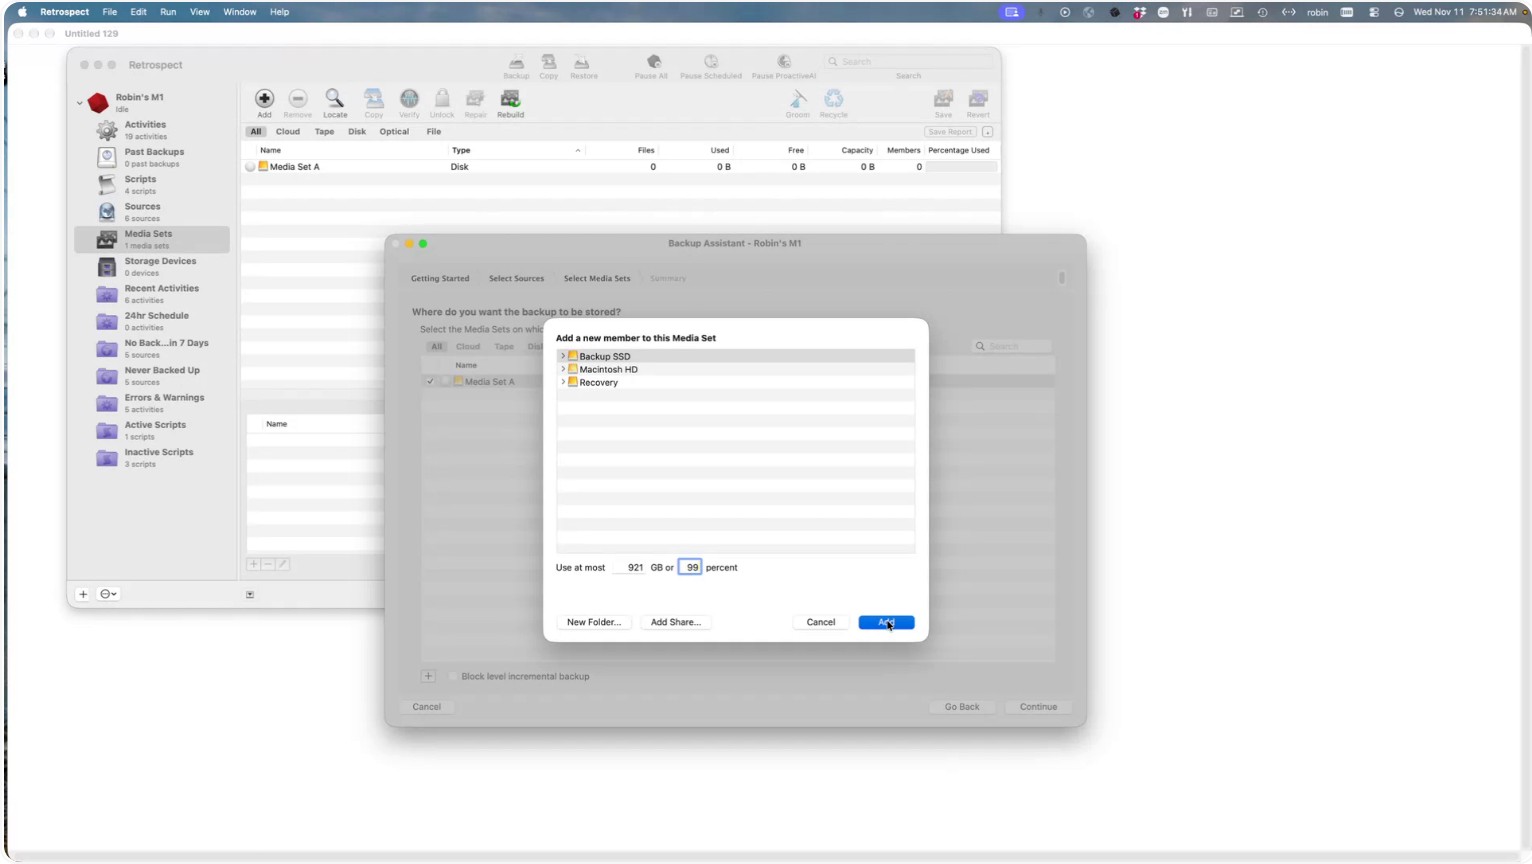
Choose your backup storage disk, then set the capacity to 99% at the bottom so Retrospect can utilize nearly the entire disk for backup storage.
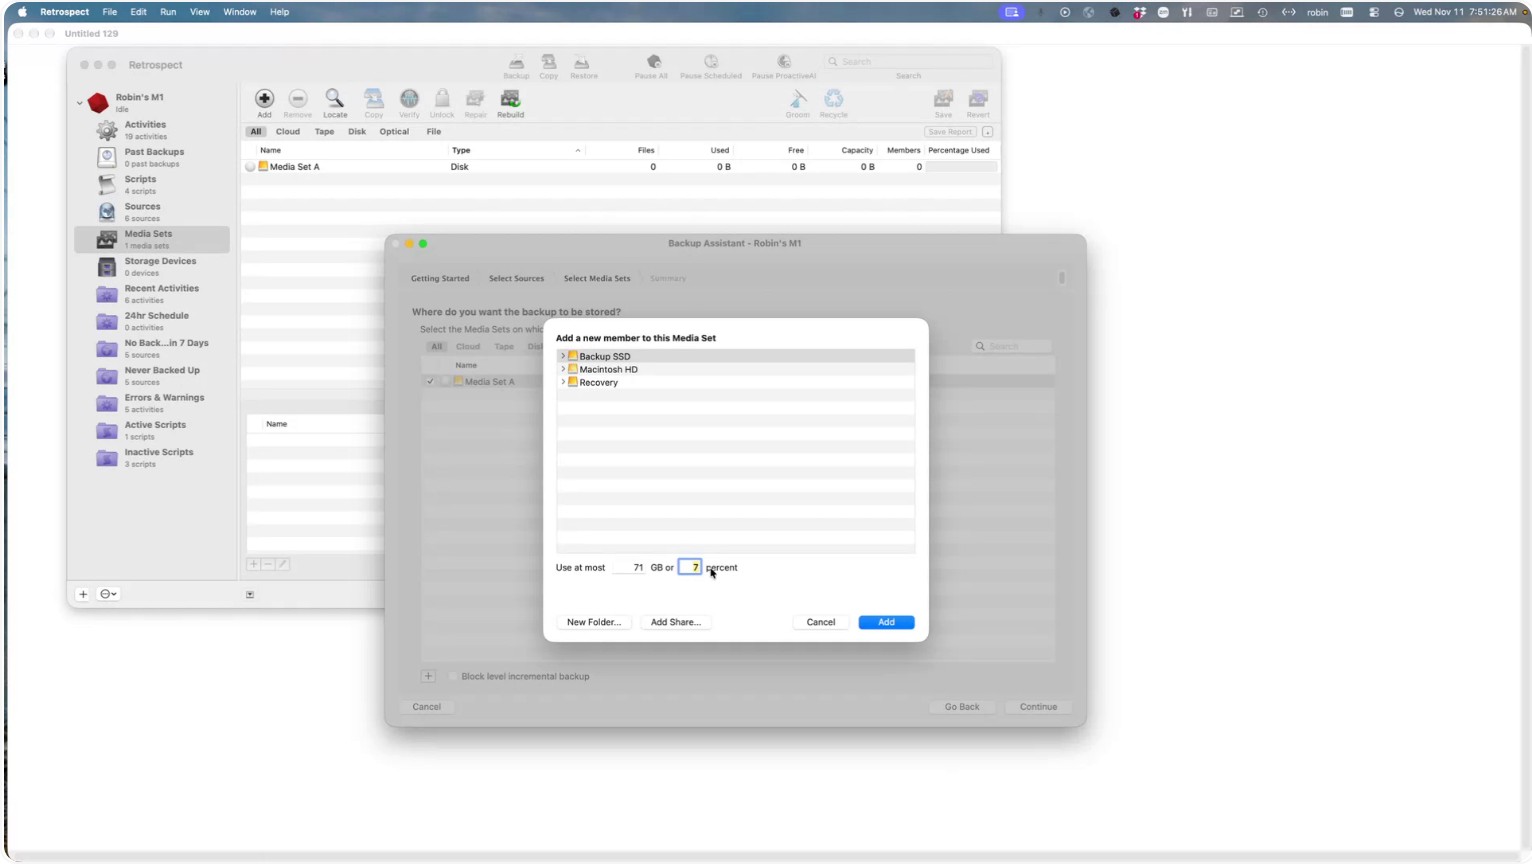
Click Add to confirm the storage settings.
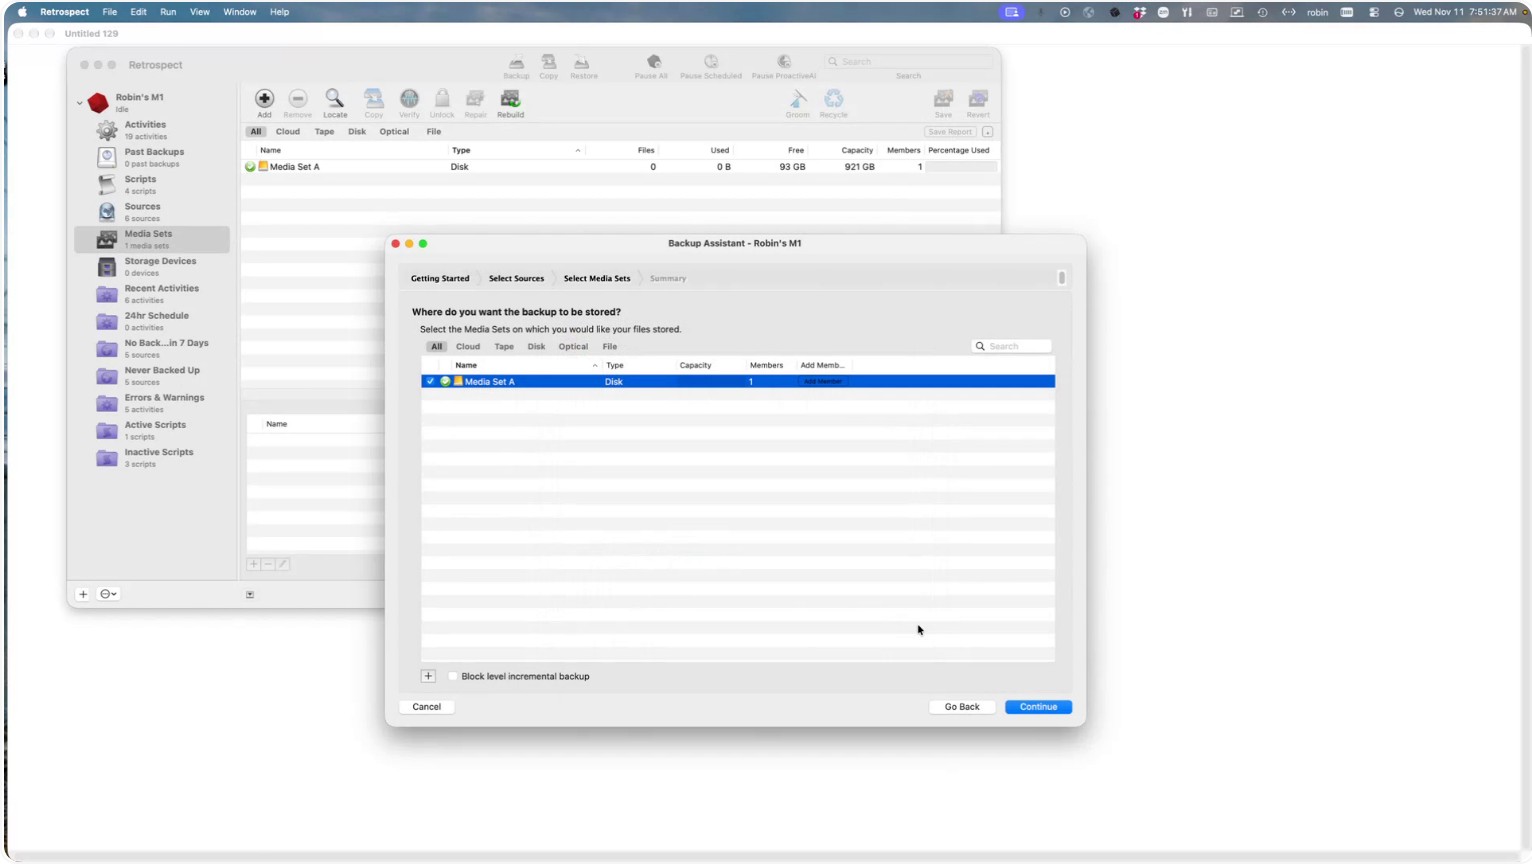
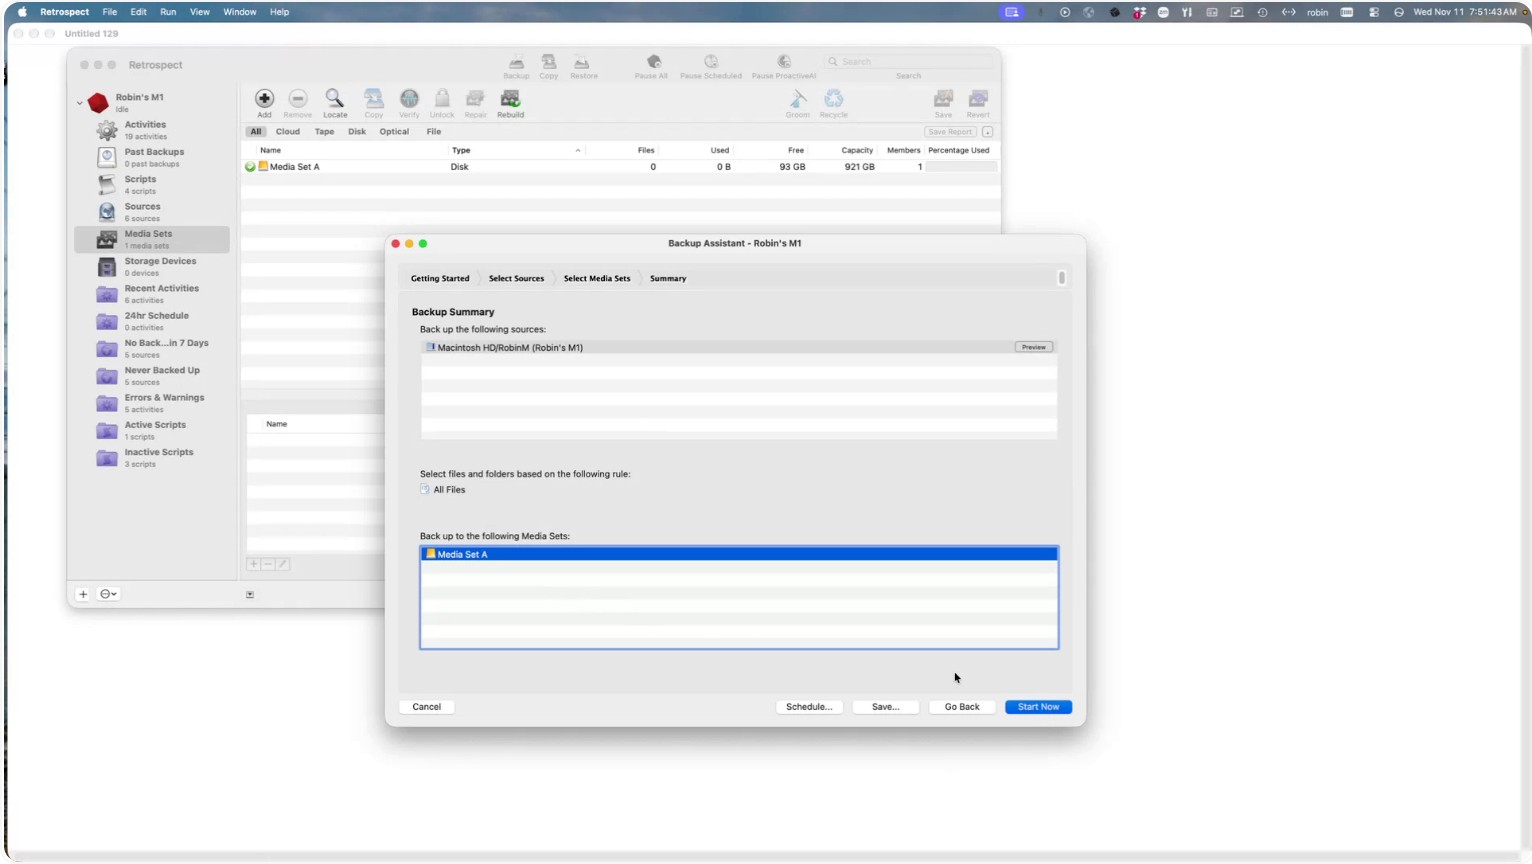
Click Continue, review your choices, and then click Start Now to begin the backup.
Step 7: Monitor the Running Backup
To view the running backup, go to Activities.
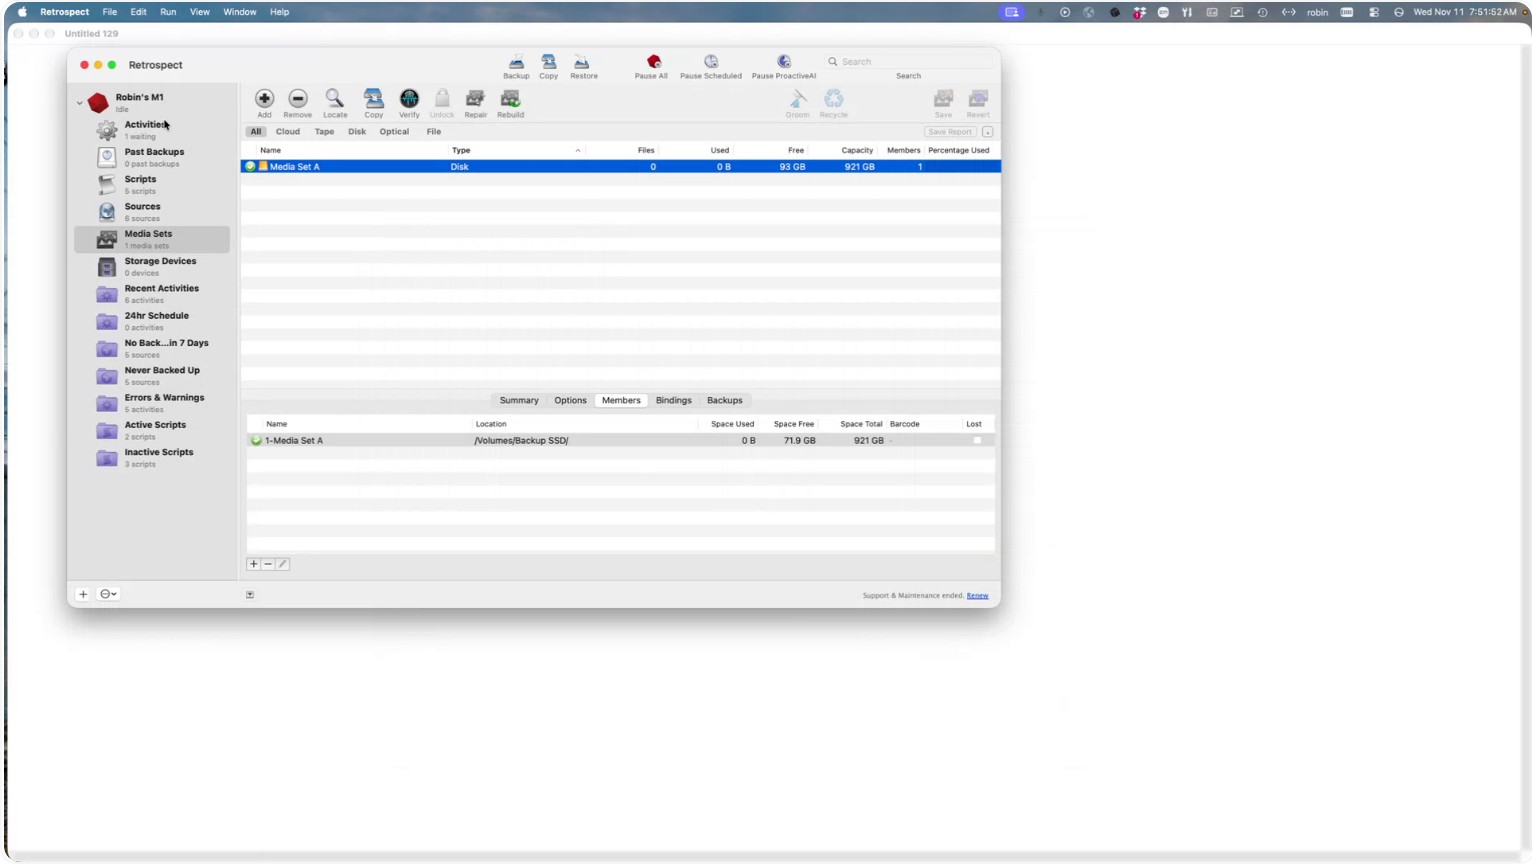
Then select Running to see the current backup status.
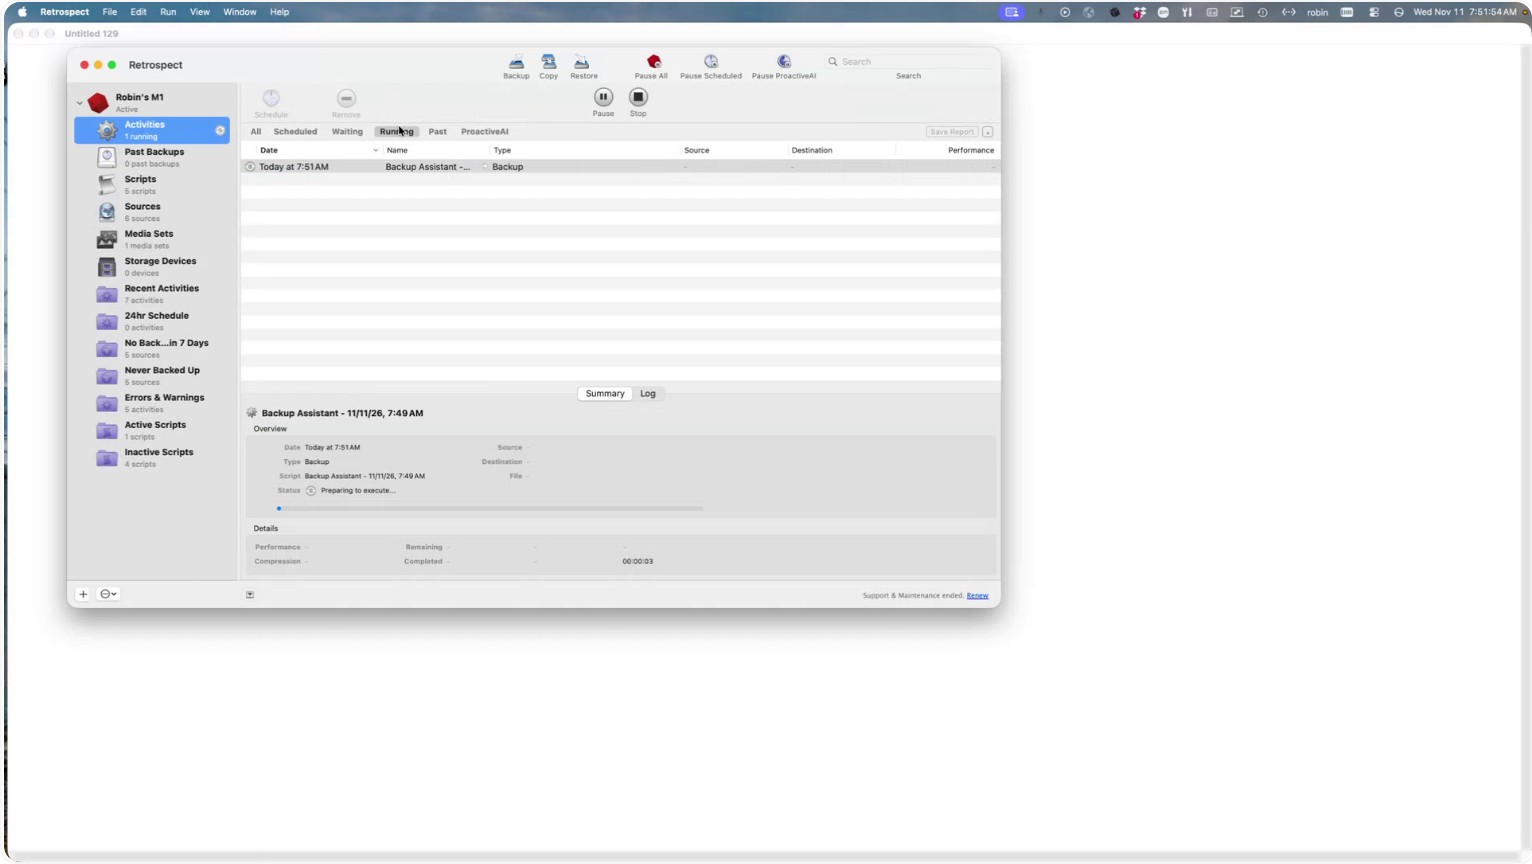
Retrospect will first scan the disk, then copy the files. After copying, it will perform a byte‑by‑byte verification to ensure files were copied correctly.
You can click the Log button to see detailed information about what Retrospect is currently doing for this backup operation.
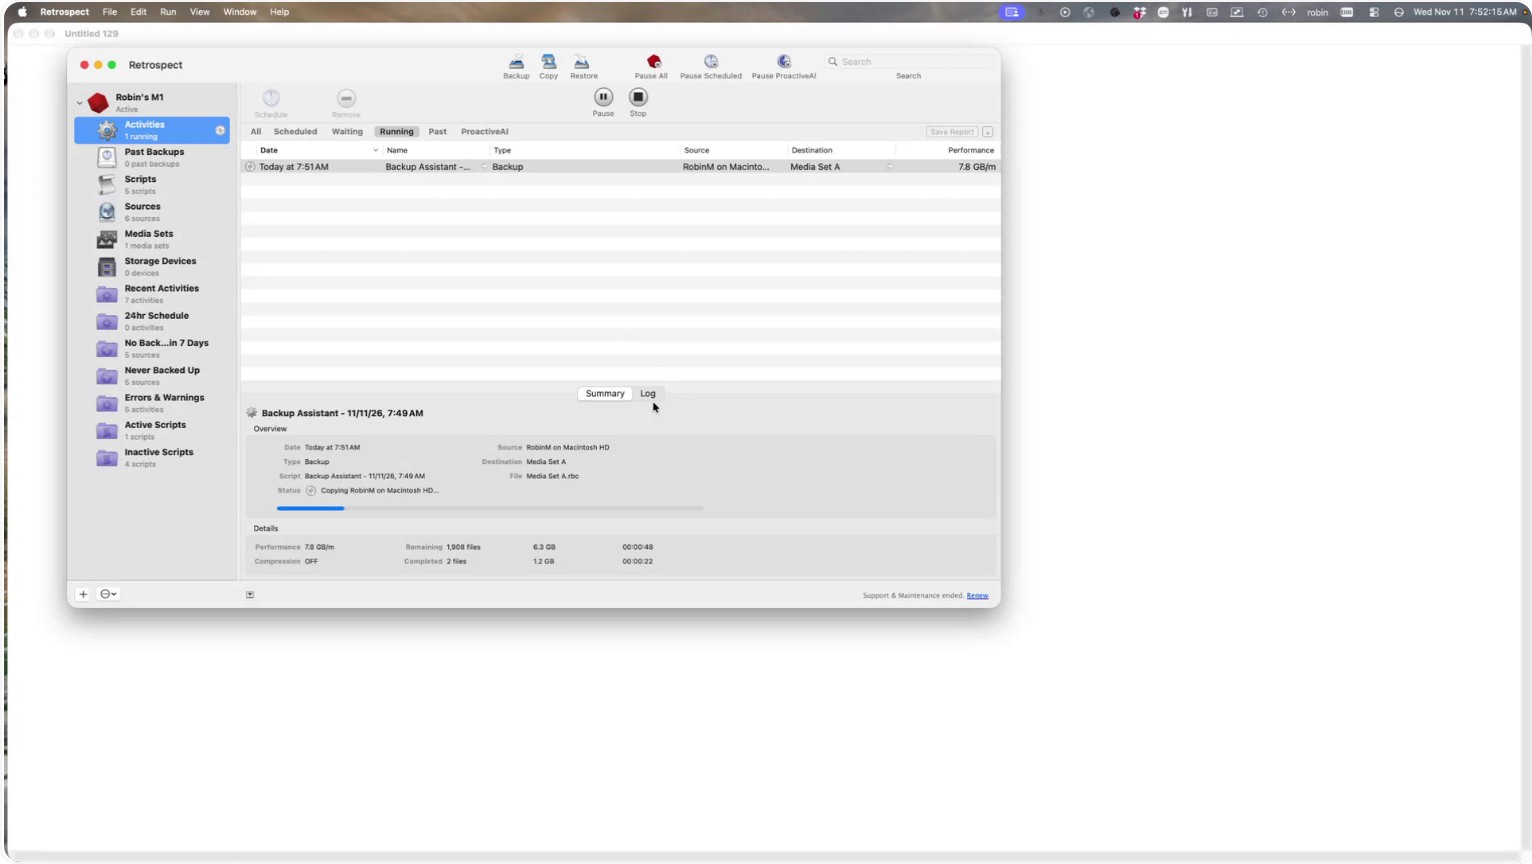
After the files are copied, Retrospect creates a snapshot, which is saved into your catalog file, and then continues the verification process. During the backup, you can see files remaining, files completed, performance, and total data copied.
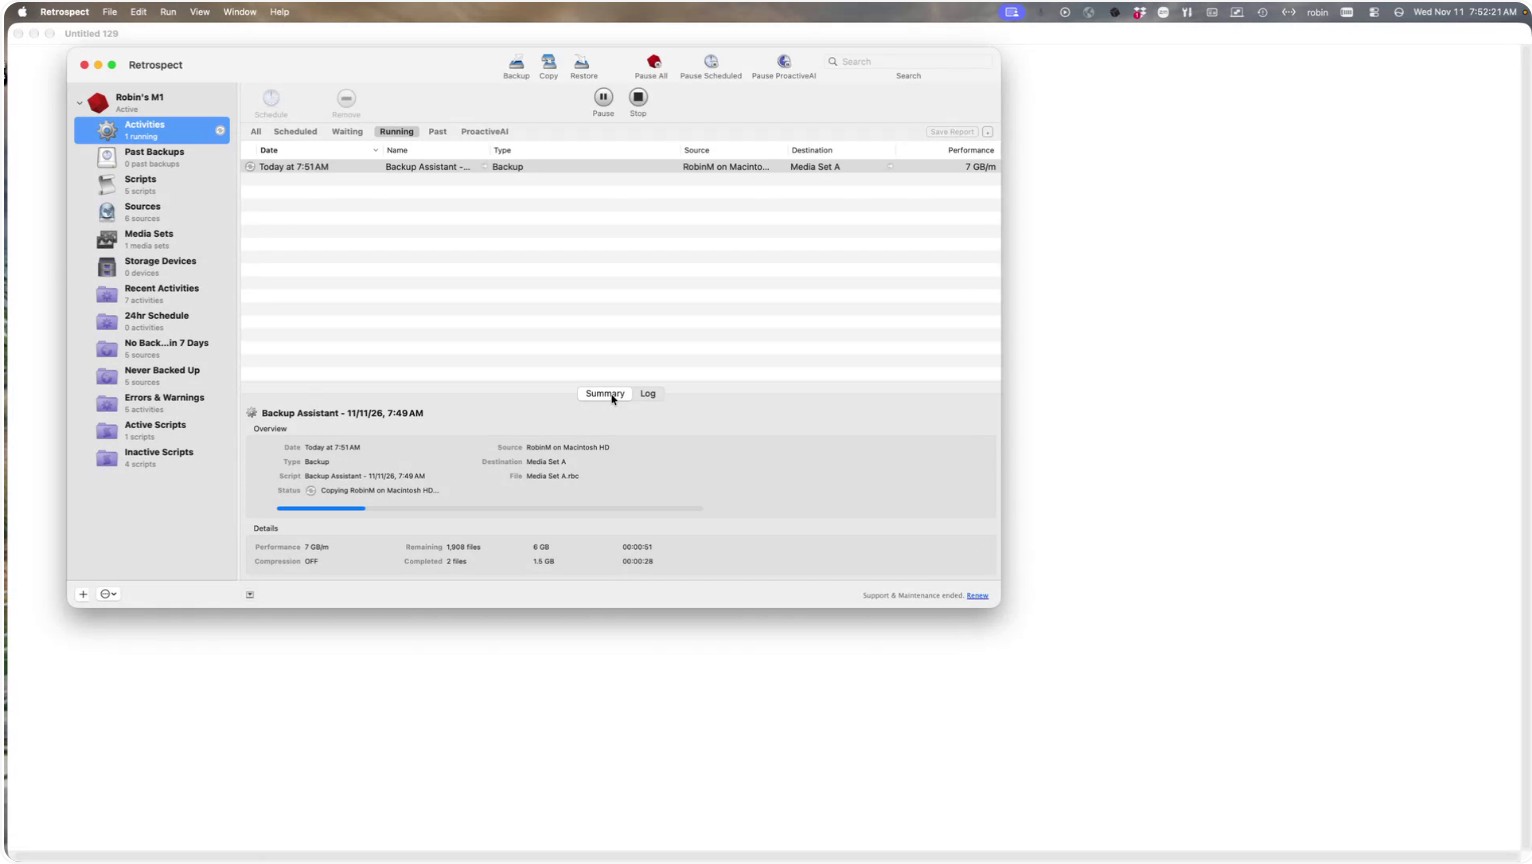
Step 8: Review Completed Backups and Logs
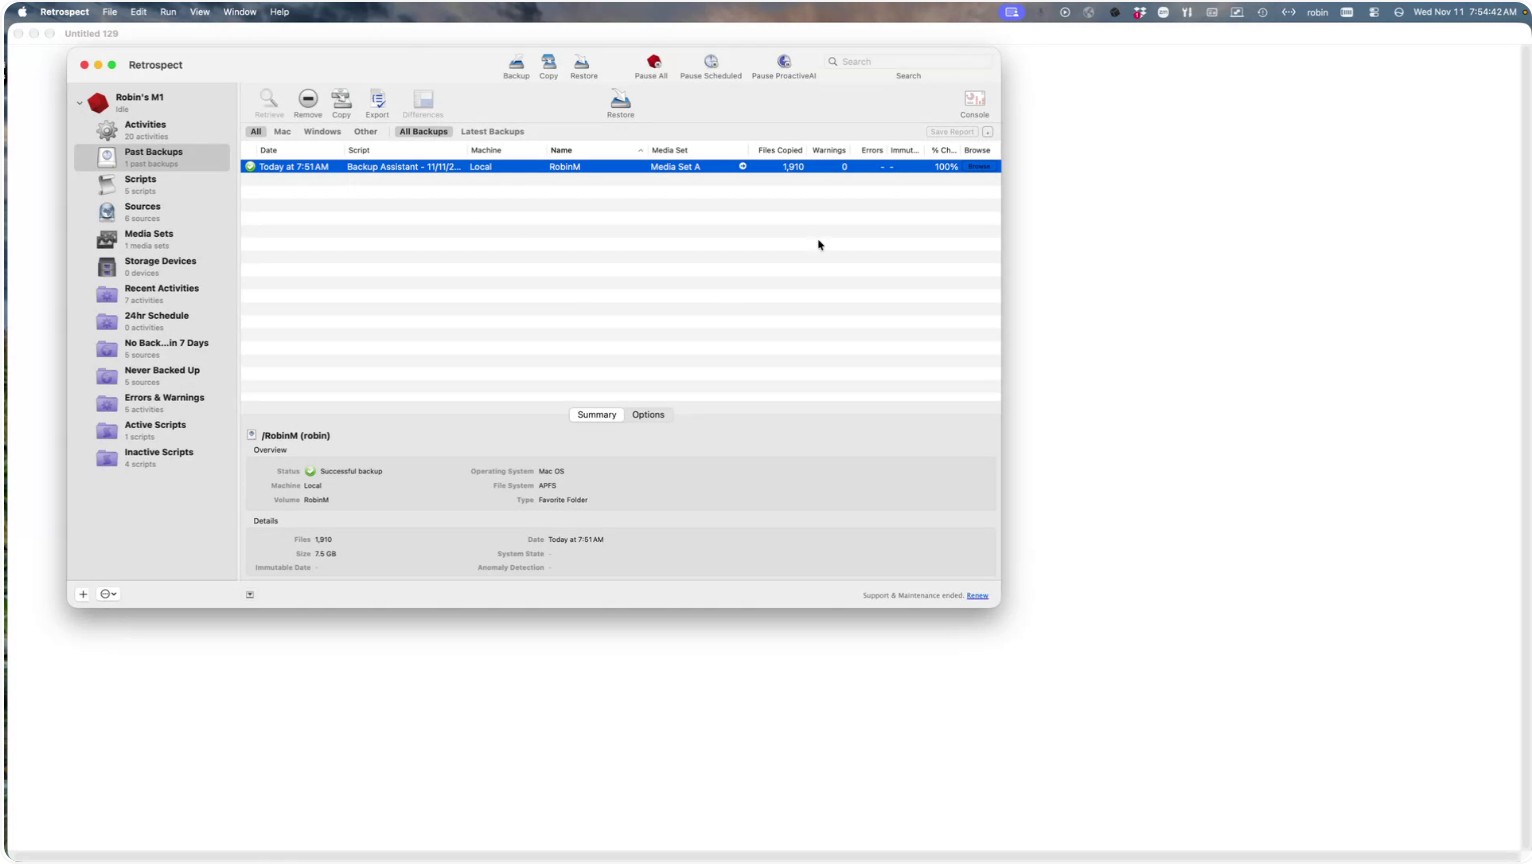
After the backup is done, go to the Past tab at the top of Retrospect under Activities to review completed backups.
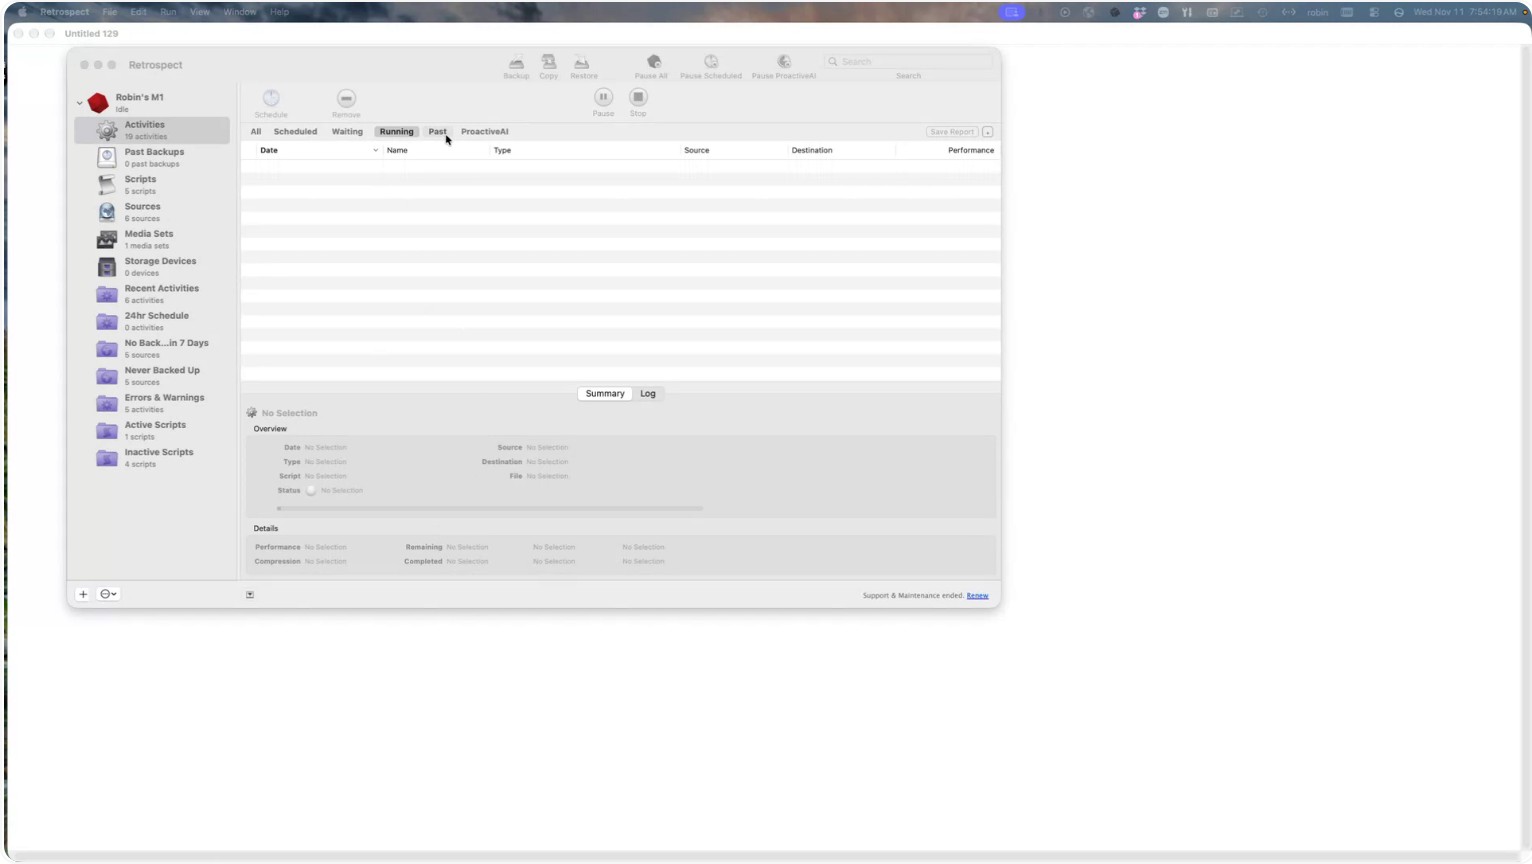
You can view the log for this specific backup or select previous backups from the list.
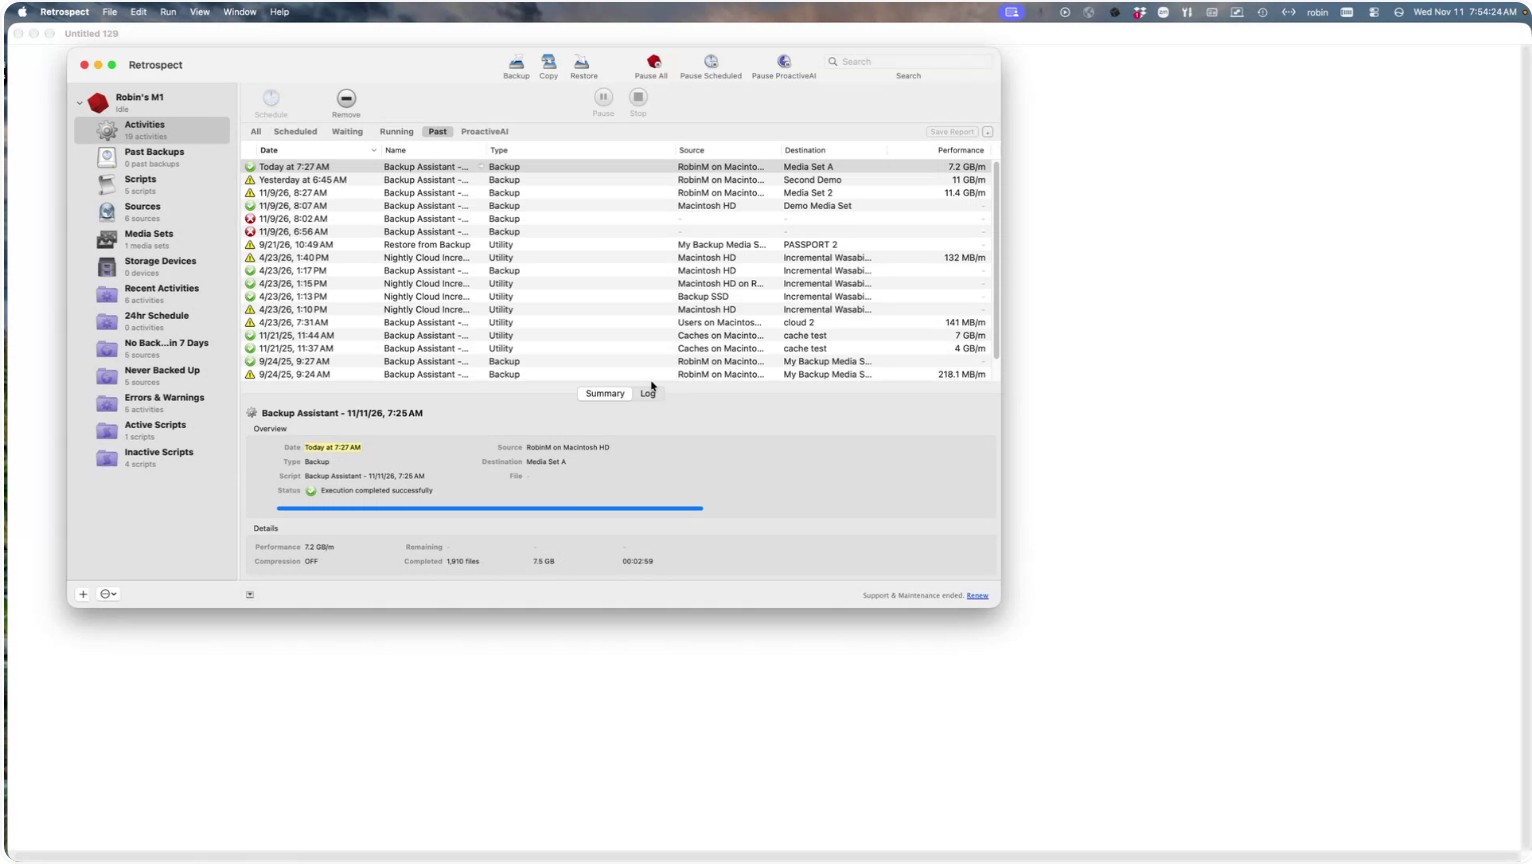
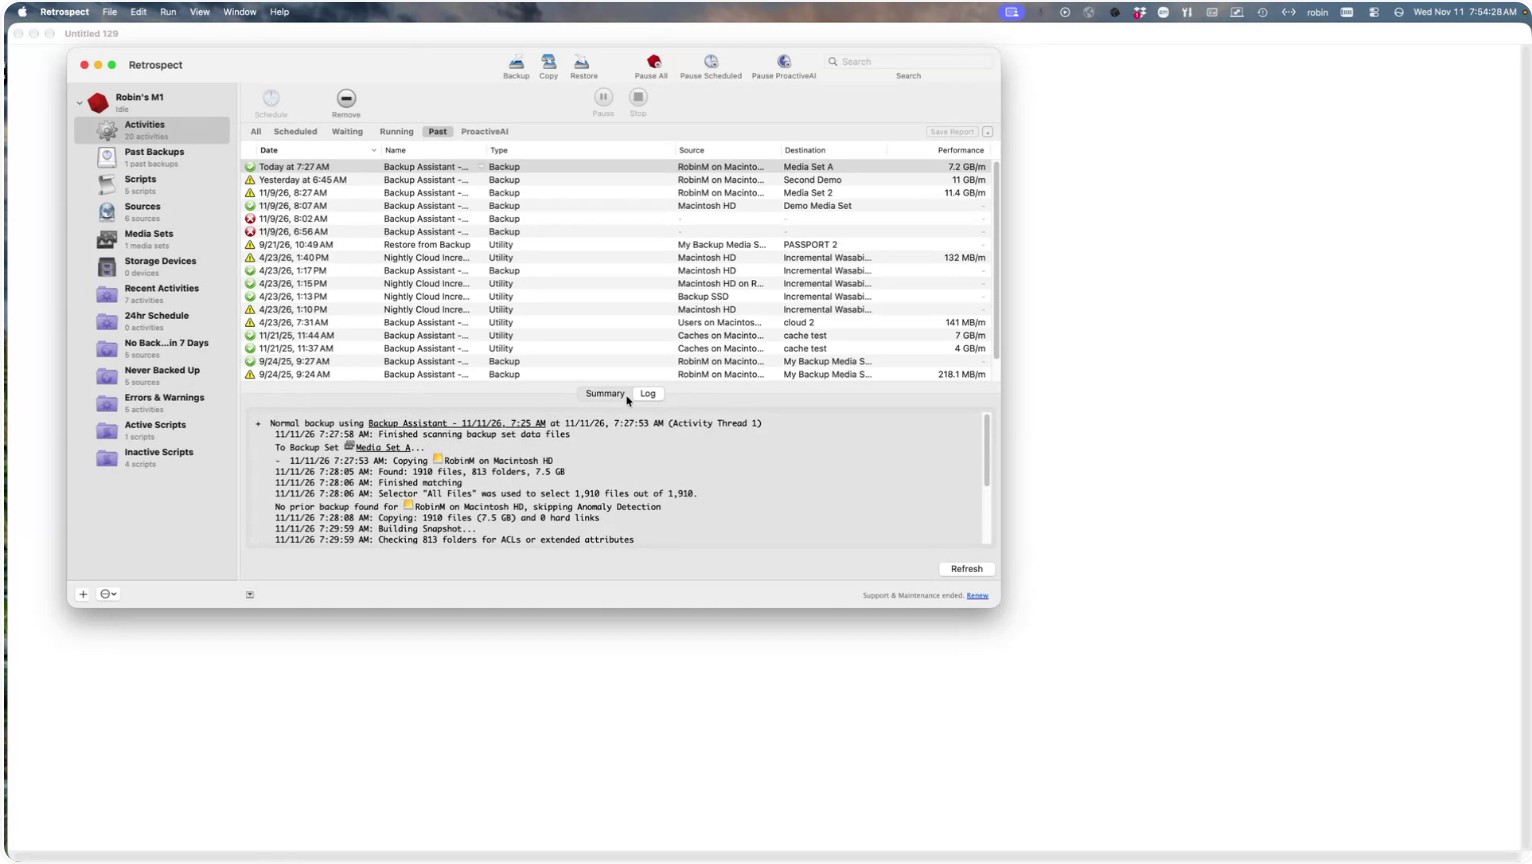
You can also go to Past Backups on the far left side of Retrospect to see a history of your backups.
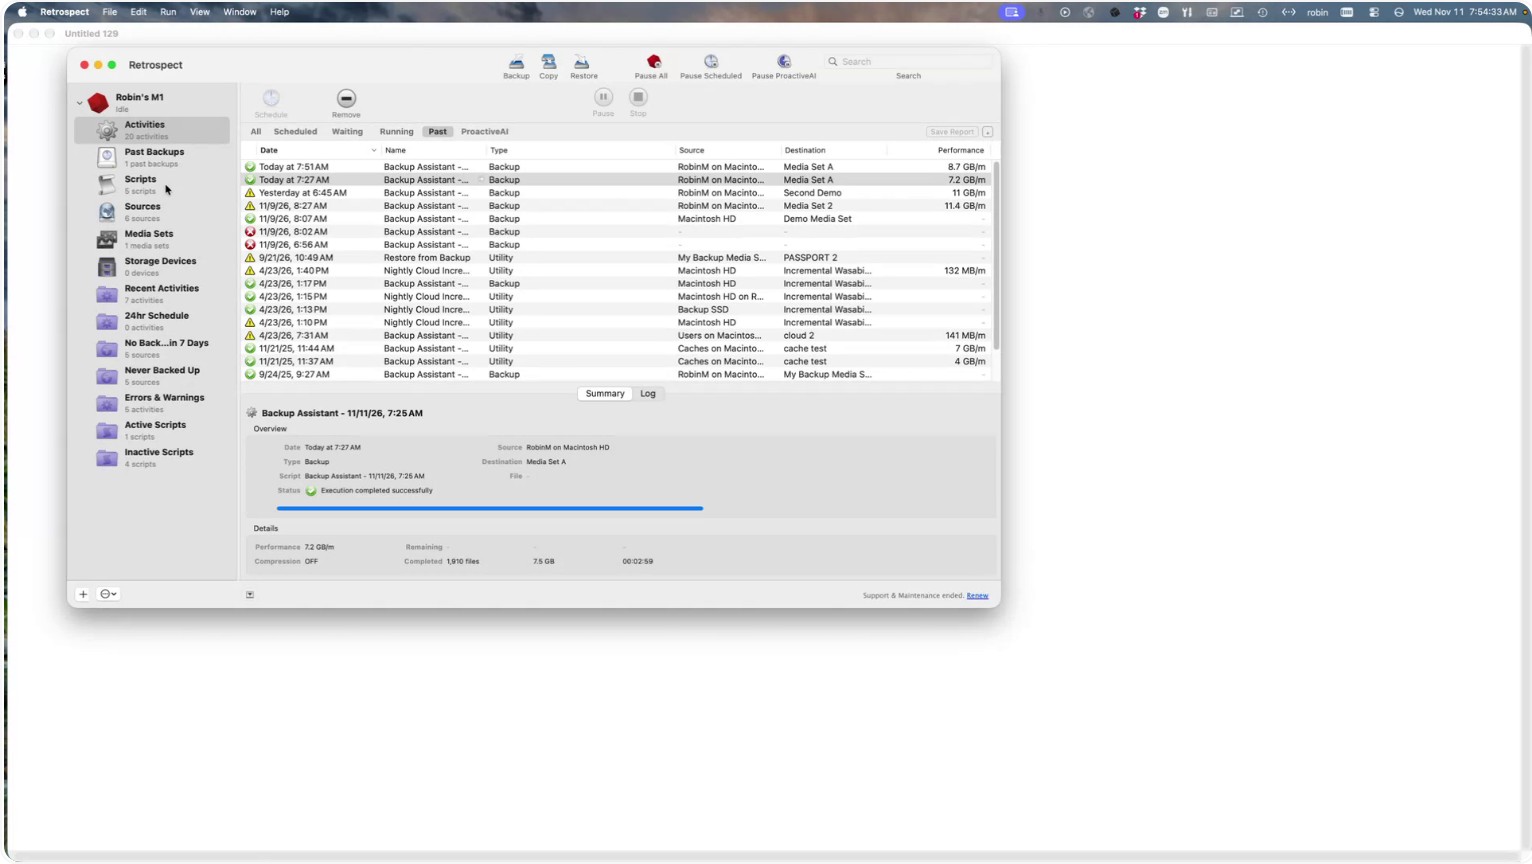
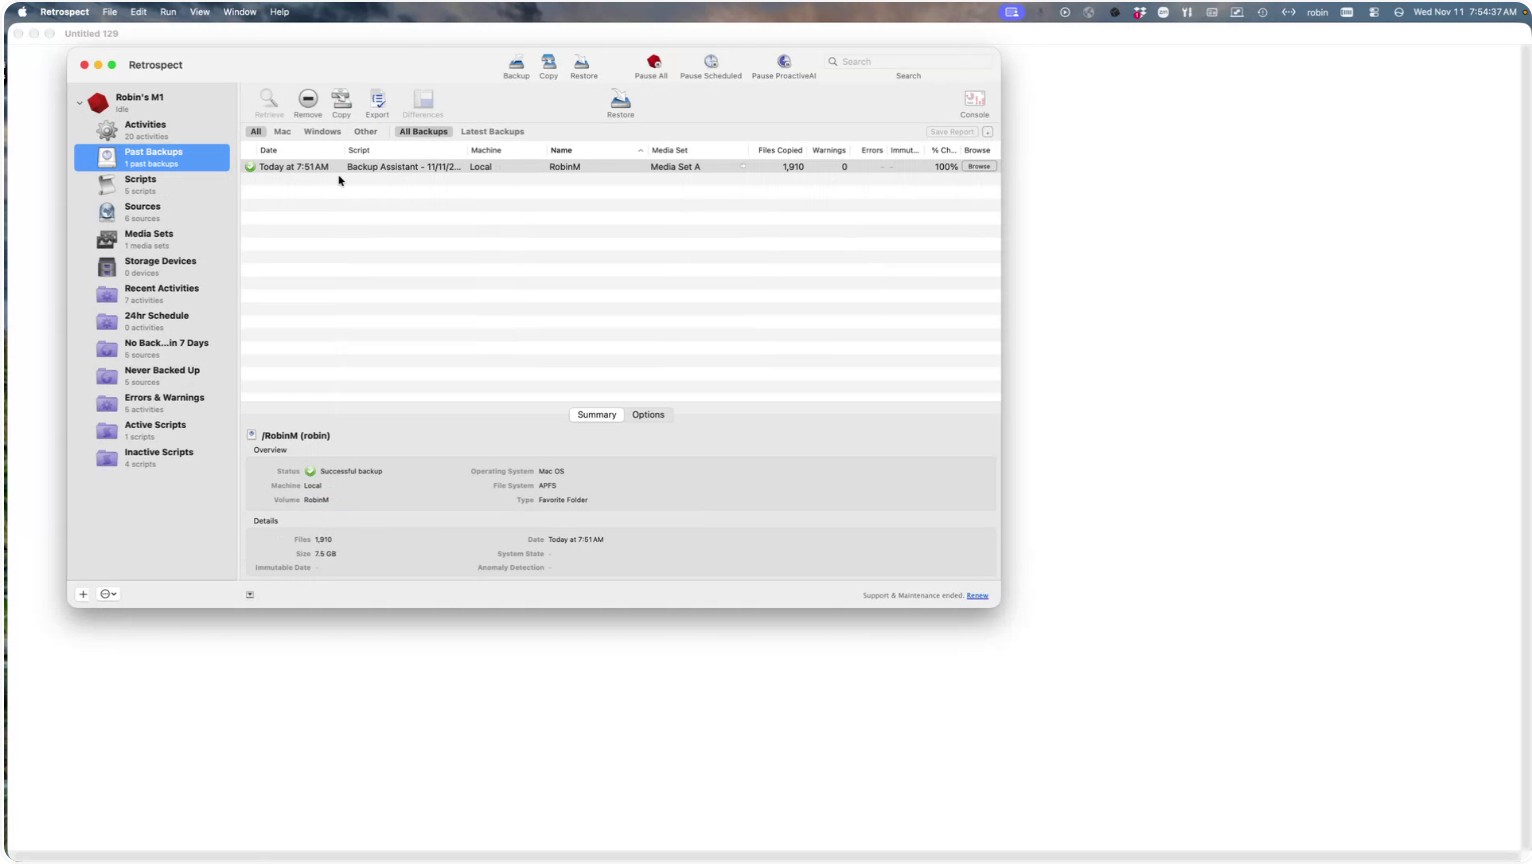
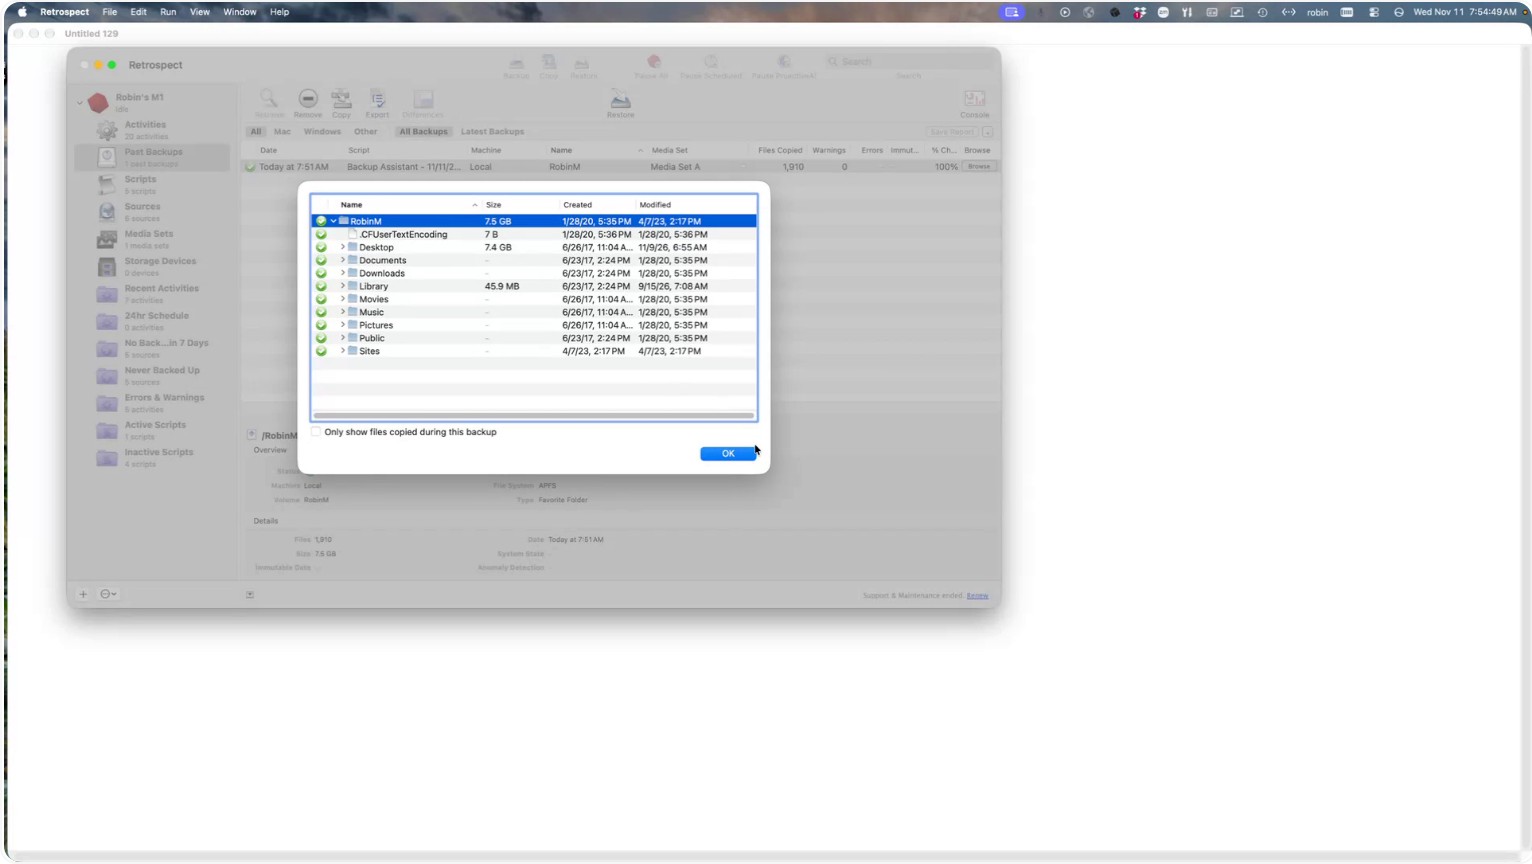
Use the Browse button to see which files were actually copied during a particular backup operation.