Performing an Immediate Backup in Retrospect for Windows
This document explains how to perform an immediate backup in Retrospect for Windows using Advanced Mode. You will choose your source (files, folders, or entire drives), configure a backup destination, adjust options such as verification and compression, and then review backup results.
Step 1: Open the Immediate Backup Function
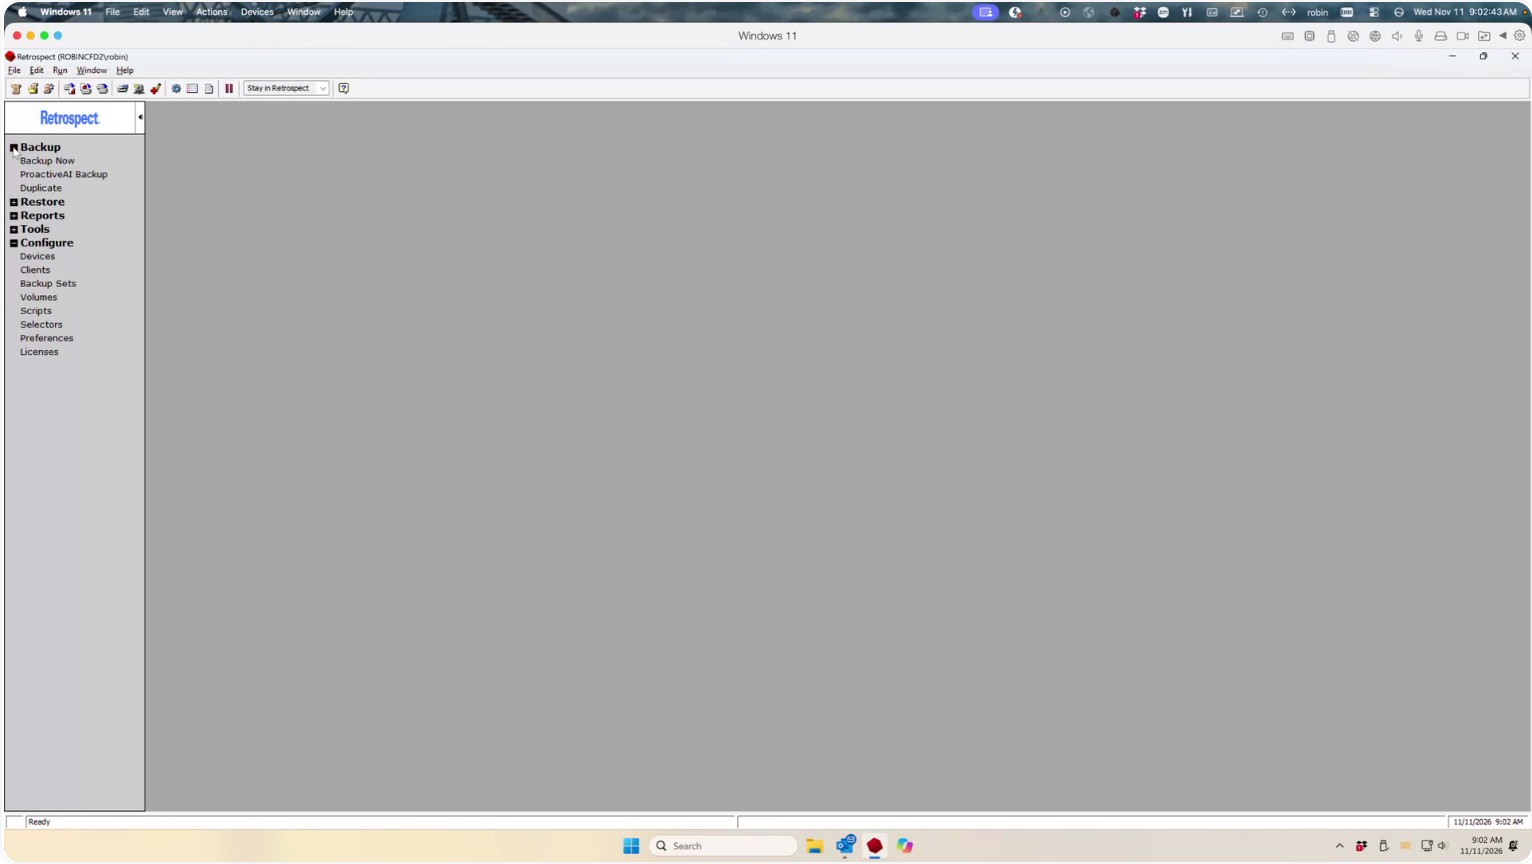
On the far left navigation pane in Retrospect, go to Backup and choose Backup Now.
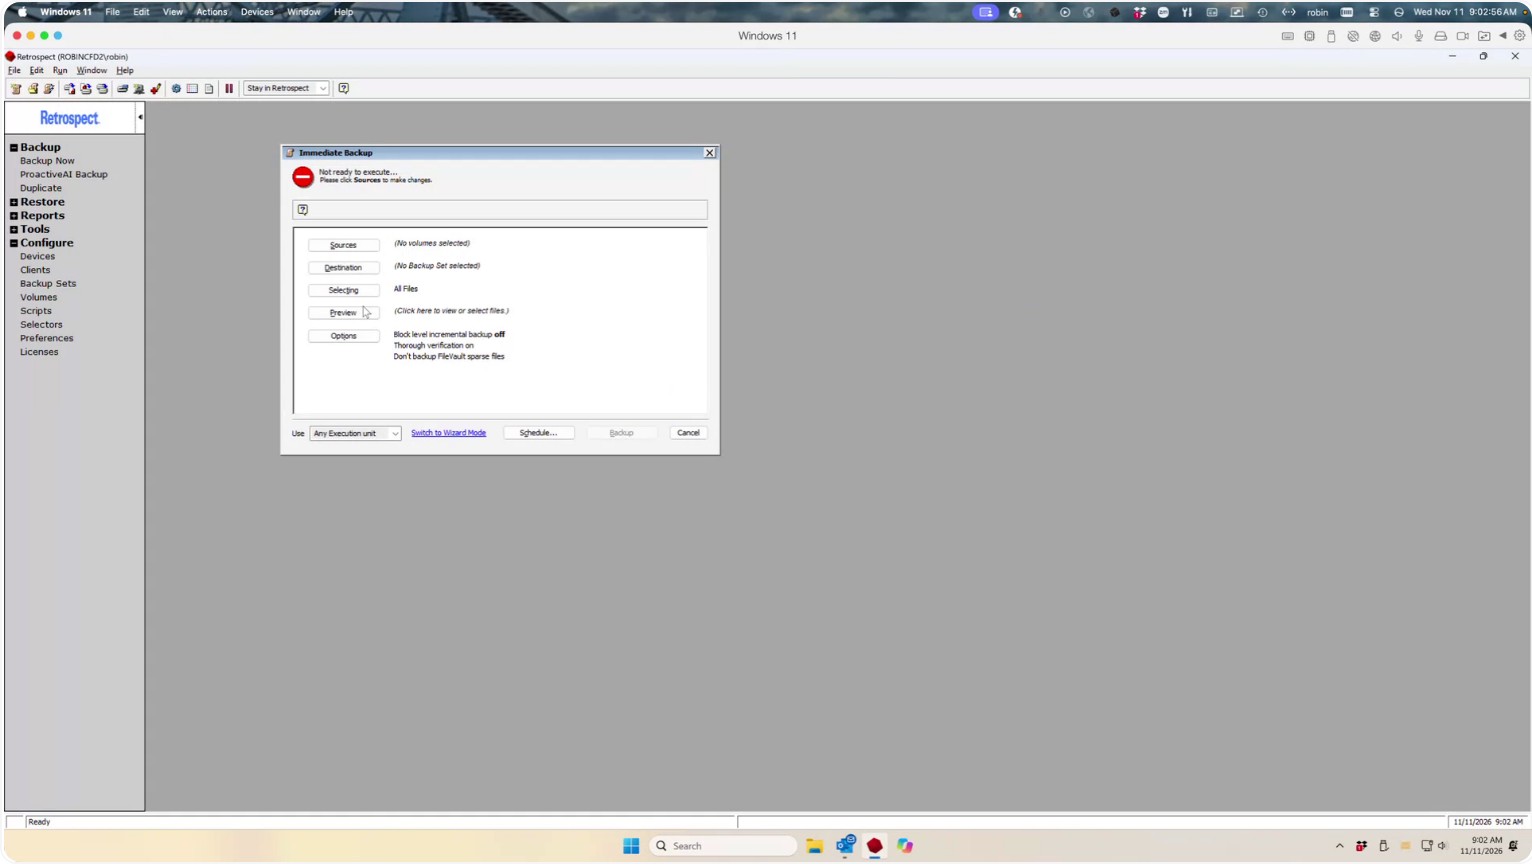
If you see the Immediate Backup Wizard, you can use it to create your first backup, or click Switch to change to Advanced Mode.
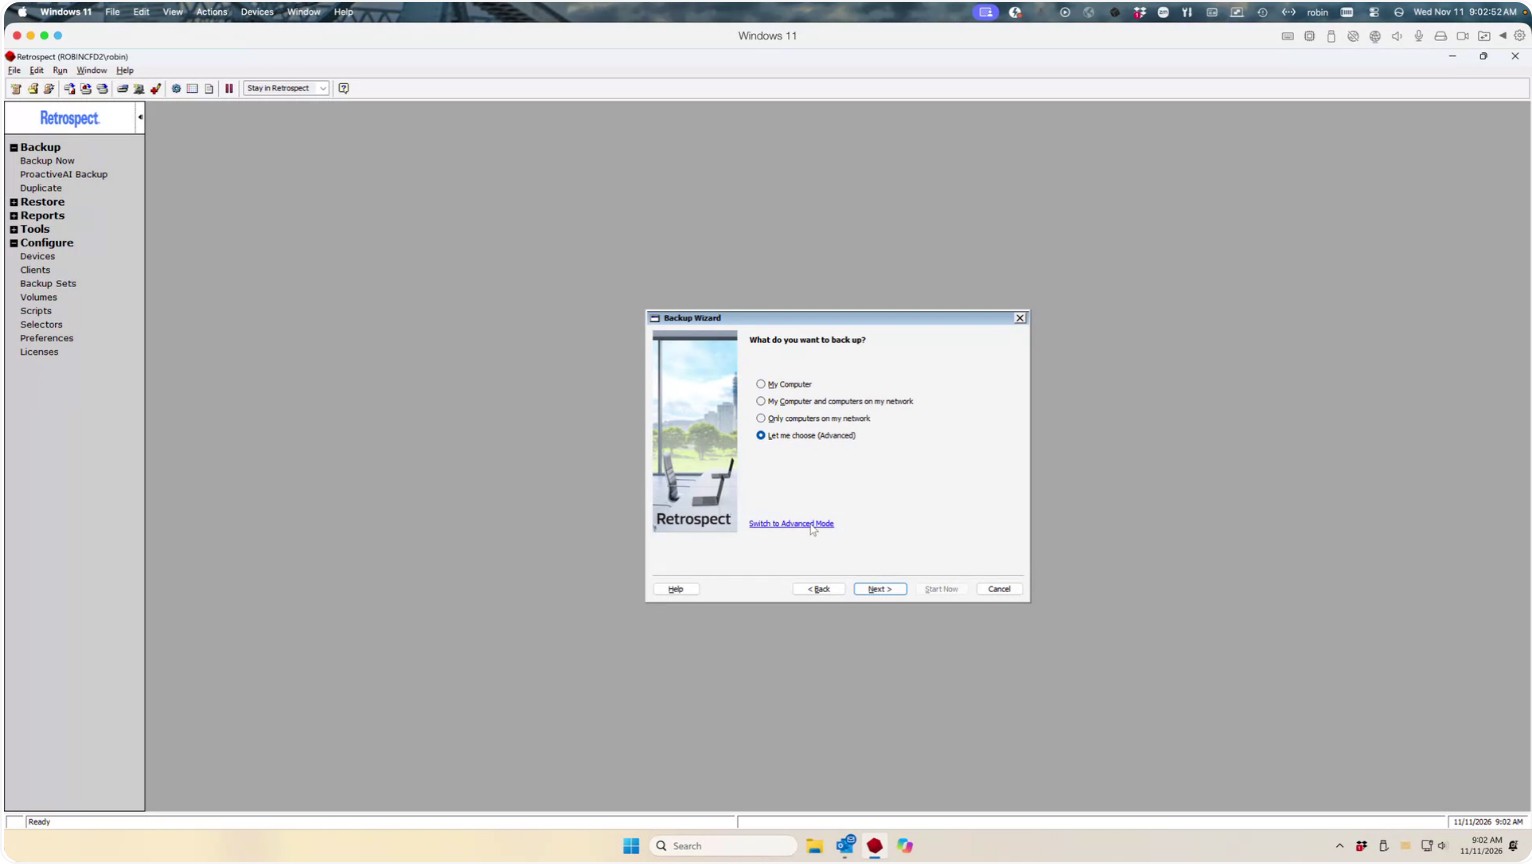
After you click Switch to Advanced Mode, Retrospect will display the advanced backup interface.
Step 2: Select Backup Sources
Go to the Sources tab and choose what you want to back up. You can select:
- Your C: drive
- Disks available on your network (such as a NAS device)
- Retrospect clients that you have previously added to Retrospect
You can also decide not to back up an entire disk.
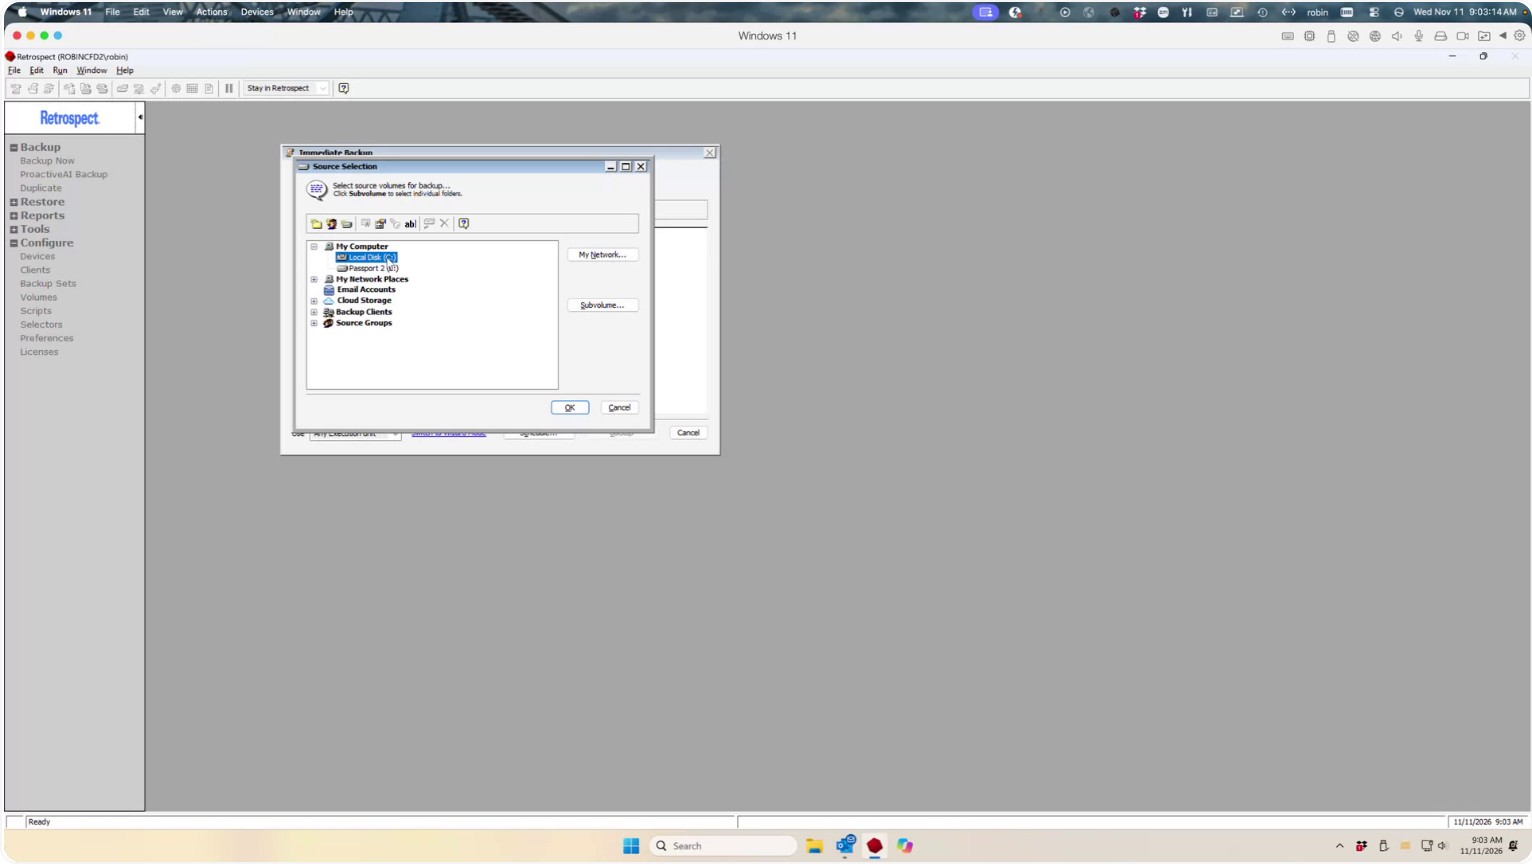
To back up only a specific folder, click Subvolumes, then navigate through the folder tree to locate the folder you want to include in the backup.
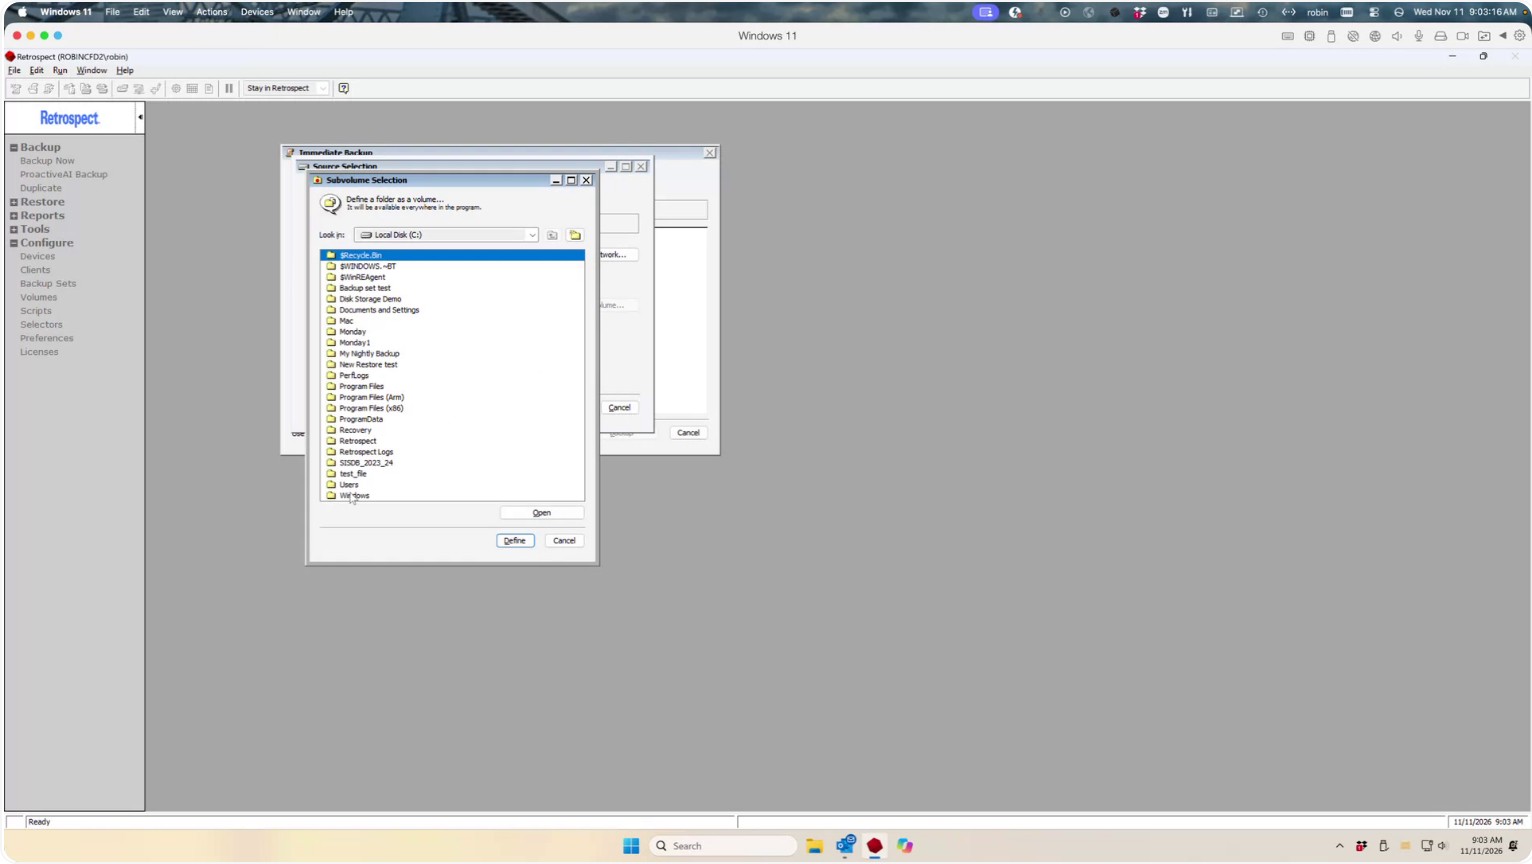
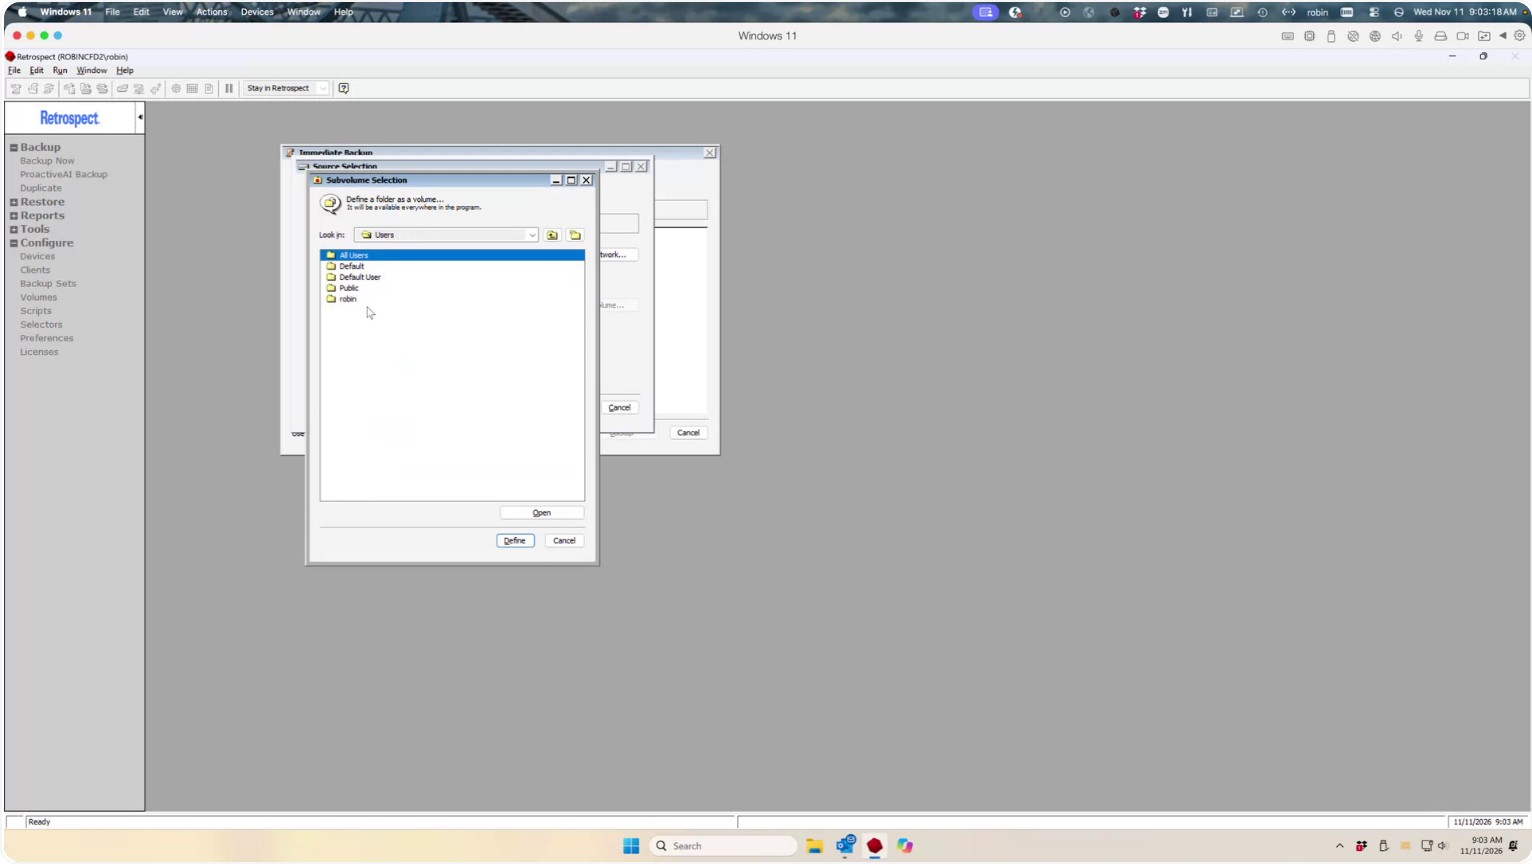
Highlight that folder and click Define.
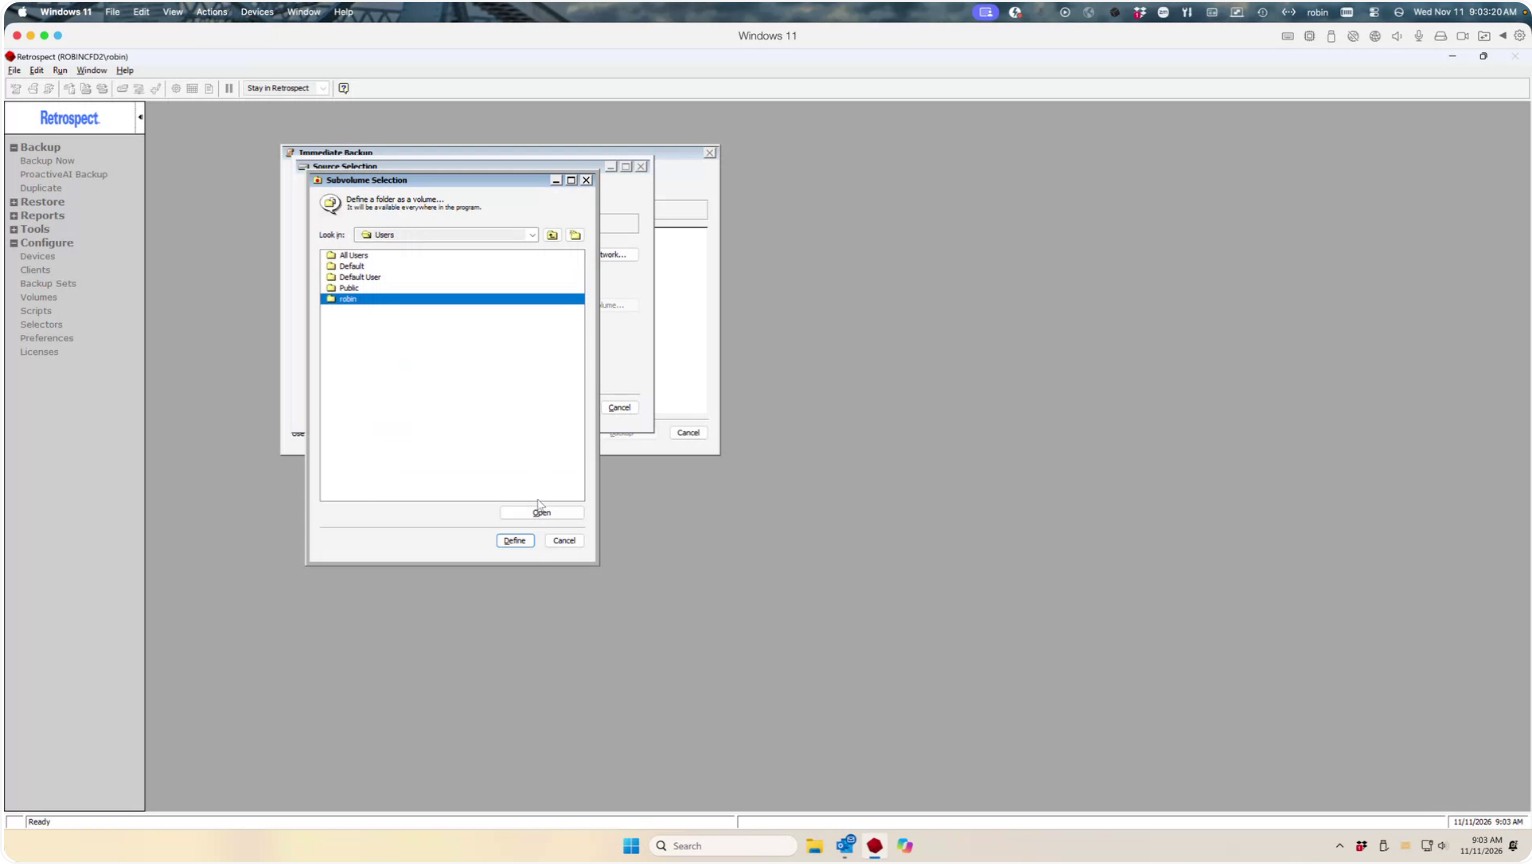
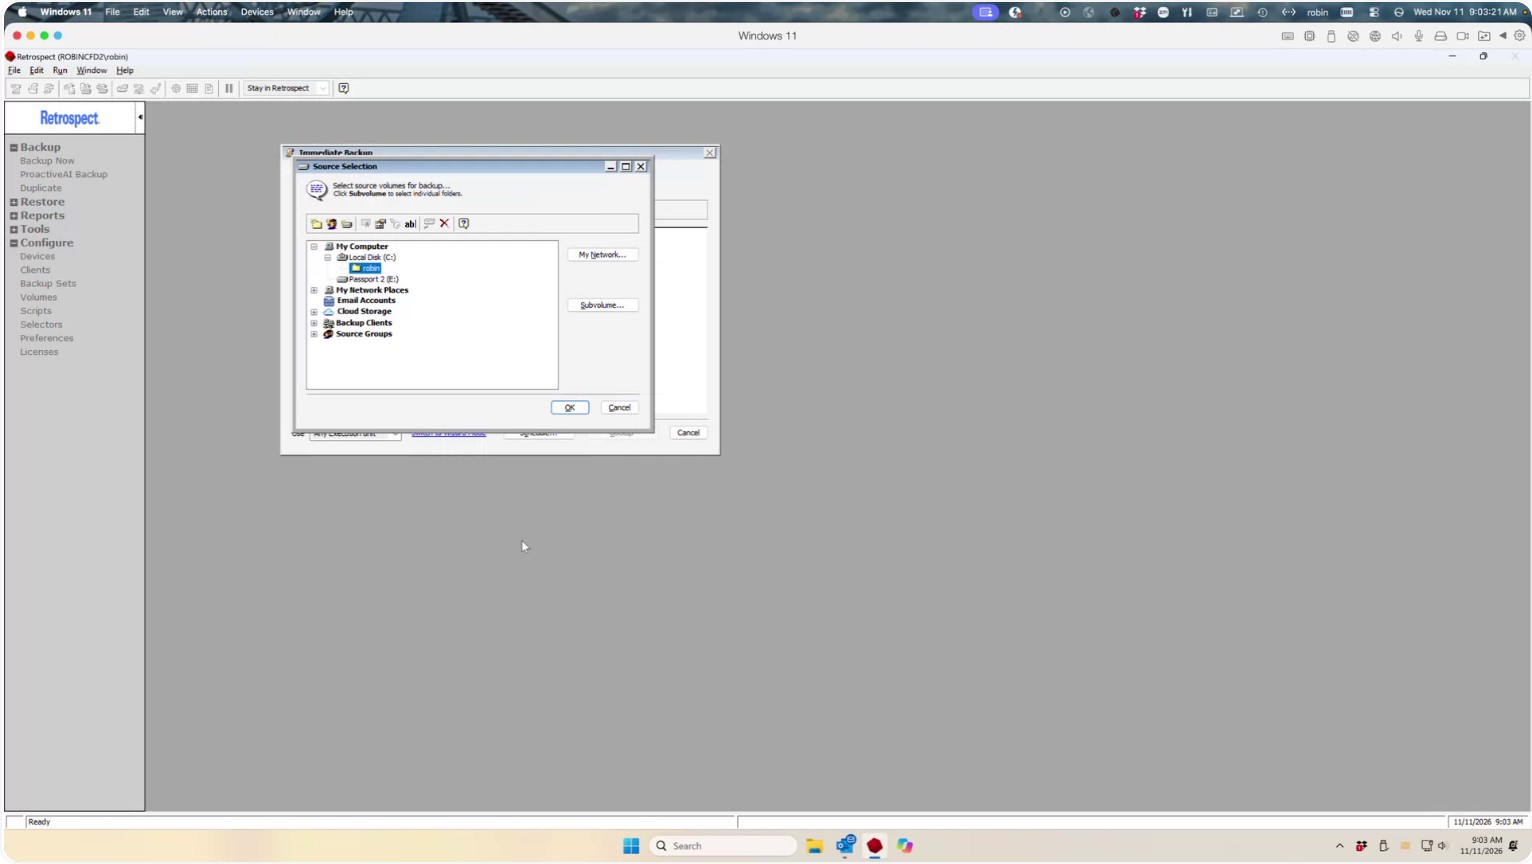
Then click OK. That folder (or subvolume) will now become the source for your immediate backup.
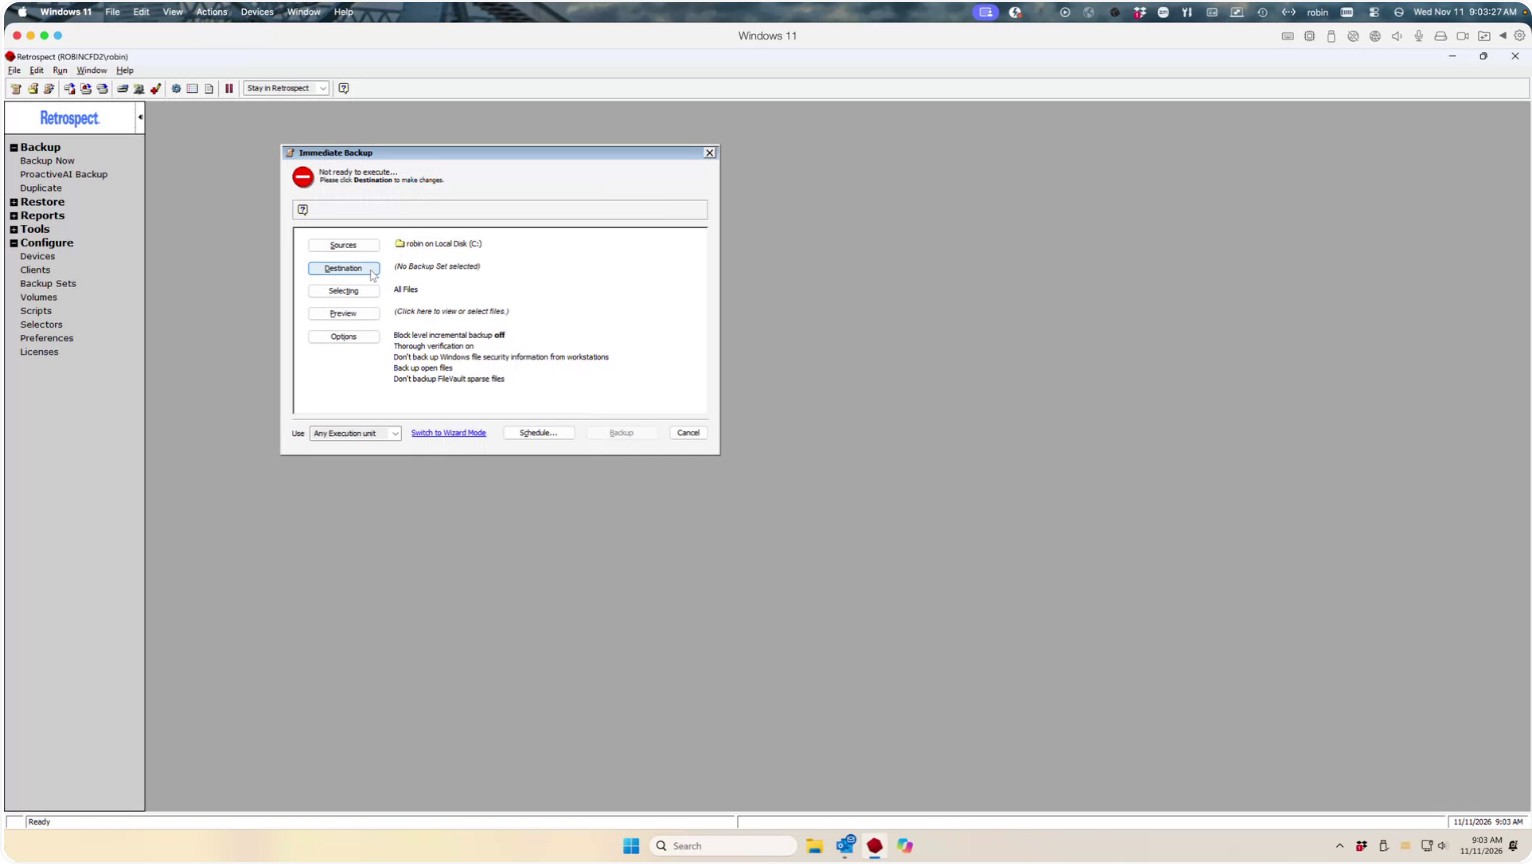
Step 3: Configure the Backup Destination
Go to the Destination tab.
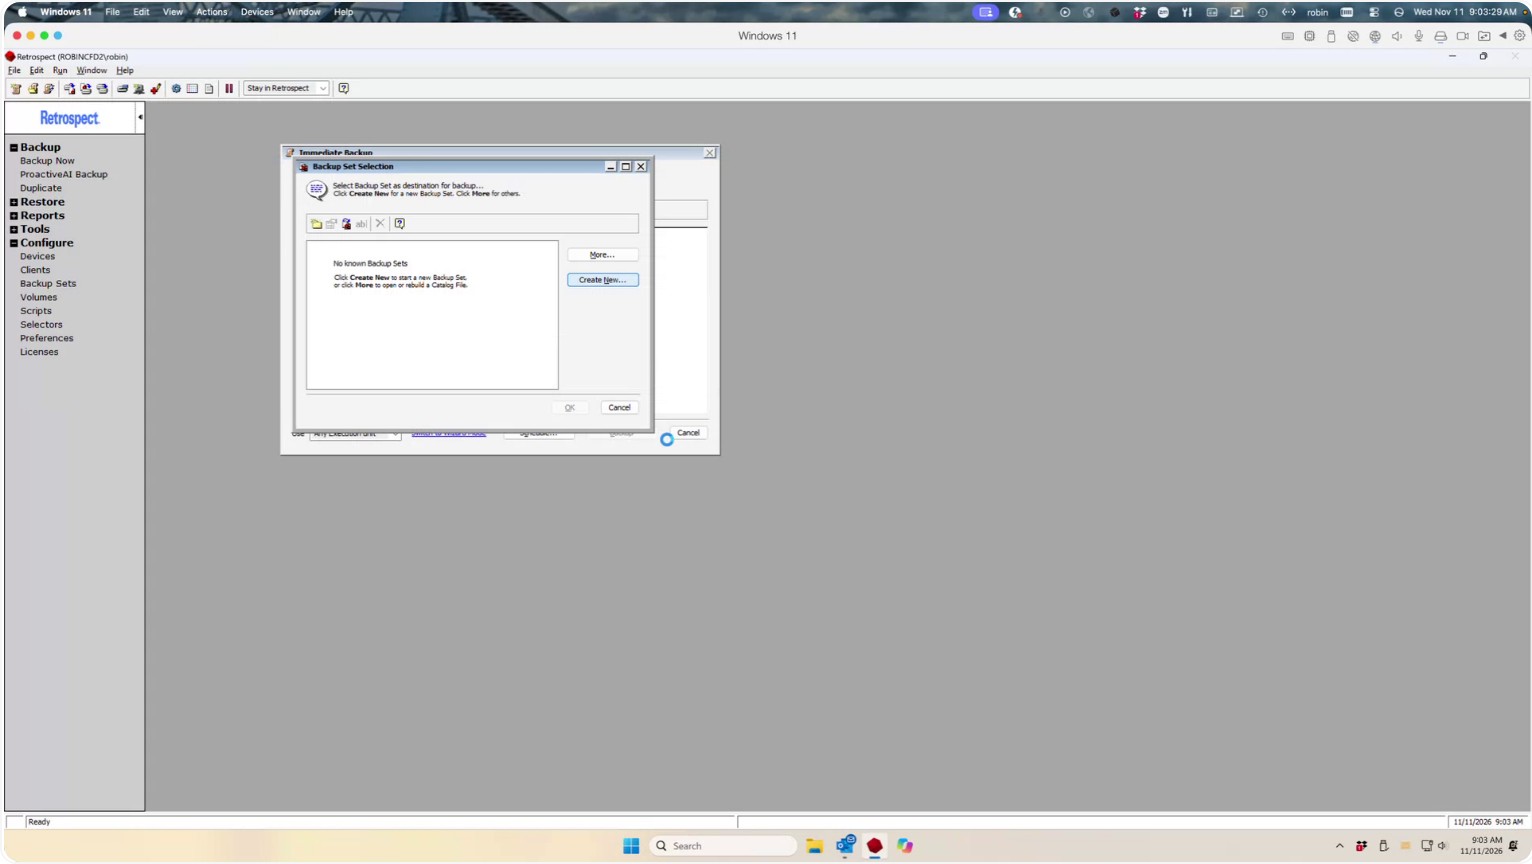
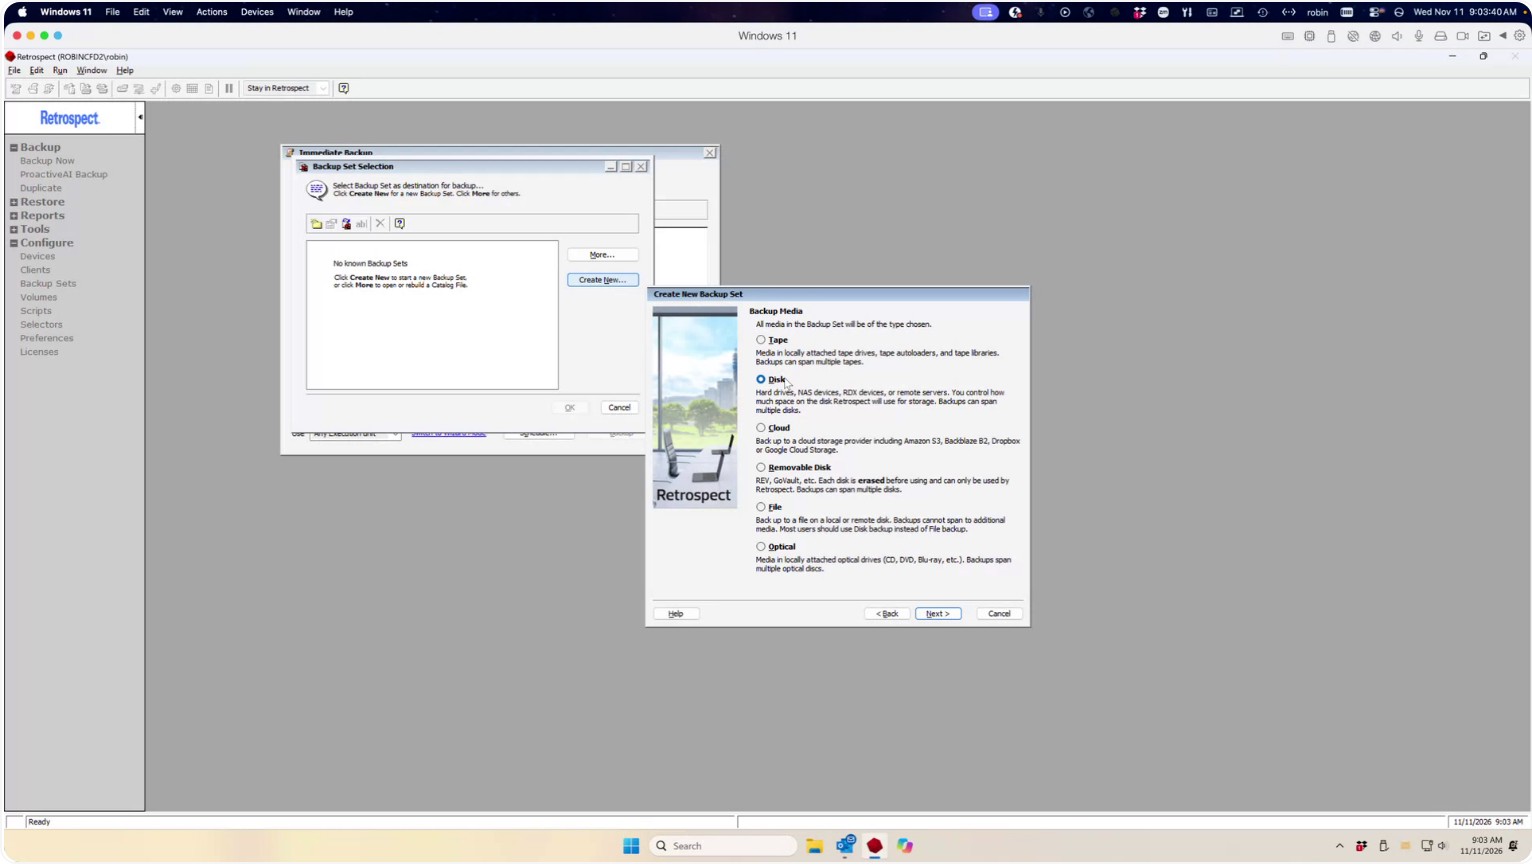
If you have an existing backup set, Retrospect will display it here and you can select it. Otherwise, create a new backup set. You can choose from tape, disk, or cloud as the backup media.
In this example, choose Disk as the backup set type and click Next.
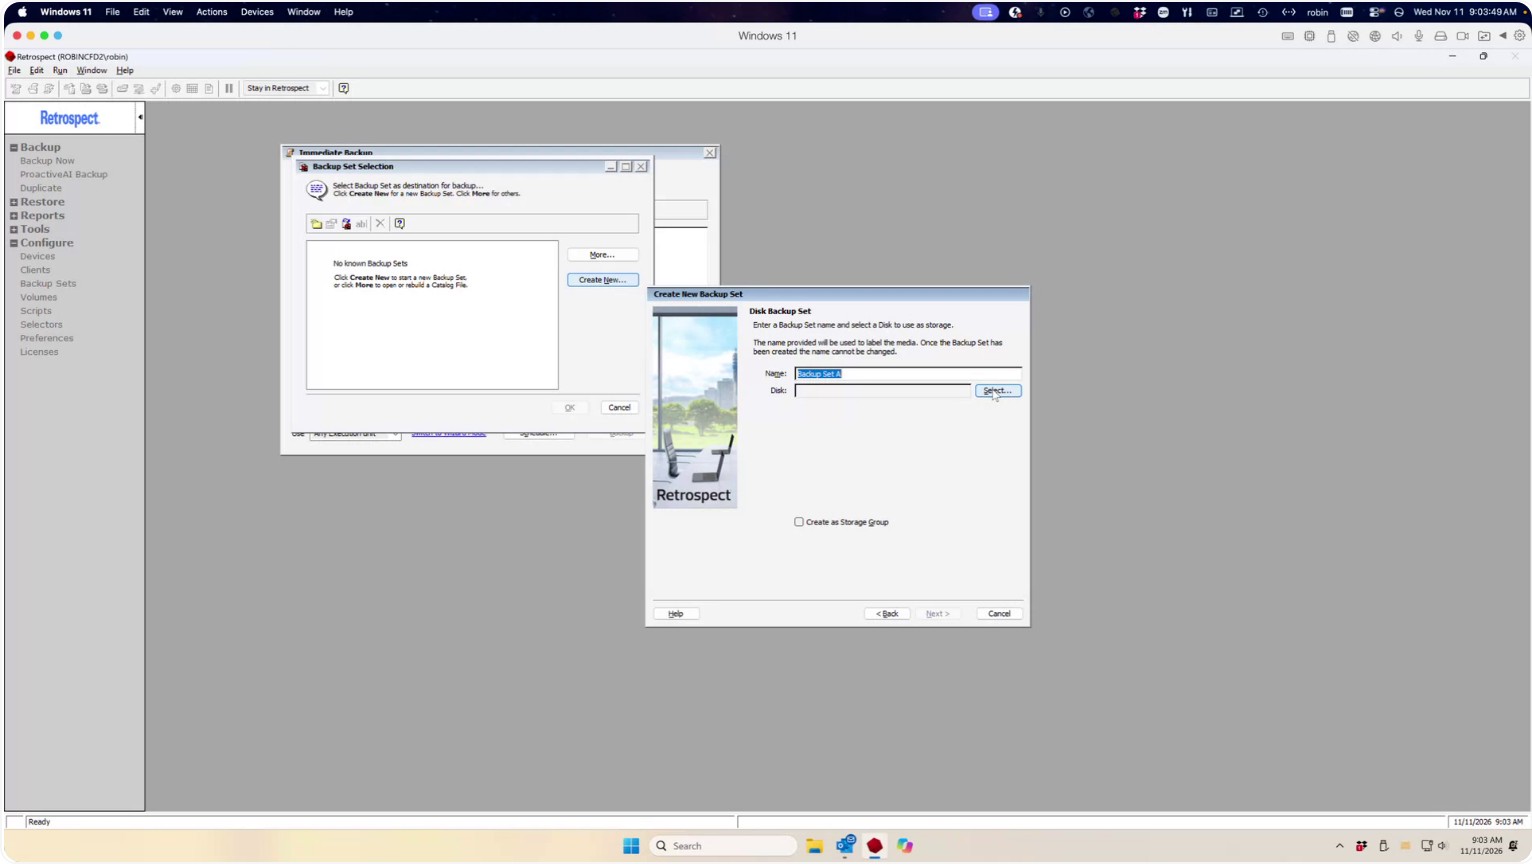
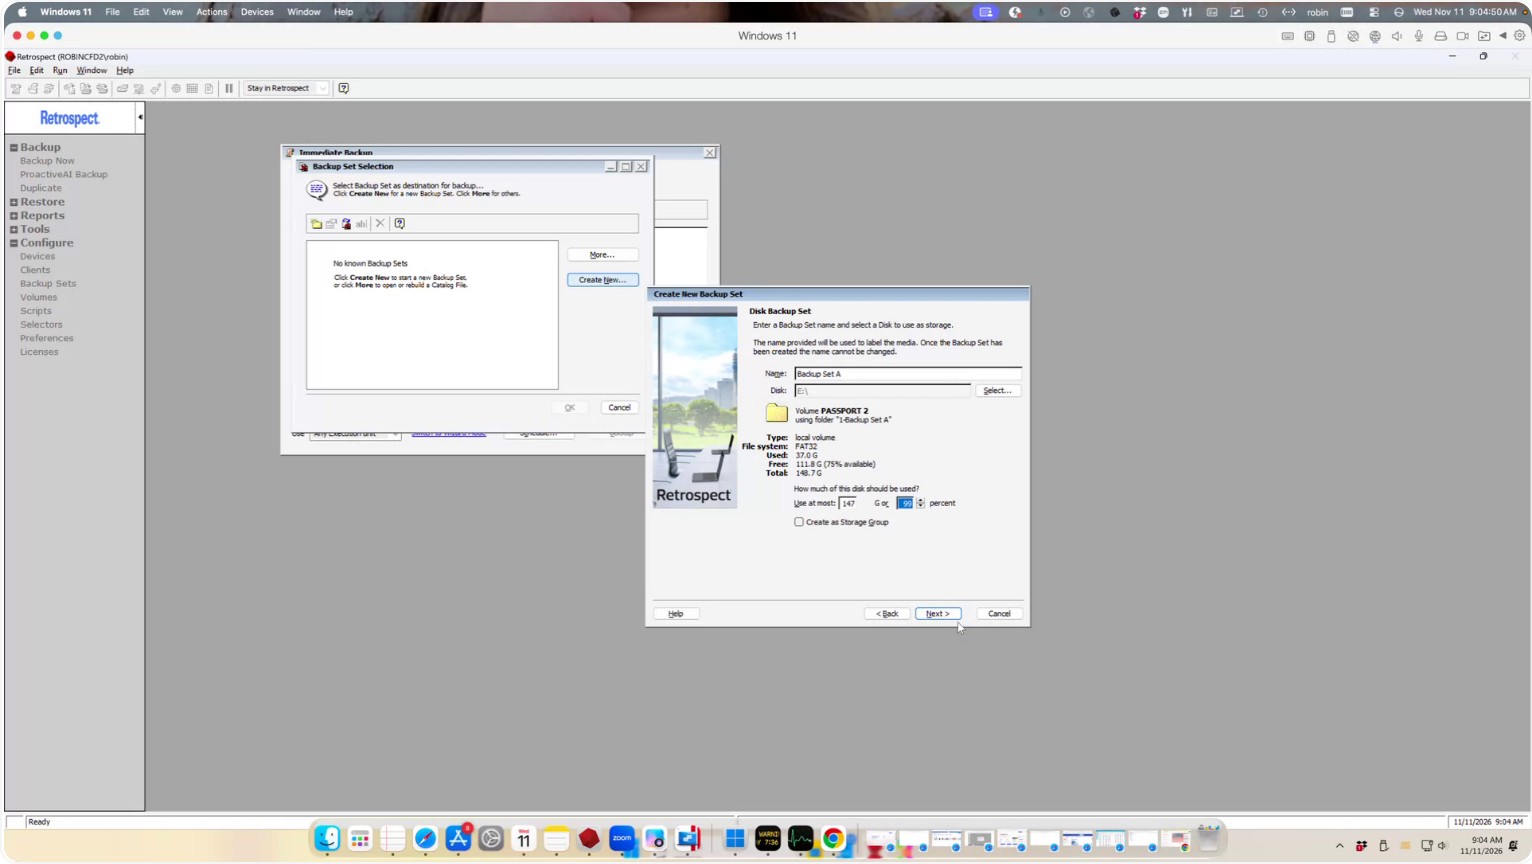
Accept the default backup set name (or change it if desired), then click Select to choose where the backup data will be stored.
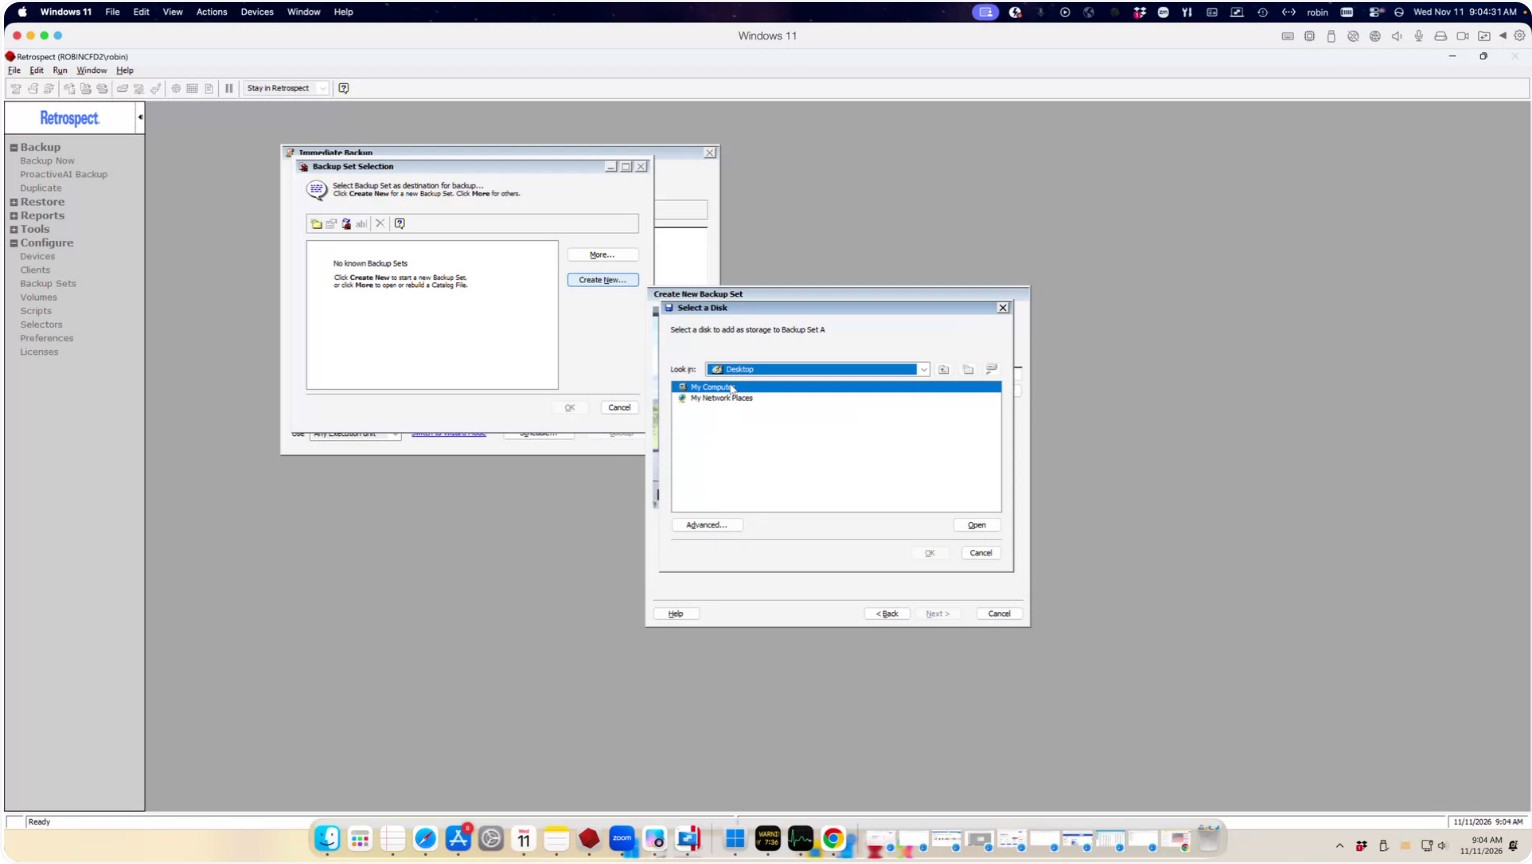
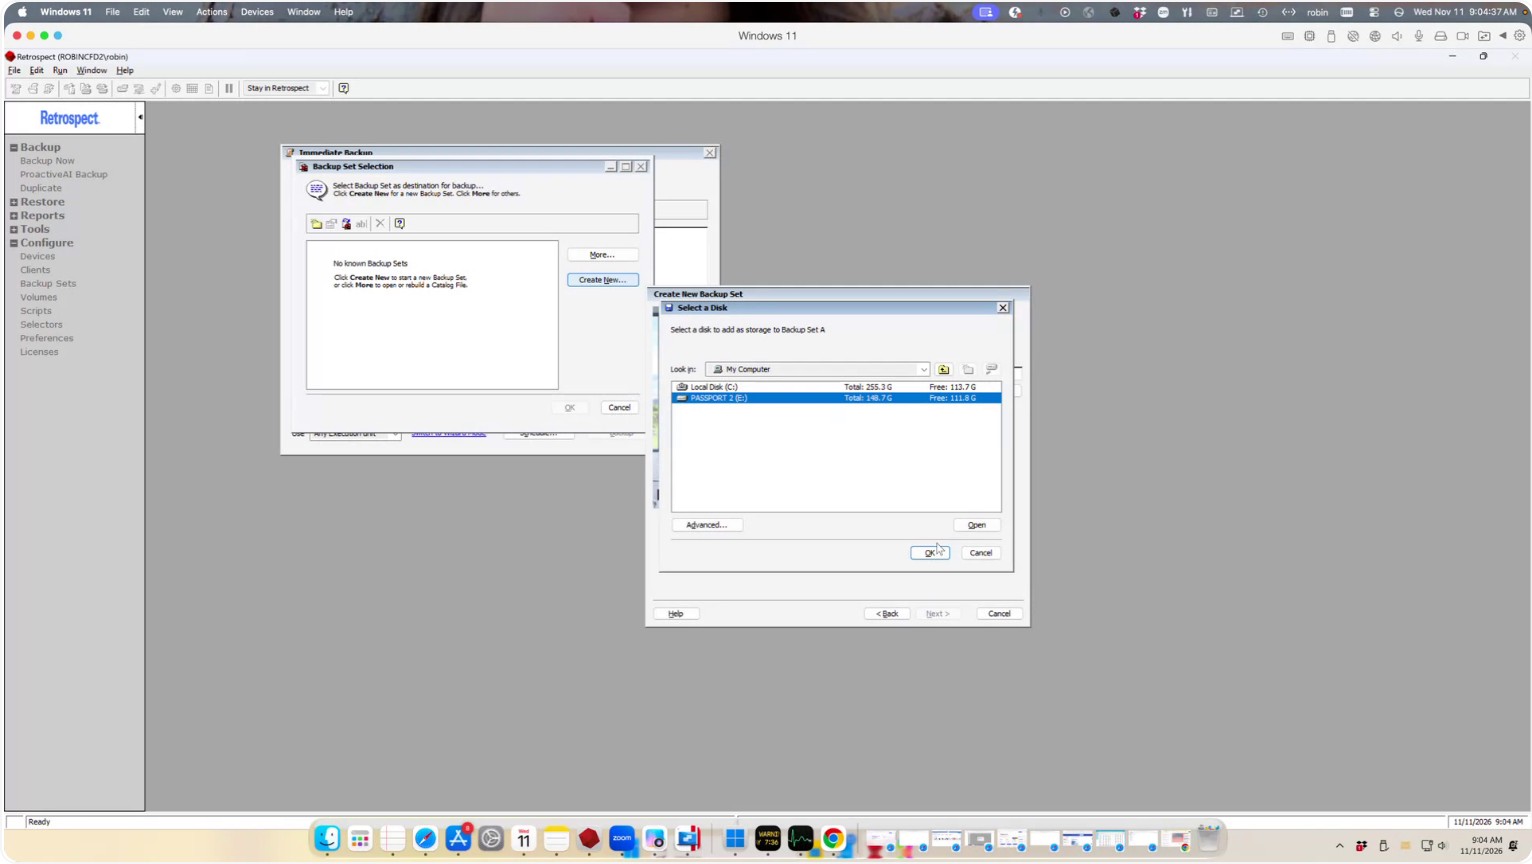
In the selection window, double-click My Computer, then highlight the disk you want to use for your backup storage.
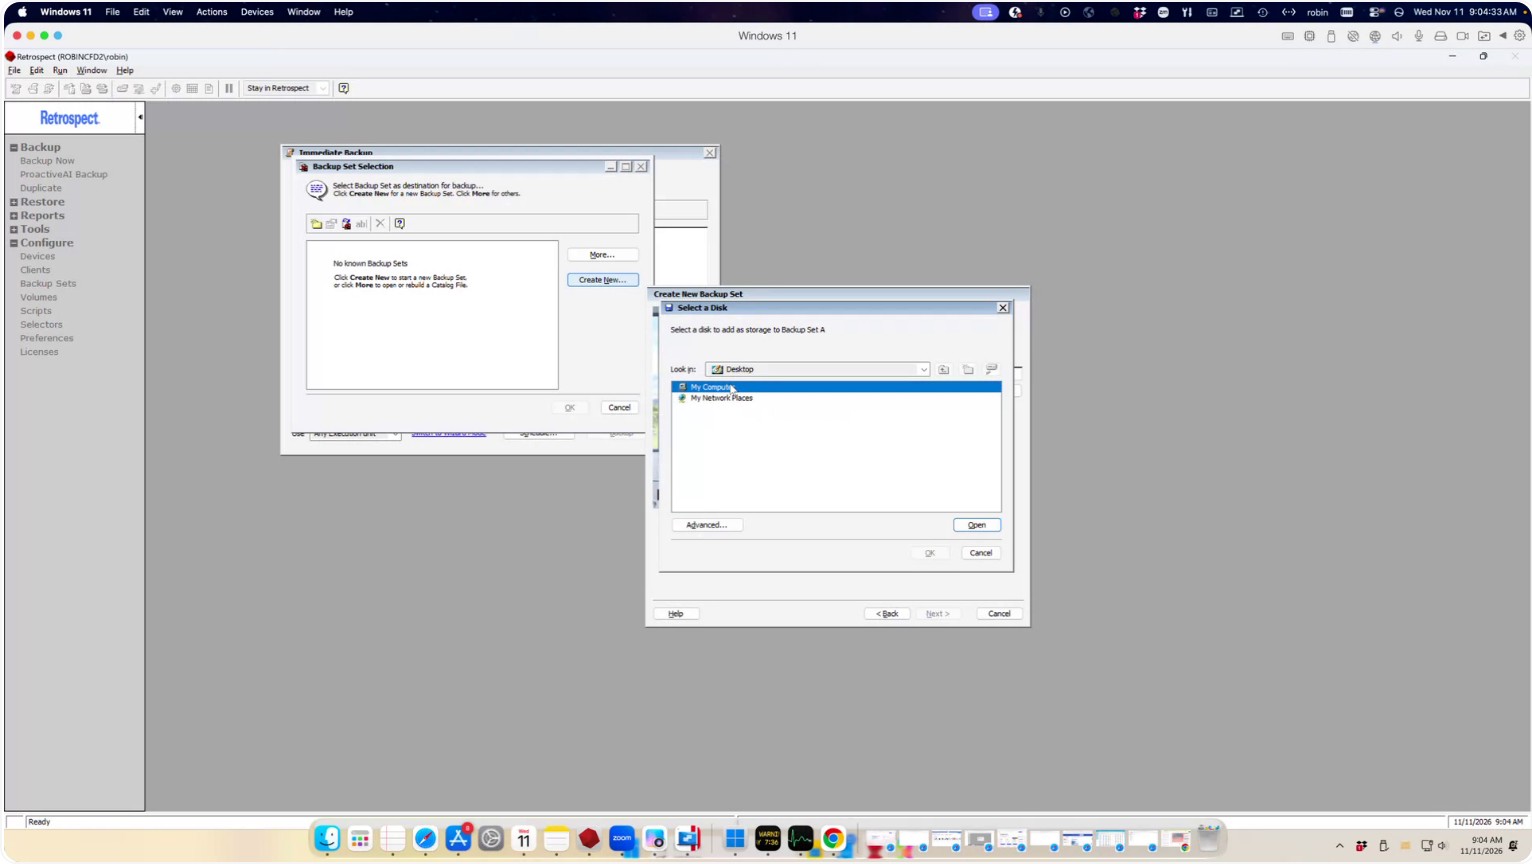
Click OK to confirm your storage location.
Set the Use at most value to 99% so Retrospect can utilize almost the entire disk for backup space, then click Next.
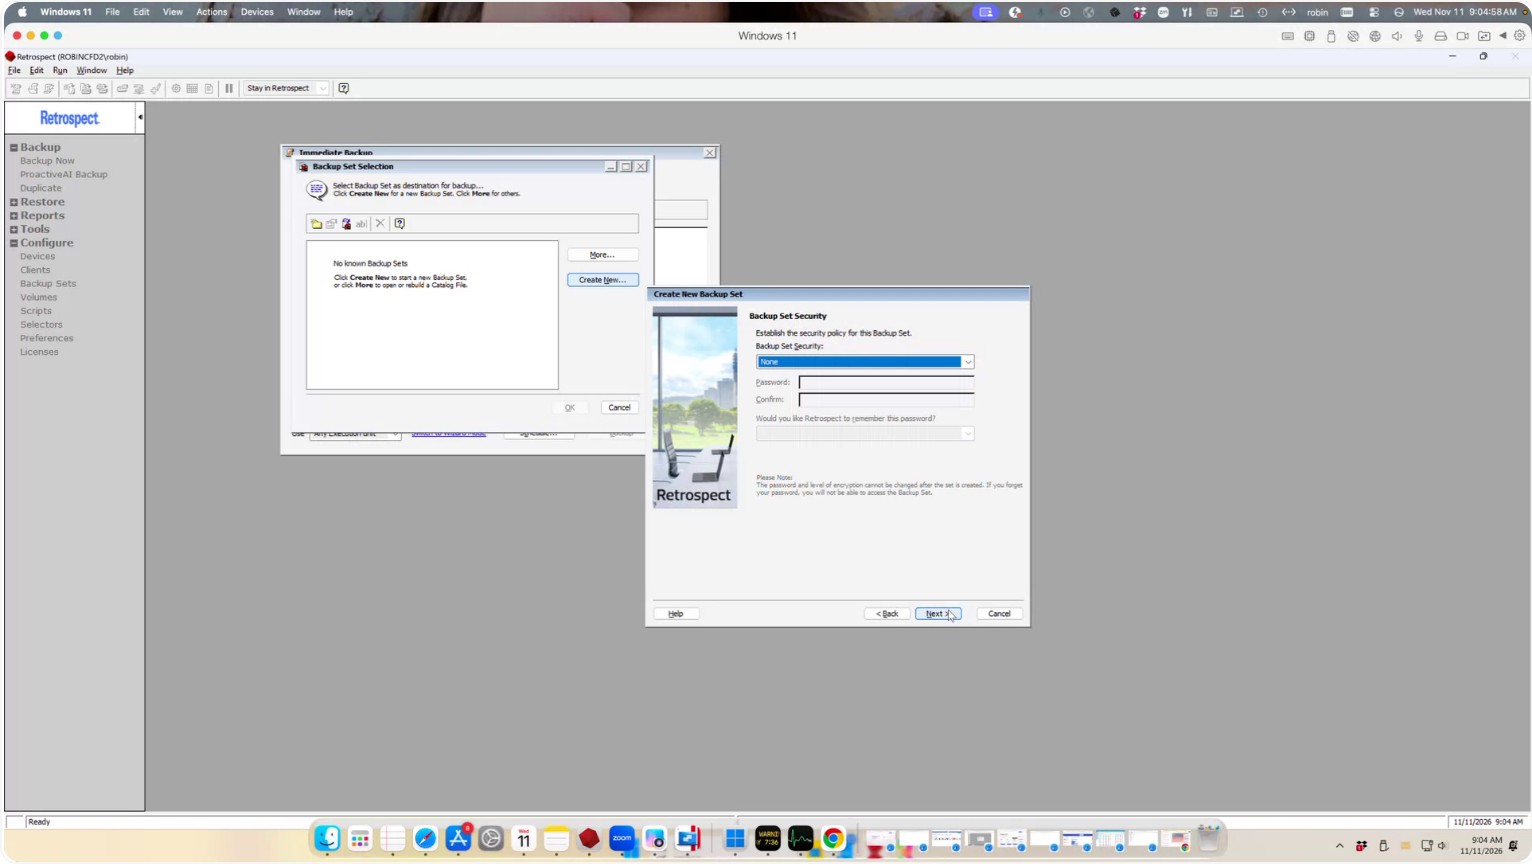
Step 4: Set Encryption, Grooming, and Catalog Location
Decide whether you want to use encryption for your backup set. In this example, leave encryption disabled and click Next.
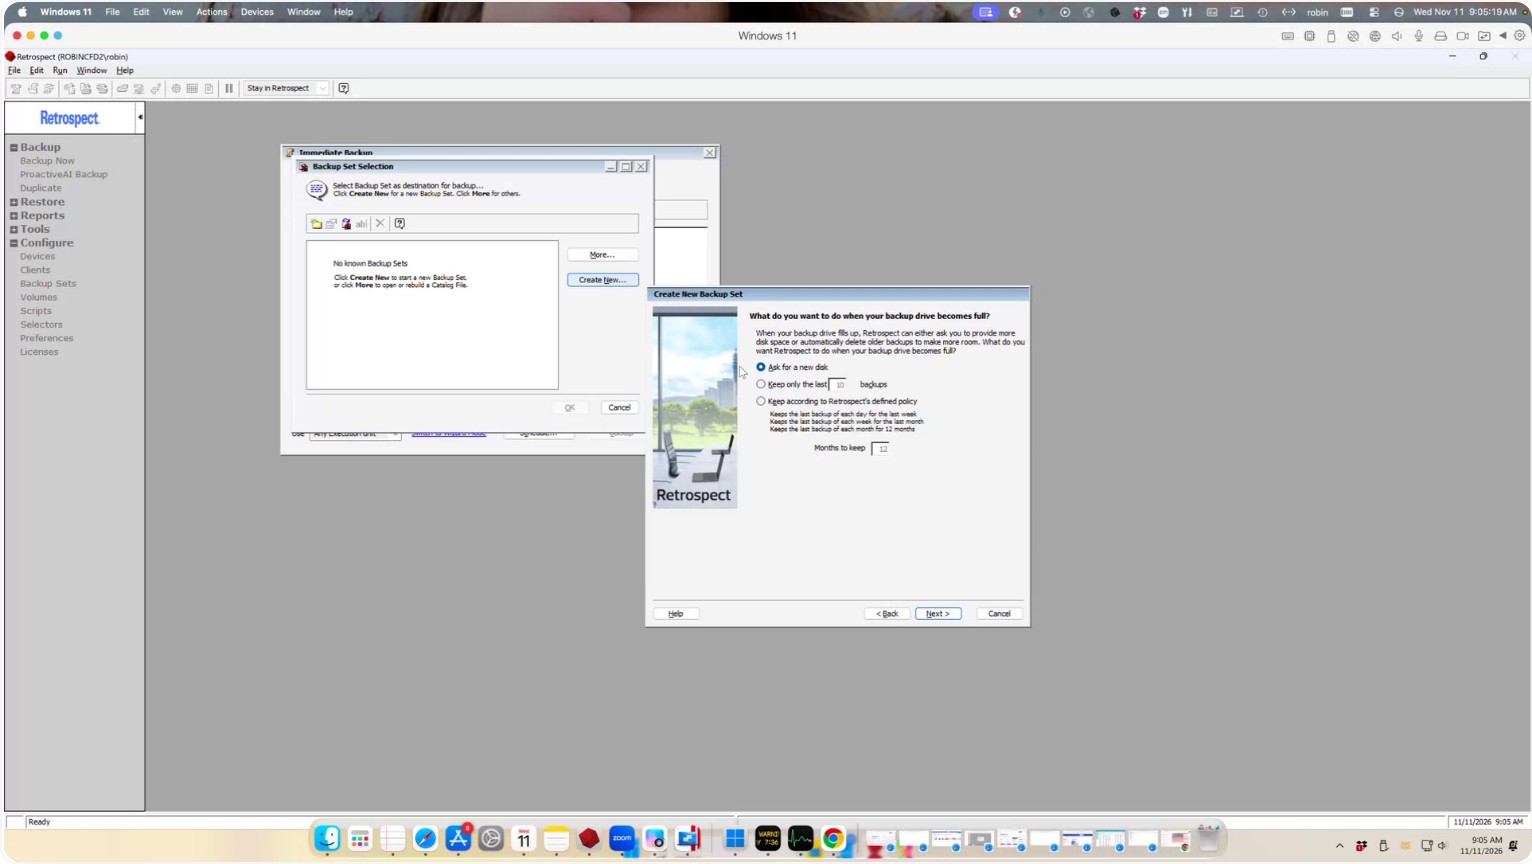
Next, configure what Retrospect should do when the backup disk becomes full. Options include:
- Ask for a new disk
- Keep a specific number of backups
- Remove old backups based on the Retrospect grooming policy
In this example, leave grooming disabled and set Retrospect to Ask for a new disk, then click Next.
Retrospect will then ask where to save the catalog file (the index of the data stored in your backup). Choose a suitable location and click Next.
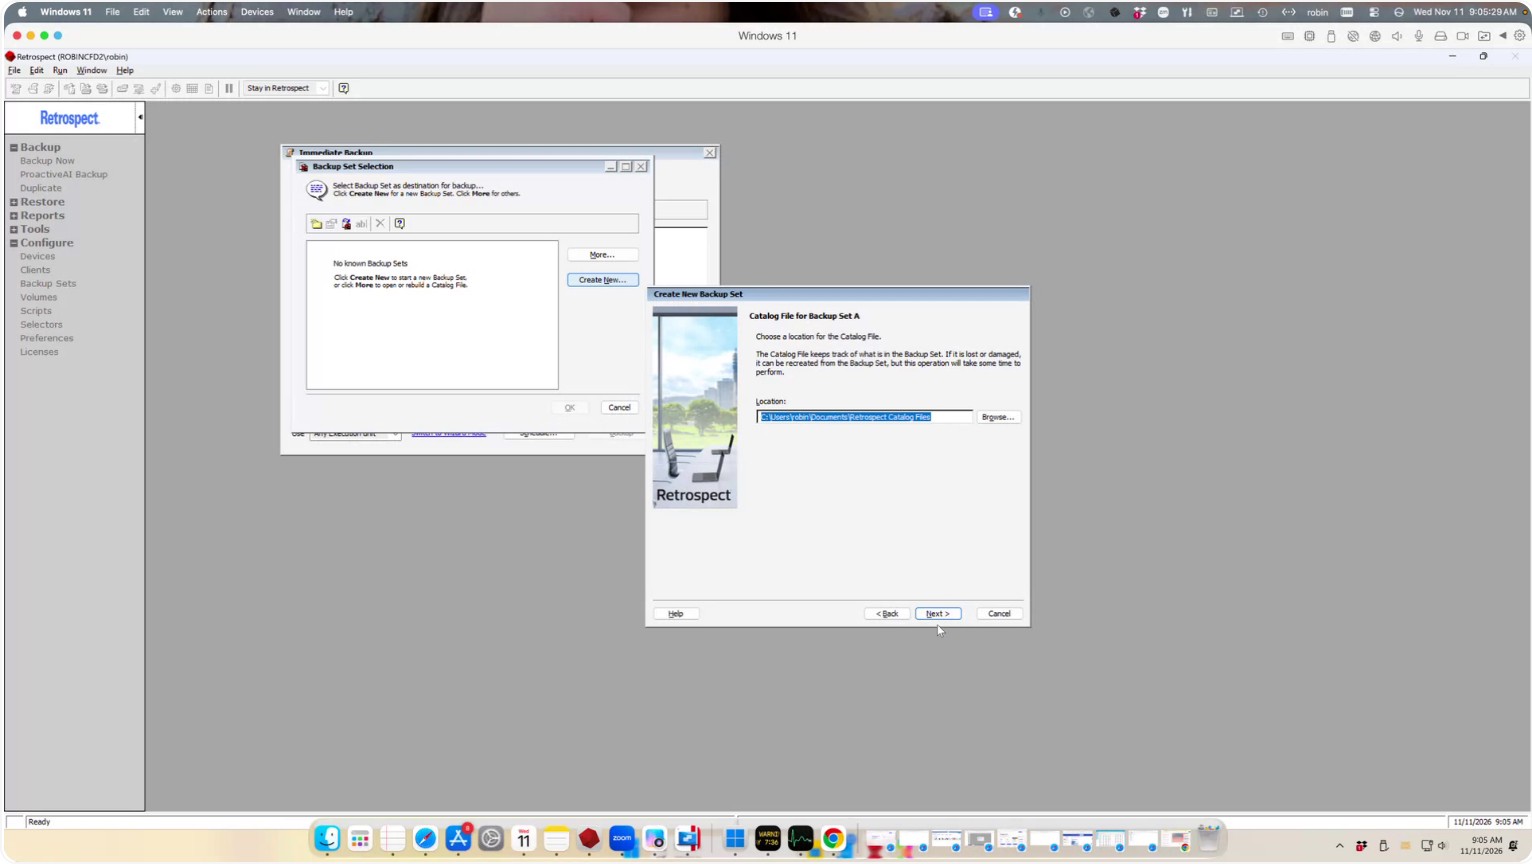
Click Finish to complete the backup set creation.
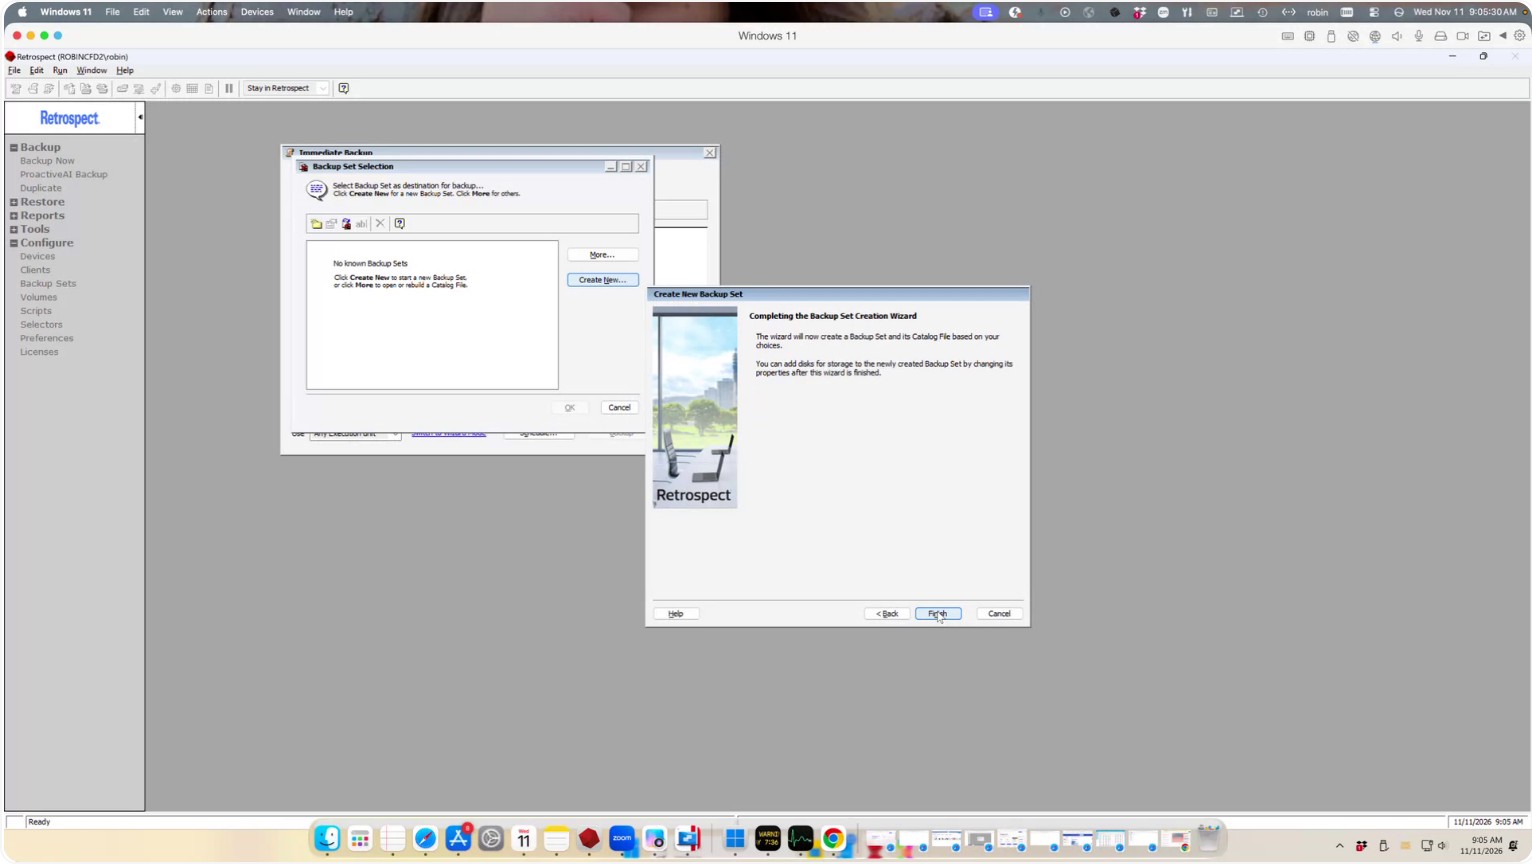
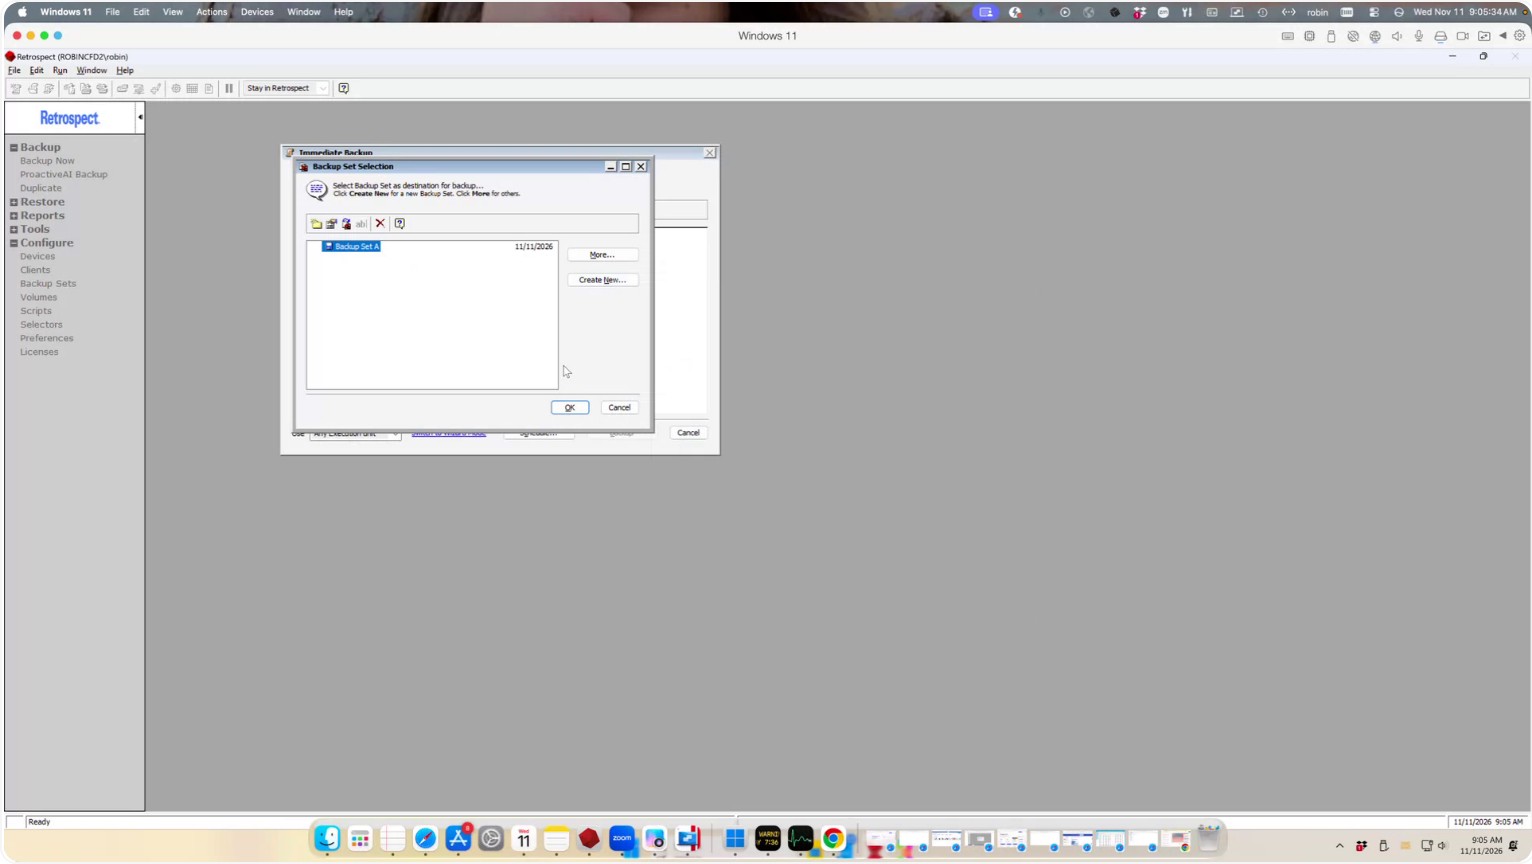
Select the backup set you just created and click OK to confirm it as the destination.
Step 5: Adjust Backup Options
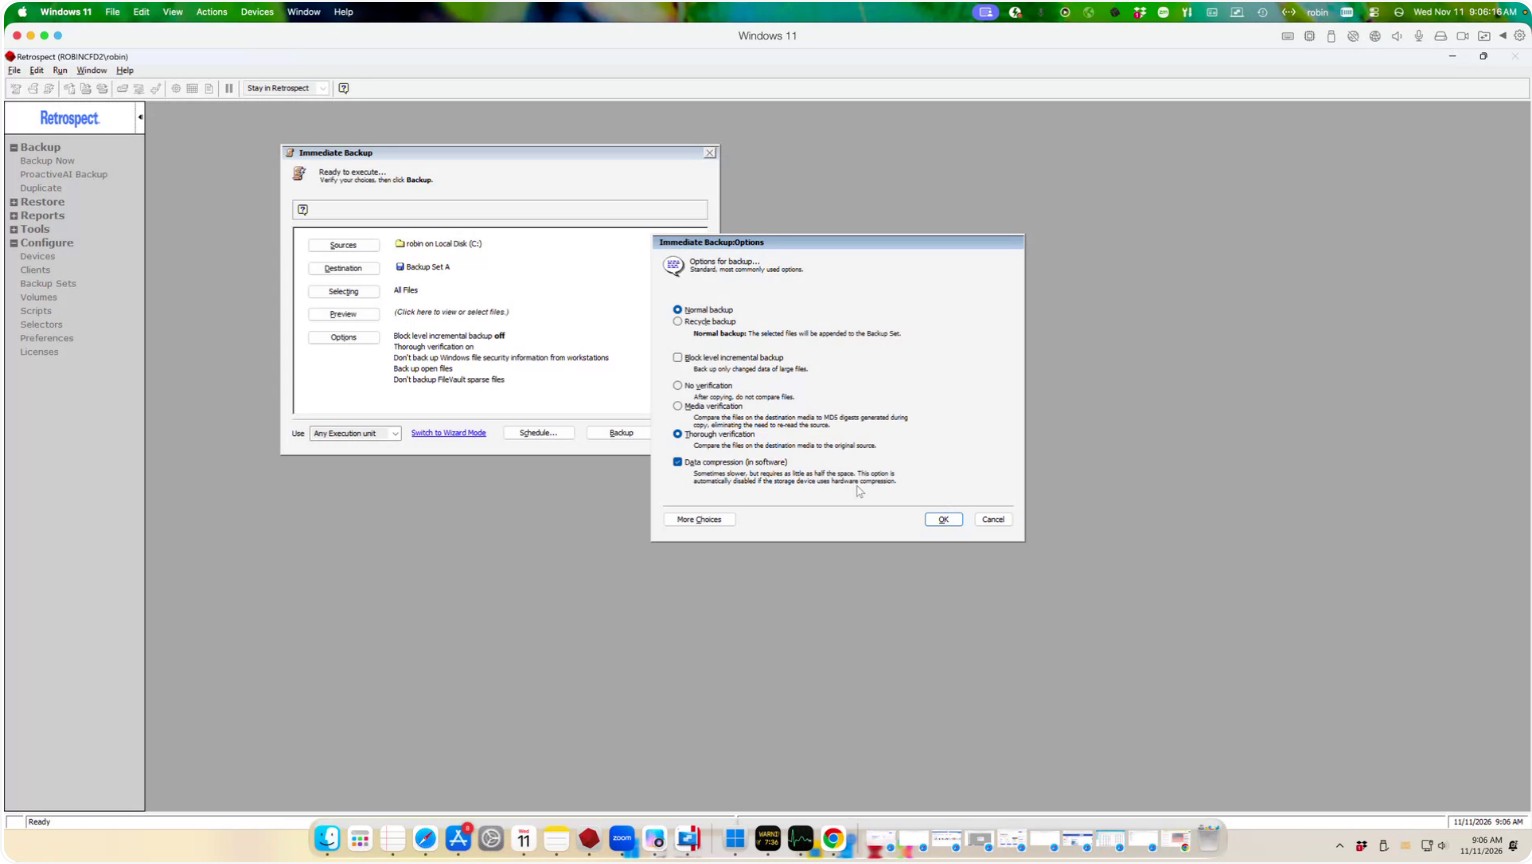
Go to Options to configure how Retrospect will perform the backup.
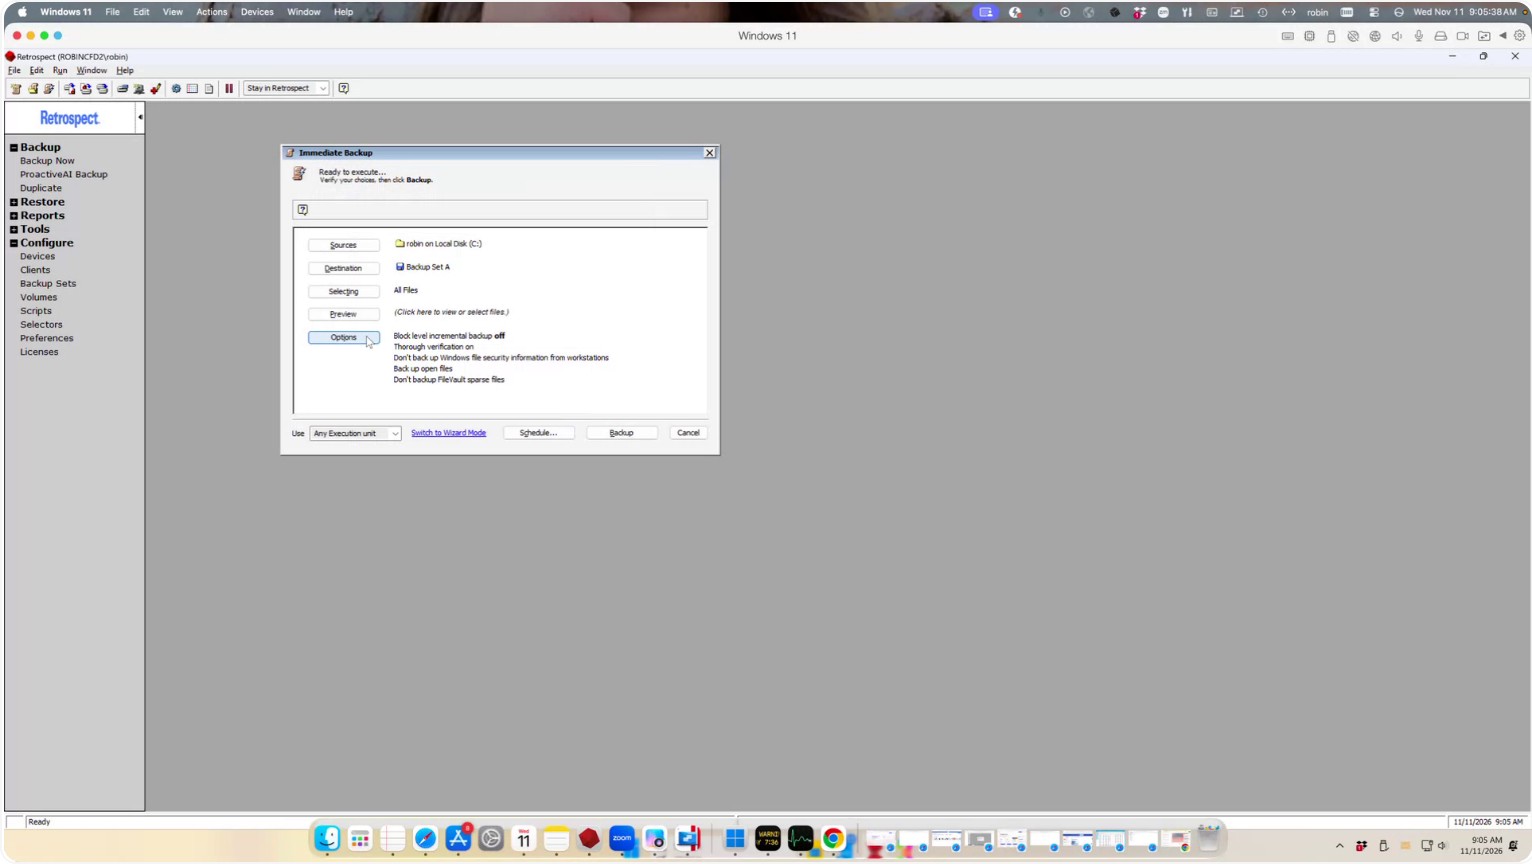
Under Options, you can choose:
- Normal backup (incremental)
- Recycle backup (erases the entire backup set and starts over)
You can also configure verification:
- Thorough verification
- Media verification
- No verification
Additional options include:
- Block-level incremental backup (copies only changed blocks of files)
- Data compression in software
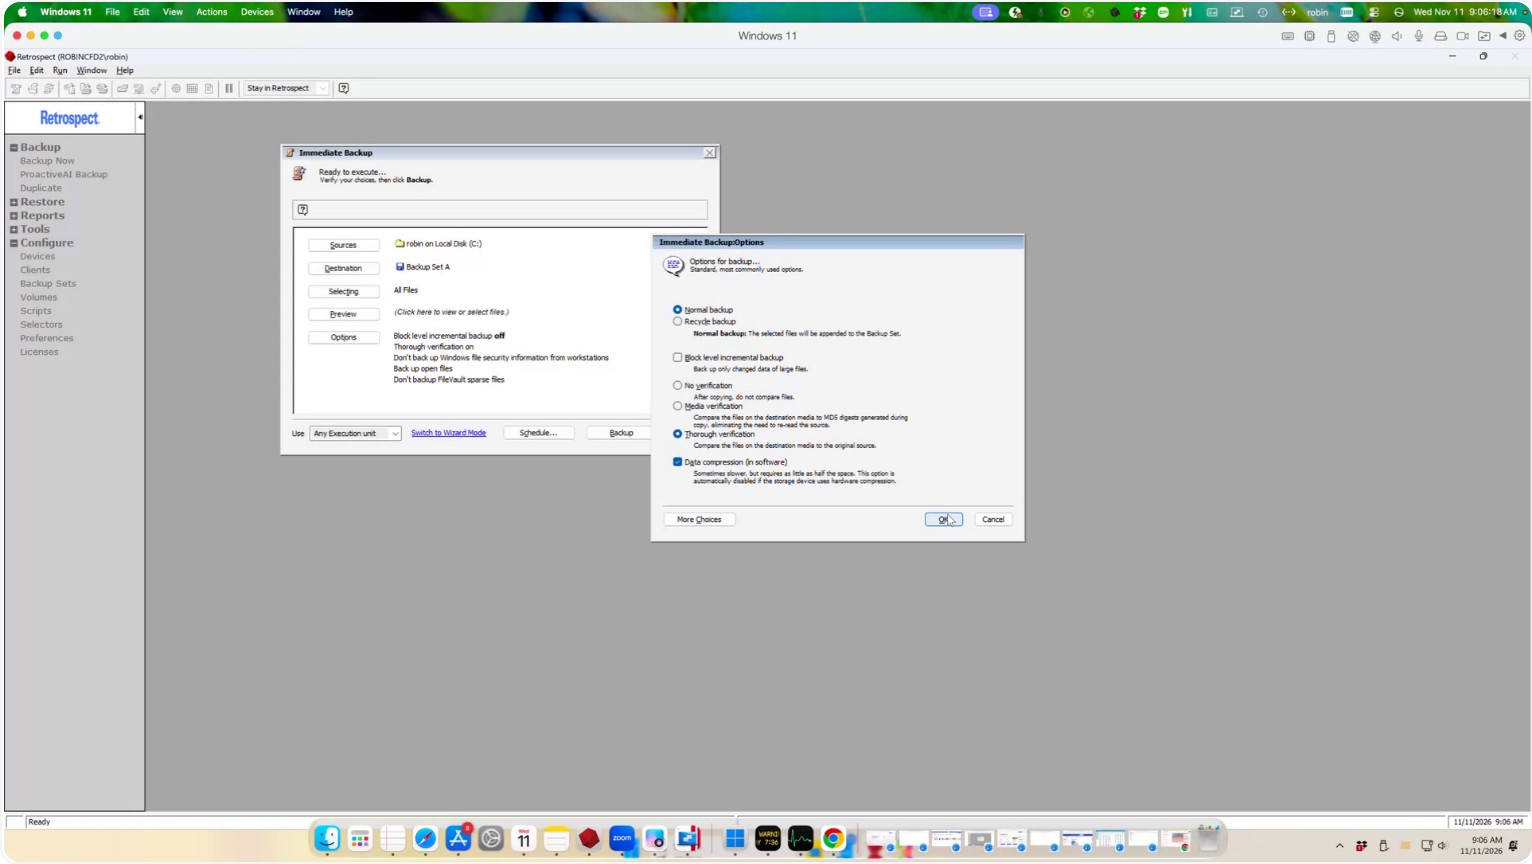
In this example, leave Thorough verification enabled, enable data compression, and then click OK.
Step 6: Start and Monitor the Backup
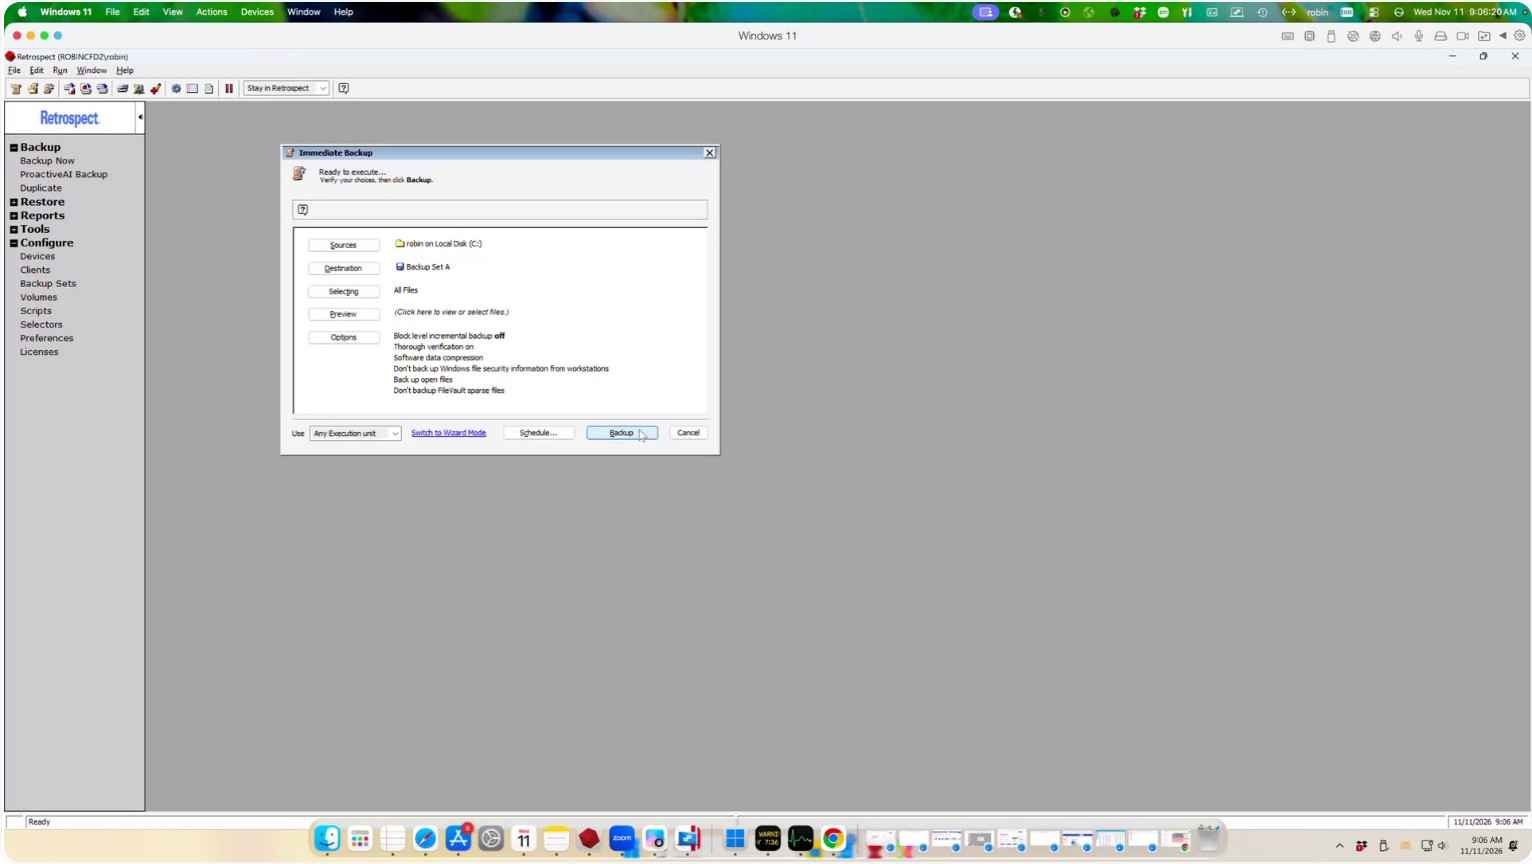
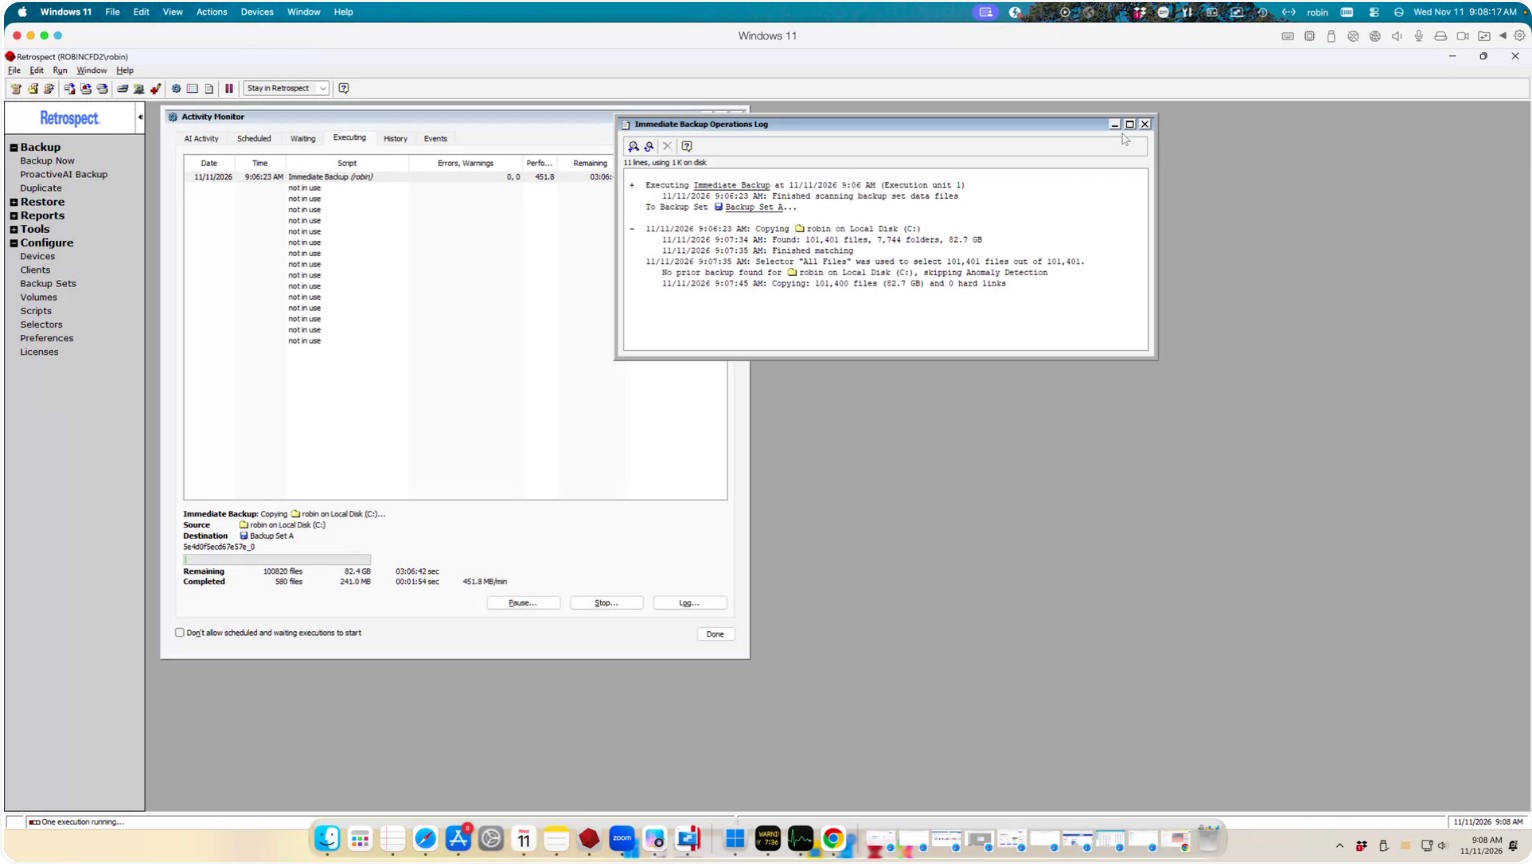
Click Backup to begin the immediate backup process.
At the start of the backup, Retrospect prepares for open file backup, then scans your drive (or selected folders) to identify which files need to be backed up.
If you were backing up the entire C: drive, Retrospect would include the registry, operating system, and everything needed for a potential disaster recovery. In this example, only one specific folder is being backed up, so you will see Retrospect scan that folder, count how many files and folders are present, and calculate the total size.
After scanning is complete, Retrospect begins copying the data. It then prepares to execute, copies your files, saves a snapshot of your drive (or selected sources) to the catalog file, and finally performs a verification to ensure that the backup matches the original data.
To see what Retrospect is currently doing, click the Log button.
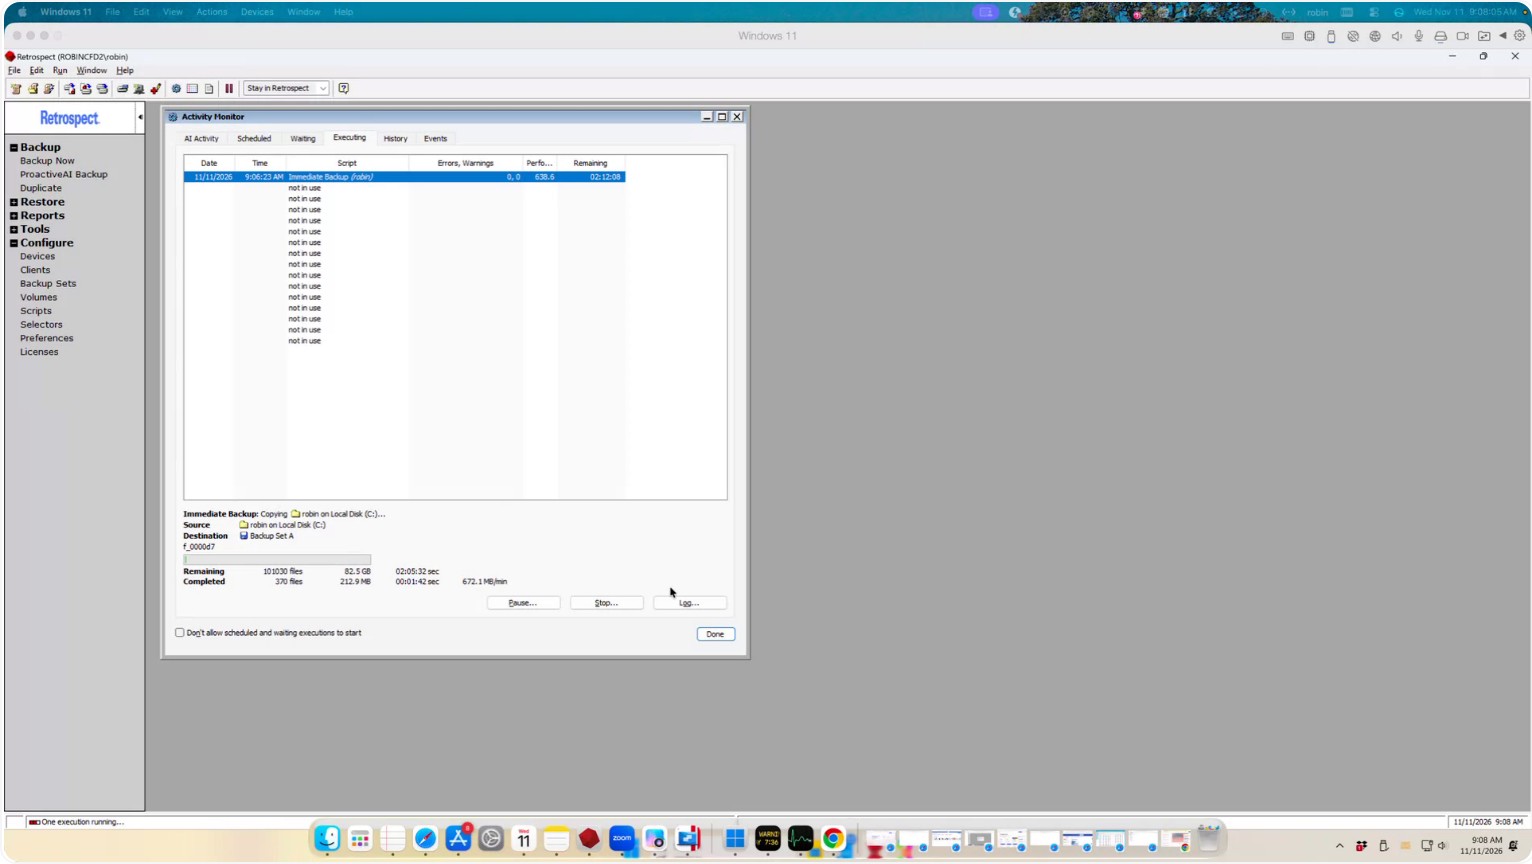
The Log window will show:
- Total number of files found
- Number of files that needed to be copied
- Any errors reported during the backup operation
Step 7: Review Backup Contents
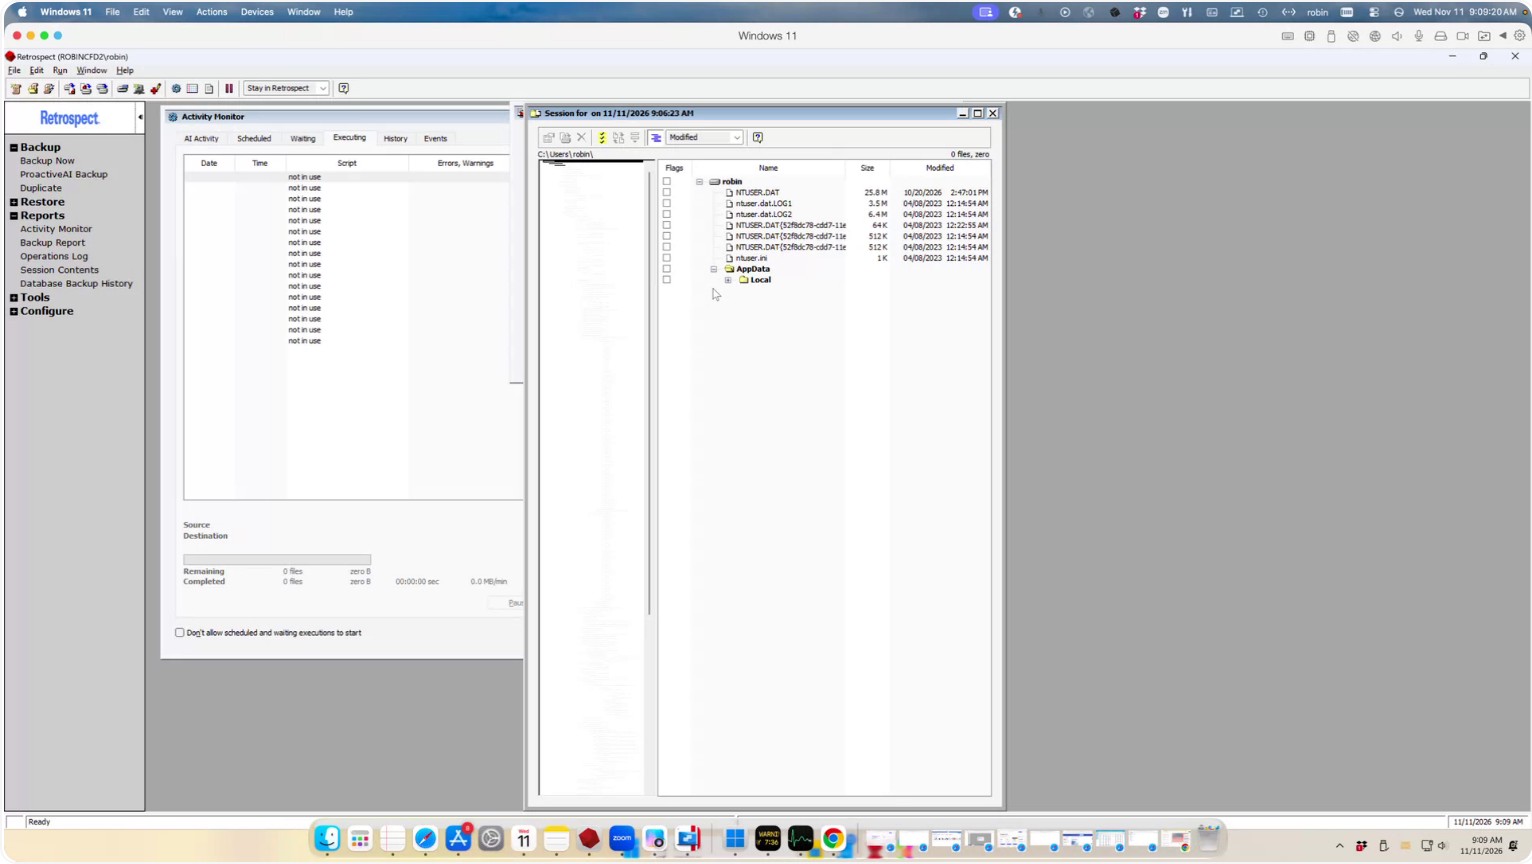
When the backup is complete, you can review which files were copied. On the left pane, go to Reports.
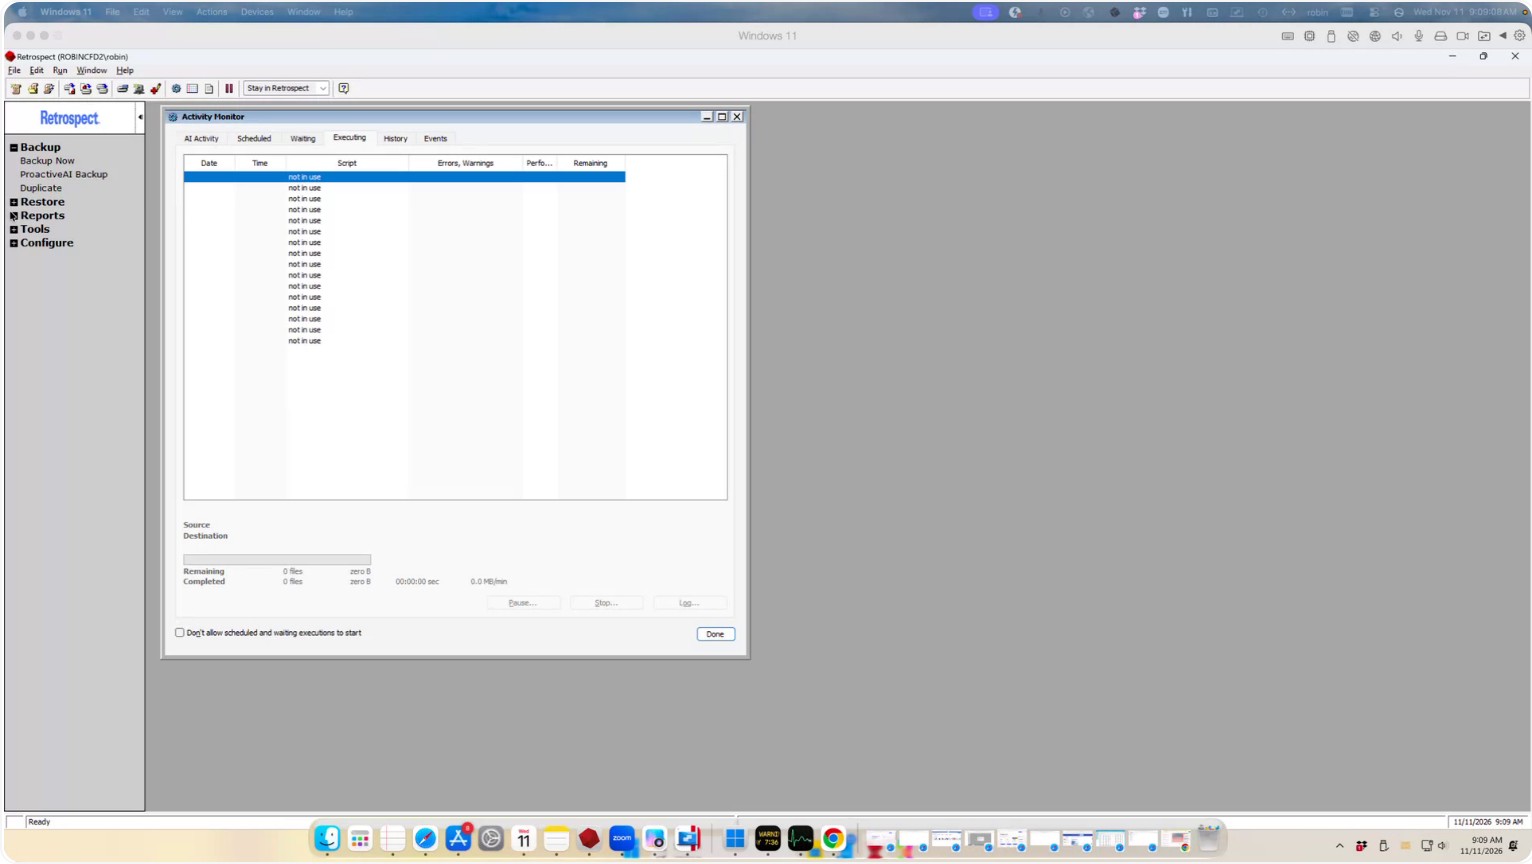
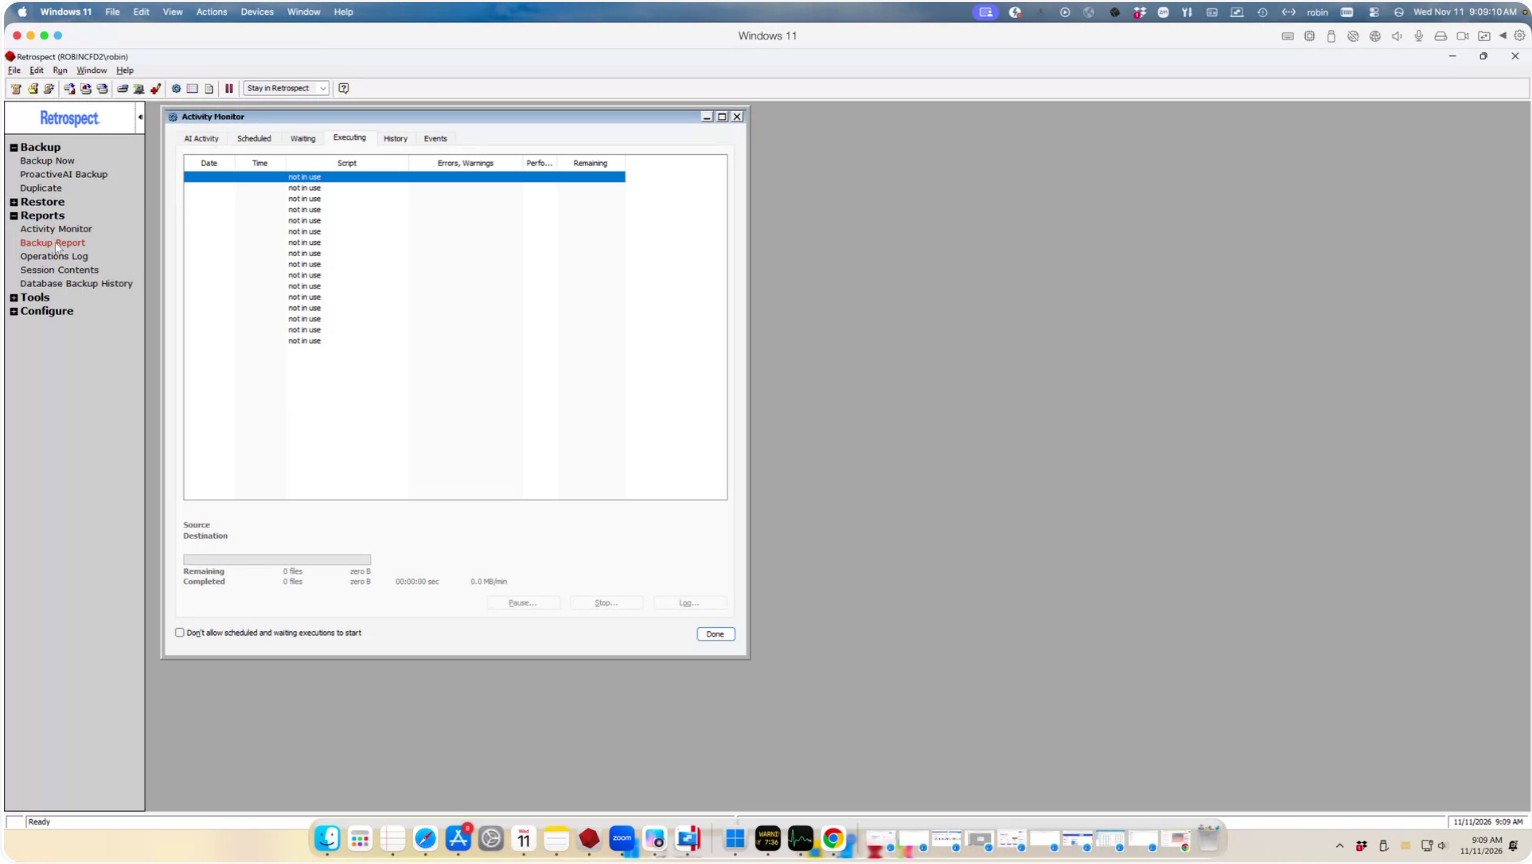
Then select Session Contents.
Highlight your backup set.
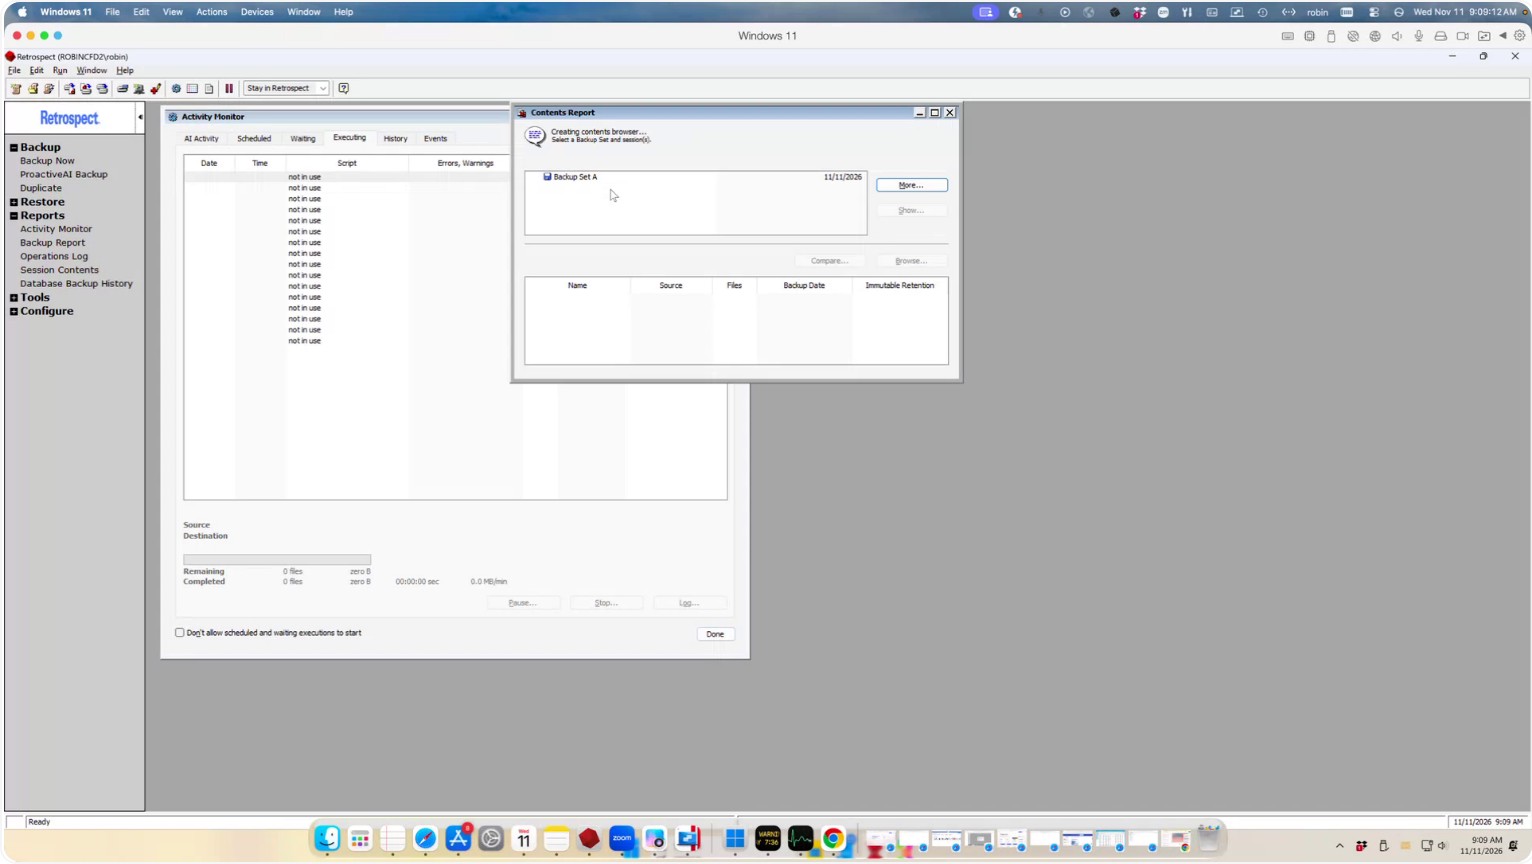
Choose the date and time of the specific backup you want to review.
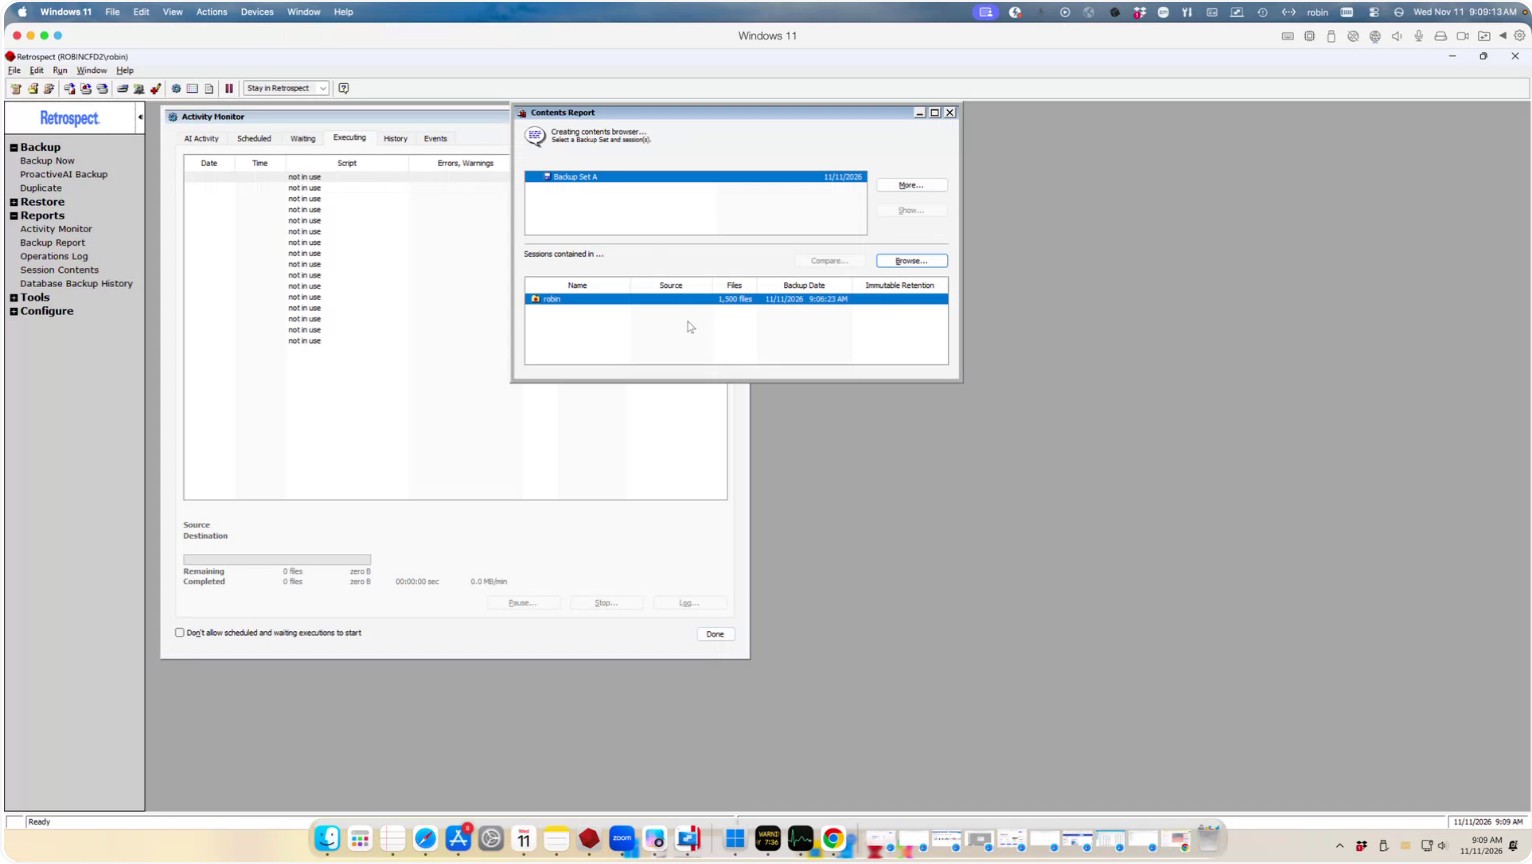
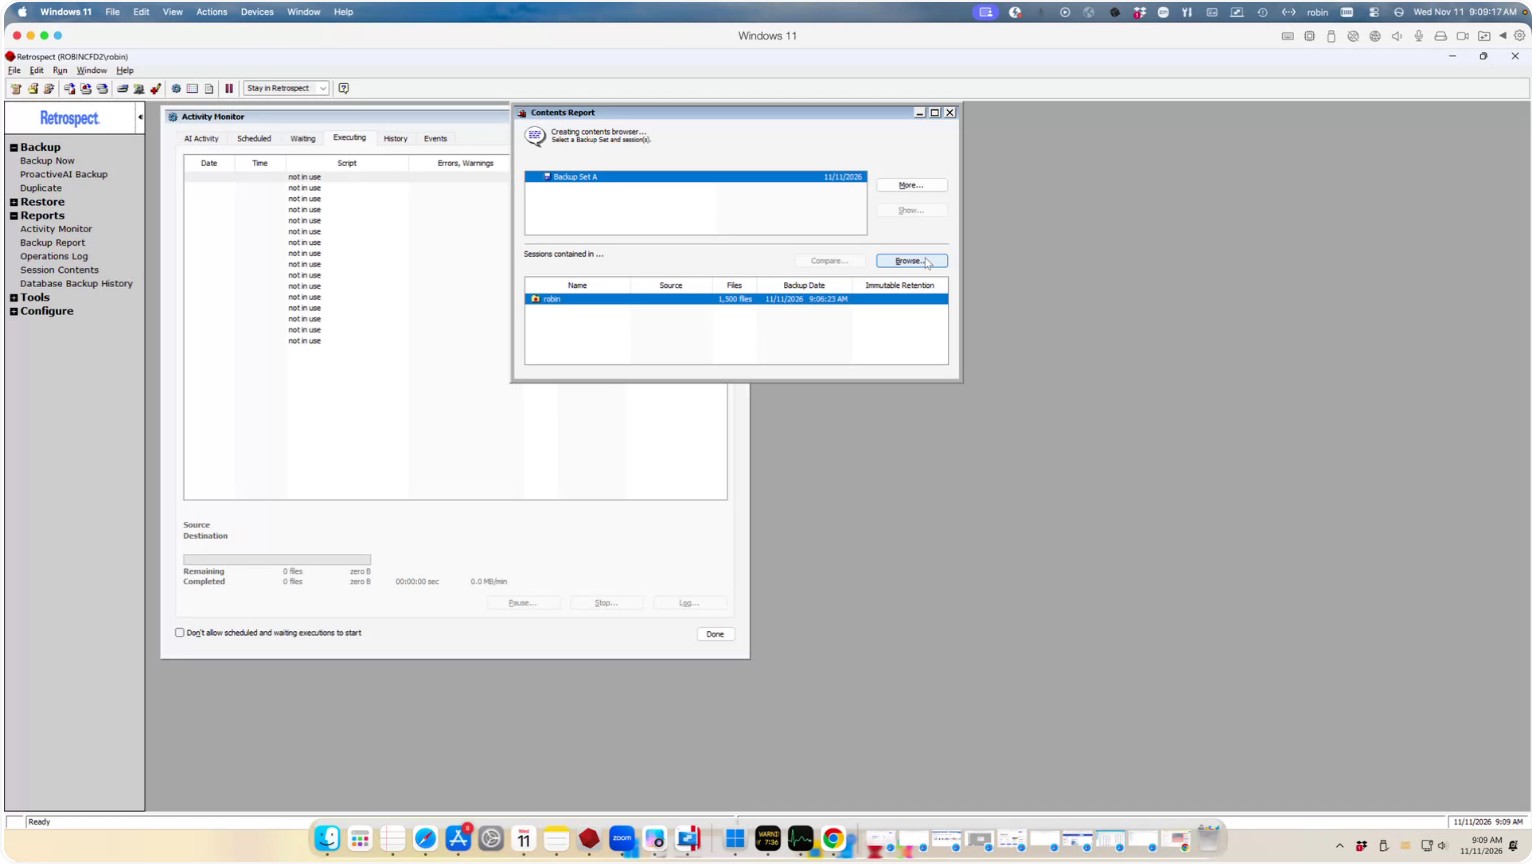
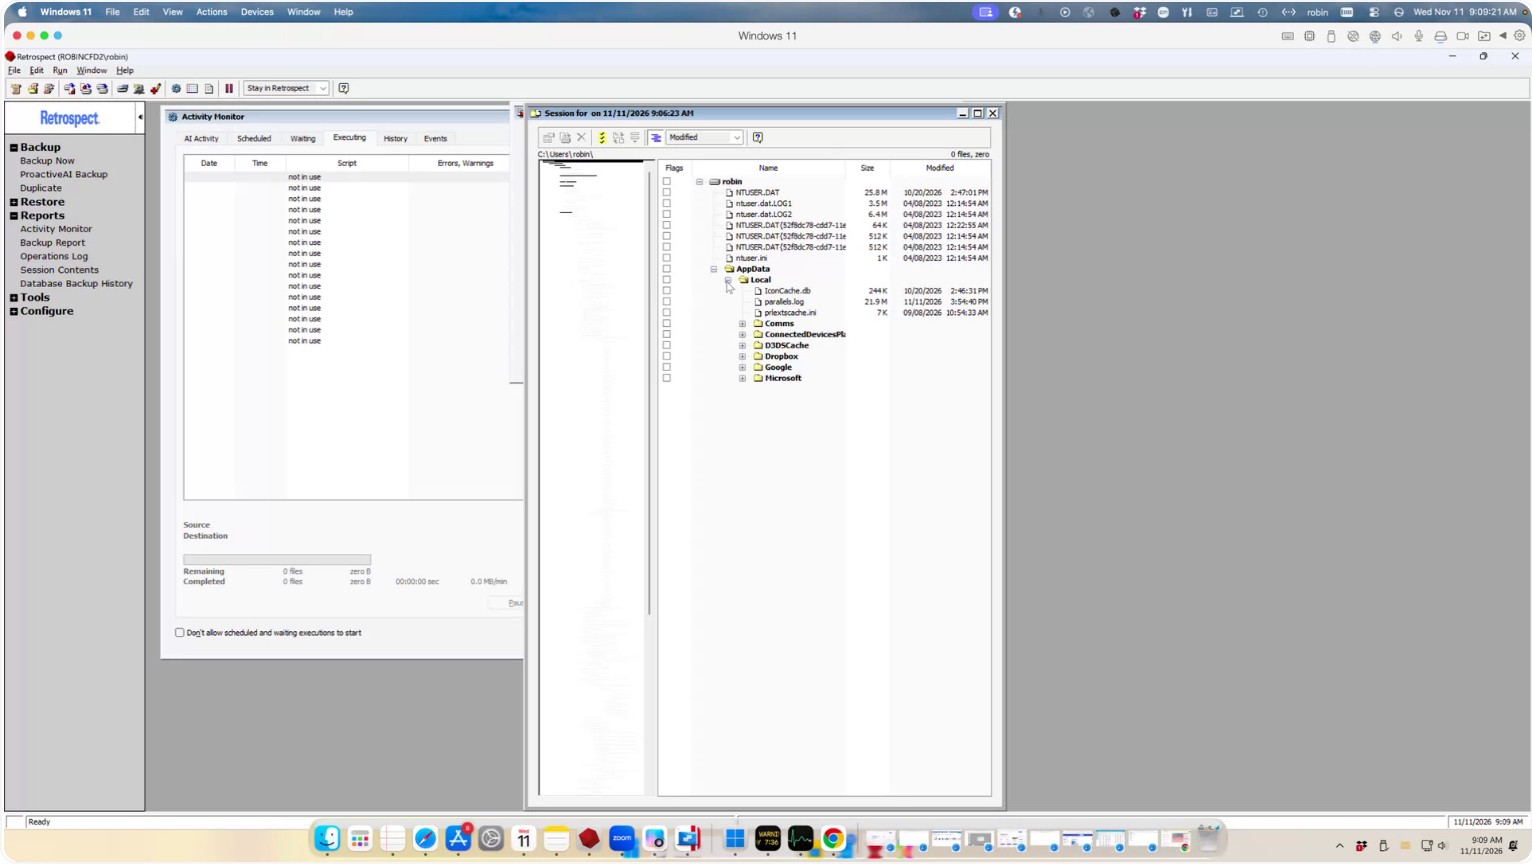
Click Browse. Retrospect will display a list of all files and folders that were included in that backup operation.