Configuring Copy Media Set Operations in Retrospect for macOS
This document explains how to configure Retrospect on macOS to copy backup data from one media set to another, typically for off-site storage or for creating additional copies of existing backups. It walks through creating a Copy Media Set script, defining source and destination media sets, and scheduling or running the copy job.
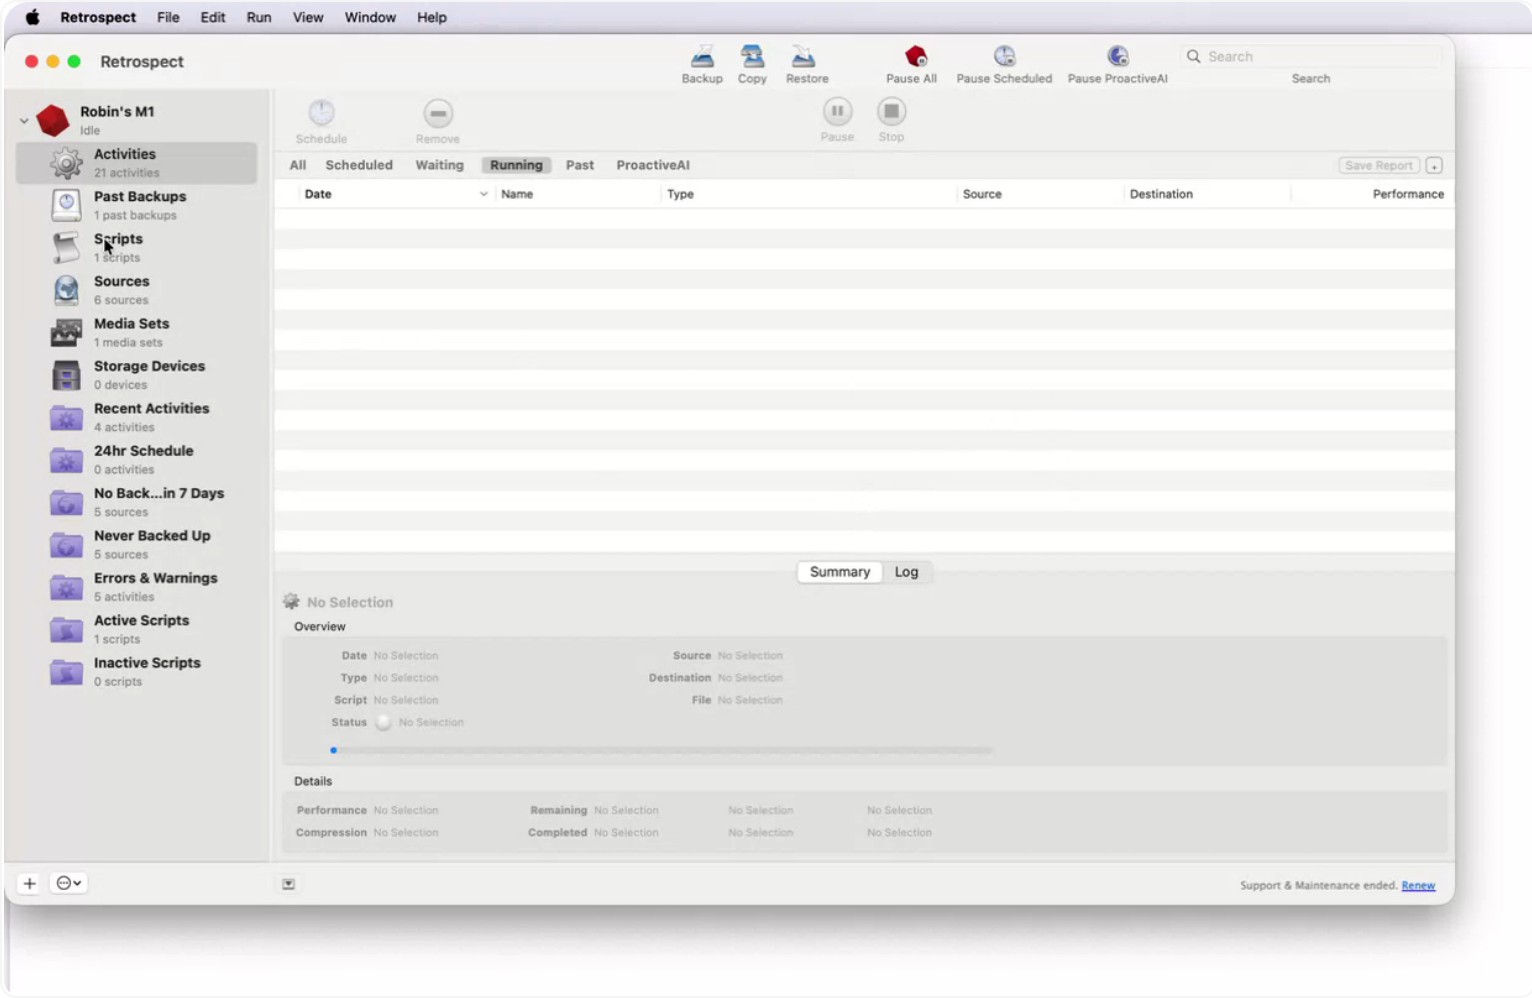
Step 1: Open the Scripts Section
Go to the Scripts section in Retrospect on the left-hand side of the main window.
Step 2: Add a New Copy Script
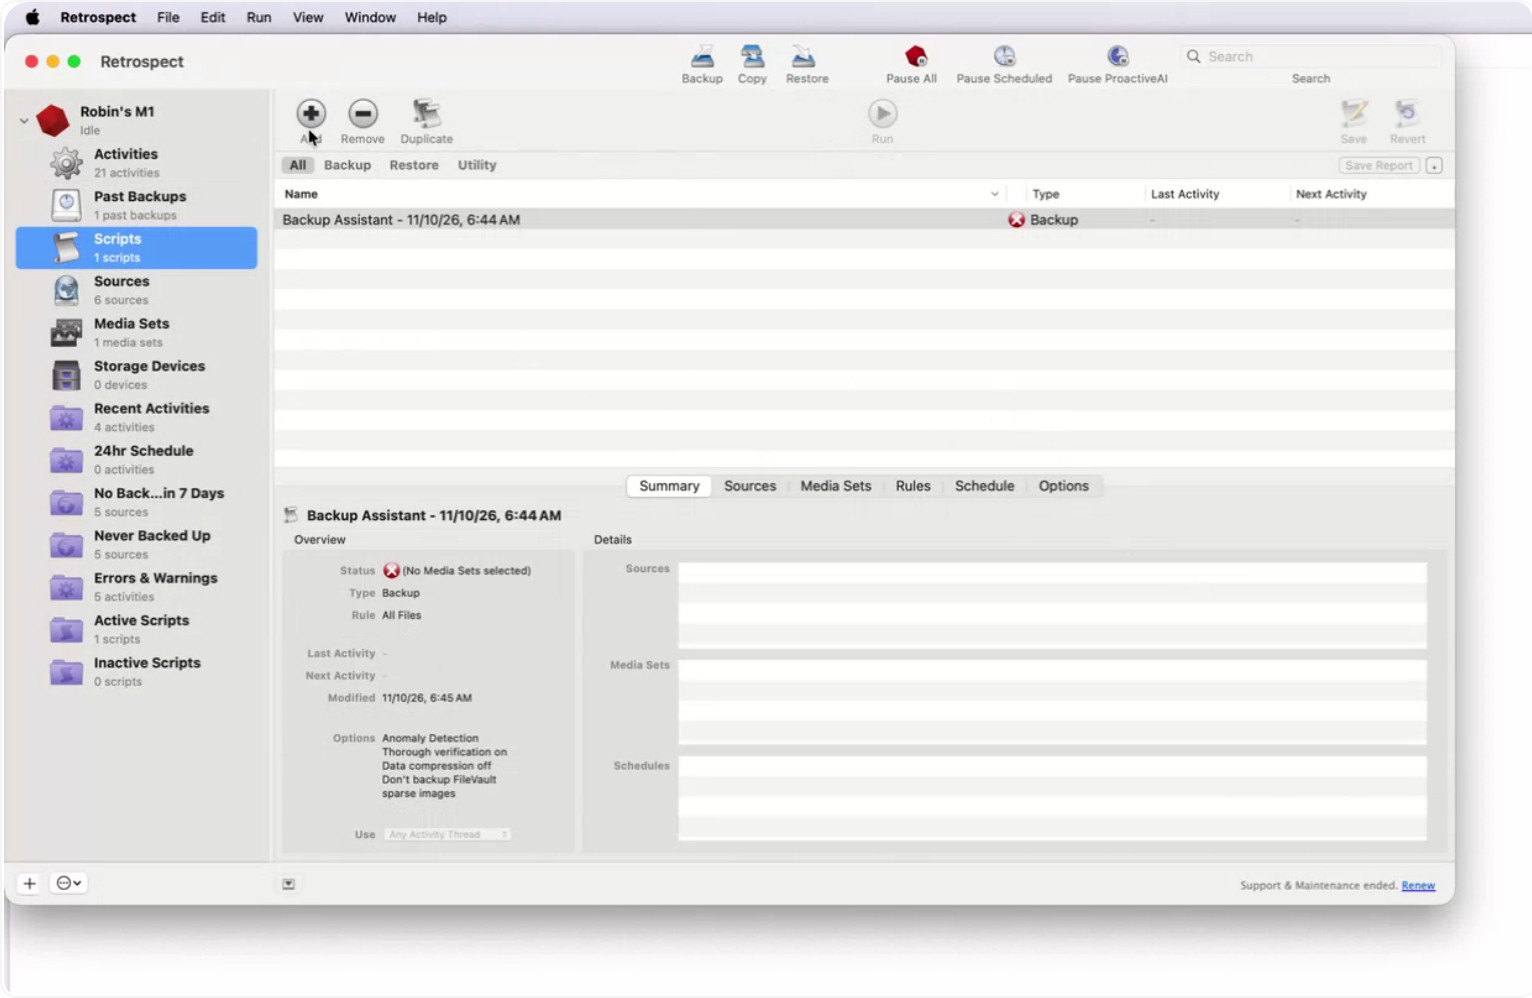
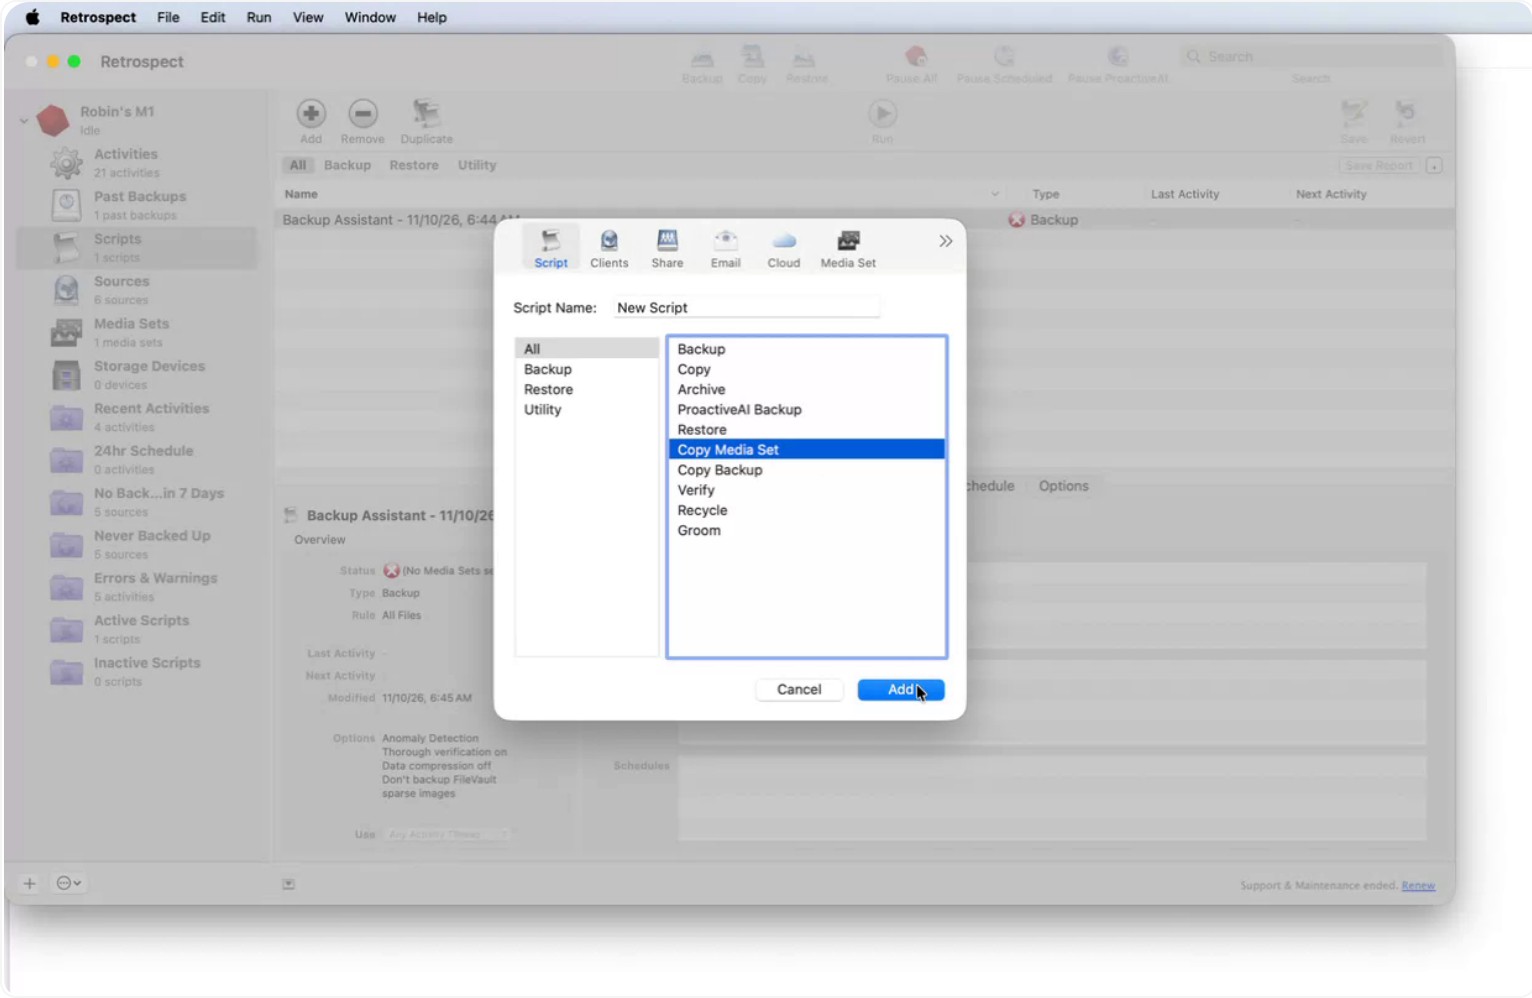
At the top of the Scripts section, click Add to create a new script.
In the script type options, choose Copy Media Set.
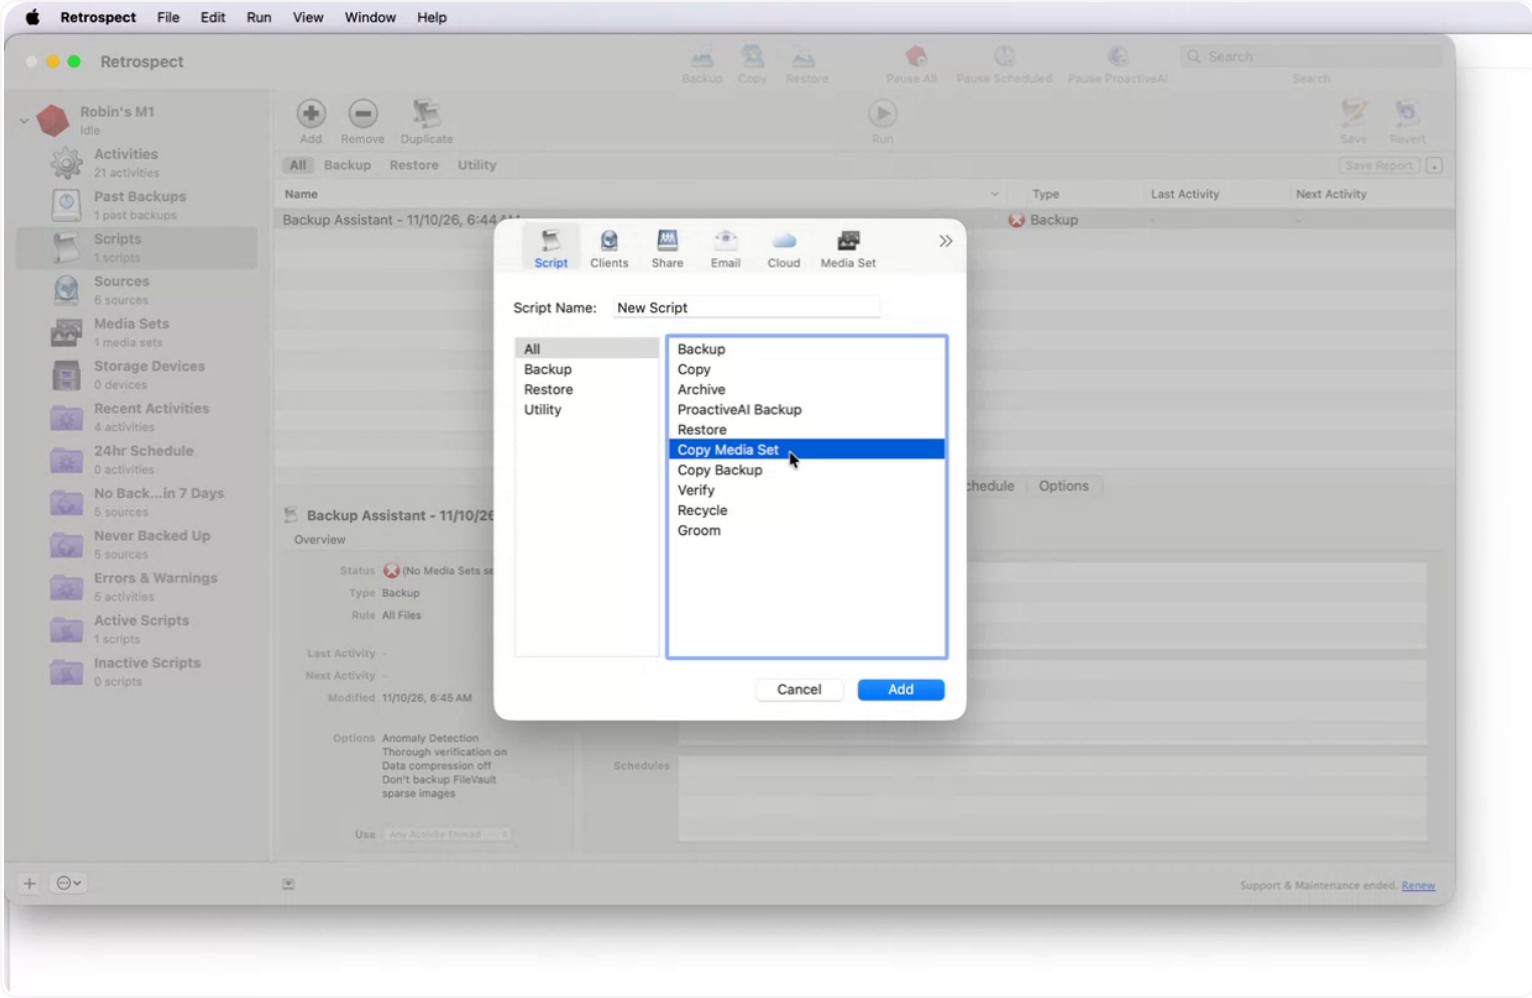
The Copy Media Set script will copy an entire media set from one location to another. (Alternatively, Copy Backup can be used to copy specific snapshots instead of the entire backup.)
Click Add to create the new Copy Media Set script.
Step 3: Select the Source Media Set
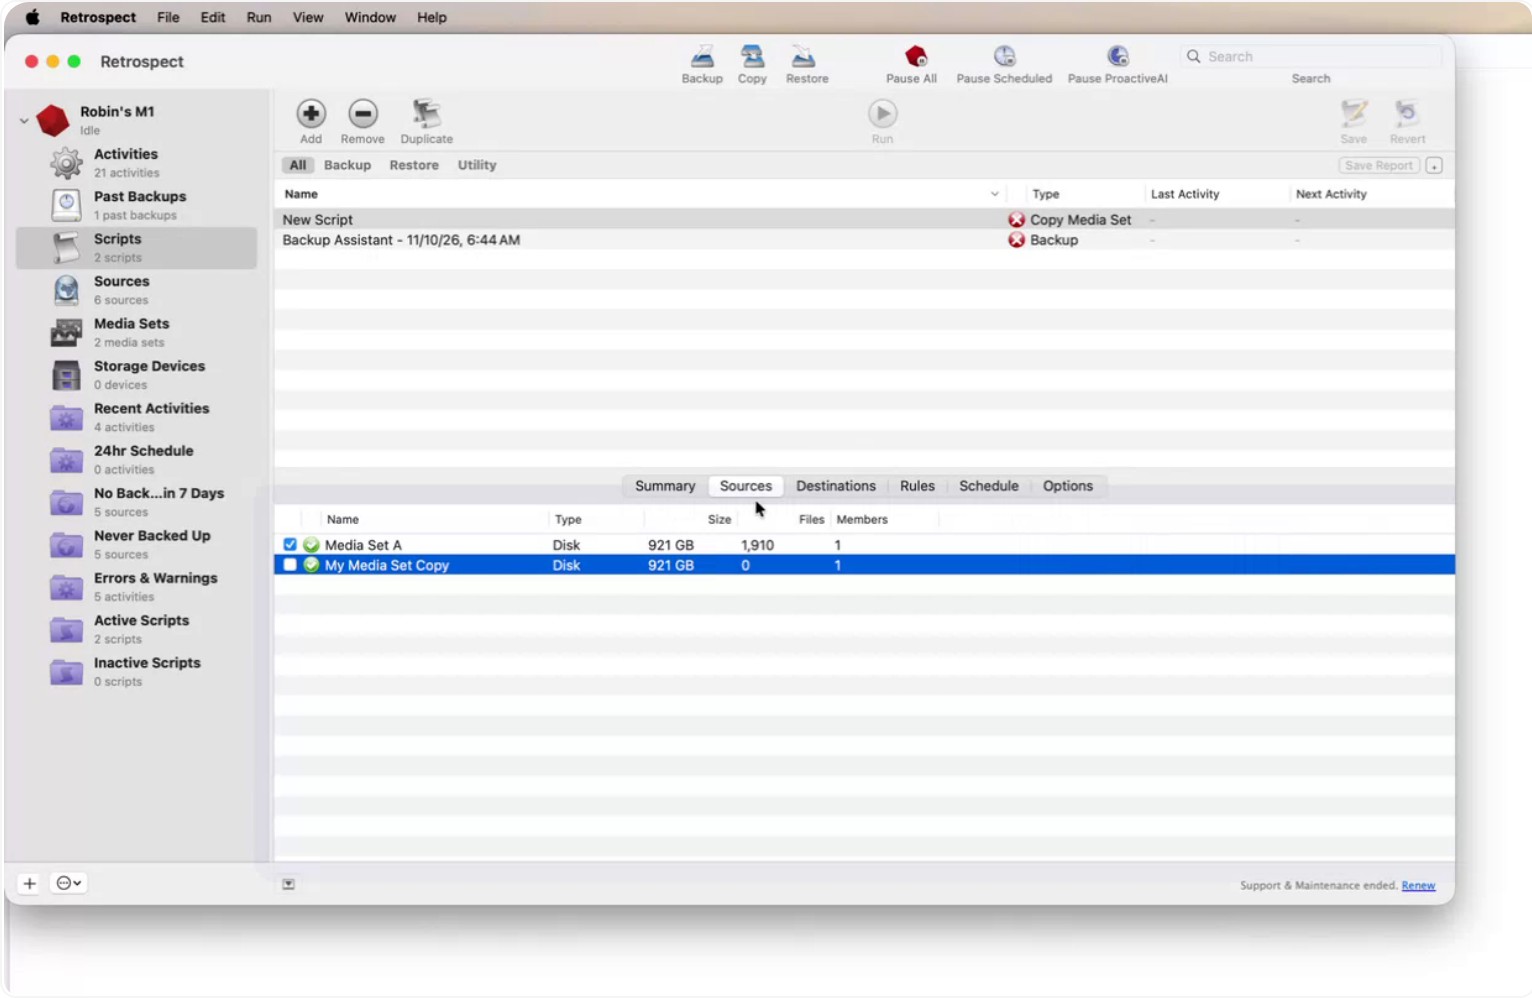
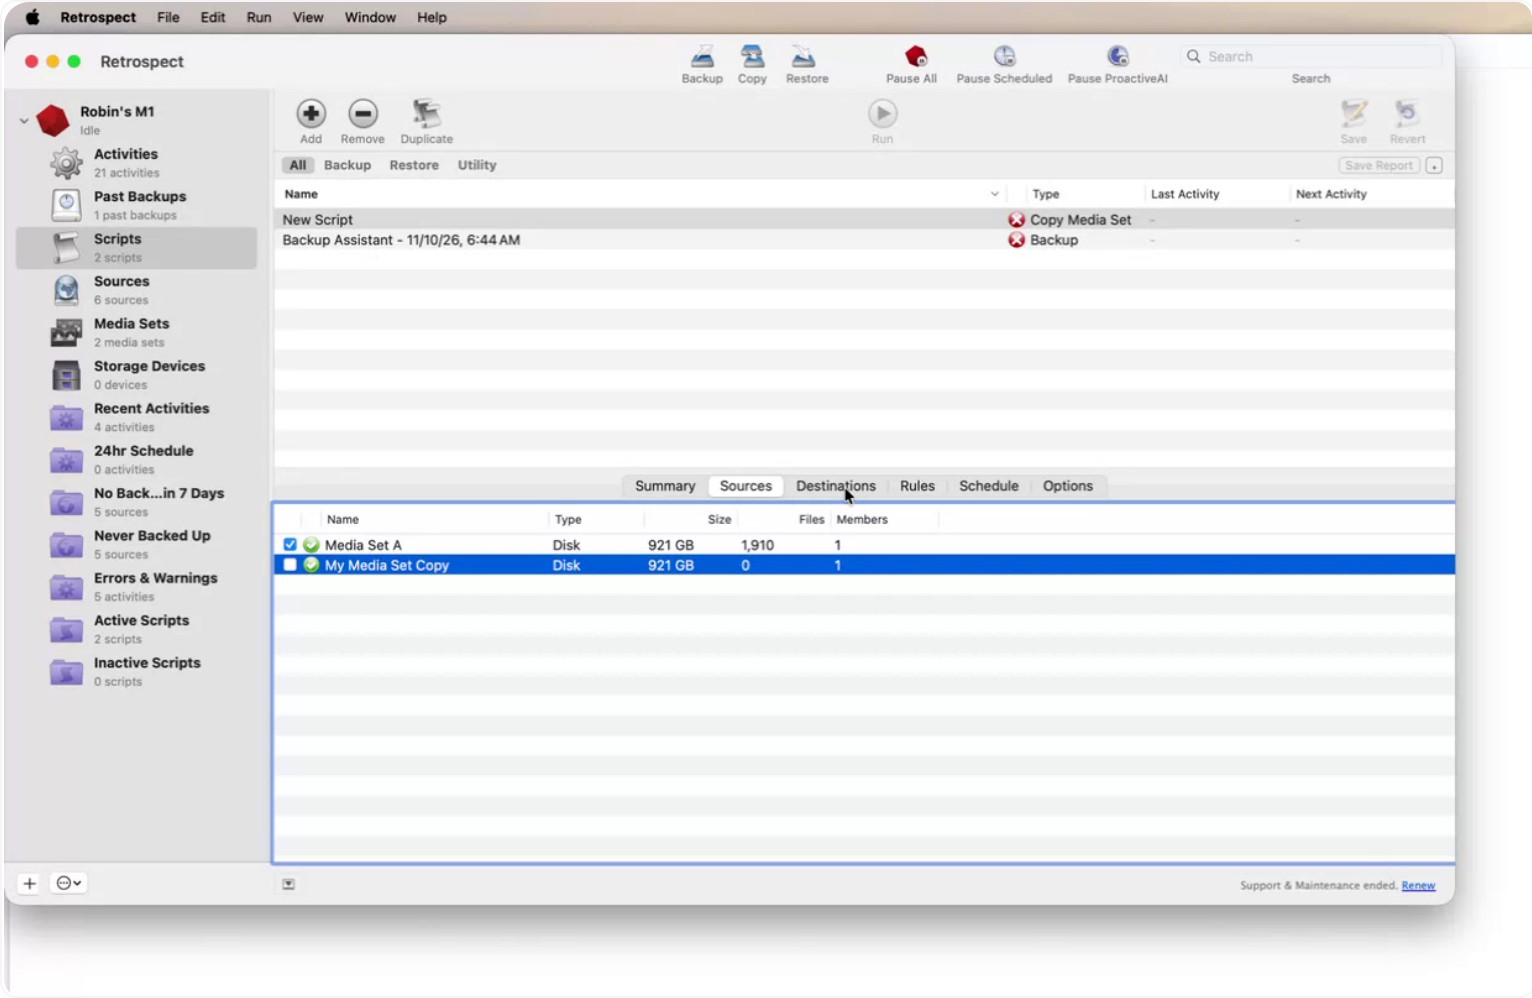
In the new script, go to the Sources tab.
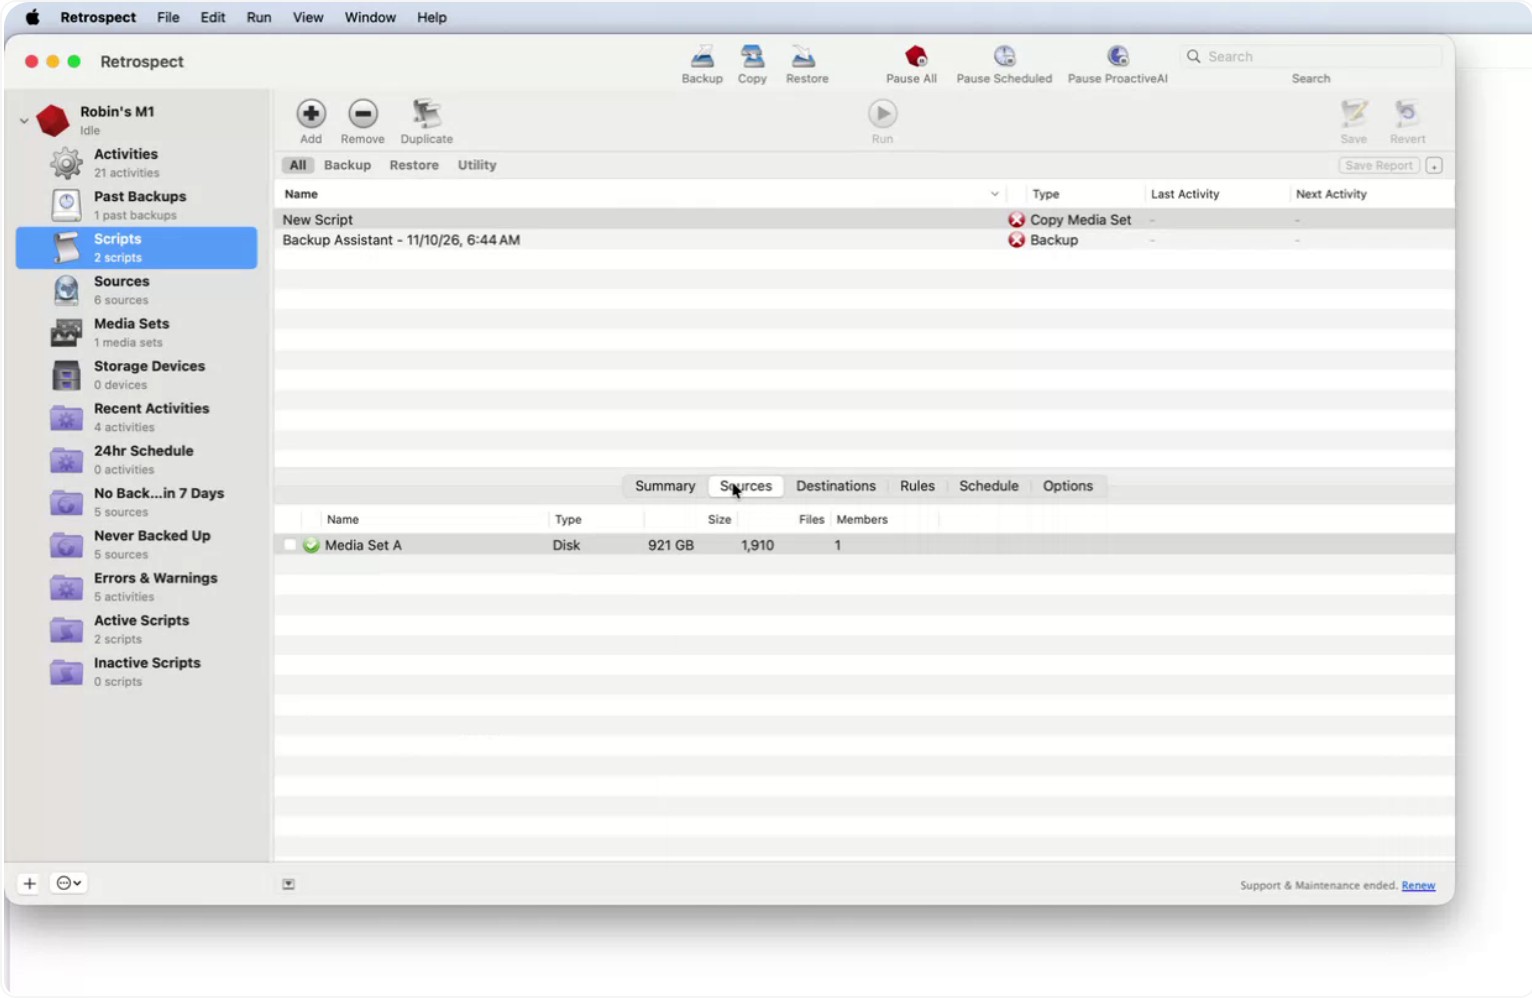
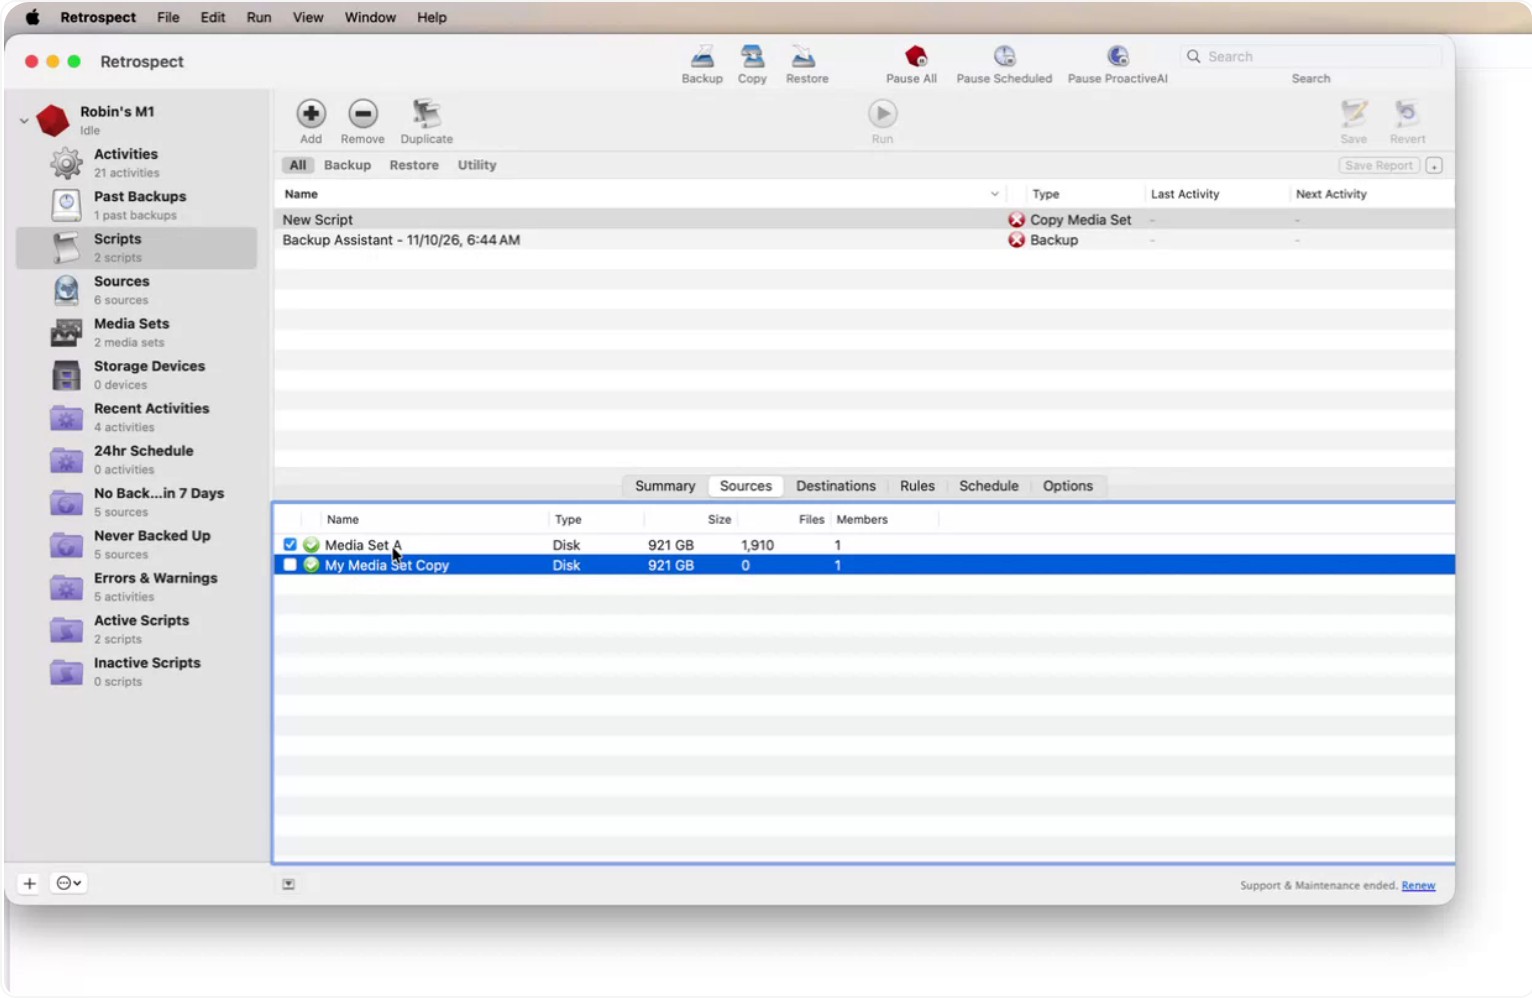
Select the source media set that you want to copy (for example, “Media Set A”). This is where the backup data will be read from.
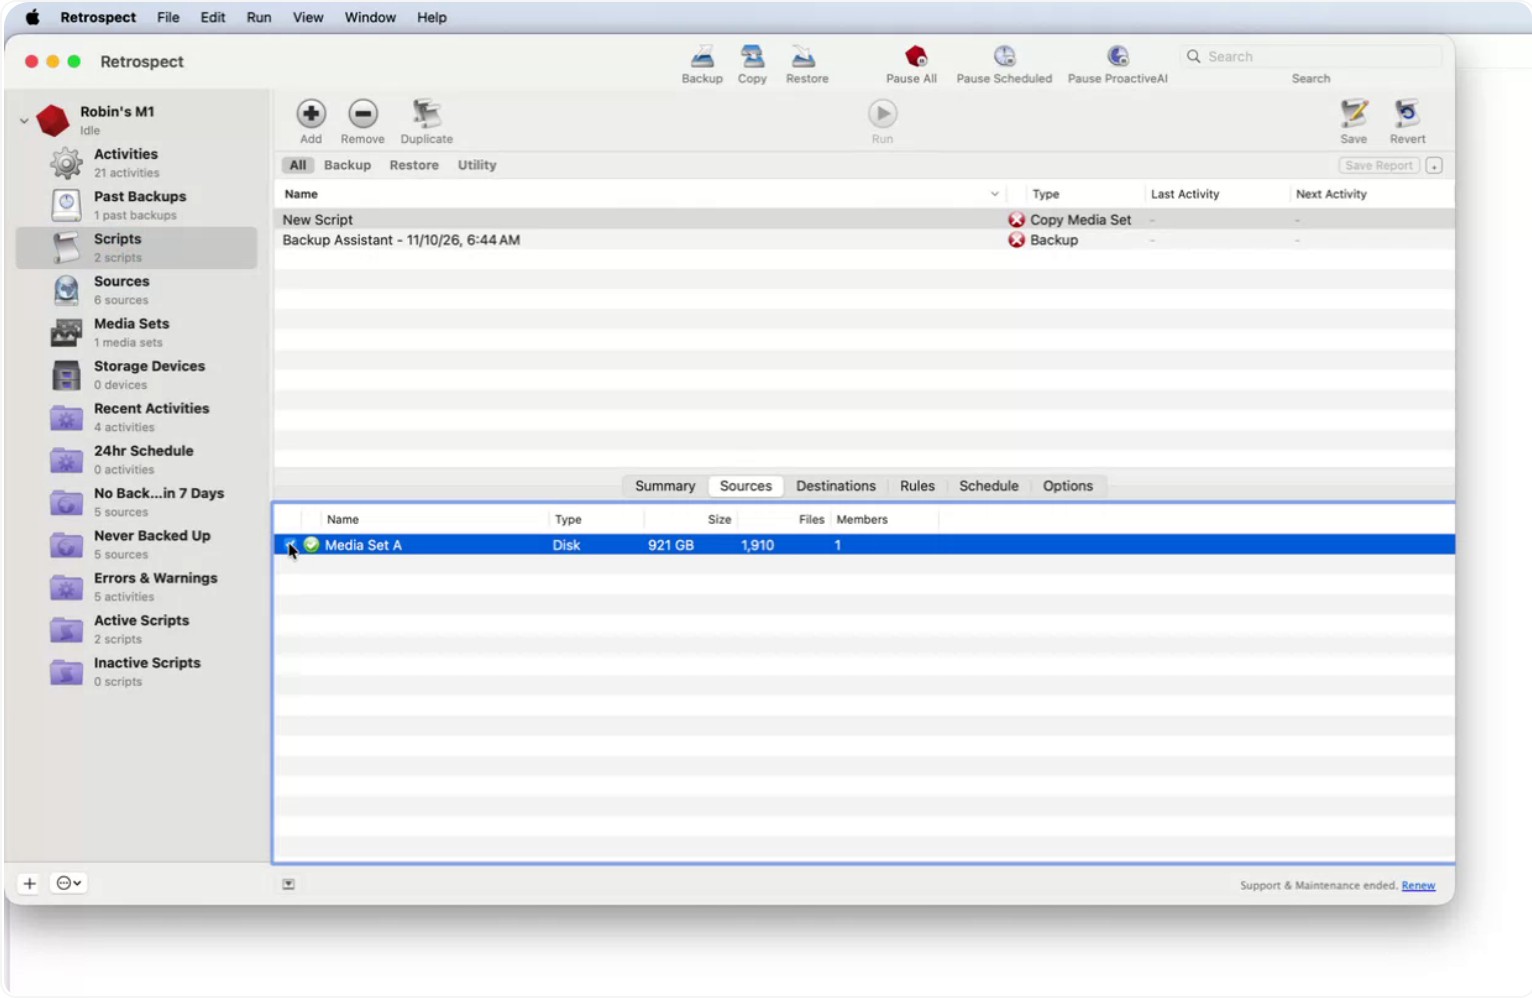
Step 4: Prepare the Destination Media Set
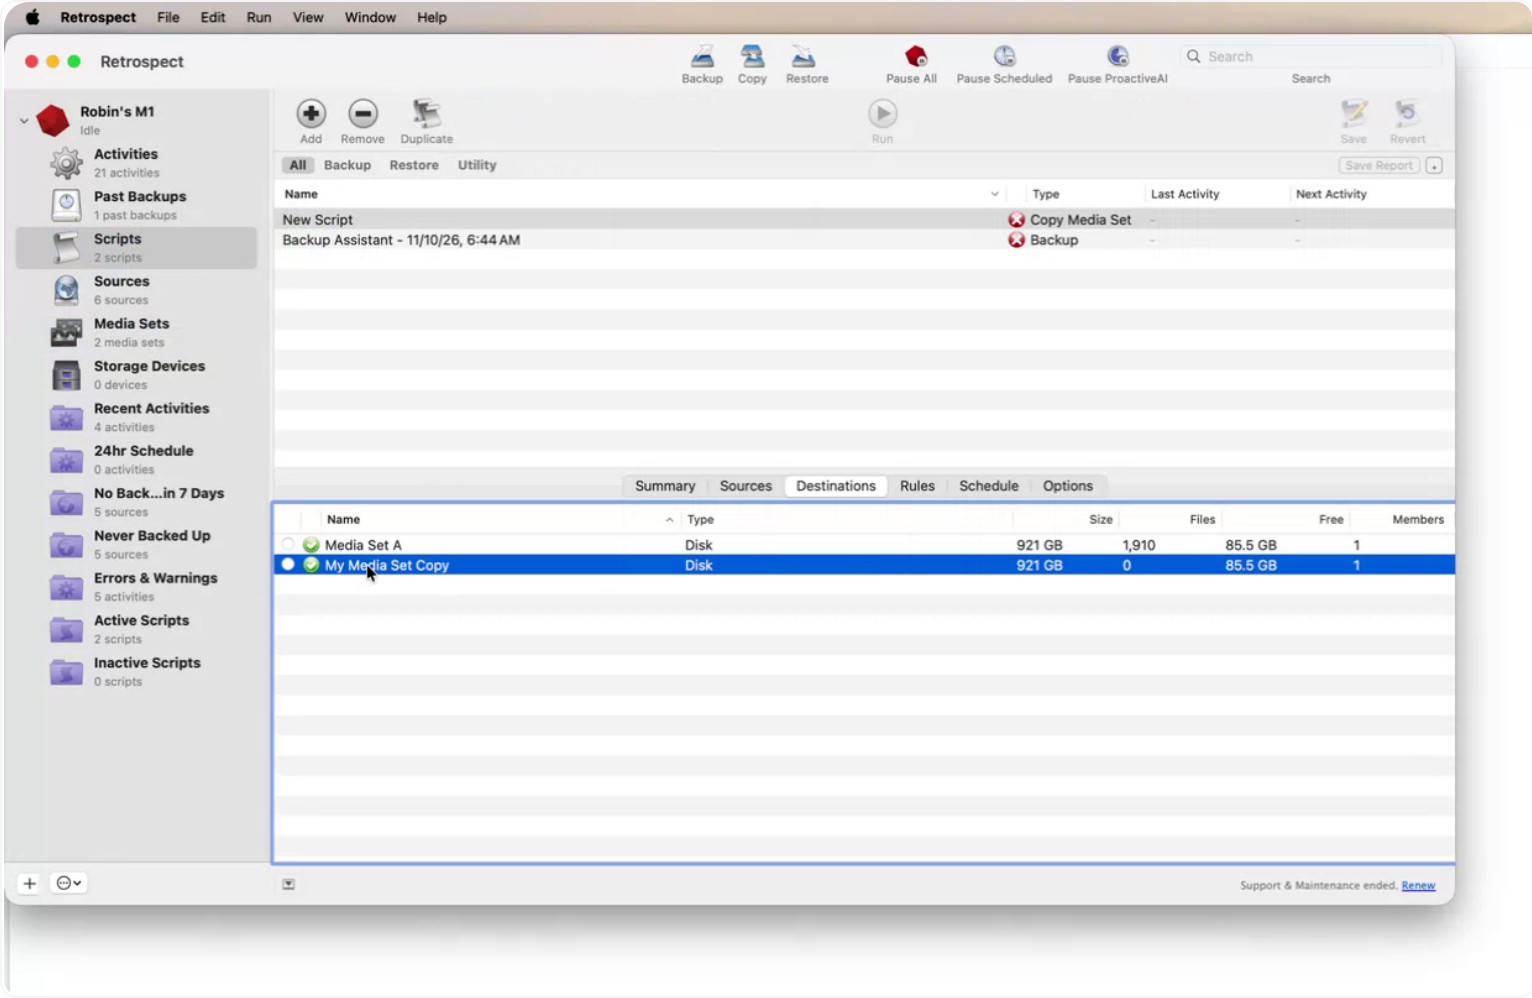
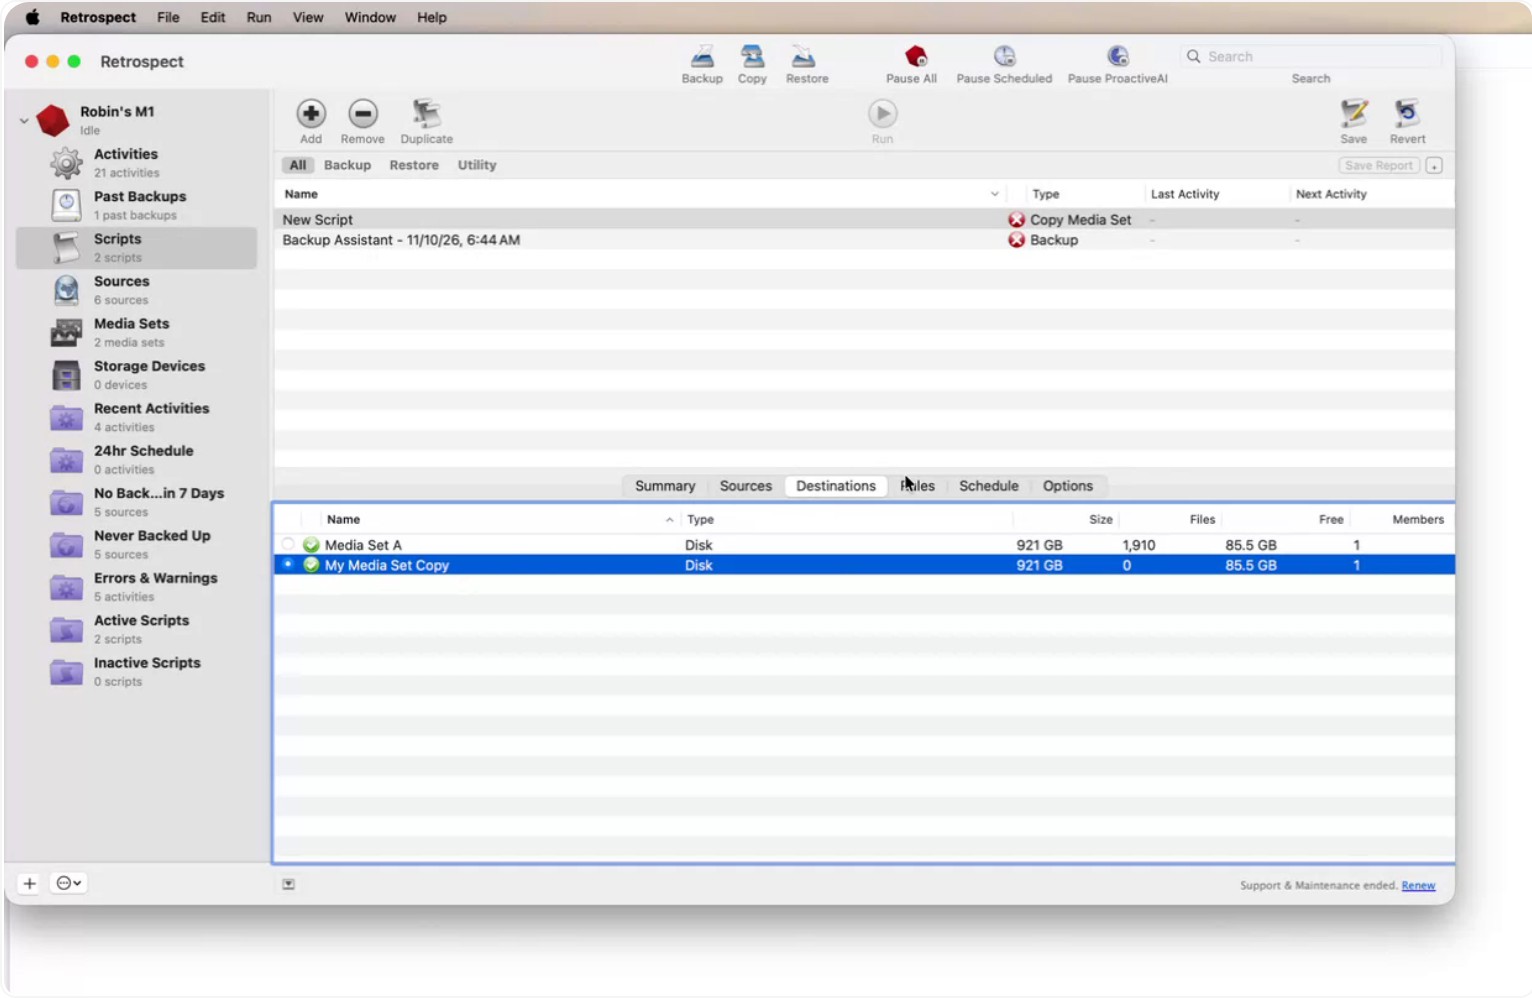
Go to the Destination tab in the script and attempt to select a destination media set.
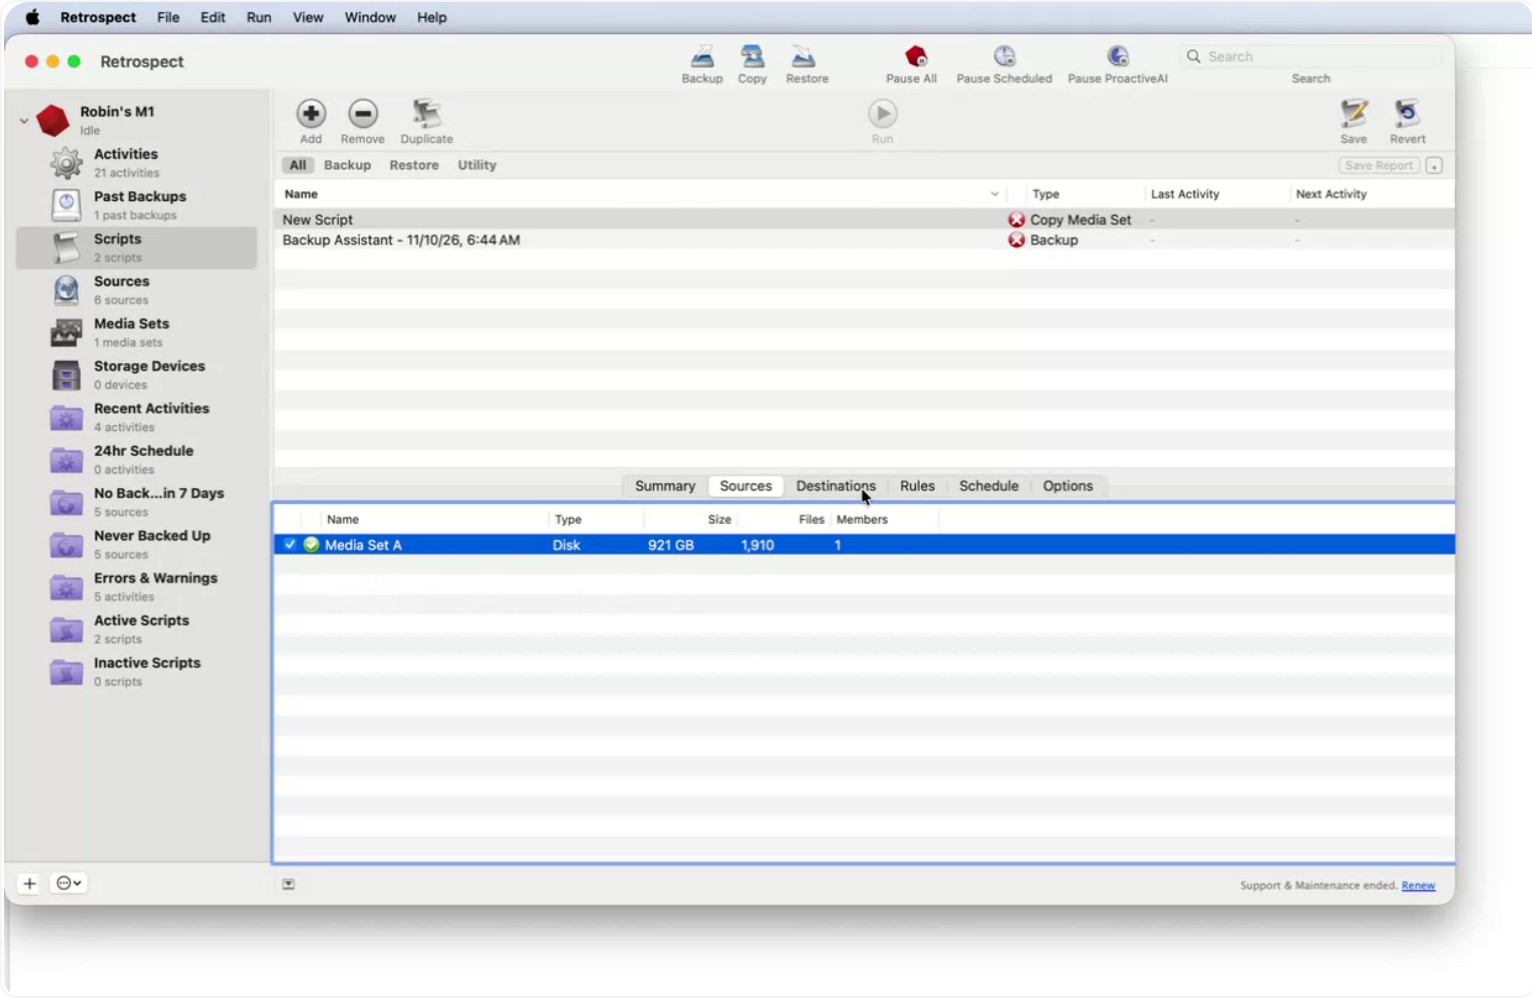
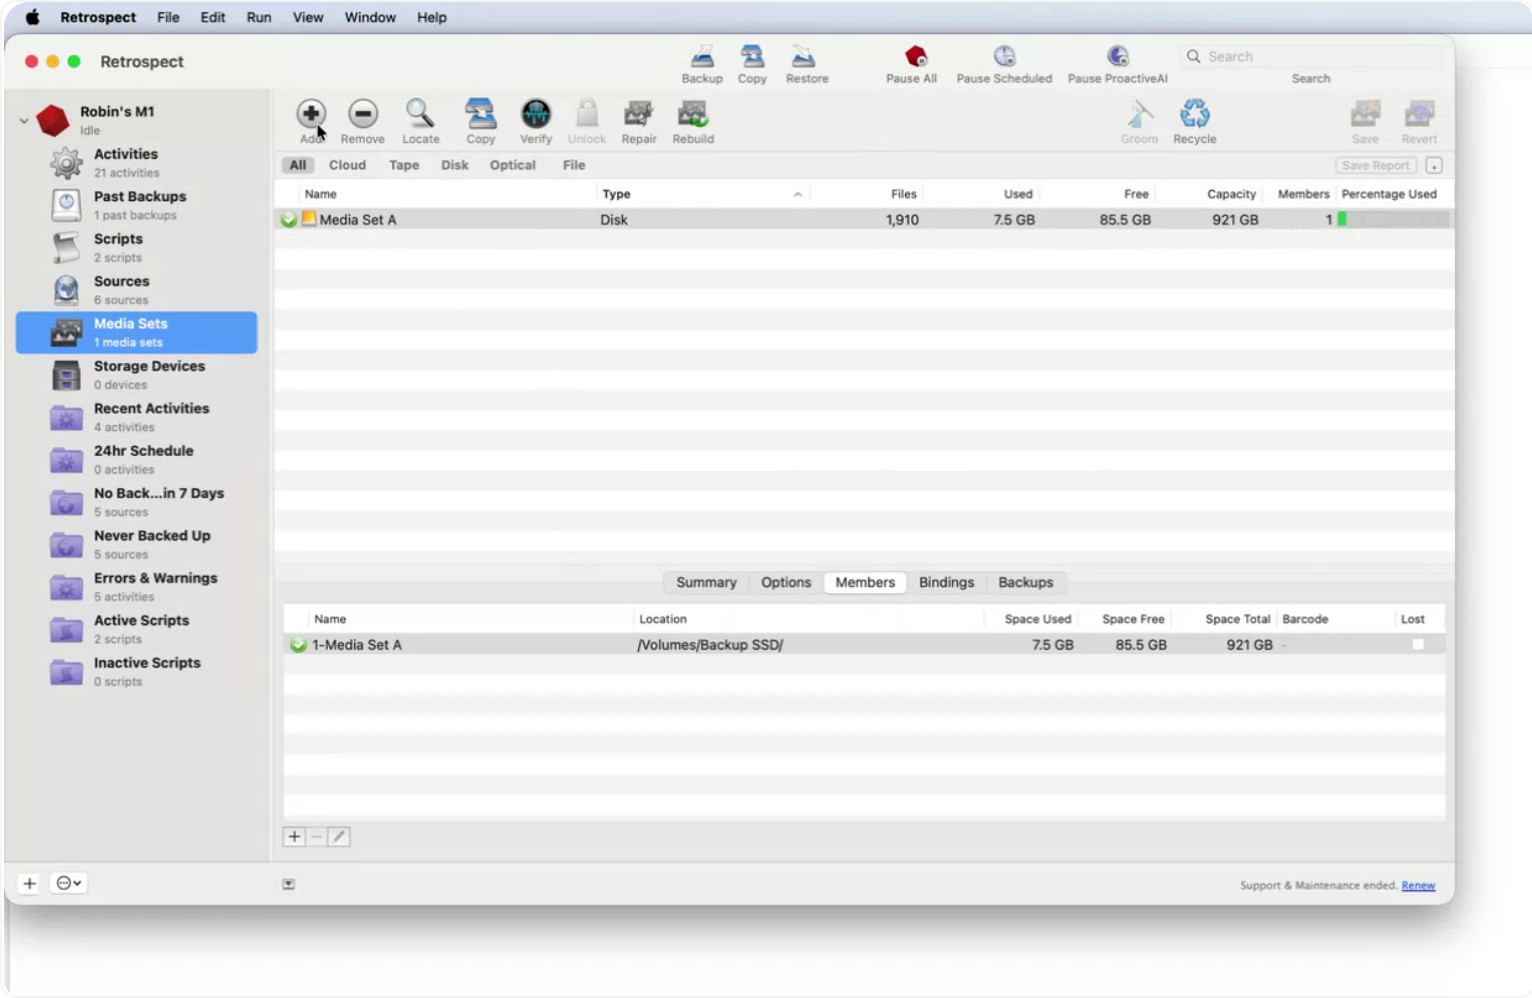
If you do not yet have a destination media set configured, you must create one. To do this, switch to the Media Sets section in the left-hand navigation.
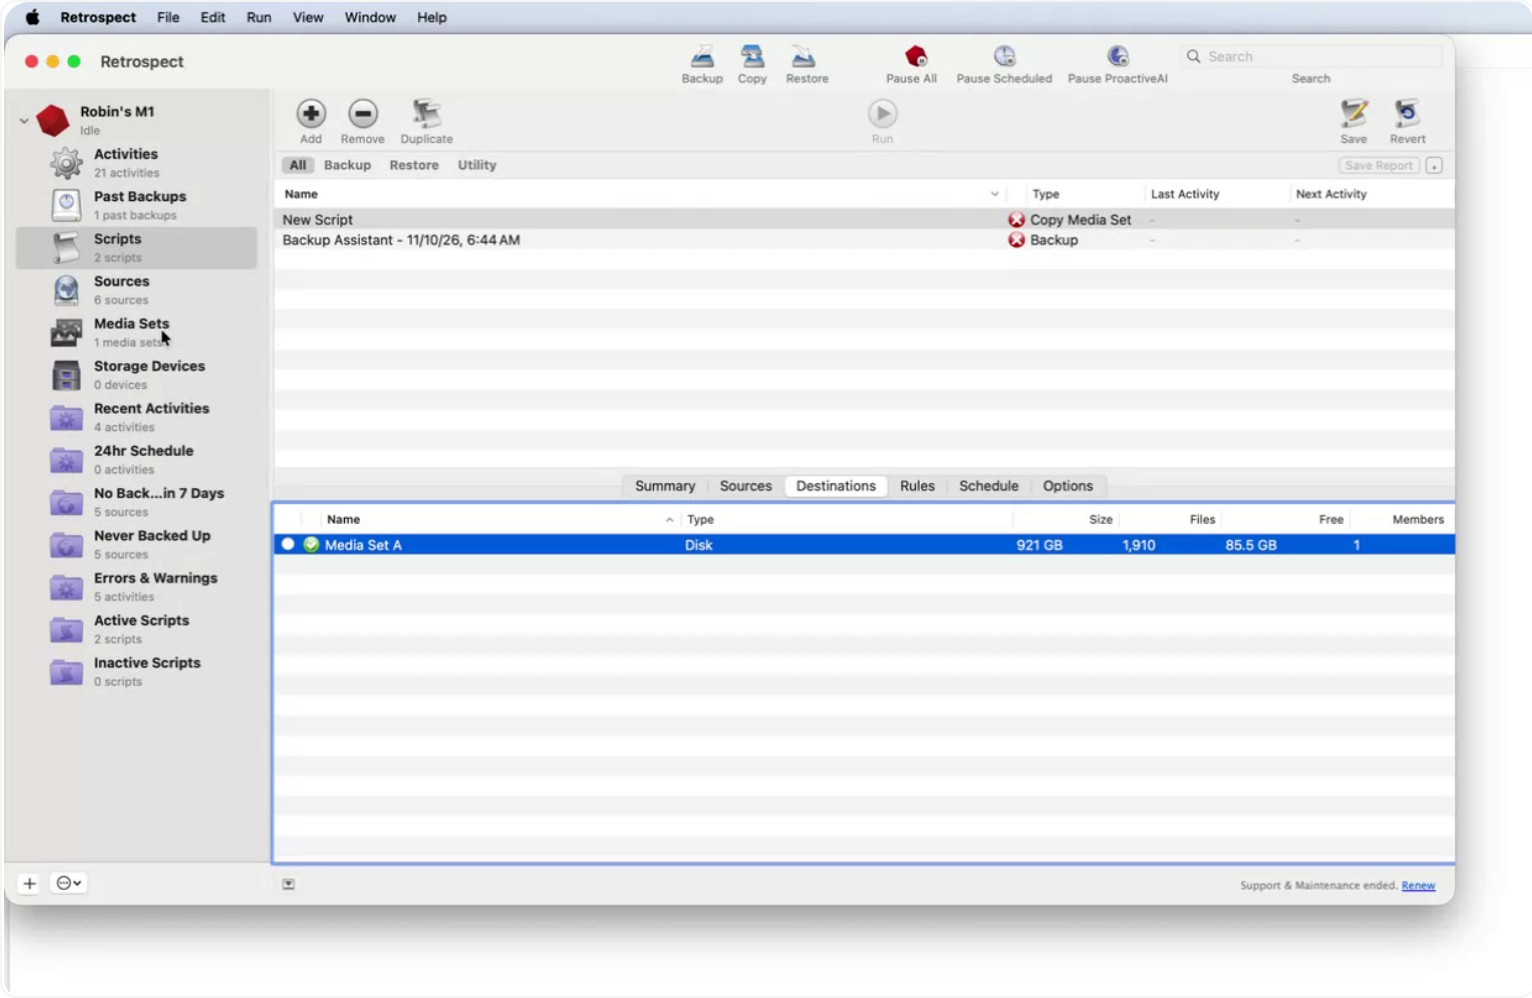
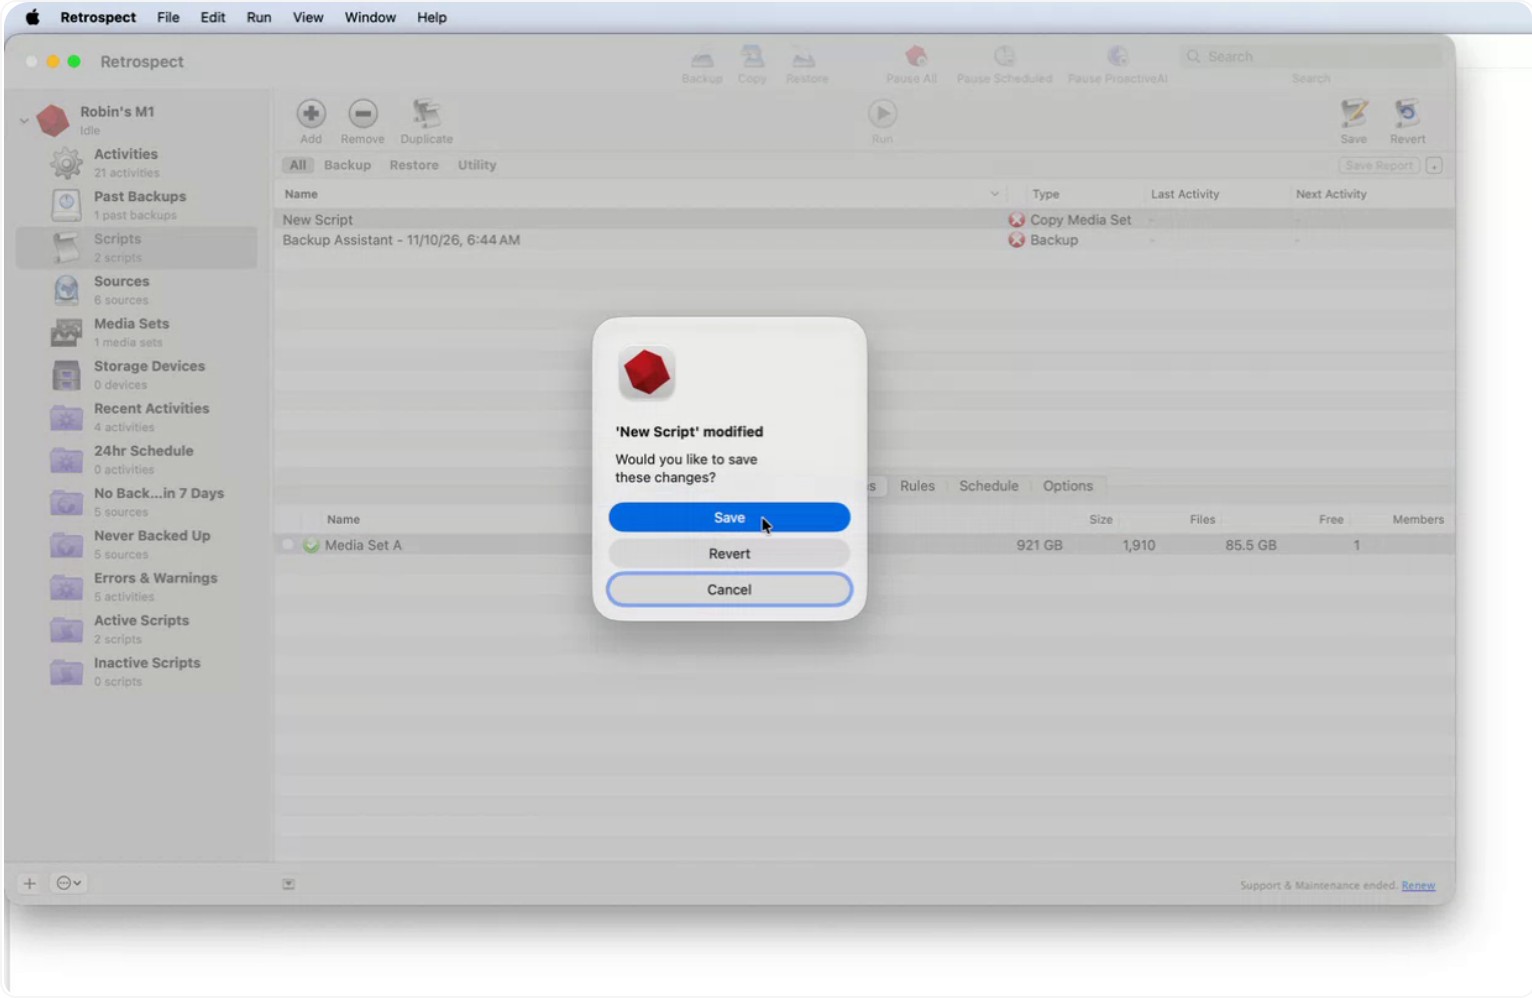
Save any pending script changes before leaving the Scripts section.
Step 5: Create a New Destination Media Set
Under Media Sets, click Add to create a new media set.
Enter a descriptive name for the new media set, such as “My Media Set – Media Set Copy.”
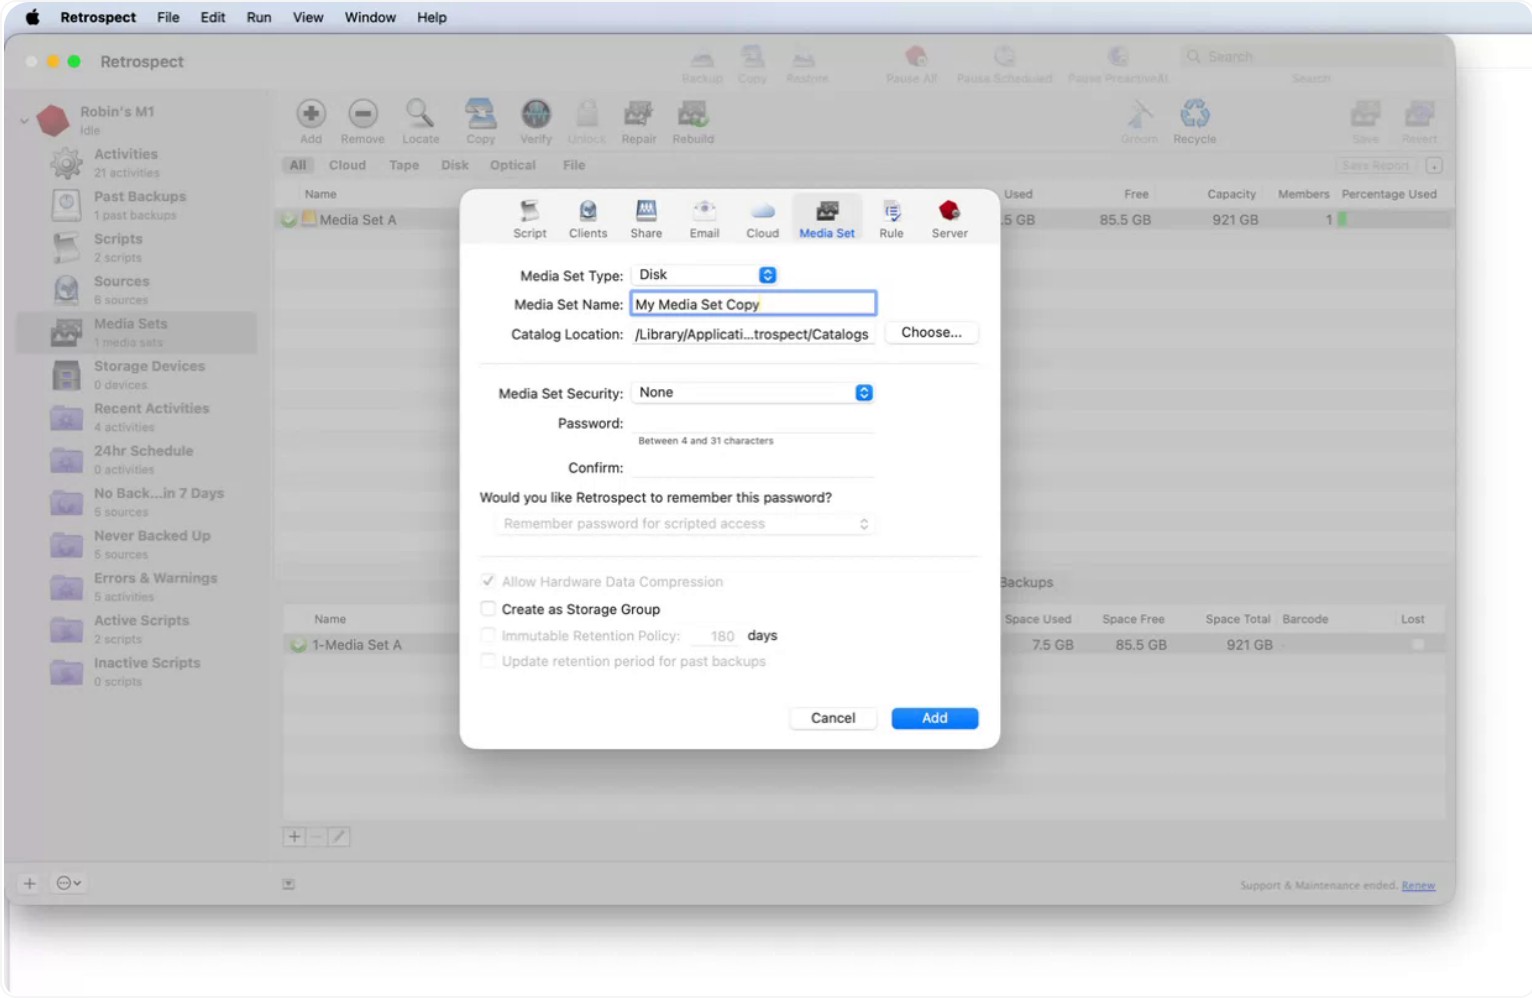
Choose the media set type. You can select Disk, Tape, or Cloud, depending on your storage strategy.
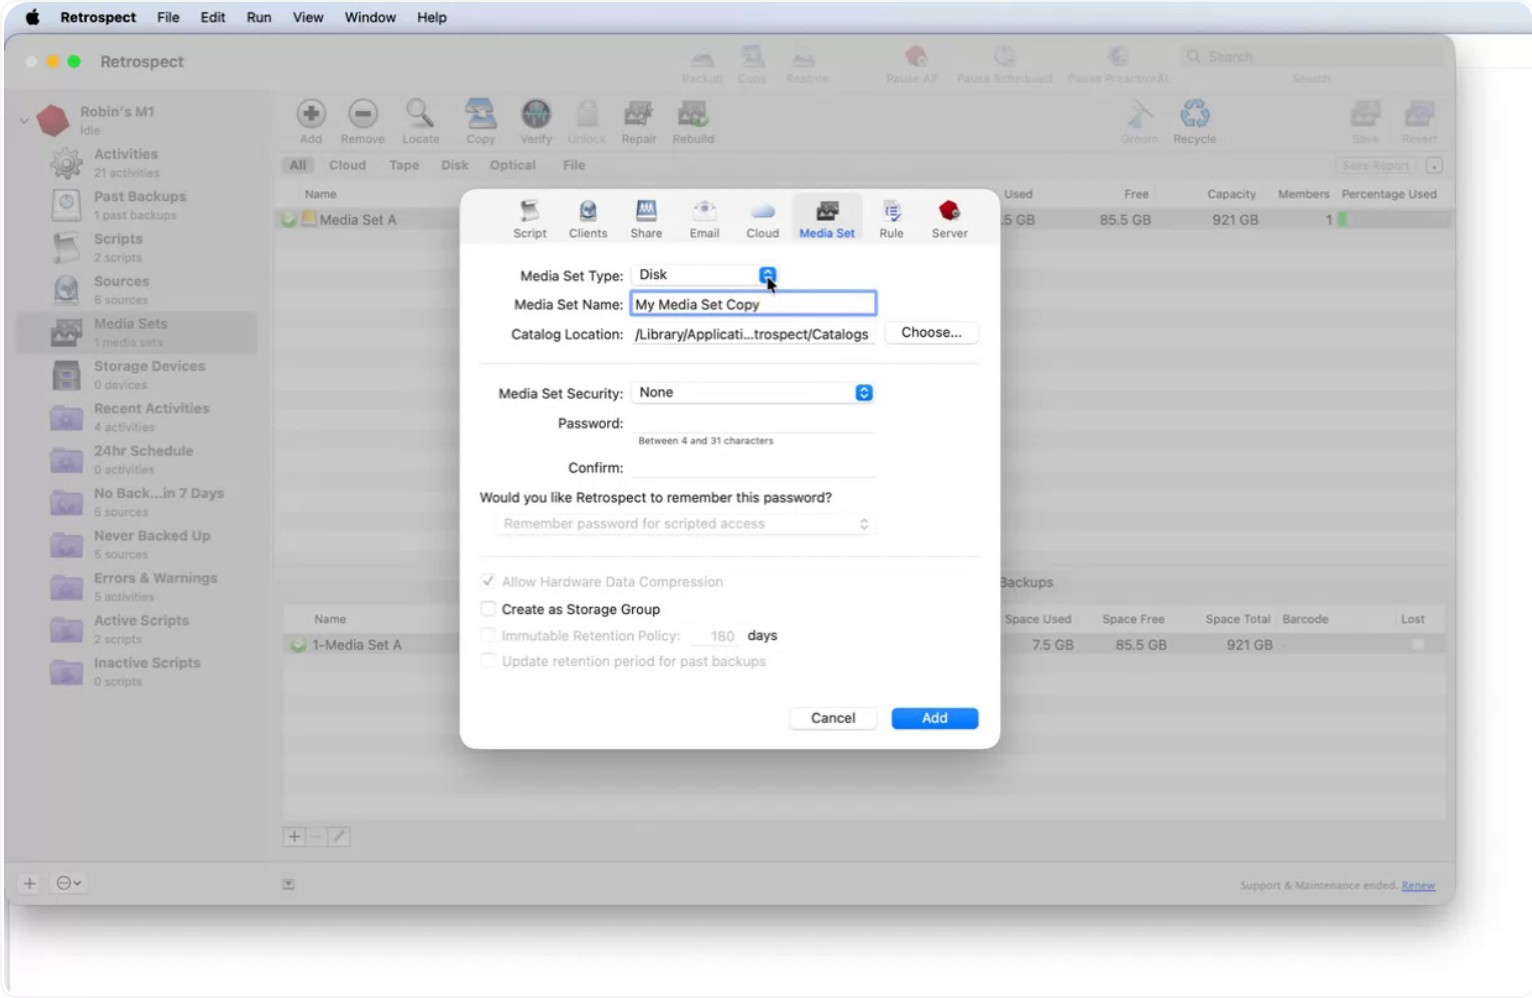
This flexibility allows workflows such as disk-to-disk-to-tape or disk-to-disk-to-cloud copy operations. For this example, select Disk, then click Add to proceed.
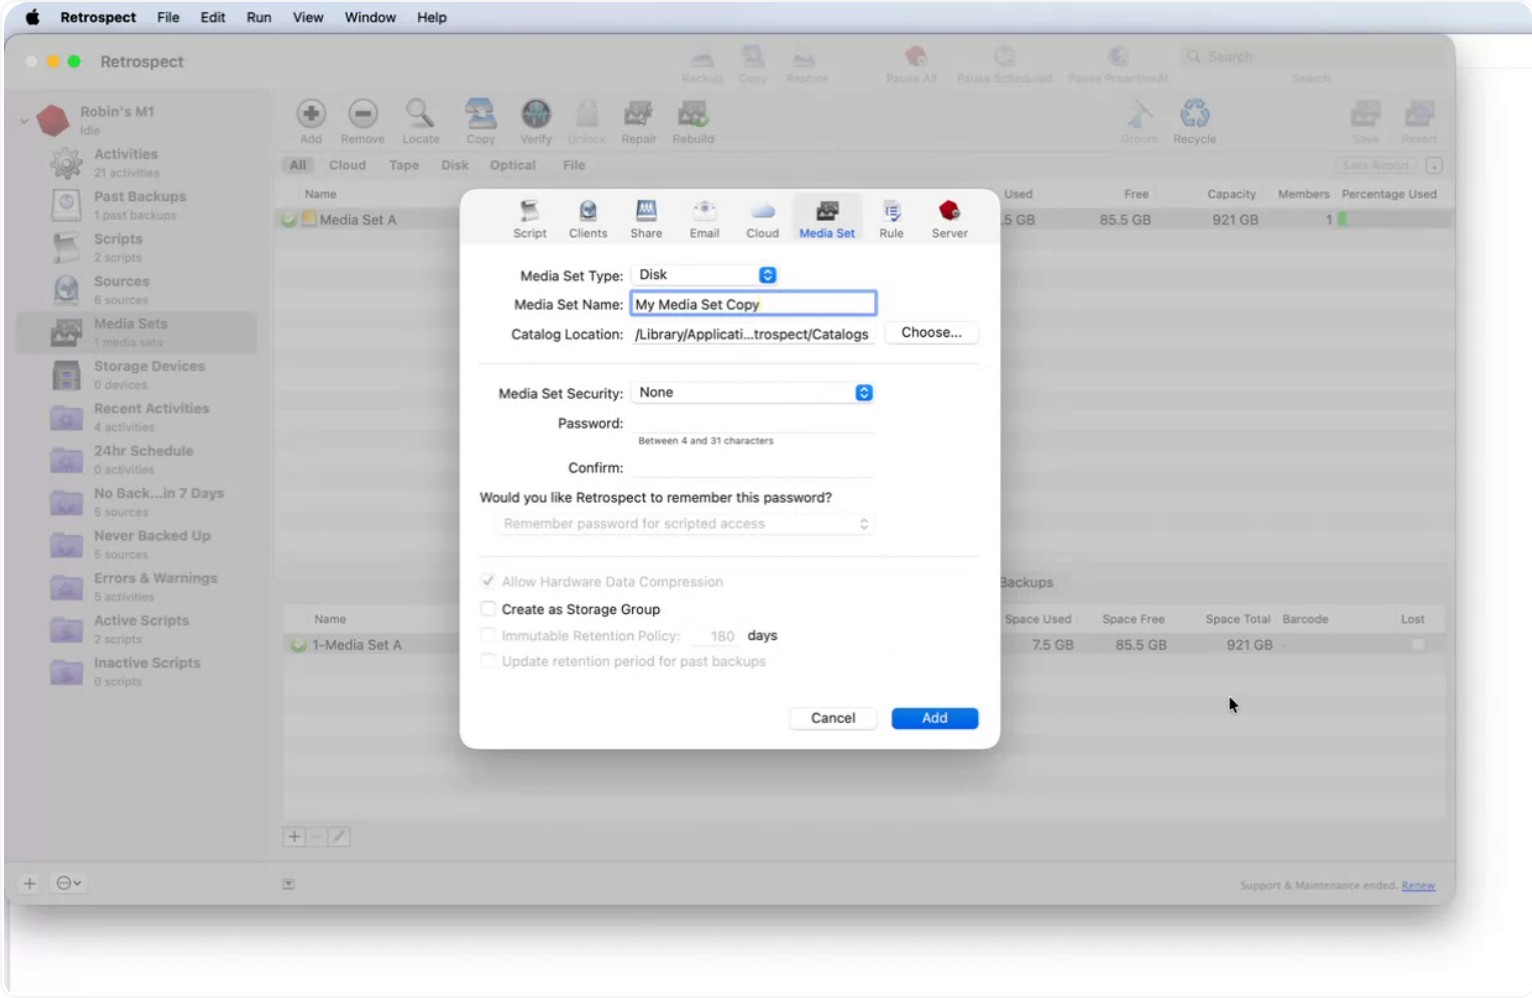
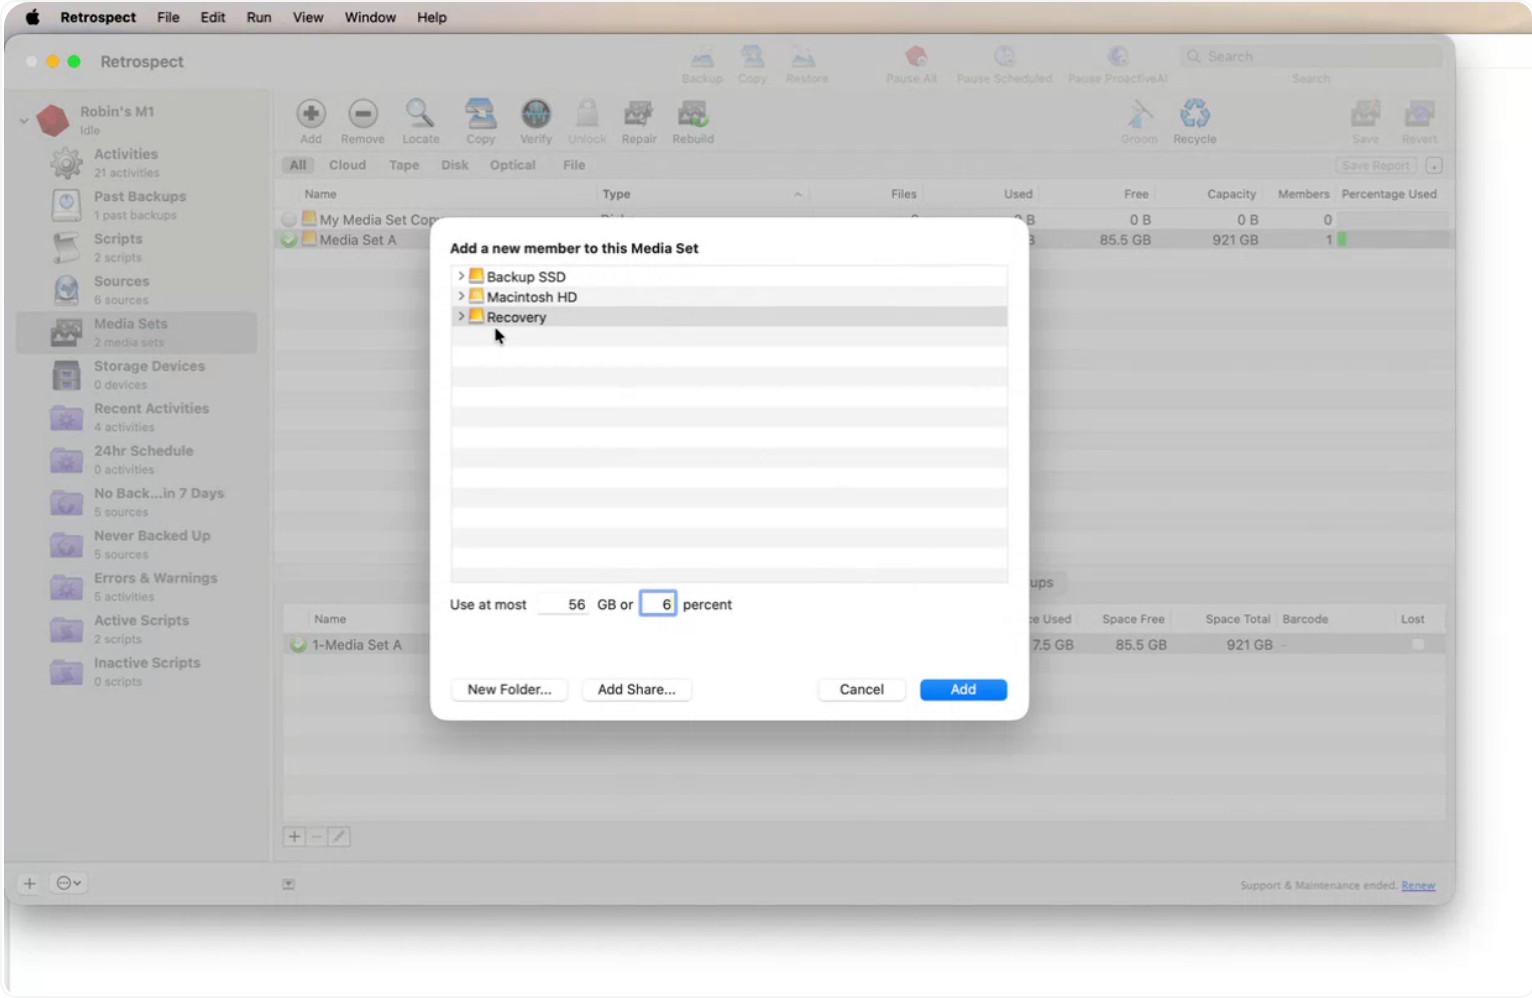
Select the storage device where you want the copy of the backup to be stored. Set the maximum usage (for example, to 99% of the storage capacity), then click Add to finalize the media set configuration.
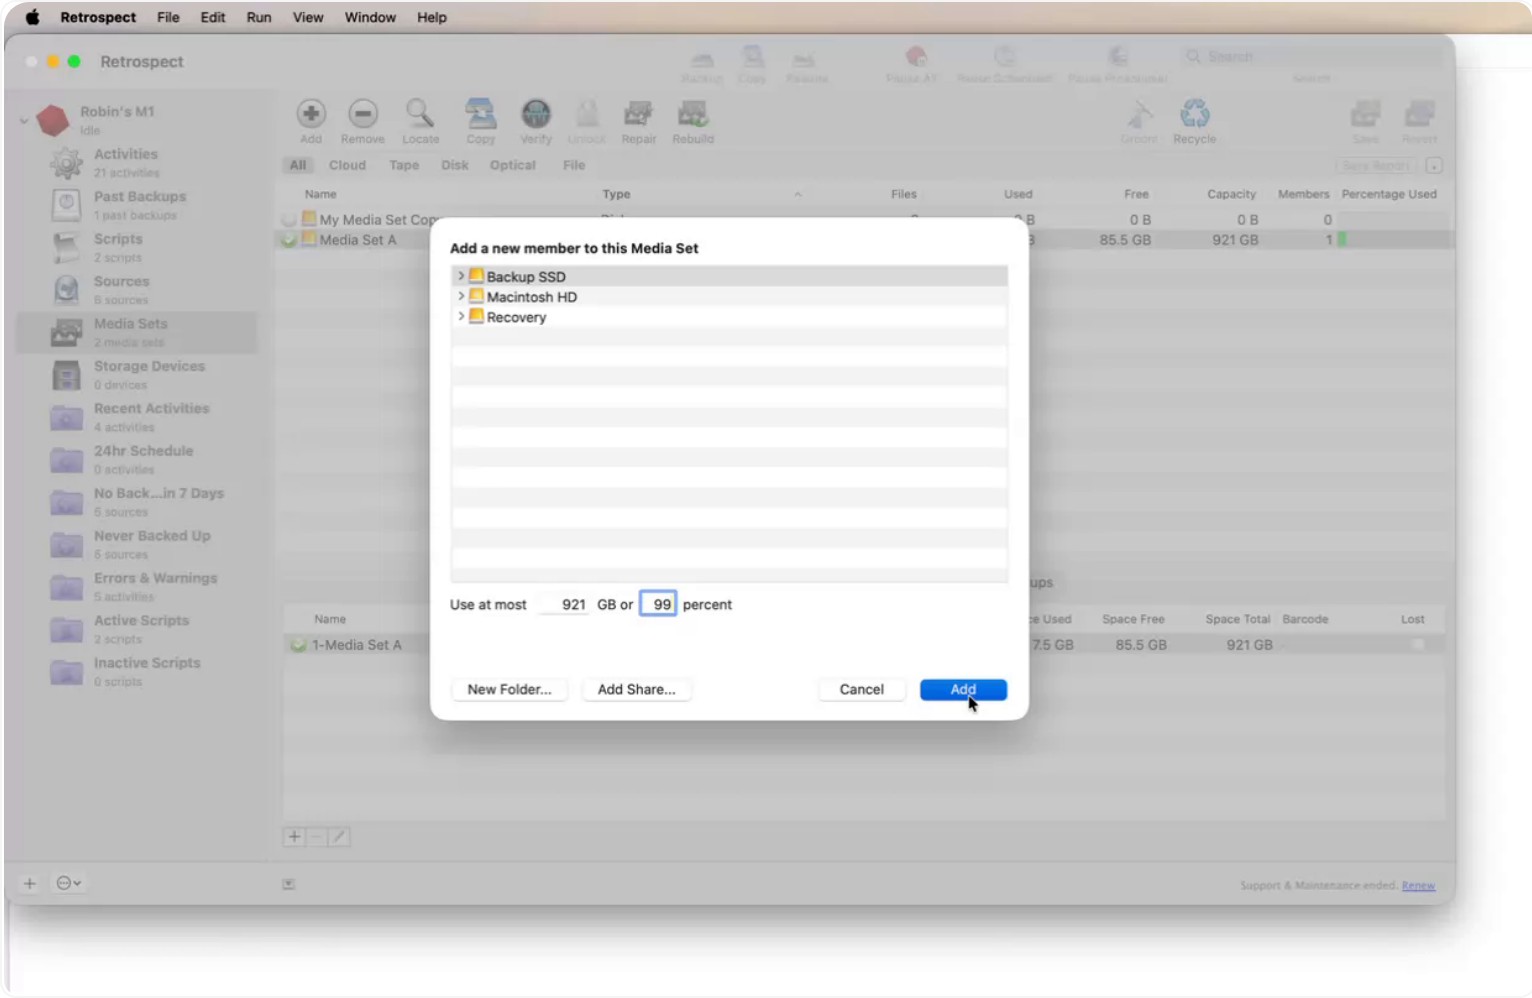
Step 6: Return to the Script and Assign Source and Destination
After creating the destination media set, return to the Scripts section.
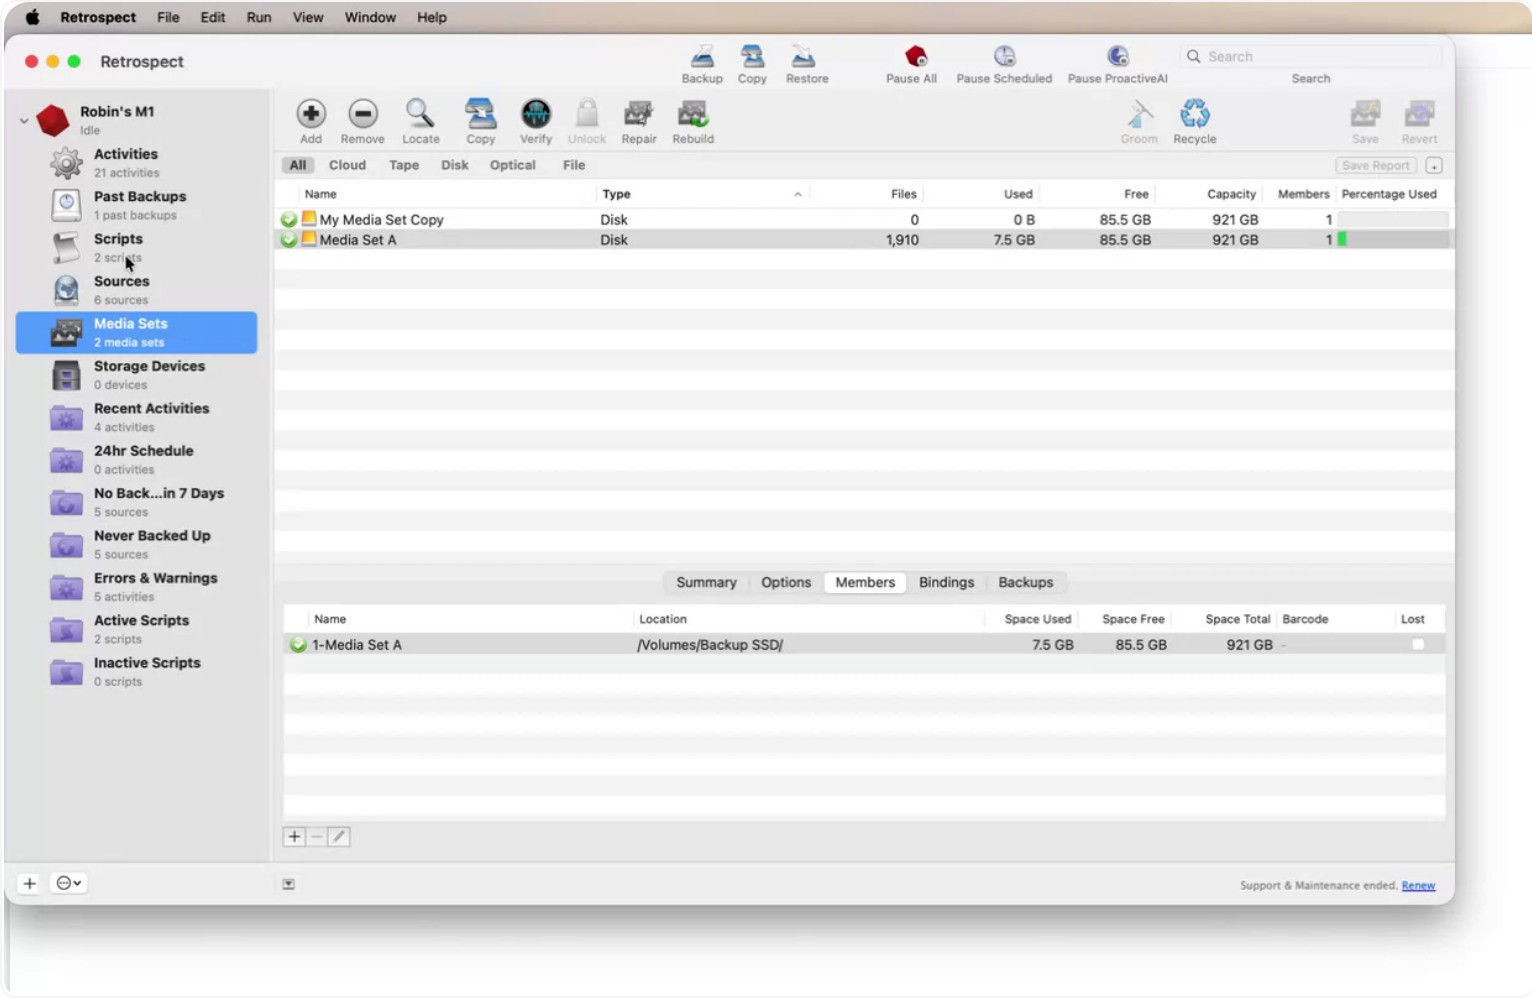
Select your Copy Media Set script.
Go back to the Sources tab and confirm or re-select your source media set (for example, Media Set A).
Then open the Destination tab and select the new media set you just created as the destination.
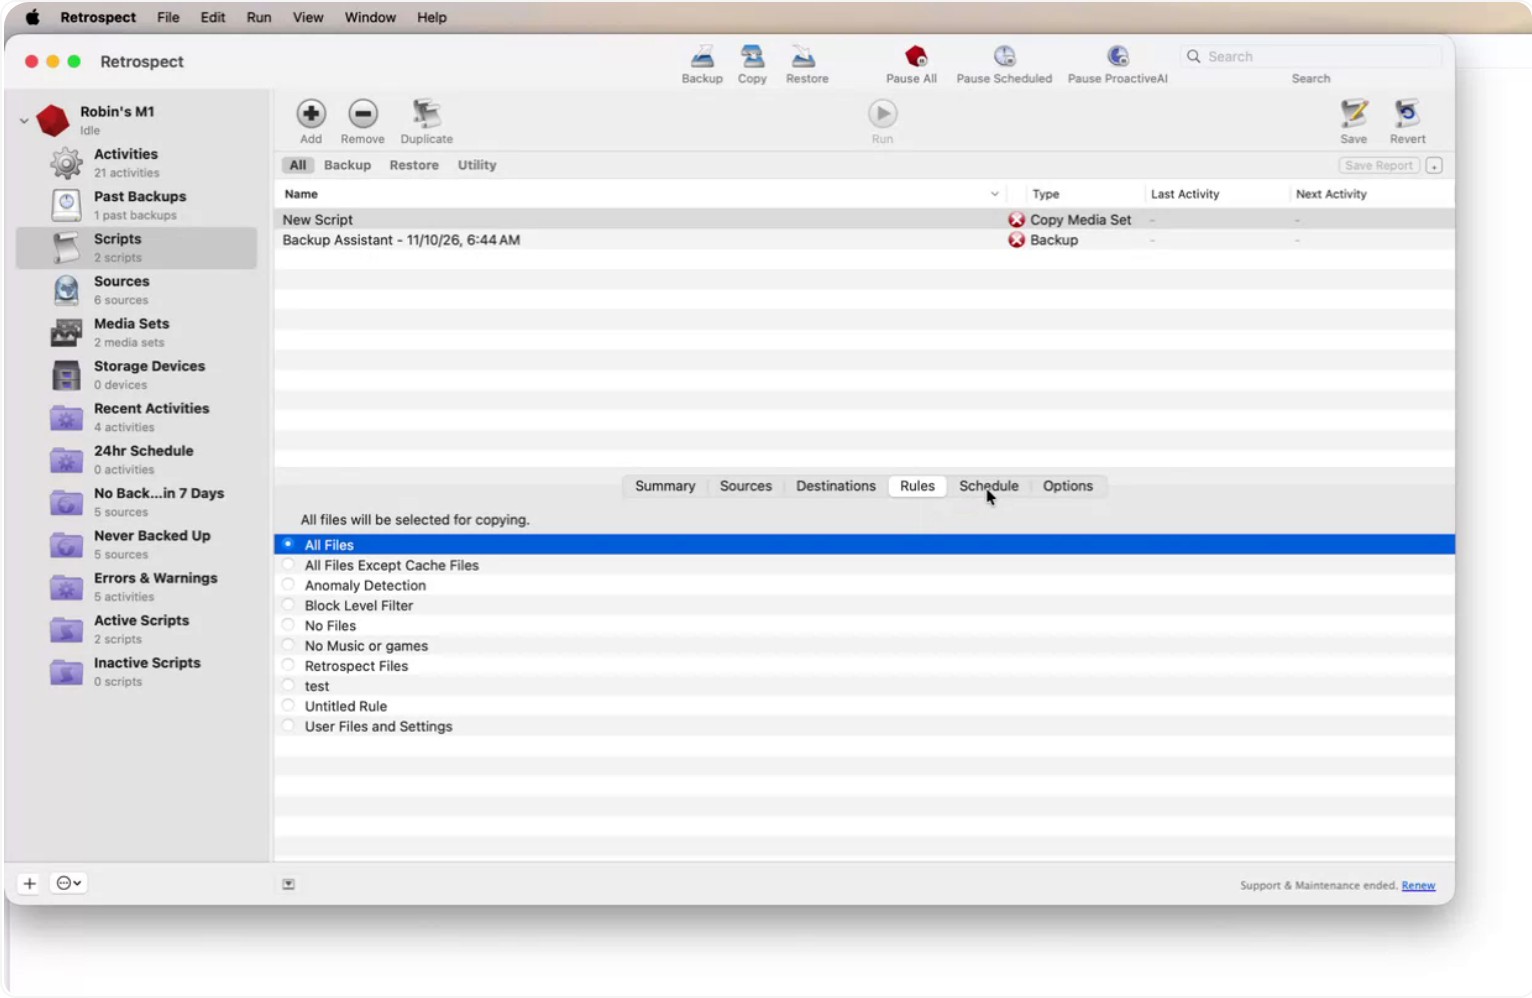
You can choose to copy All Files, or apply a filter to limit which files or data are copied.
Step 7: Schedule or Run the Copy Operation
Configure when the copy should run. You can either schedule it or run it manually.
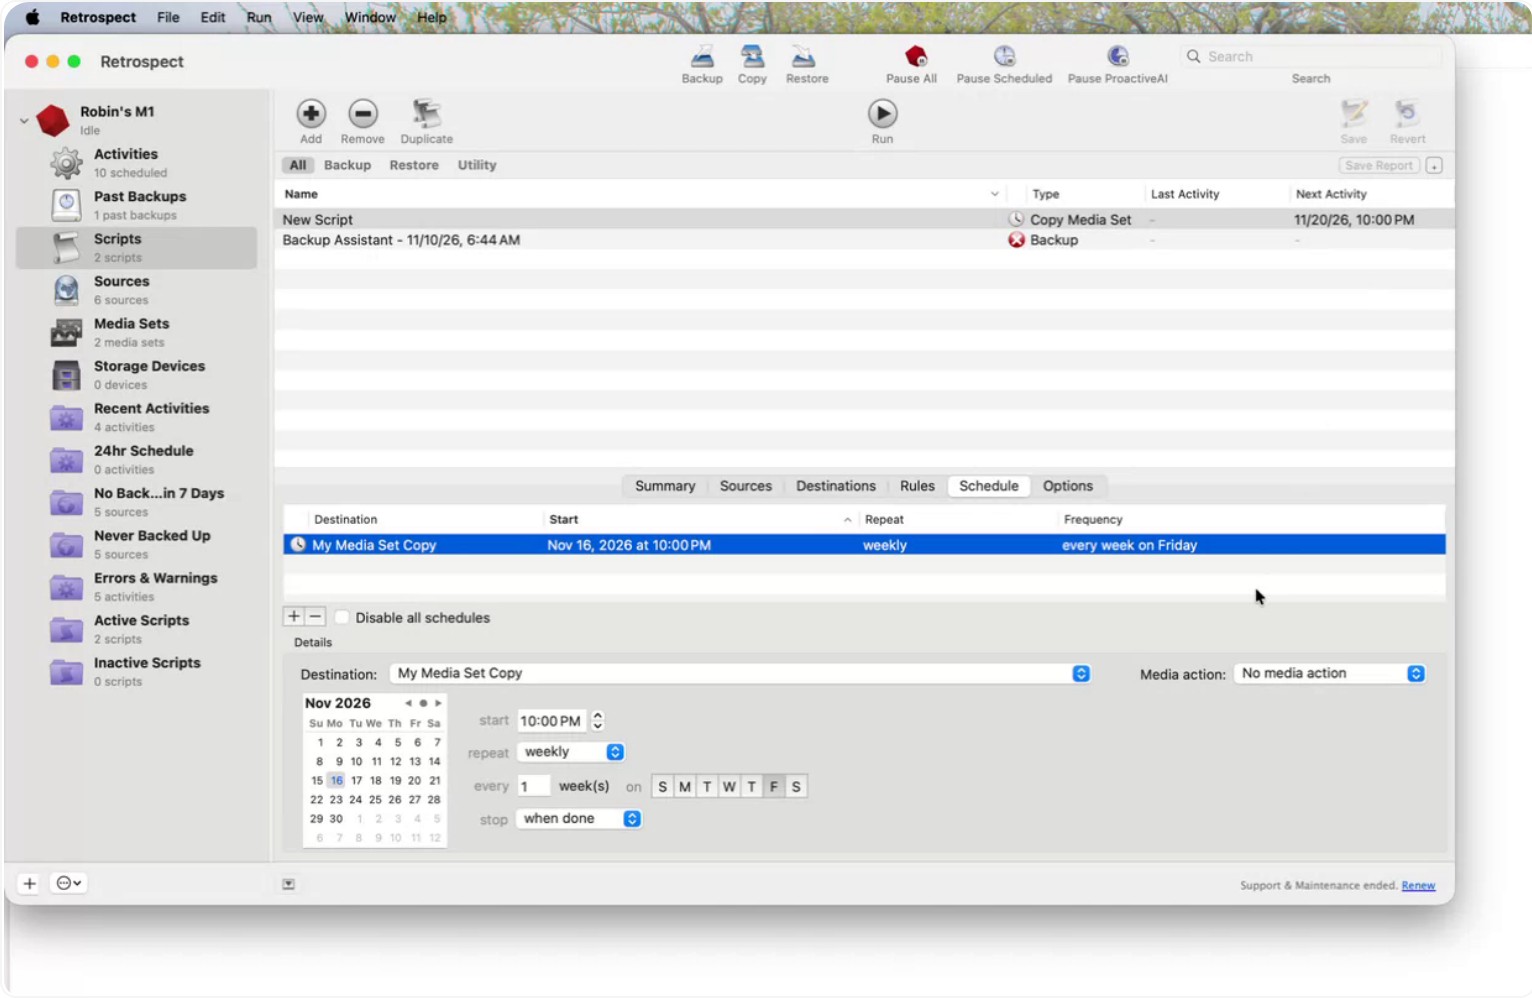
To schedule it, go to the Schedule tab.
Create a schedule entry—for example, set it to run every Friday at 10:00 PM.
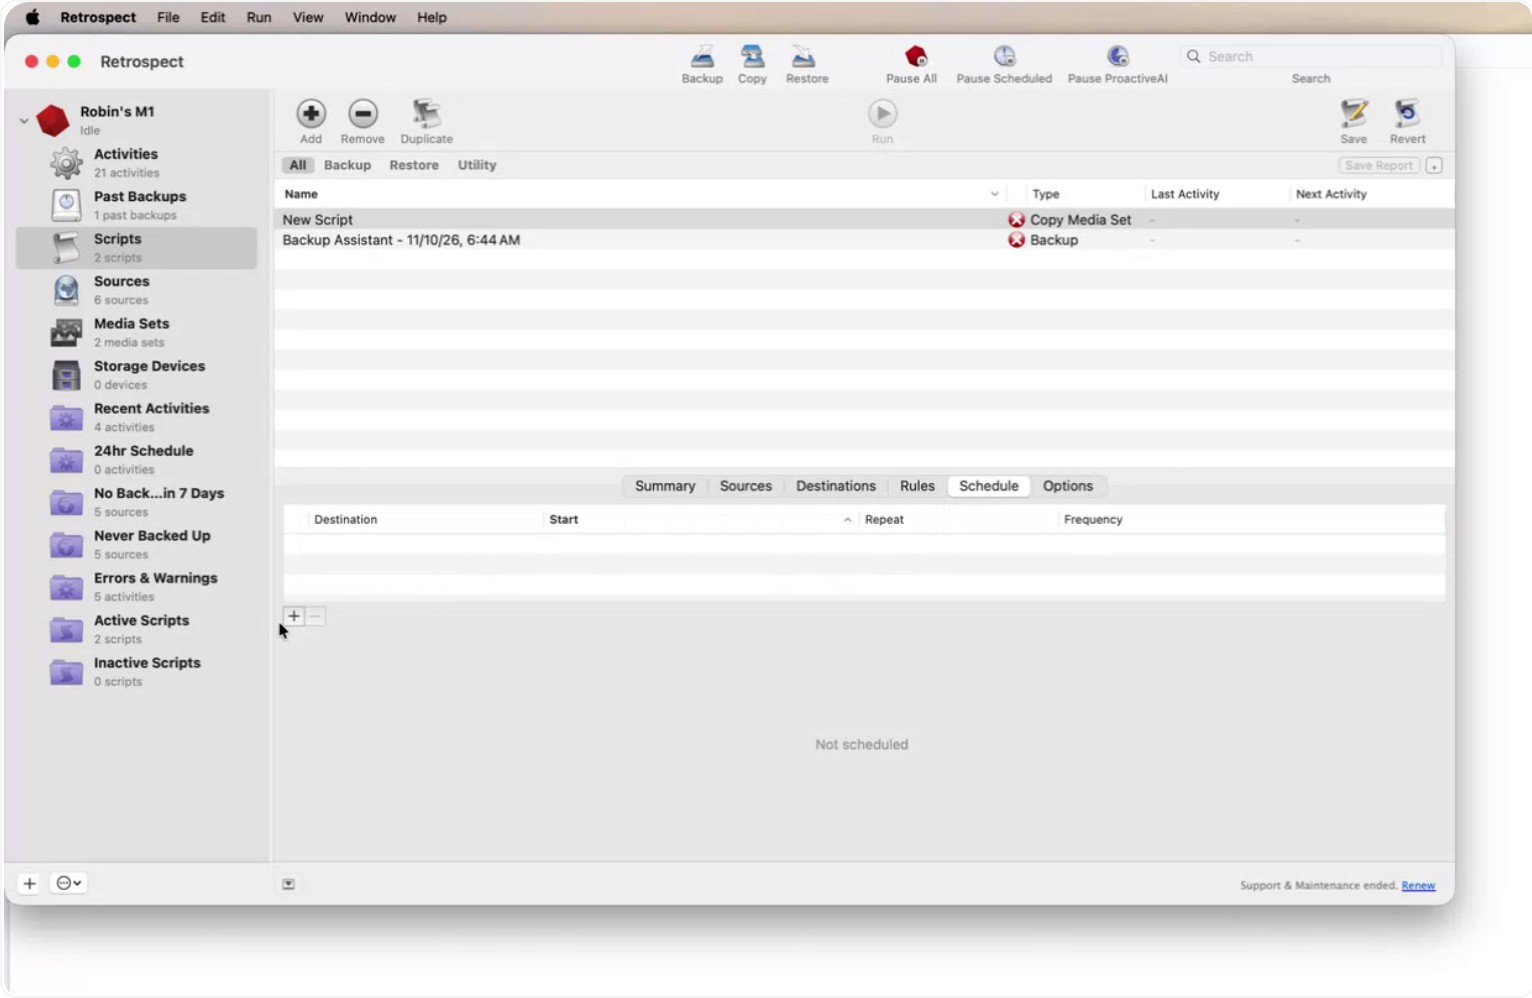
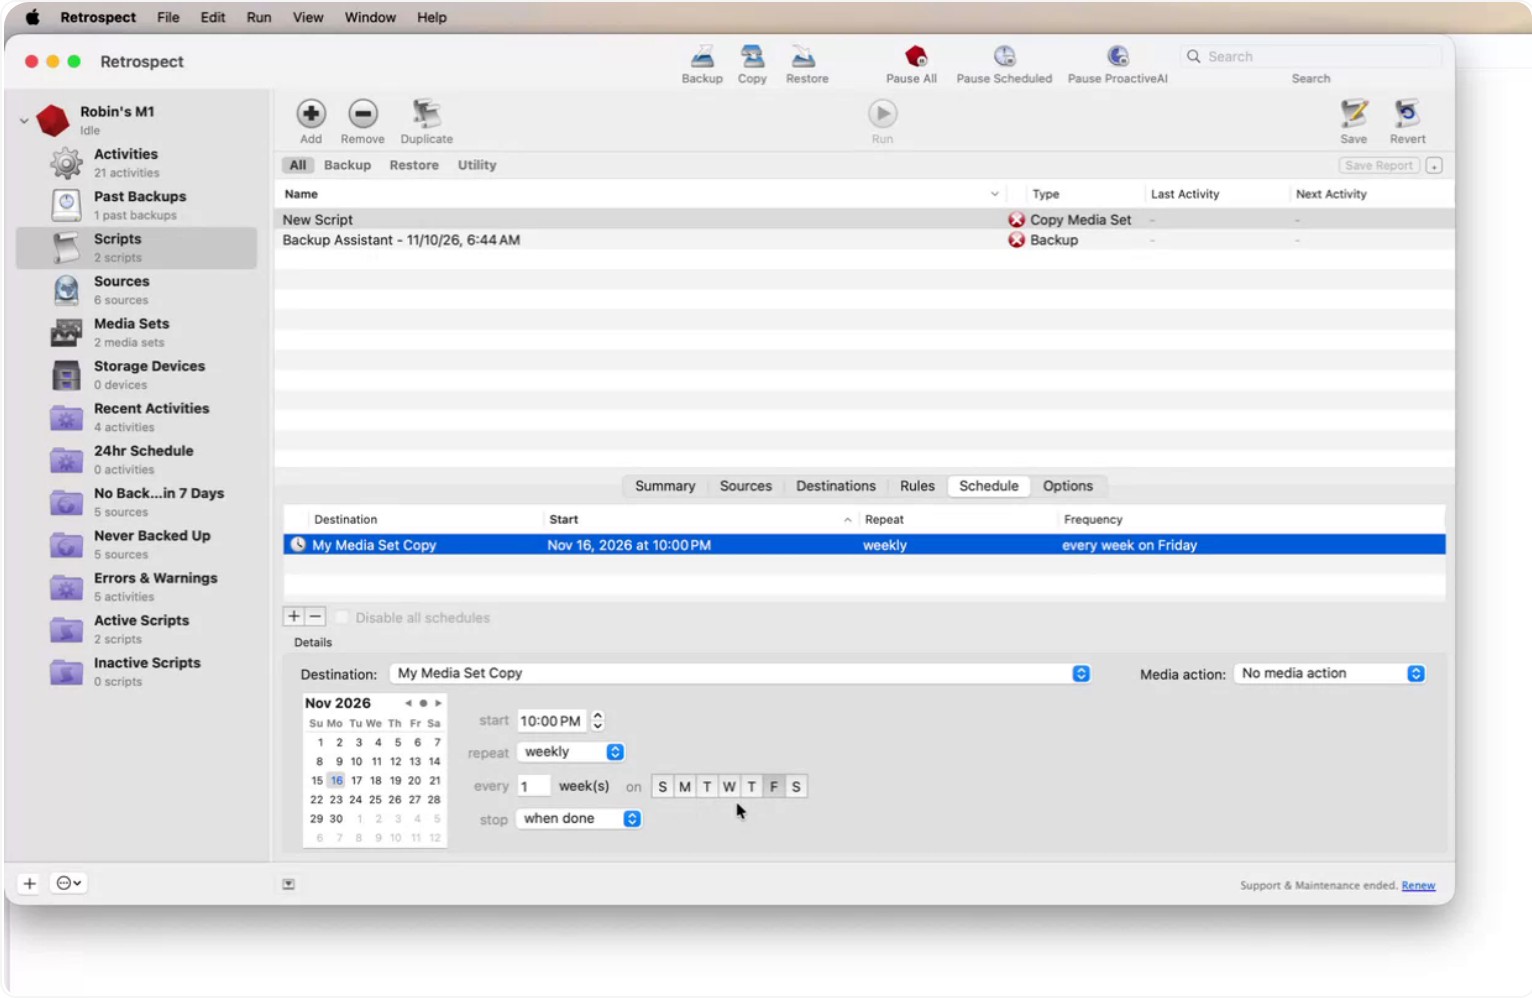
Click Save to store the script and schedule.
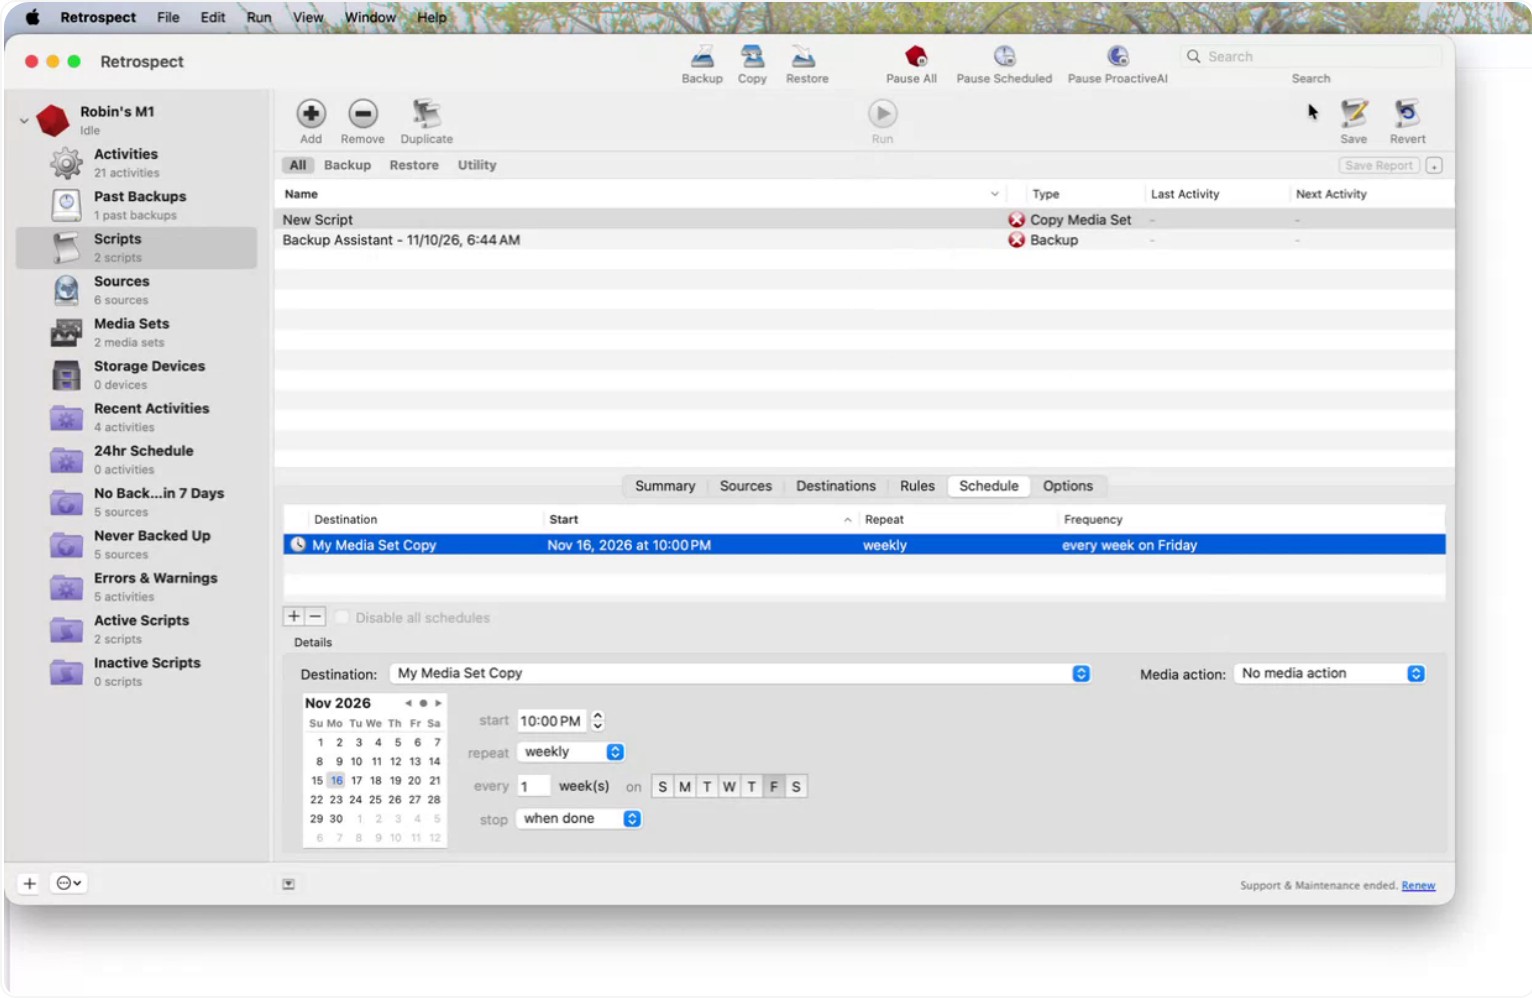
Retrospect will now automatically copy data from Media Set A to your new Media Set Copy every Friday at 10:00 PM according to the configured schedule.