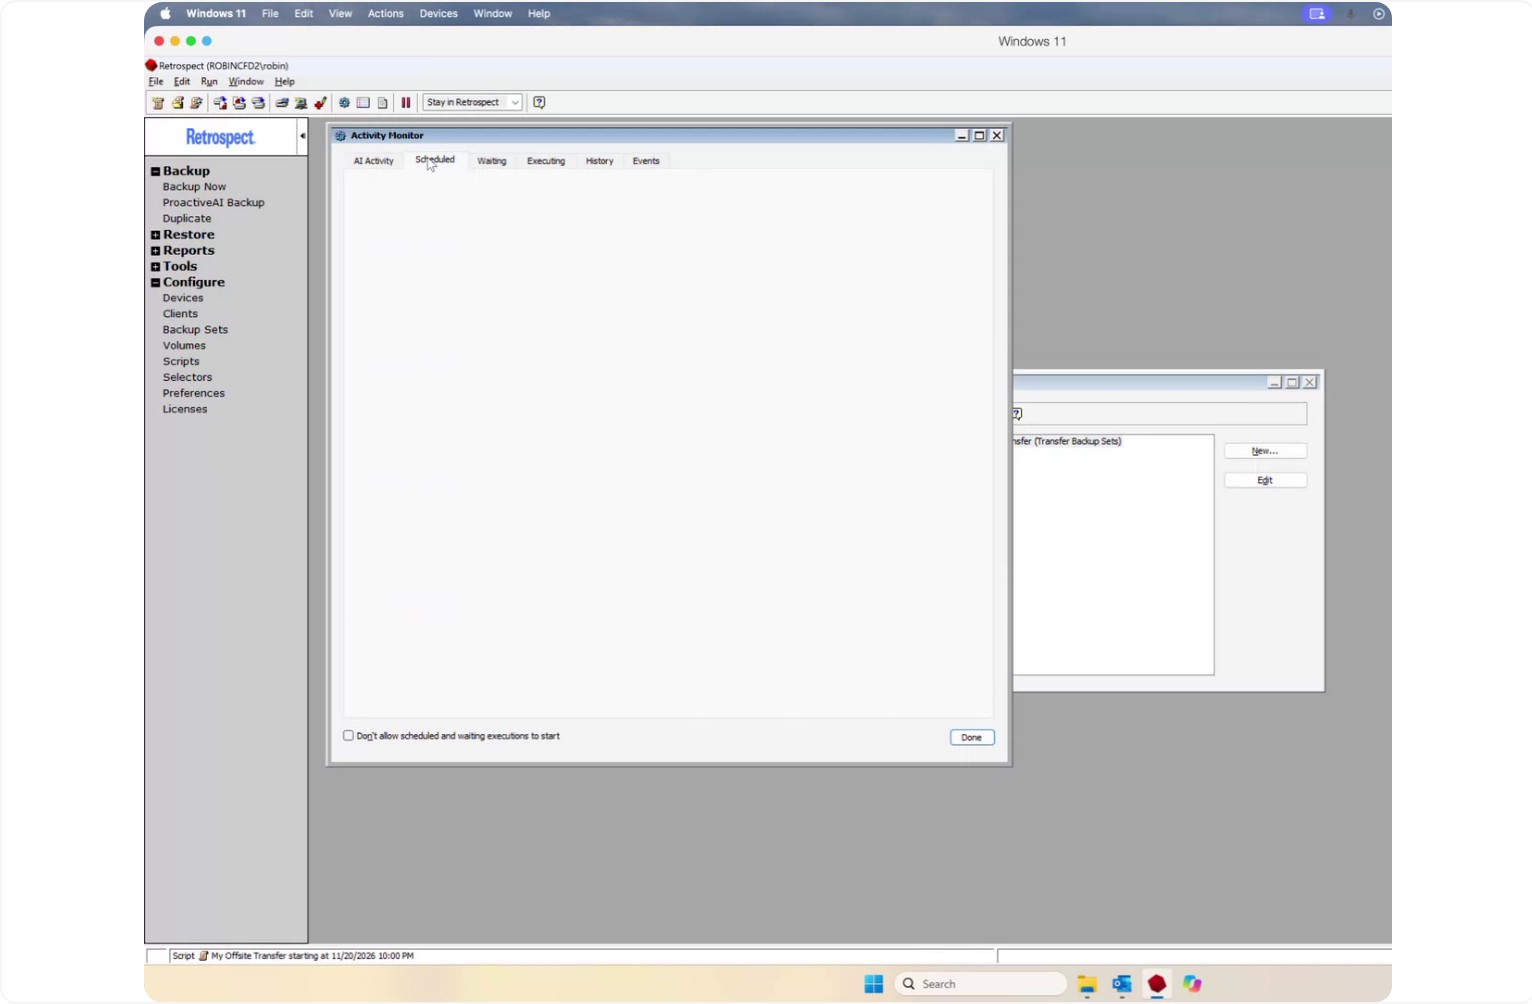
Configuring an Off-Site Backup Transfer Between Media Sets in Retrospect for Windows
This document describes how to configure a scheduled, scripted transfer in Retrospect for Windows to copy data from one media set (on-site) to another media set (off-site), using the Backup Set Transfer feature and cloud storage as the destination.
Step 1: Open the Scripts Configuration
Go to Configure on the left side of the Retrospect window to access configuration options.
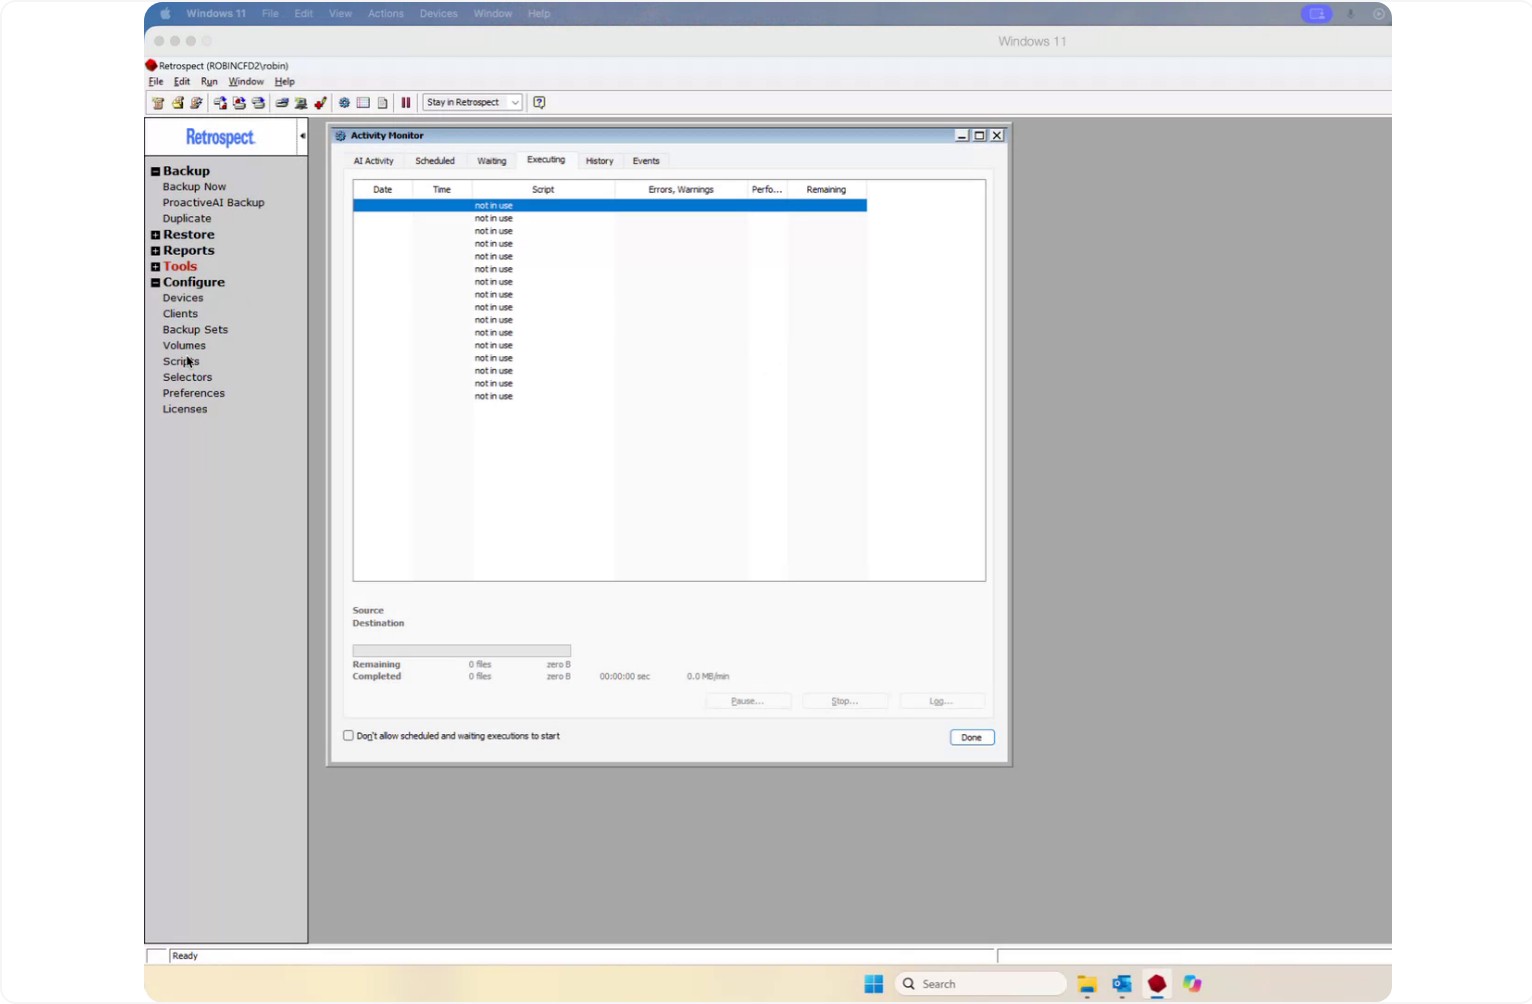
Then select Scripts to manage and create backup/transfer scripts.
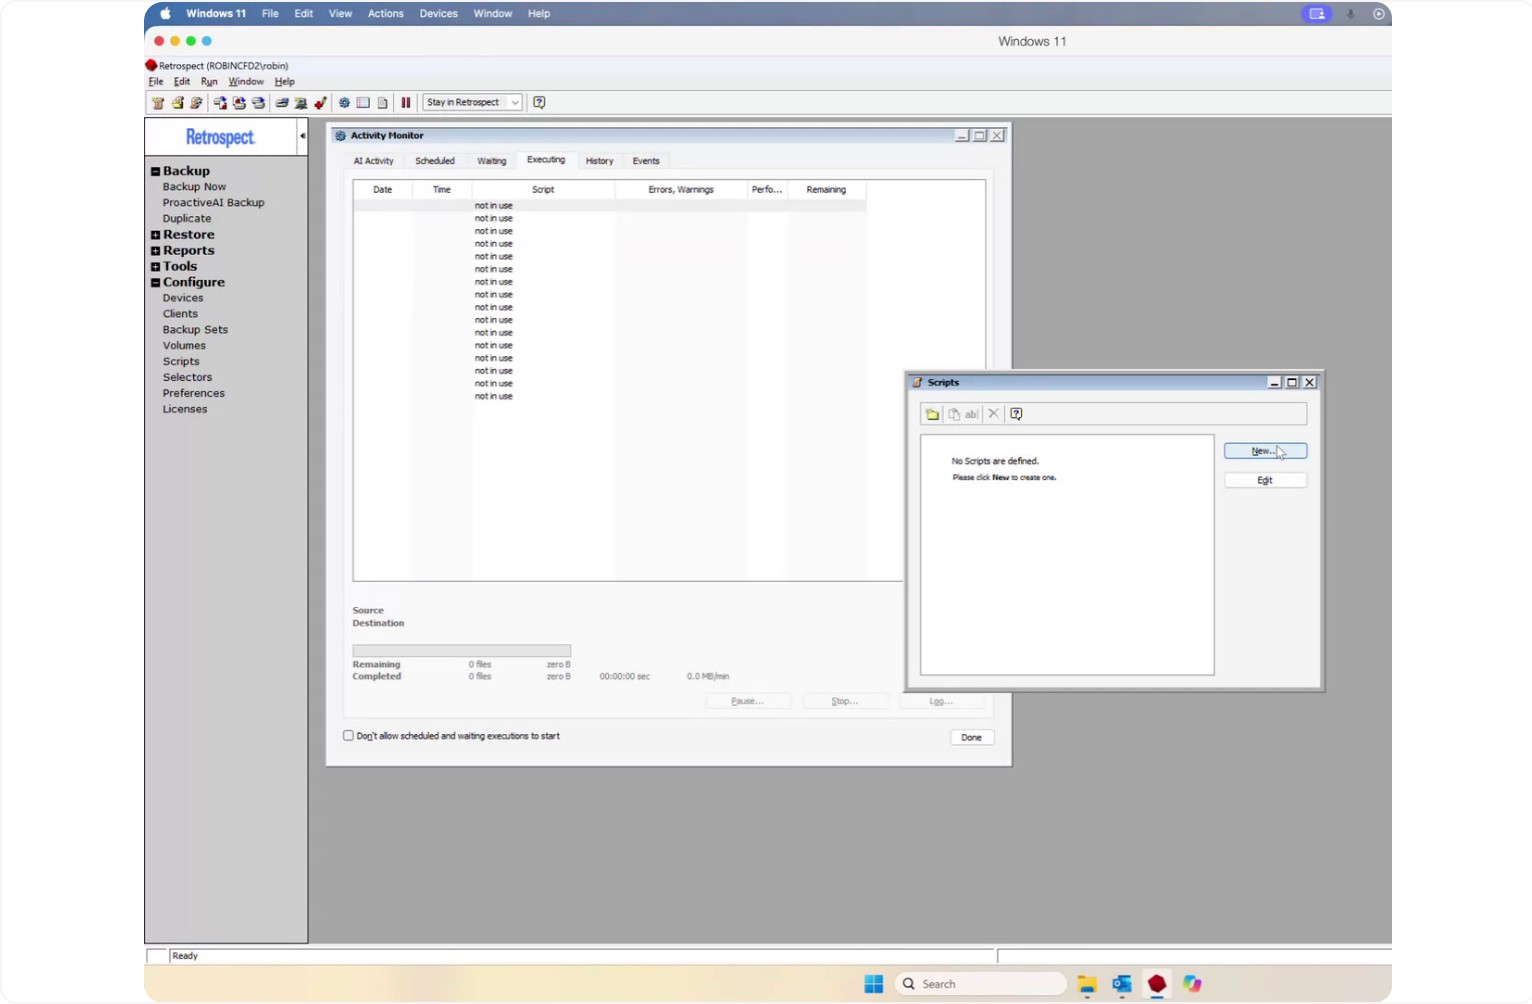
Step 2: Create a New Transfer Script
Click New to create a new script. You will see two options: Transfer Backup Set and Transfer Snapshots.
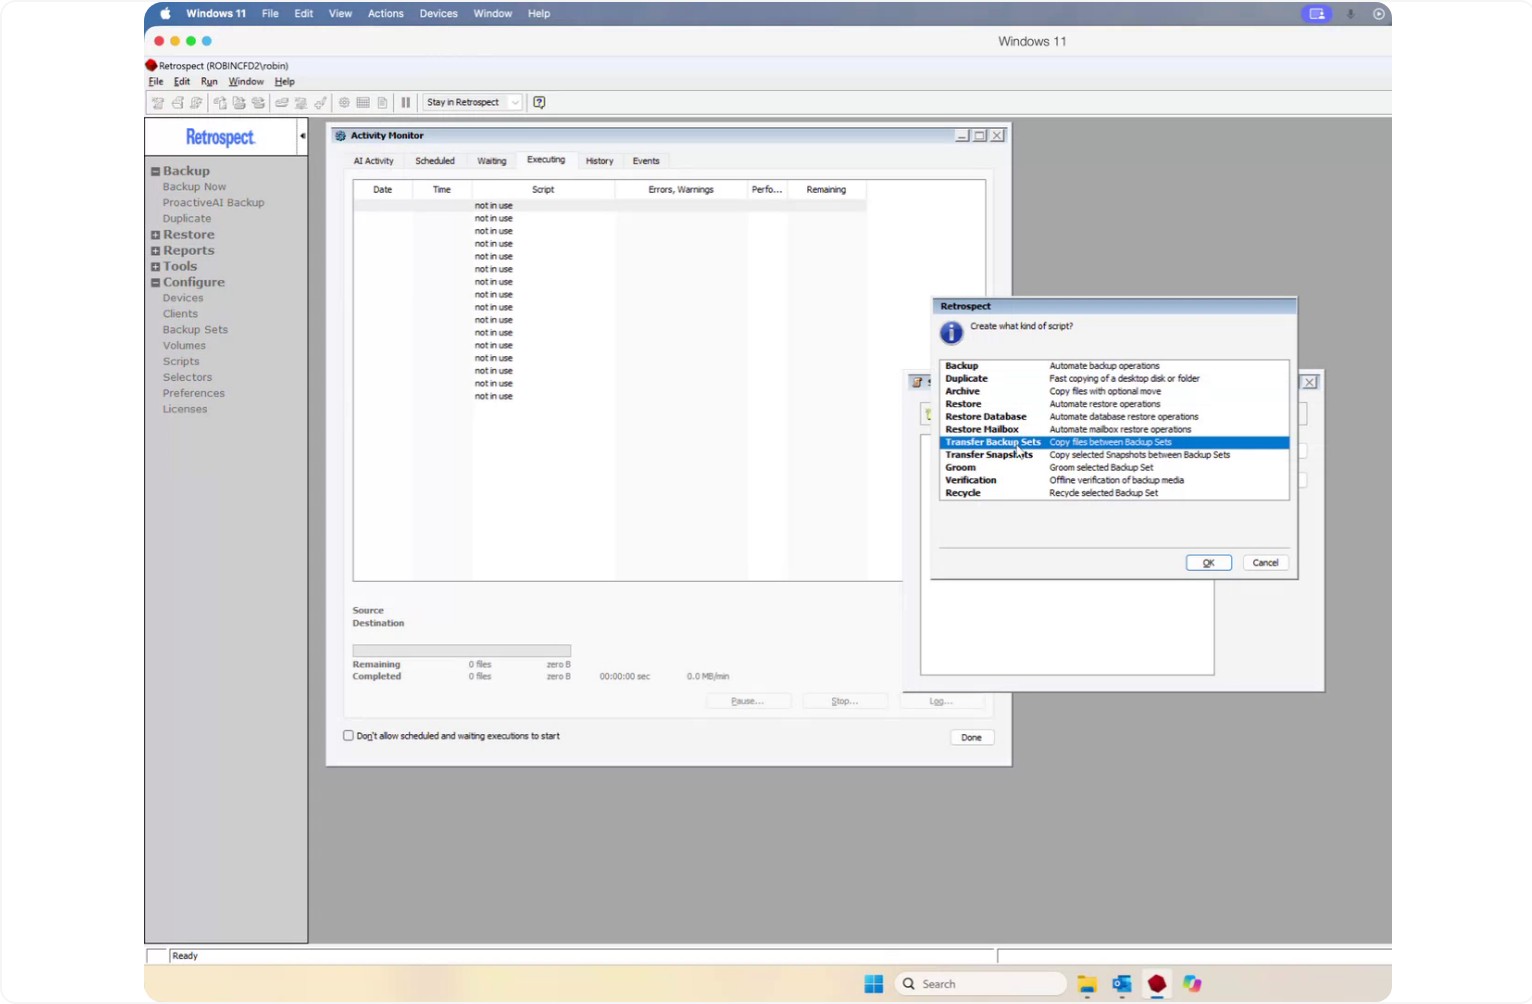
Select Transfer Backup Set to transfer an entire backup set from one location to another (use Transfer Snapshots if you only want specific backups or machines).
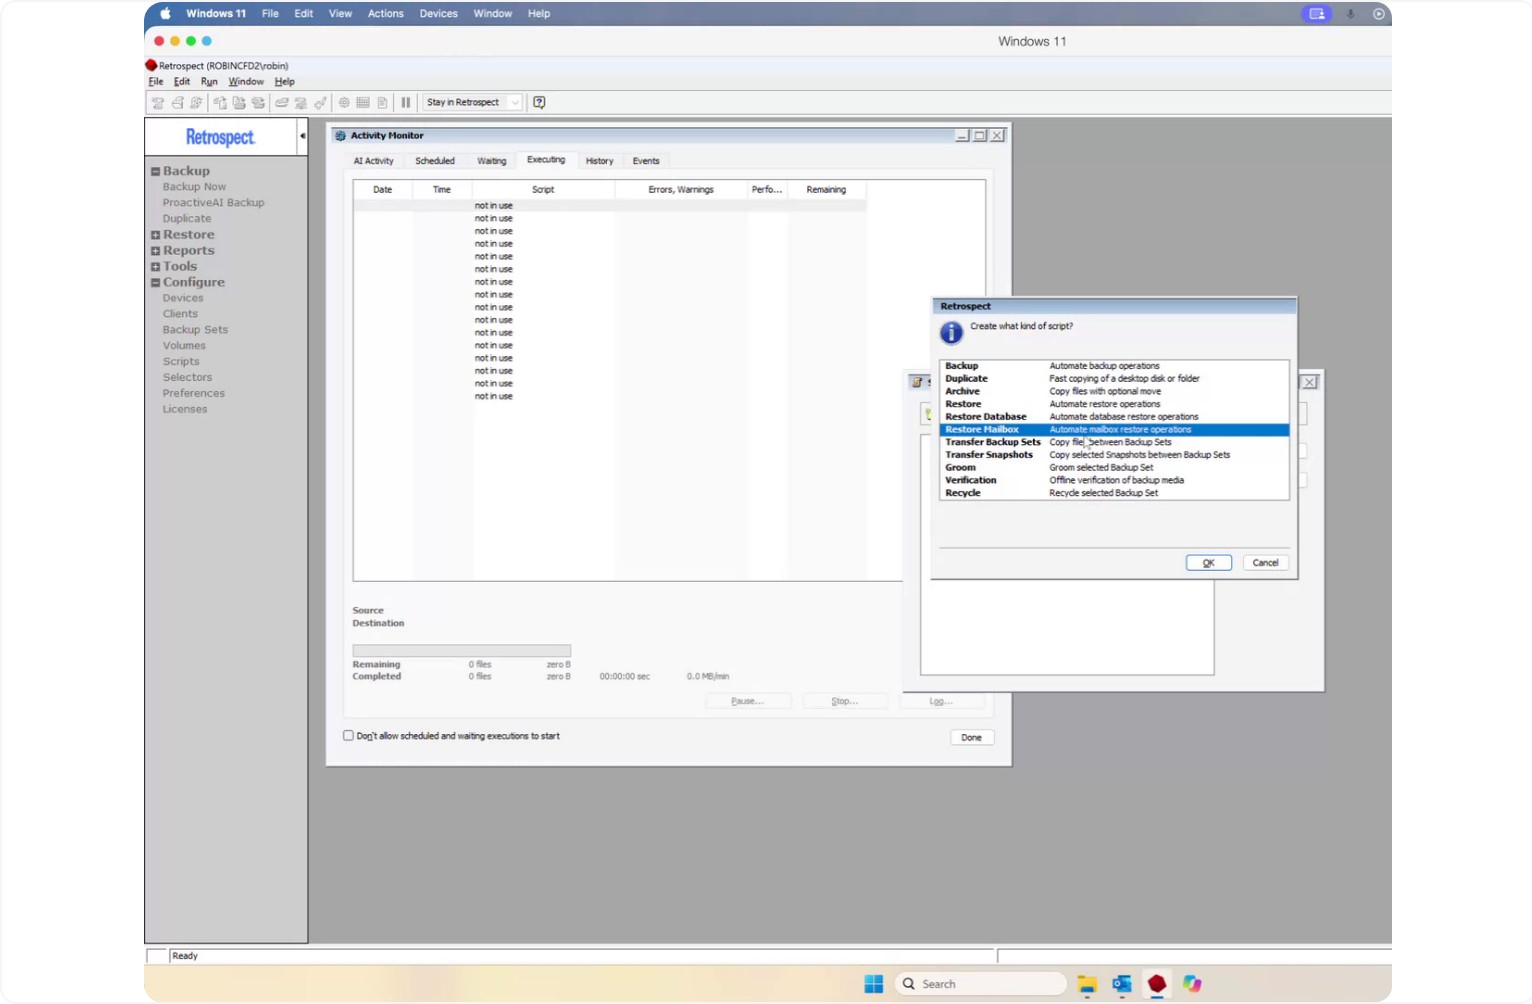
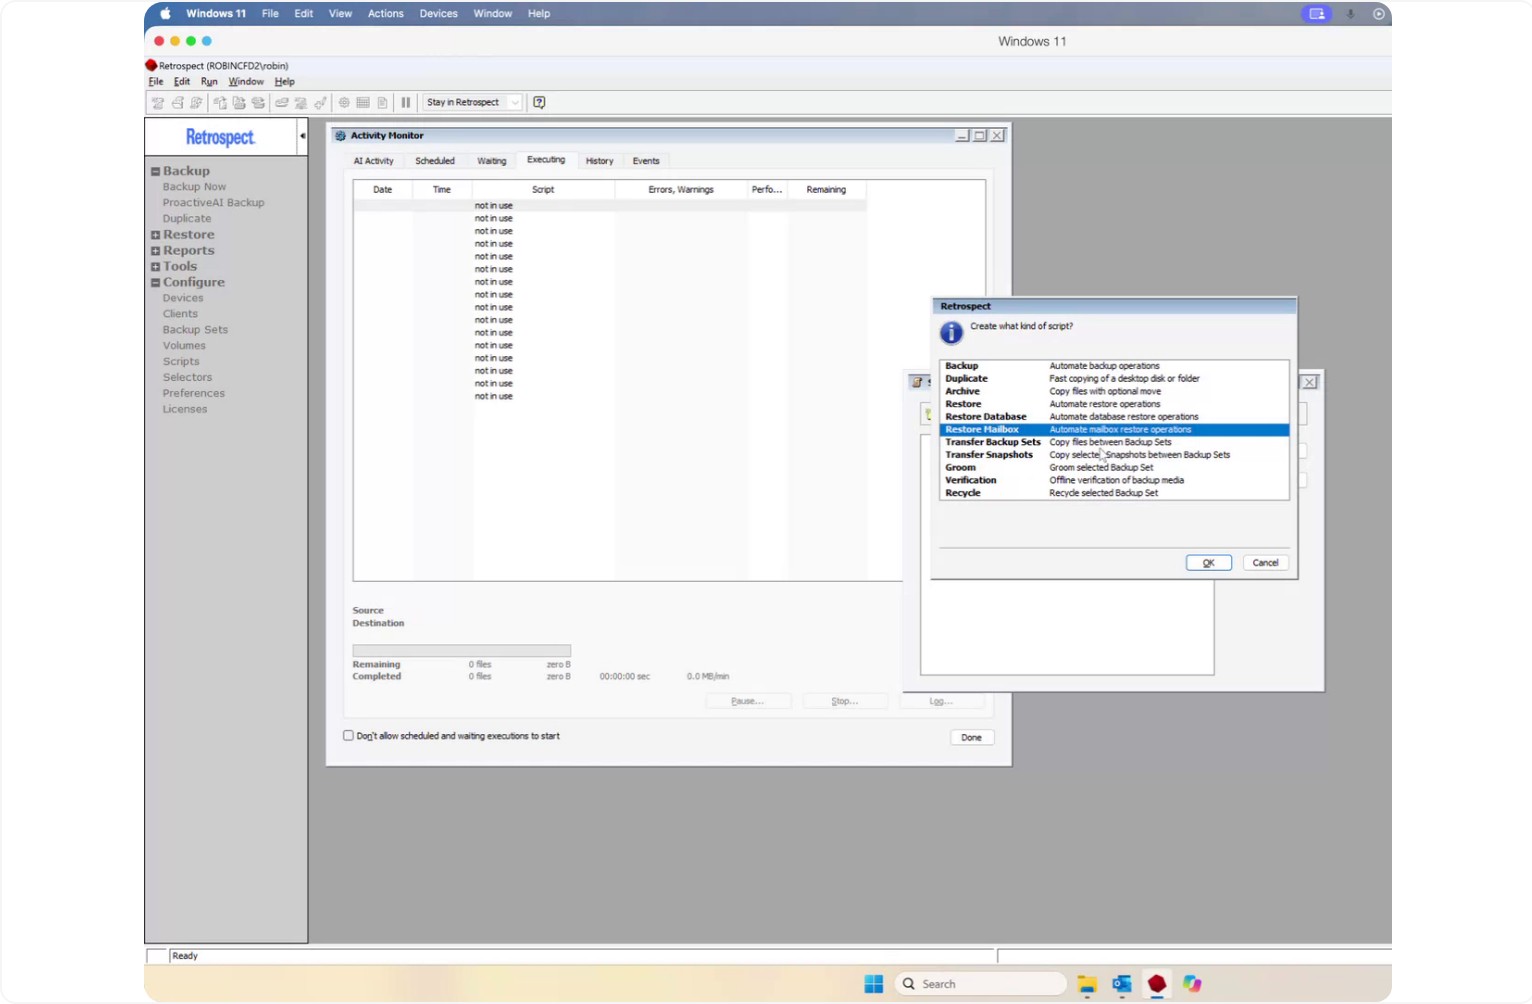
Choose Backup Set Transfer and click OK.
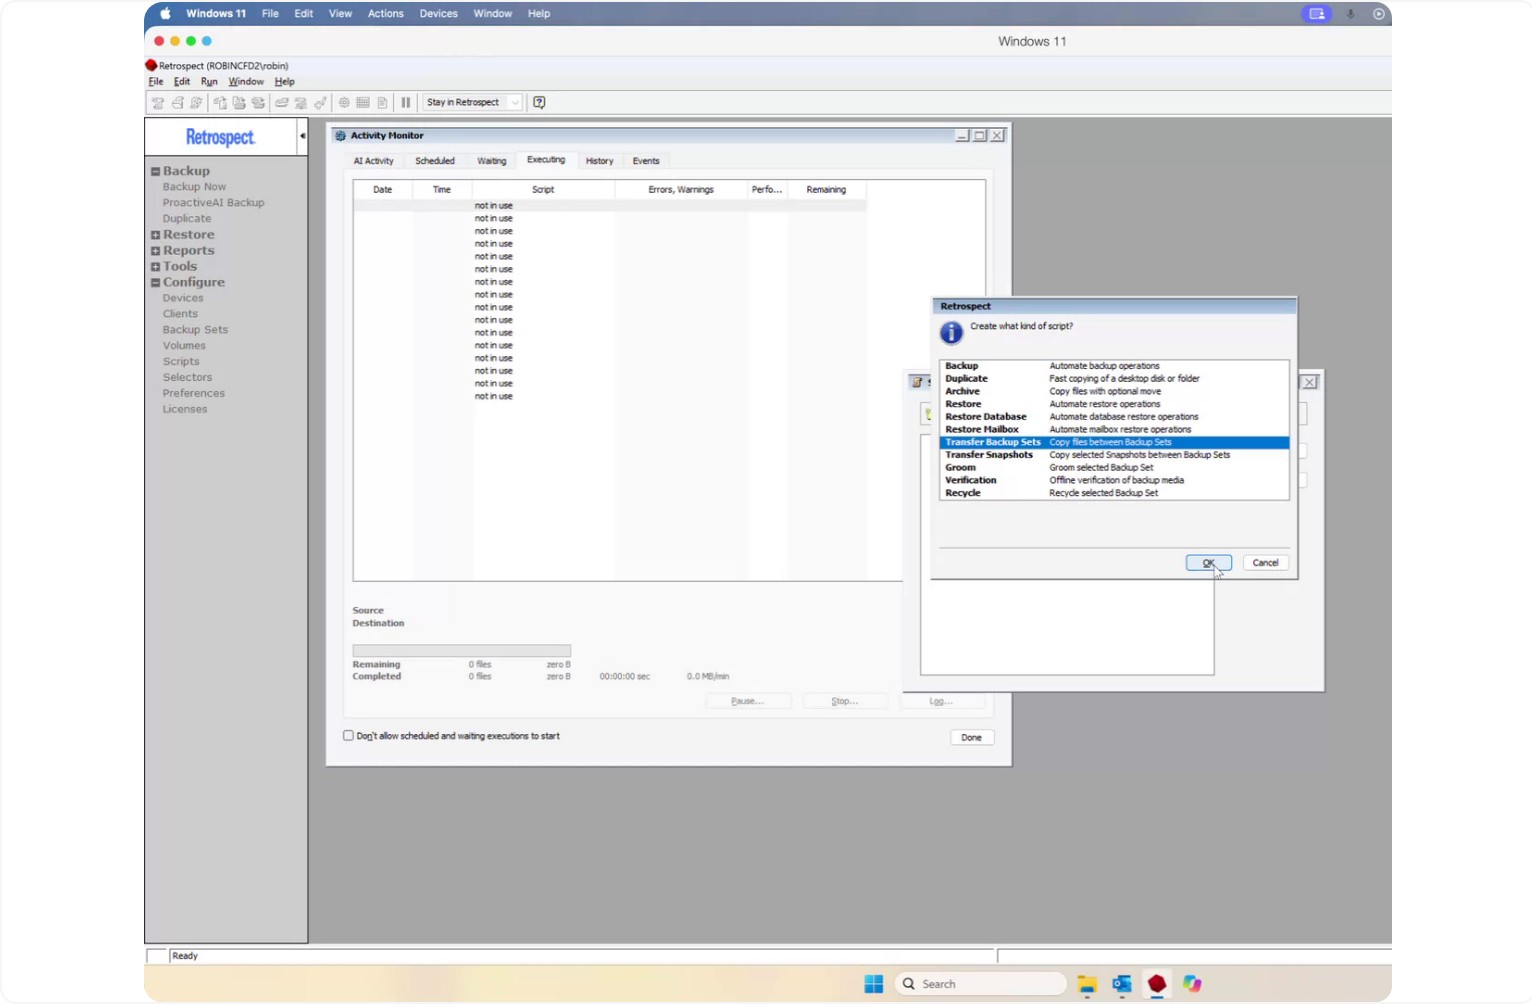
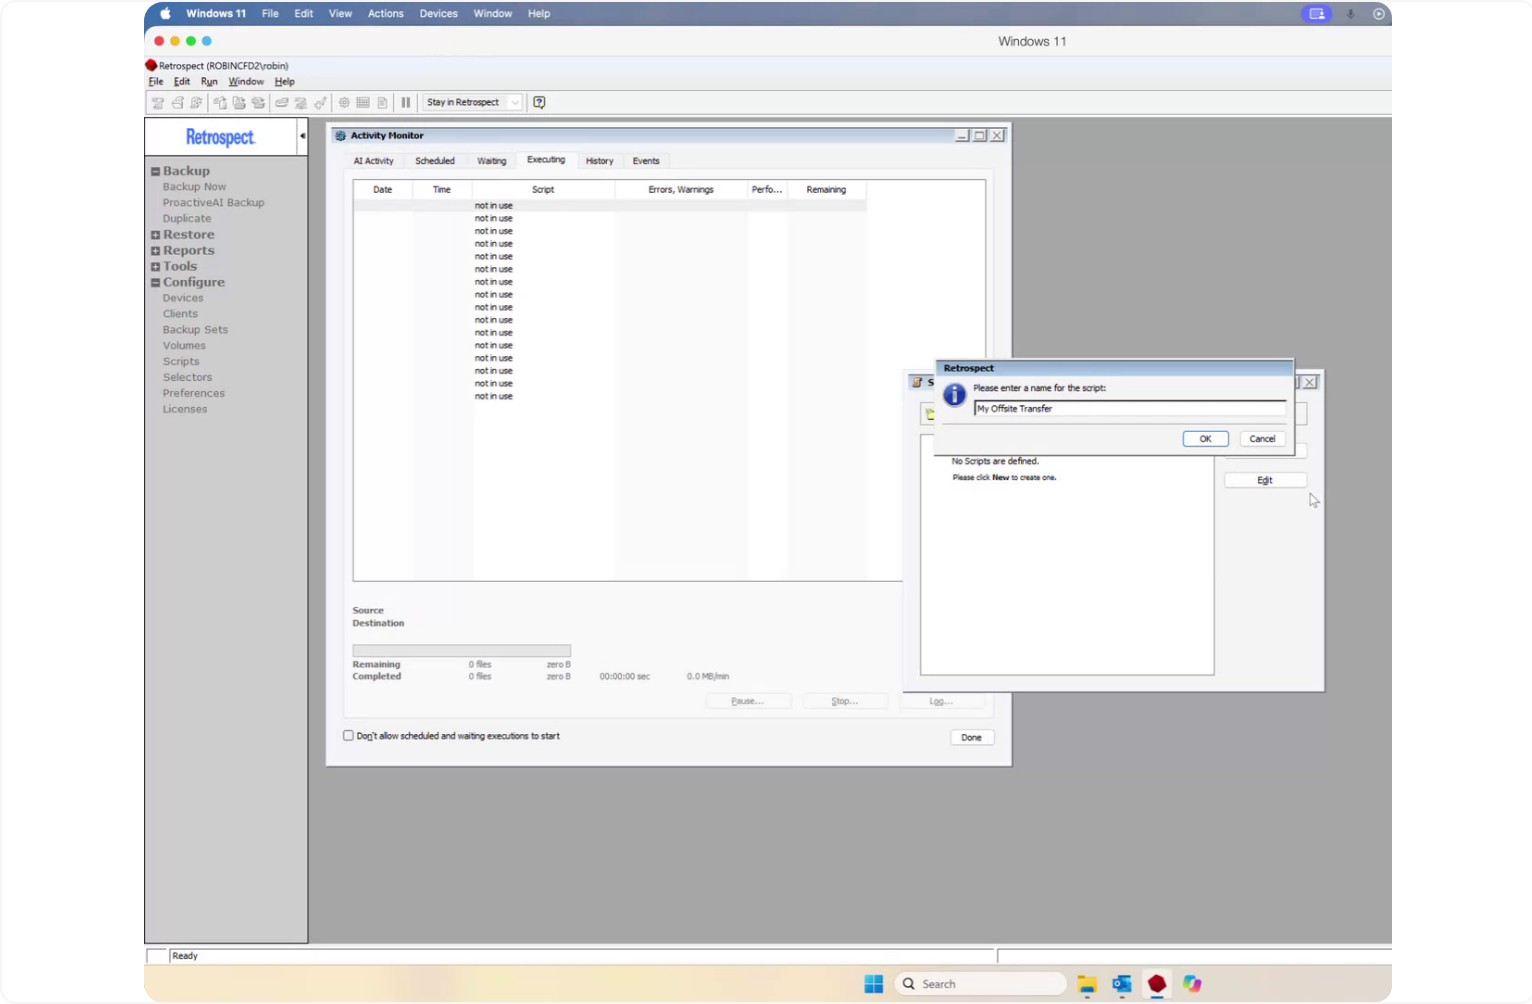
Give the script a descriptive name, such as My Off-Site Transfer.
Step 3: Select the Source Media Set
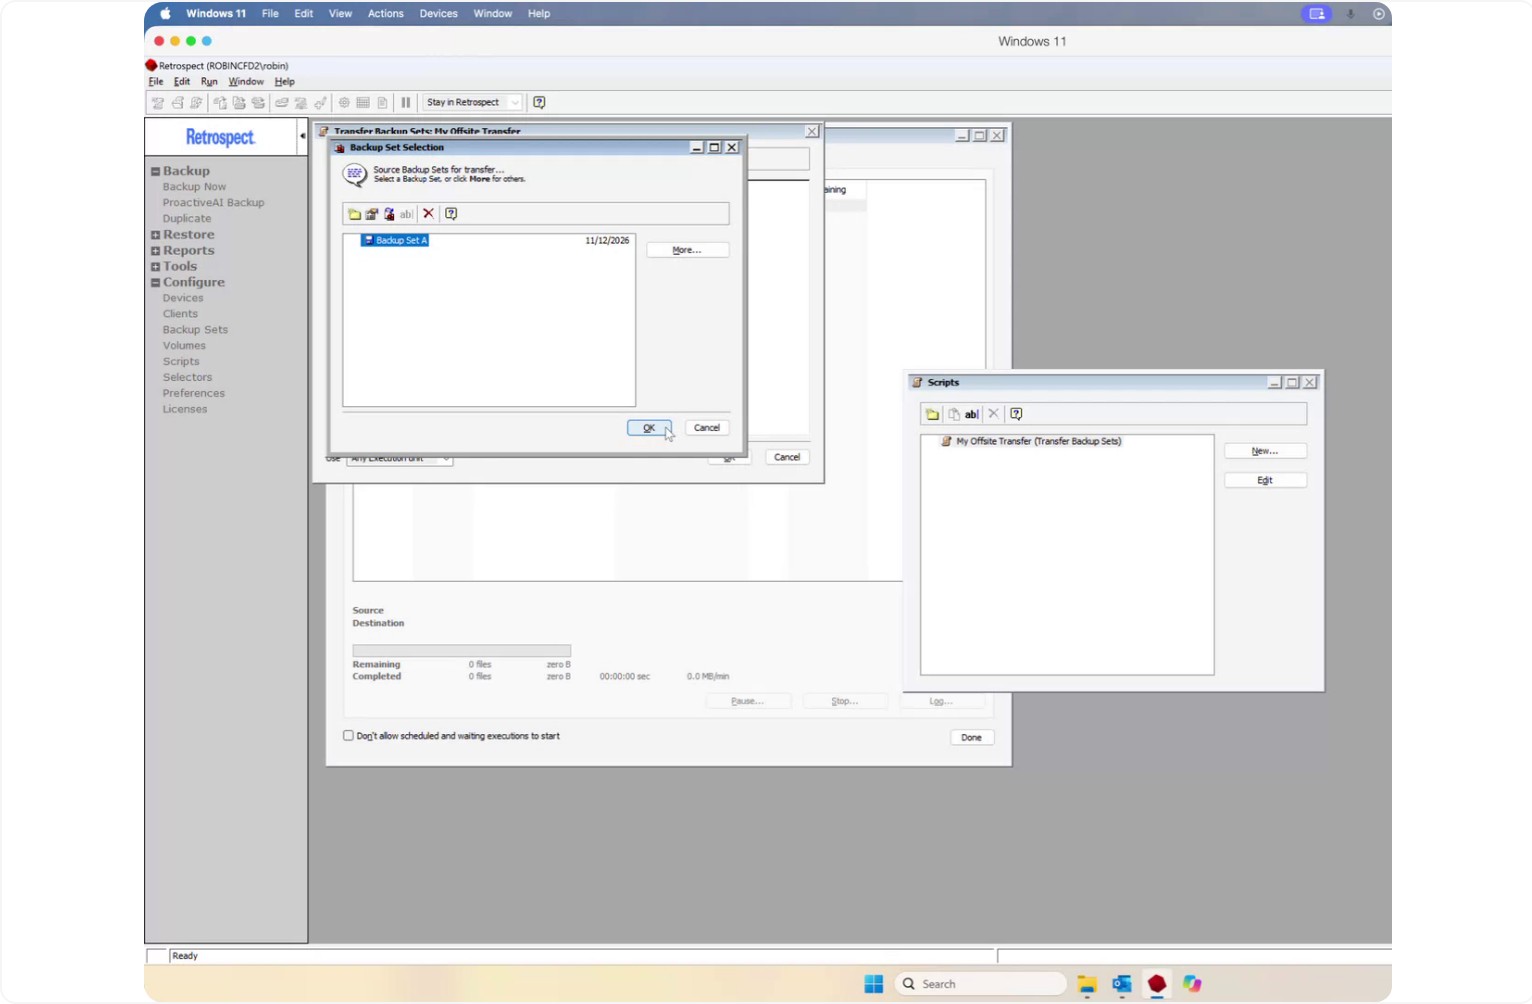
Go to Sources to choose the media set you want to copy from.
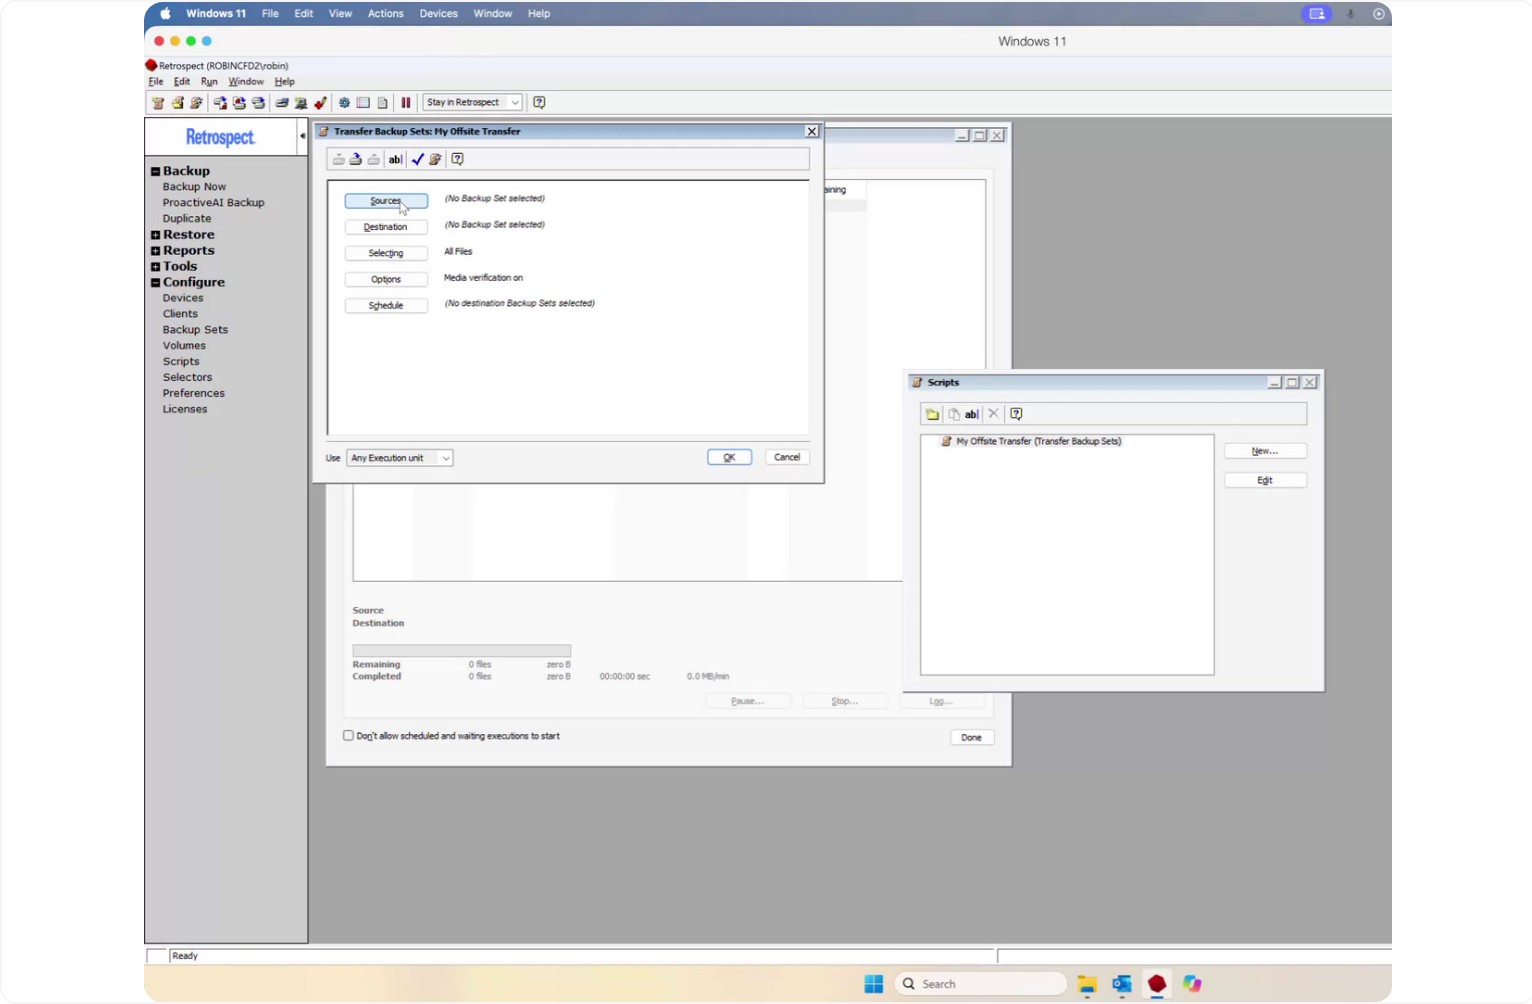
Select Media Set A (your on-site backup media set) as the Source.
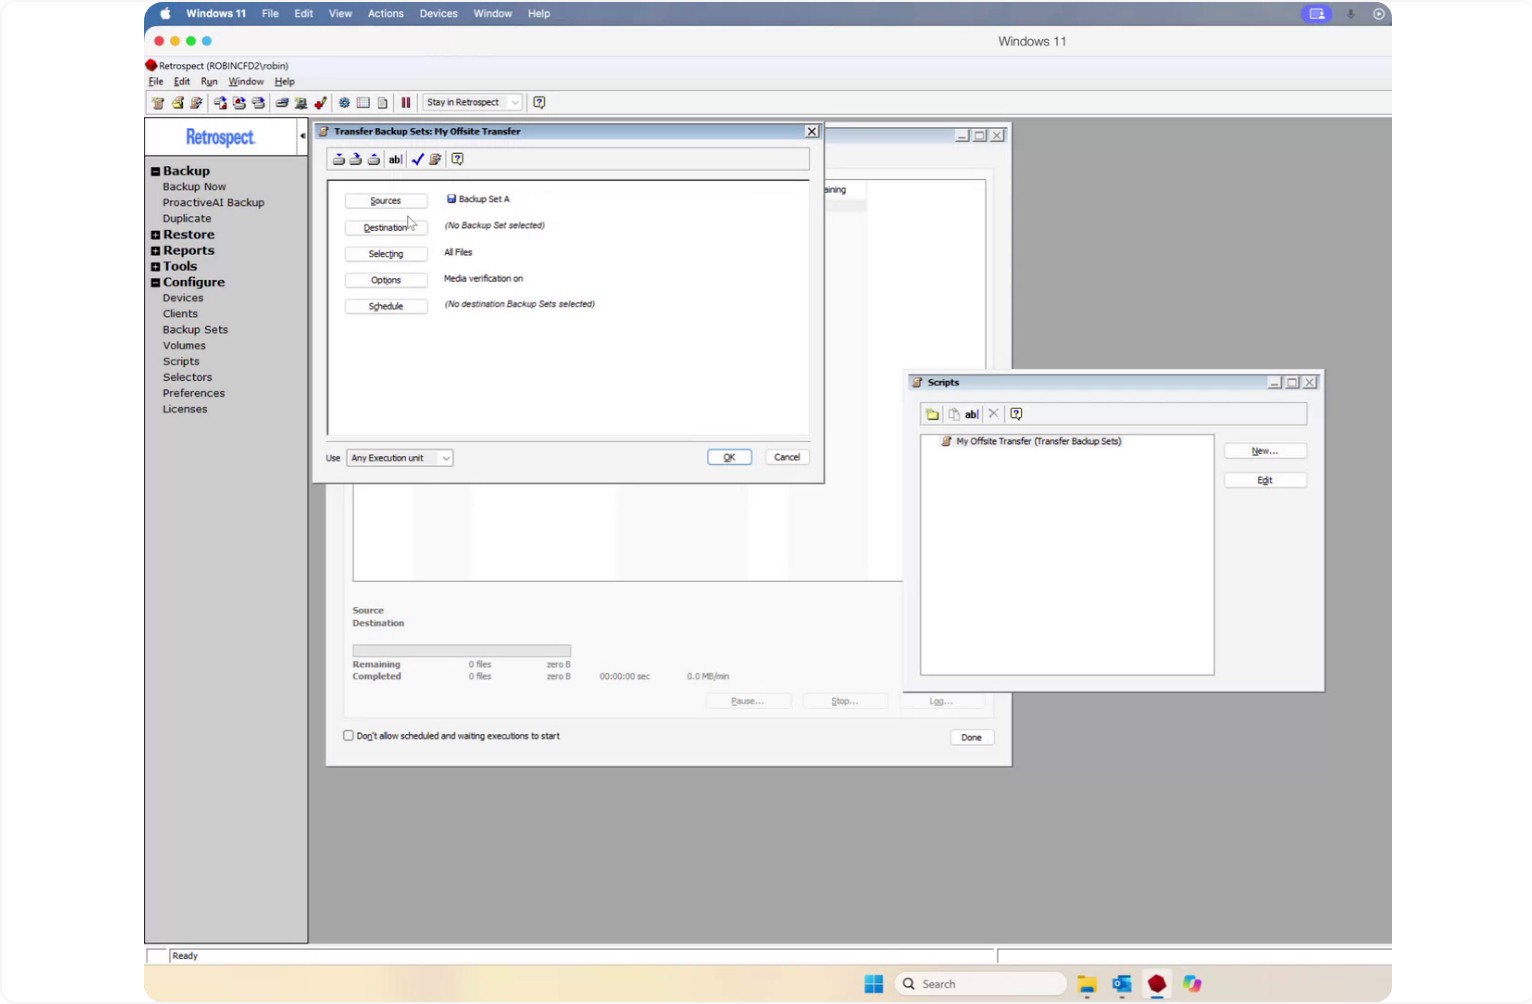
Step 4: Create and Select the Destination Cloud Media Set
Go to Destination to define where the data will be copied.
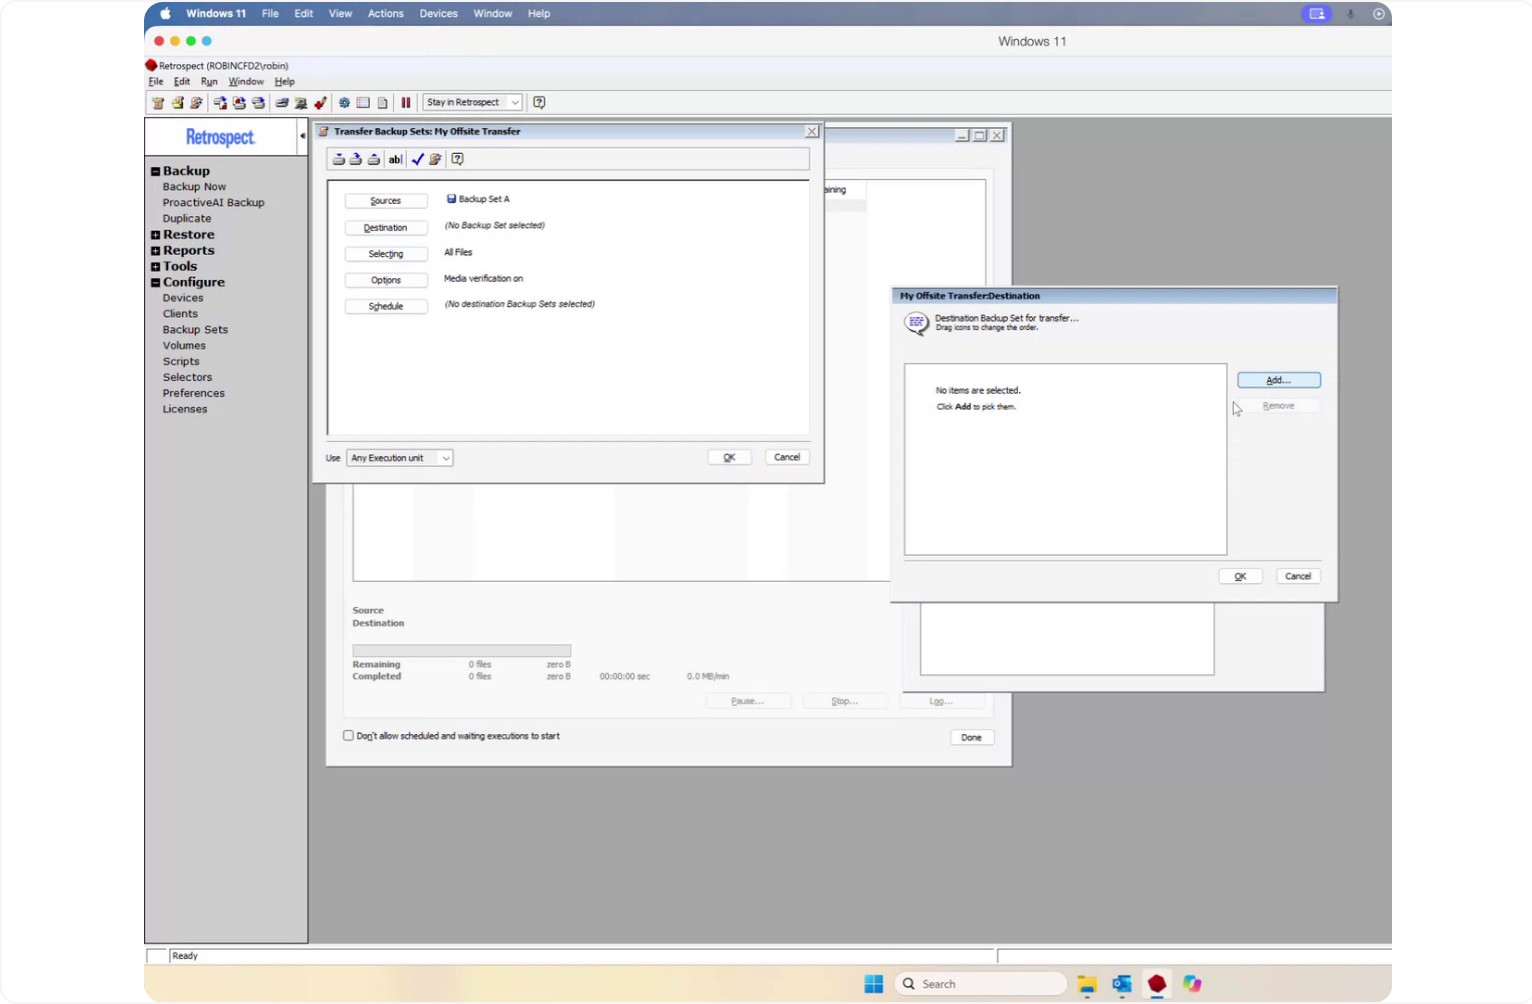
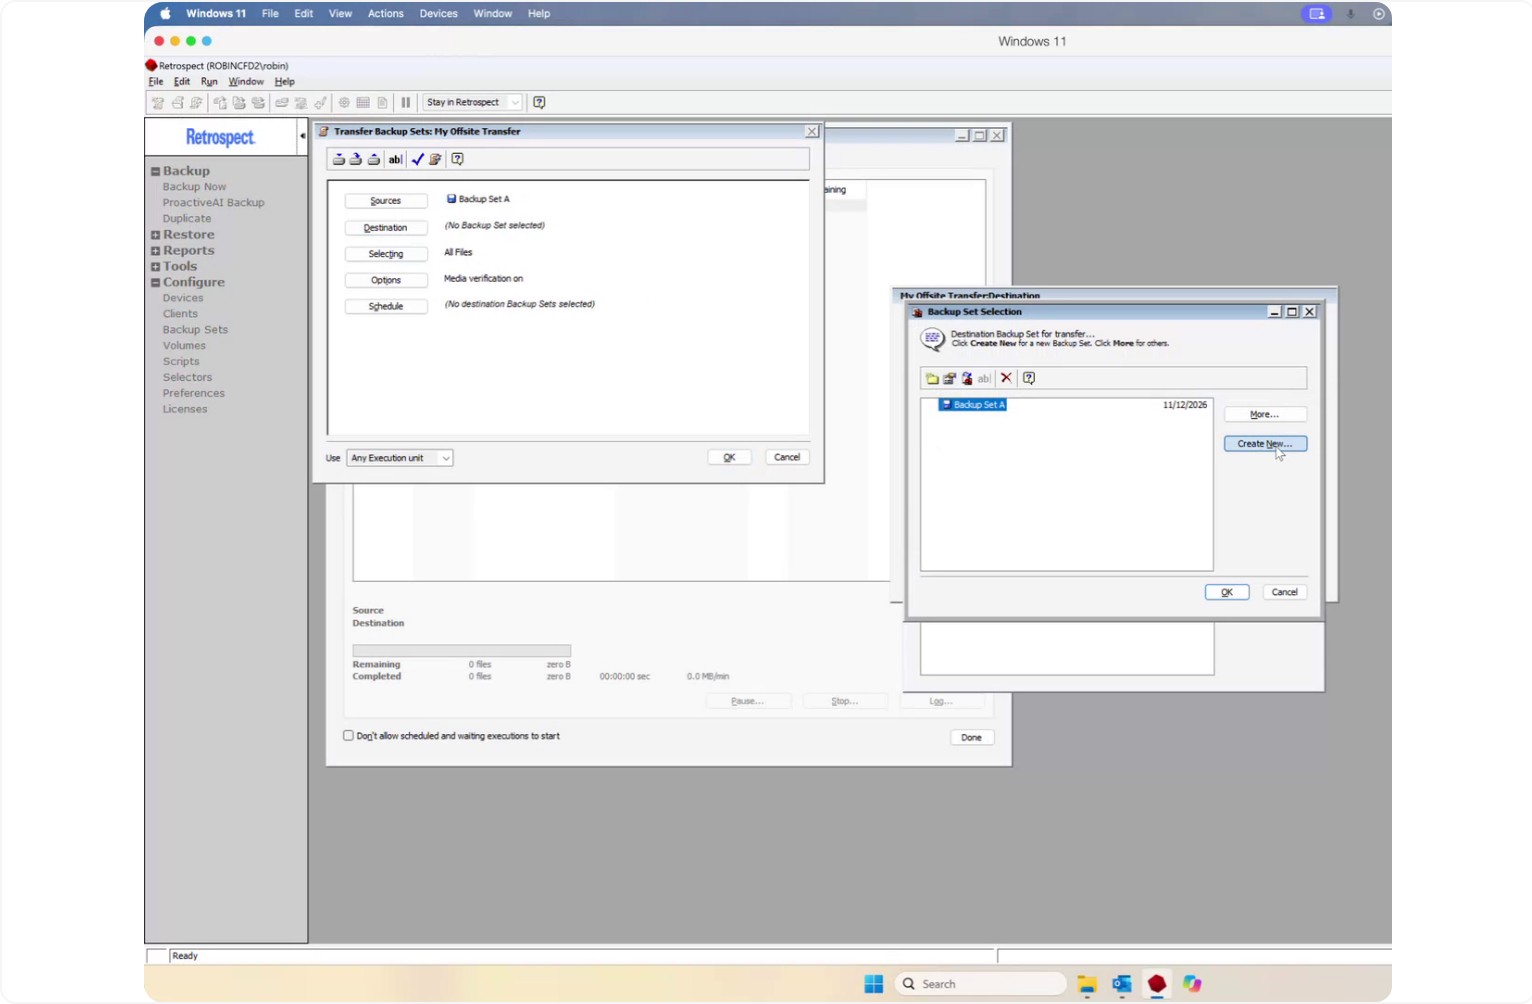
Click Create New to create a new destination media set for the transfer.
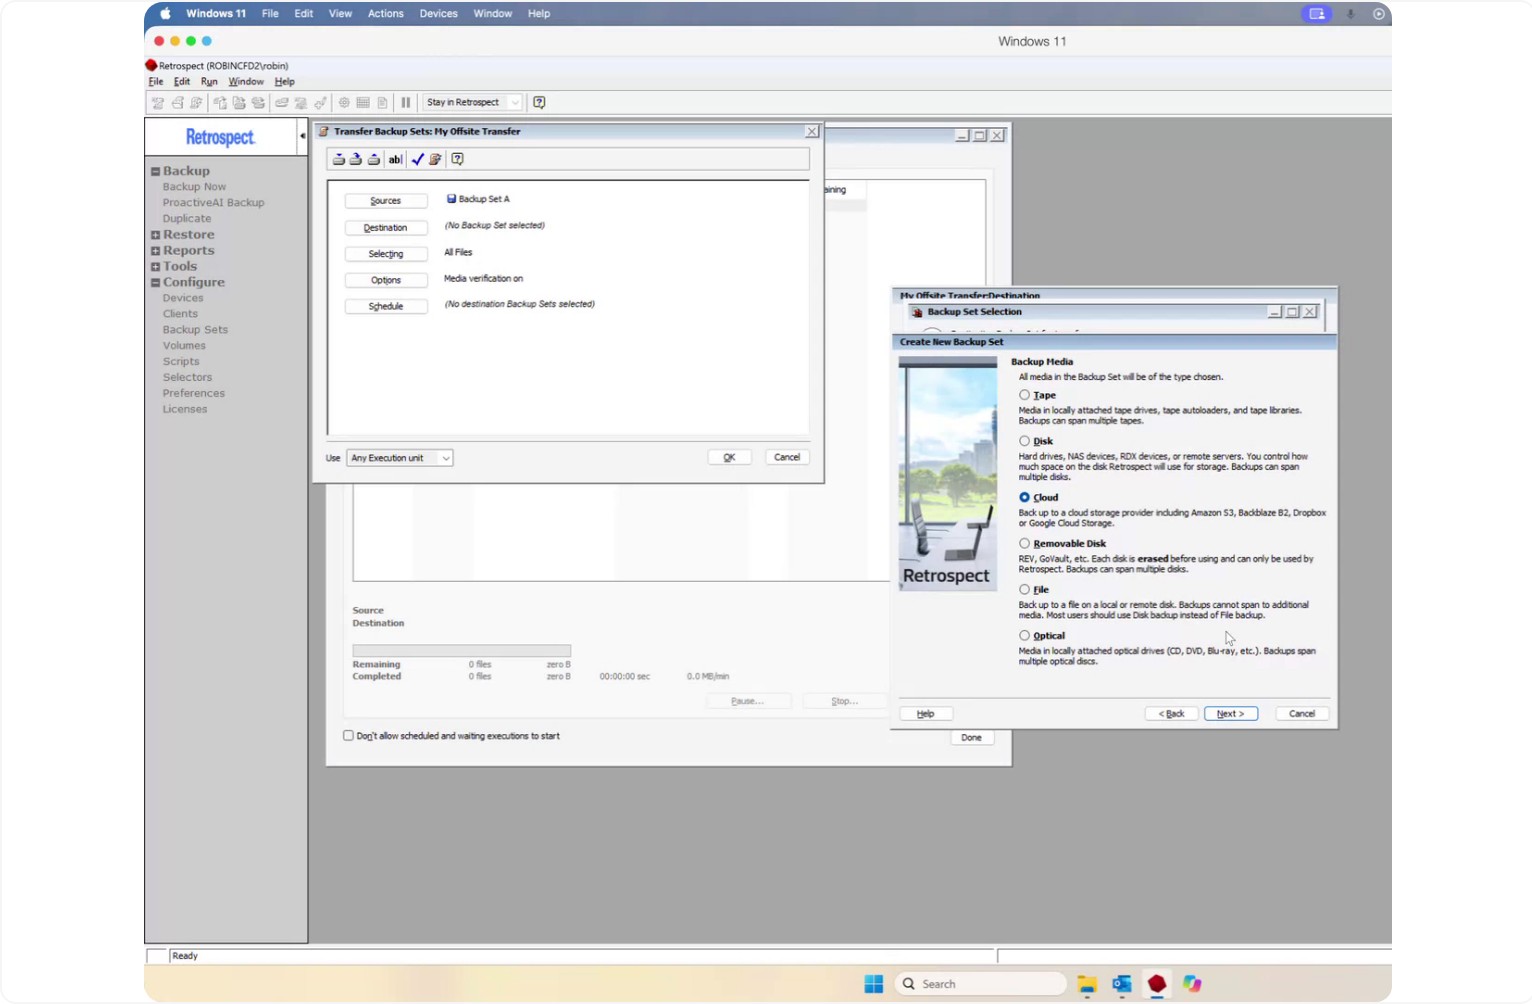
Choose Cloud as the media type for off-site cloud storage.
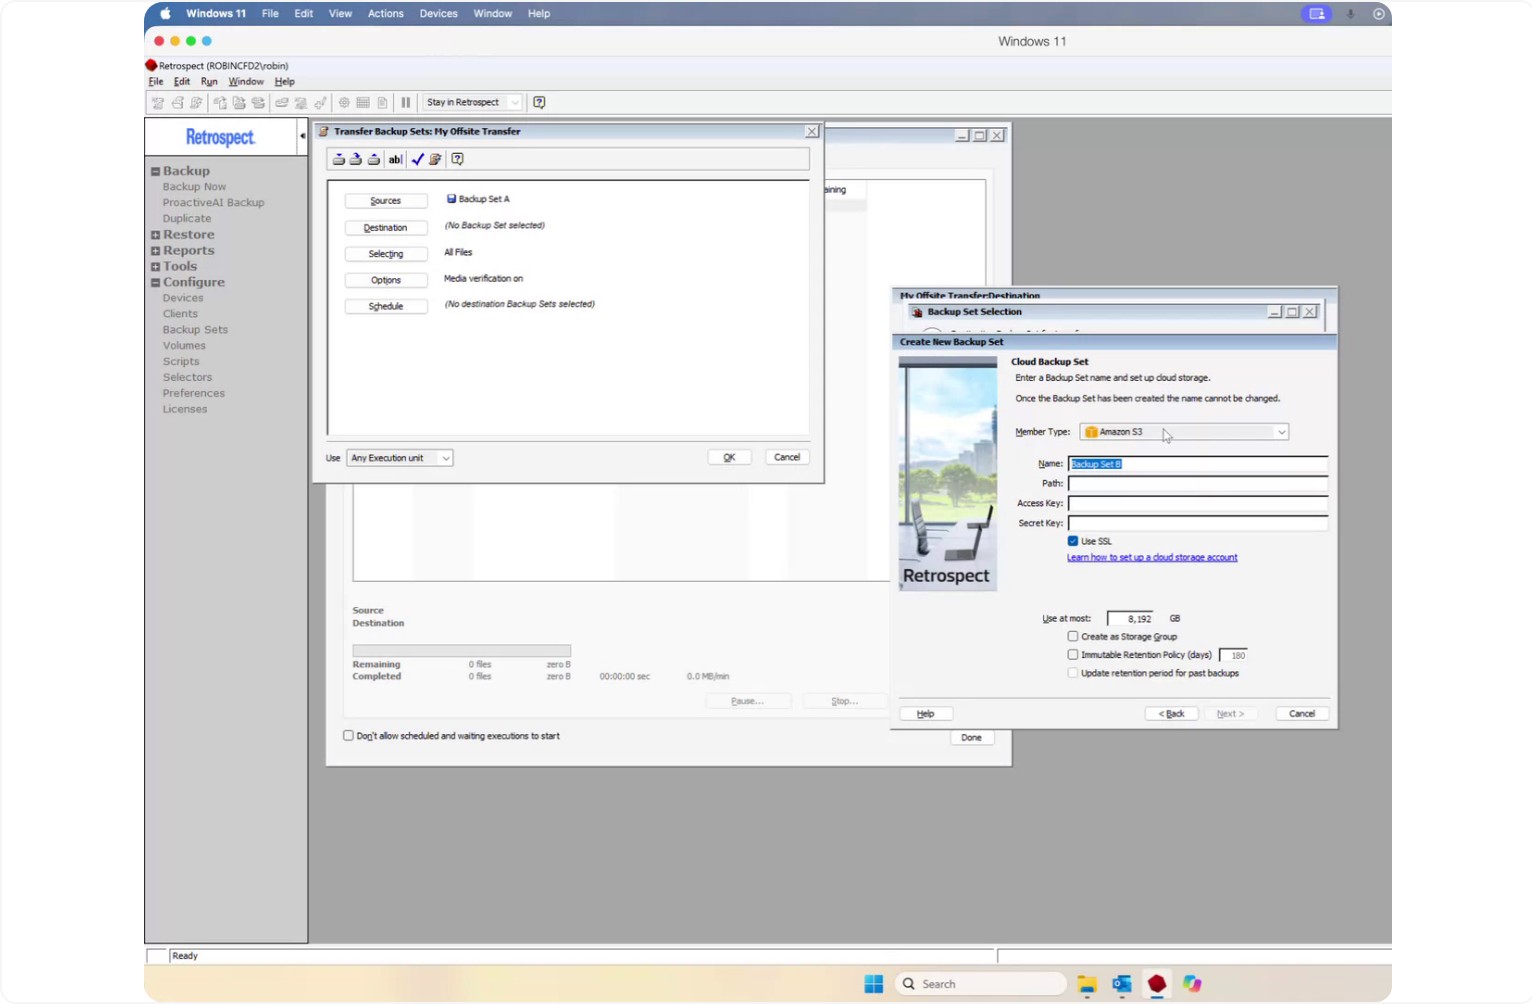
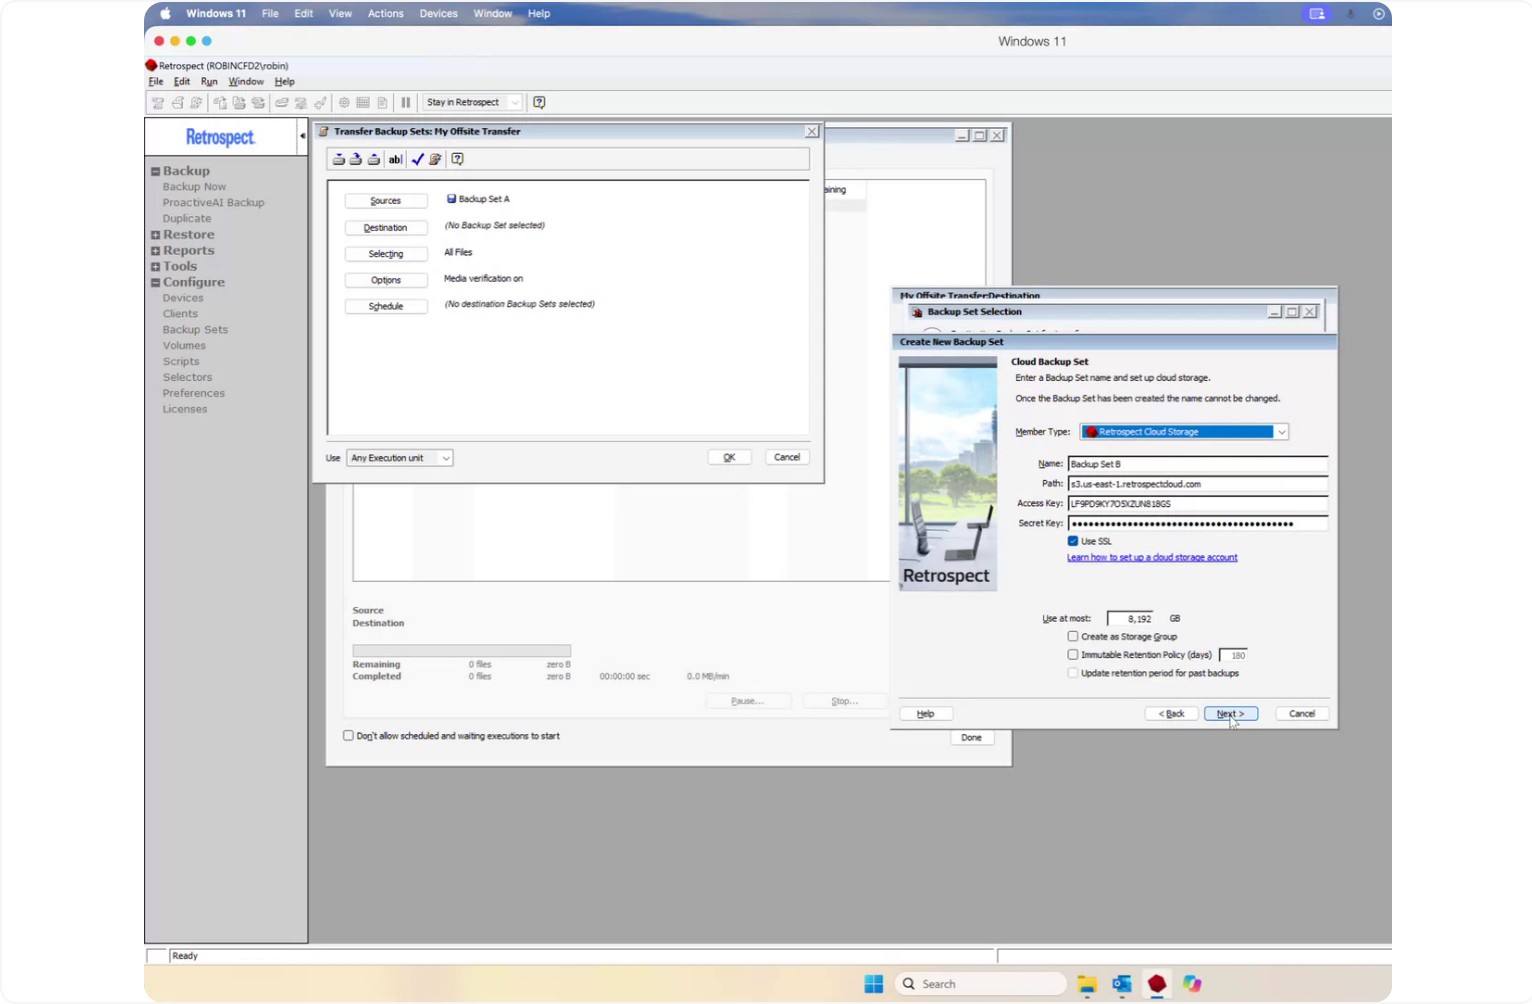
Select the cloud type as Retrospect Cloud Storage.
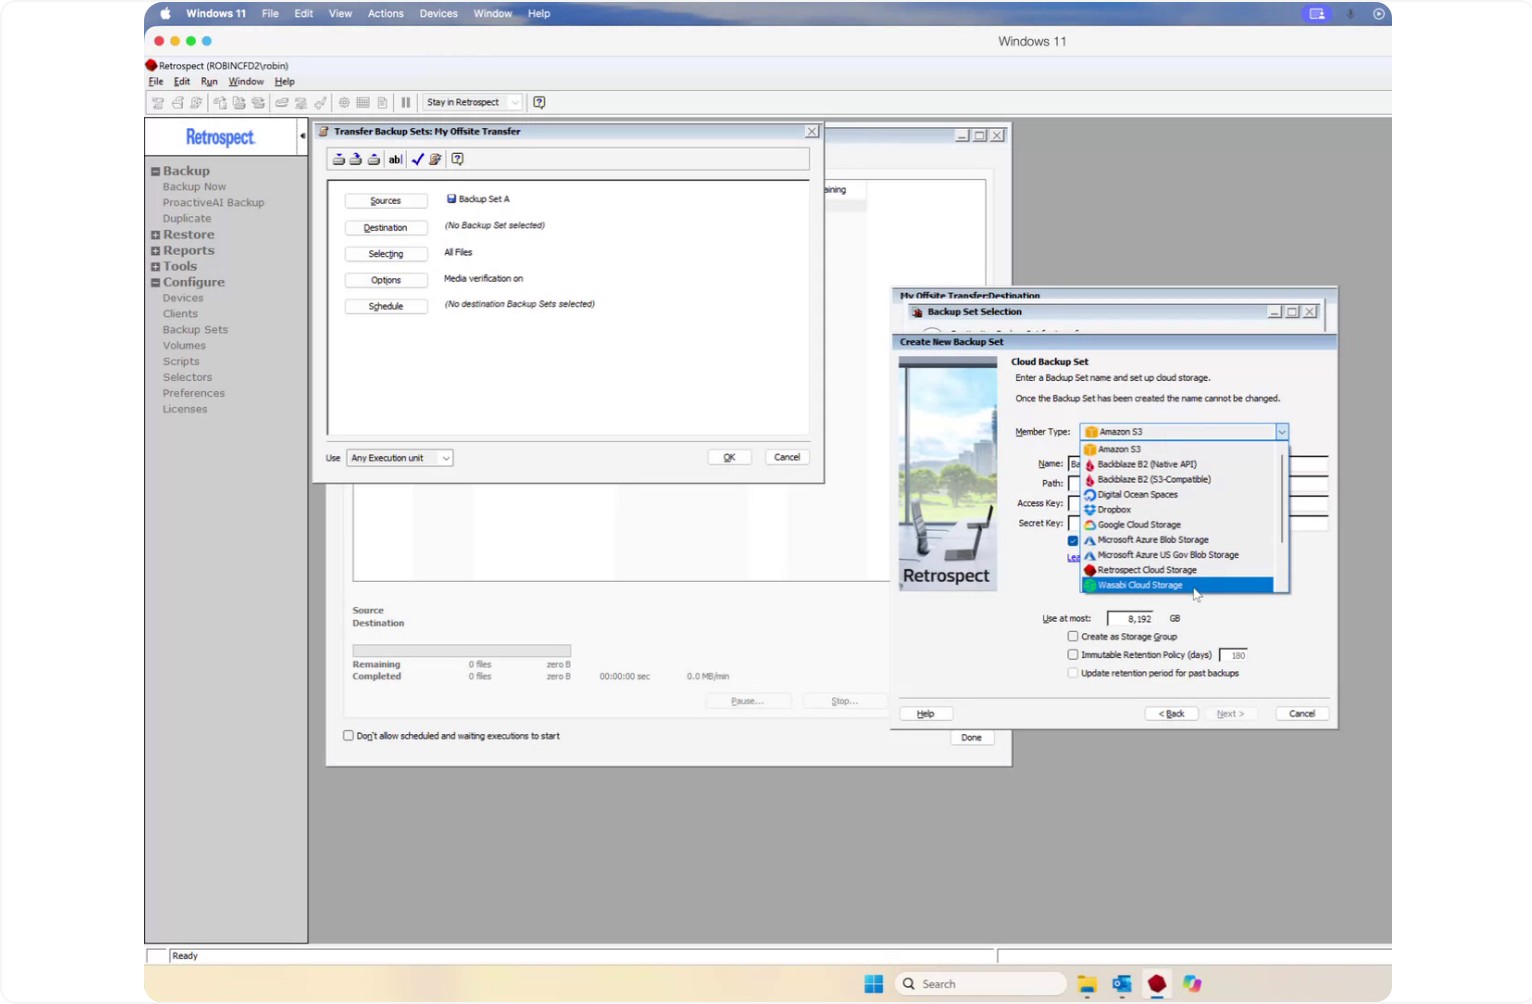
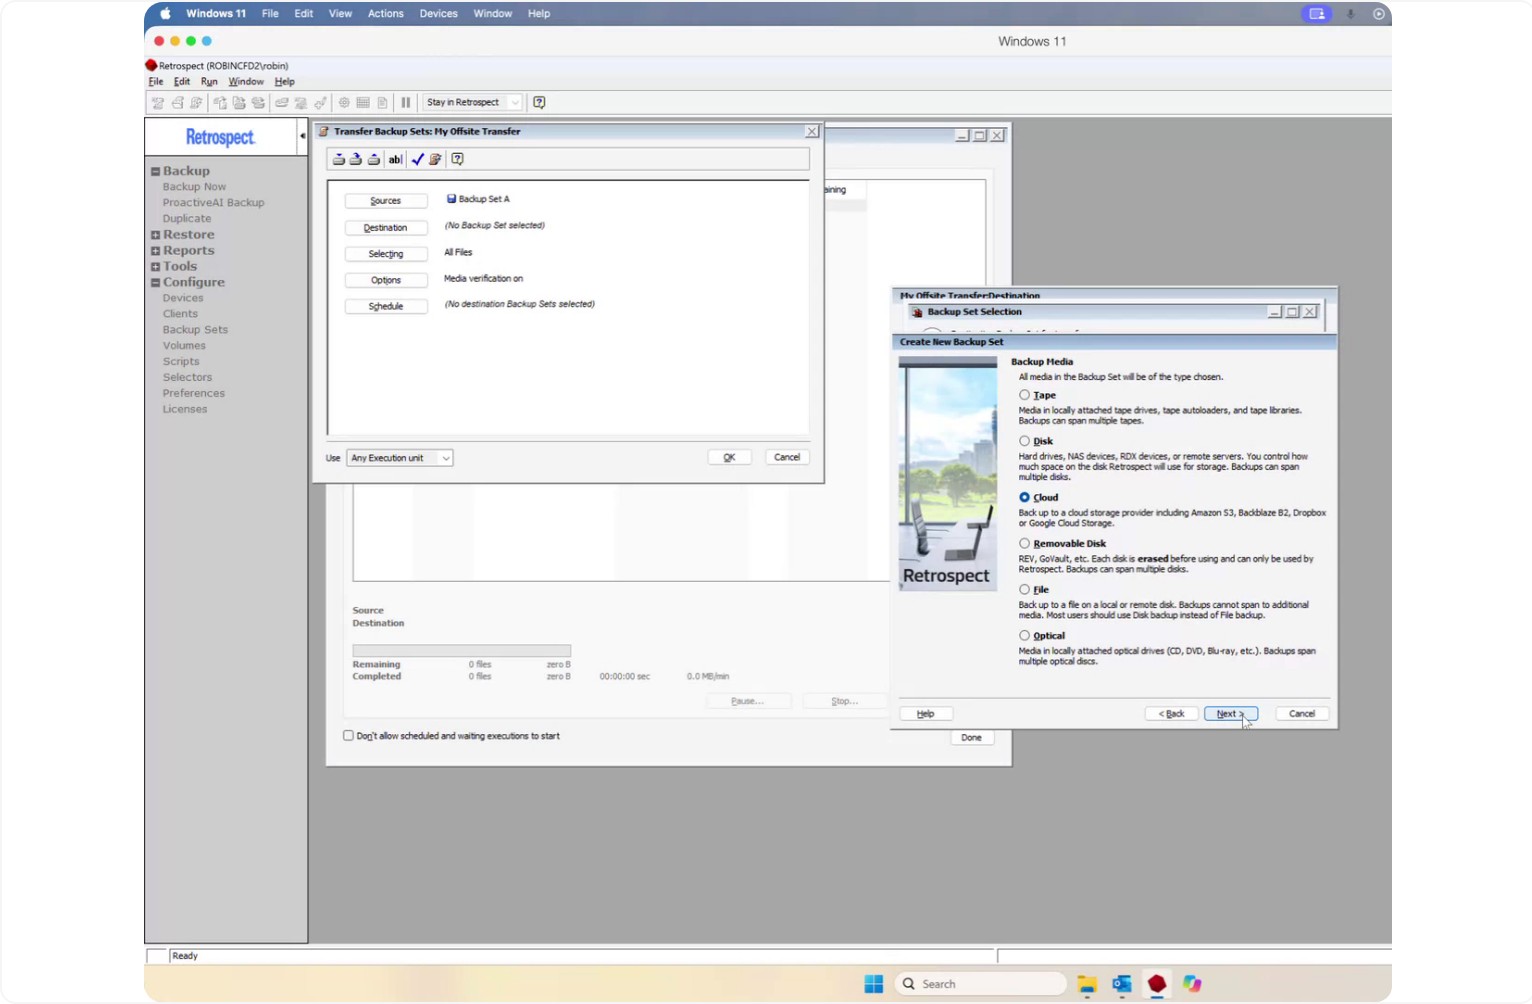
After choosing Retrospect Cloud, click Next.
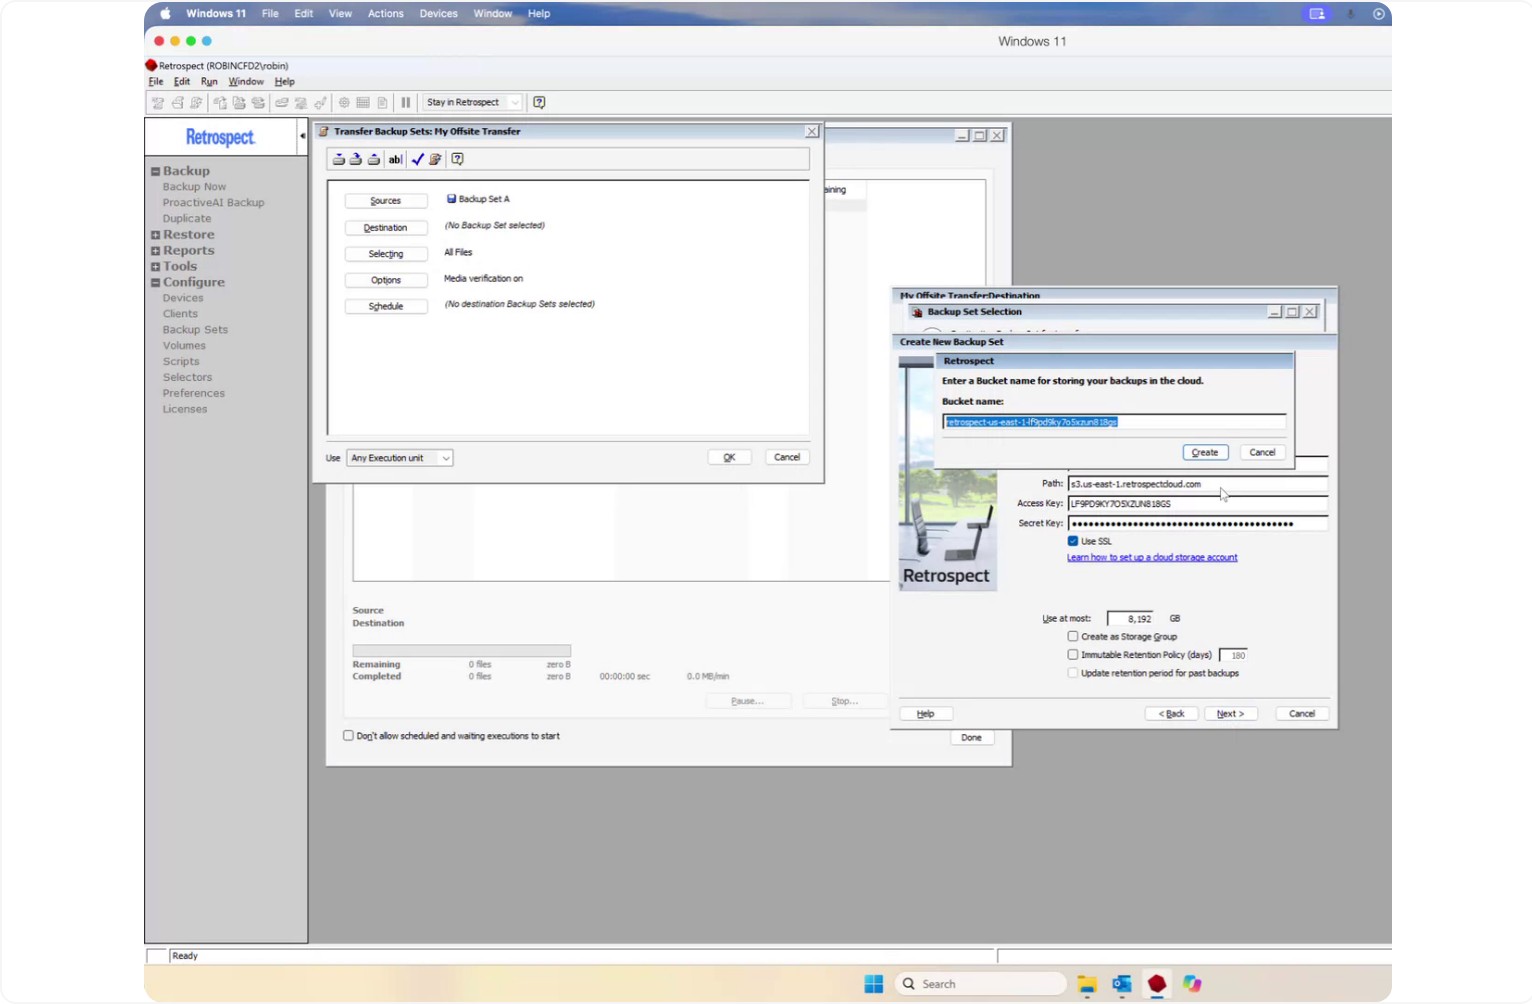
Click Create to create the new cloud media set.
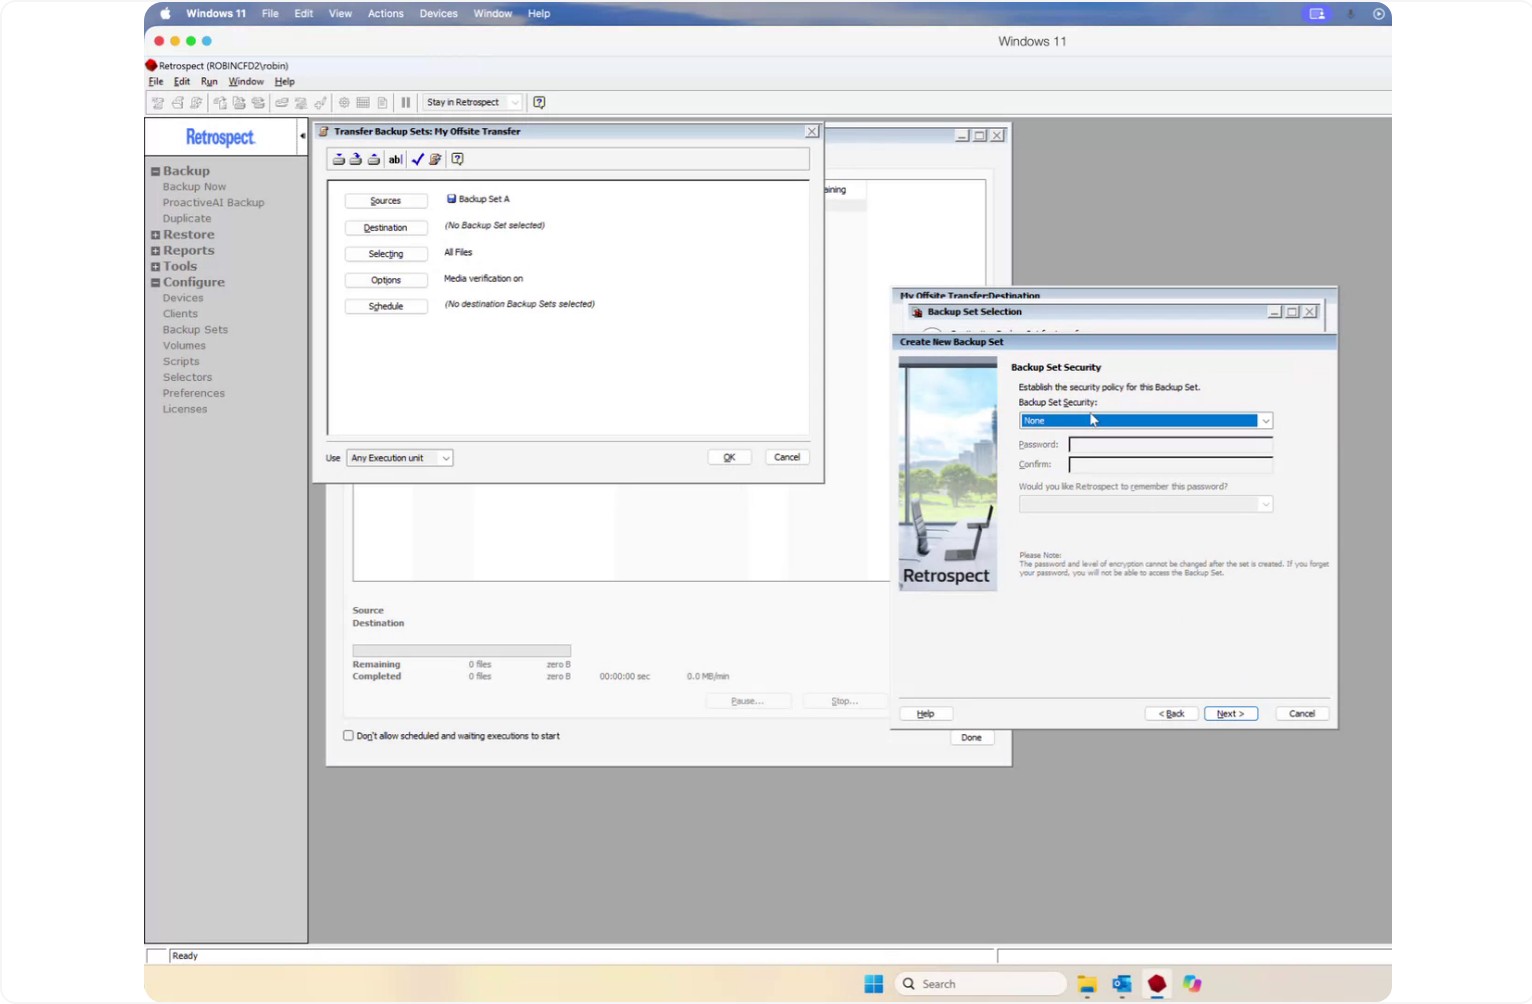
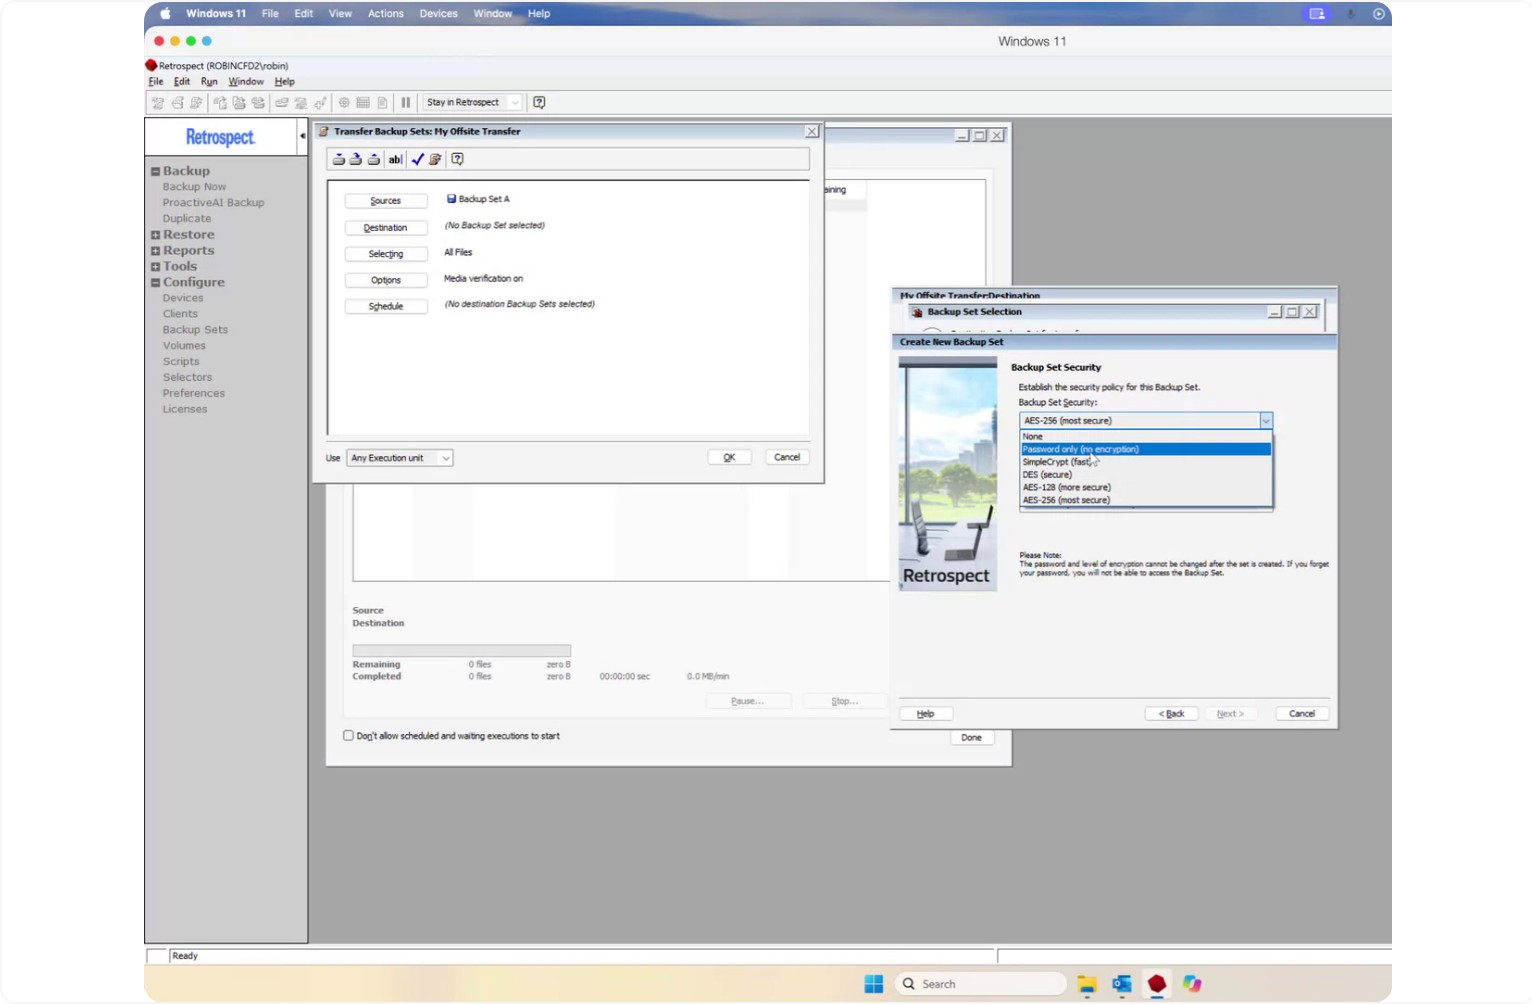
If desired, enable encryption for your off-site cloud storage (recommended for cloud destinations). For this example, leave encryption disabled.
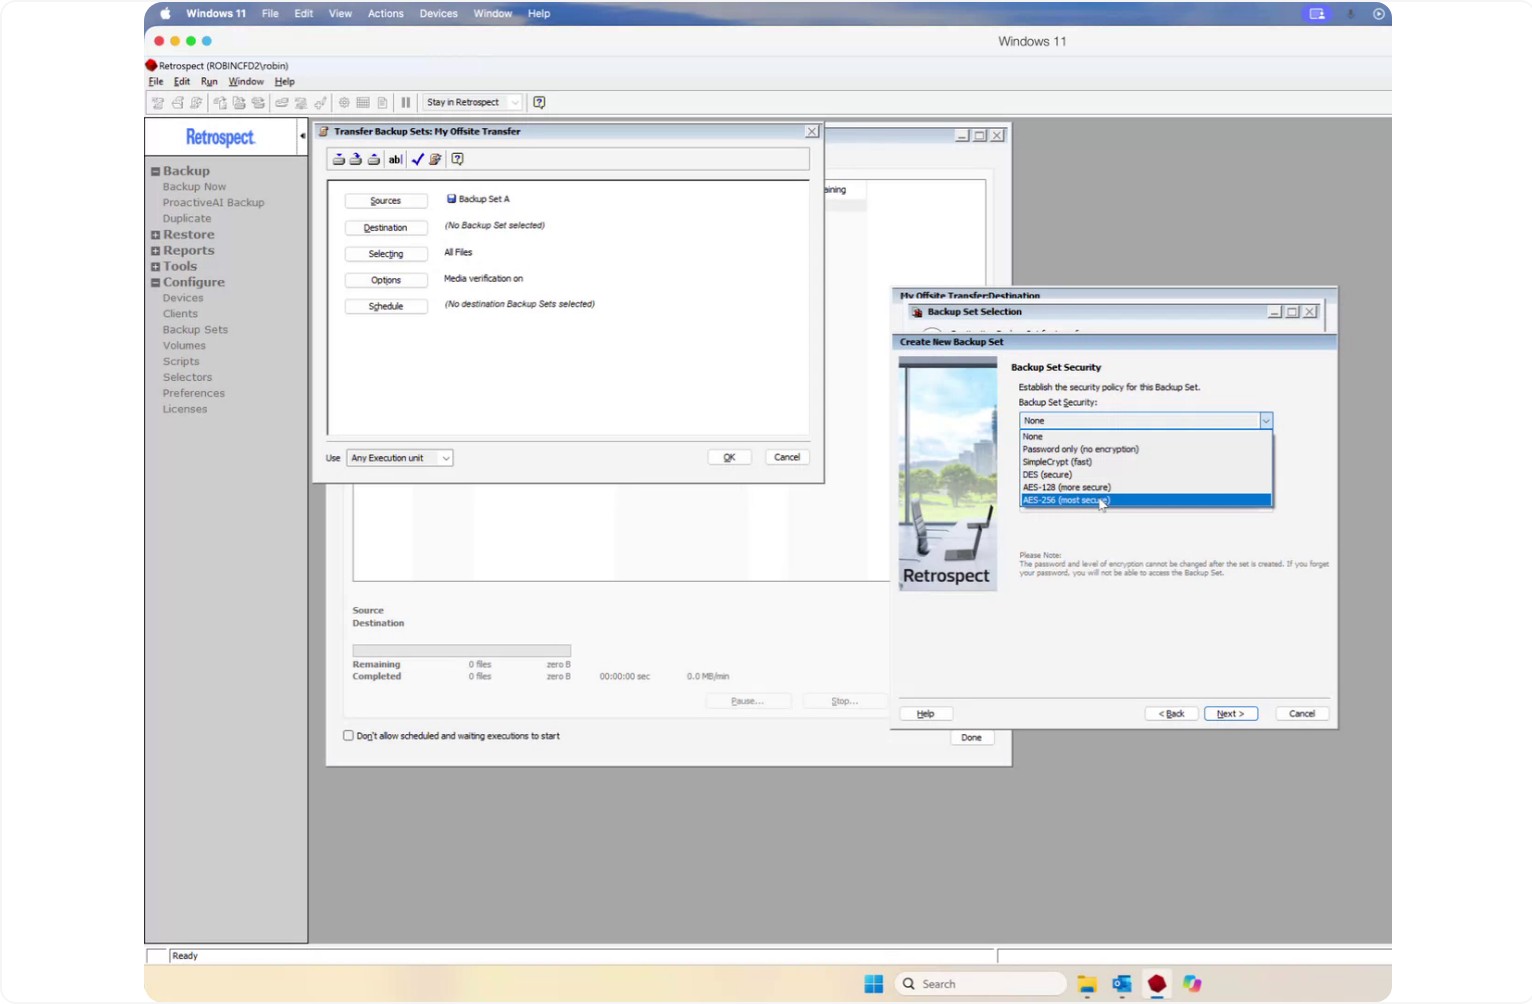
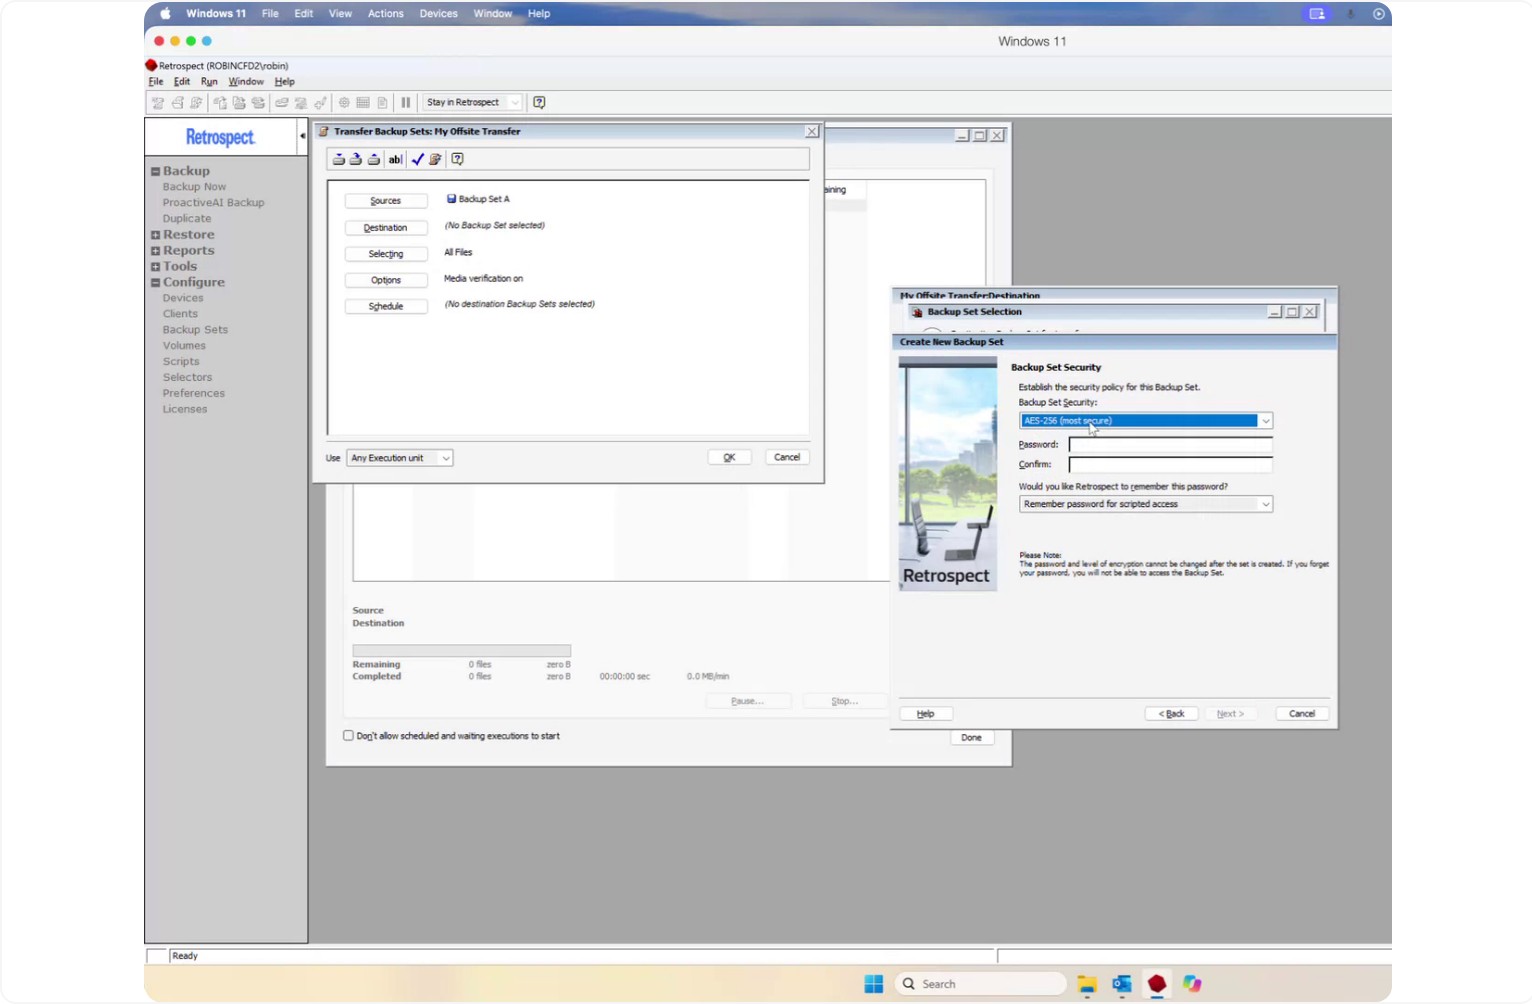
Click Next, then Next again, and finally click Finish to complete the cloud media set creation.
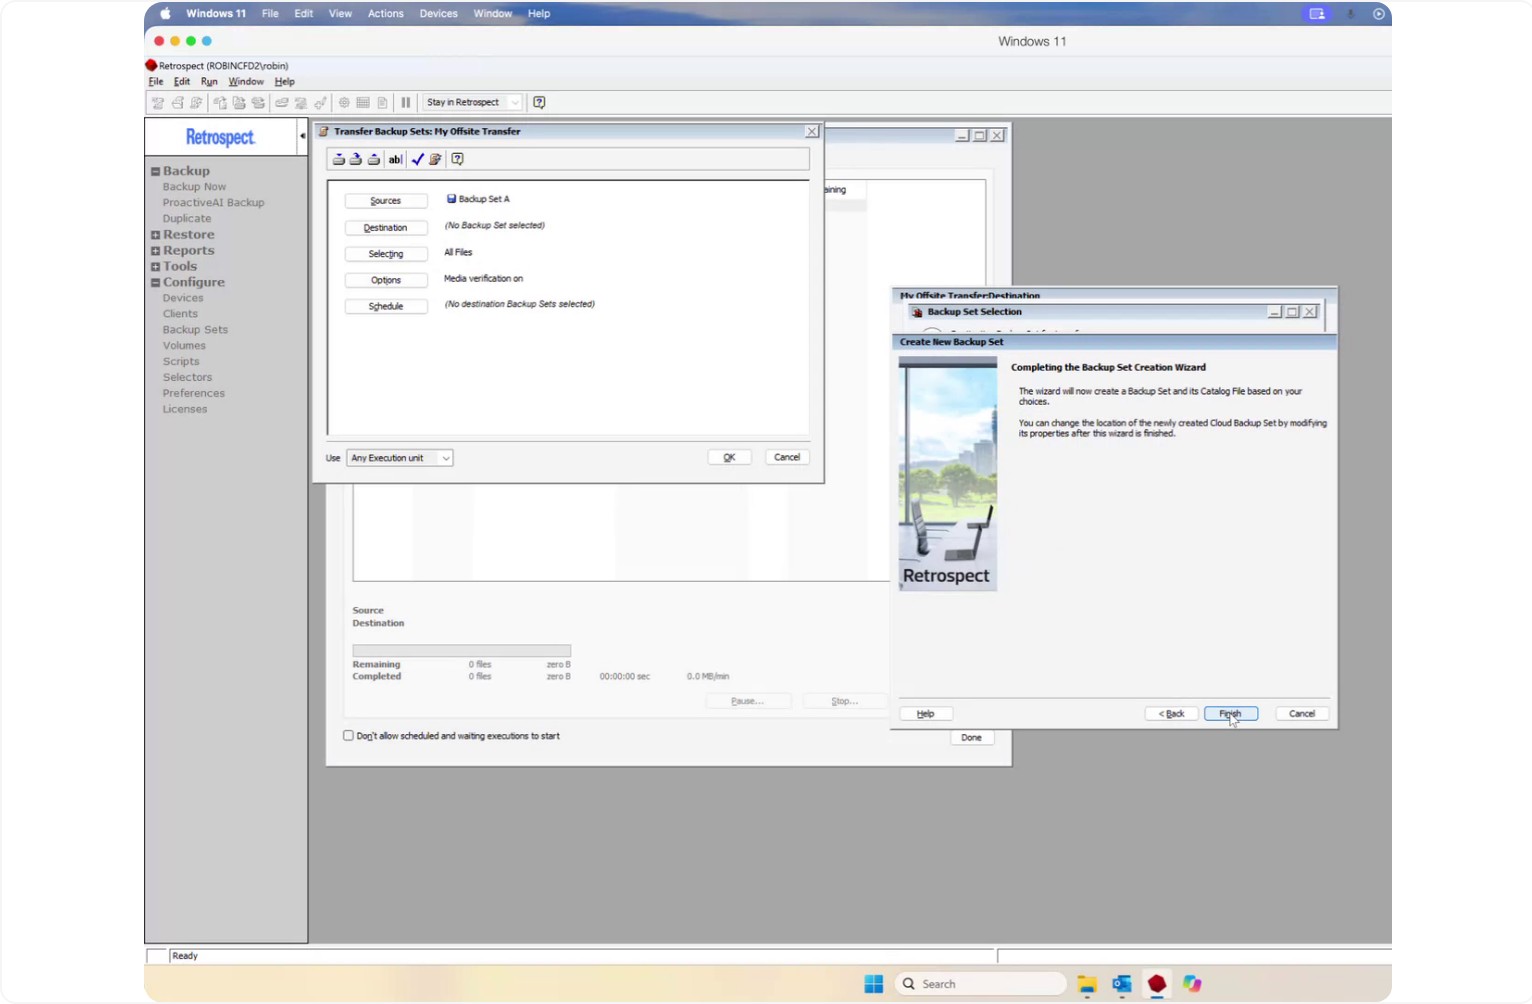
Select your new destination cloud storage media set and click OK.
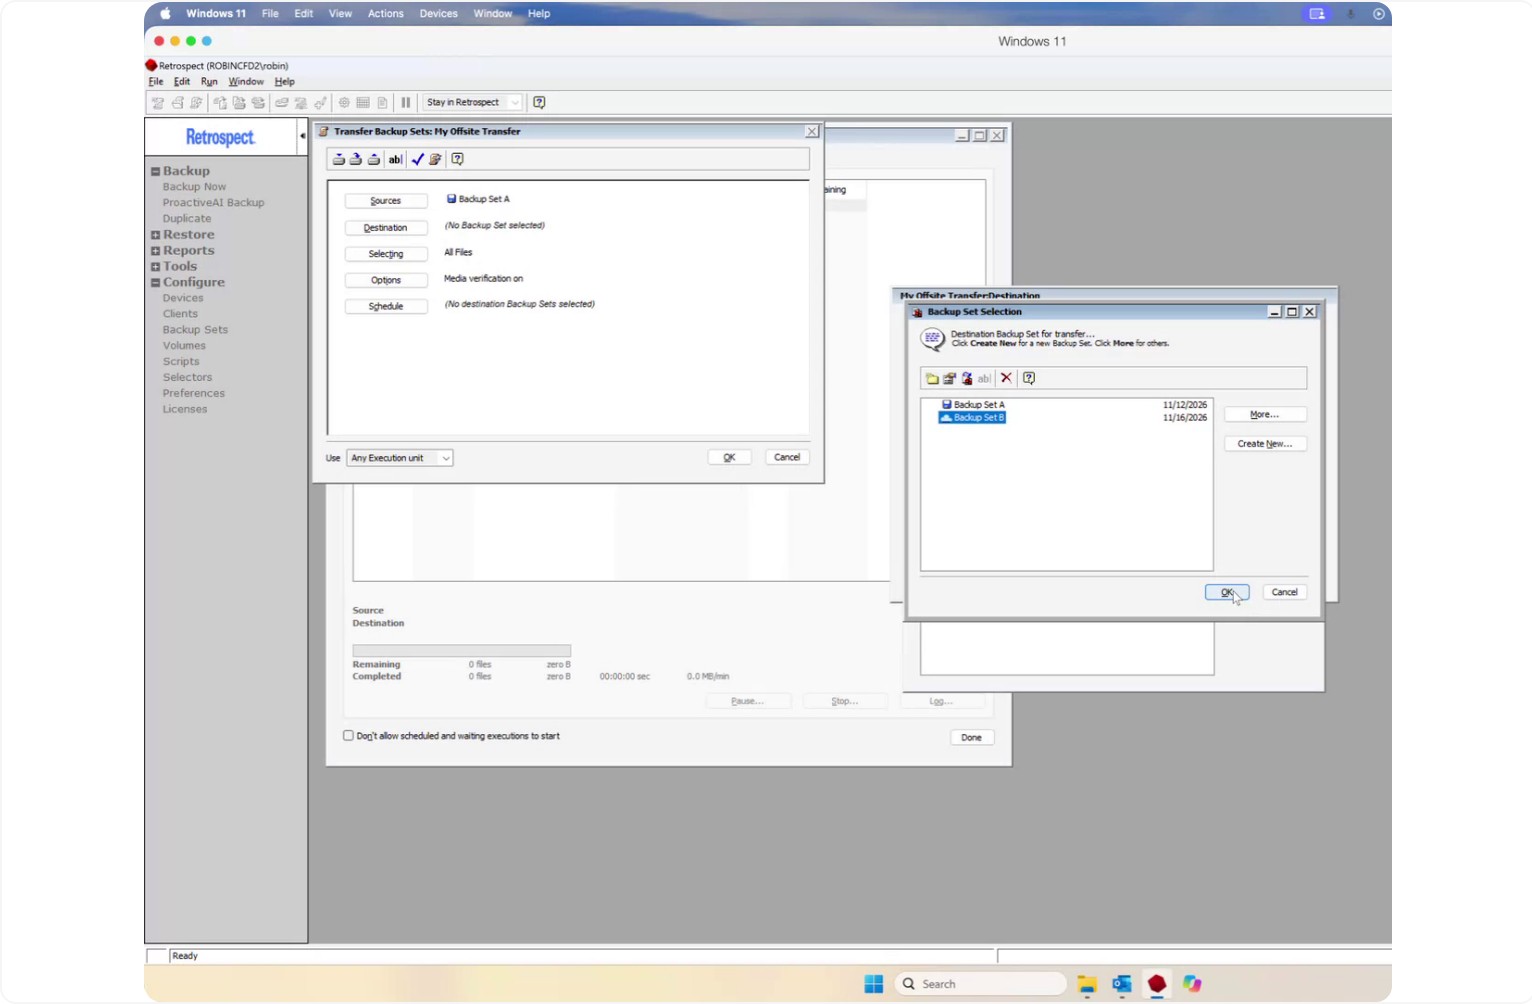
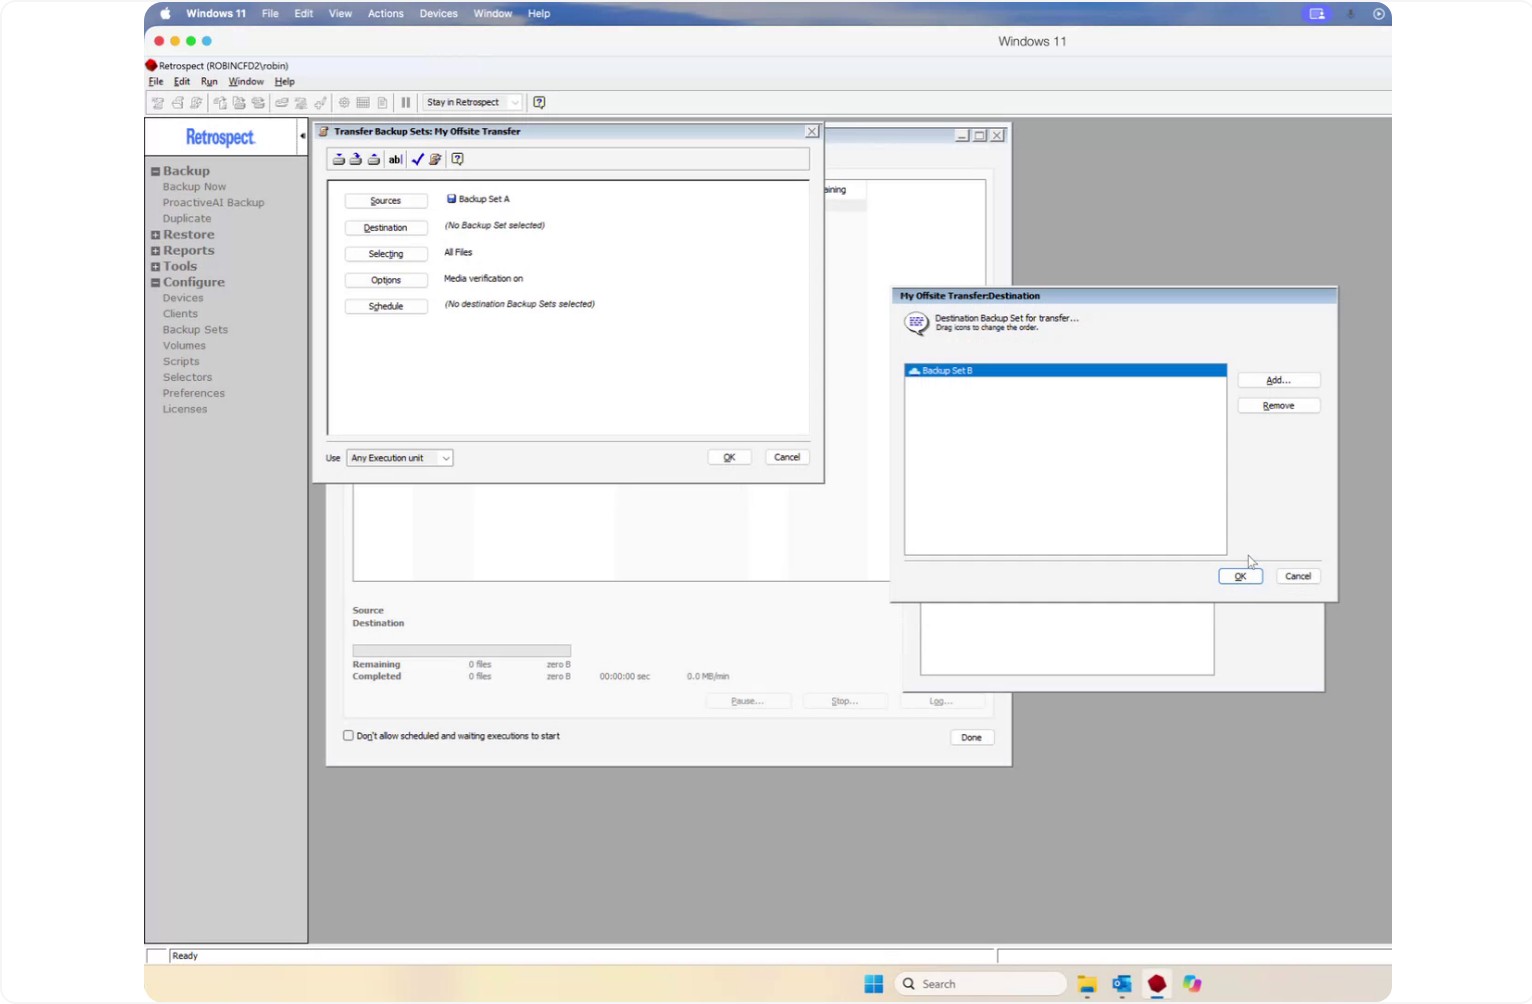
At this point, your Source is Media Set A (on-site), and your Destination is Media Set B (cloud storage).
Step 5: Schedule the Off-Site Transfer
Go to the Schedule tab of the script to define when the transfer should run.
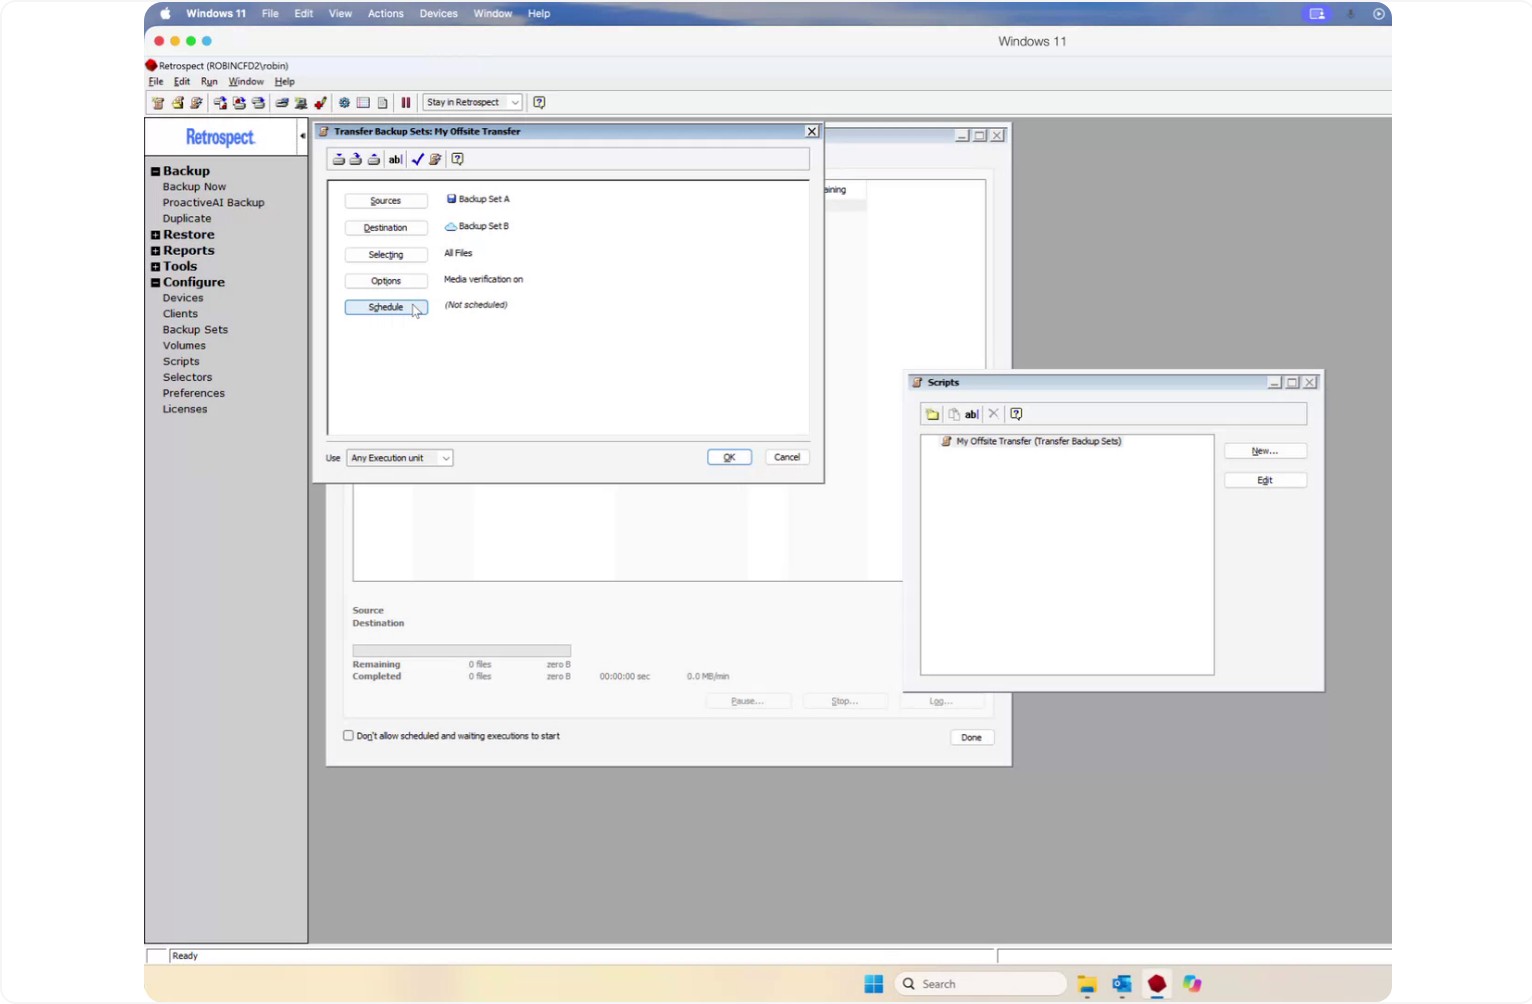
Click Add to create a new schedule entry.
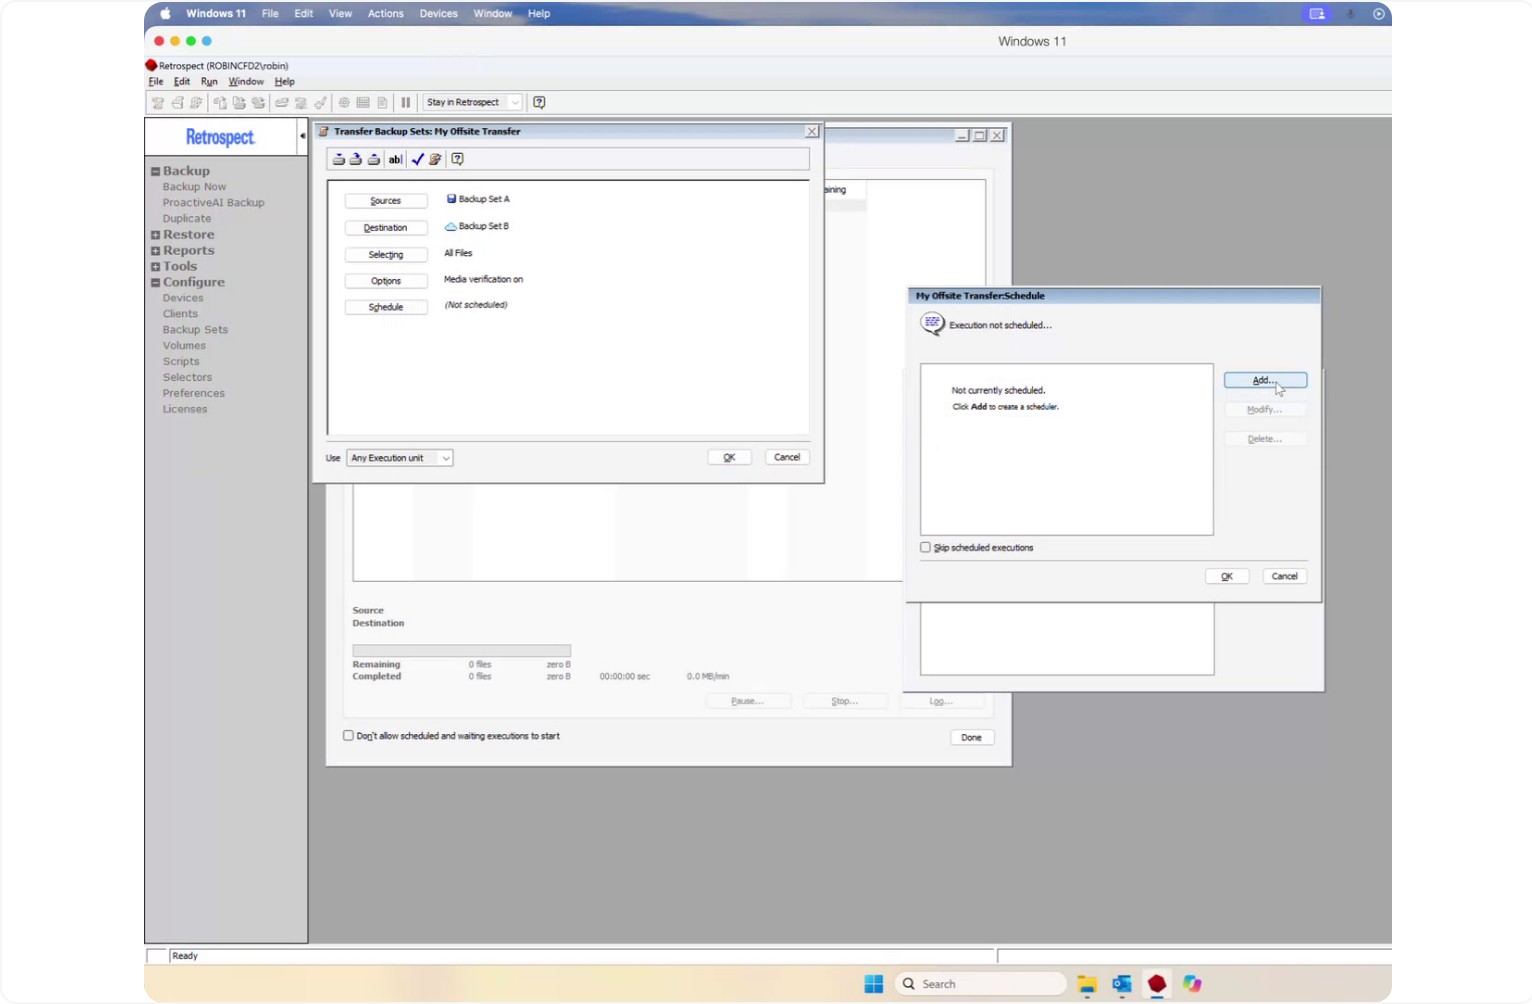
Choose Day of Week as the schedule type.
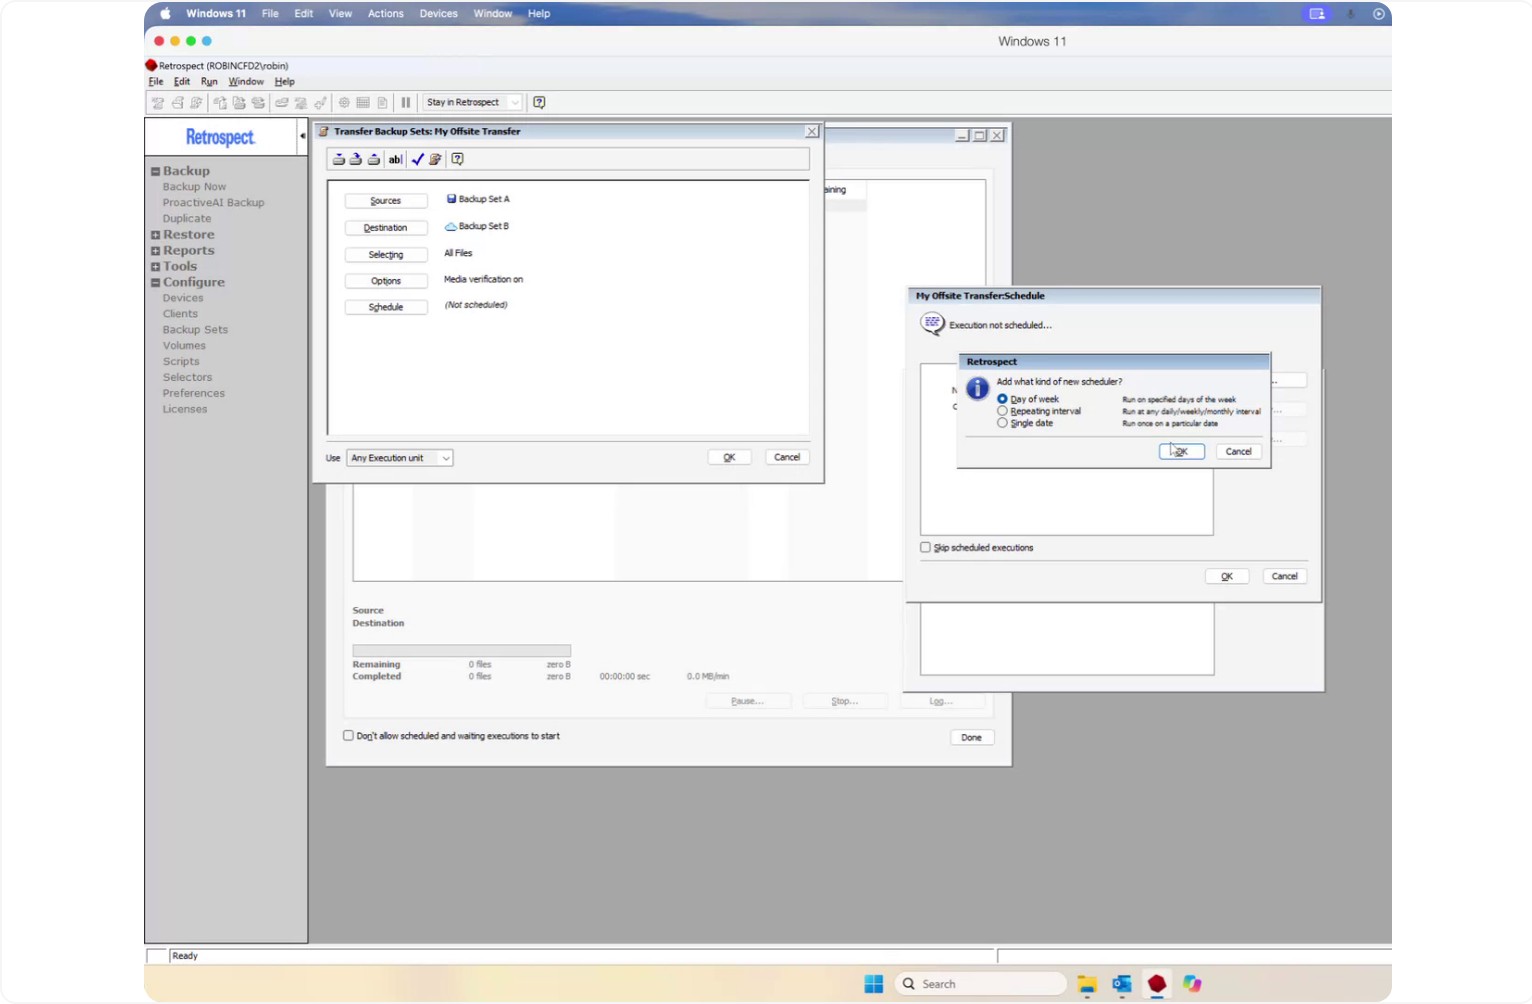
Set the schedule to run on Friday at 10:00 PM (or your preferred day/time).
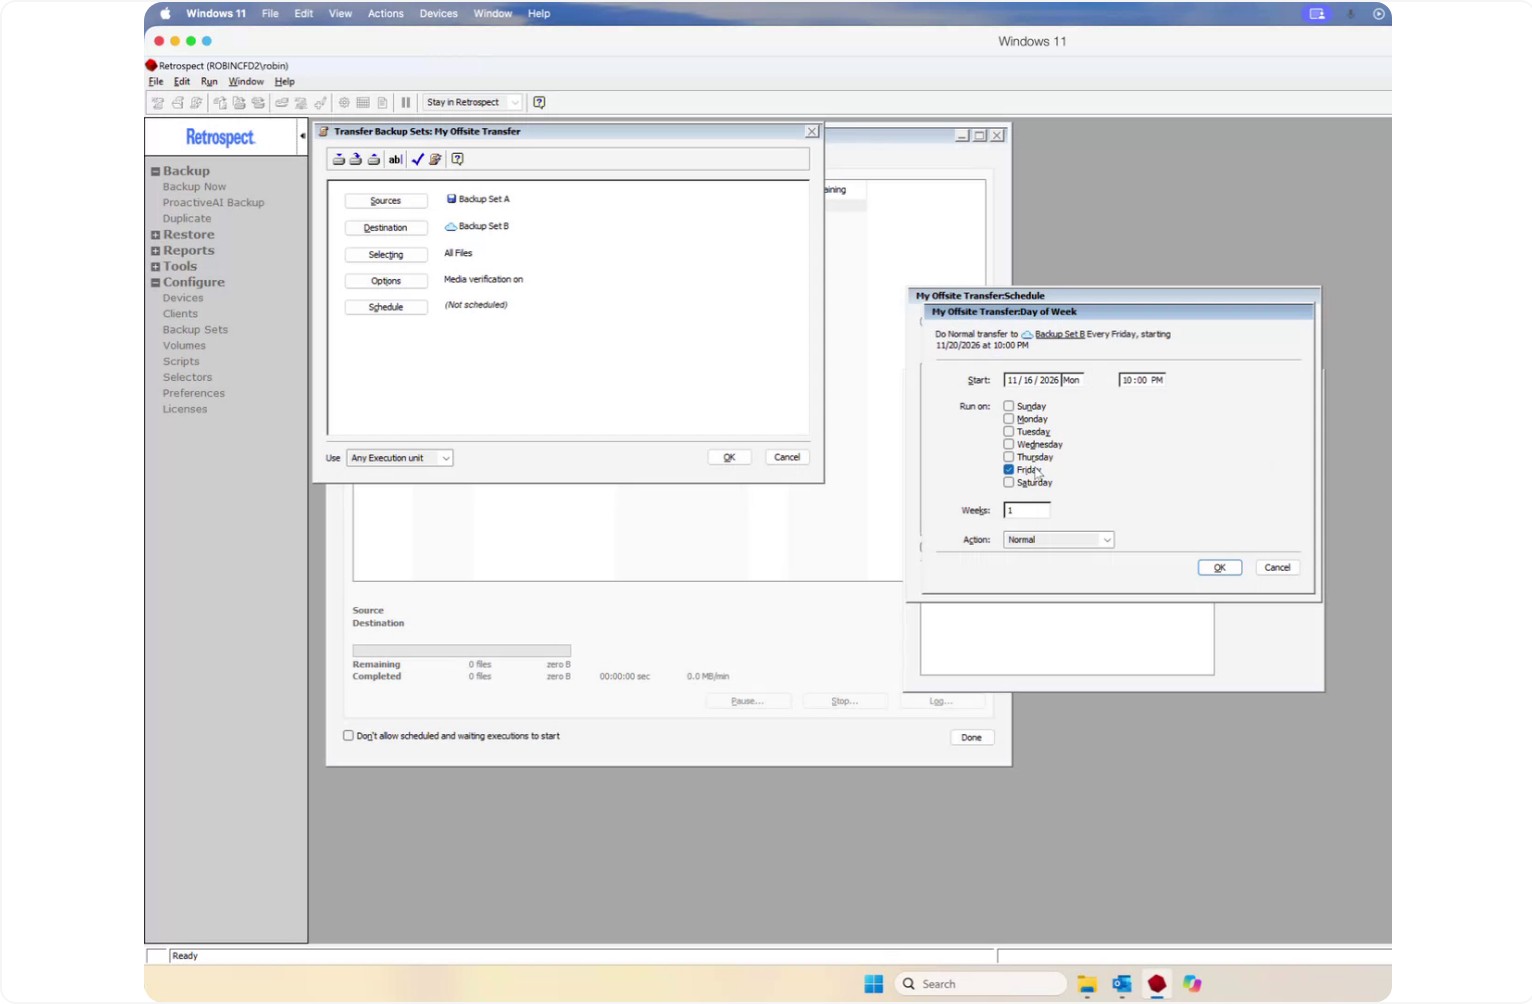
This schedule will run a copy of Media Set A into Media Set B every Friday at 10:00 PM.
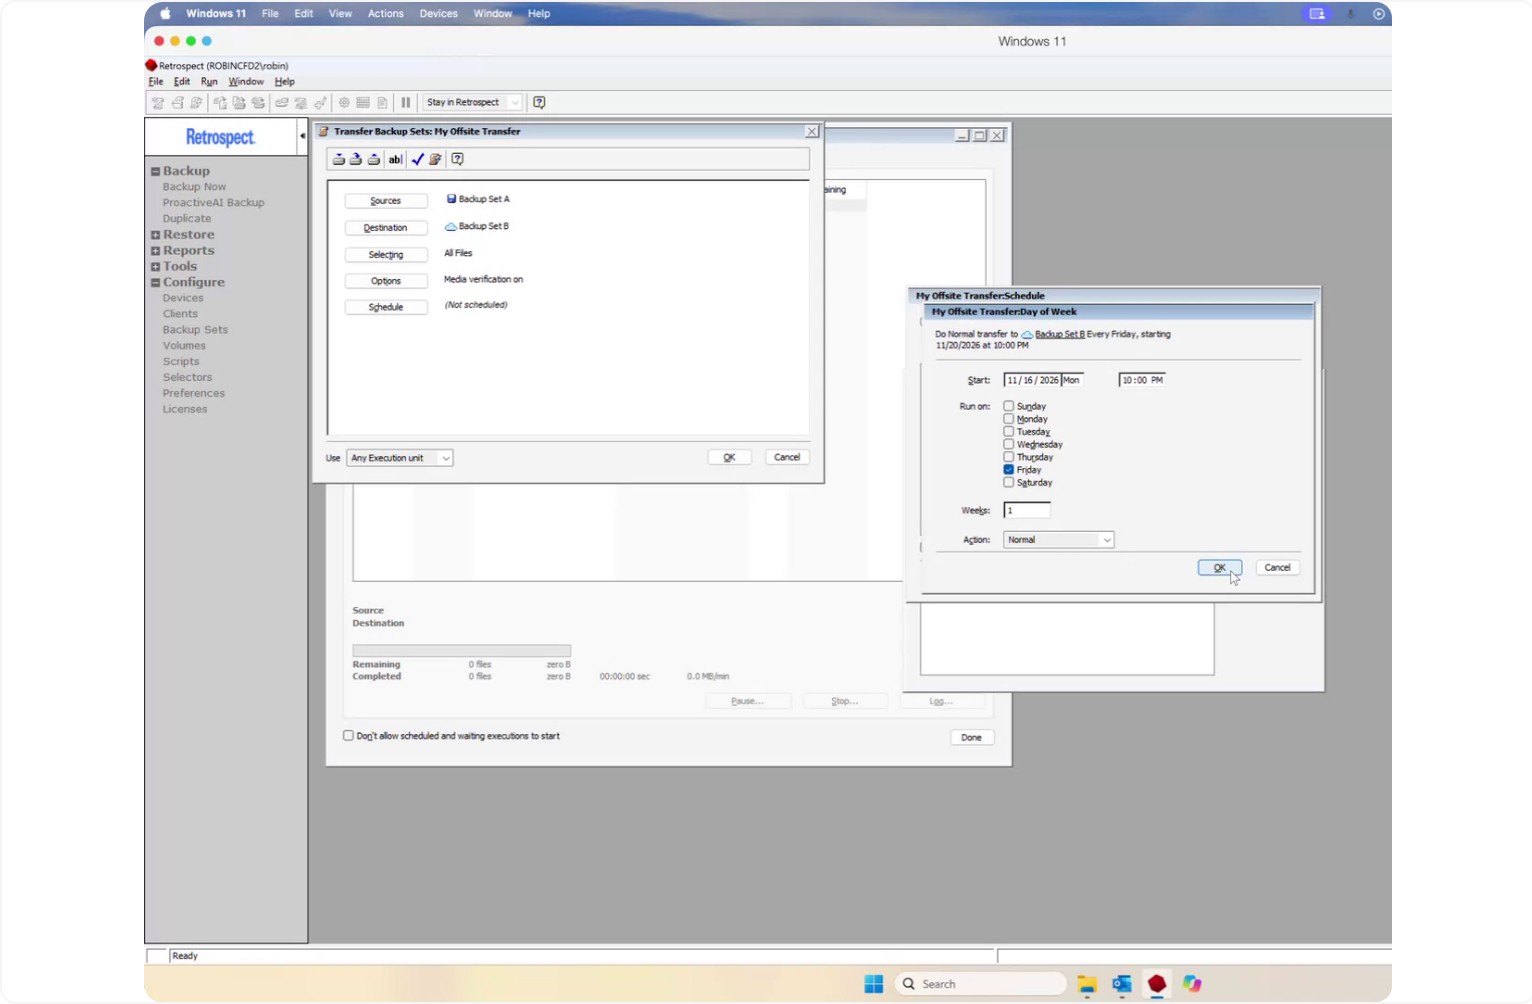
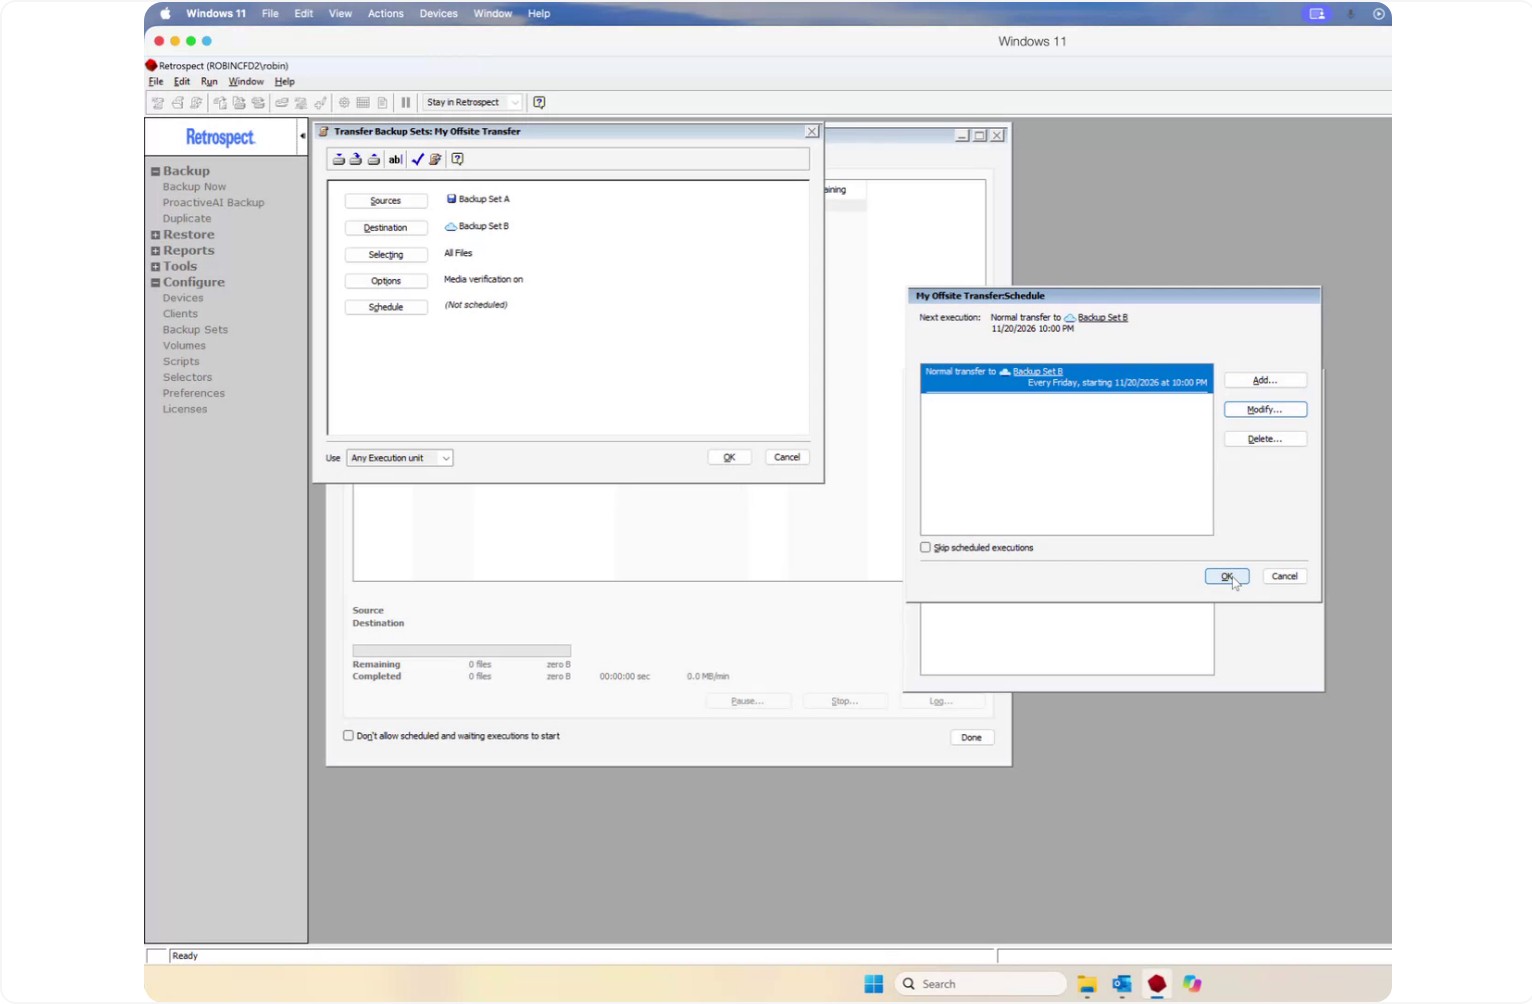
On the first run, all data from the source will be copied to the destination. On subsequent runs, only new or changed files since the previous copy will be transferred.
Step 6: Configure Options and Confirm the Script
Before closing the script, go to Options to adjust additional settings.
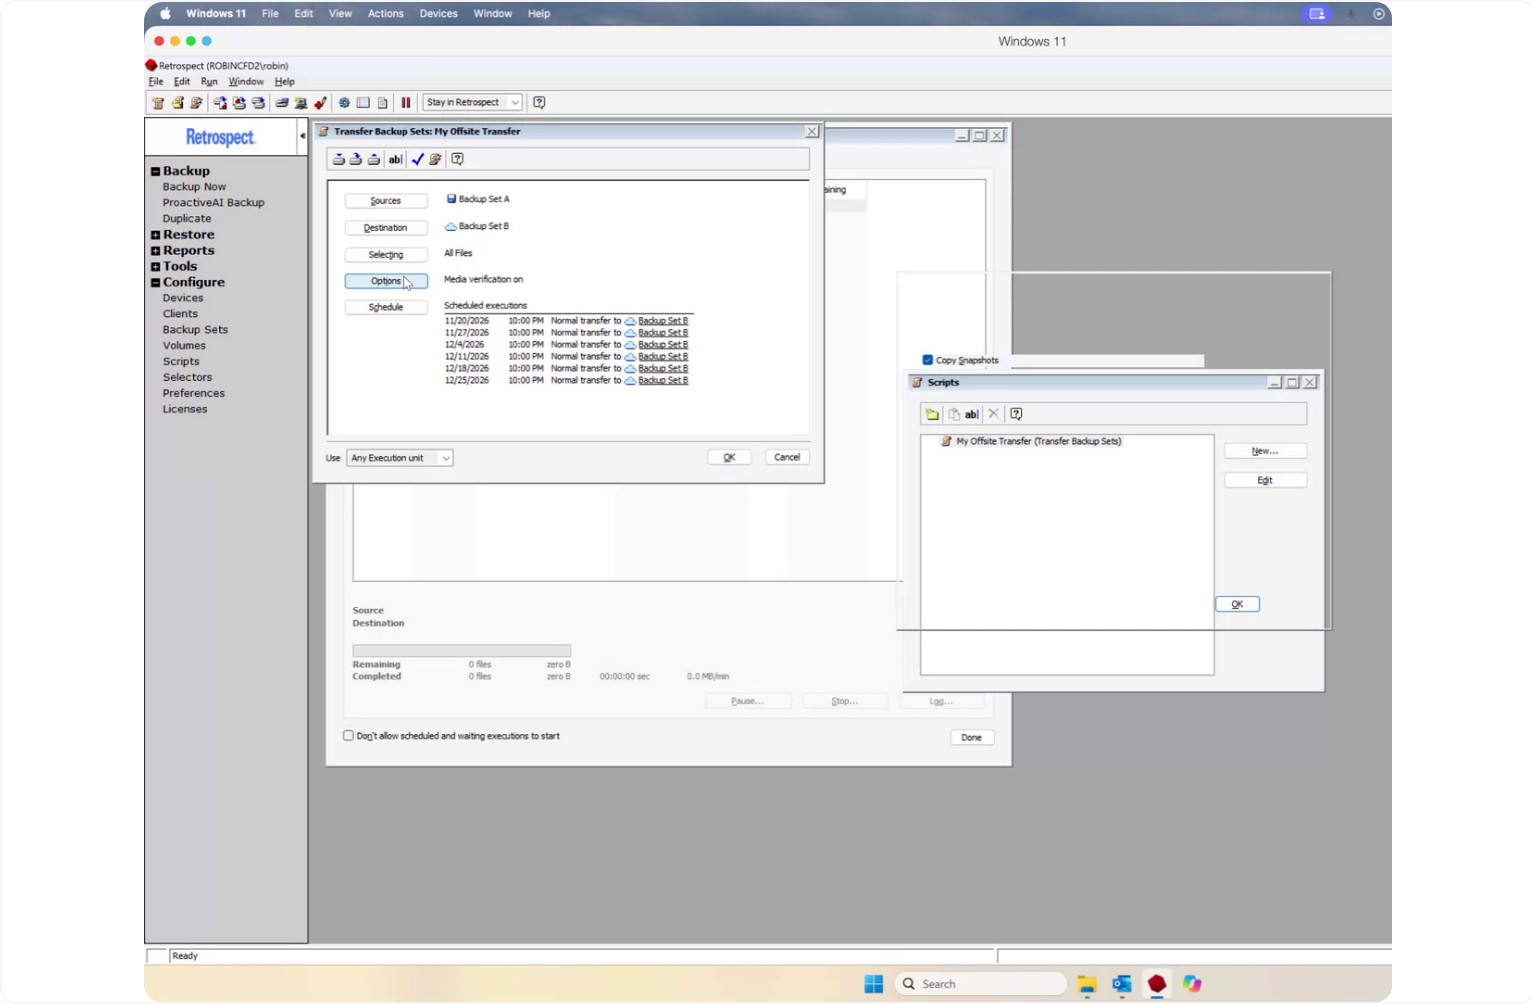
Enable data compression to save space in your cloud storage.
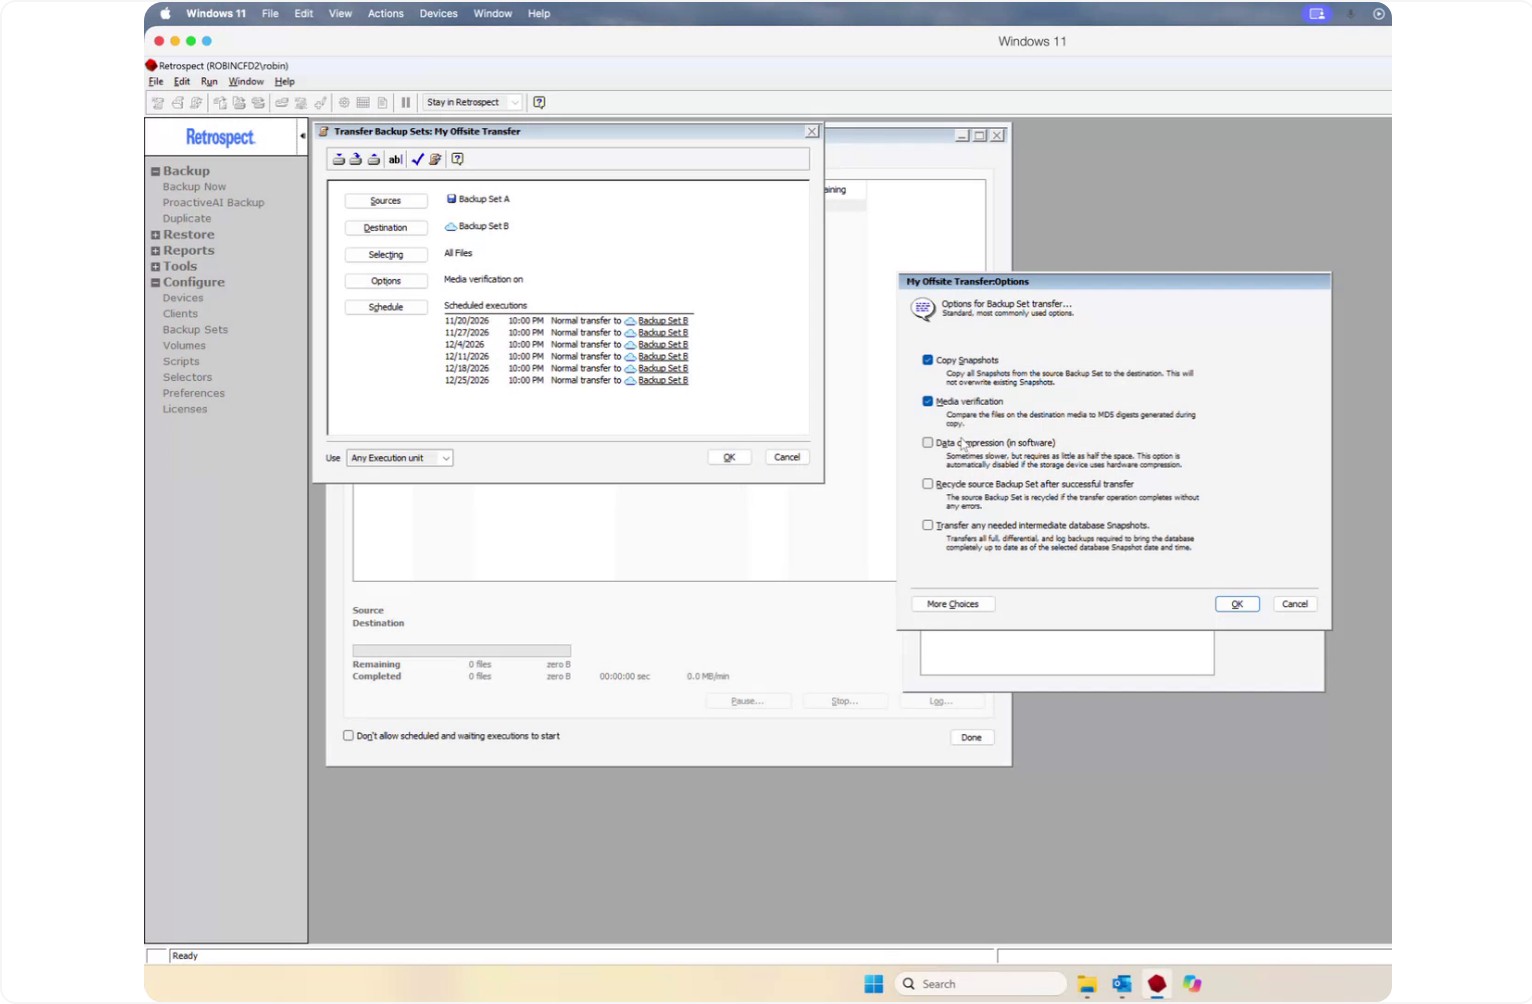
Click OK to apply the options.
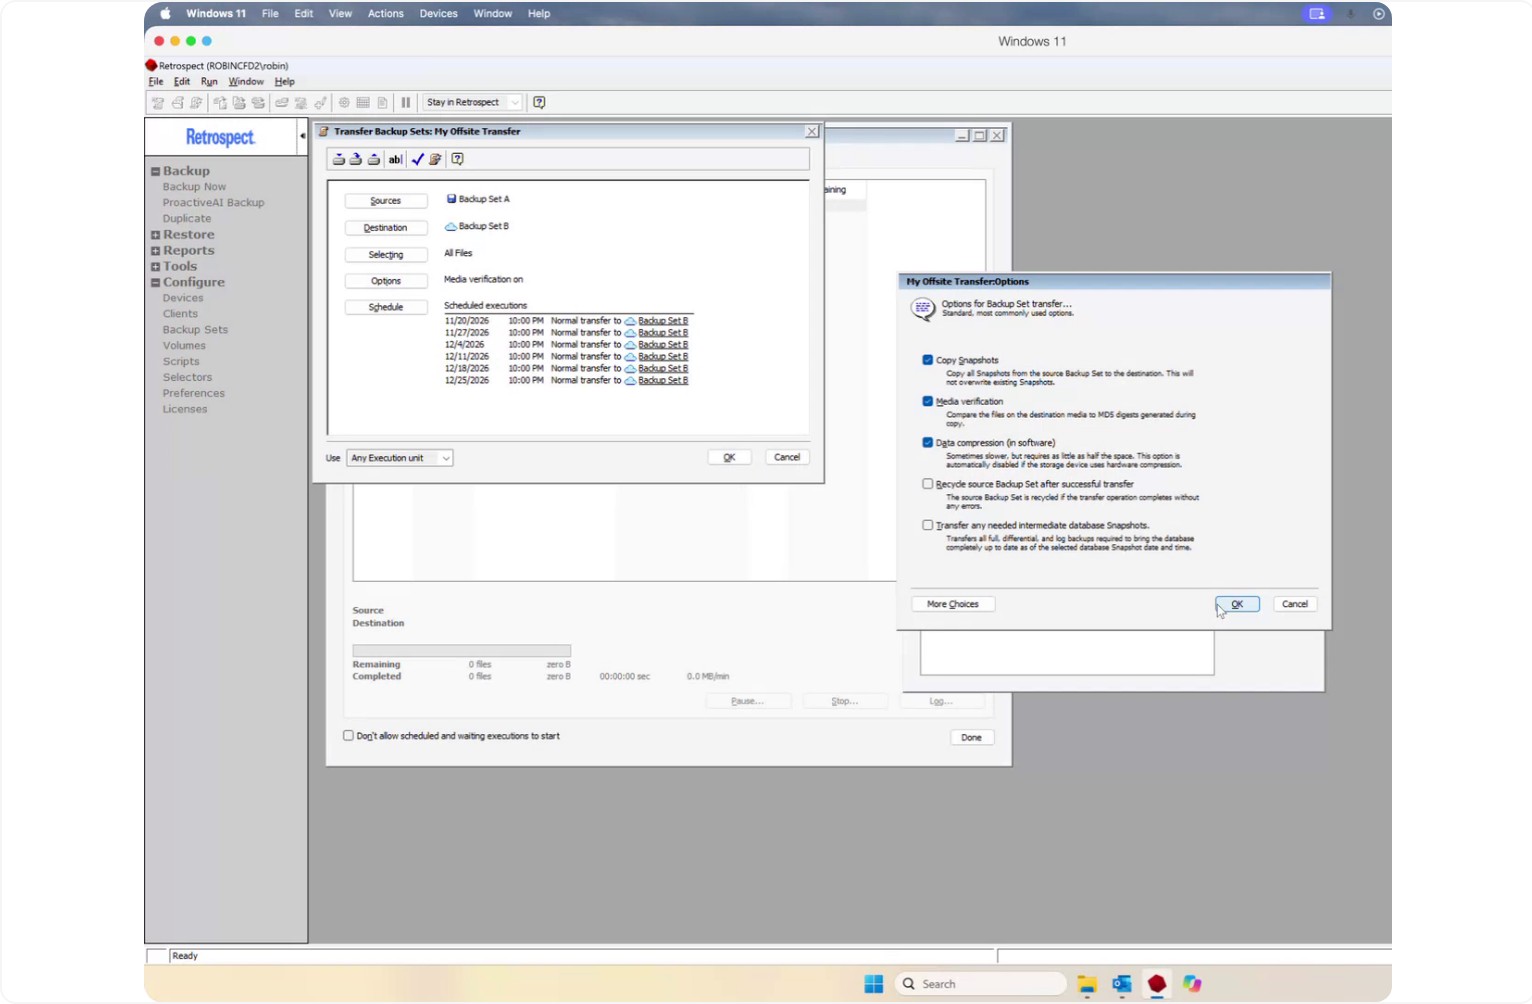
This will help reduce storage usage in your cloud destination.
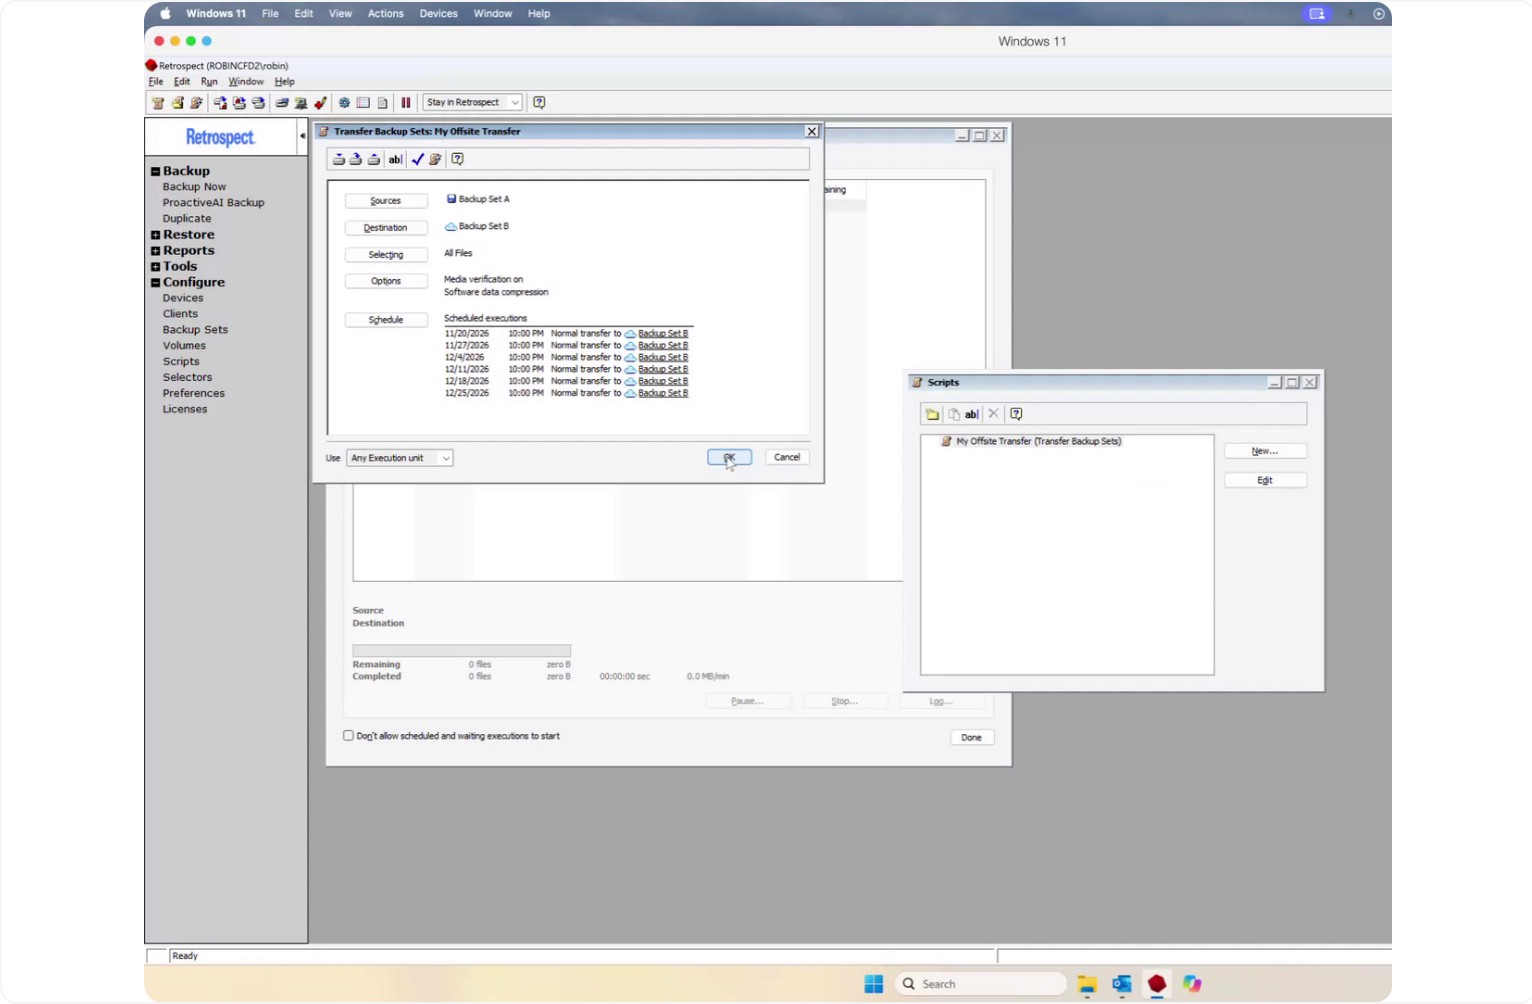
Click OK again to save and close the script.
Finally, open Activity Monitor and go to the Scheduled tab to confirm that your off-site transfer is listed and scheduled for every Friday at 10:00 PM.