Performing a Catalog Rebuild in Retrospect for Windows (Disk Backup Set)
This process walks you through recreating a catalog file in Retrospect for Windows using a disk backup set. Use these steps when your catalog is missing, damaged, or needs to be rebuilt from existing backup data on disk.
Step 1: Open the Catalog Repair Function
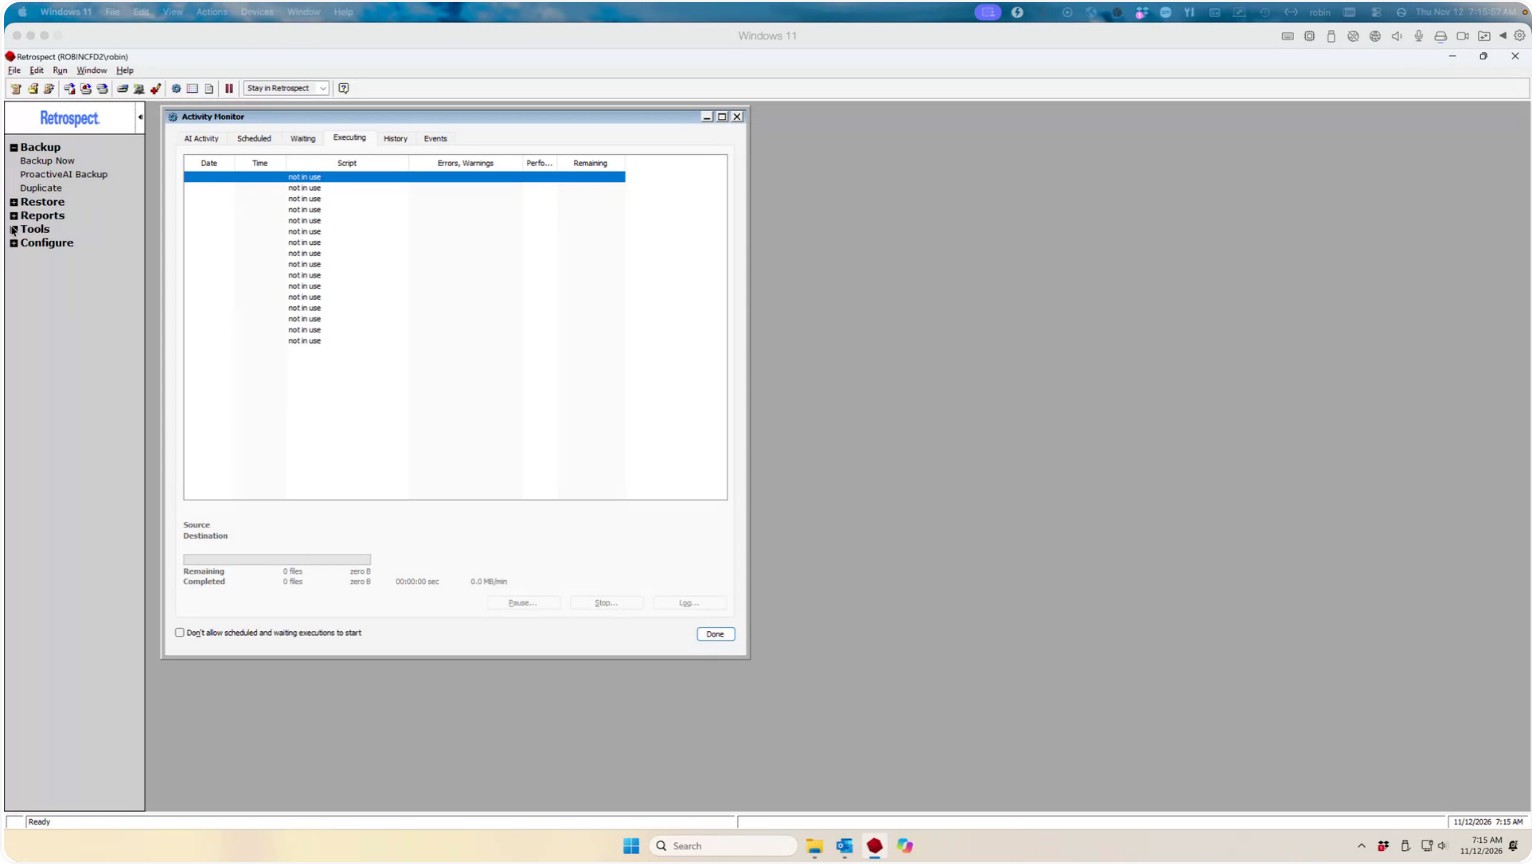
Go to Tools on the left panel, then navigate to Repair Catalog.
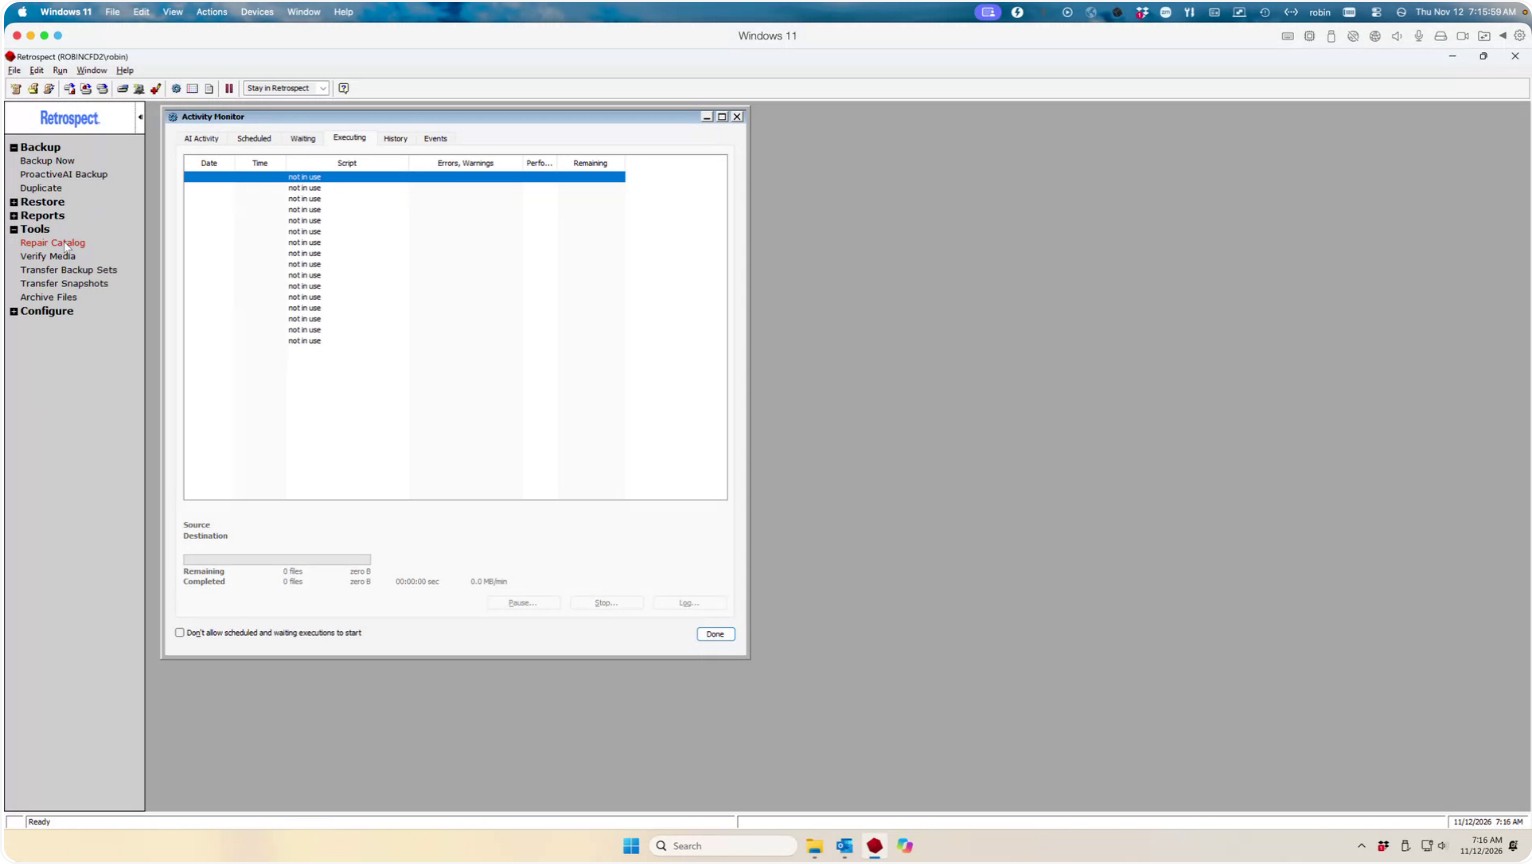
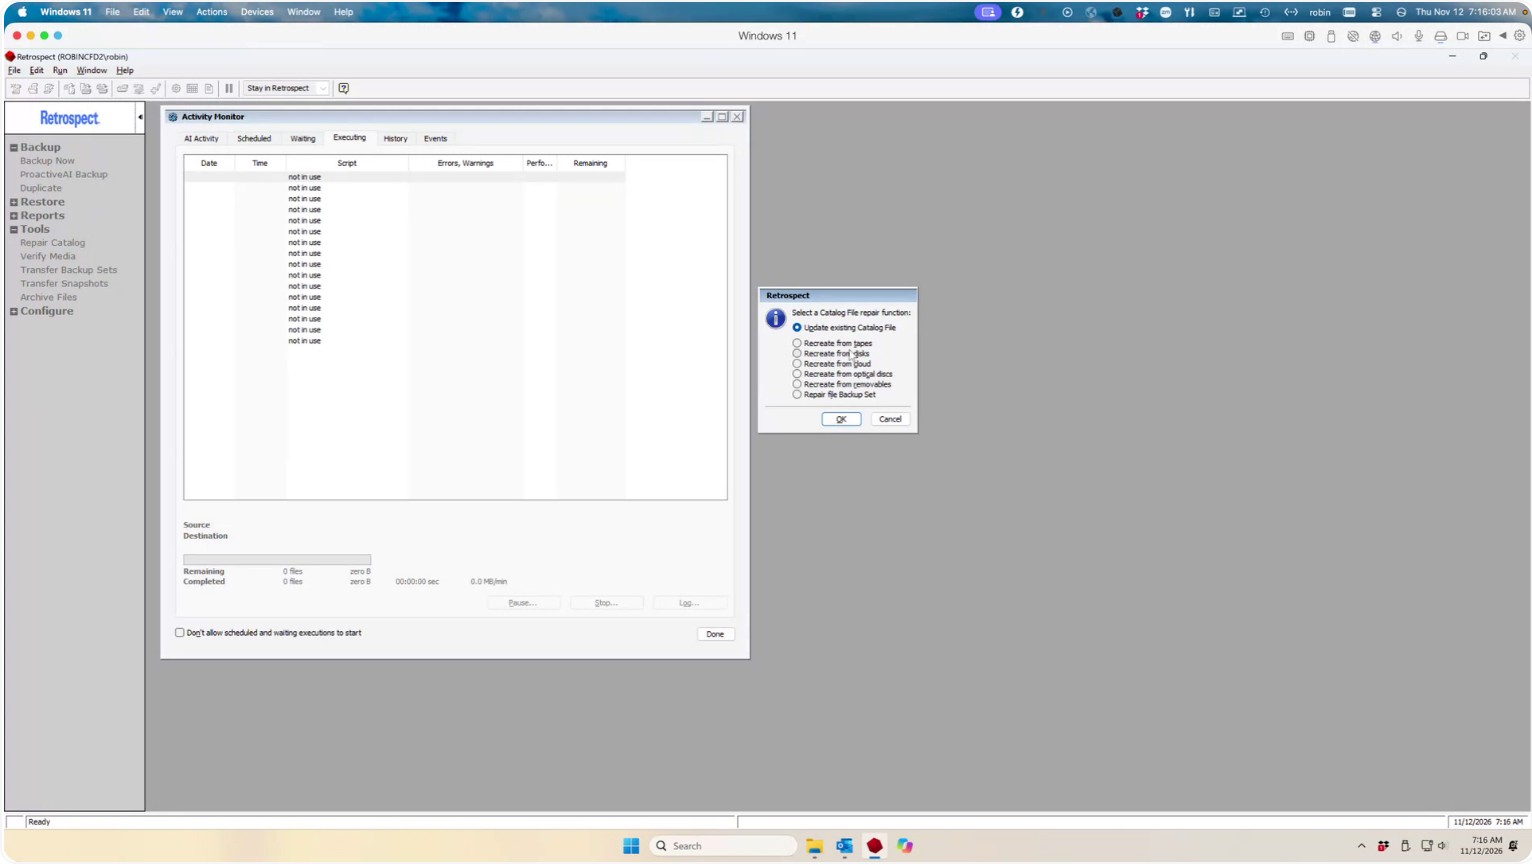
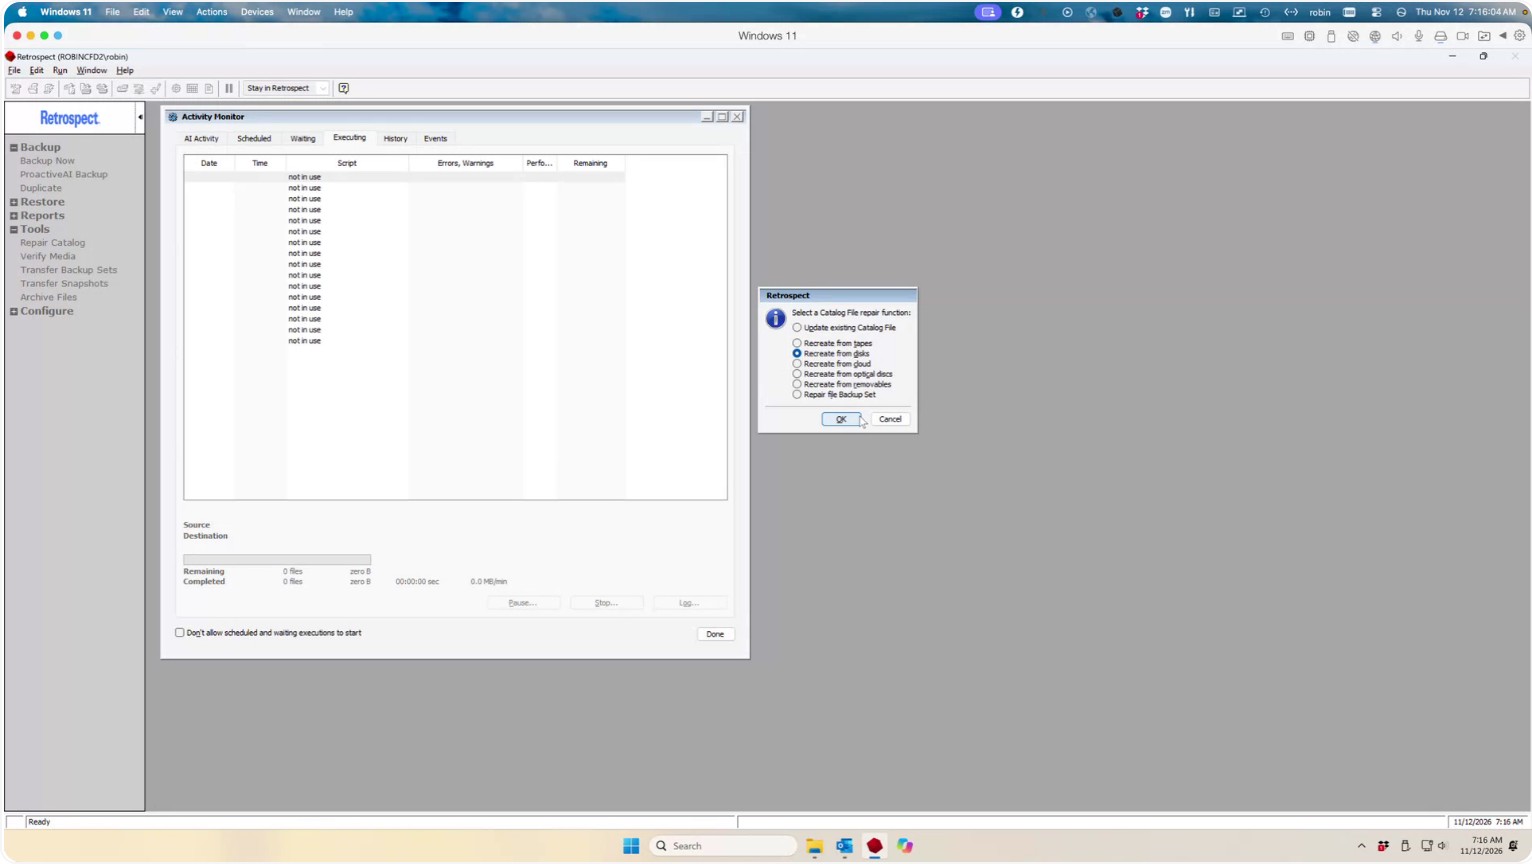
In the Repair Catalog window, select Recreate from Disks and click OK.
Step 2: Select the Backup Disk
In the file selection window, double‑click My Computer.
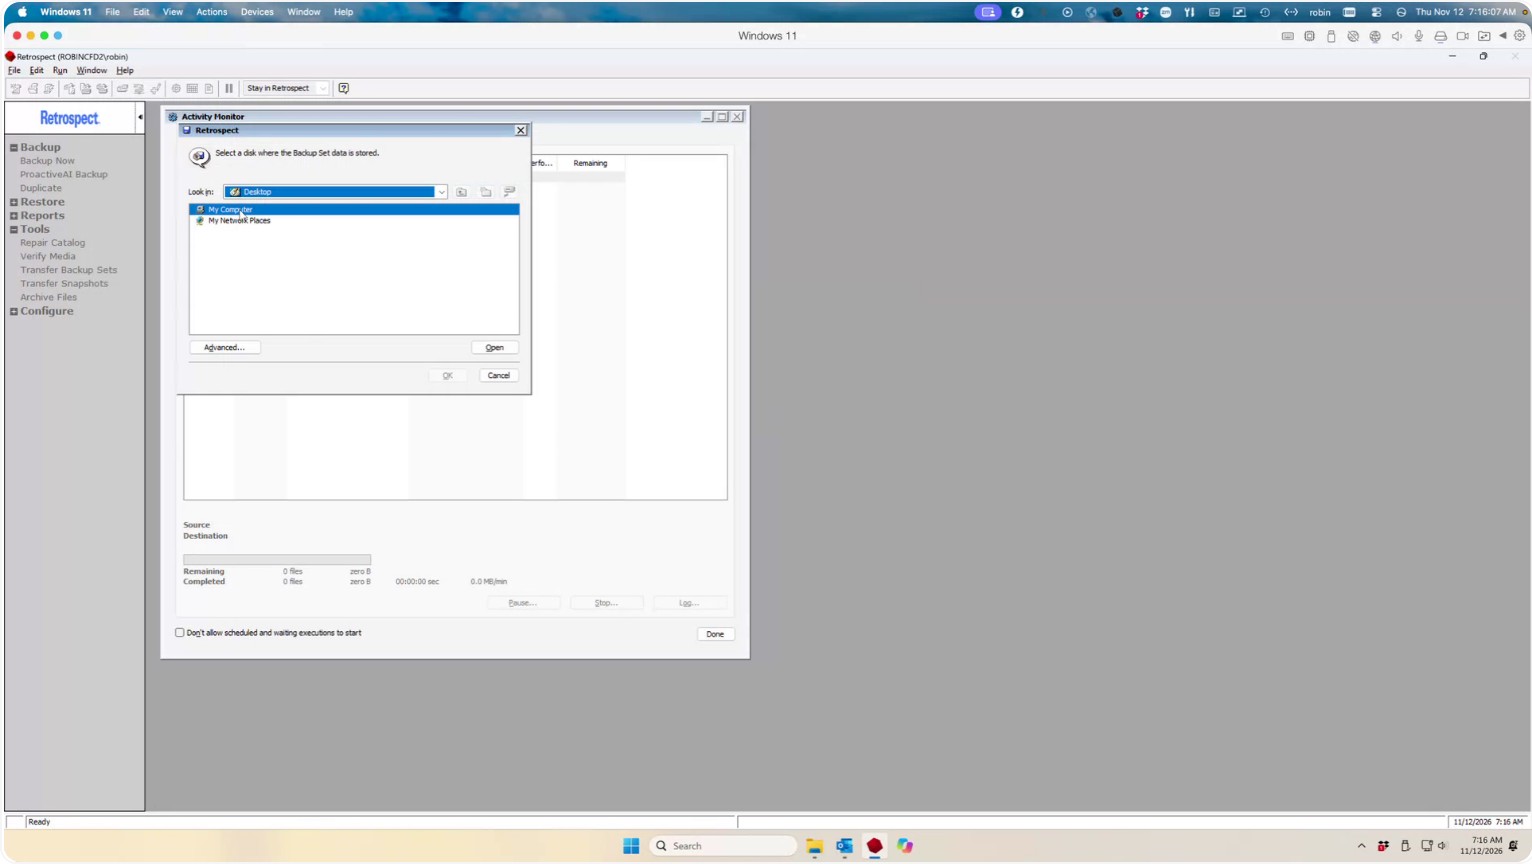
Then select the backup disk where your backup data is stored.
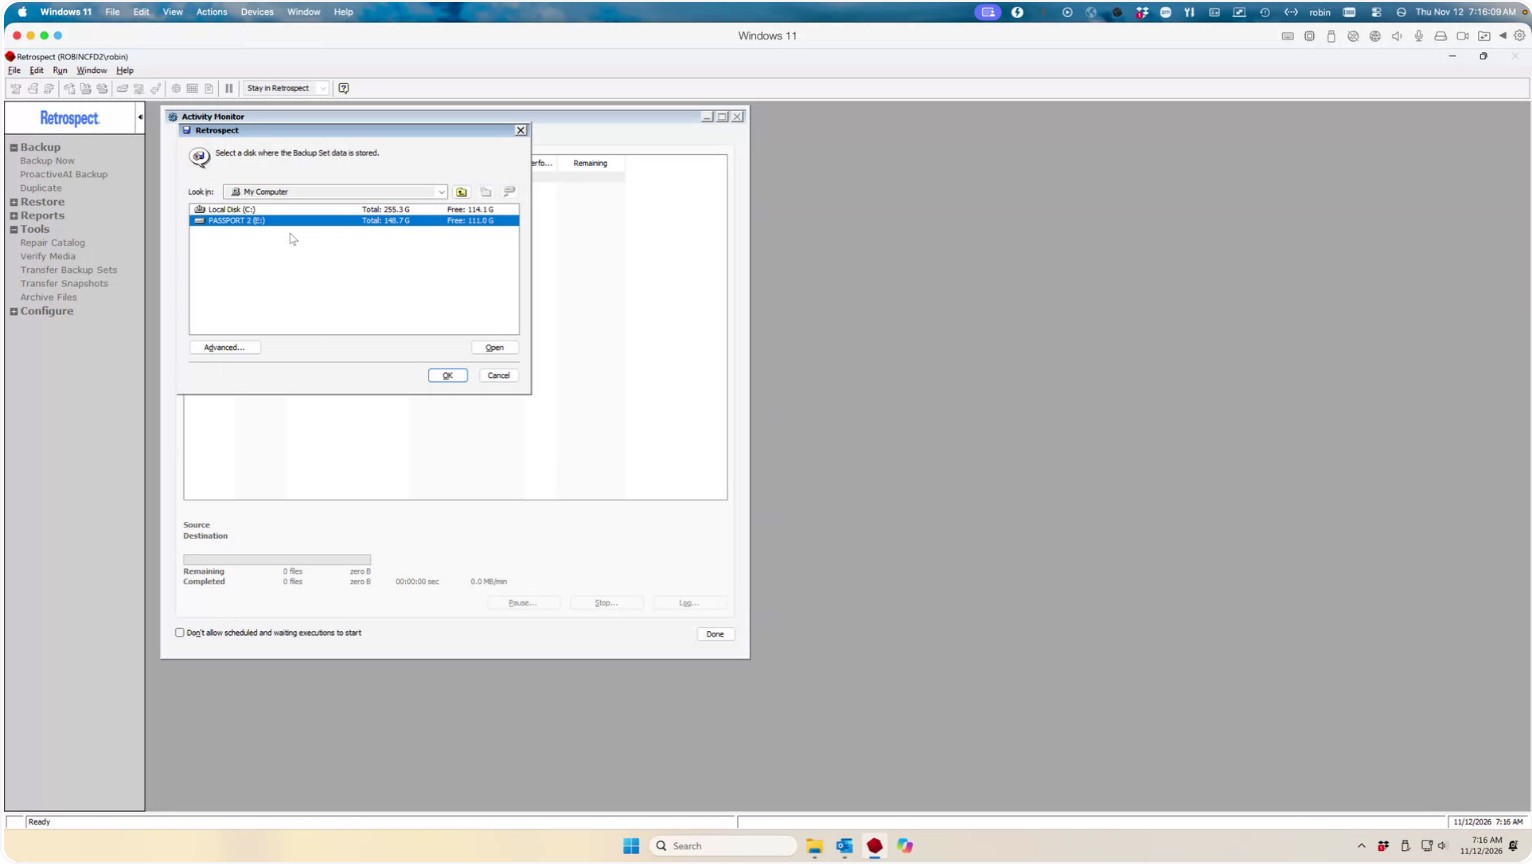
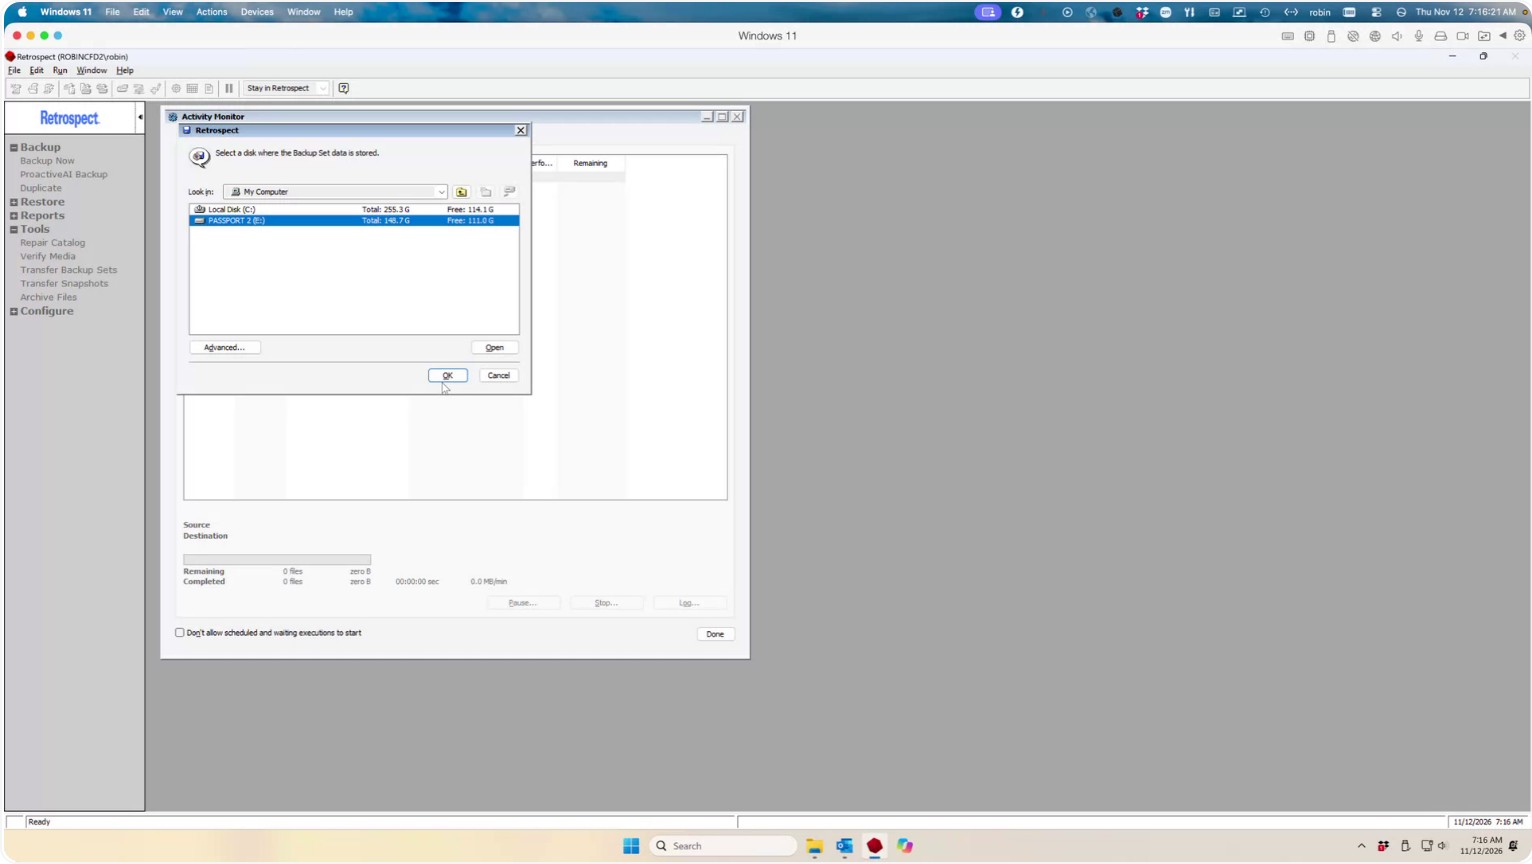
If your backup data is stored in the default path at the root of the disk, you do not need to navigate into any subfolders on that disk; simply click OK.
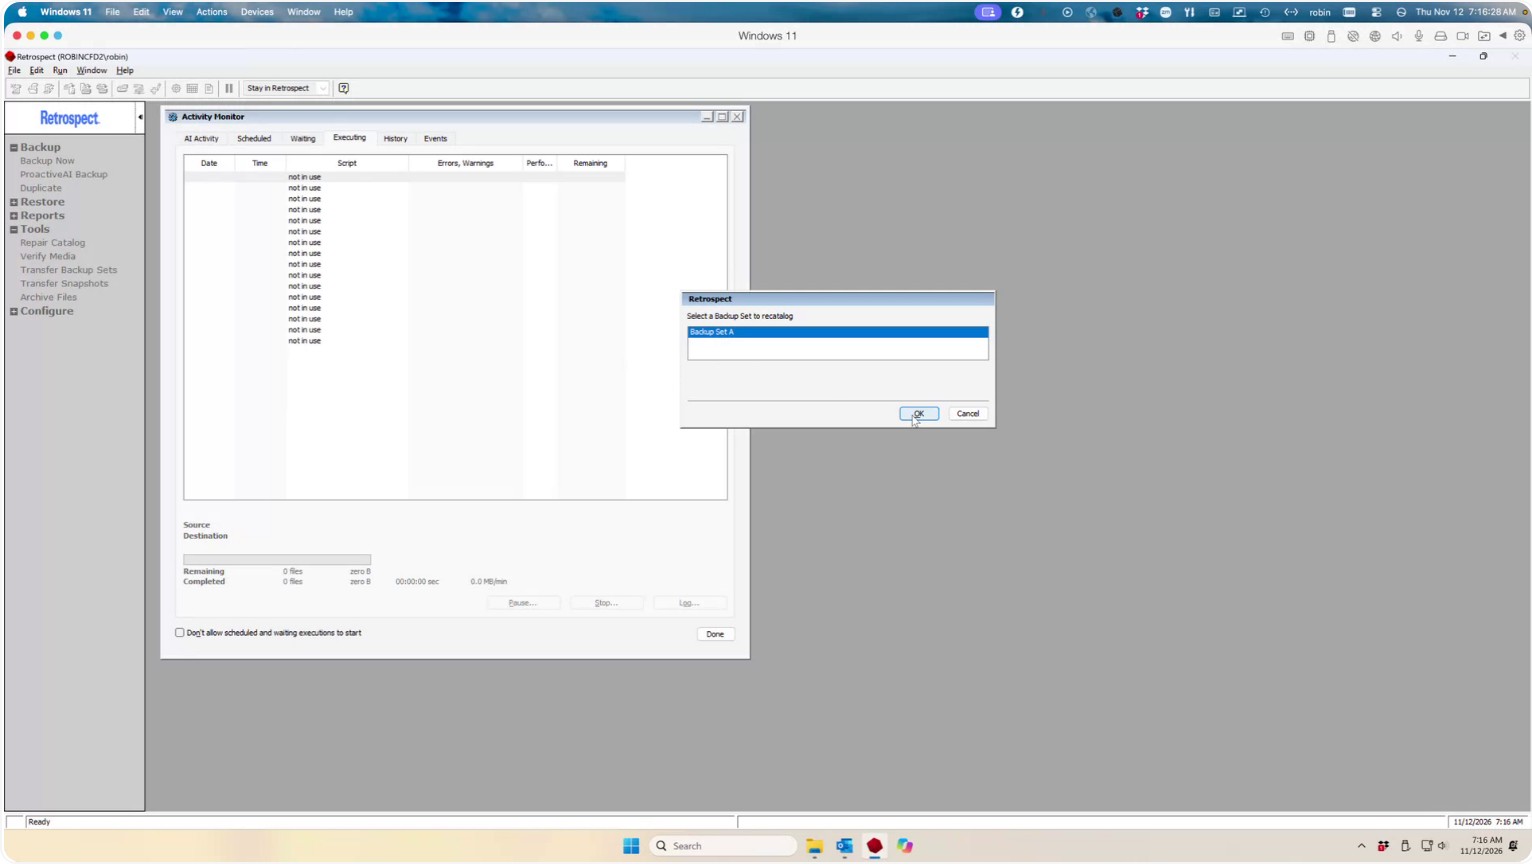
Step 3: Choose the Media Set / Backup Set to Rebuild
From the list, select the name of the media set or backup set that you want to rebuild, then click OK.
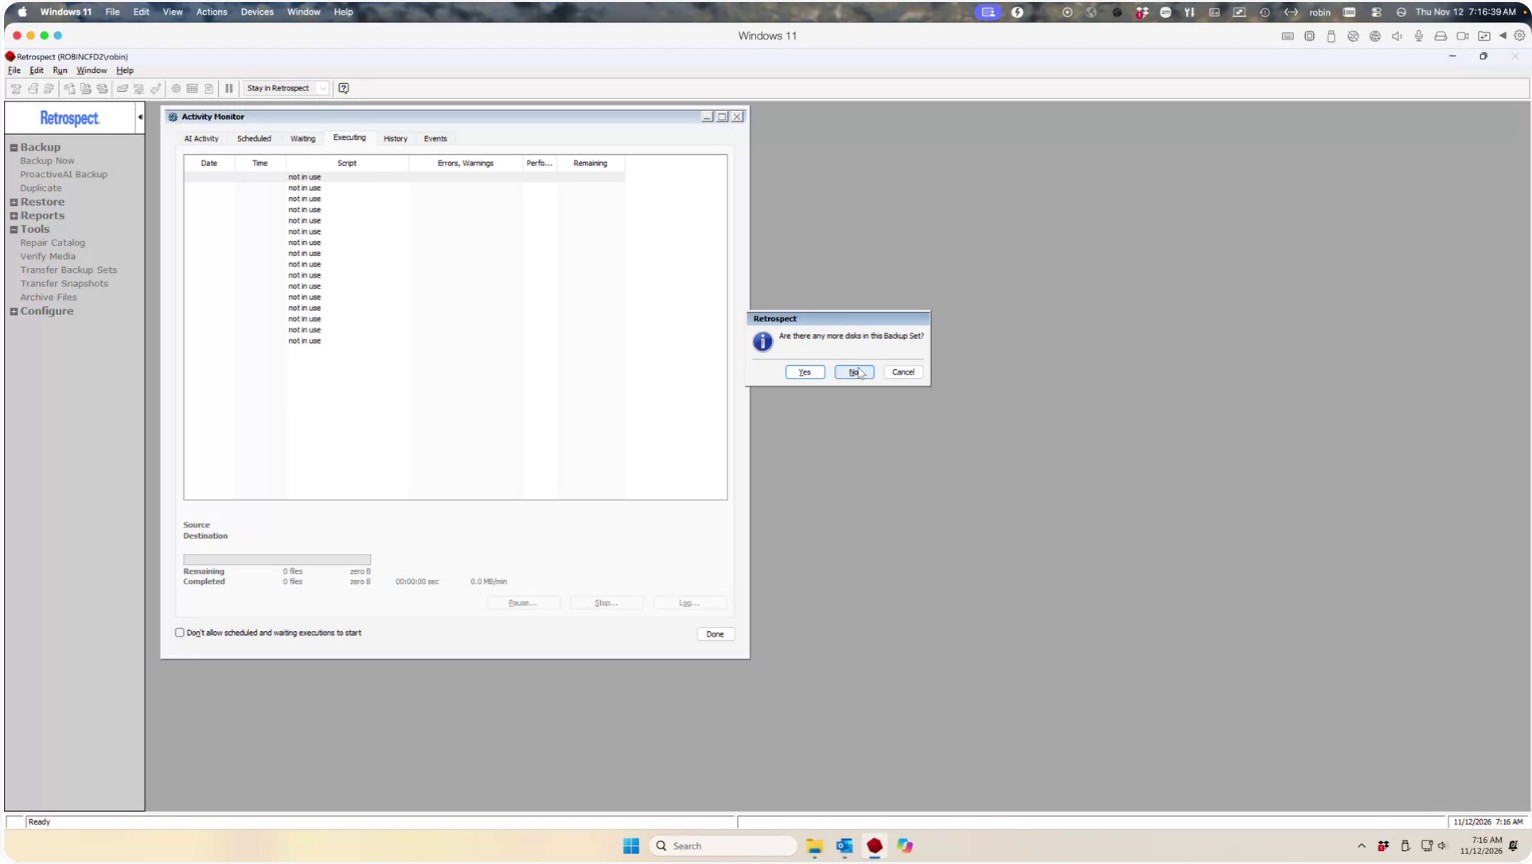
If prompted, “Are there any more disks to rebuild in this backup set?” click Yes if you have additional disks to include in the catalog rebuild. Otherwise, click No.
Step 4: Confirm Catalog Recreation and Save Location
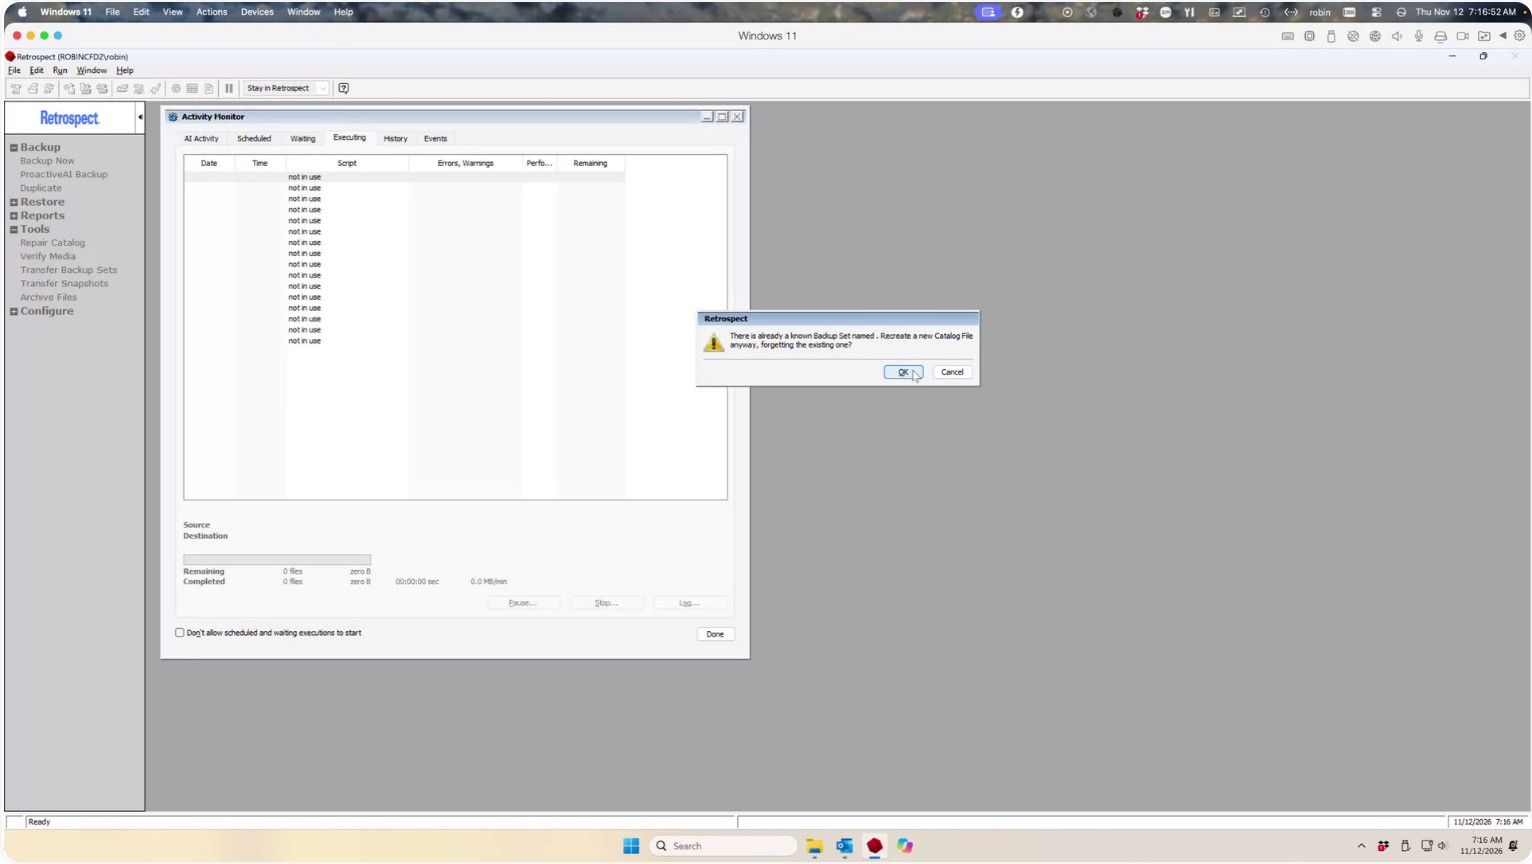
Retrospect will ask if you want to recreate the catalog file, forgetting the existing one. Always click OK on this dialog box to proceed with the rebuild.
Next, Retrospect will ask where you want to save your catalog file. The default path is the Retrospect Catalogs folder inside Documents.
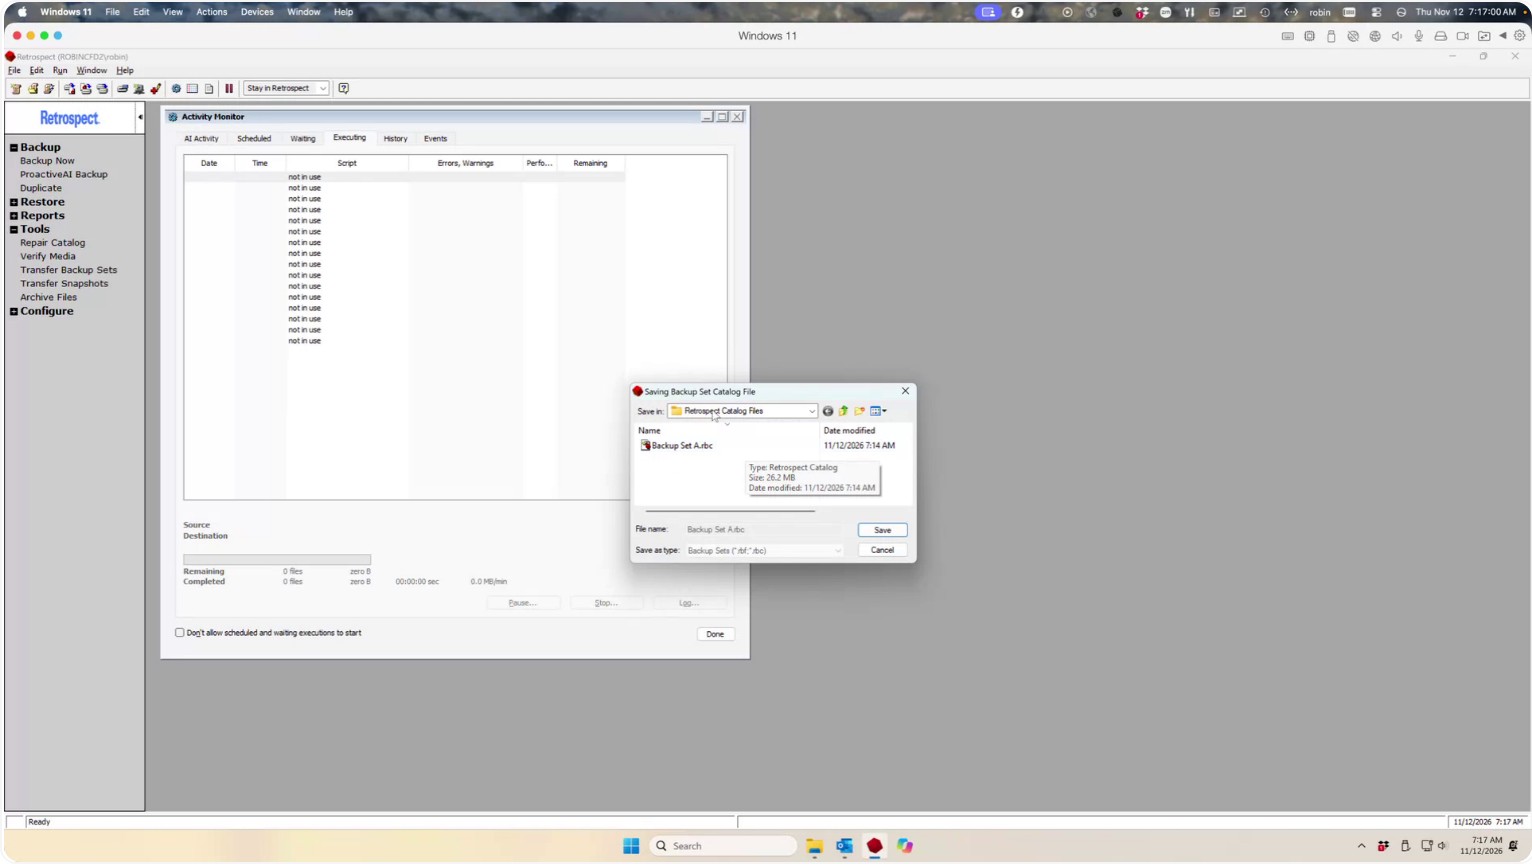
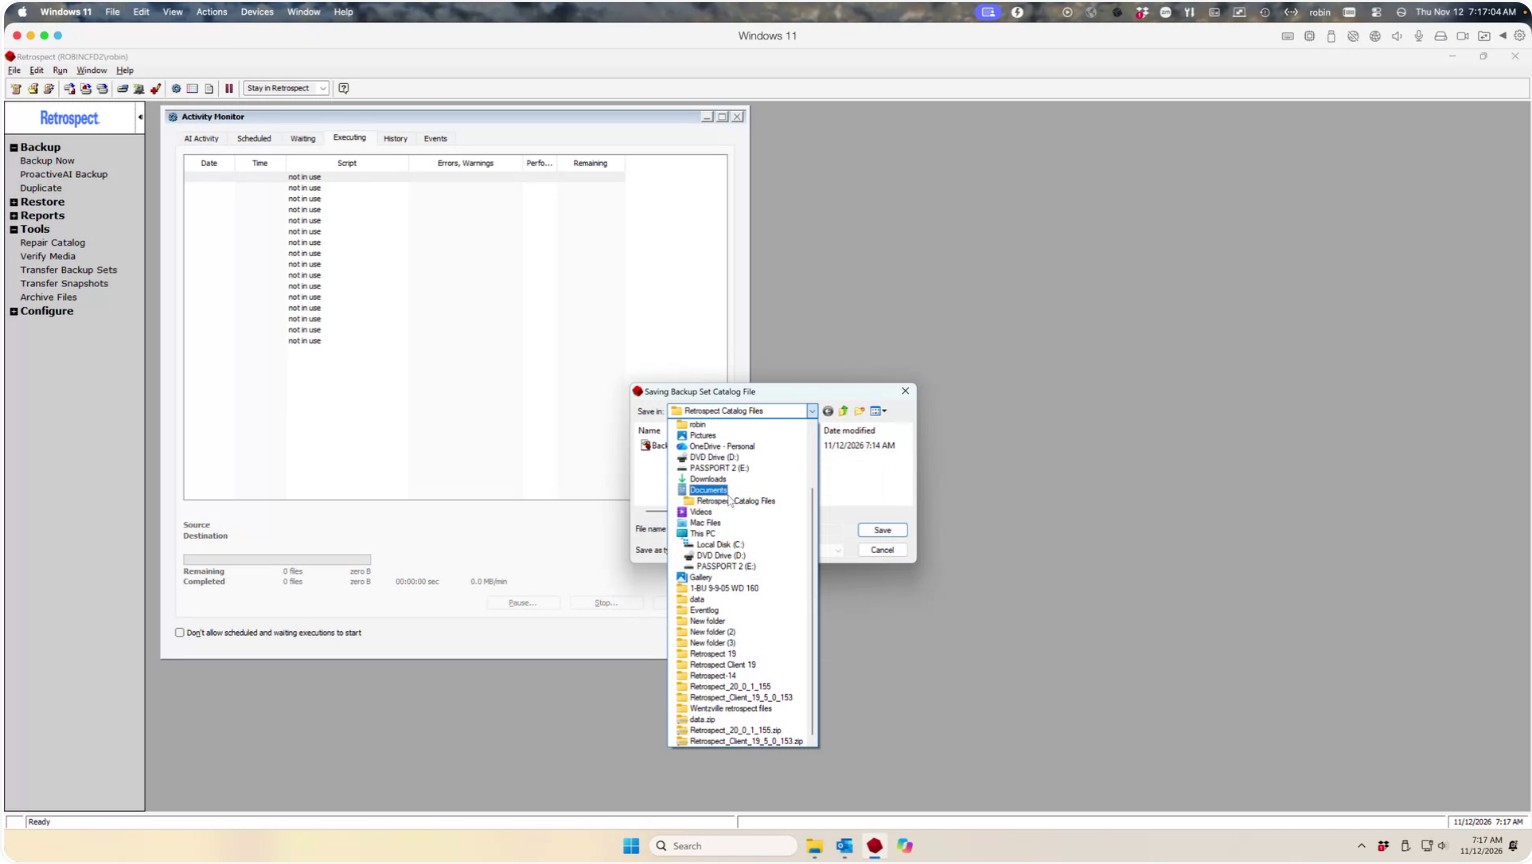
Click Save to confirm the location and overwrite the existing catalog if prompted.
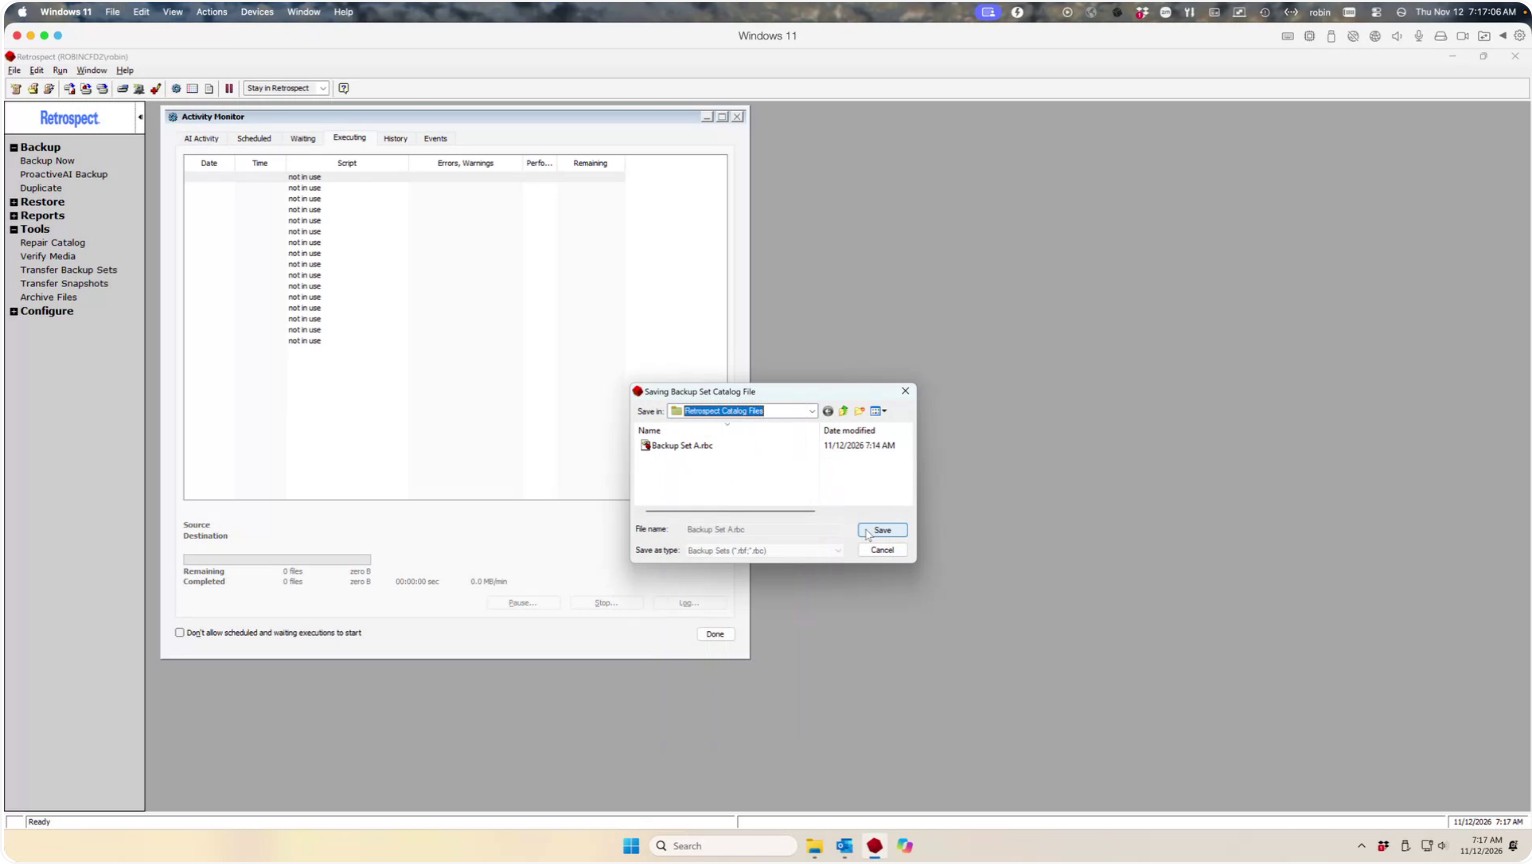
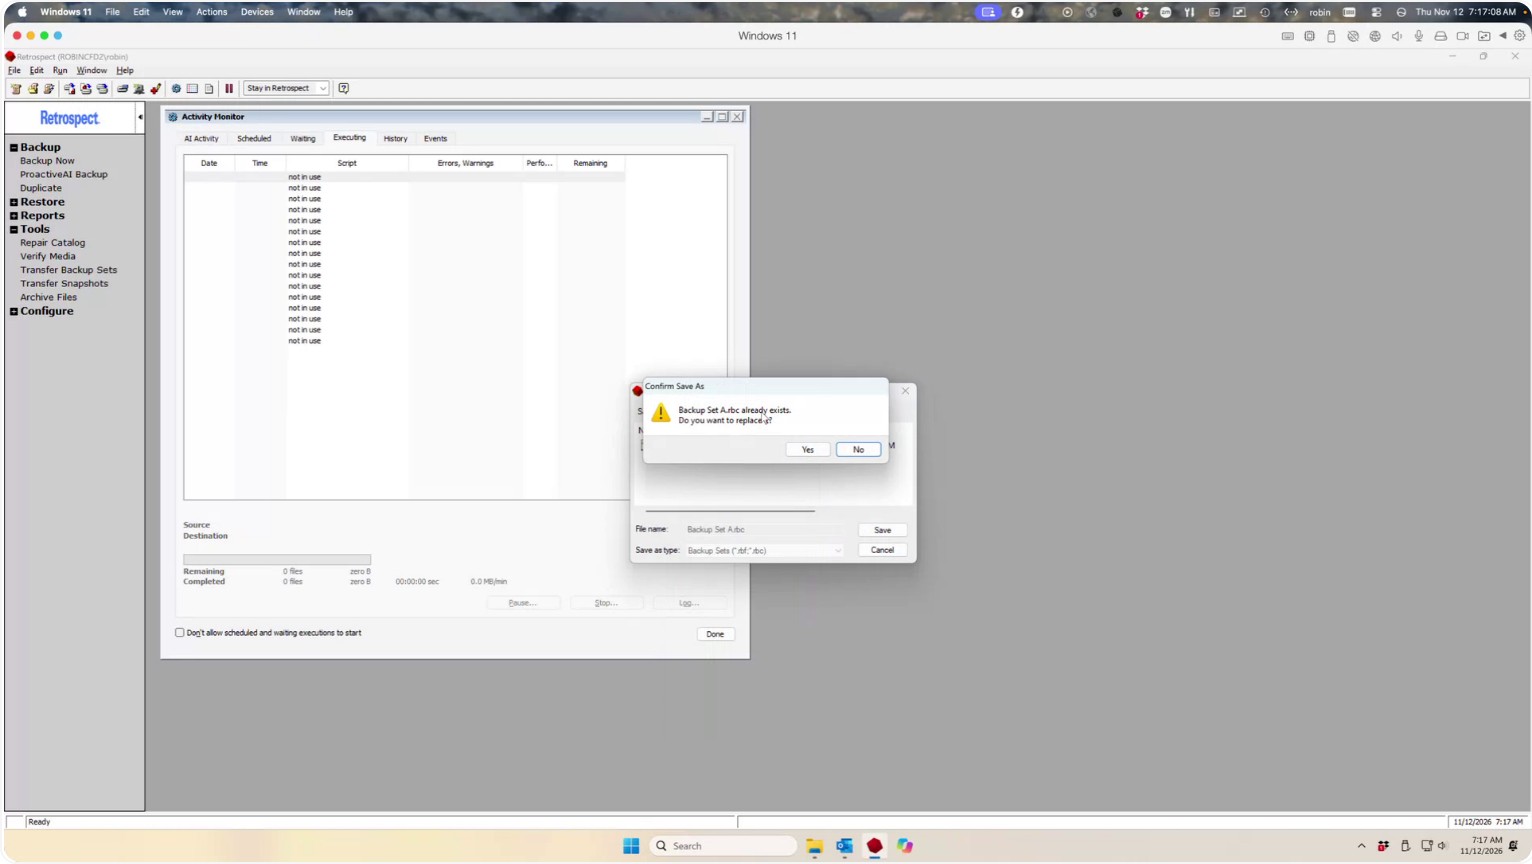
Retrospect will then begin the catalog rebuild. By default, it performs a fast catalog rebuild.
Step 5: Verify the Catalog Rebuild in Activity Monitor
When the rebuild is complete, go to Activity Monitor and then select History to review recent operations.
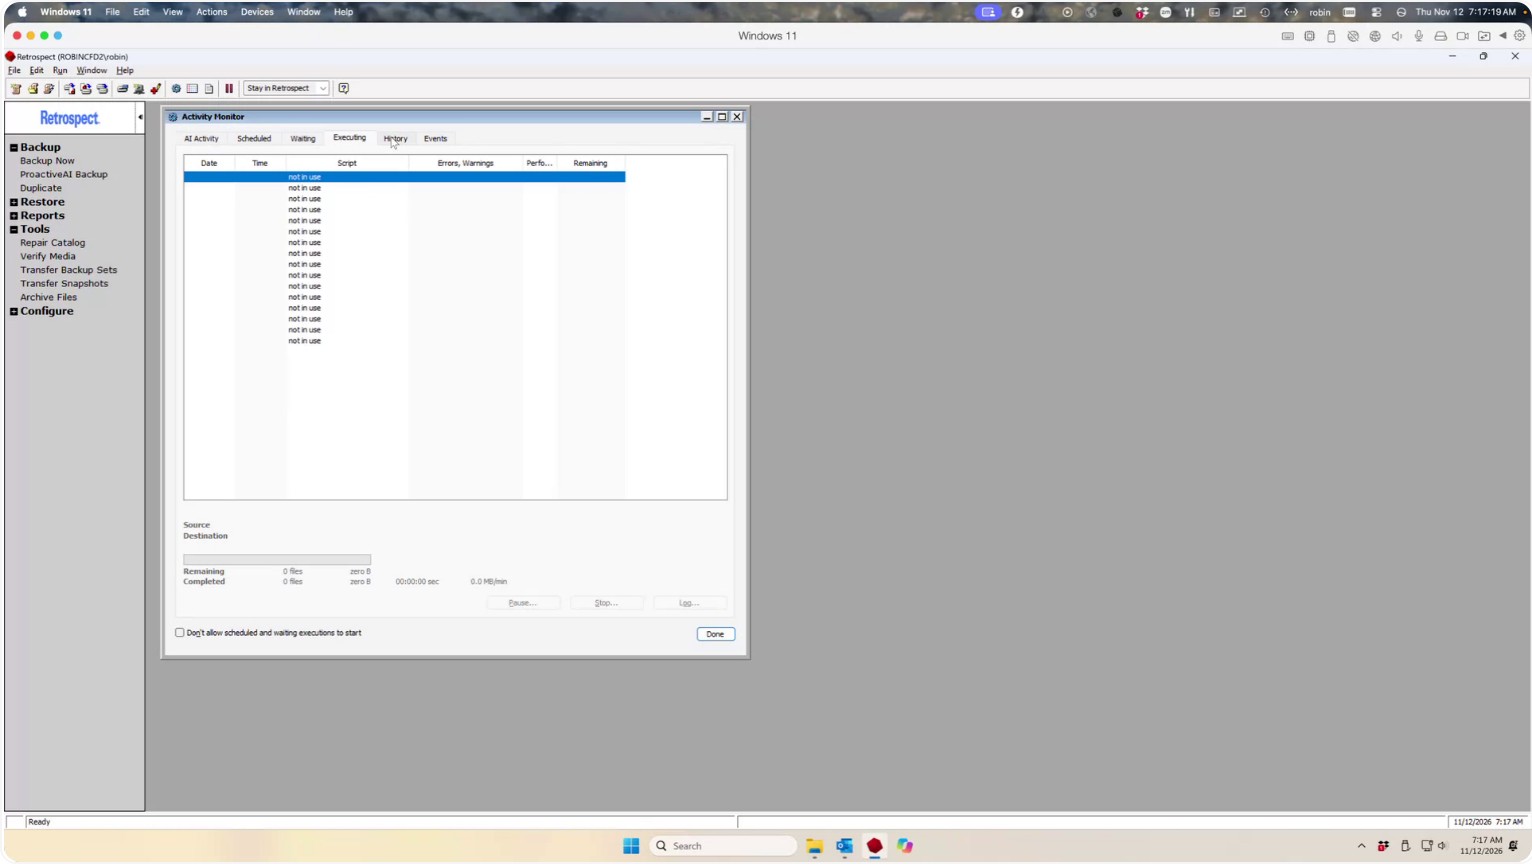
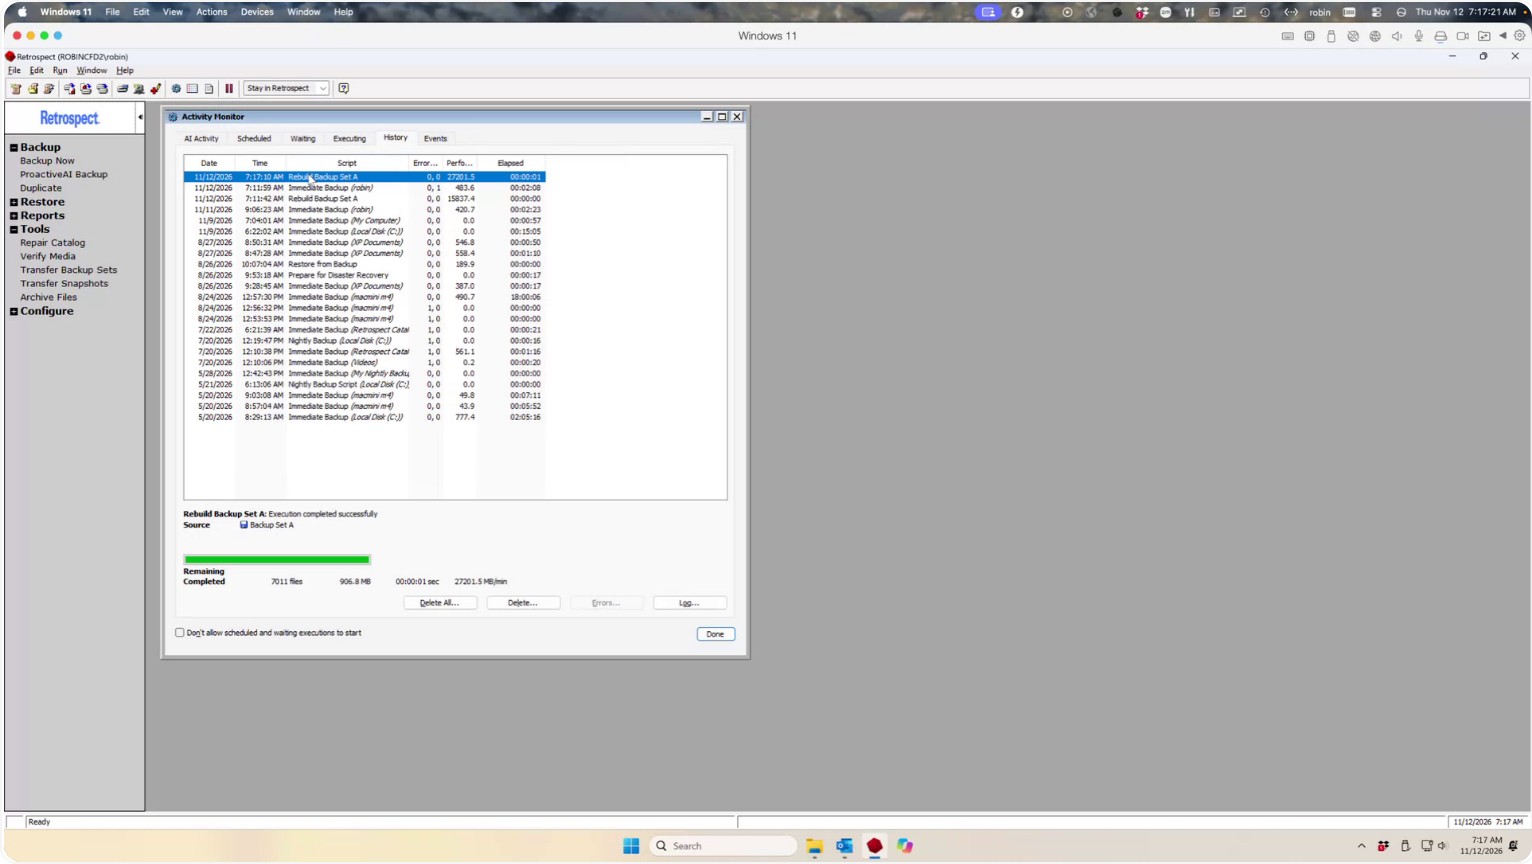
Click the Log button for the rebuild operation to see what Retrospect did, including whether it performed a fast or thorough catalog rebuild and the total amount of data that was rebuilt.