Copying Disks and Folders in Retrospect for Macintosh
This document explains how to use Retrospect for Macintosh to copy (duplicate) a disk or folder in its original file format, configure the copy destination, review and adjust the copy script, and schedule the operation to run automatically.
Step 1: Open the Copy Function
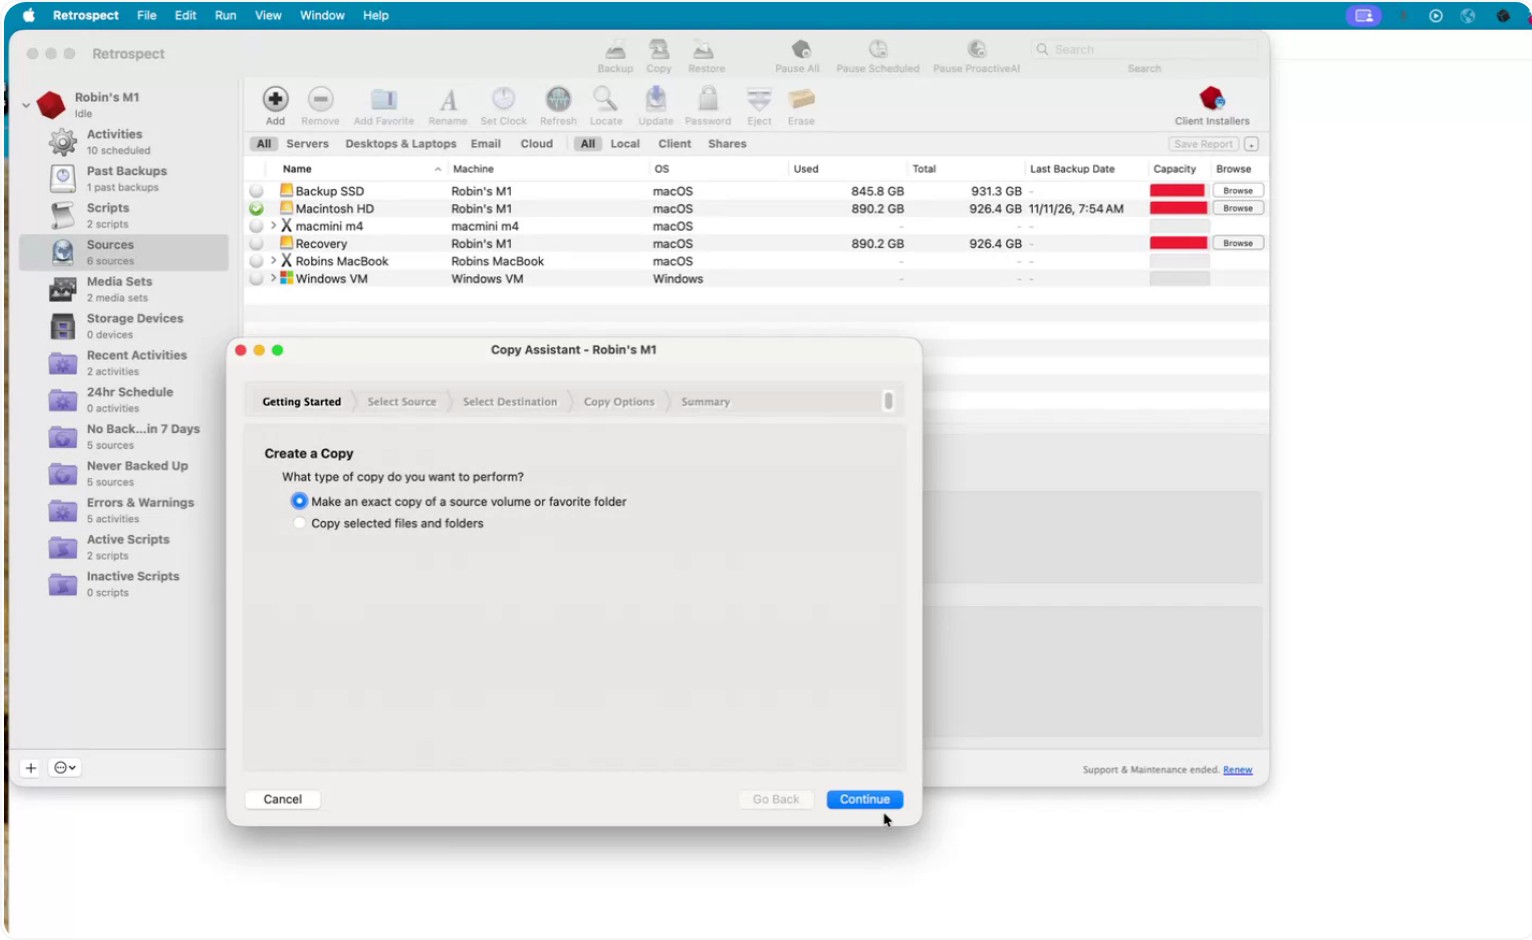
At the very top of the Retrospect window, choose Copy from the main menu.
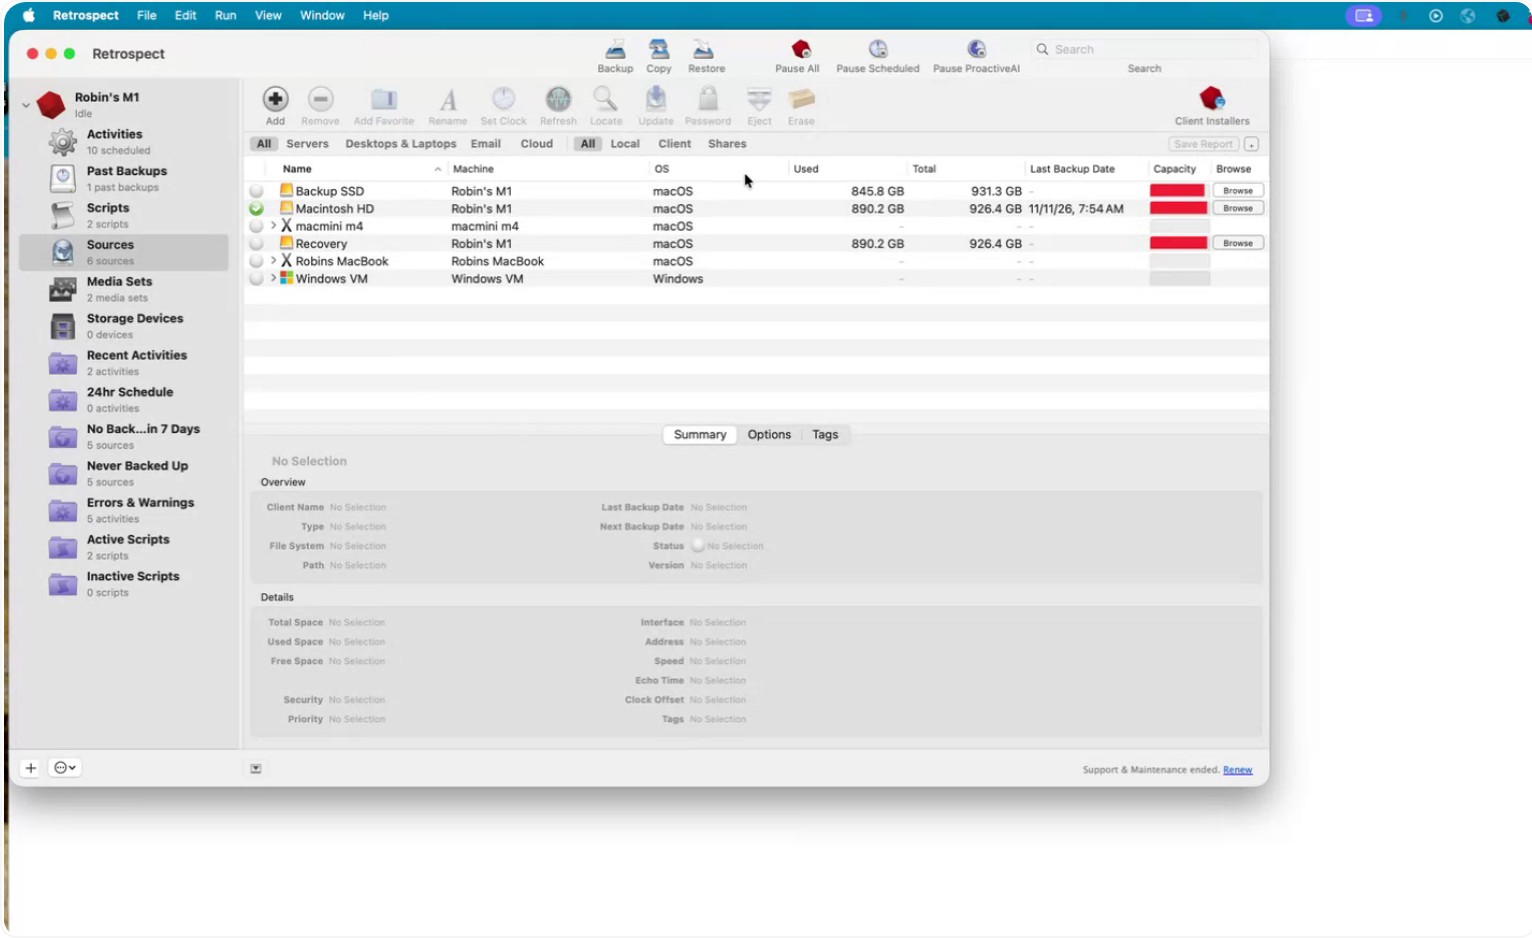
You will then see options for the type of copy you want to perform.
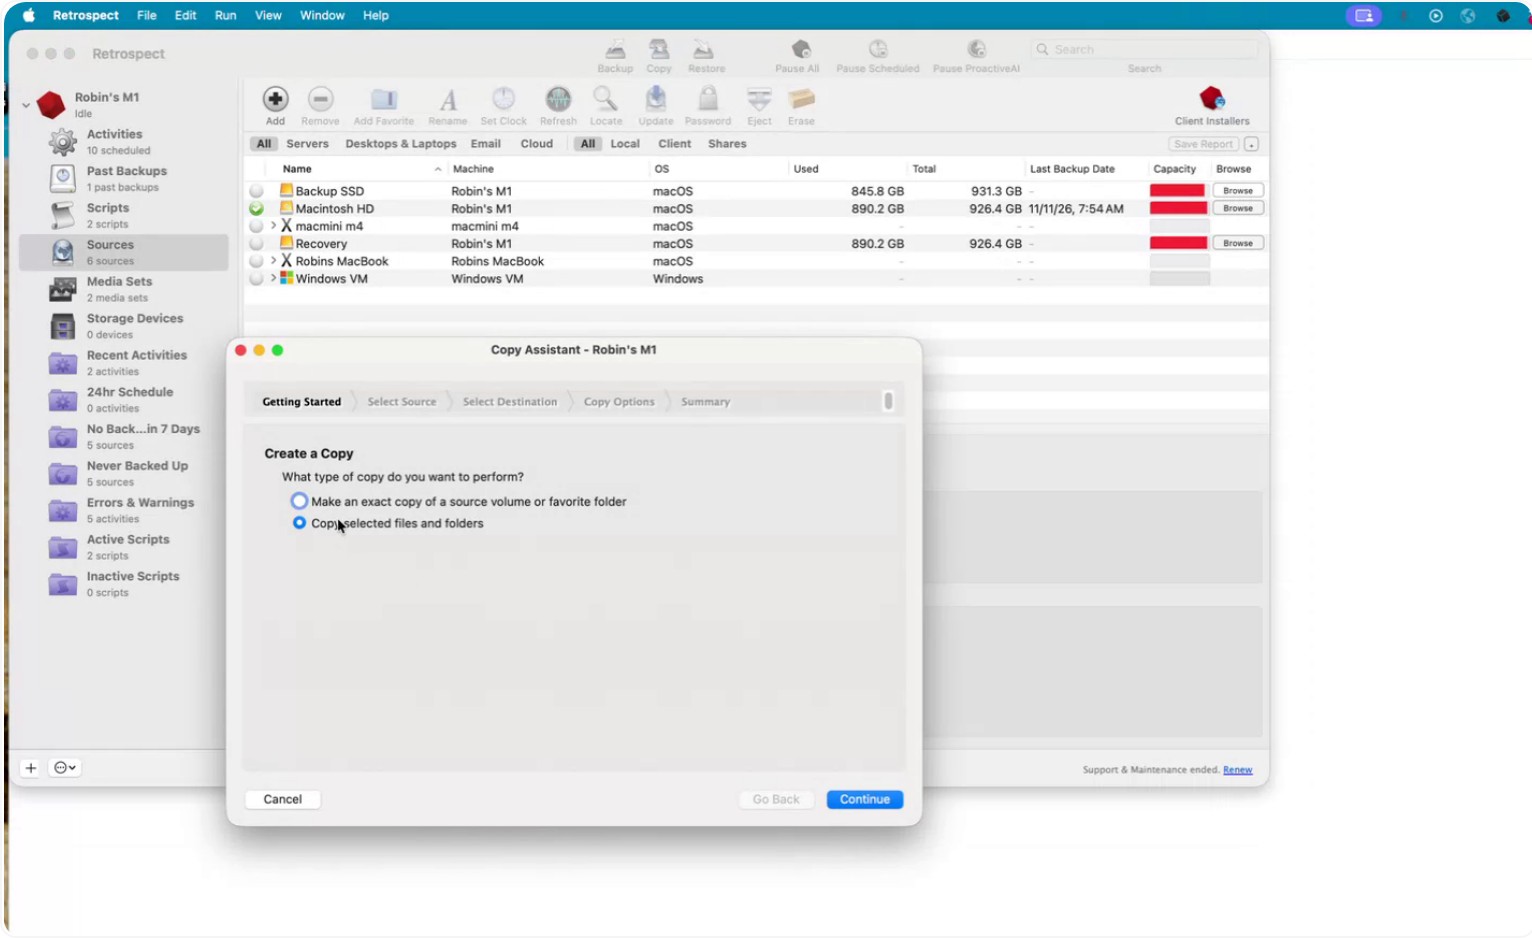
Step 2: Choose What to Copy
Select whether you want to copy:
- An exact disk or folder, or
- Selected files and folders.
In this example, choose to copy an exact folder.
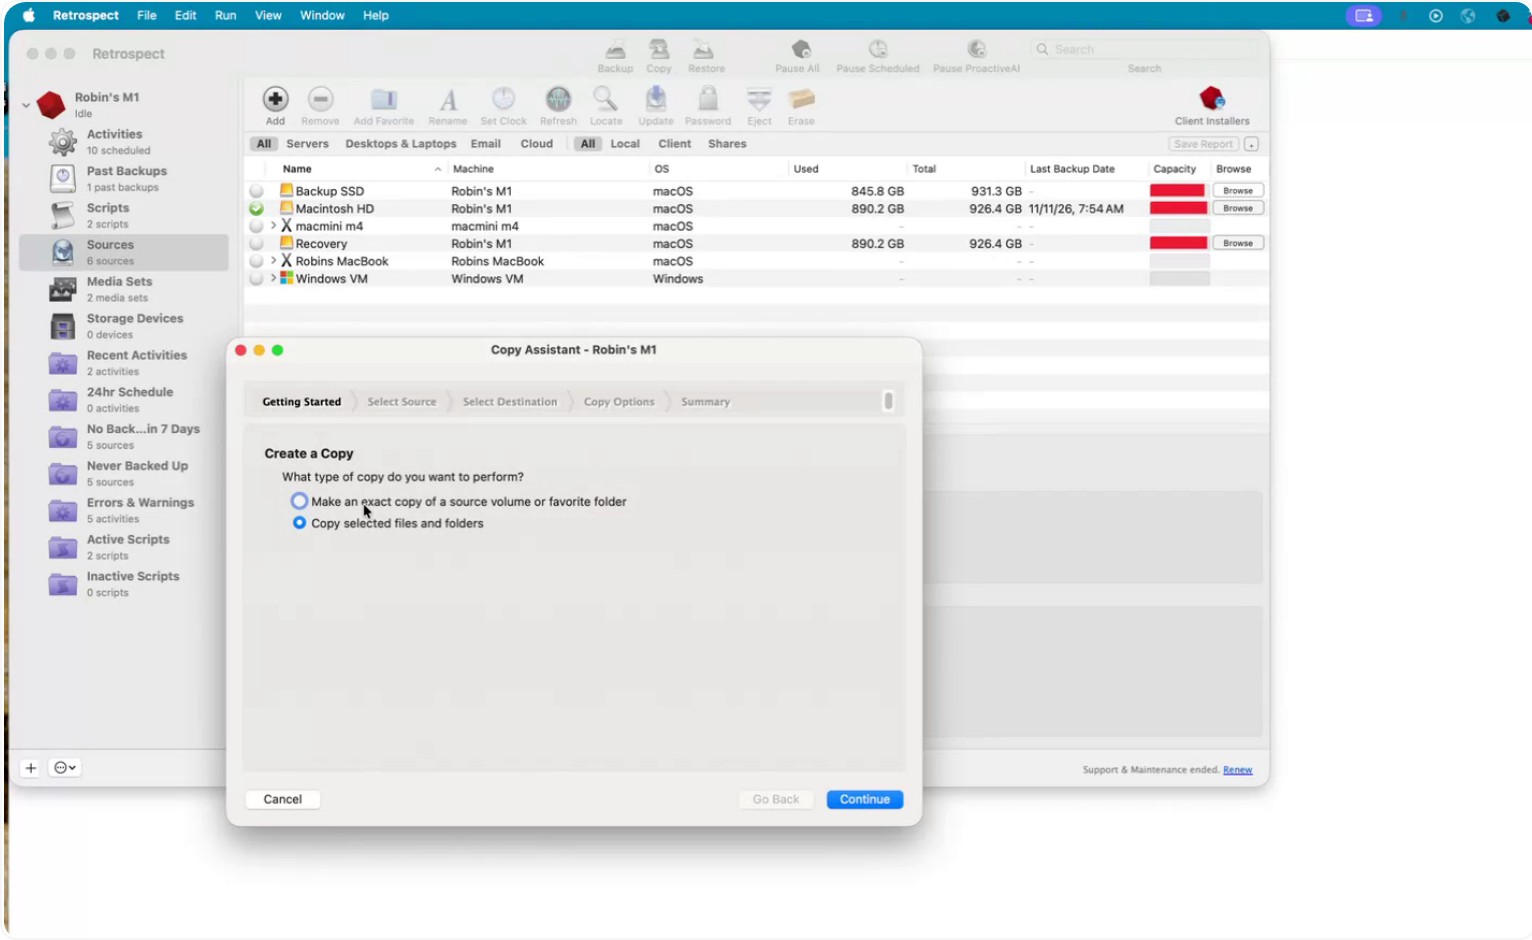
Click Continue.
Step 3: Select the Source Disk or Folder
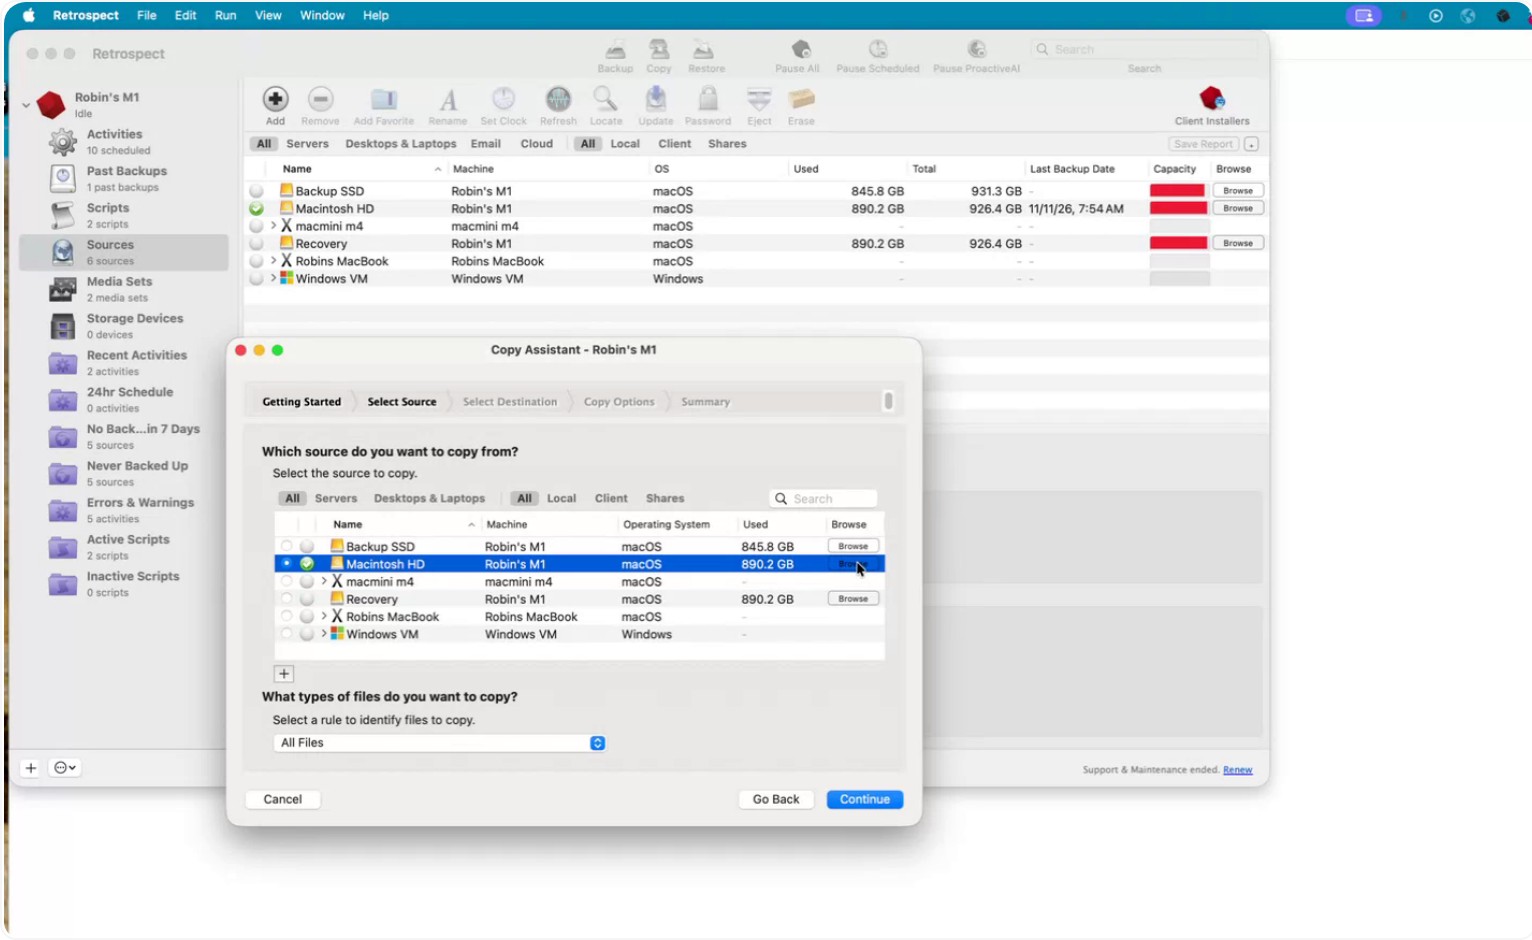
Highlight the disk you want to copy and use it as your Source. If you do not want to copy the entire disk, click Browse.
In the browser window, navigate to the specific folder you want to copy.
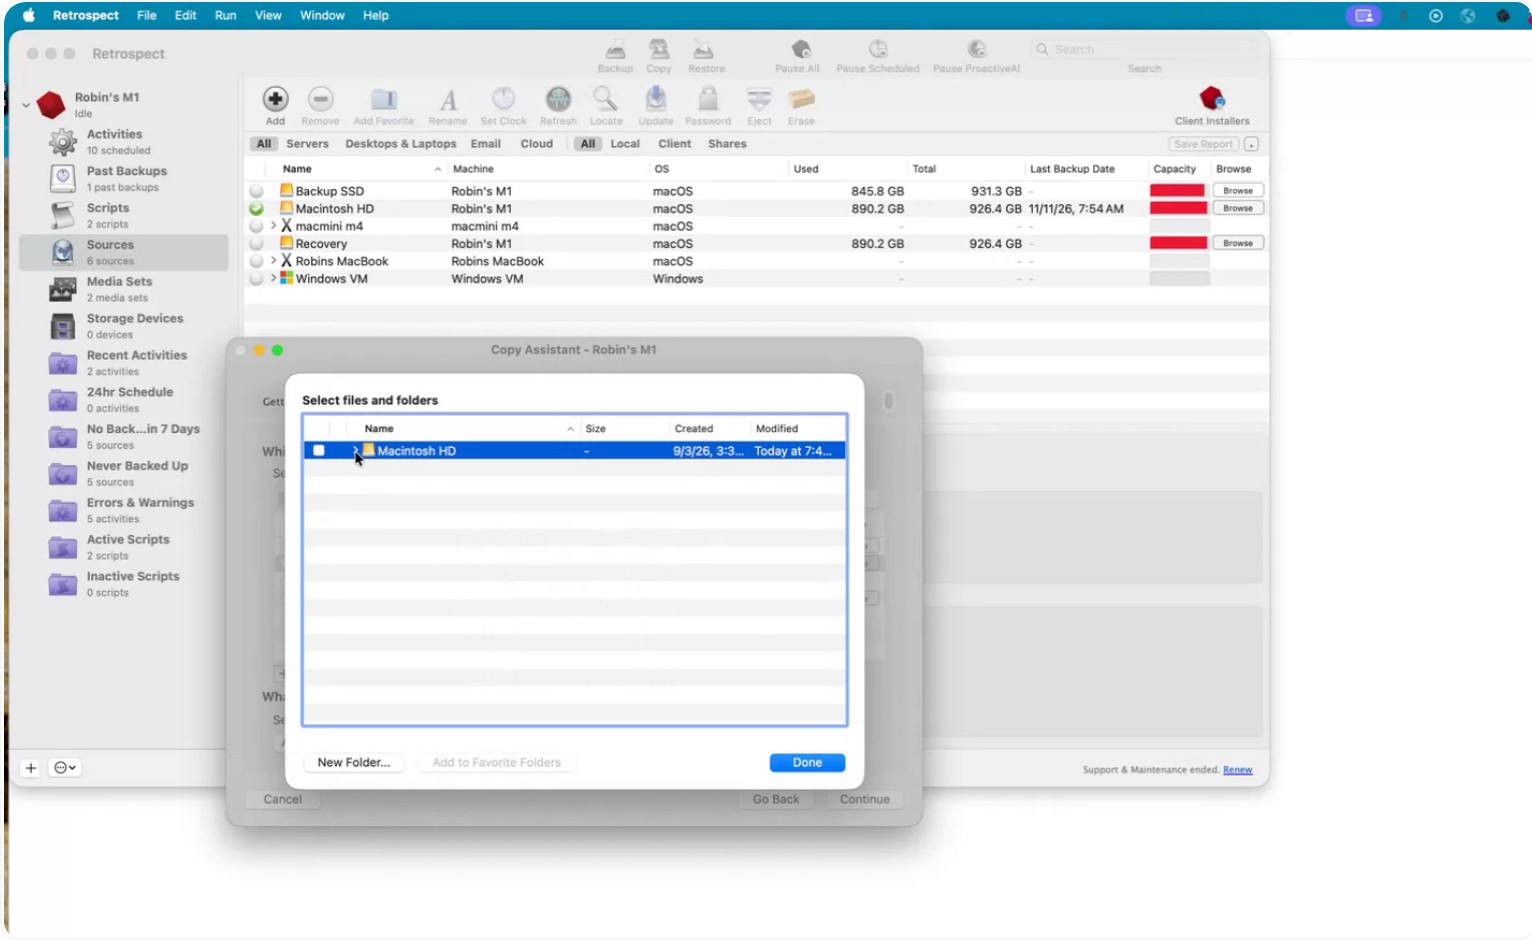
Select that folder.
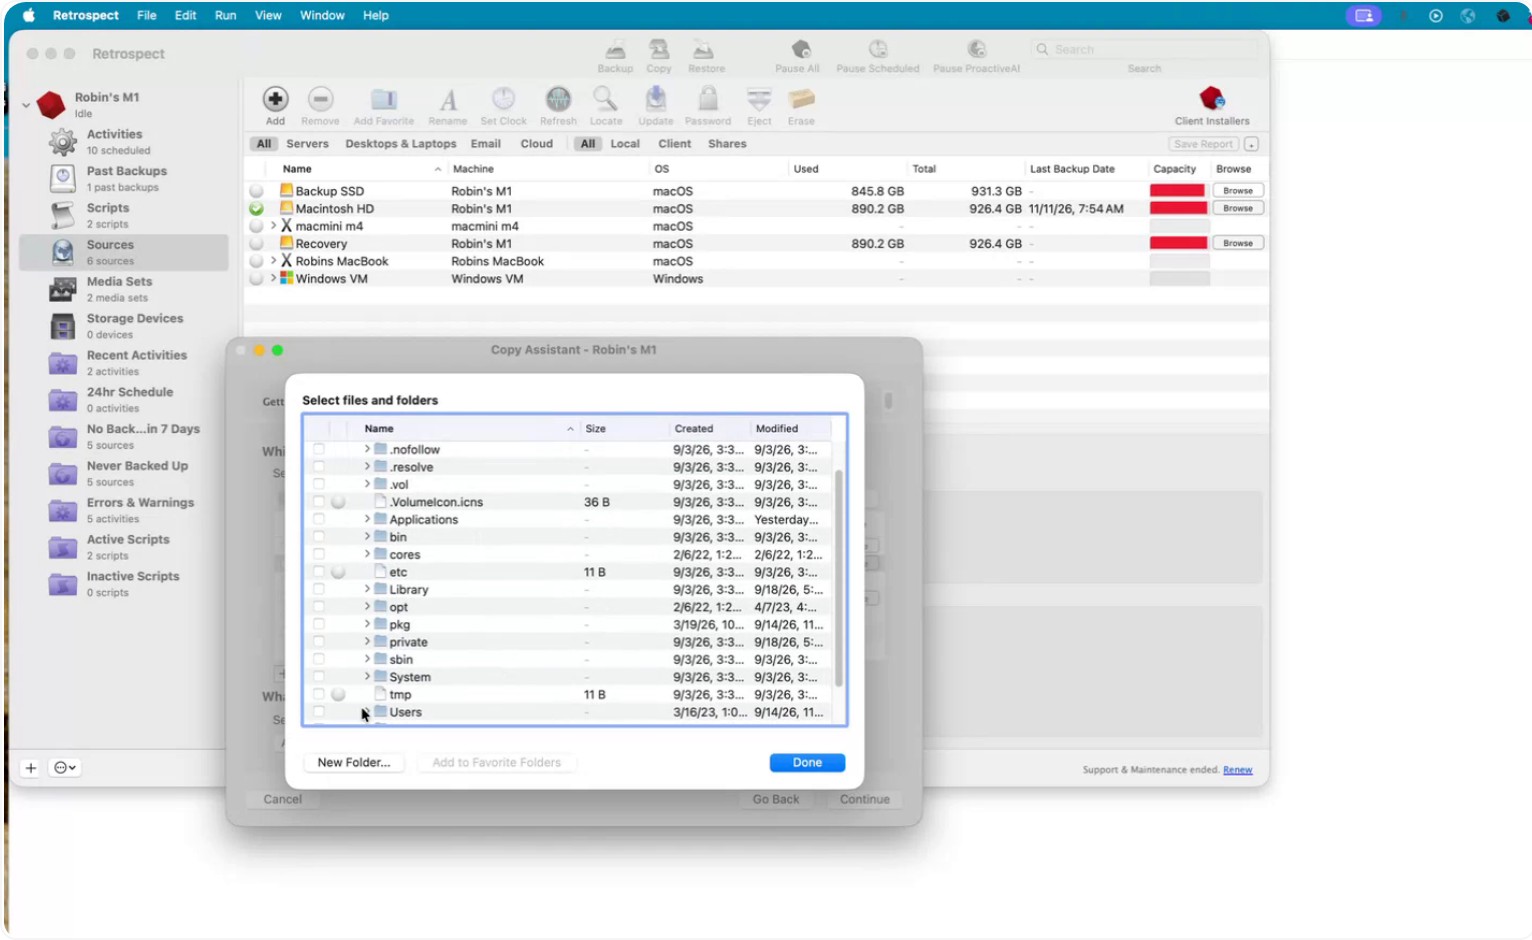
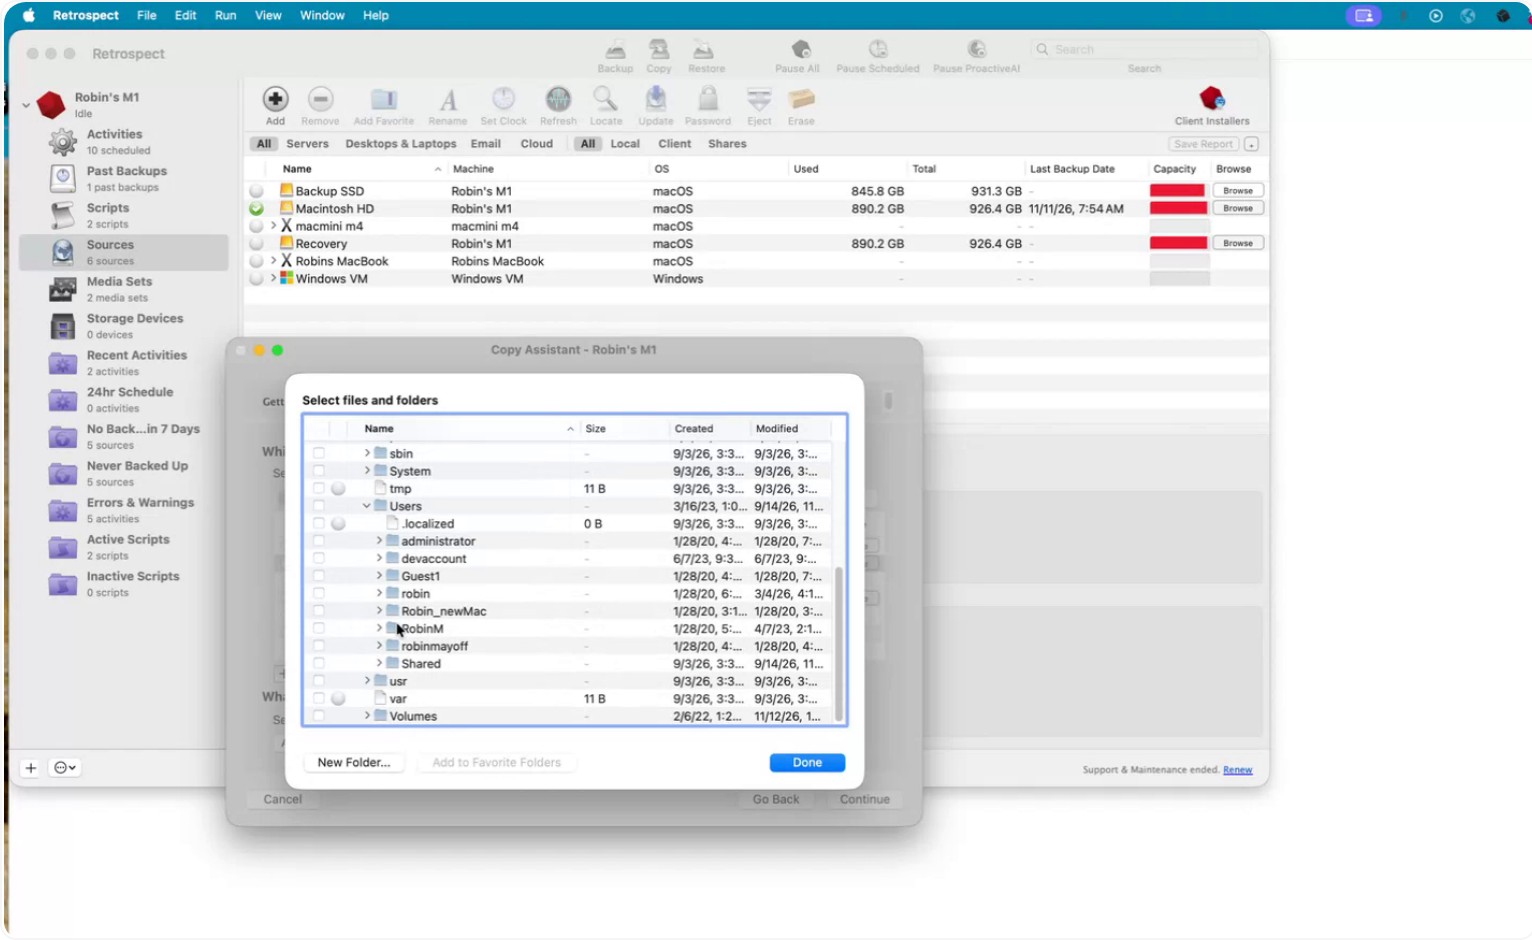
Click Add to Favorite Folders.
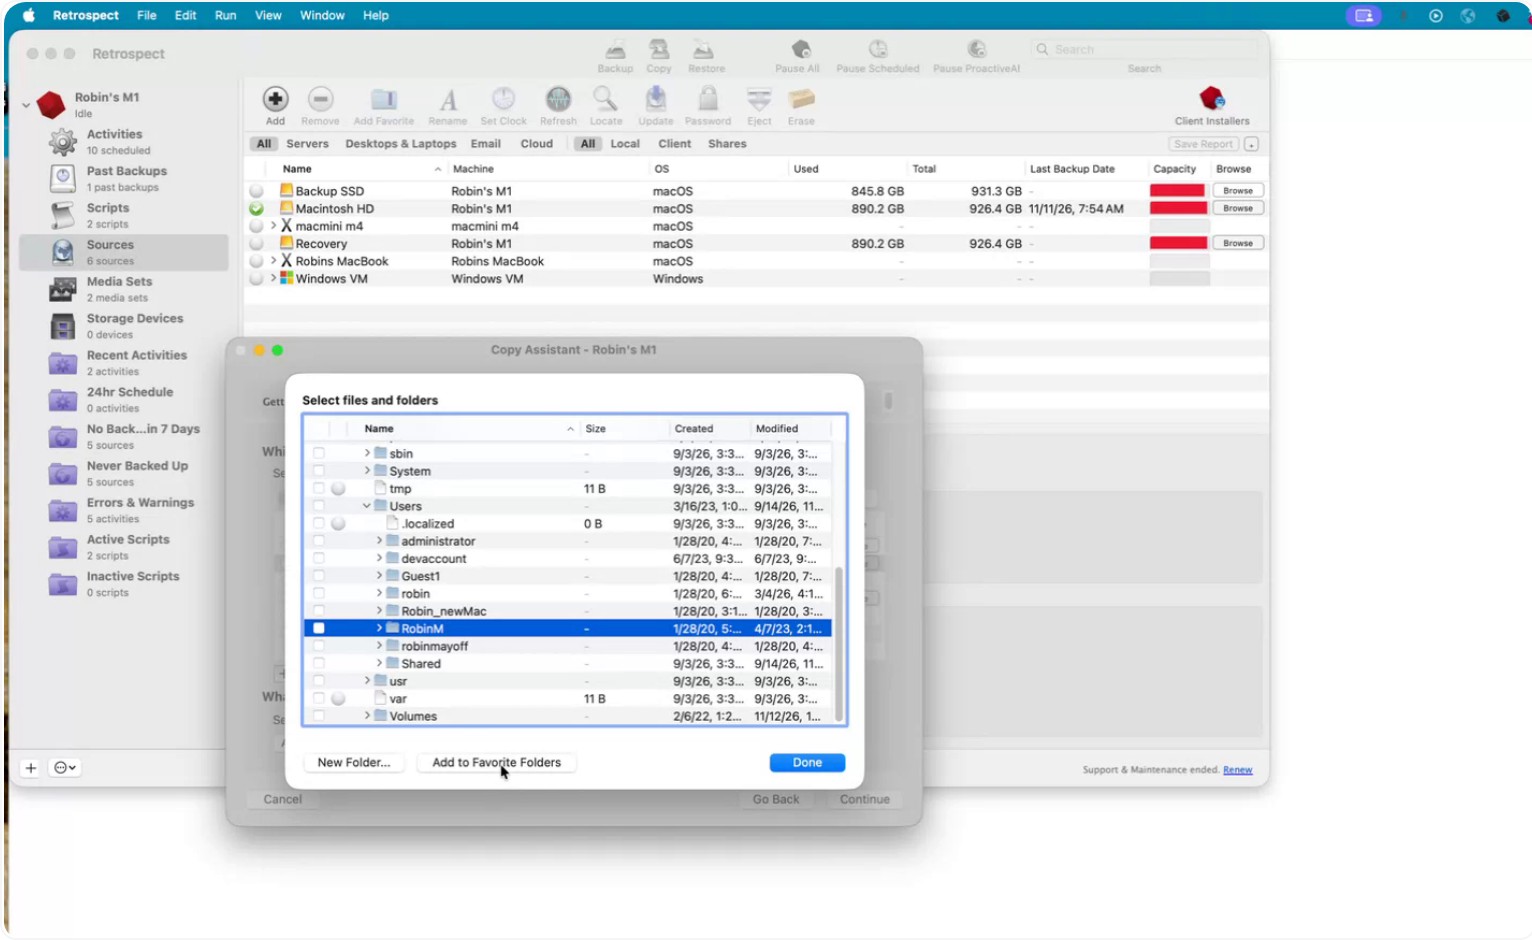
Then click OK.
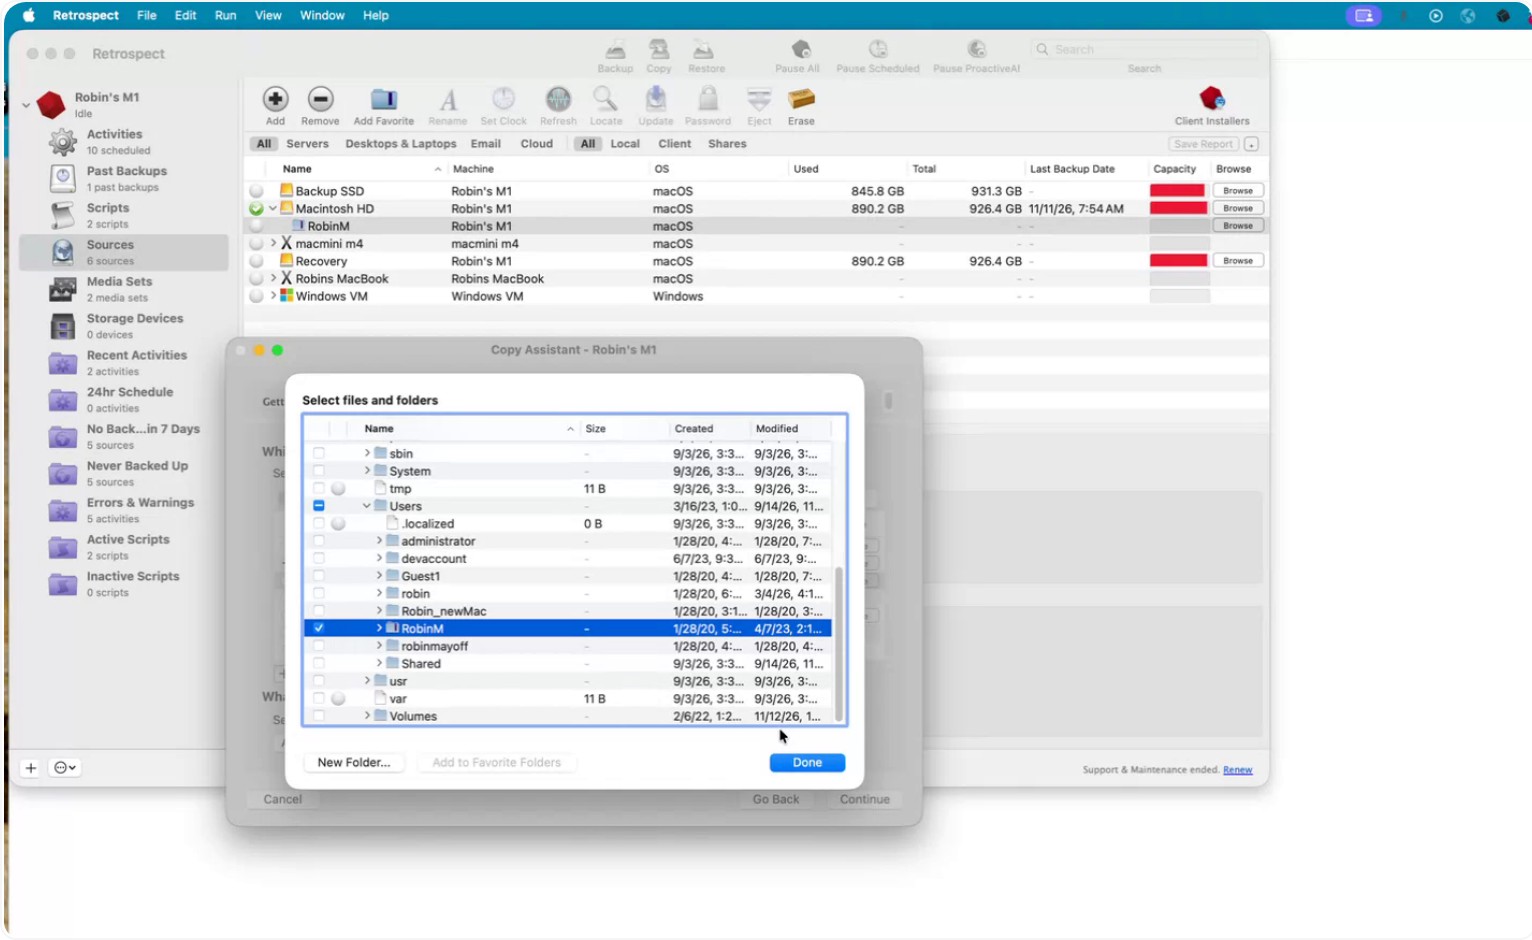
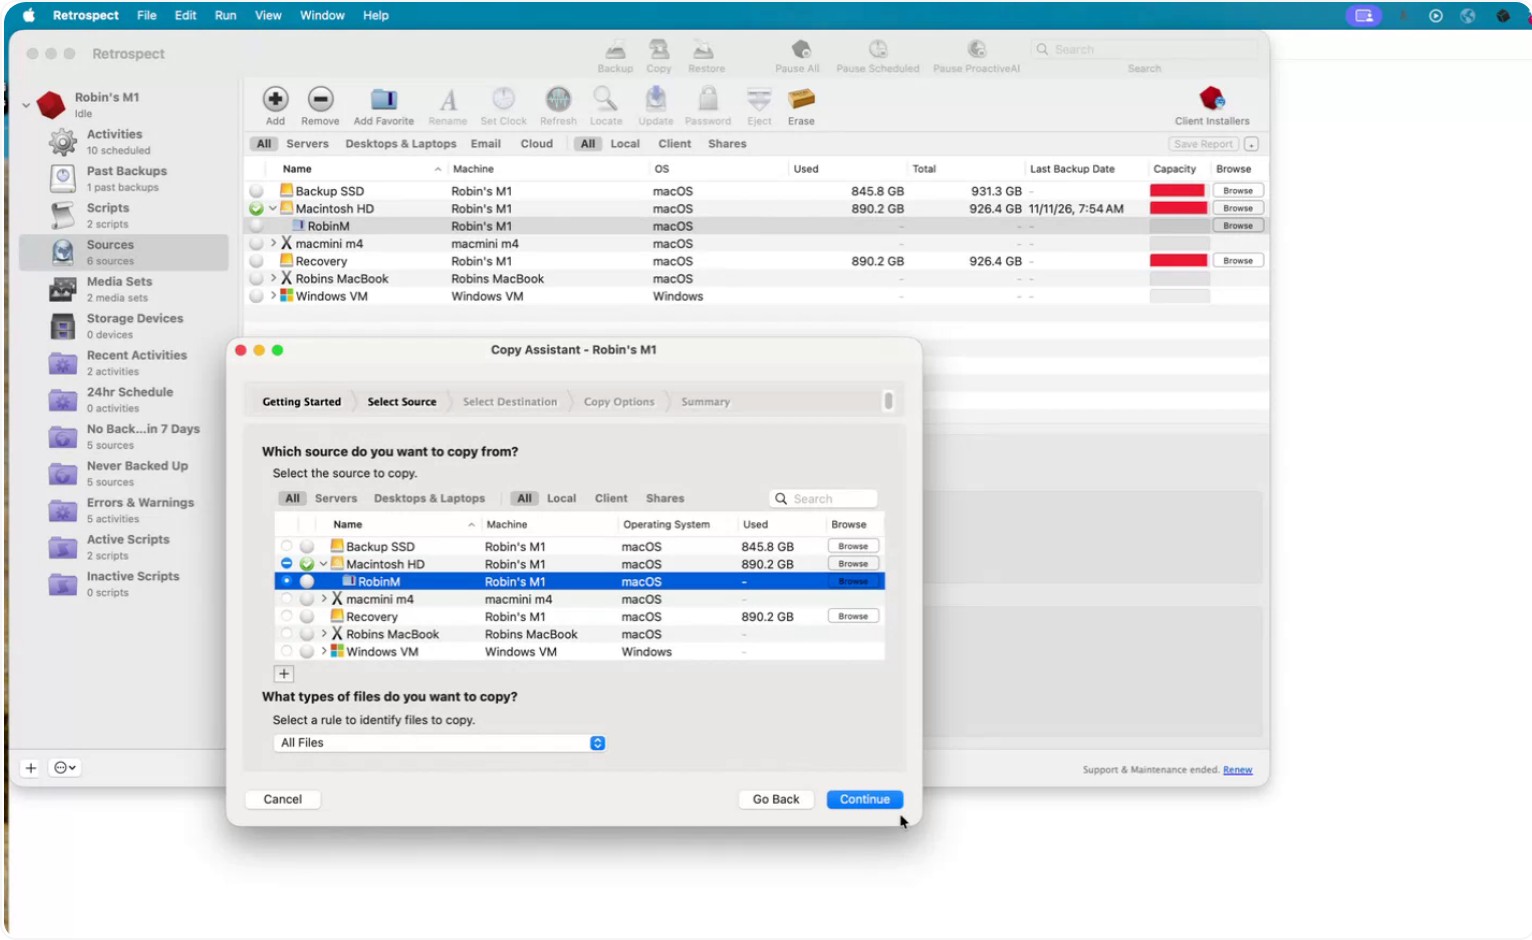
Now, for your source, instead of selecting the entire Macintosh hard drive, choose the specific folder you just added as a favorite, and then click Continue.
Step 4: Choose and Prepare the Destination
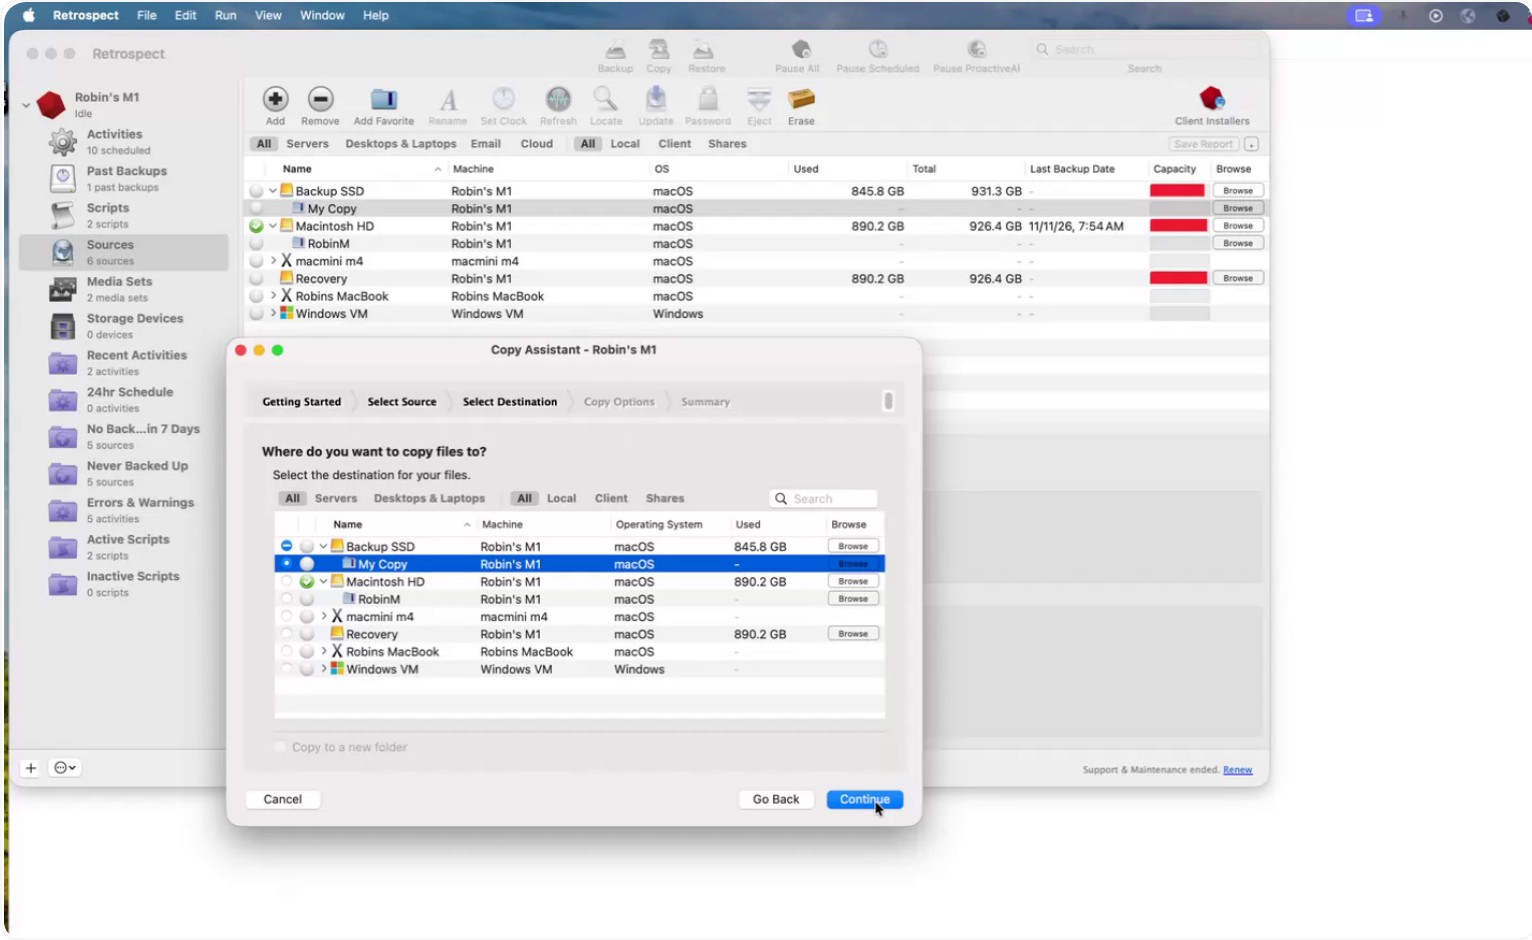
To continue, select a Destination for the copy. You can:
- Select an entire disk (Retrospect will erase the entire disk before copying), or
- Choose a specific folder on a disk so the entire destination disk is not overwritten.
Click Browse to locate or create a destination folder.
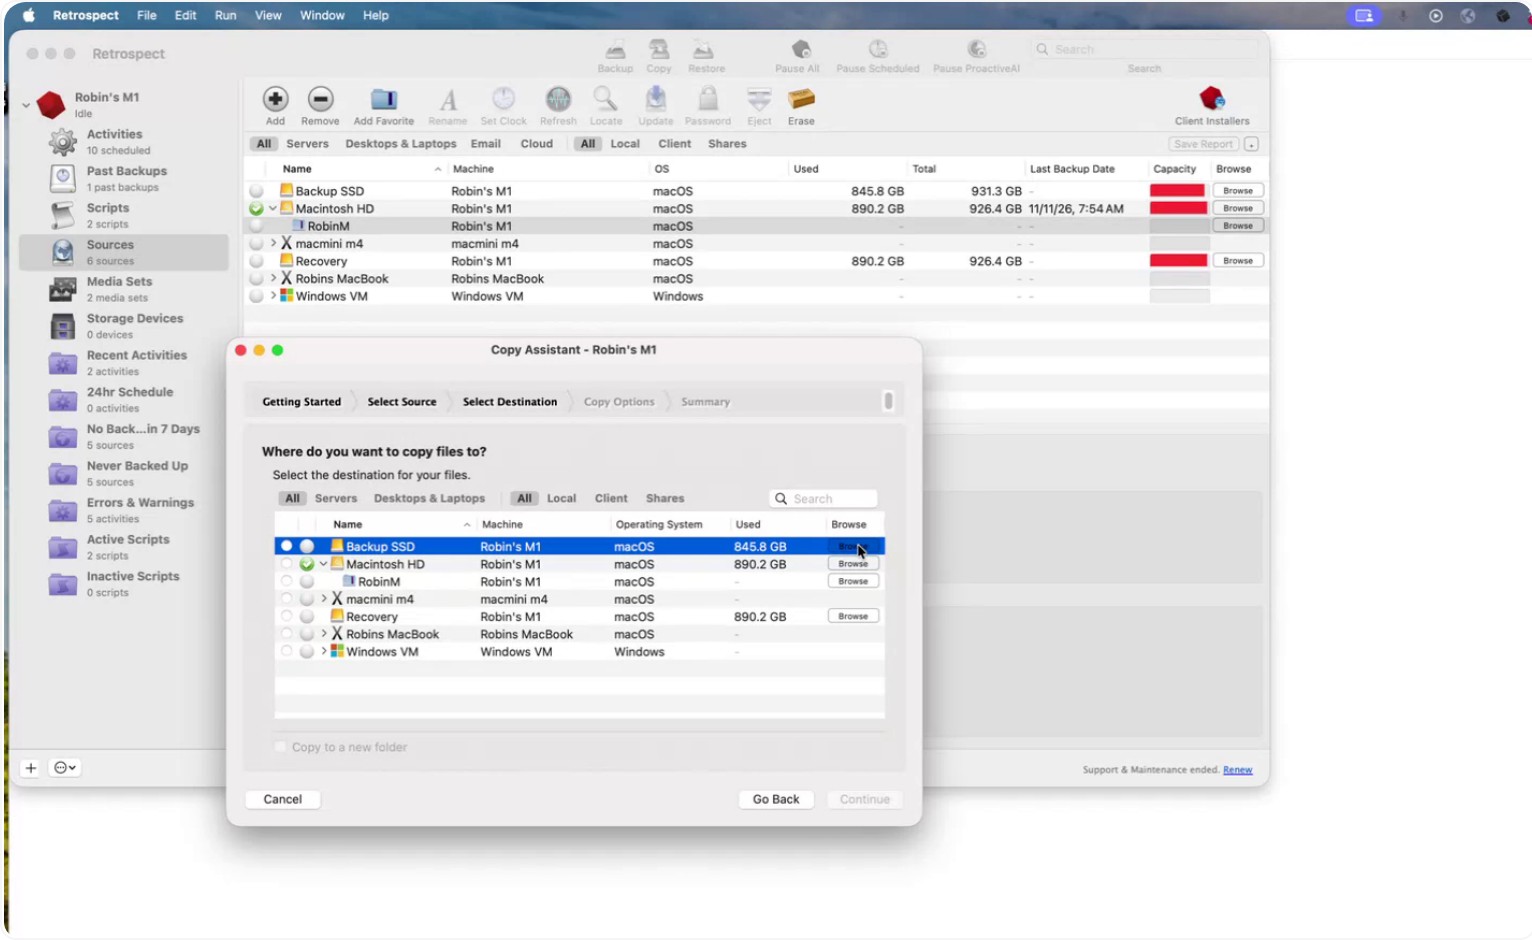
Click New Folder.
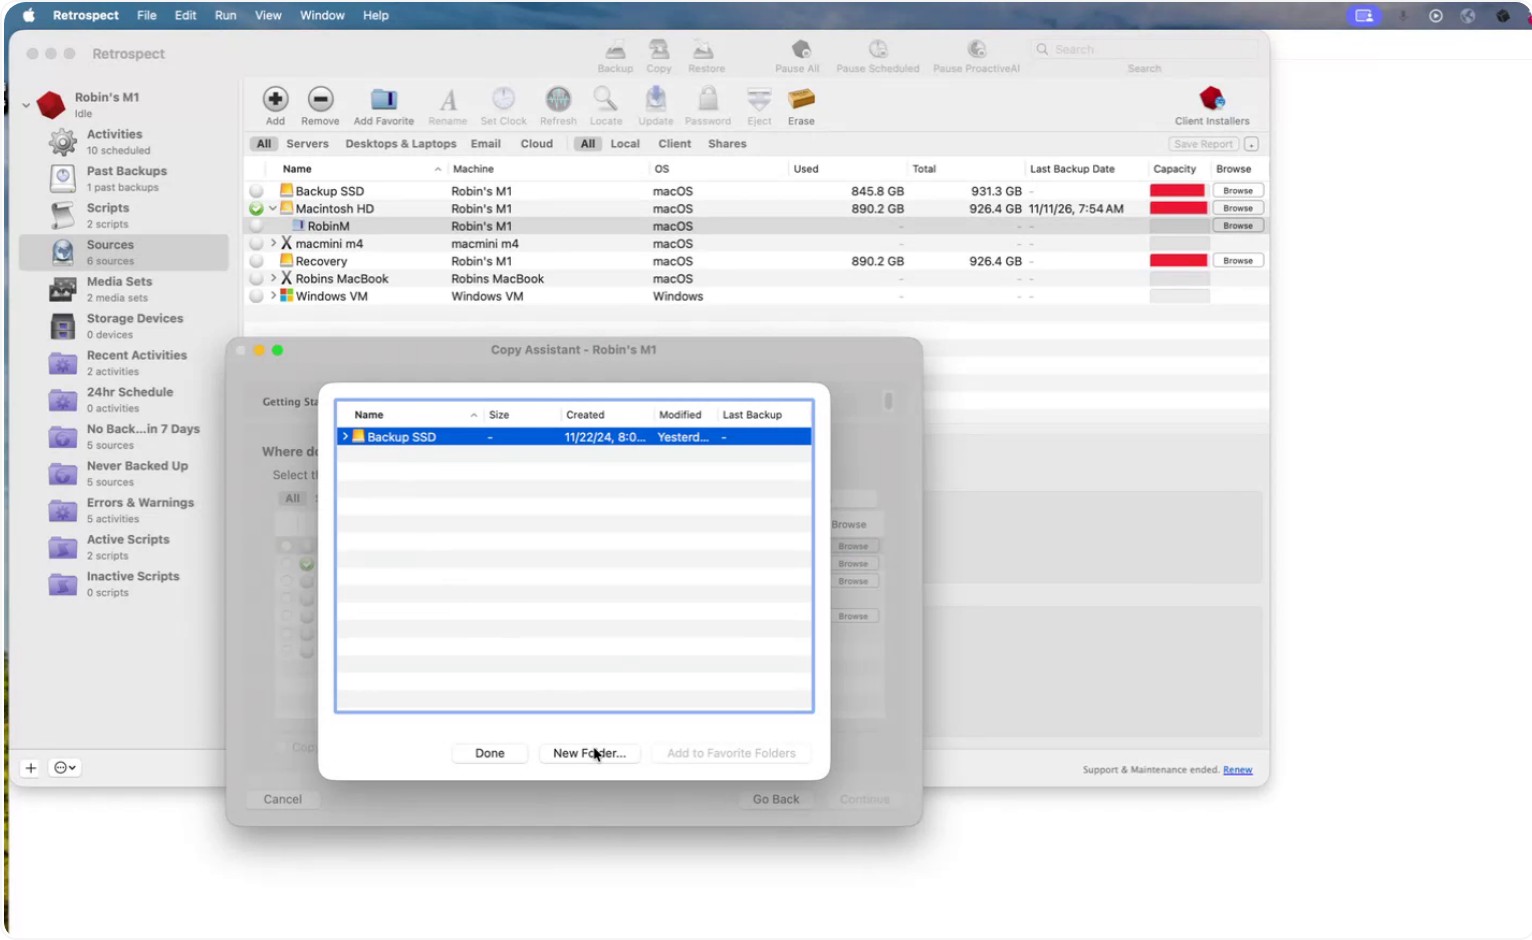
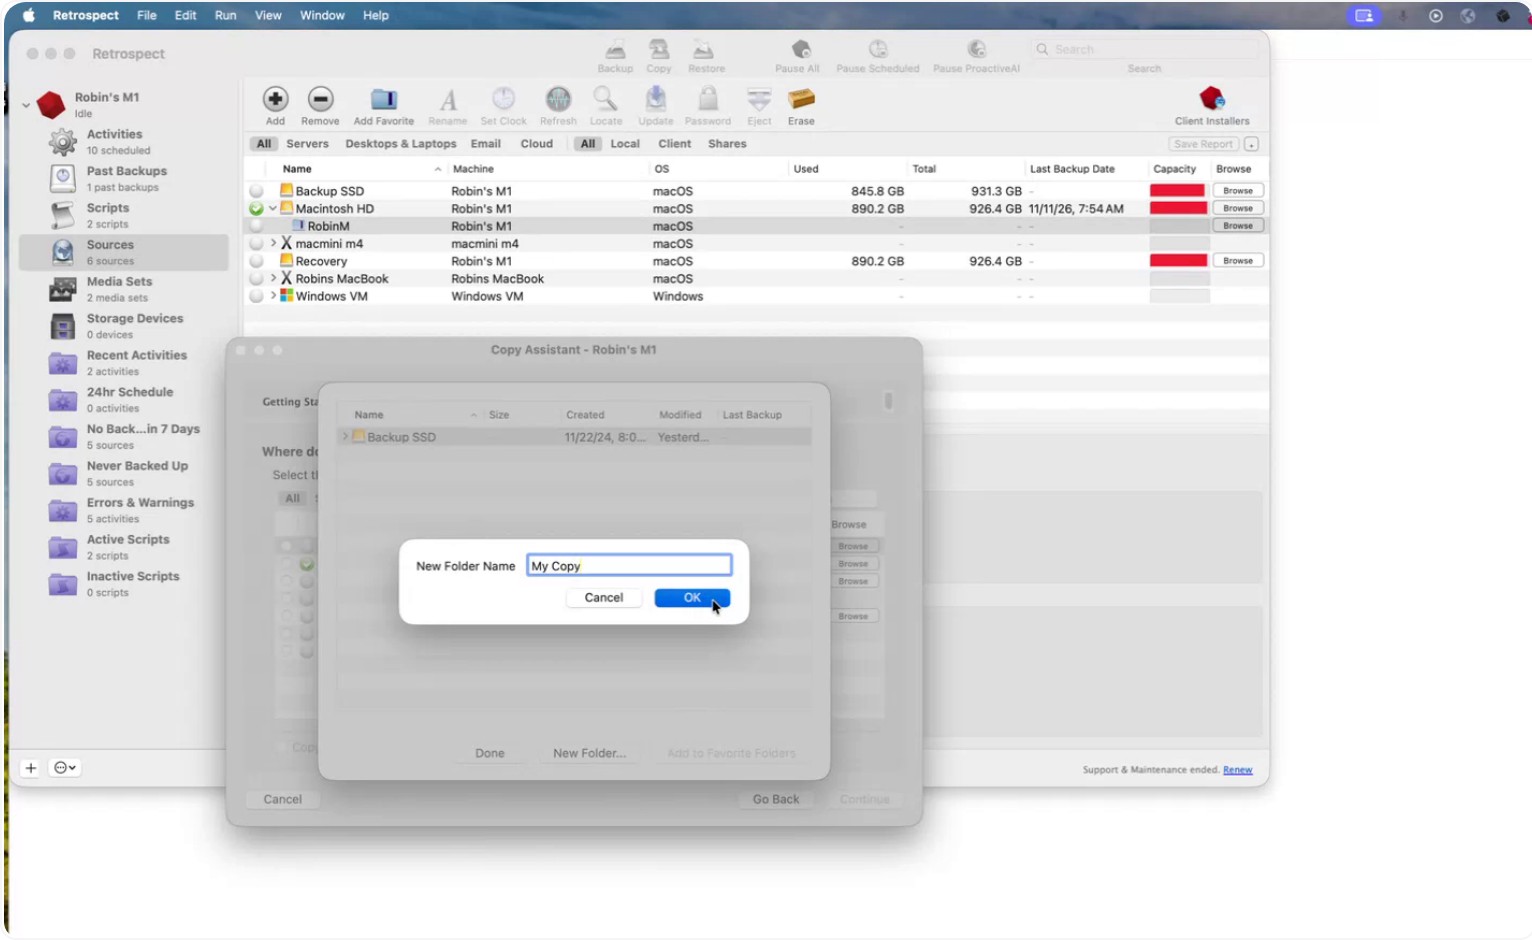
Name the folder (for example, My Copy).
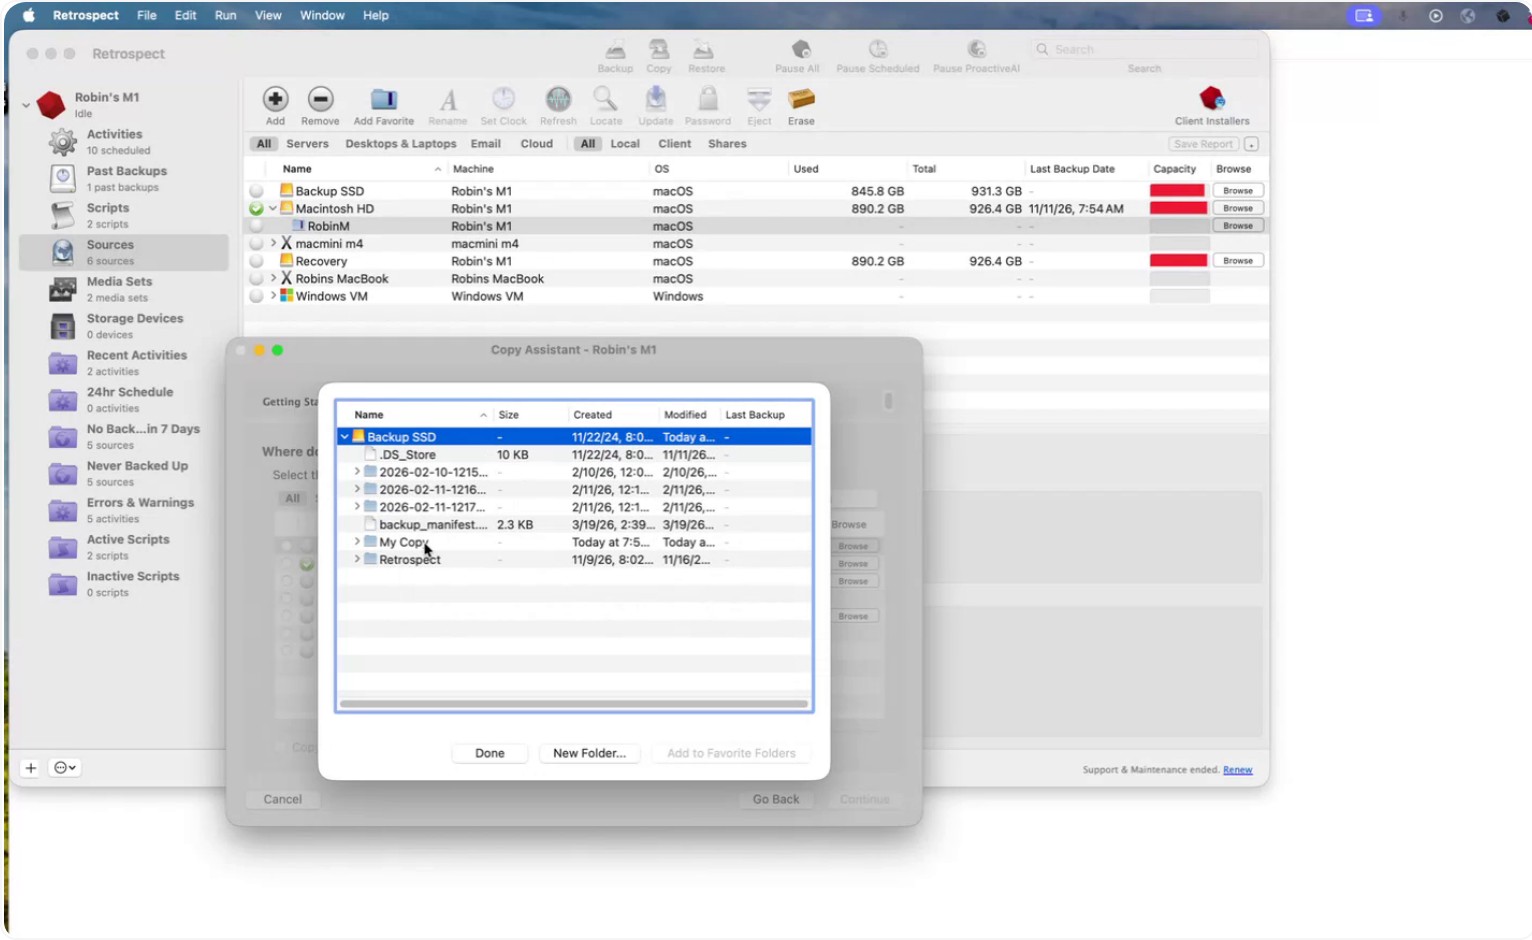
Highlight the new folder and add it as a favorite.
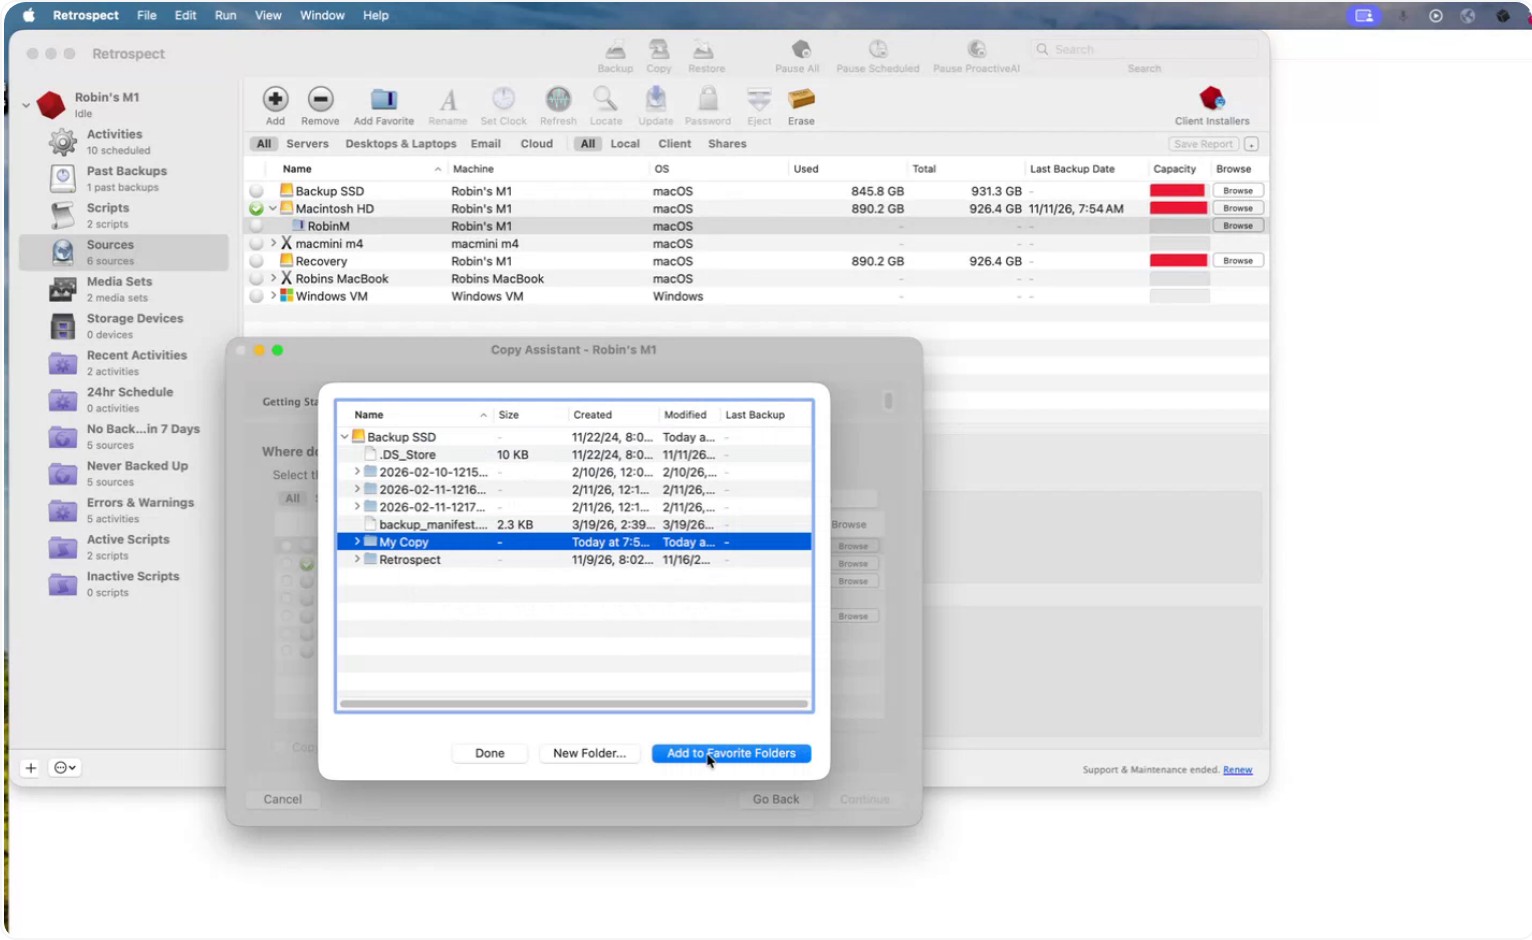
Click Done.
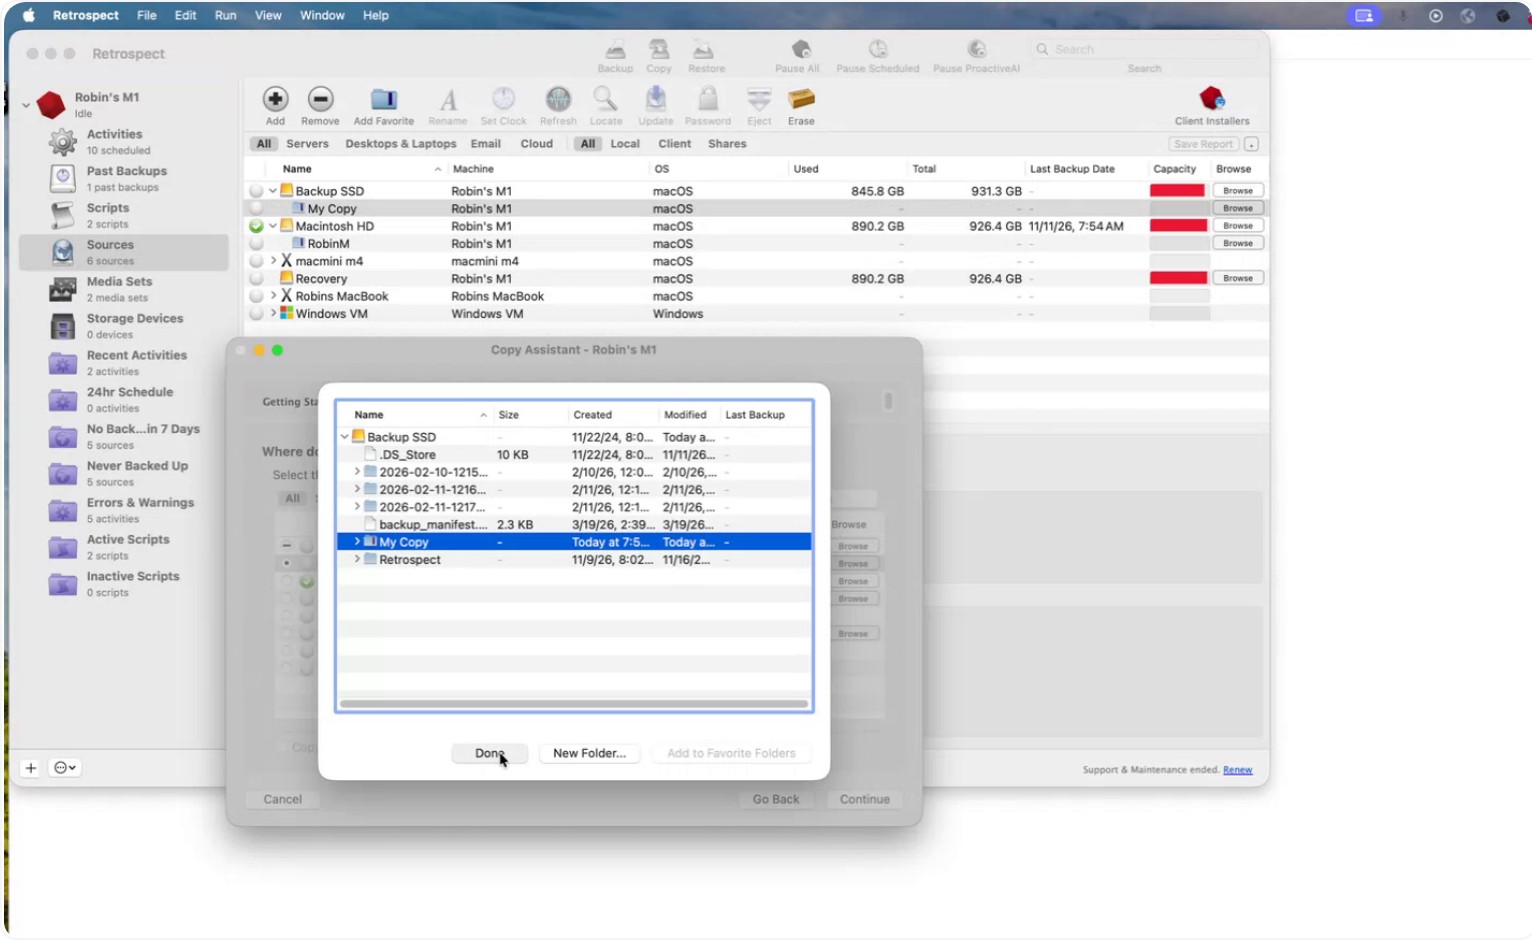
Select this folder as your destination, then click Continue.
Step 5: Review the Summary and Run the Copy
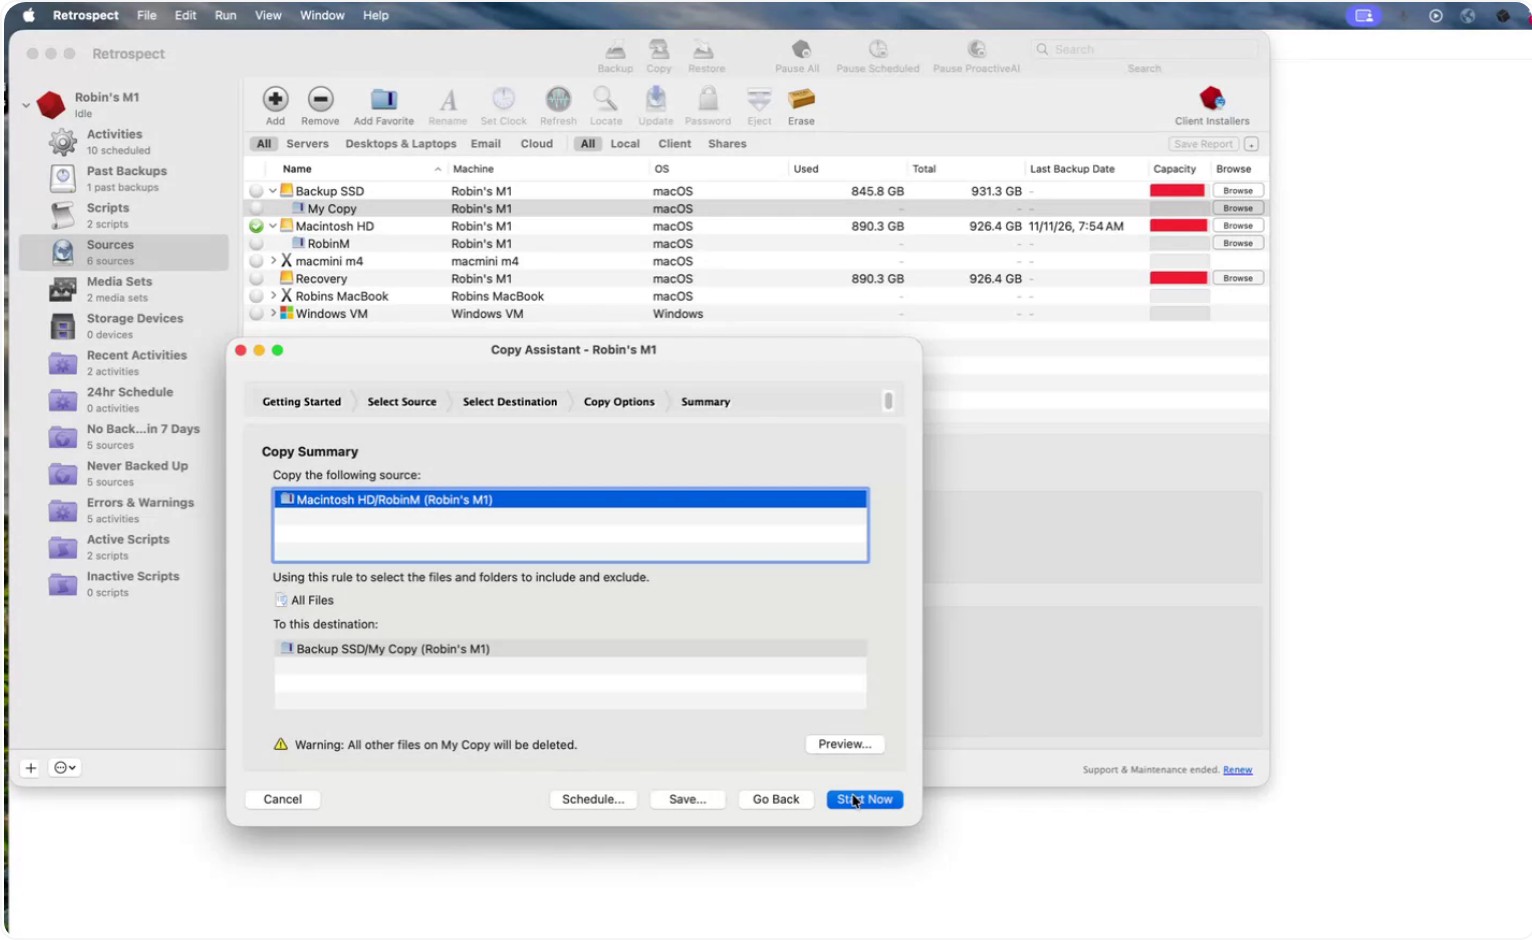
Review the summary screen. It should show:
- The specific source folder you are copying
- The copy mode (for example, All files)
- The destination folder (for example, My Copy on your external hard drive)
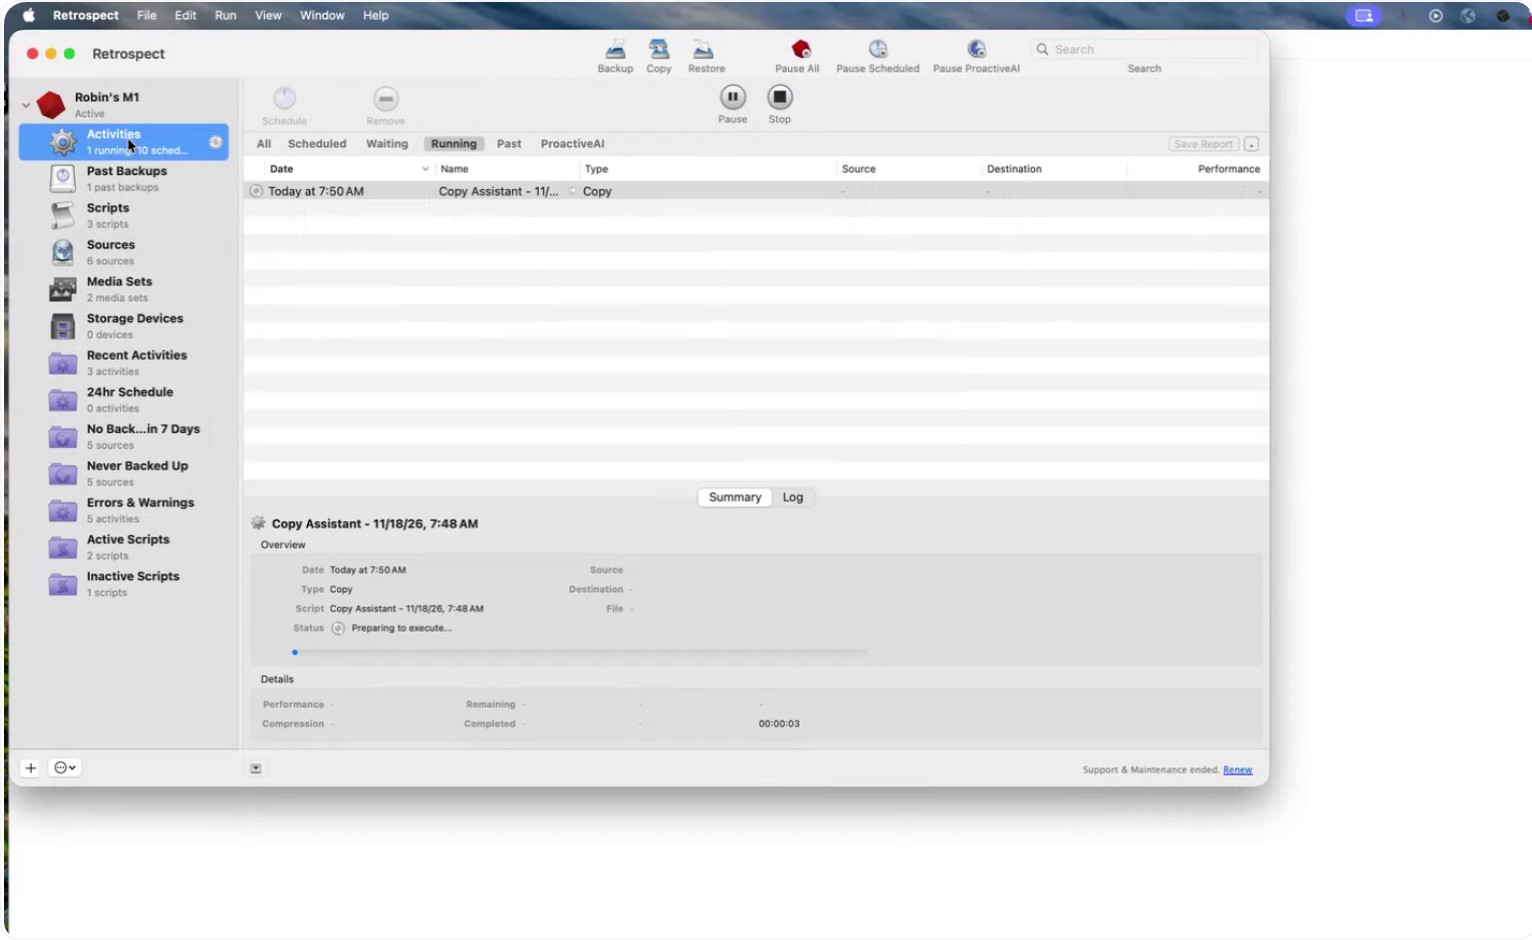
Click Start Now to begin the copy.
Retrospect will:
- Scan the source files
- Scan the destination
- Copy the files
- Perform a byte‑by‑byte verification to ensure destination files are identical to the source
The first time you run this copy, Retrospect copies 100% of the data. The second and subsequent runs are incremental: Retrospect only copies files that are new or changed since the previous copy.
Step 6: Review and Edit the Automatically Created Copy Script
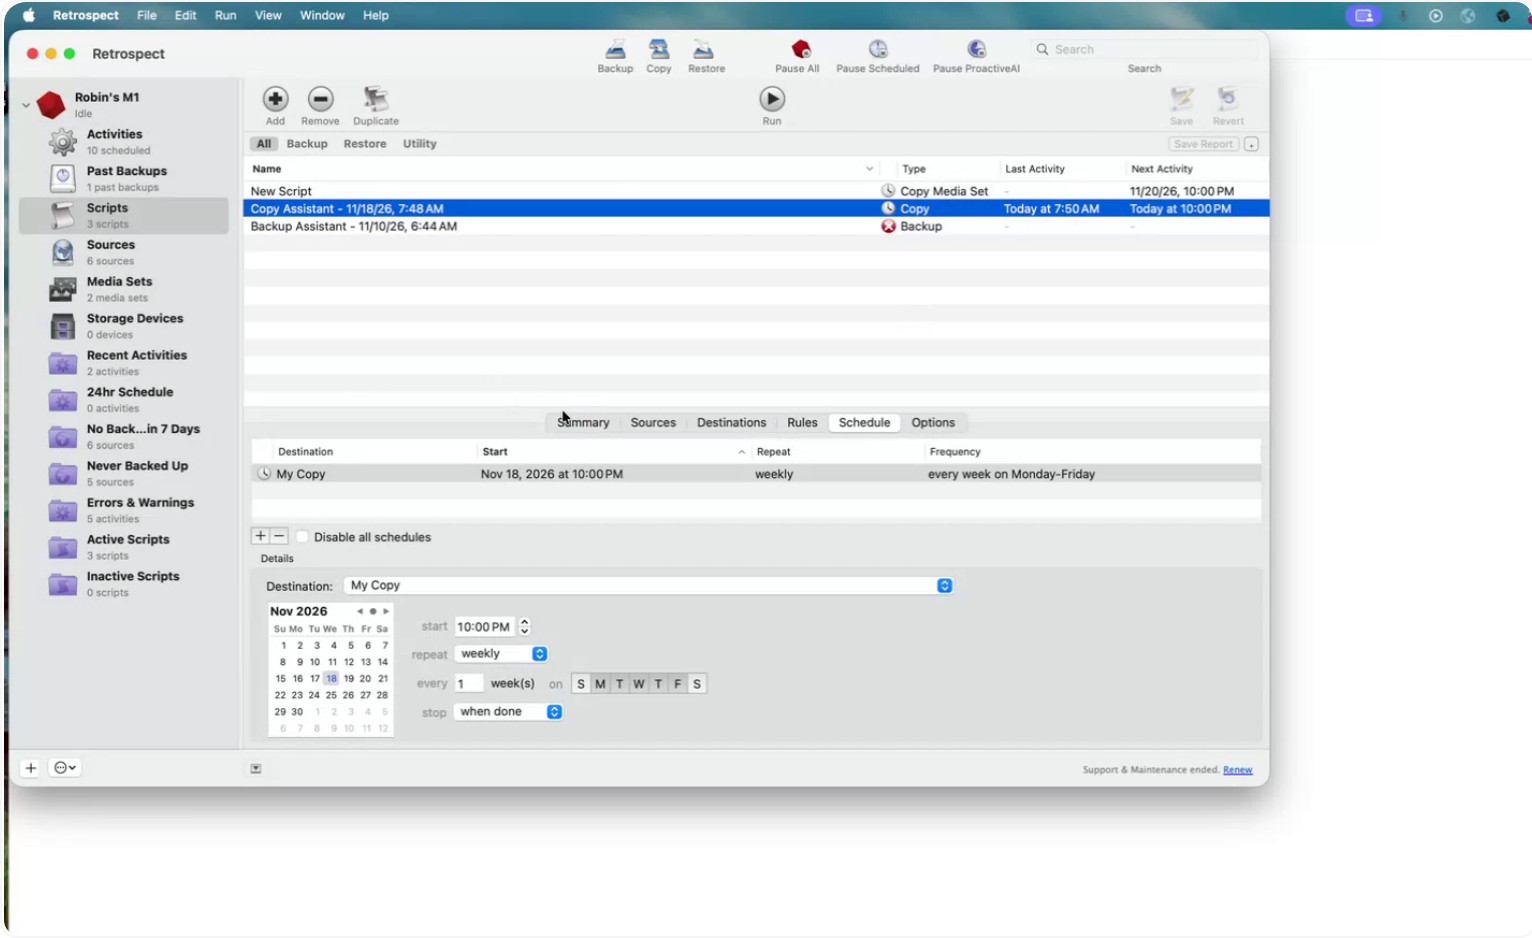
If you want to repeat the same copy operation later, go to Scripts.
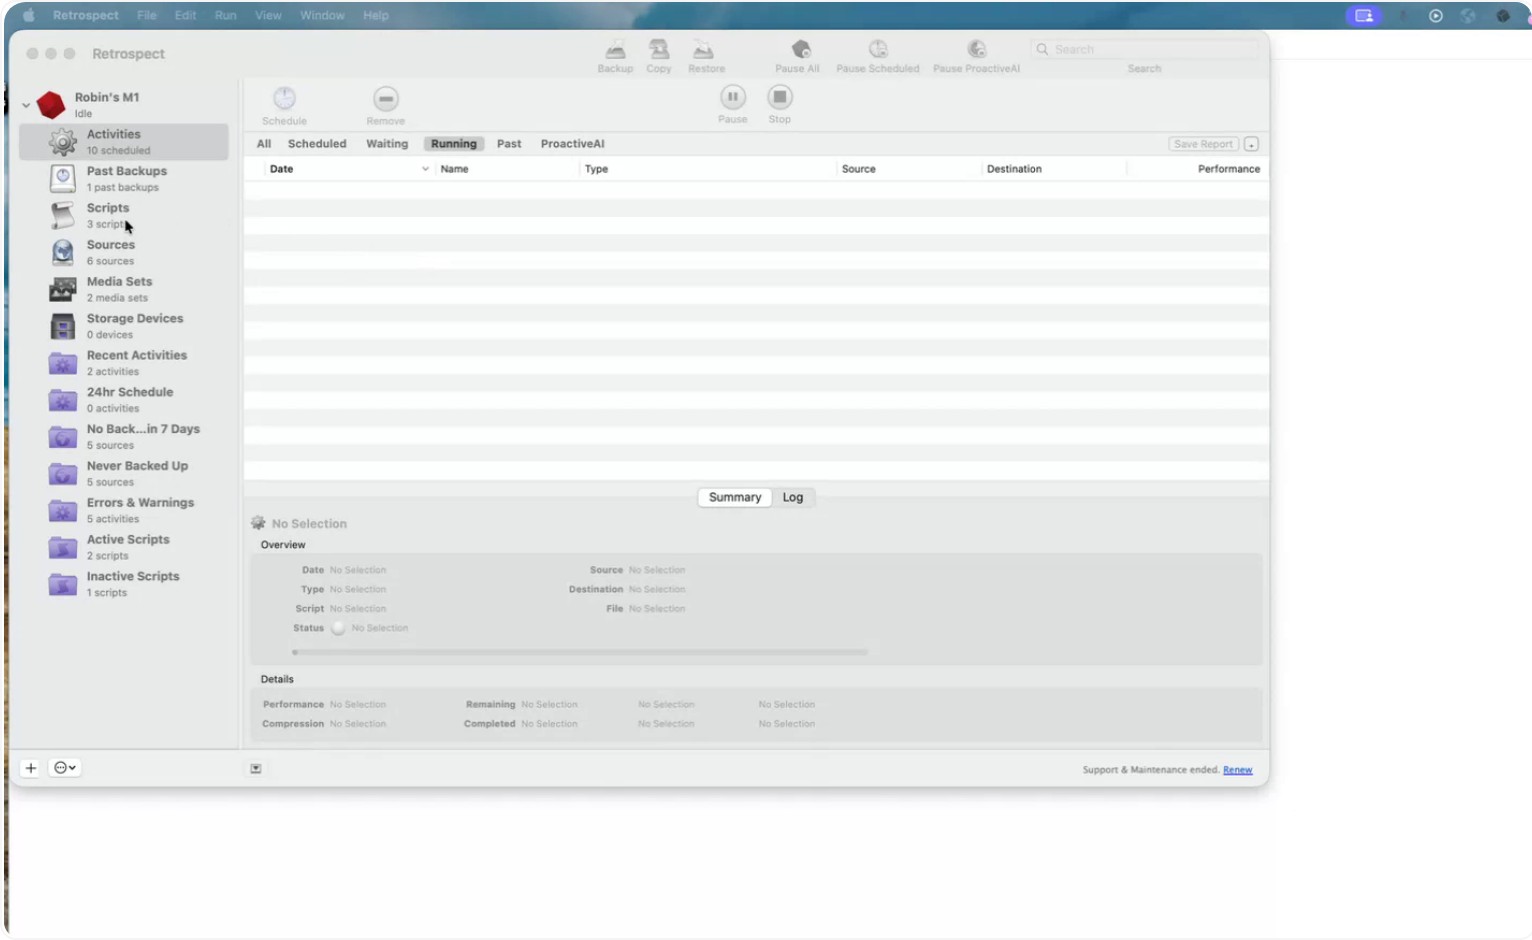
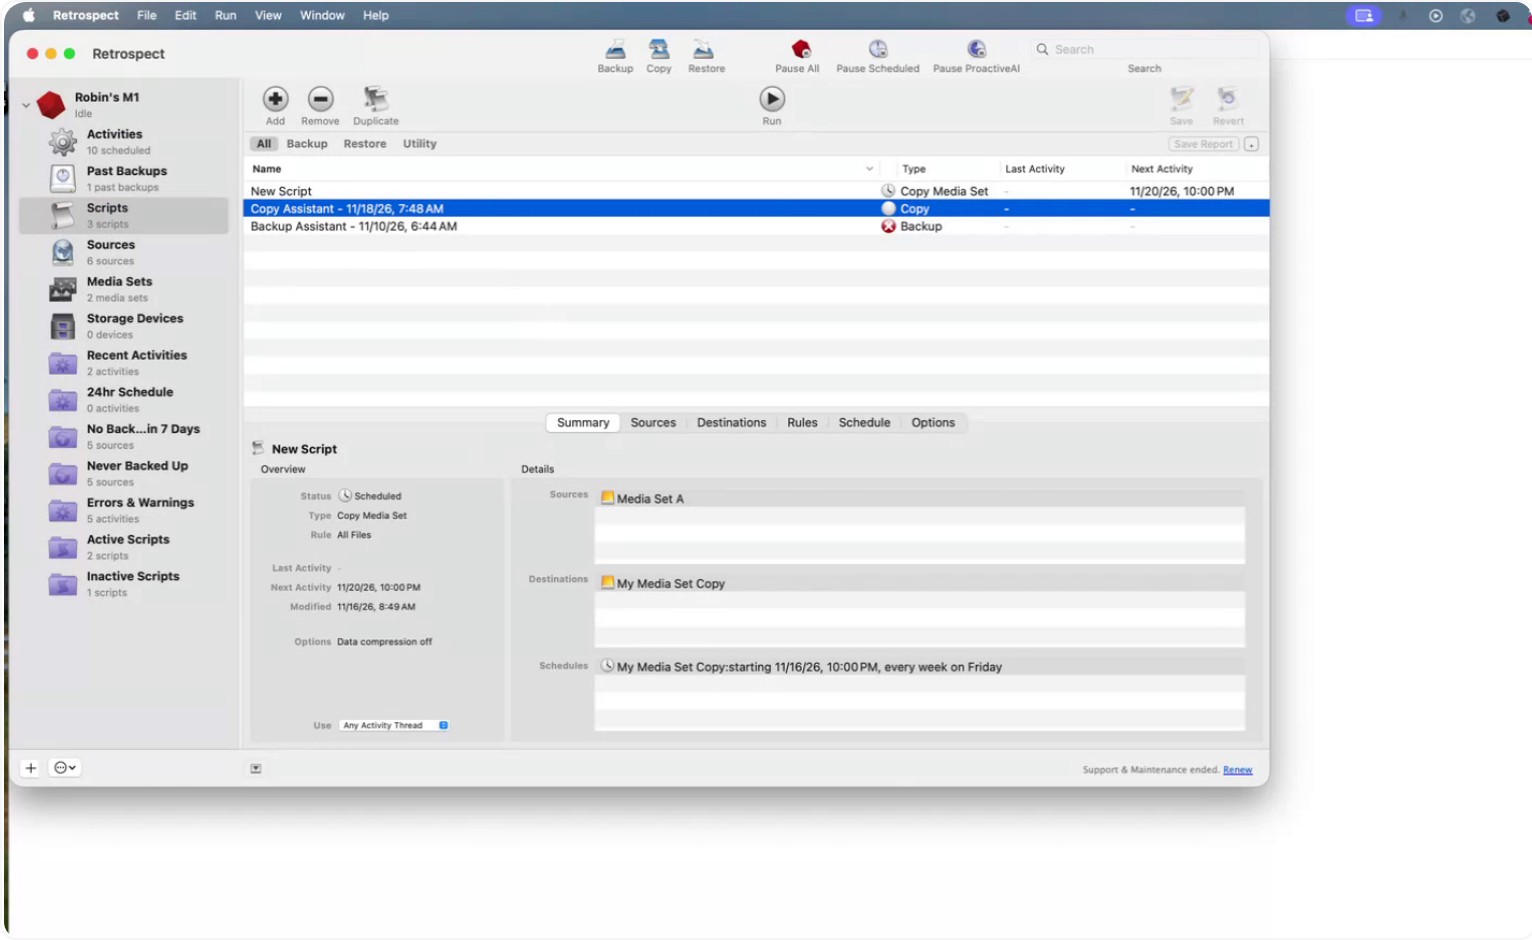
Retrospect automatically creates a Copy Assistant script for the operation. In this script, you can see what Retrospect previously did:
- The source folder
- The destination folder on your external hard drive
- The options used
You can modify this script as needed.
Go to Sources to select a different source folder if desired.
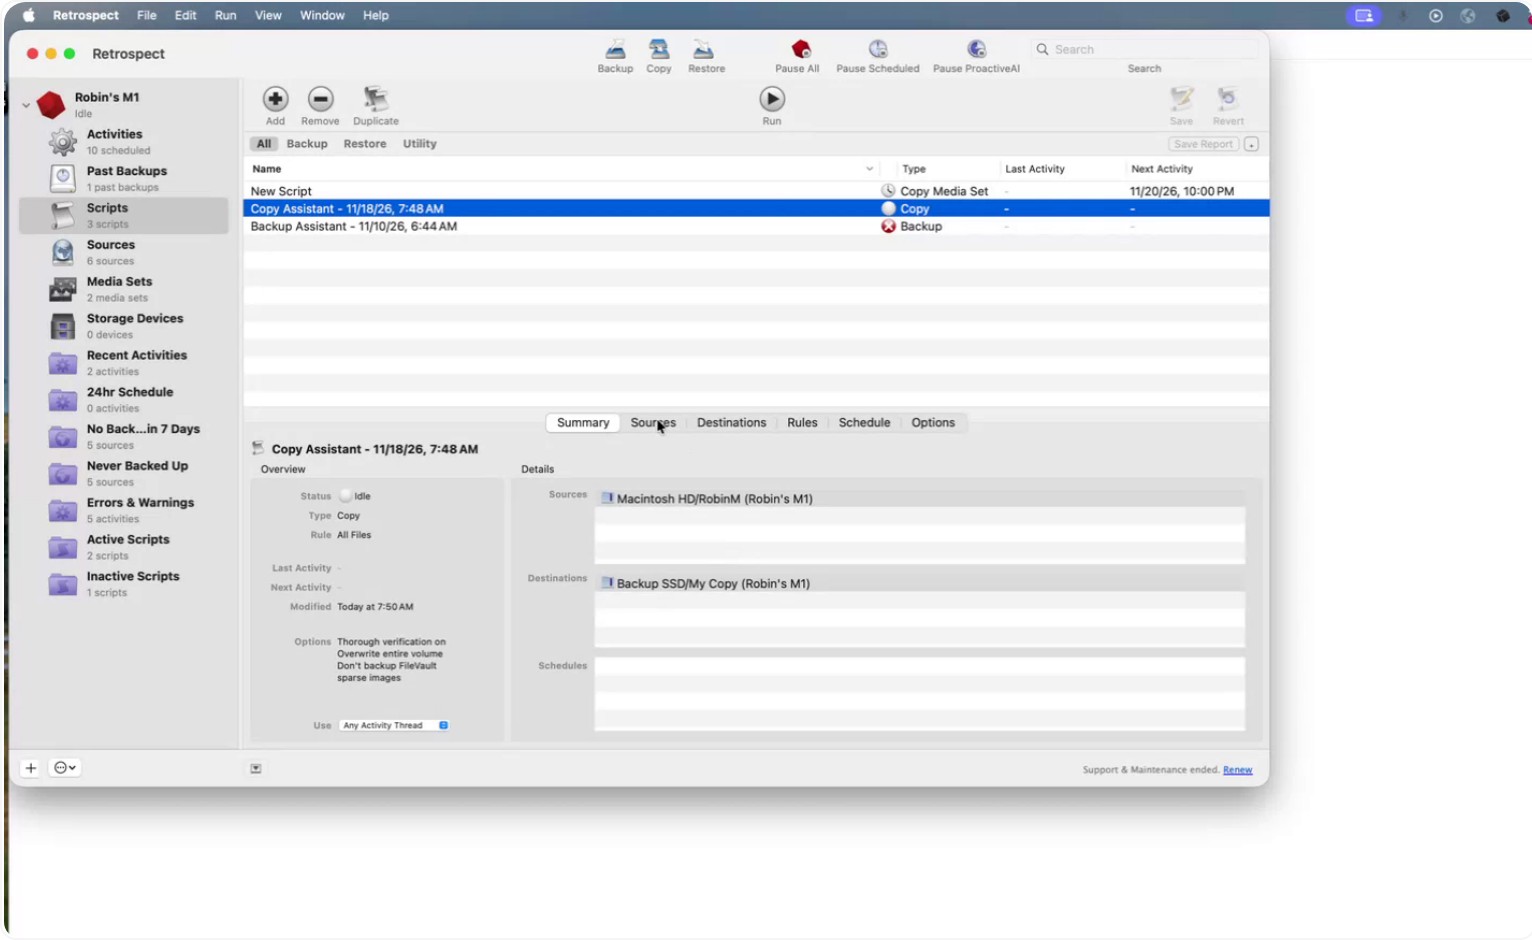
You can also select a different destination.
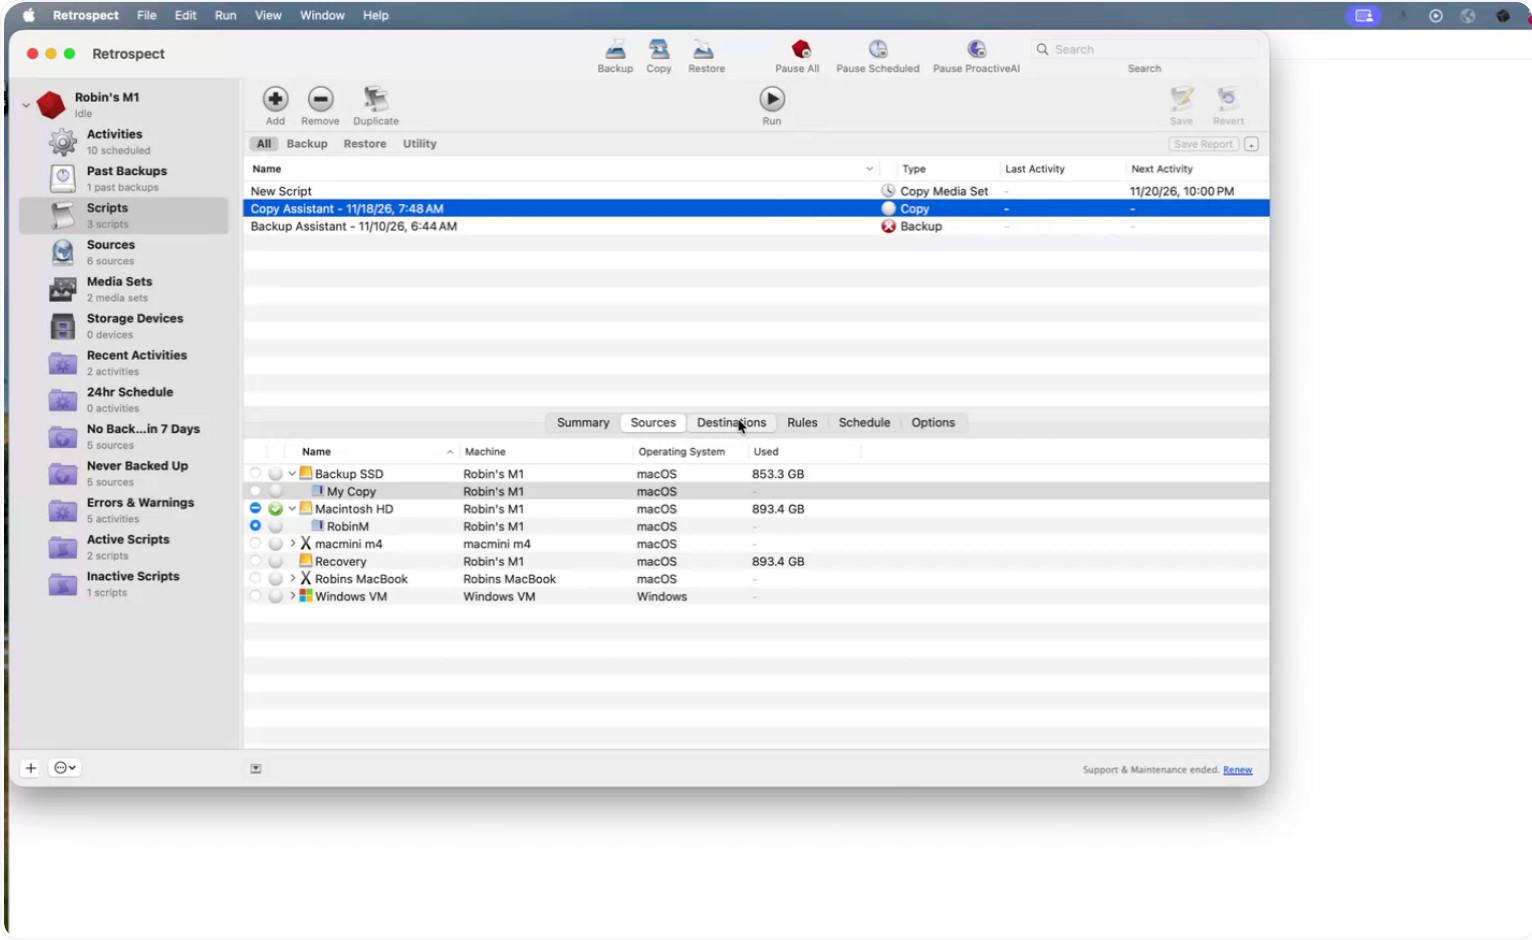
Step 7: Configure Copy Options
Within the copy script, Retrospect provides several options for how data is copied.
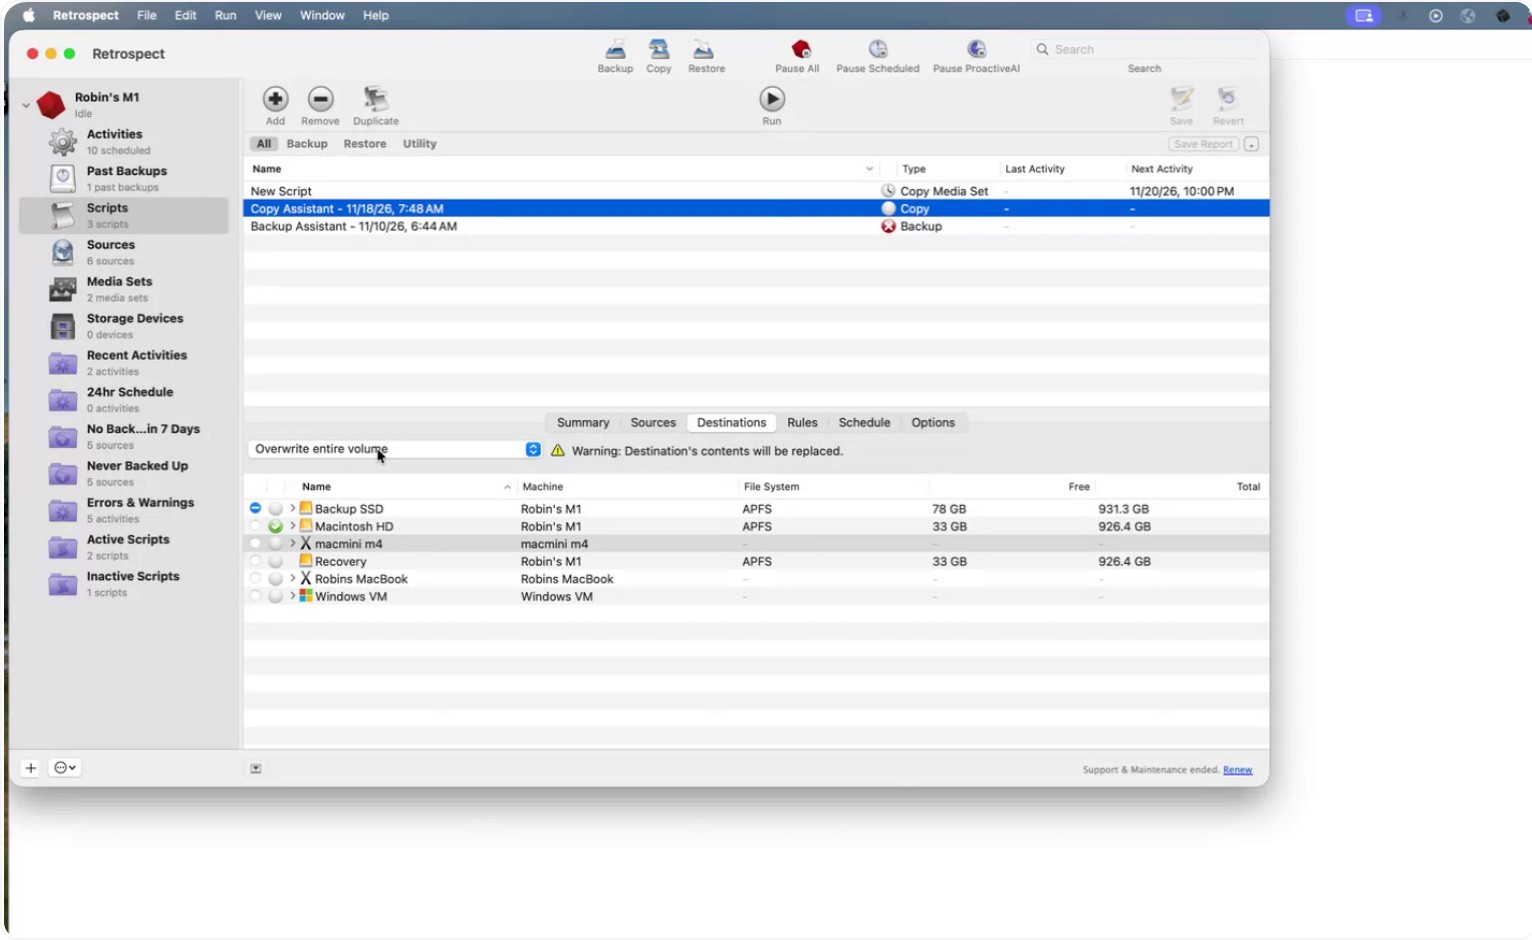
You can choose to:
- Overwrite the entire destination disk
- Overwrite only corresponding or matching files
- Overwrite only older versions of files
- Copy only missing files
- Copy data into a new folder
Adjust these options according to your requirements.
Step 8: Schedule the Copy Operation
Go to Schedule in the script.
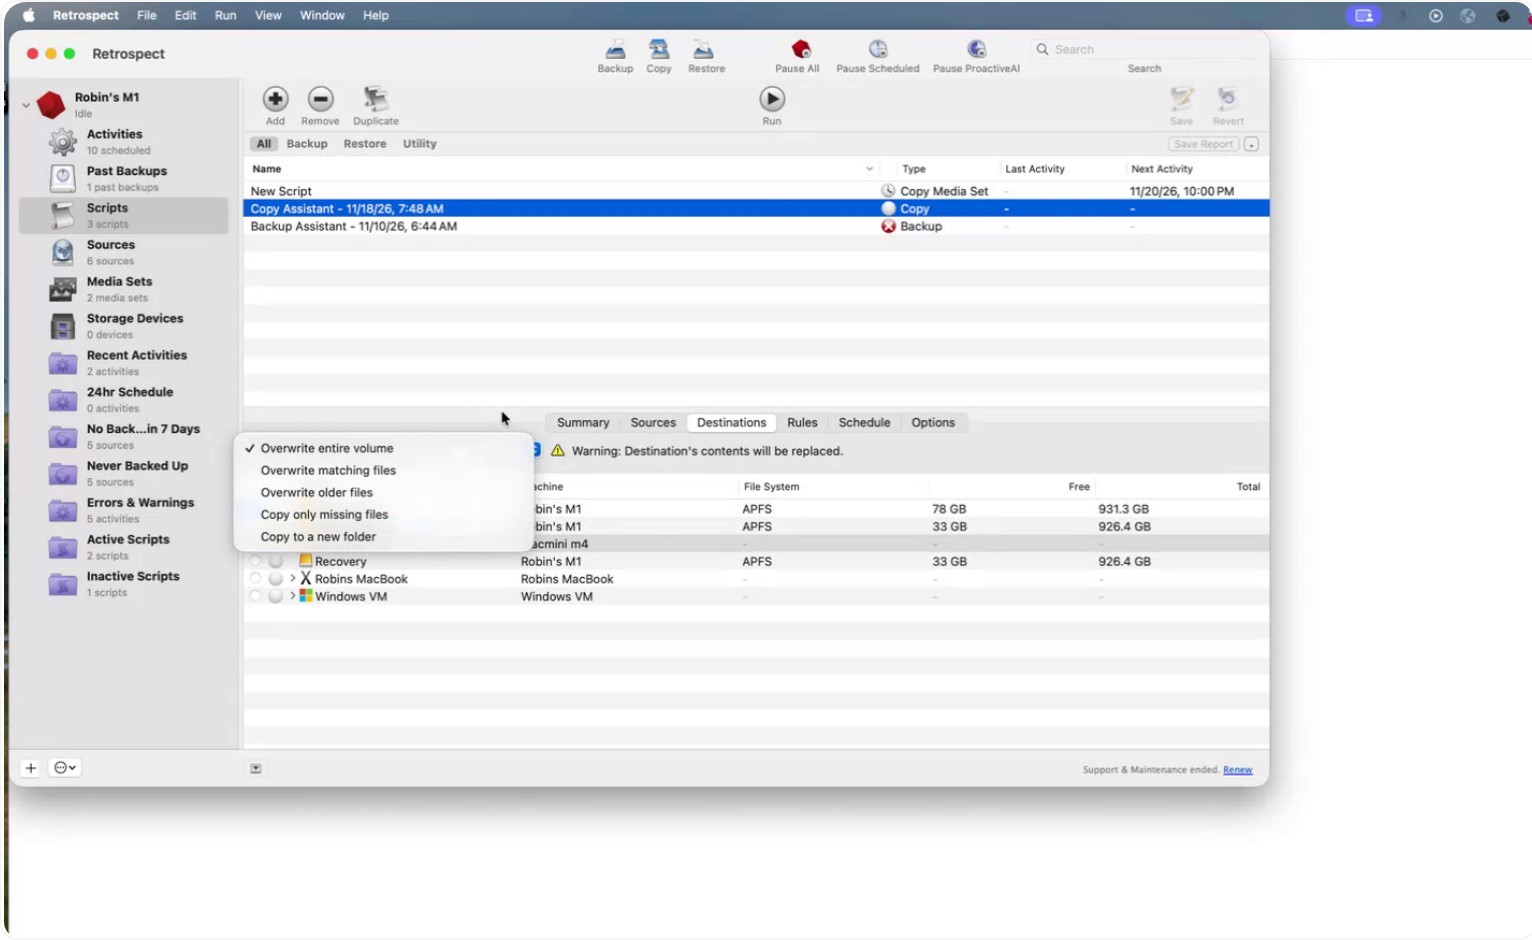
Click Add to create a new schedule entry.
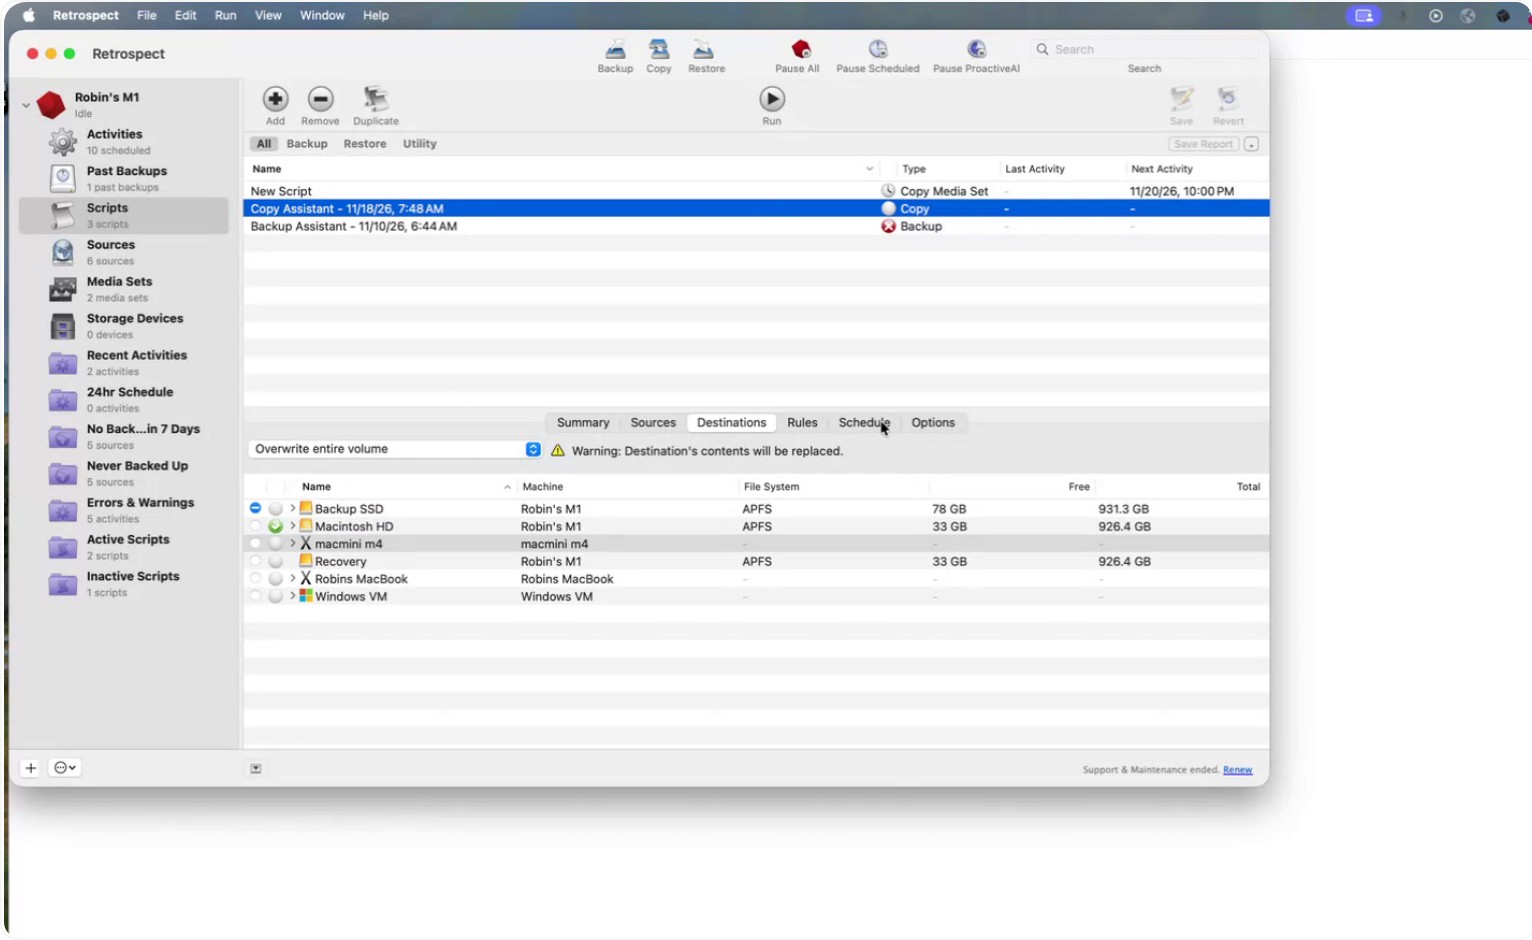
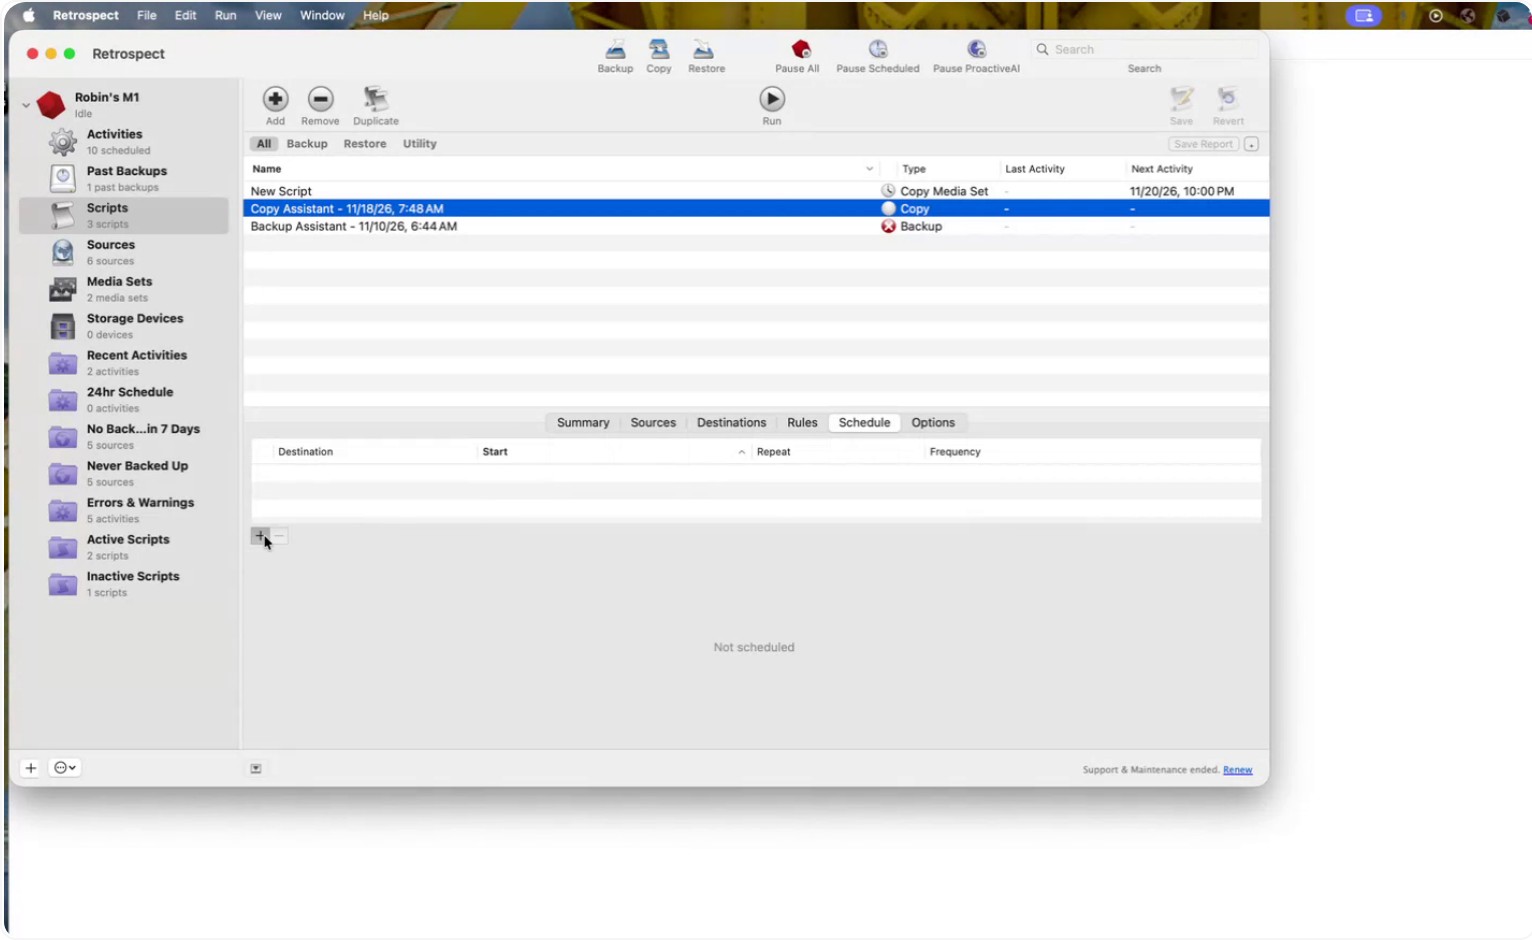
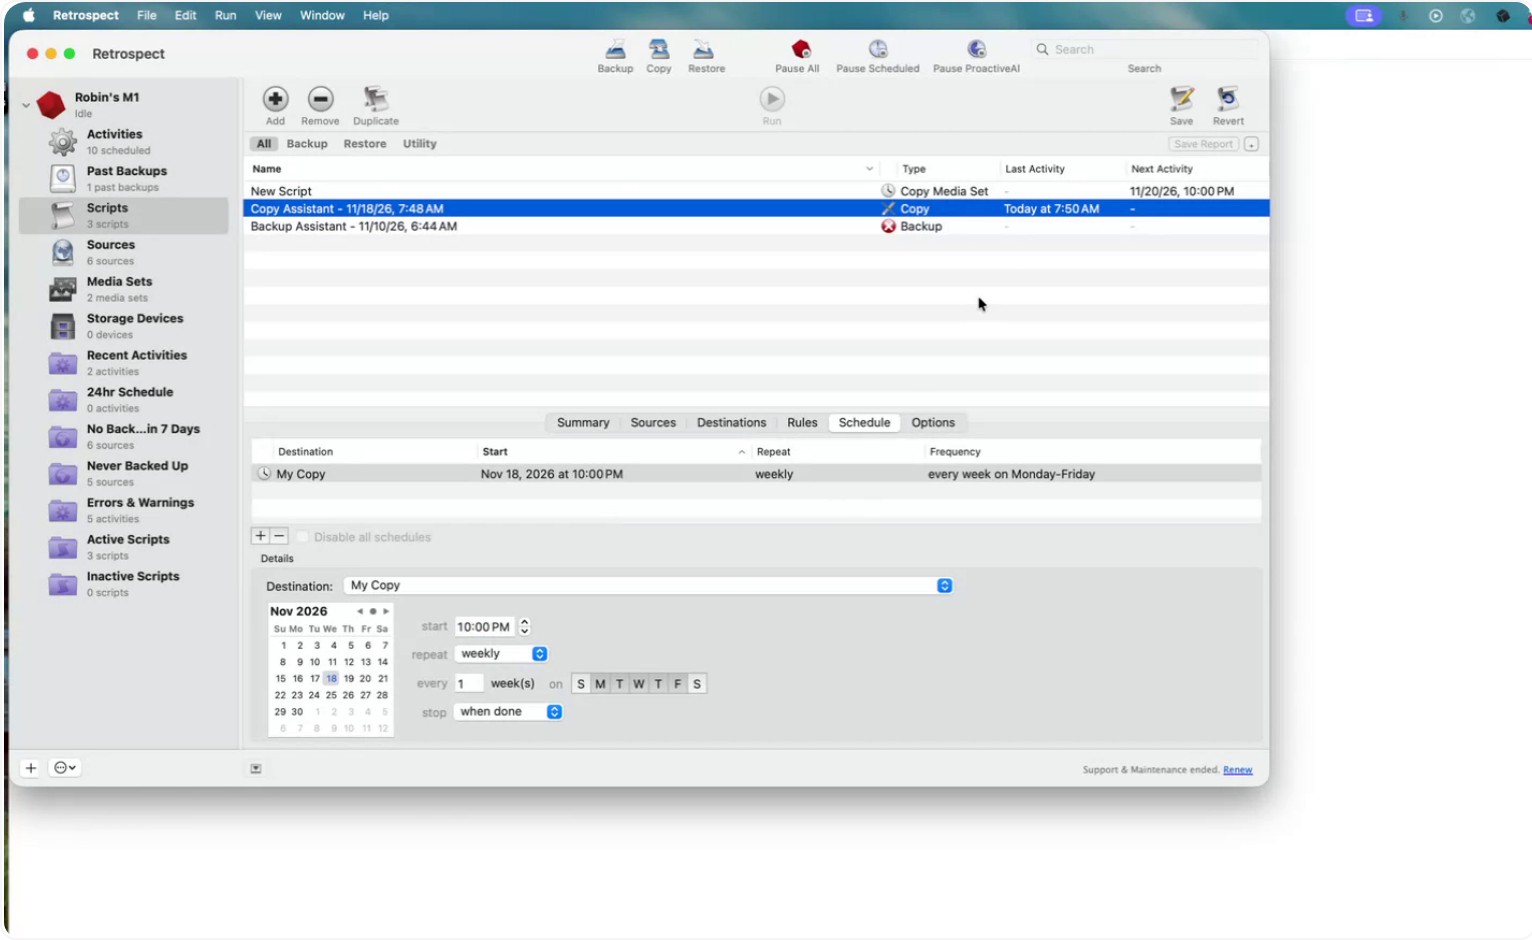
Configure Retrospect to run this copy operation at a specific time each day. Select the days of the week when you want the copy to run, and set the start time (for example, 10:00 PM) so the copy runs automatically at that time.
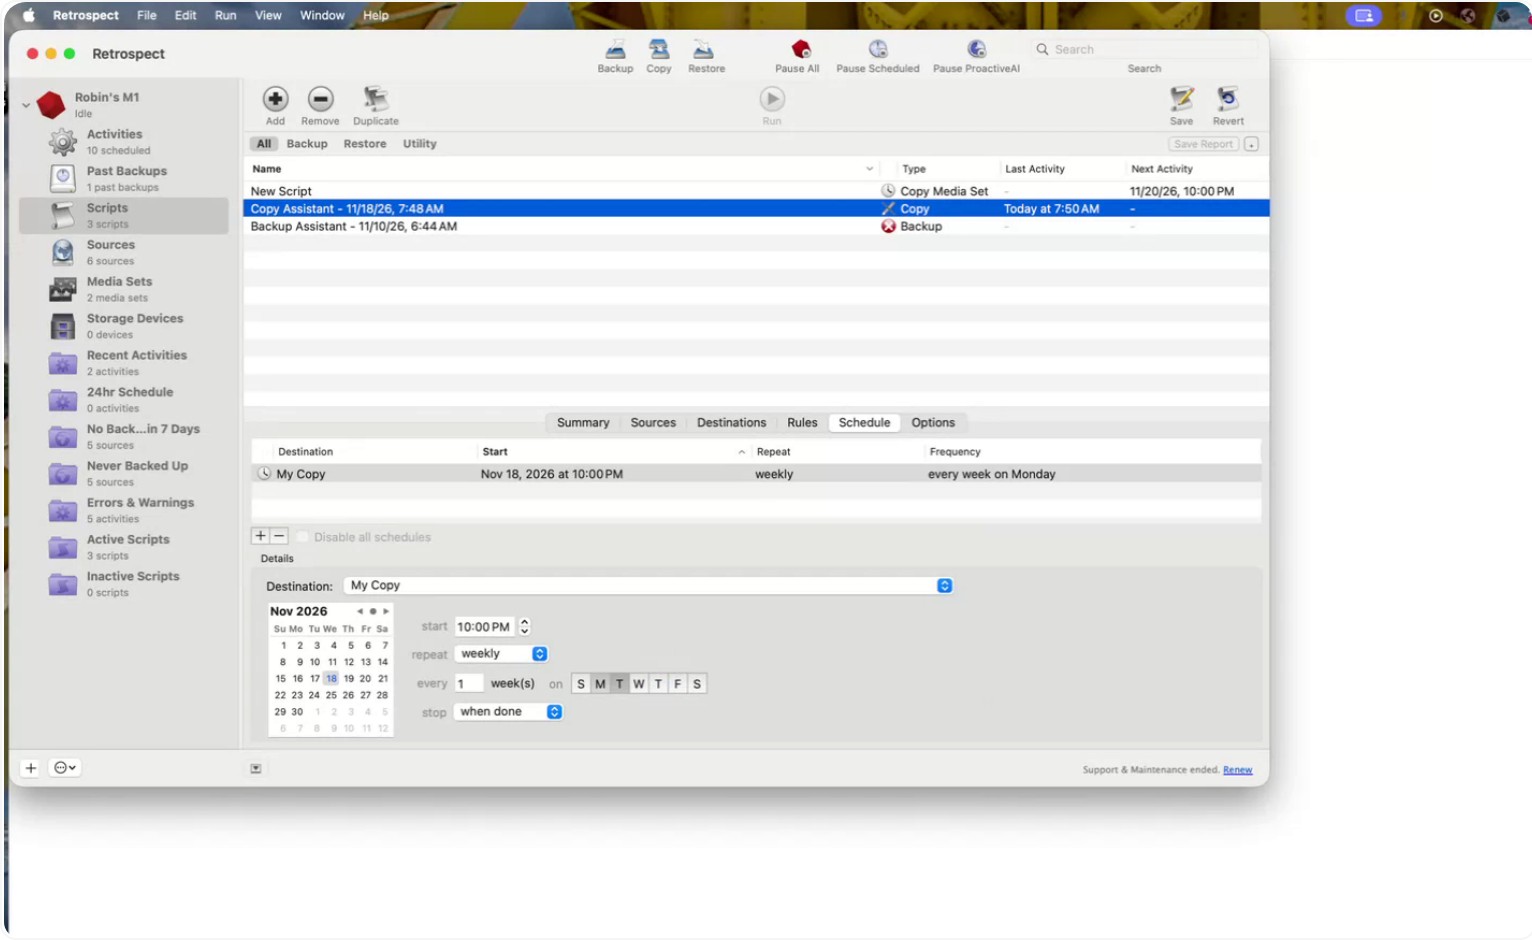
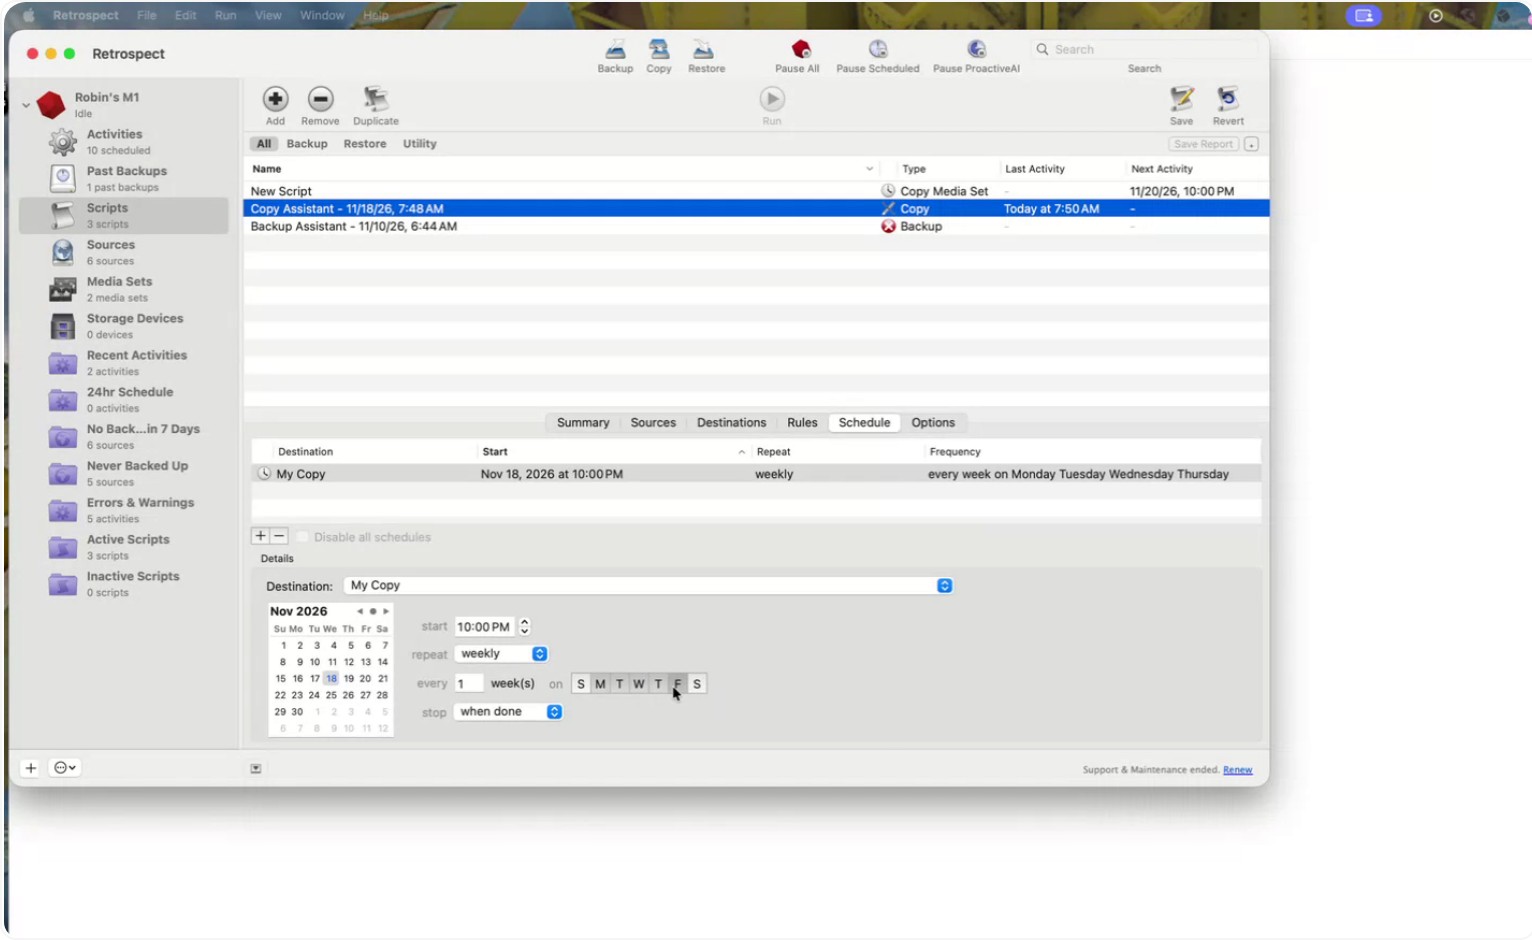
Click Save to save your changes.
Step 9: Confirm Script Summary and Behavior
In the Summary tab of the script, verify:
- The source folder being copied
- The destination folder
- The schedule (for example, every day at 10:00 PM)
- That thorough verification is enabled
- That it is configured to overwrite the entire destination volume, if chosen
Even when configured to overwrite the entire destination, Retrospect still performs an incremental copy:
- Files that are identical on the destination do not need to be recopied
- Files on the destination that do not exist on the source are deleted, keeping the destination in sync with the source