Overview
Ransomware attacks are increasingly sophisticated, having the capability of watching for cloud account credentials, deleting backups and cloud storage, then encrypting everything and demanding a ransom. It’s imperative to build defenses against this escalating attack. SMBs and large businesses need a backup target that allows them to lock backups for a designated time period. Many of the major cloud providers now support object locking, also referred to as Write-Once-Read-Many (WORM) storage or immutable storage. Users can mark objects as locked for a designated period of time, preventing them from being deleted or altered by any user.
Retrospect Backup integrates seamlessly with this new object lock feature. Users can set a retention period for backups stored on supporting cloud platforms. Within this immutable retention period, backups cannot be deleted by any user, even if ransomware or a malicious actor acquires the root credentials. Retrospect Backup’s powerful policy-based scheduling allows it to predict when those backups will leave the retention policy and protect any files that will no longer be retained, ensuring businesses always have point-in-time backups to restore within the immutable retention policy window.
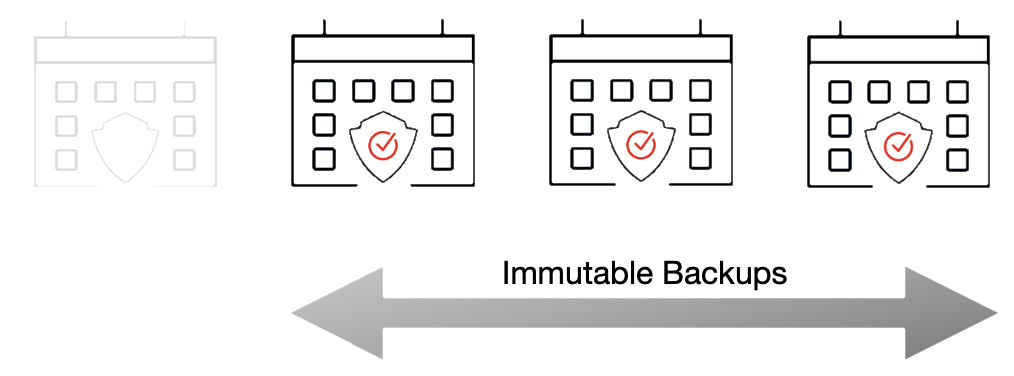
Retrospect provides immutable backup protection with Amazon S3, Microsoft Azure, Google Cloud, Backblaze B2, Wasabi, and MinIO. Below is a step-by-step guide to using Amazon S3 for immutable backups.
For more information about backing up to Amazon S3 with Retrospect Backup, see How to Set Up an Amazon S3 Account. For more information about other cloud providers, see Cloud Backup.
Step-by-Step Guide
Retrospect Backup makes it easy to add an immutable retention policy with Amazon S3. When creating a backup set, simply check "Immutable Retention Policy" and specify the number of days. Retrospect Backup will mark any backups to Amazon S3 as immutable until that date in the future and delete any backups that are no longer protected by the retention policy, saving costs on storage space.
Let’s walk through the steps to create an immutable backup.
Amazon S3: Create an account on Amazon S3 if you have not already.
Amazon S3: Click "Create Bucket".

Amazon S3: Enter a bucket name.
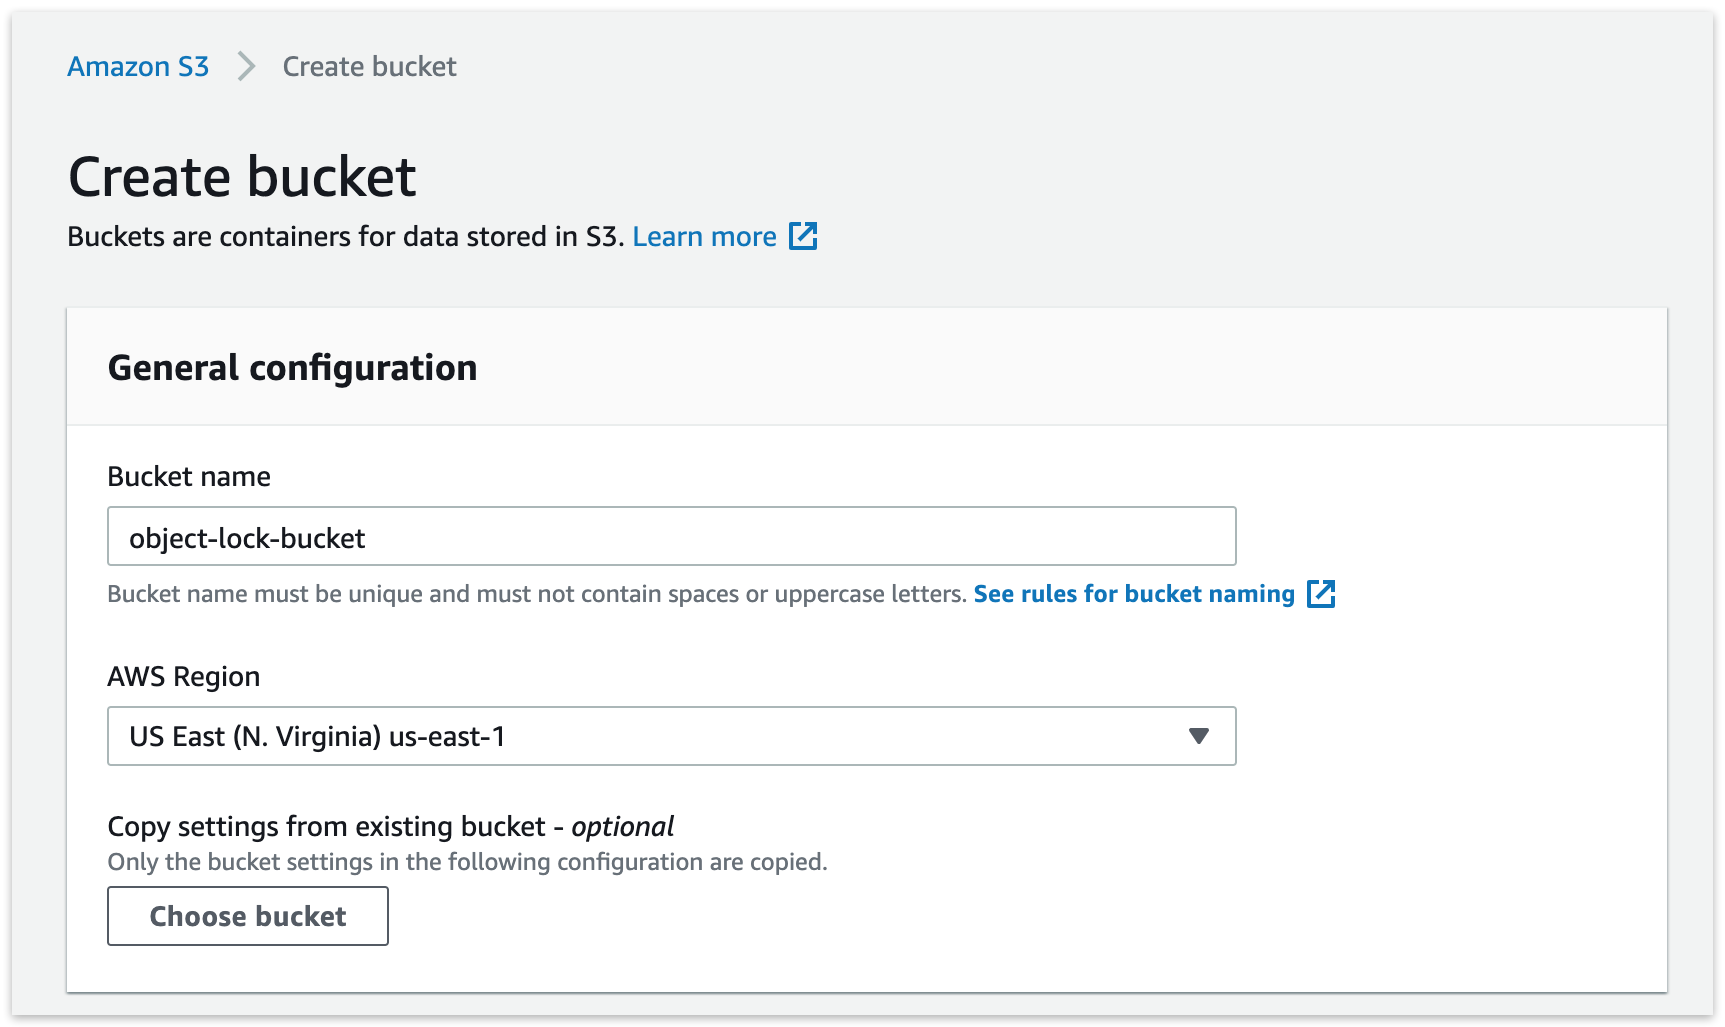
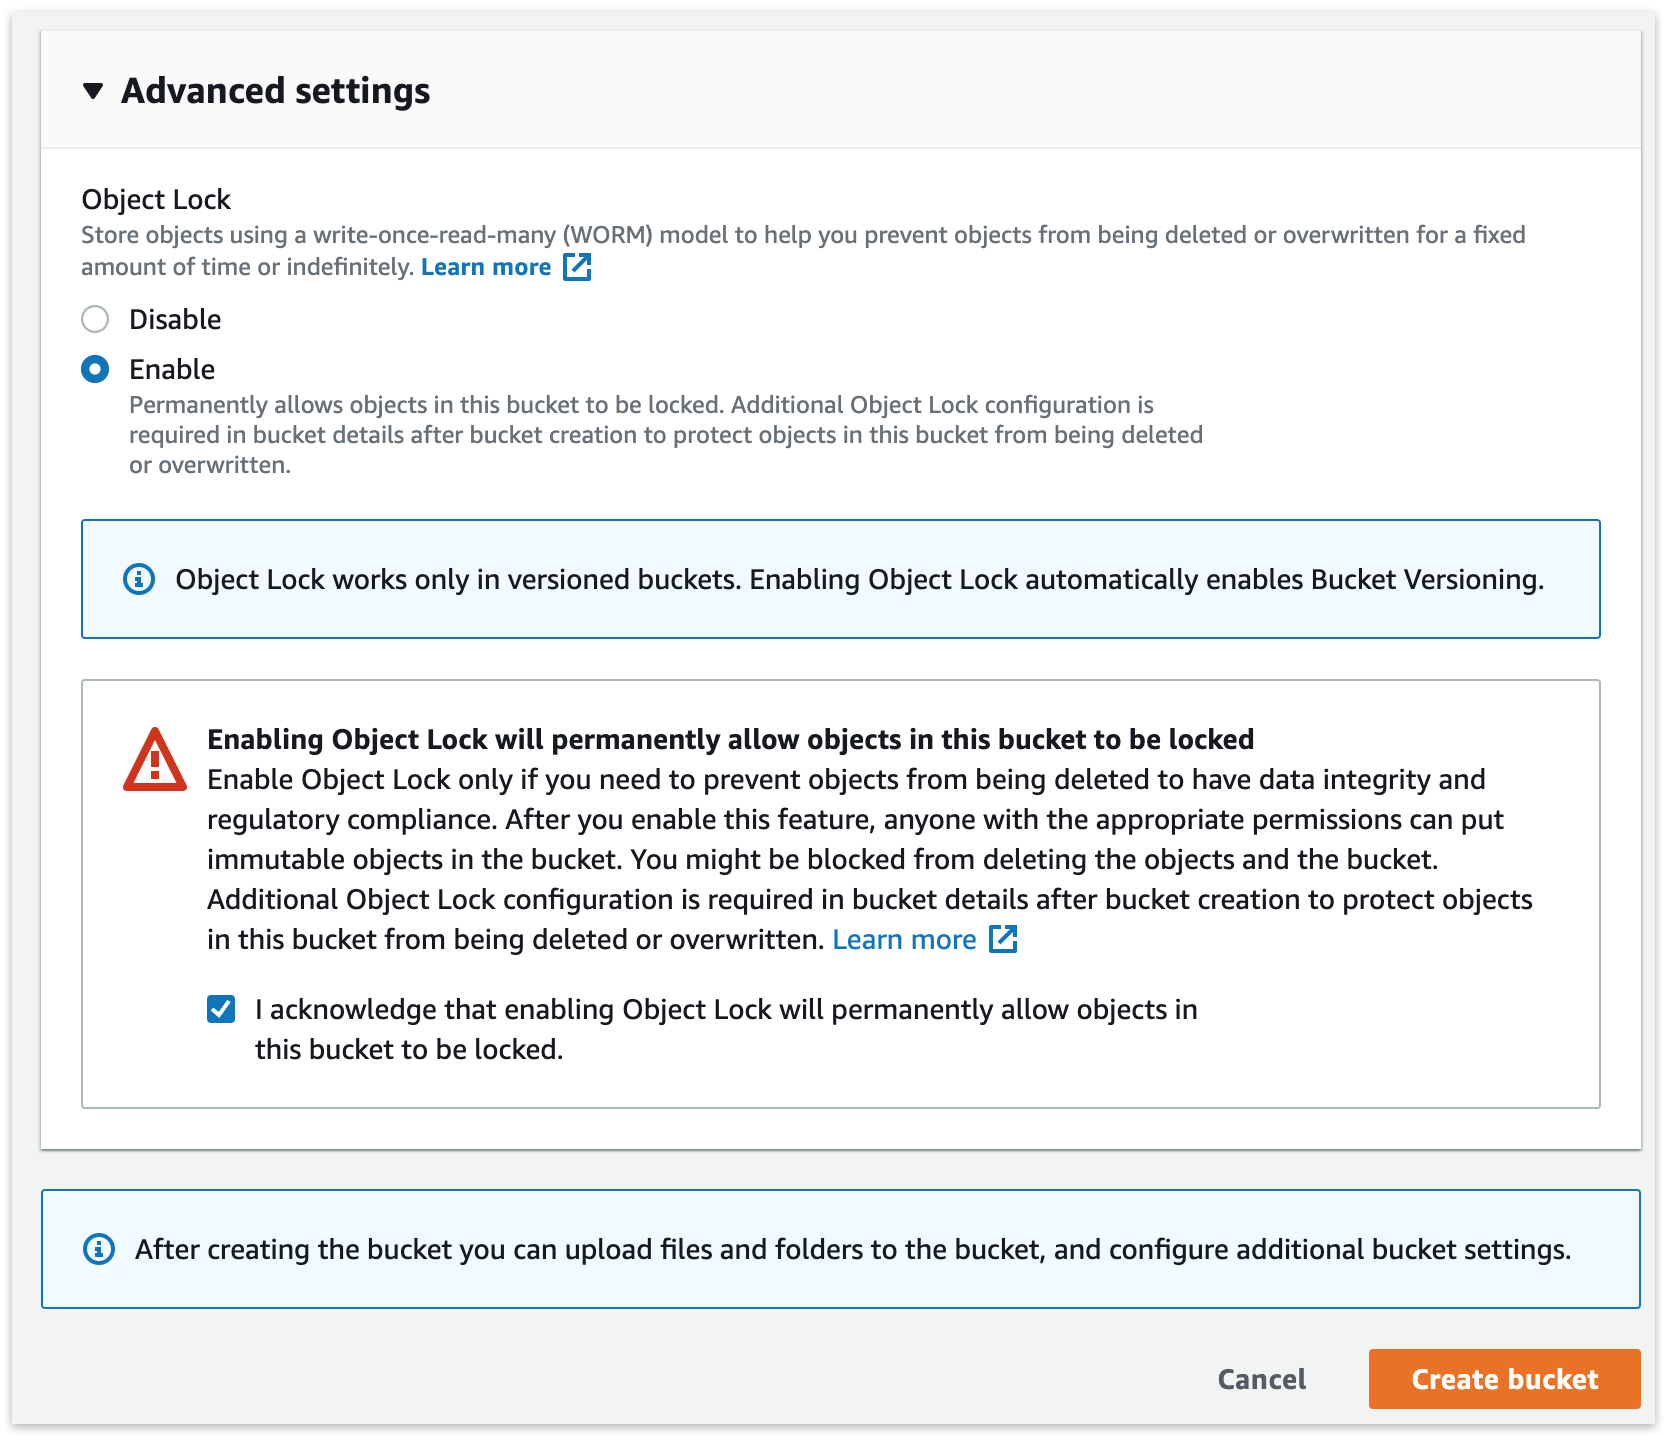
Amazon S3: Enable "Bucket Versioning". This option is required for Object Lock. It means S3 will store versions of each file, and to delete one, you need to delete every version of it.

Amazon S3: Enable "Object Lock" then click "Create Bucket". Enabling "Object Lock" does not enforce a retention period. It simply allows Retrospect to add one to each file.
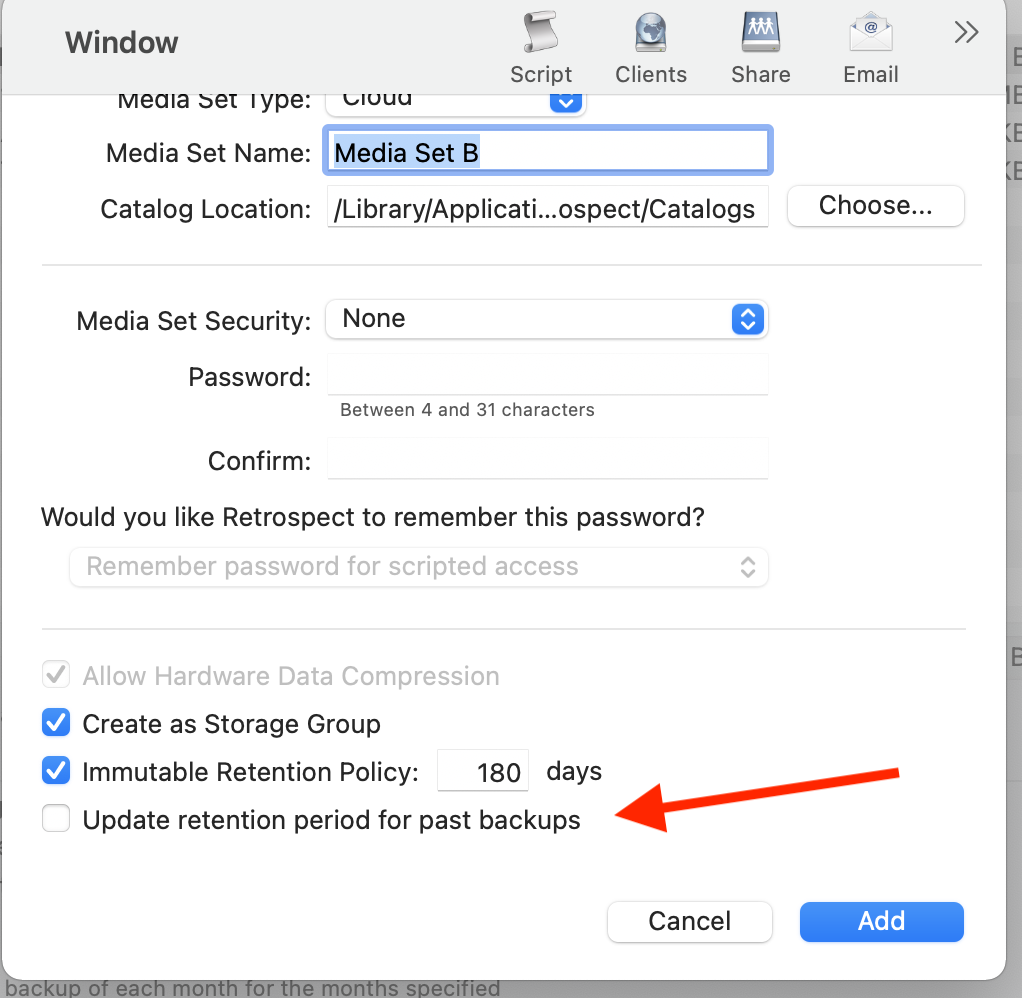
Retrospect: Add a destination. On Windows, select "Backup Sets" then "Create". On Mac, select "Media Sets" and click "Add". Select type "Cloud". Then click "Immutable Retention Policy" and specify the number of days to protect your backups.
The default retention window is a rolling window, where backups exit the window and files are re-backed up. You can also choose an archival window, where immutable backups have their retention dates extended to not exit the window. Select "Update retention period for past backups".
Retrospect: Add the destination to a script, and set the script grooming policy to match the retention period. By ensuring the two time periods match, Retrospect Backup will automatically delete backups that fall outside of the retention policy.
Amazon S3: You can always verify the retention period of a file in AWS Management Console under the file’s "Properties" tab in the "Object Lock" section.
Technical Details
Every backup within the retention period is an immutable backup with point-in-time restore capabilities. Because each backup is incremental, Retrospect only transfers the files that are new or have changed since the last backup. However, you can always restore any part of a backup in Retrospect.
Retrospect Backup uses its advanced scheduling workflow to make sure every immutable backup includes all applicable files. Let’s say the chosen retention period is 90 days, and backups occur every week. Retrospect Backup starts backing up. When it gets to Day 85, it looks ahead to the upcoming back on Day 92. There are two options for how to proceed:
- Rolling Window: This default approach marks which files will no longer be protected on that date based on when they were last backed up, and adds them to the new immutable backup.
- Archival Window: Immutable backups have their retention dates extended to not exit the window. Select "Update retention period for past backups".
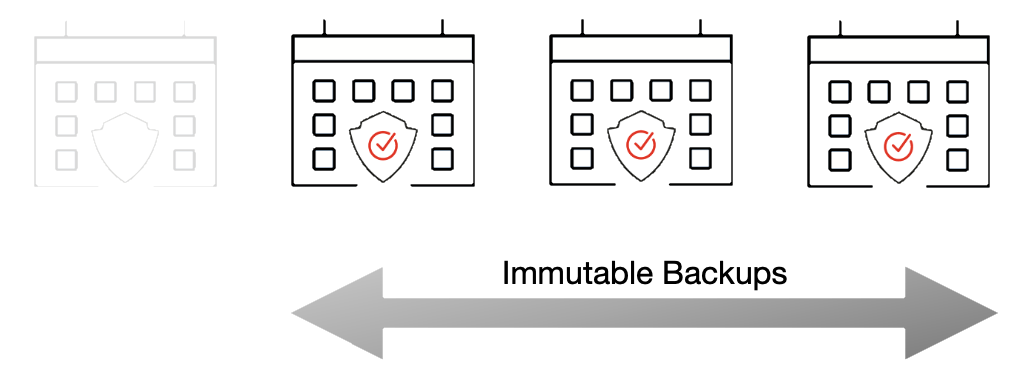
With the grooming policy set to match the retention policy, Retrospect will automatically delete the backups that are no longer immutable, saving you storage space while ensuring every file is protected by an immutable backup.
The maximum allowed retention period by Retrospect is 9,999 days.
This chapter explains how Retrospect works with your different backup devices, and explains how you can see and control your hardware from within Retrospect.