With the release of Retrospect 20, we have introduced a new user interface that you can run alongside the main Retrospect.exe application interface. This tutorial shows the Installation process.
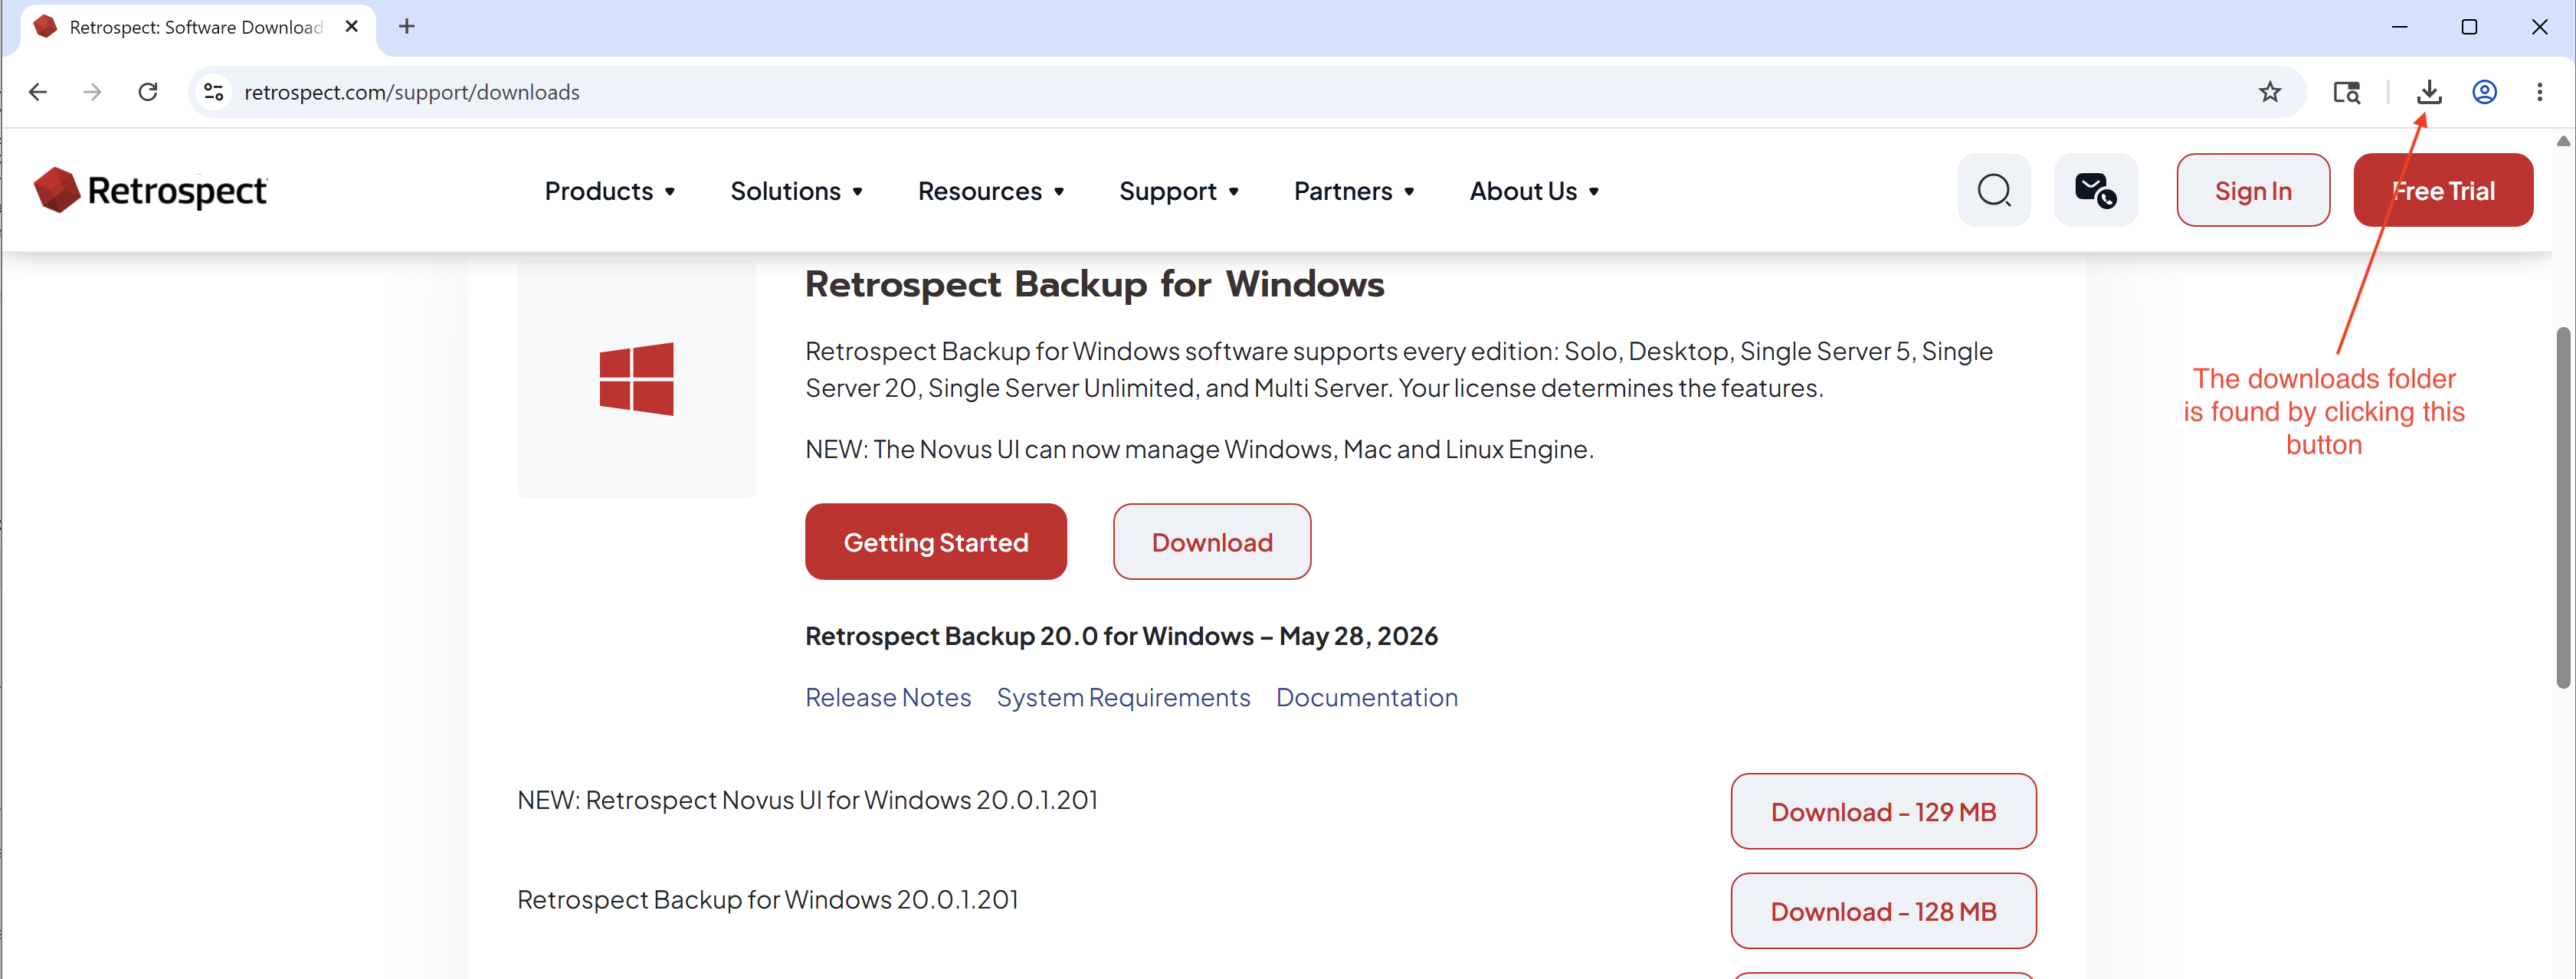
1) You can visit http://www.retrospect.com/updates to download version 20. The page will look like this:
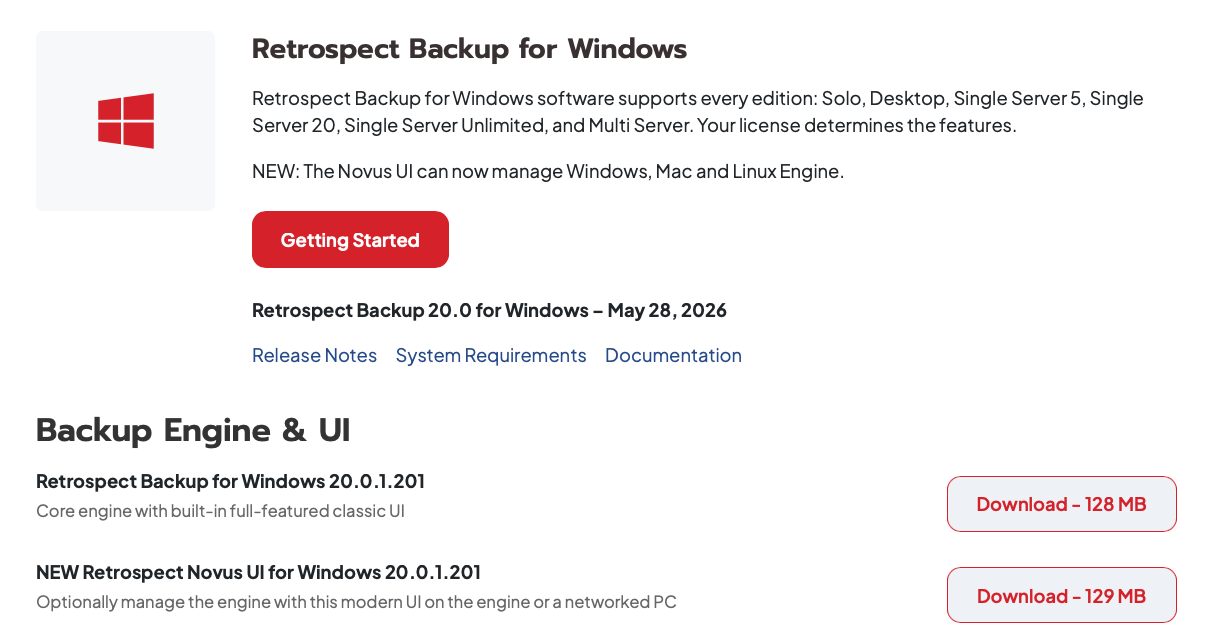
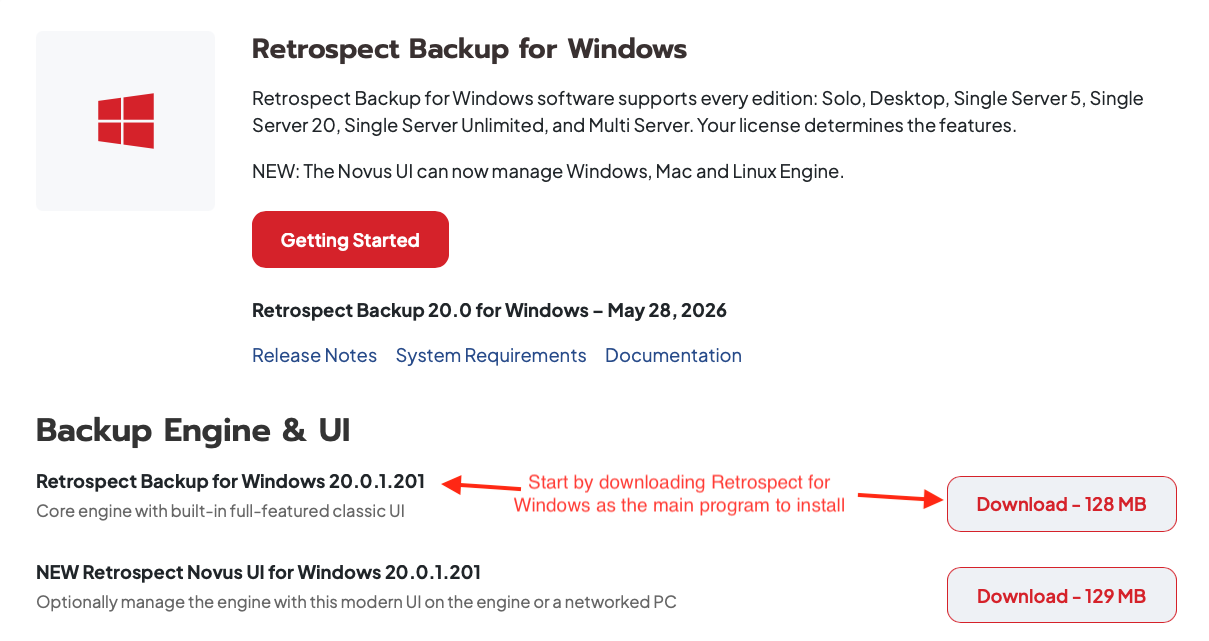
2) Start with the main Application download shown below:
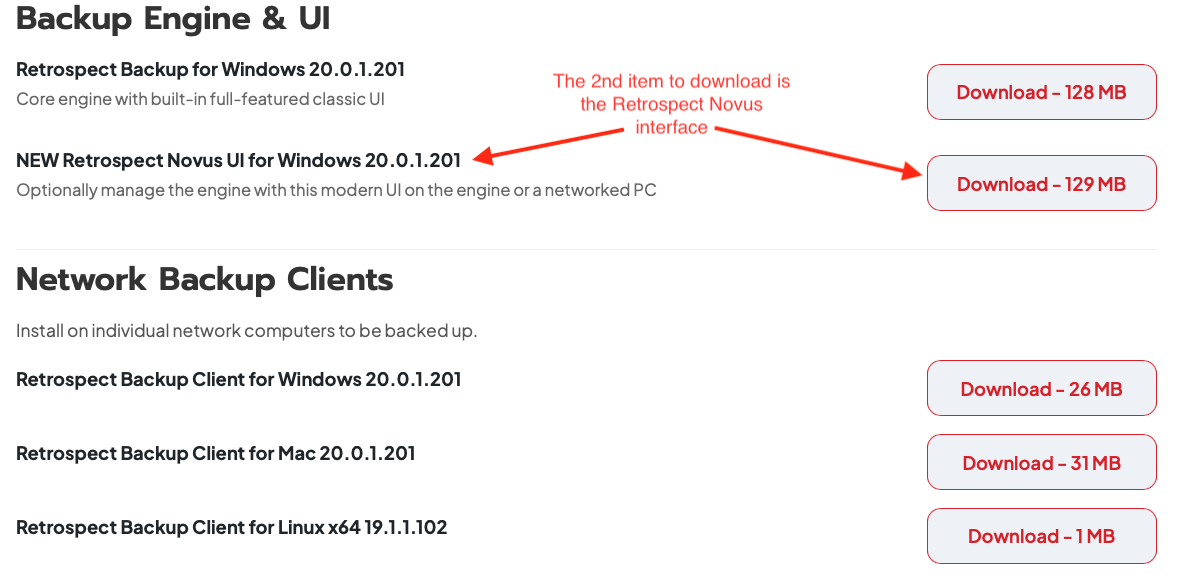
3) Next you can download the Retrospect Novus Application Installer:
4) From inside your web browser, click the link to open your downloads folder. This will look different depending on your browser. In this example, we are using Chrome:
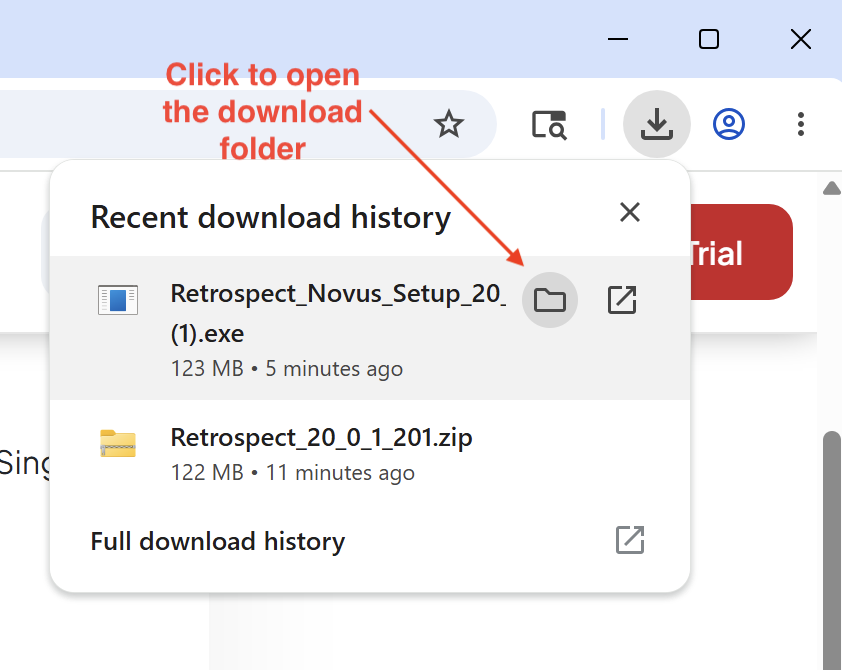
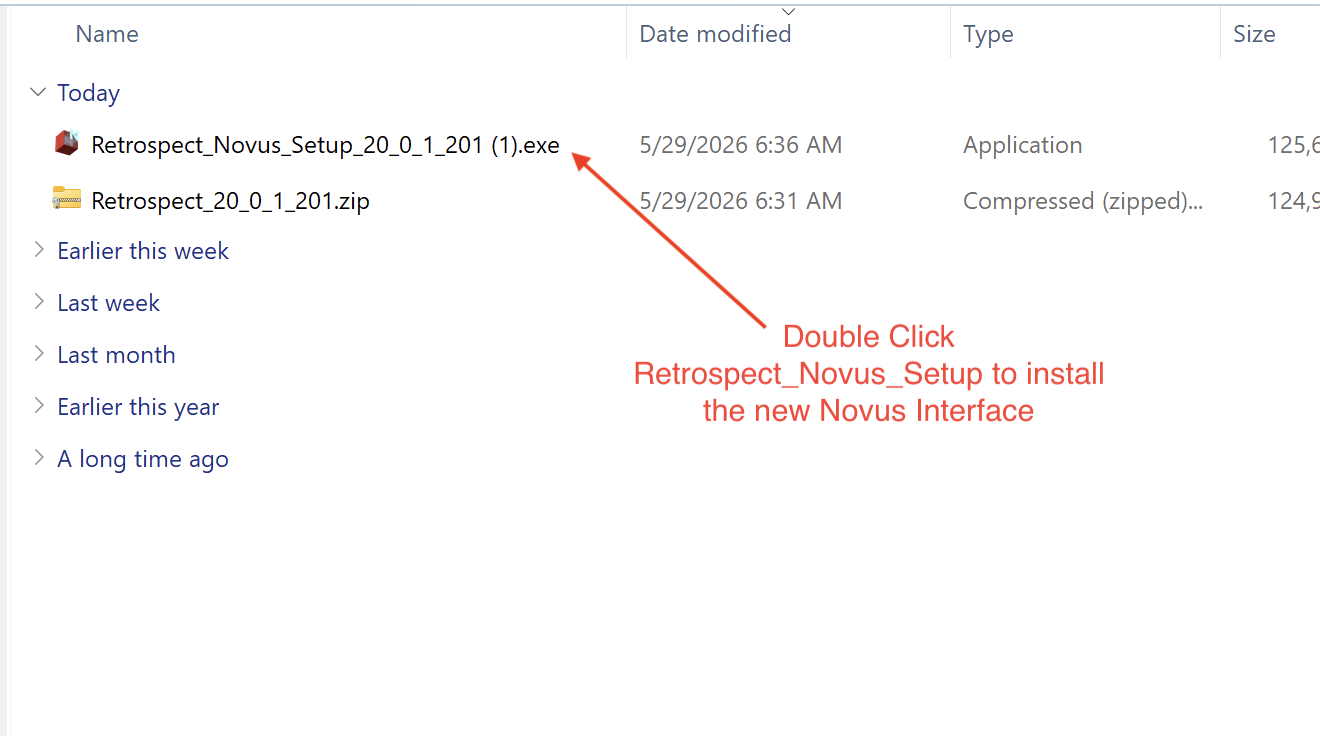
5) To Install the new Novus Interface, Double Click on the Novus Setup.exe:
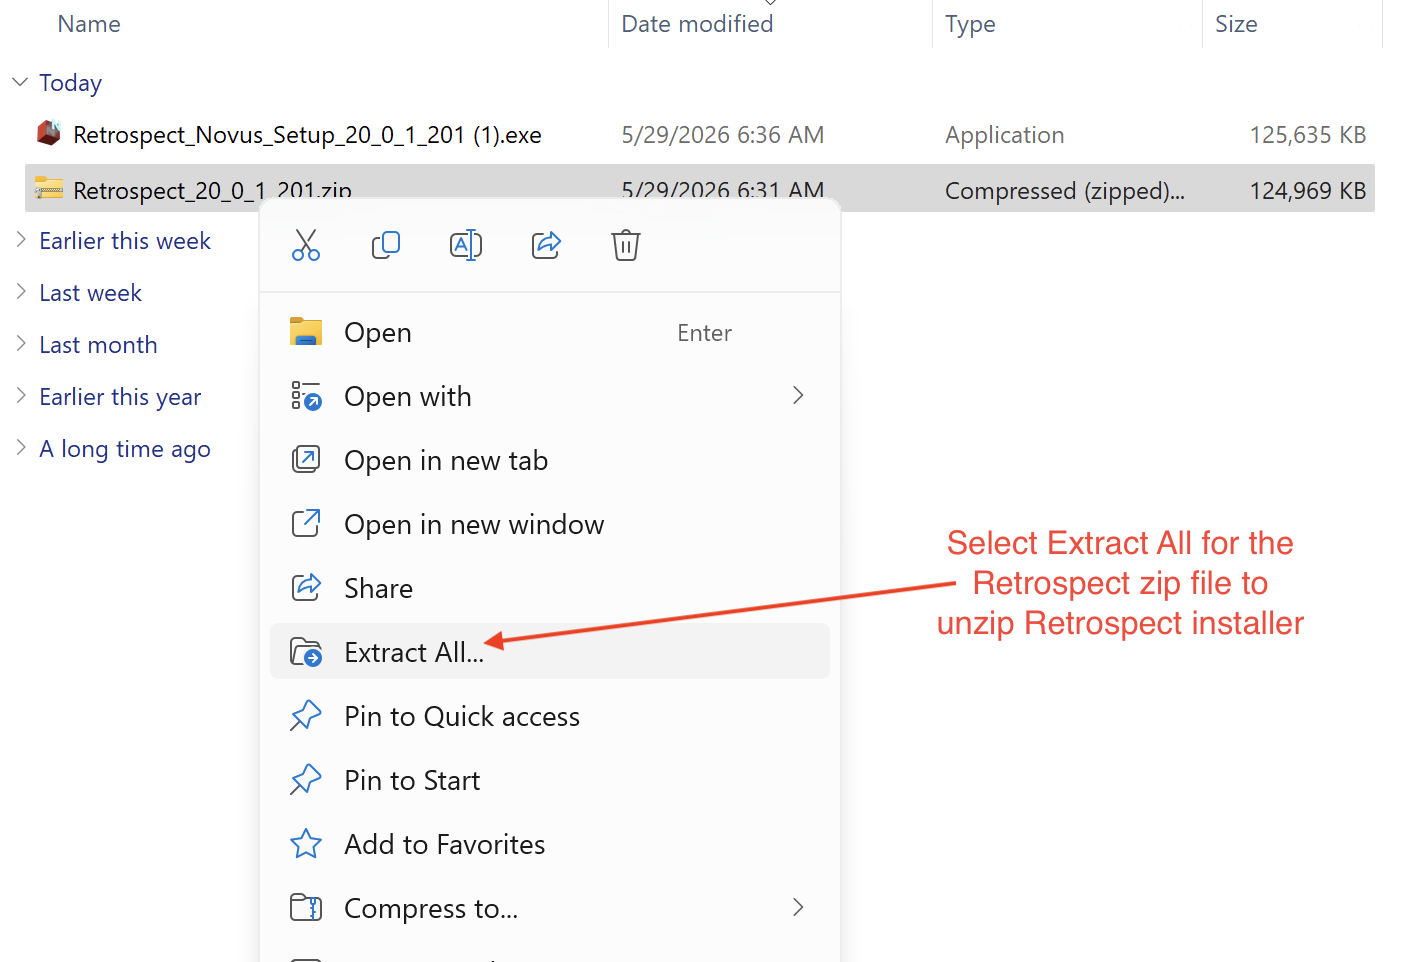
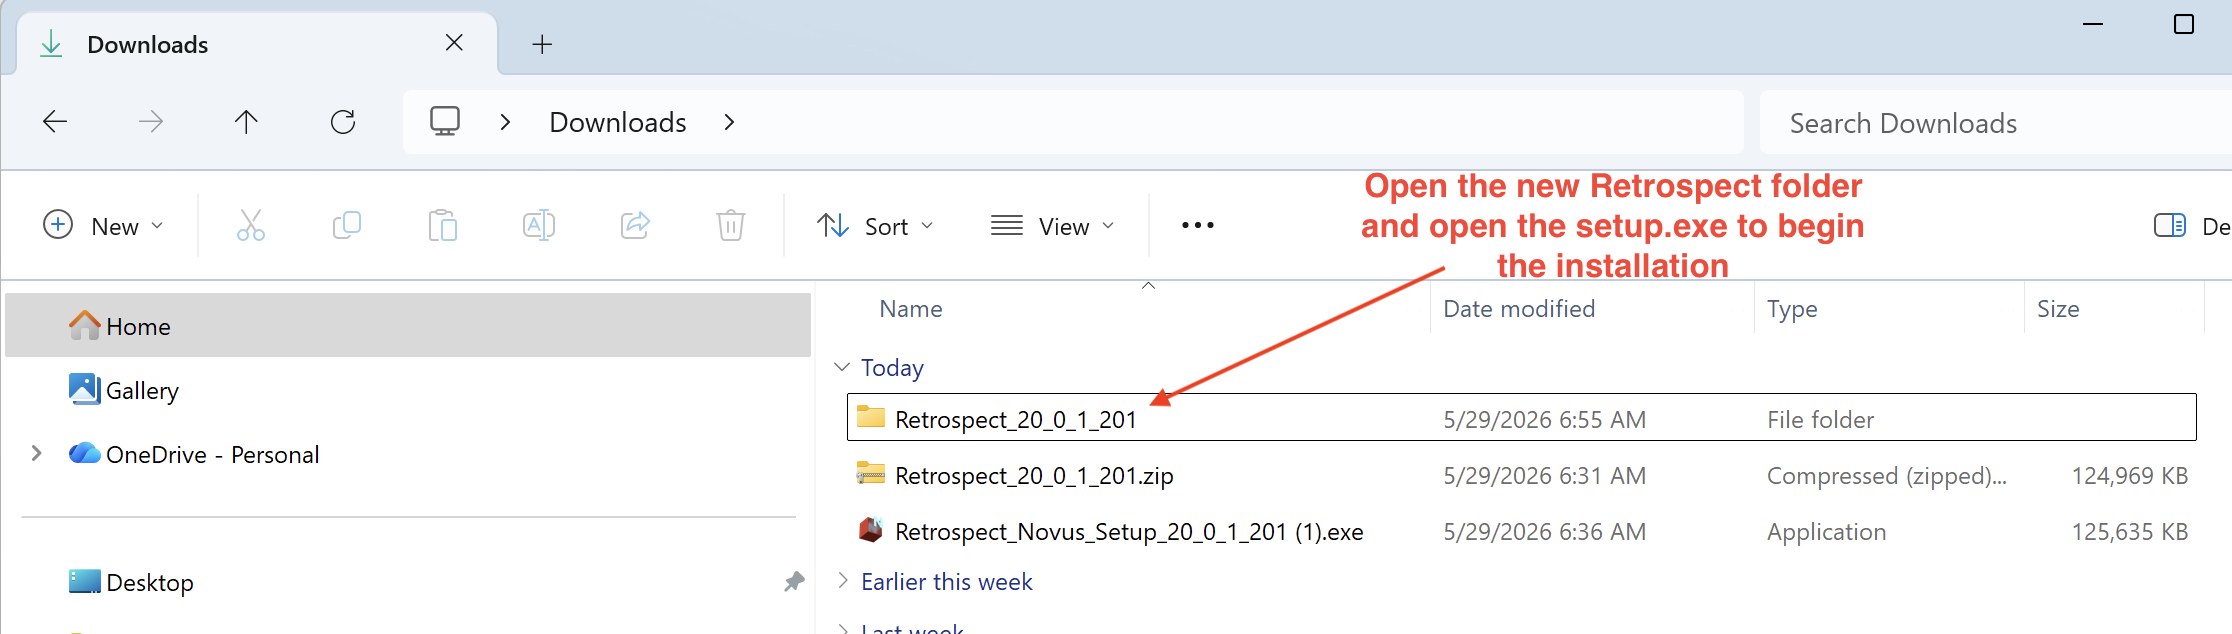
6) Right click on the Retrospect_20_0_1_201.zip file and select Extract All to unzip the main Retrospect installer. You can extract the folder to the default location.
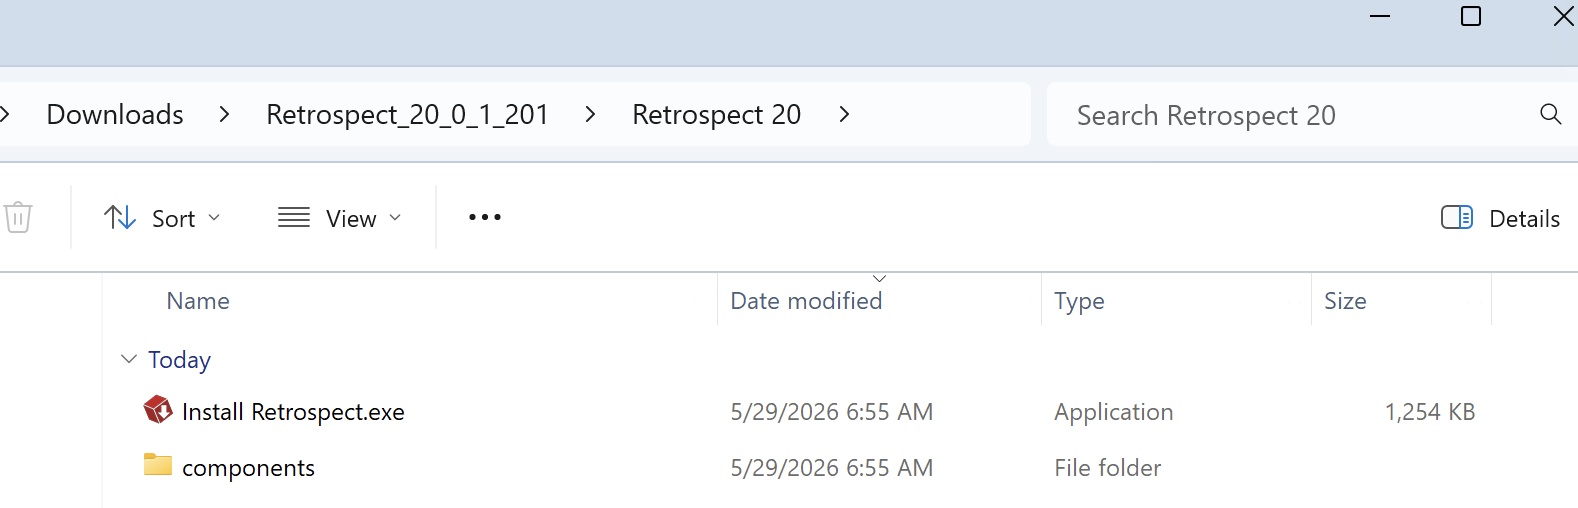
7) Open the unzipped folder and inside you will find a Retrospect 20 folder with an "Install Retrospect.exe" file inside. You will run this installer to install Retrospect.
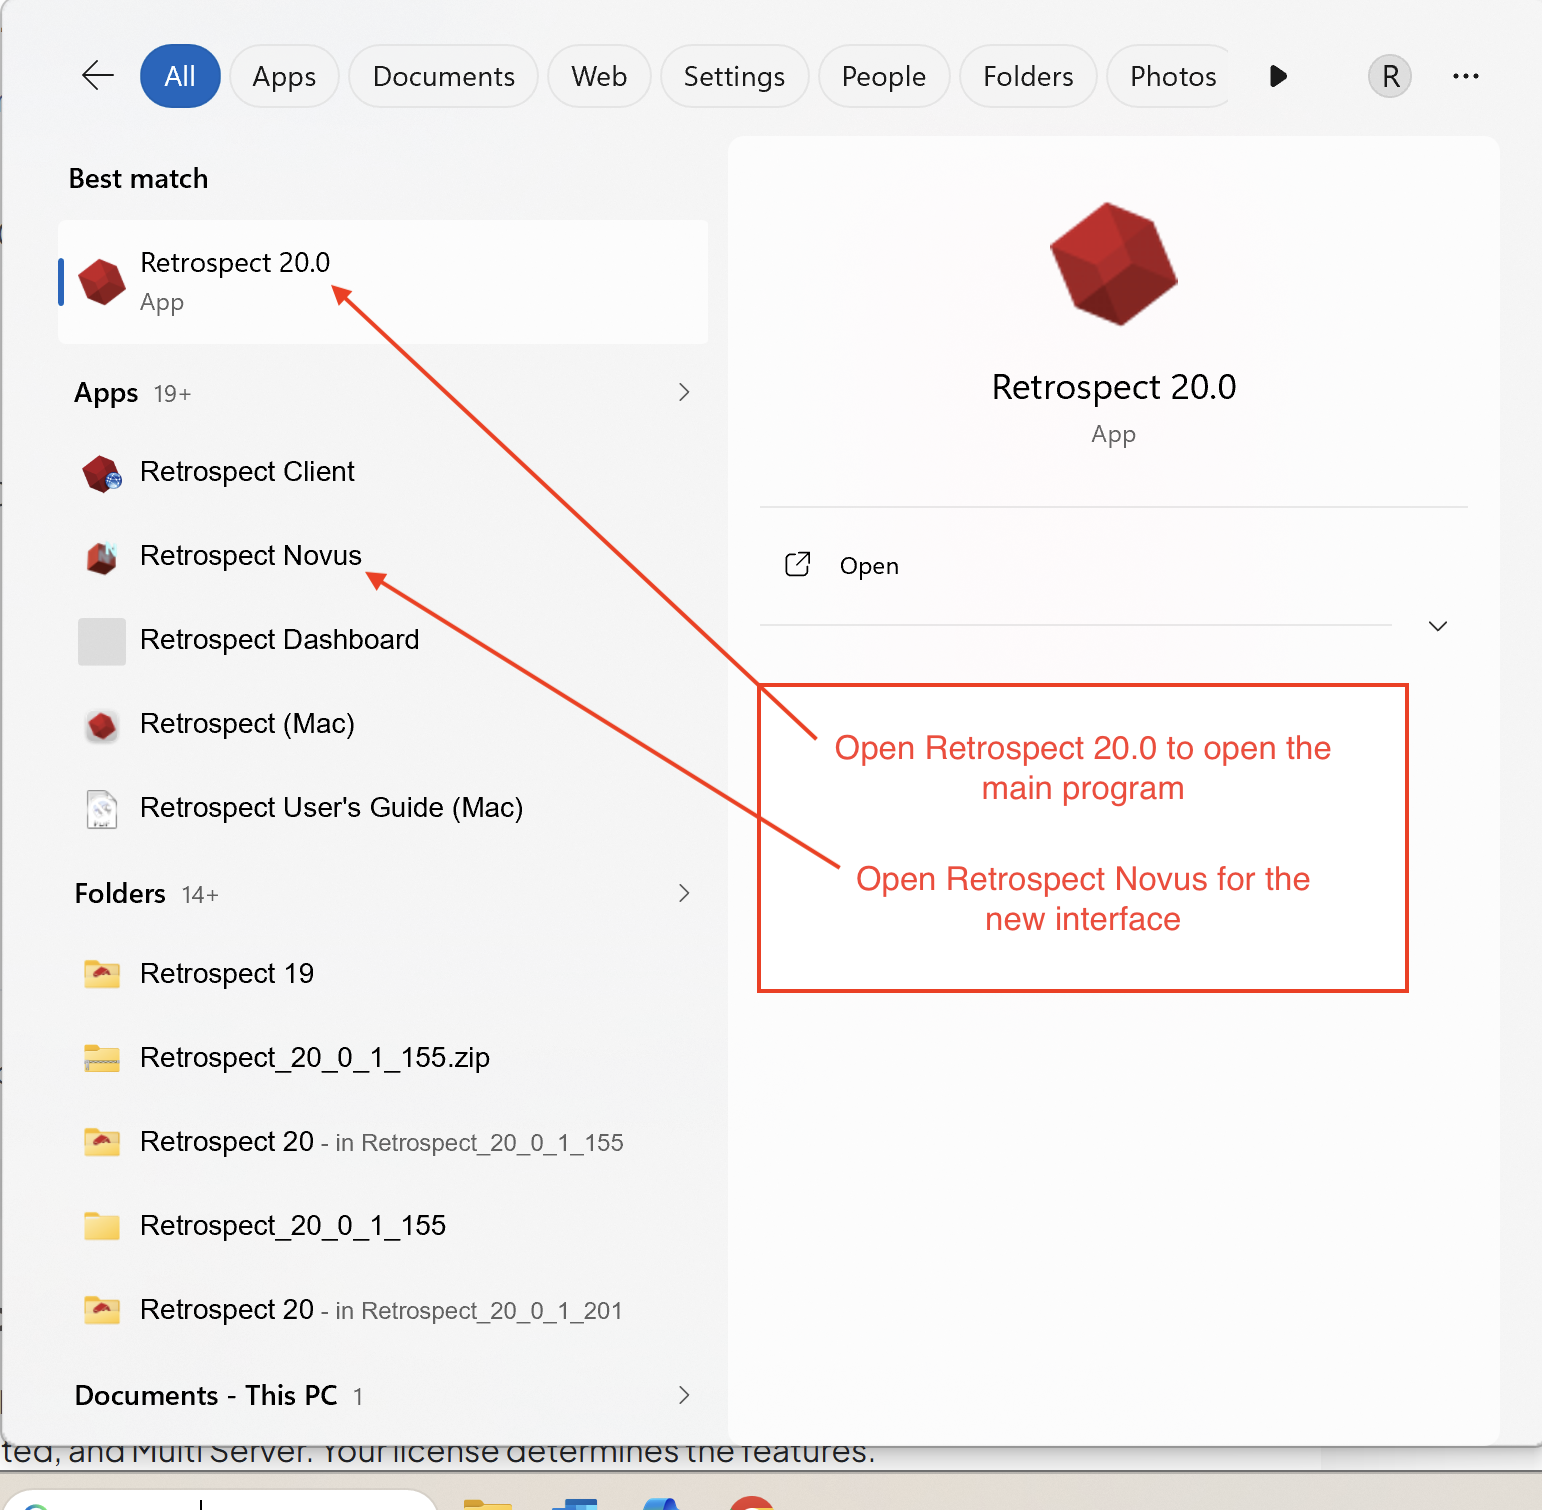
8) After you have installed Retrospect 20 and Retrospect Novus, you can find them in your Windows Start menu by typing Retrospect into the search.