Cloud Backup

provides a low-cost, scalable cloud storage location for secure off-site data protection. It offers a
Video Tutorial - Retrospect Backup for Windows
Video Tutorial - Retrospect Backup for Mac
Account Setup Guide
Follow these steps to quickly create a Google Cloud Storage account. It requires an existing Google Account. If you do not already have one, create one for free at
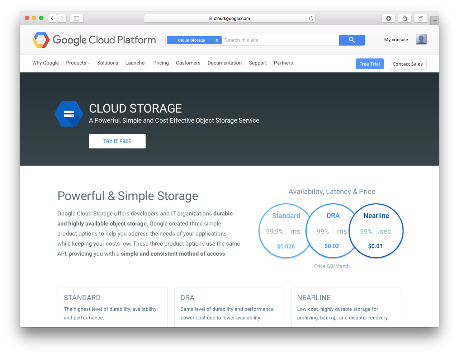
Visit Google Cloud Storage and click "Try it free".
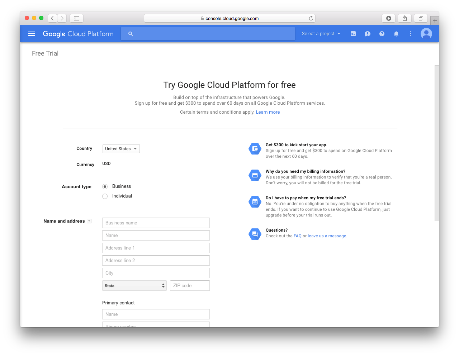
Complete the form with contact information and payment information.
Visit Google Cloud Platform to see your new account.
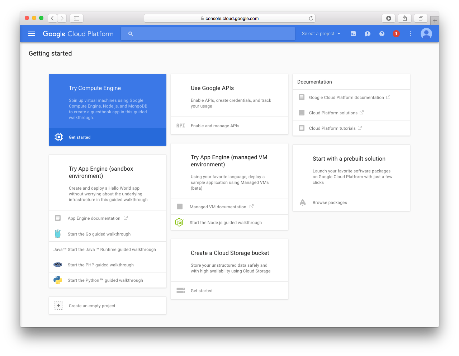
Storage Setup Guide
Now we will create a bucket that Retrospect can use to store backups.
Visit Google Cloud Platform, click "Select a Project", and select "Create a new project". Choose a name and click "Create".
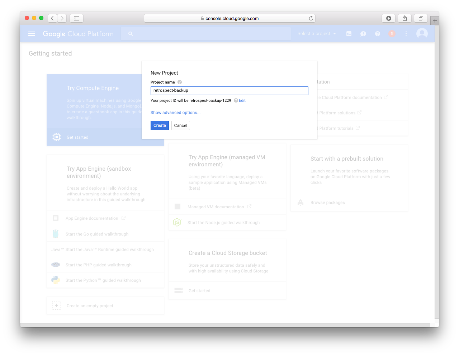
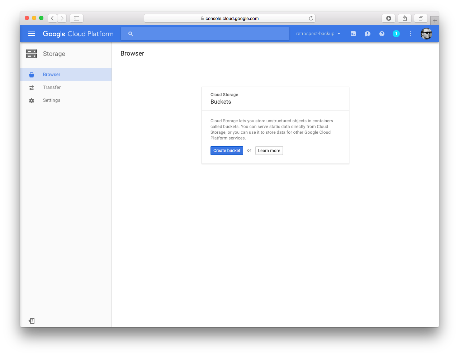
Your project is now created. Next, click "Create bucket".
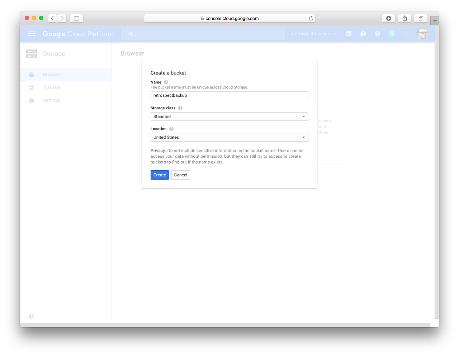
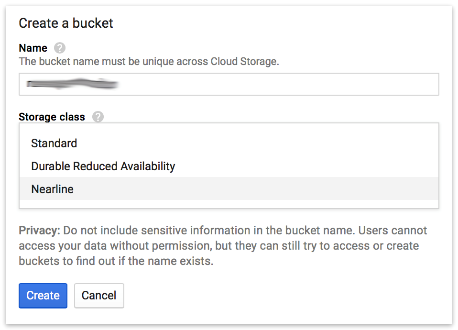
Choose a name, a storage class, and a location. This name is unique across Google Cloud Storage.
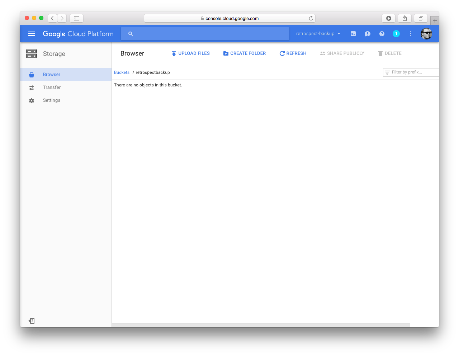
Your new bucket is now created. In Retrospect, the "Path" is storage.googleapis.com/your_bucket_name.
Choosing a Storage Class
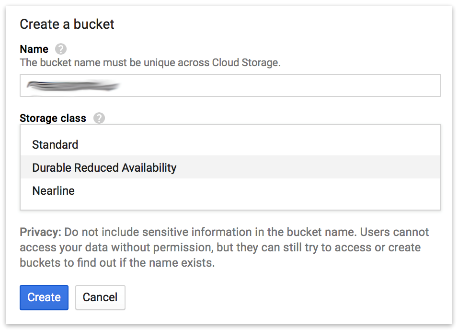
Google Cloud Storage offers different storage classes to tailor its feature set and pricing model to different use cases. Retrospect supports "Standard", "Durable Reduced Availability", and "Nearline". The default storage class is "Standard". See below for how to use the other storage classes.
Using "Durable Reduced Availability" Storage Class
You can use Google’s guide to using "Durable Reduced Availability" or follow the steps below.
When creating your Retrospect bucket, select "Durable Reduced Availability" as the "Storage Class".
Using "Nearline" Storage Class
You can use Google’s guide to using
When creating your Retrospect bucket, select "Nearline" as the "Storage Class".
Using "Coldline" Storage Class
You can use Google’s guide to using "Nearline" or follow the steps below.
When creating your Retrospect bucket, select "Coldline" as the "Storage Class".
Access Setup Guide
In your project, click on "Settings"
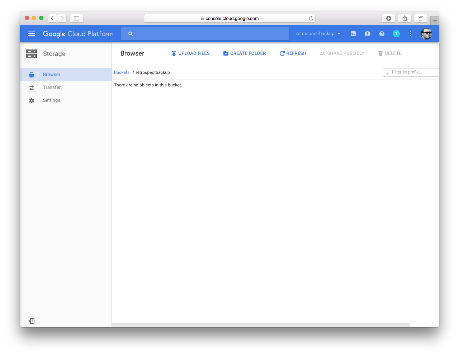
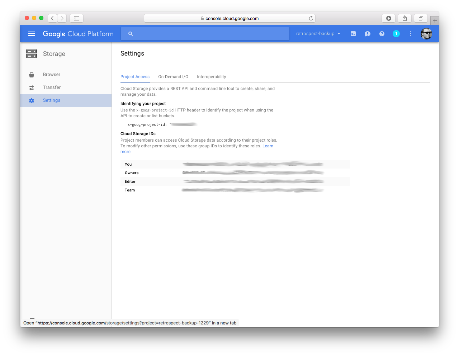
Under "Settings", "click "Interoperability"
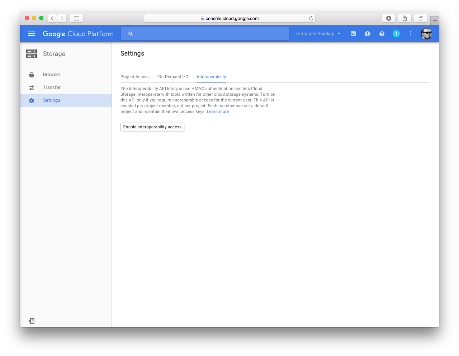
Under "Interoperability", click "Enable interoperability access".
Click "Create a new key".
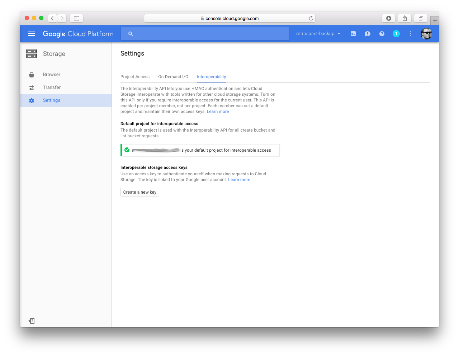
Your Access Key and Secret Key will be displayed. Write these down and use them in Retrospect to add this Google Cloud Storage location as a cloud set.
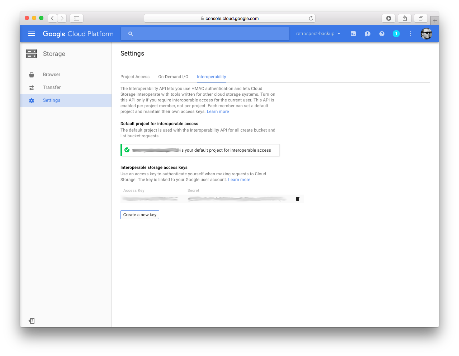
Information for Retrospect
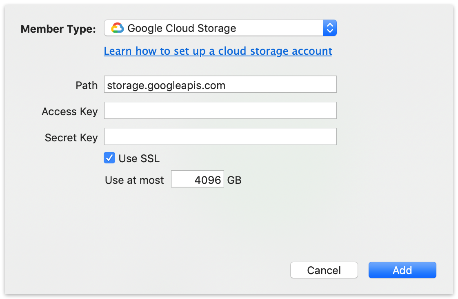
Retrospect needs three pieces of information to access Google Cloud Storage:
- Path – storage.googleapis.com/your_bucket_name
- Access Key – Use the Access Key from above.
- Secret Key – Use the Secret Key from above.
Adding Cloud Storage in Retrospect
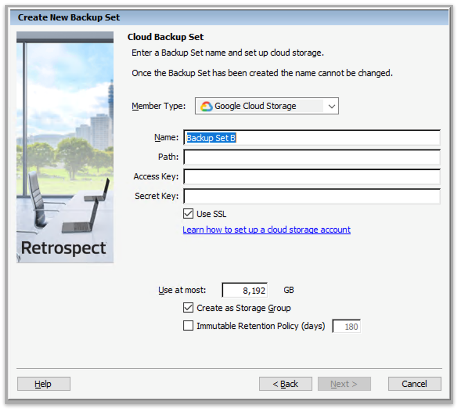
Adding cloud storage as a destination is simple. Retrospect has a new set type called "Cloud". Create a new backup set/media set and select "Cloud" as the type.
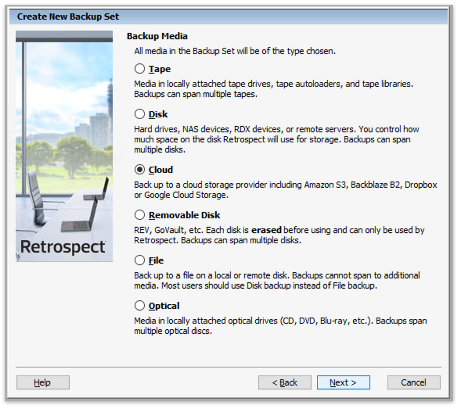
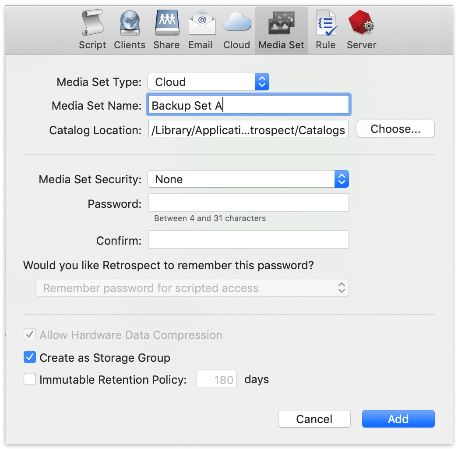
Next you’ll need to enter your cloud storage credentials. Retrospect allows customers to enable or disable SSL encryption (HTTP or HTTPS) and to set the maximum storage usage, up to 8TB per cloud member. Use the "Cloud Storage" or "Amazon S3 Compatible" dropdown item.
Using Cloud Storage in Retrospect
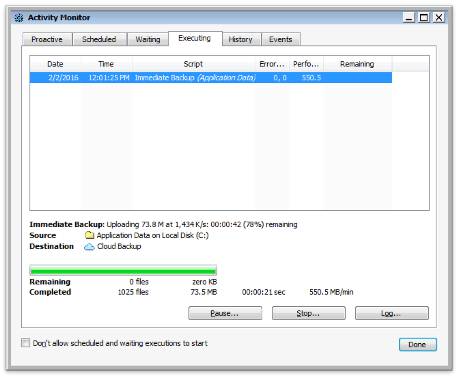
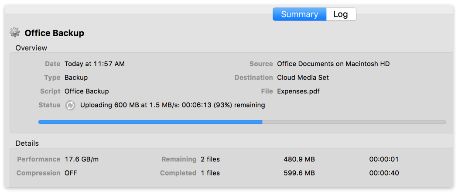
Using cloud storage is simple. After you have created a cloud set, create a new script or add it to an existing one, and click "Run". The backup will begin with the contents of the set being uploaded to your cloud storage location. You can track the progress in the execution/activity.
Throttling Cloud Backups in Retrospect
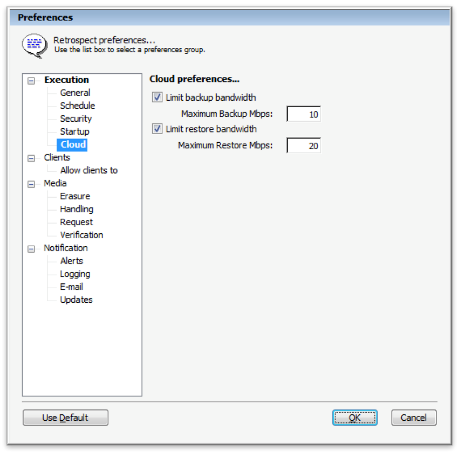
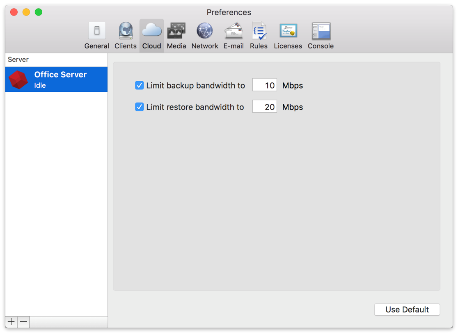
Throttling for cloud backup and cloud restore is available in Preferences.
General Tips
Below are a number of tips for using cloud storage in Retrospect:
- Bandwidth Measurement Tool – Measure your upload and download bandwidth with this free tool: Speedtest.net.
- Disable Backup Verification – Verification will download all of the data that you upload. See more details about why you should disable it for cloud backups in Cloud Backup - Best Practices for Data Protection with Cloud Storage.
Last Update: June 21, 2021