Top Articles
Retrospect for Mac v8 through v15.5 has an issue where dates in 2019, starting on January 1, show up as 'Deferred'. This is present in Activities, Past Backups, Sources, and Media Sets. This issue is cosmetic. It does not affect Retrospect's backups.
Retrospect for Mac 15.6 and Newer Versions
This bug has been fixed in Retrospect for Mac 15.6 and newer versions.
Retrospect for Mac - Earlier Versions
Retrospect for Mac 15 includes email protection that allows you to back up your work and personal email accounts. Due to the extensive nature of the new feature, the Mac console is unable to connect to earlier versions of the Mac engine. To ensure our customers with earlier versions of Retrospect for Mac can continue to protect their environment, we updated Retrospect for Mac 14 to fix the 'Deferred' issue: Retrospect for Mac 14.6.2.
Customers can download the following DMG and use the 14.6.2 Mac console to connect to Retrospect for Mac v12.5, v13.5, and v14.6:
Download Retrospect for Mac 14.6.2.
You do not need to update the Mac engine or any clients. The fix is only in the Mac console.
Installation Guide
The following is a step-by-step guide on how to resolve the issue with Retrospect versions 12.5, 13.5 and 14.6 reporting that all dates and times are set to deferred.
Back up your config files (Config80.dat and config.xml) under /Macintosh HD/Library/Application Support/Retrospect.
Close Retrospect Console.
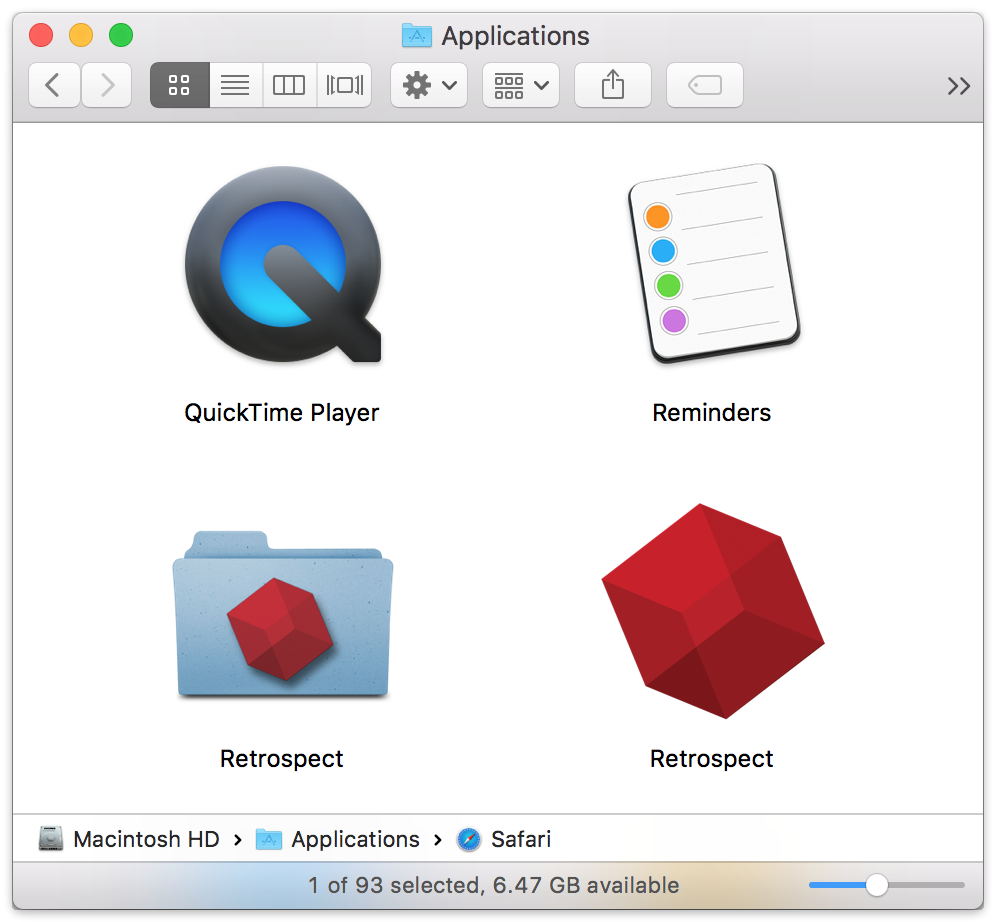
Determine if your Retrospect application is in a folder or not – from the top menu bar on your Mac, choose Go, then choose Applications.
Look for Retrospect – note whether it is in a folder or not. The example below shows both.

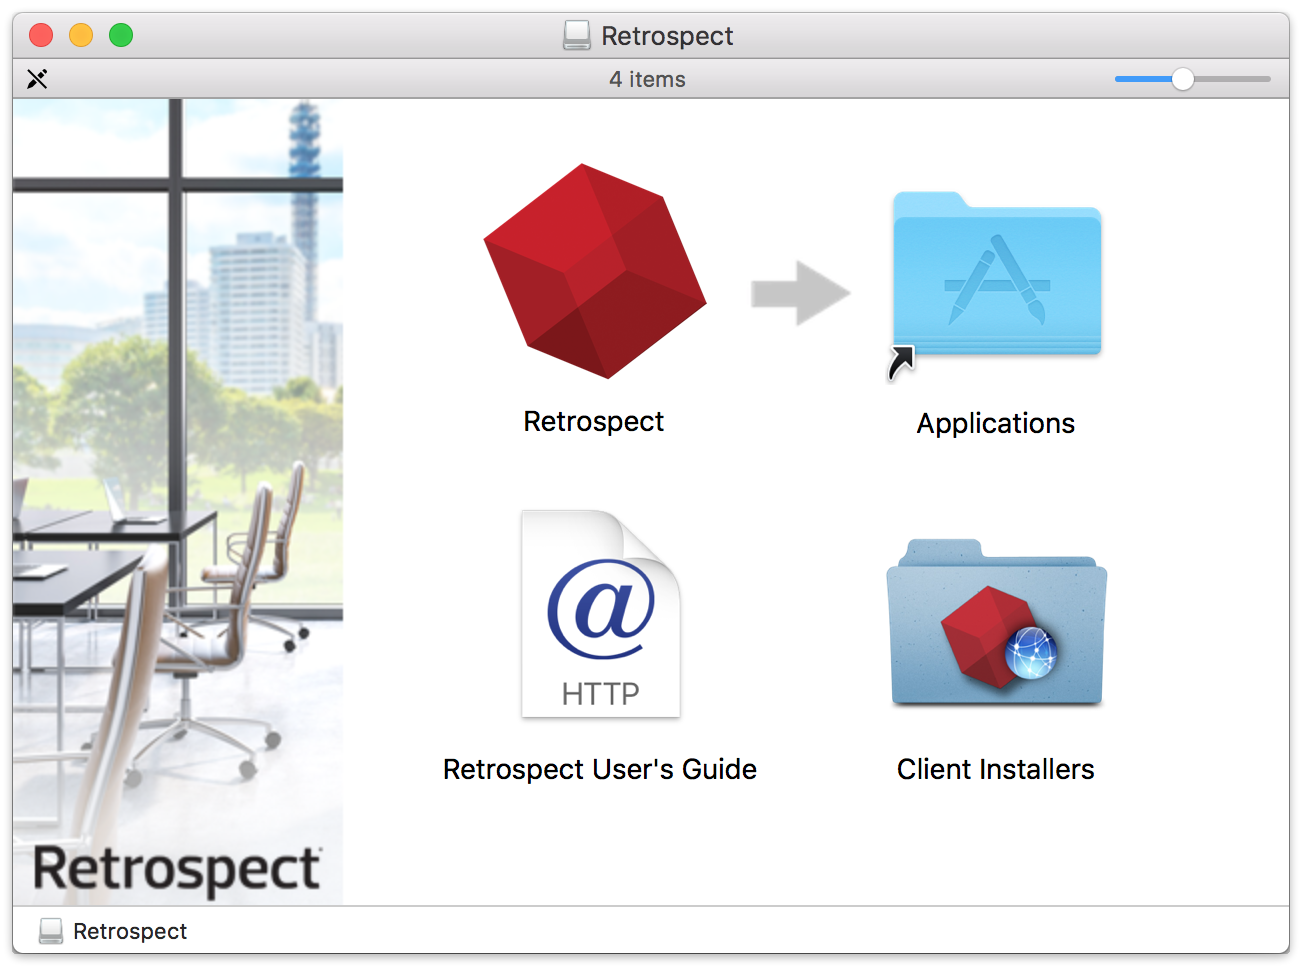
Once downloaded, open the downloaded DMG file and drag the Retrospect application to a location that is easy to navigate to – for this example, the desktop is used to temporarily store the application.

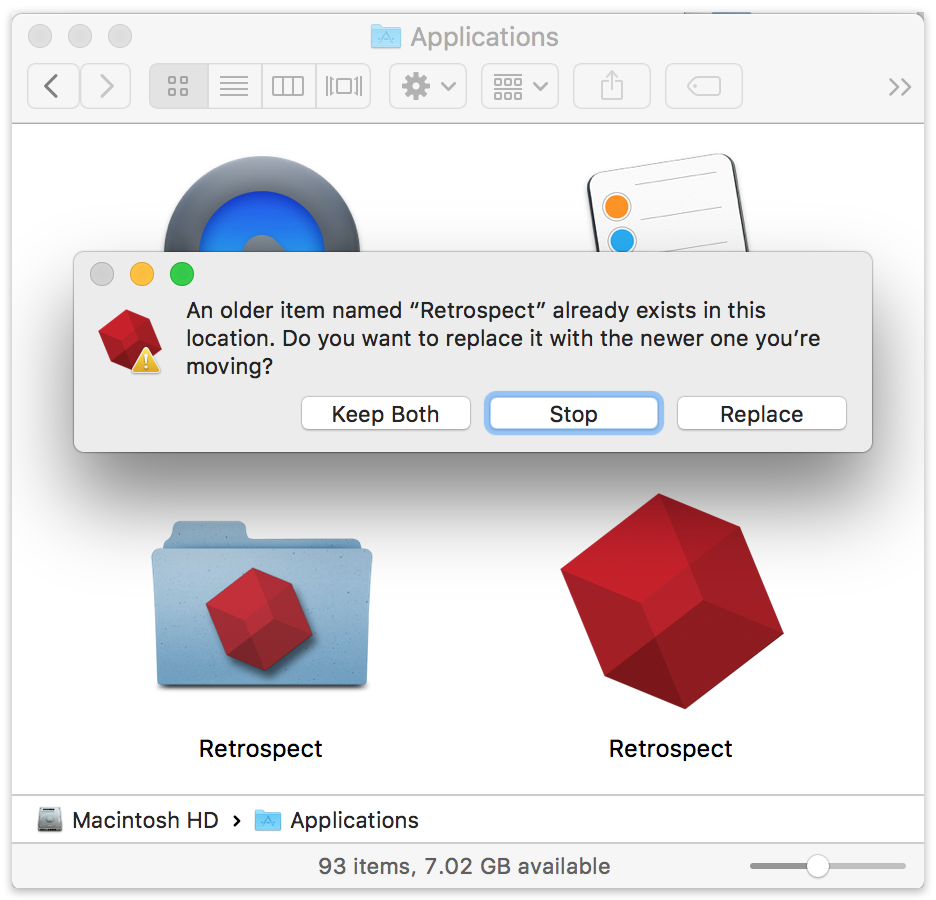
Now go back to the applications list and locate the original Retrospect application – you will now drag and drop the new download on top of the original Retrospect application. This should result in the computer asking if you want to replace the old application, choose to replace it.

Launch Retrospect. If it asks you to update to 14.6.2, choose no.
IMPORTANT: Do not update your Retrospect engine. It will require a v14 license code. Click 'No' when it prompts you to update.
Retrospect should be functioning properly now.
Last Update: February 15, 2019