Starting with Retrospect 11.5 for Windows and Retrospect 13.5 for Mac, Retrospect offers a way to easily import and export Retrospect settings and preferences. These settings are stored in a file named configs.xml. Retrospect will update this file on a regular bases while Retrospect is running. The file is in C:\ProgramData\Retrospect on Windows and in Library/Application Support/Retrospect on the Mac. You should back up this folder as part of your normal backup operations.
Engine Configuration Details
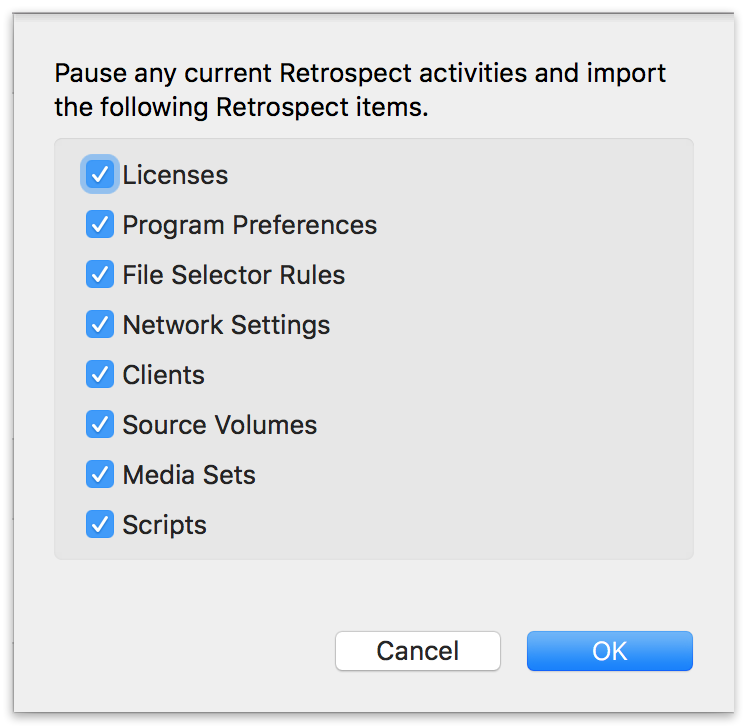
The following items are included in the engine configuration file. Each can be imported individually.
- Licenses
- Program Preferences
- File Selector Rules
- Network Settings
- Clients
- Source Volumes
- Media Sets
- Scripts
Retrospect for Windows - How to Import Engine Configuration
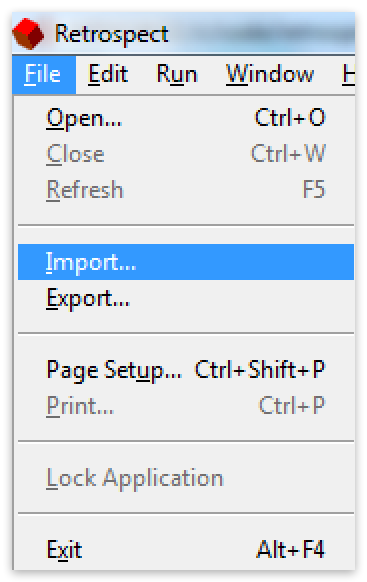
In the menu bar, select "File" then select "Import".
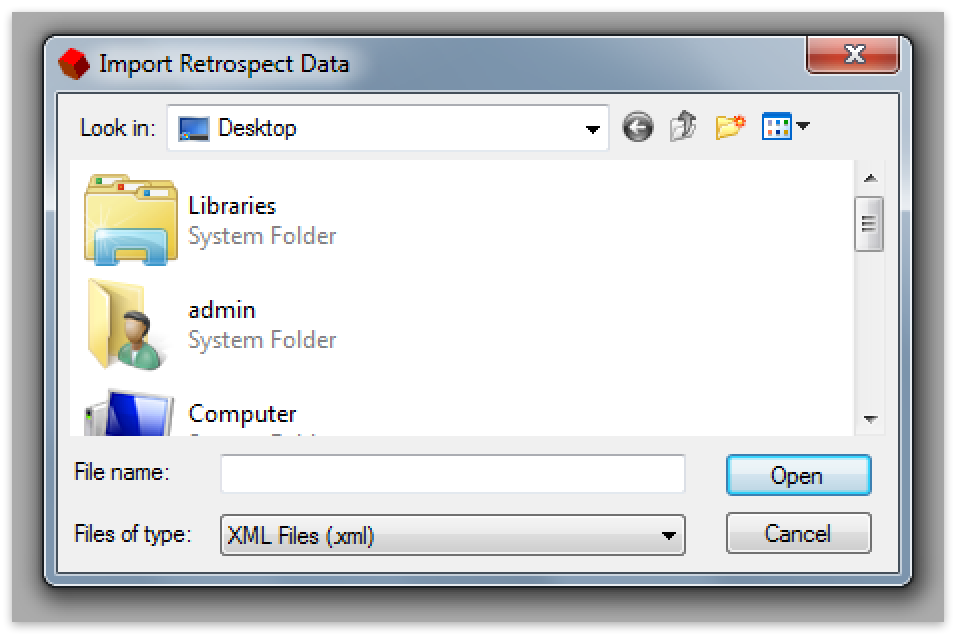
Select the configuration .xml file you’d like to import. This can be one you manually exported or the configs.xml file that Retrospect uses automatically.
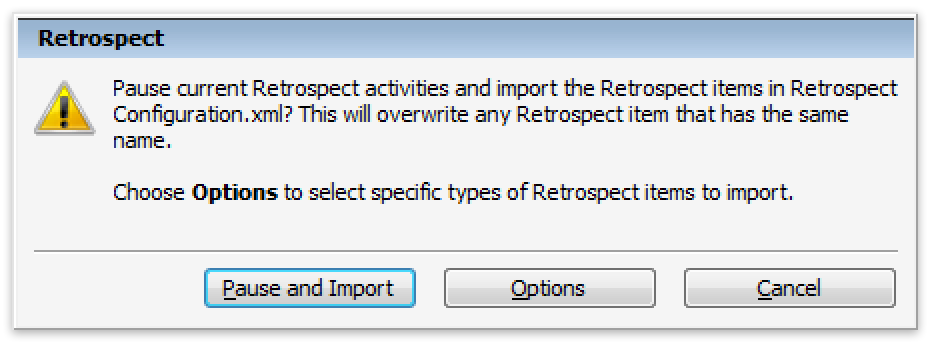
Select "Pause and Import" to pause your executions and import all of the items in the configuration file. Select "Options" if you’d like to select specific items in the configuration file.
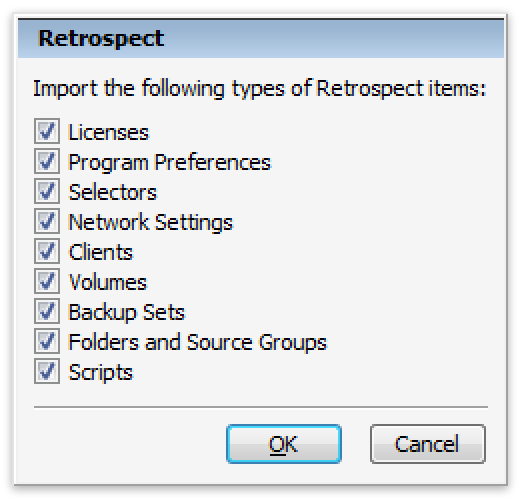
If you selected "Options", you can select specific items to import.
Decide whether to stop all execution activity in Retrospect to import the configuration file.

Retrospect for Windows - How to Export Engine Configuration
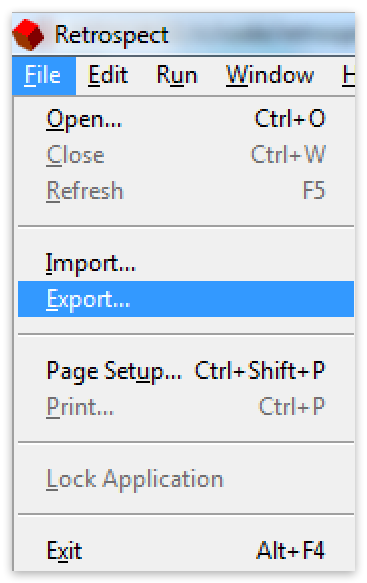
In the menu bar, select "File" then select "Export".
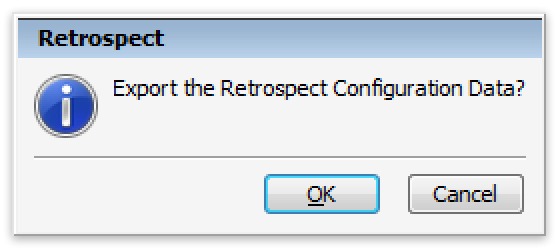
For "Export the Retrospect Configuration Data", select "OK".
Select the location for the file titled Retrospect Configuration.xml.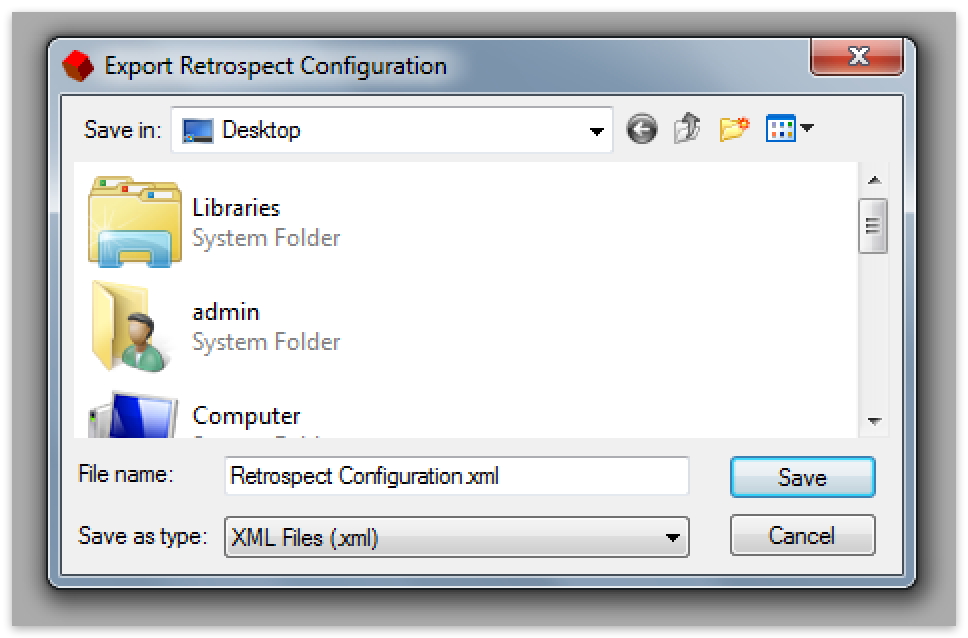
Retrospect for Mac - How to Import Engine Configuration
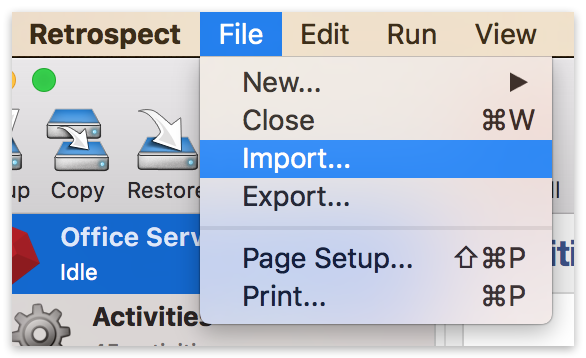
In the menu bar, select "File" then select "Import…".
Select the relevant items to import and click "Add".
Retrospect for Mac - How to Export Engine Configuration
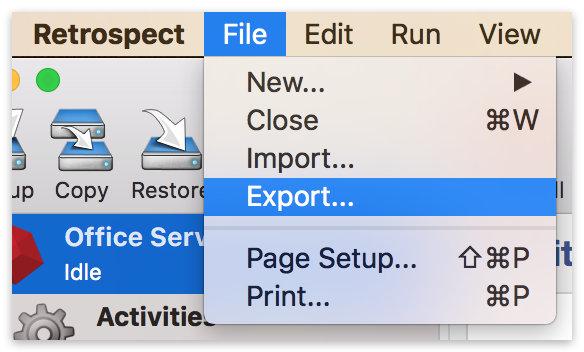
In the menu bar, select "File" then select "Export…".
Select the appropriate location for the exported file and click "Export". The exported file will be named
Last Update: November 2023