Getting Started
Introduction
This user guide aims at providing detailed information for backing up and restoring Microsoft Exchange Database with Retrospect Virtual Host Server.
General Best Practices and Recommendations
Please ensure that the following requirements are met by the Microsoft Exchange Server:
- The latest version of Retrospect Virtual Host Server is installed on the Exchange server / DAG member services. For Exchange Server 2010/2013/2016, Database Availability Group (DAG) backup option is available, please refer to Backing up Microsoft Exchange Server in Database Availability Group (DAG) for details.
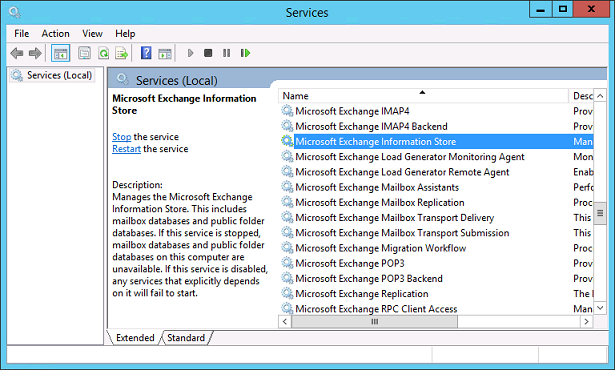
- Ensure that all MS Exchange related services have been started, particularly the MS Exchange Information Store and MS Exchange System Attendant Services.
To verify this setting, launch Services in Windows by clicking Start then typing “Services” in the search box. All Exchange related services should be started by default, in case if it is not, turn it on by right clicking the item then selecting Start.
- Retrospect Virtual Host Server must be installed on the Exchange server with mailbox role.
- Make sure the Exchange Server has been updated to the latest roll-up patch of that specific service pack.
- Make sure that circular logging is disabled for all Information Store(s) or Public Folder selected for backup.
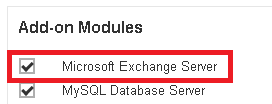
- Make sure that the Microsoft Exchange Server add-on module has been enabled for your Retrospect Virtual Host Server user account. Contact your backup service provider for more details.
- The Exchange Server 2010/2013/2016 database files are no longer stored in the temporary directory during backup. However, the VSS-based Exchange backup will still require certain amount of disk space to operate. Microsoft suggested that certain shadow copy mechanism may require free space around 100% of the original database. Refer to the following URL for more information. http://msdn.microsoft.com/enus/library/exchange/aa579091%28v=exchg.140%29.aspx
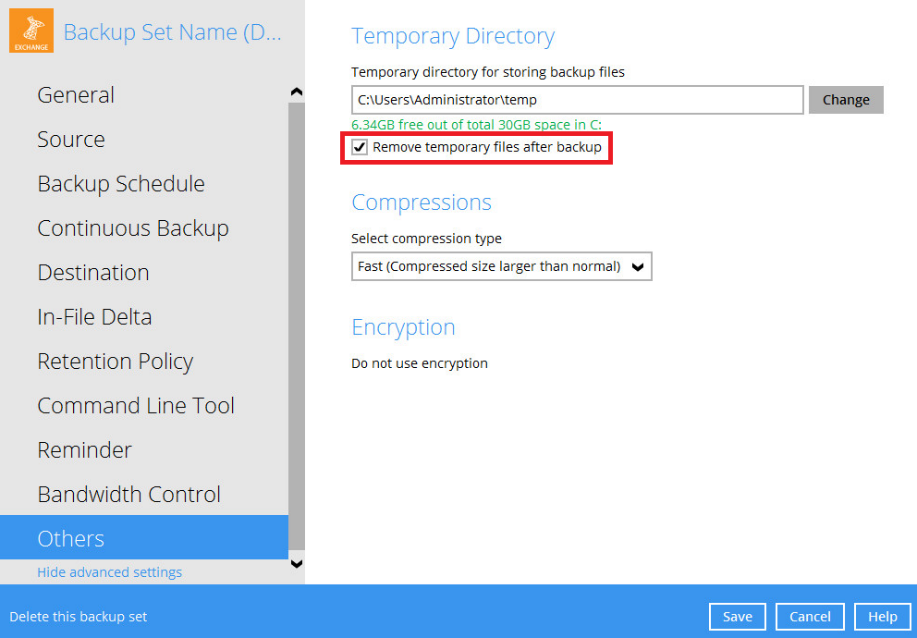
- Temporary Directory folder is used by Retrospect Virtual Host Server for storing backup set index files and any incremental or differential delta files generated during a backup job. To ensure optimal backup/restore performance, it is recommended that the folder is located on a local drive with plenty of free disk space.
- Ensure that the Microsoft Exchange Writer is installed and running on the Exchange Server, and the writer state is Stable. This can be verified by running the vssadmin list writers command.
Example:
C:\Users\Administrator>vssadmin list writers
vssadmin 1.1 - Volume Shadow Copy Service administrative command-line tool
\(C) Copyright 2001-2005 Microsoft Corp.
Writer name: 'System Writer'
Writer Id: \{e8132975-6f93-4464-a53e-1050253ae220}
Writer Instance Id: \{a2f2507d-b348-493a-9685-da3f20959e9d}
State: [1] Stable
Last error: No error
Writer name: 'COM+ REGDB Writer'
Writer Id: \{542da469-d3e1-473c-9f4f-7847f01fc64f}
Writer Instance Id: \{60b9b261-ab81-4c4d-be0f-5d432a4dea64}
State: [1] Stable
Last error: No error
Writer name: 'ASR Writer'
Writer Id: \{be000cbe-11fe-4426-9c58-531aa6355fc4}
Writer Instance Id: \{1aab9829-3b91-46bc-a7f1-ae9e1123c2fe}
State: [1] Stable
Last error: No error
*Writer name: 'Microsoft Exchange Writer'*
*Writer Id: \{76fe1ac4-15f7-4bcd-987e-8e1acb462fb7}*
*Writer Instance Id: \{2e8409fa-1dd8-483c-ba95-5c9277be0509}*
*State: [1] Stable*
*Last error: No error*
Writer name: 'IIS Metabase Writer'
Writer Id: \{59b1f0cf-90ef-465f-9609-6ca8b2938366}
Writer Instance Id: \{3303e28e-afae-4c99-8f1a-2ce23e6455a7}
State: [1] Stable
Last error: No error
Writer name: 'FRS Writer'
Writer Id: \{d76f5a28-3092-4589-ba48-2958fb88ce29}
Writer Instance Id: \{d35e3901-f9b9-4fa6-86af-36b8a4872933}
State: [1] Stable
Last error: No error
Writer name: 'Shadow Copy Optimization Writer'
Writer Id: \{4dc3bdd4-ab48-4d07-adb0-3bee2926fd7f}
Writer Instance Id: \{8e19e851-95ca-4c97-813d-4bc51898c7ac}
State: [1] Stable
Last error: No error
Writer name: 'WMI Writer'
Writer Id: \{a6ad56c2-b509-4e6c-bb19-49d8f43532f0}
Writer Instance Id: \{0619e684-14f3-495b-be59-e35fc0ec212b}
State: [1] Stable
Last error: No error
Writer name: 'BITS Writer'
Writer Id: \{4969d978-be47-48b0-b100-f328f07ac1e0}
Writer Instance Id: \{94991e66-e5c7-47a4-a0c9-3771e4761262}
State: [1] Stable
Last error: No error
Writer name: 'Registry Writer'
Writer Id: \{afbab4a2-367d-4d15-a586-71dbb18f8485}
Writer Instance Id: \{73c66436-c2e8-4d46-b88a-d866617eb95d}
State: [1] Stable
Last error: No error
Writer name: 'NTDS'
Writer Id: \{b2014c9e-8711-4c5c-a5a9-3cf384484757}
Writer Instance Id: \{14cedc8b-4c51-4a12-85c4-8cf8aa3545b6}
State: [1] Stable
Last error: No error
Writer name: 'IIS Config Writer'
Writer Id: \{2a40fd15-dfca-4aa8-a654-1f8c654603f6}
Writer Instance Id: \{5939e29f-bf43-4a39-a6b7-e3a838e75e3e}
State: [1] Stable
Last error: No error
- For Exchange server with Active Directory installed, a Windows System State backup must be performed regularly with the MS Exchange Server backup.
- (Applicable to Microsoft Exchange Server 2013/2016 only)
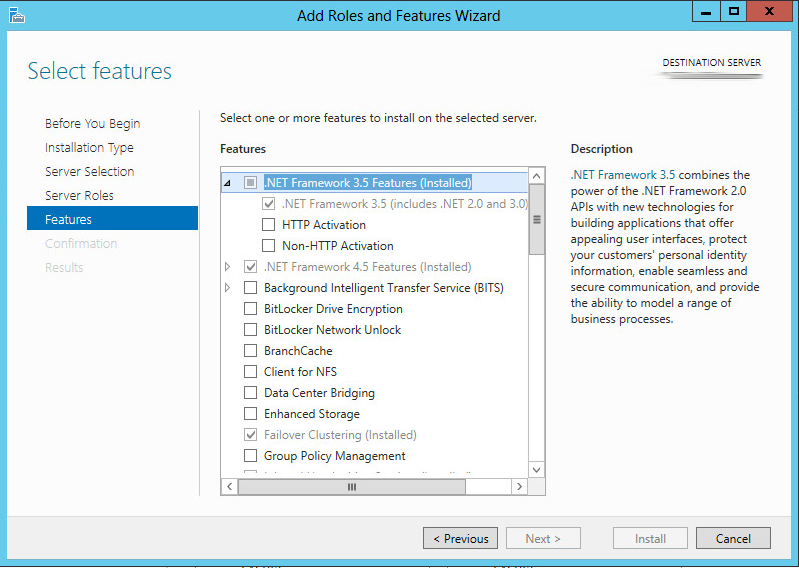
If you are using Microsoft Exchange Server 2013/2016 on Windows Server 2012, please install .Net Framework 3.5 Features under Server Manager > Dashboard > Add Roles and Features Wizard > Feature Page.
Best Practices and Recommendations for Exchange Server in Data Availability Group (DAG) only
- System State backup must be performed regularly for the domain controller of the Exchange DAG setup.
- Scheduled backup is required if you choose to back up with DAG option, as Retrospect Virtual Host Server on all DAG members will base on the scheduled backup time to start backups on individual DAG member at the same time.
A DAG backup cycle is considered complete only when scheduled backup on all DAG members have been carried out. An email report will be generated when a complete DAG backup cycle is taken place.
Please keep in mind that manual backup will only be considered as individual mail-level backup, and therefore will not be counted as part of the DAG backup cycle.
- The MS Exchange Server Backup module will protect the Exchange server at the database level. If a full system backup (for bare-metal recovery) is required, please consider setting up a MS System Backup for each DAG member server.
- To back up mailbox database within an Exchange DAG, Retrospect Virtual Host Server is required to be installed on each DAG member with mailbox role (e.g. servers that are hosting the mailbox databases). It is not necessary to install Retrospect Virtual Host Server on Exchange server with CAS (Client Access Server) role only.
Overview of MS Exchange Database Backup Process
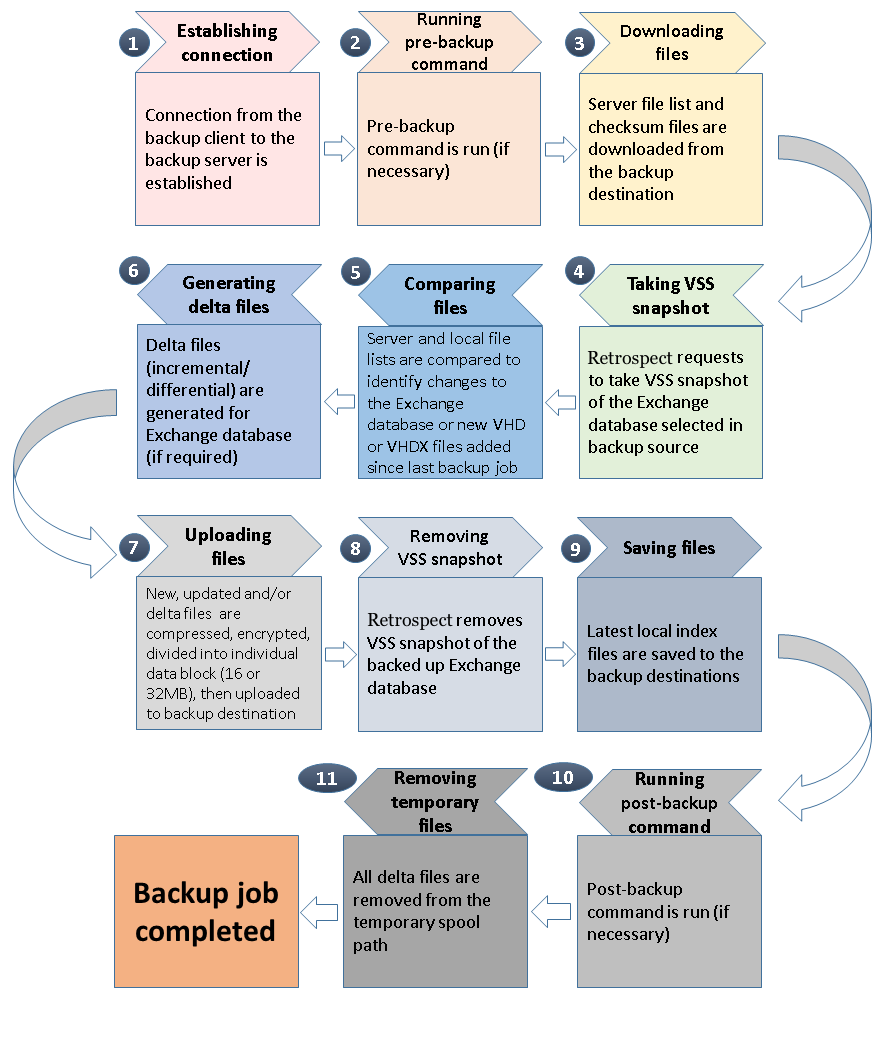
The following steps are performed during an Exchange Database backup job:
+ 
Backing up Microsoft Exchange Database 2007/2010/2013/2016
Creating a MS Exchange Server Backup Set for Exchange Server 2007/2010/2013/2016
- Click the Backup Sets icon on the main interface of Retrospect Virtual Host Server.
- Create a new backup set by clicking the “+” icon next to Add new backup set.
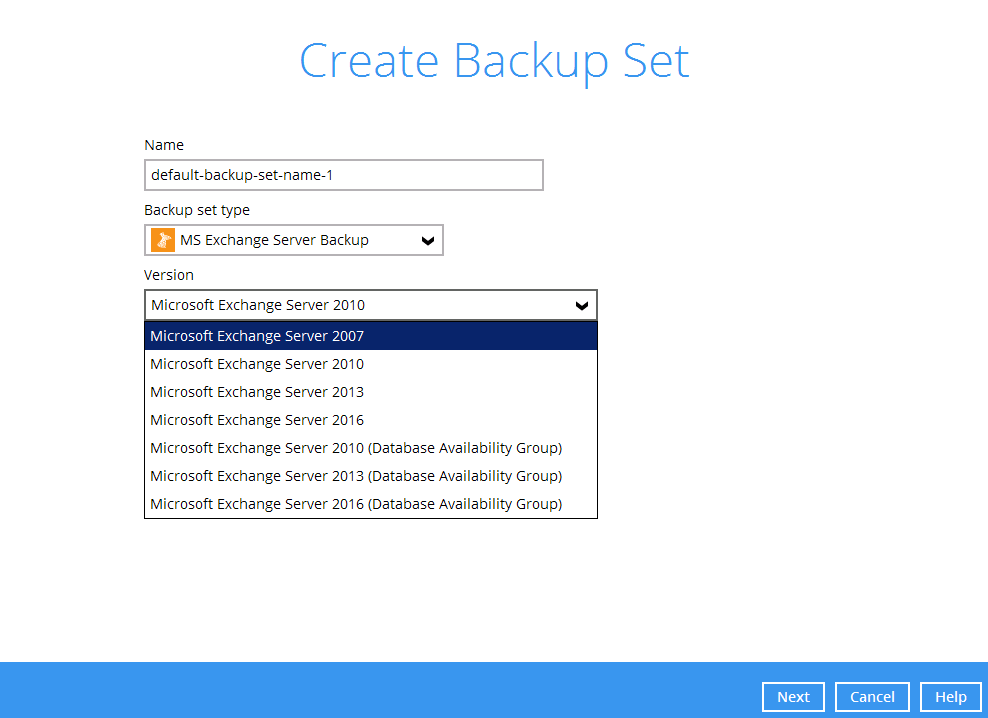
- Select the Backup set type as MS Exchange Server Backup. The system will automatically detect and select the Exchange Server version, make sure the version selected is correct. Name your new backup set and then click Next to proceed.
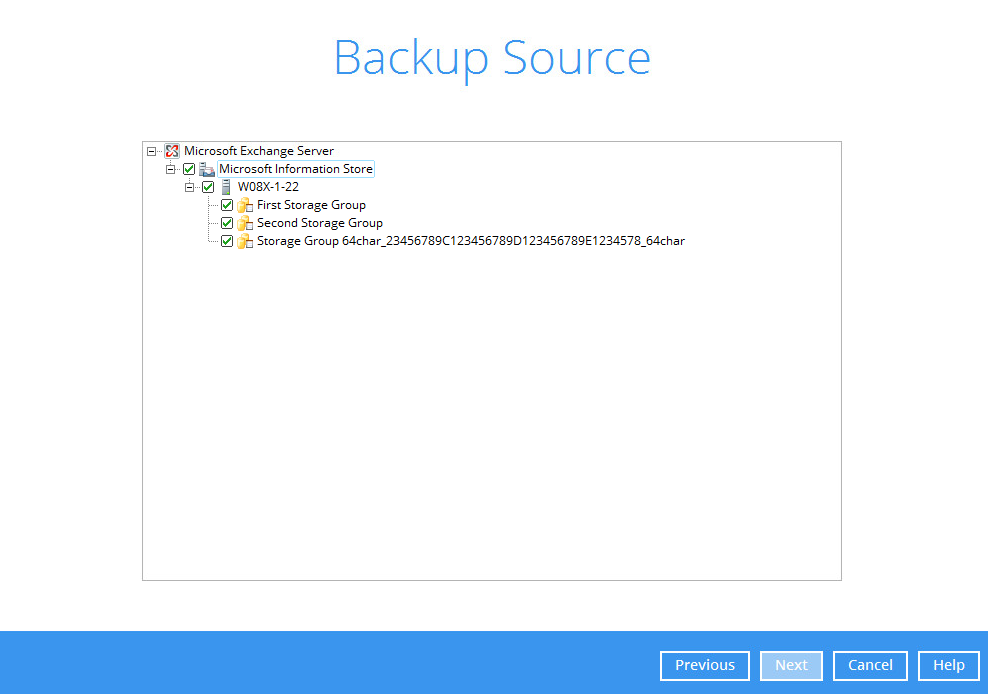
- In the Backup Source menu, select the Information Store for backup. Click Next to proceed.
- In the Schedule menu, you can configure a backup schedule for backup job to run automatically at your specified time interval. Click Add to add a new schedule, then click Next to proceed when you are done with the settings.
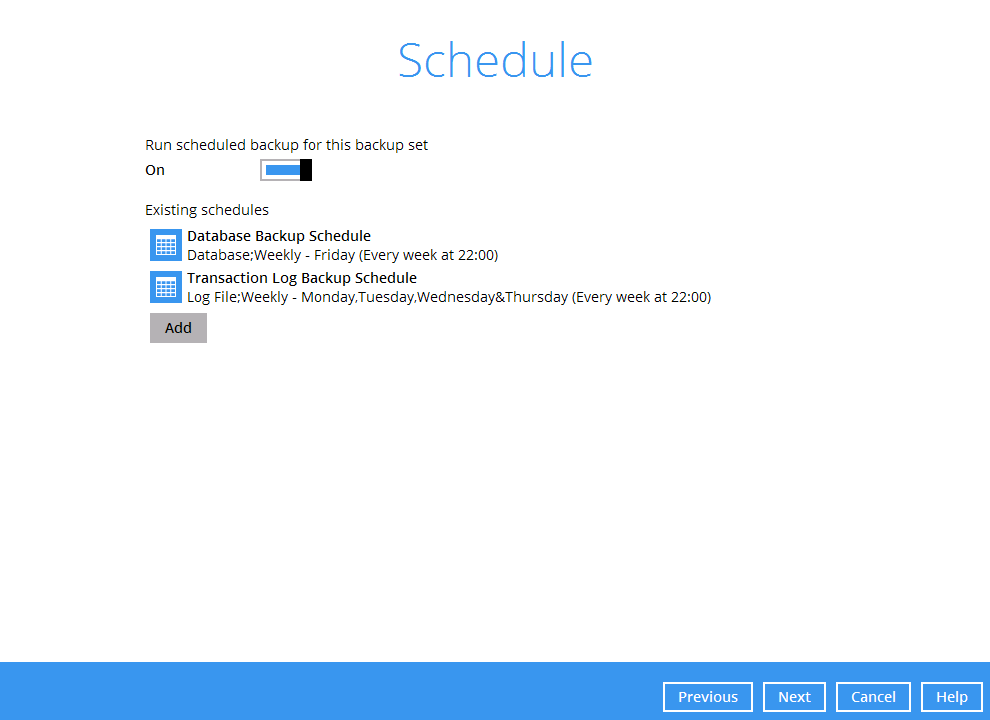
*Note:* By default, a database backup scheduled for every Friday at 22:00 and a log backup scheduled daily (except Friday) at 22:00 are created automatically.
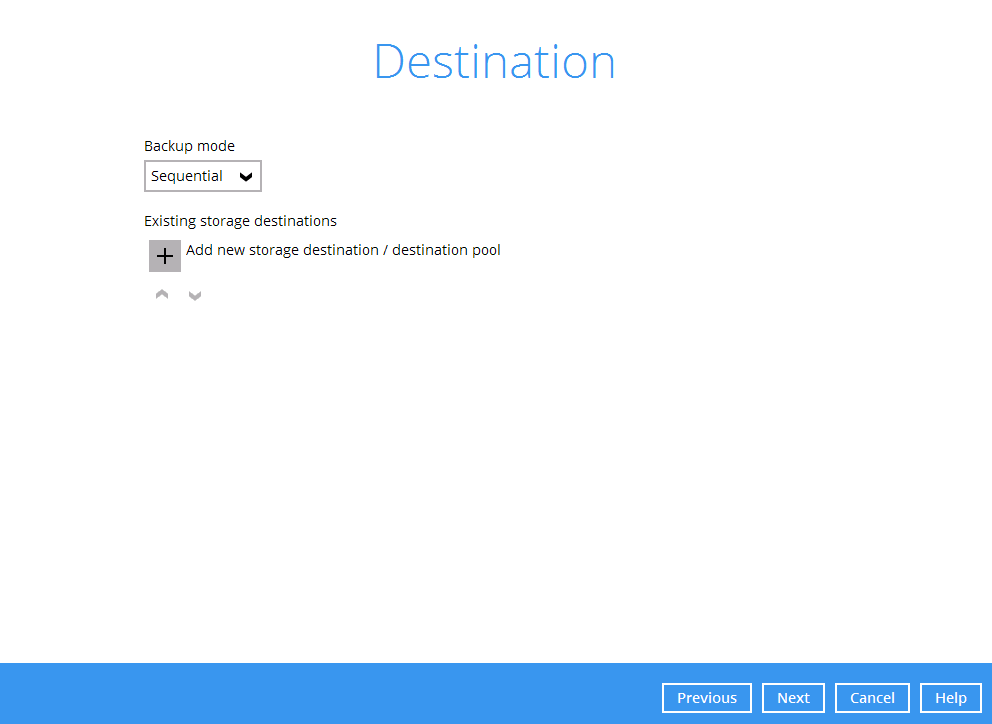
- In the Destination menu, select a backup destination where the backup data will be stored. Click the “+” icon next to Add new storage destination / destination pool.
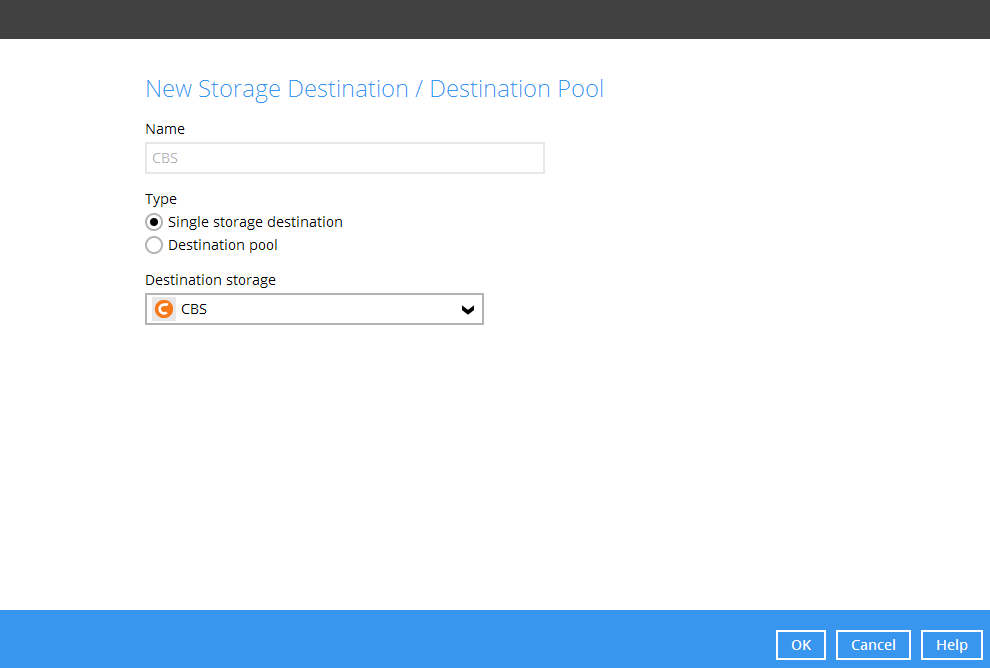
- Select the destination type and destination storage, then click OK to proceed.
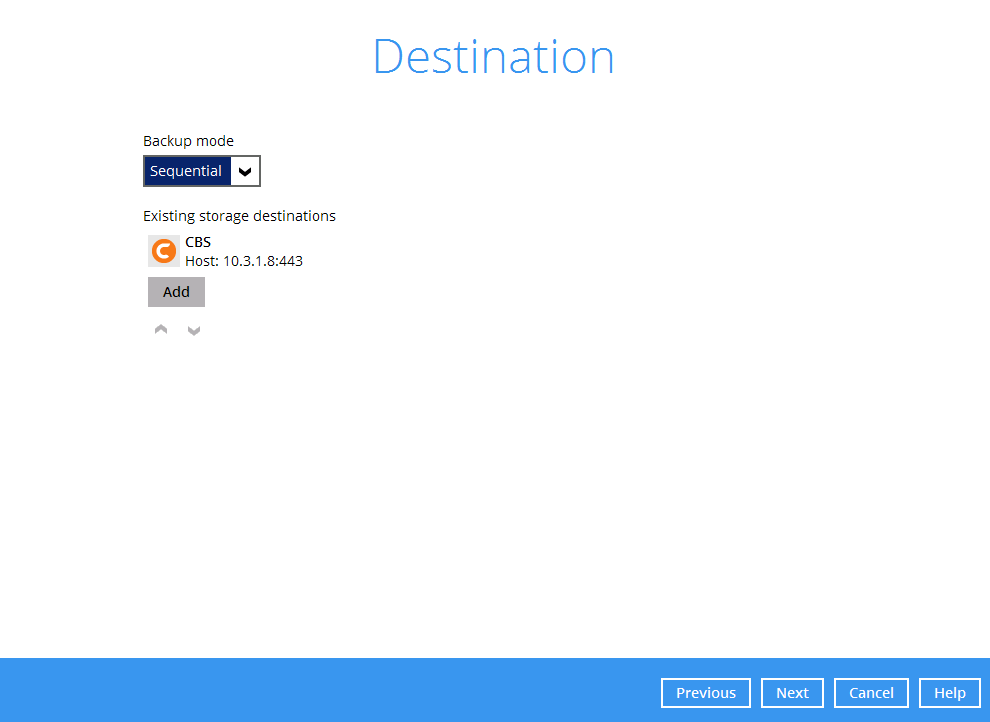
- When you are done with settings, click Next on the Destination menu page to proceed.
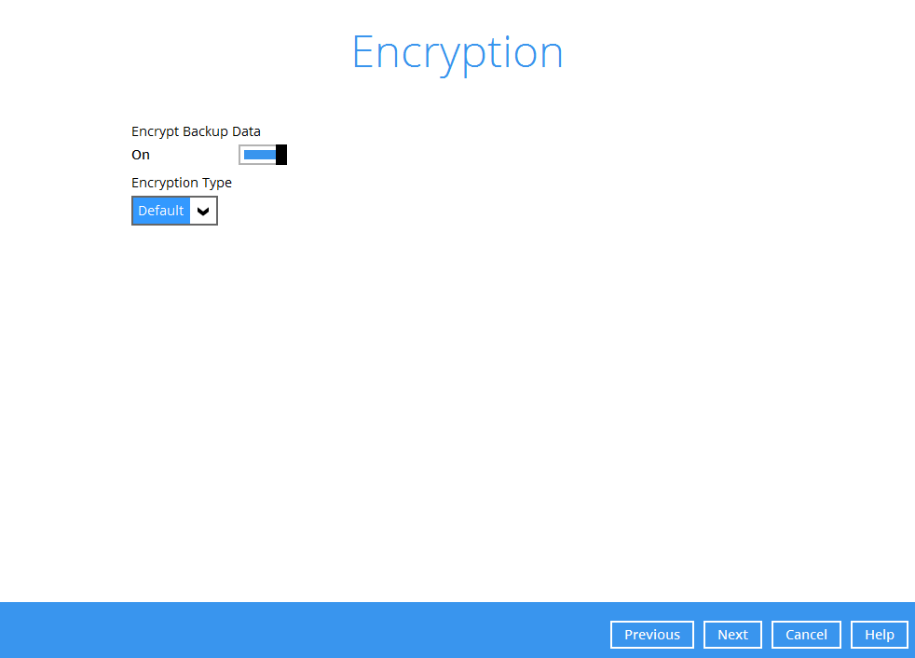
- By default, the Encrypt Backup Data option is enabled with an encryption key preset by the system which provides the most secure protection. You can also change the Encryption Type to Custom to set your own encryption key, key length, algorithm and method. Click Next to continue.
- If you have enabled the Encryption Key feature in the previous step, the following pop-up window shows, whether you set the Encryption Type as Default or Custom.
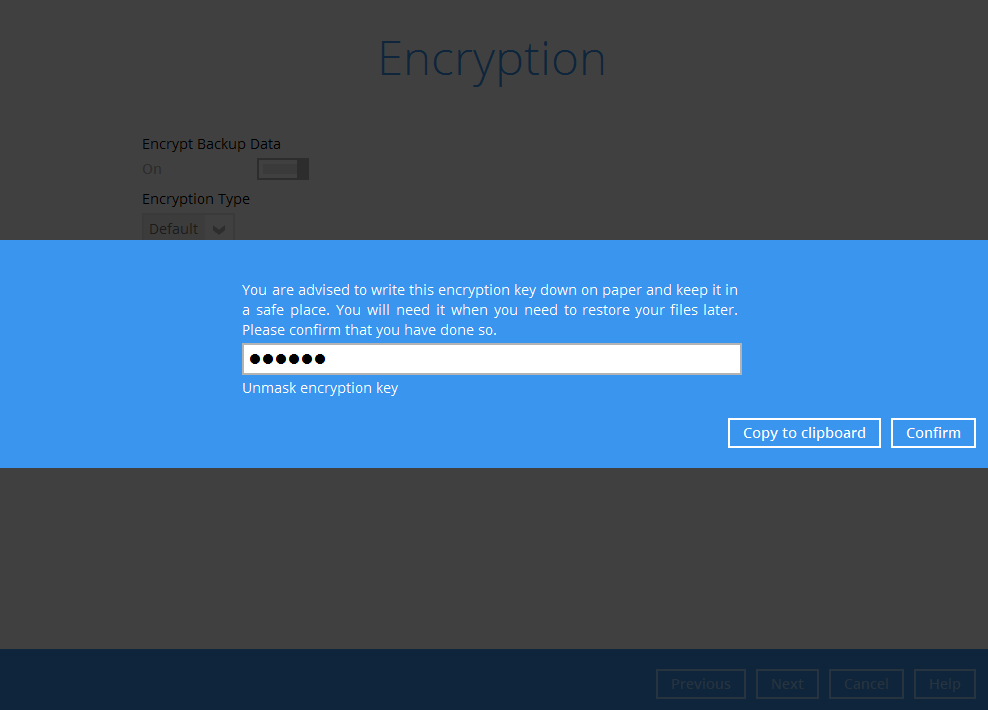
The pop-up window has the following three options to choose from:
- Unmask encryption key – The encryption key is masked by default. Click this option to show the encryption key.
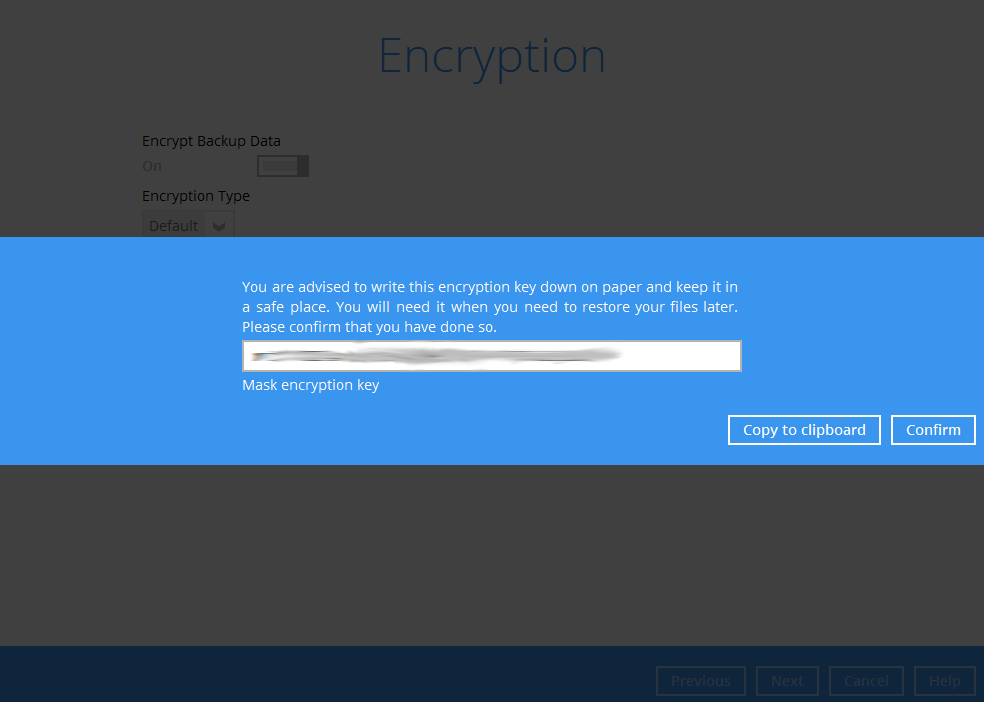
- Copy to clipboard – Click to copy the encryption key, then you can paste it in another location of your choice.
- Confirm – Click to exit this pop-up window and proceed to the next step.
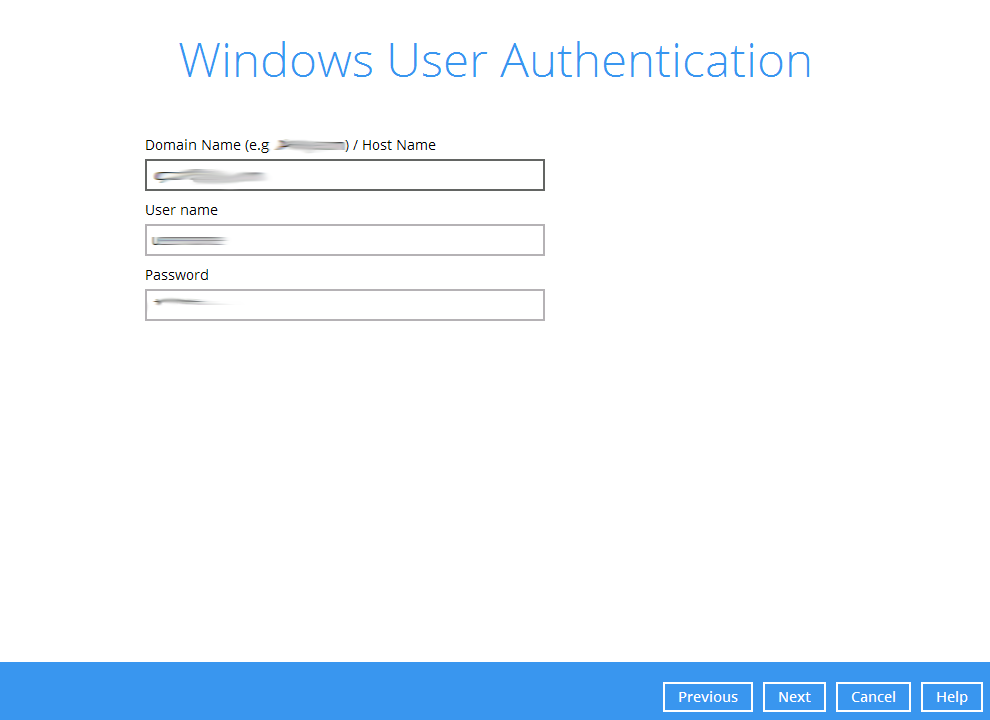
- Enter the Windows login credentials for user authentication. Click Next to proceed.
- The following screen shows when the new backup set is created successfully.
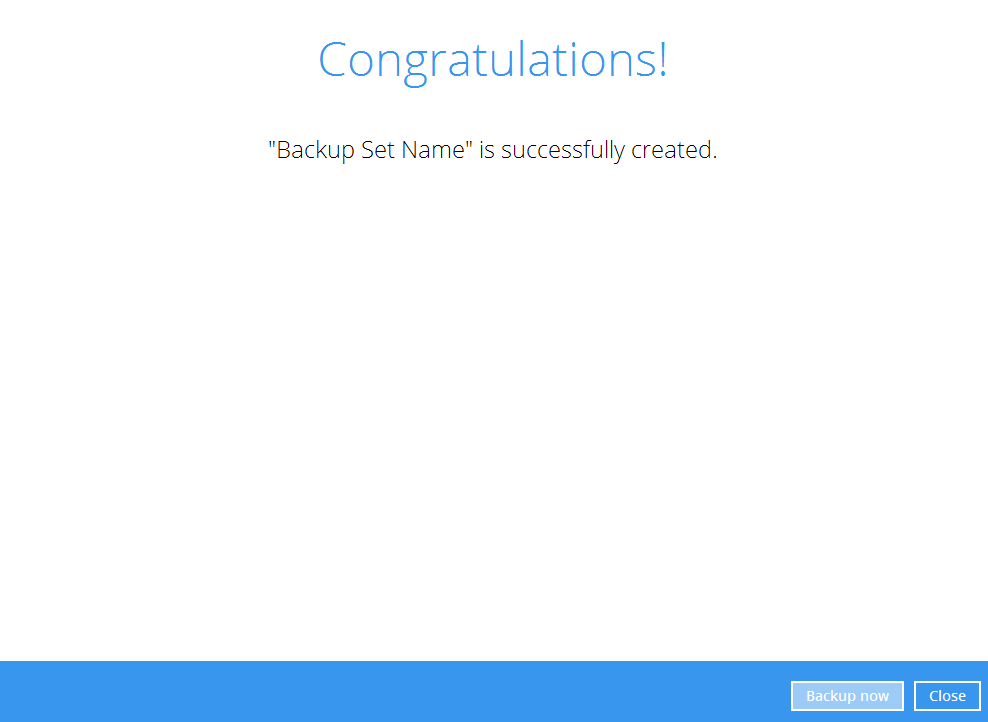
- You can click Backup now to start a backup immediately, or you can run a backup job later by following the instructions in Running Backup Job for Microsoft Exchange Server 2007/2010/2013/2016.
Running Backup Job for Microsoft Exchange Server 2007/2010/2013/2016
- Log in to Retrospect Virtual Host Server.
- Click the Backup icon on the main interface of Retrospect Virtual Host Server.
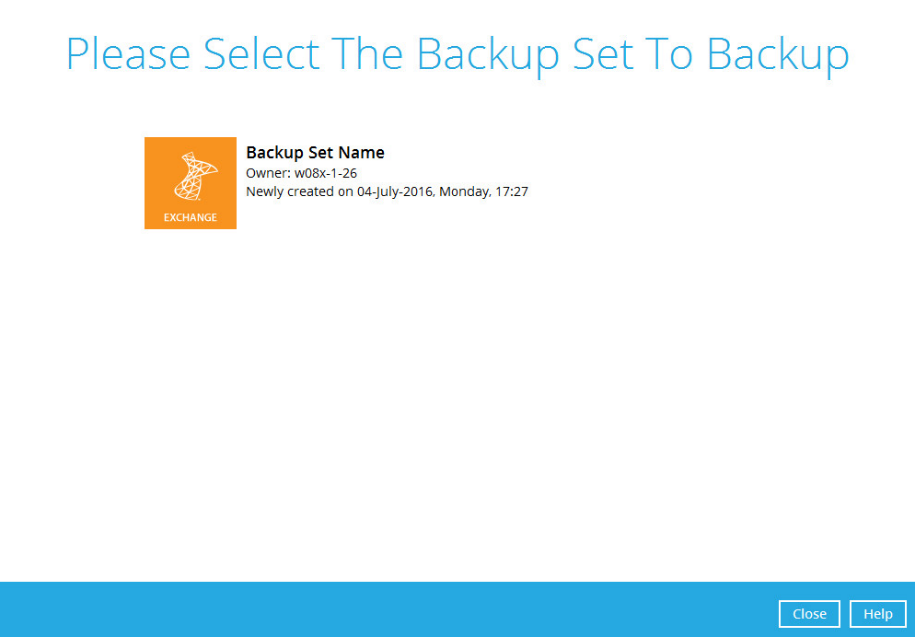
- Select the backup set which you would like to start a backup for.
- If you would like to modify the In-File Delta type, Destinations and Retention Policy settings, click Show advanced option.
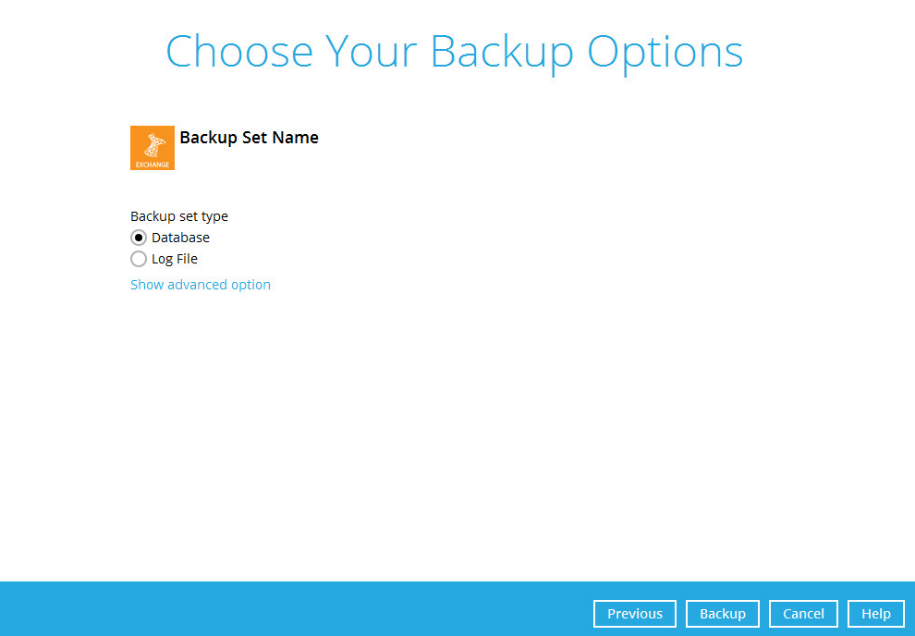
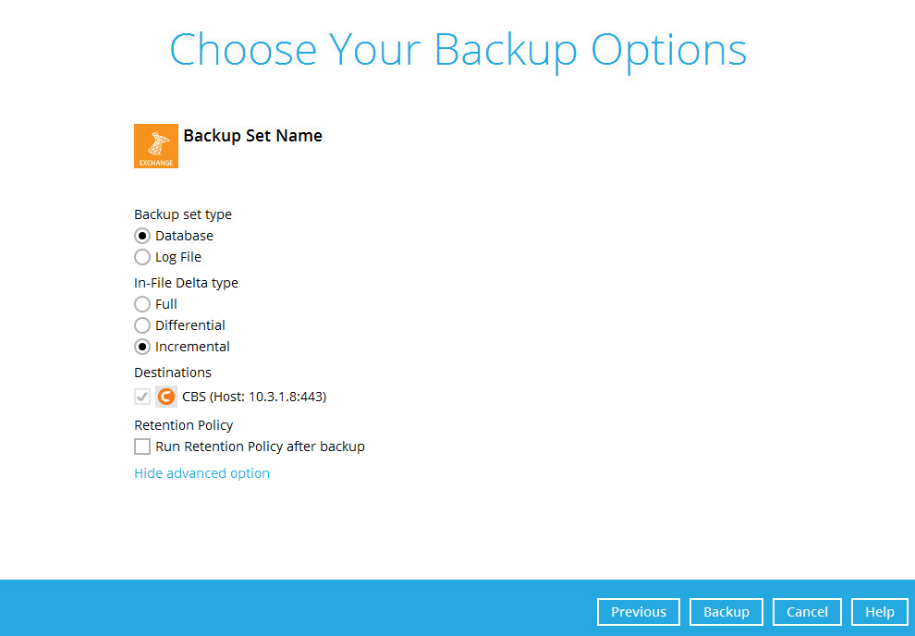
Refer to Appendix A Exchange Server Backup Type for more information regarding the backup set type.
- Click Backup to start the backup.
Restoring Microsoft Exchange Server 2007/2010/2013/2016
Pre-restoration Requirements
Before you get started with restoring your database using the Retrospect Virtual Host Server, there are a couple of steps you may need to perform first.
- Prepare the operating system for the Exchange Server restore (if required). Install the original version of Windows and Exchange Server (with the same level of service pack installed as in the original system).
- Restore Windows Active Directory (if required). Restore the System State data from the backup server, and then restore the System State using WBAdmin.exe.
- Install Retrospect Virtual Host Server (if required).
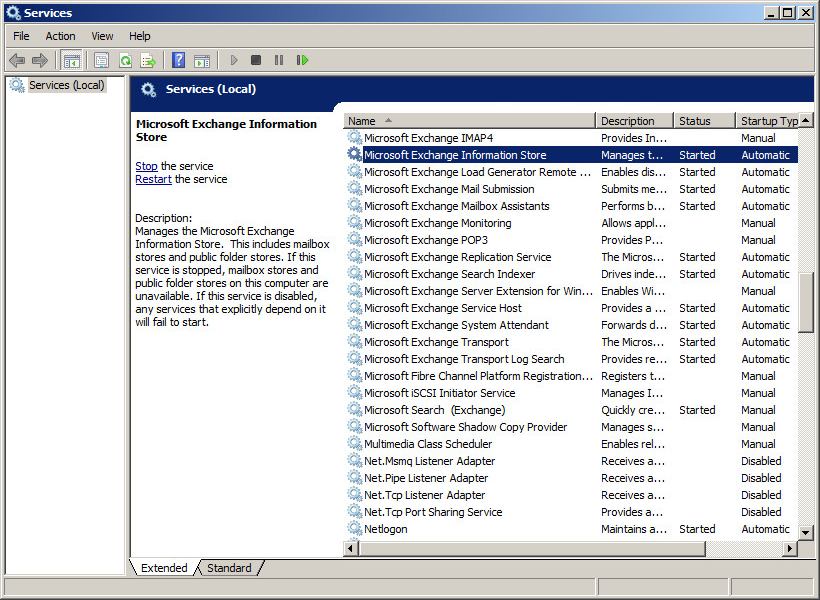
- Make sure the Microsoft Exchange Information Store services from Windows Services is started.
Launch Services in Windows by clicking Start then typing “Services” in the search box. After launching the Services window, look for Microsoft Exchange Information Store and check the Status column to confirm if it is started. If it is not, right click the item then select Start.
Restoring Exchange Database for Microsoft Exchange Server 2007/2010/2013/2016
- Make sure you have followed the steps in Section 3.1 before proceeding to this section.
- In the Retrospect Virtual Host Server main interface, click the Restore icon.
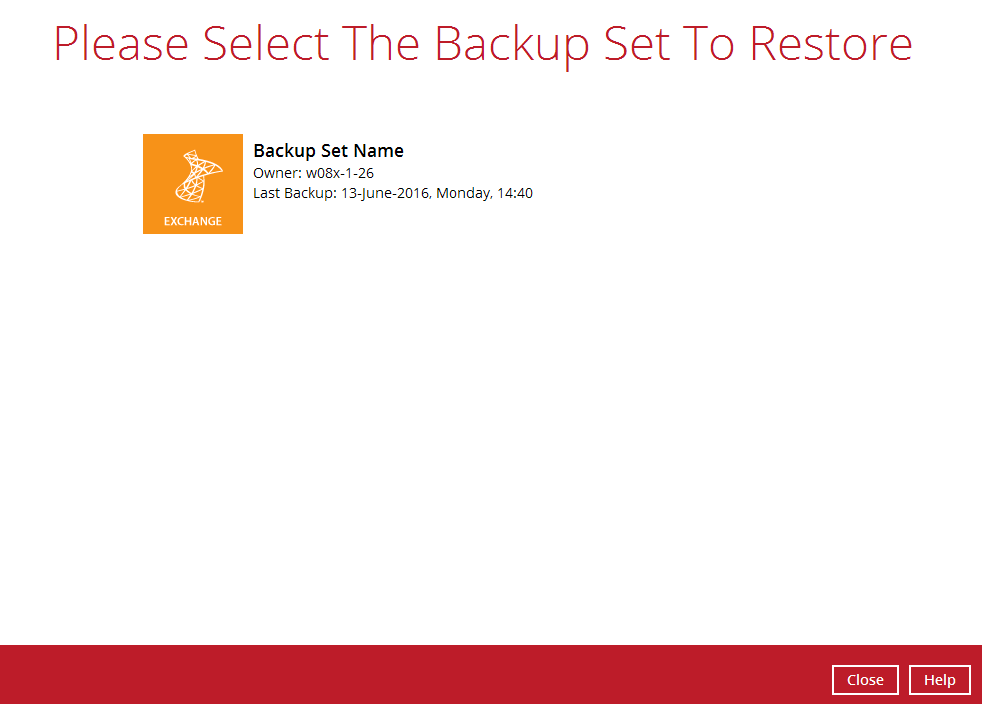
- Select the backup set that you would like to restore database from.
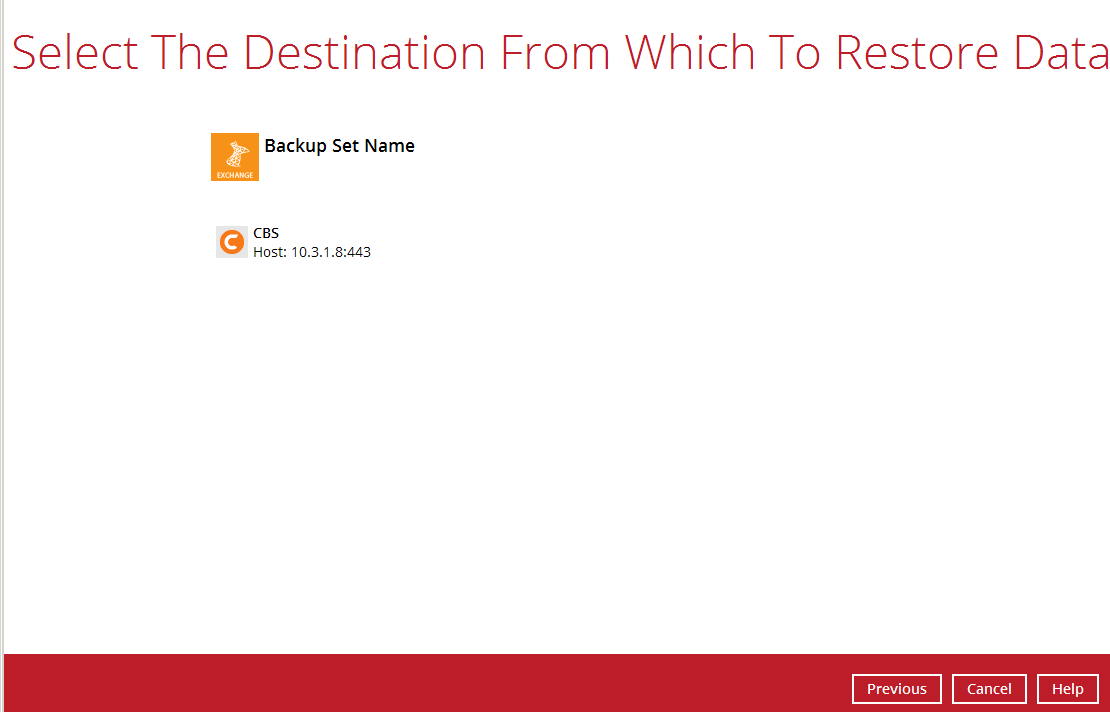
- Select the backup destination that contains the database you would like to restore.
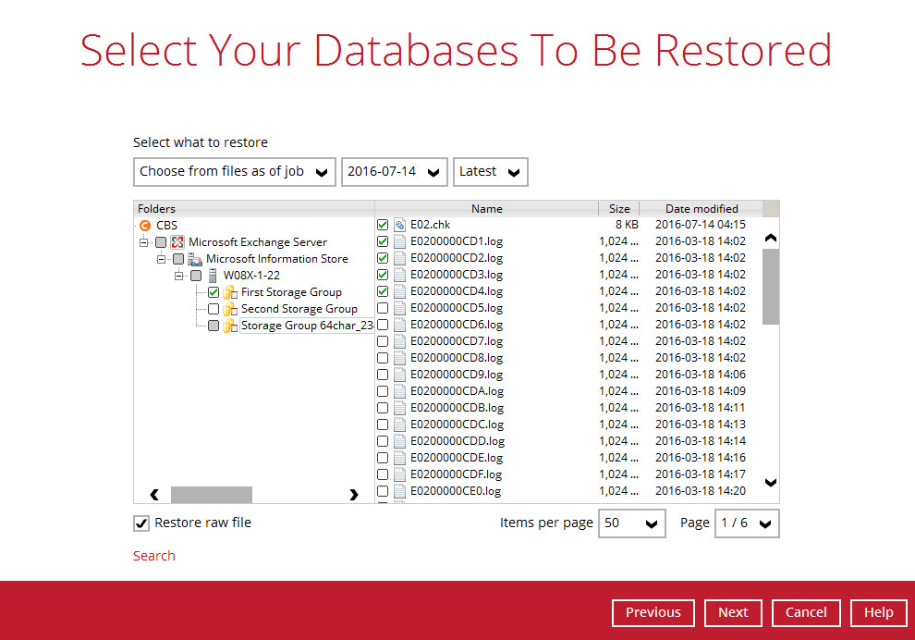
- Click to expand the menu tree to select which Information Store to restore. You can also select individual database file to restore by clicking the Restore raw file checkbox at the left bottom corner.
In addition, you can also choose to restore backup item(s) from a specific backup job using the drop-down menu at the top. Click Next to proceed when you are done with the selection.
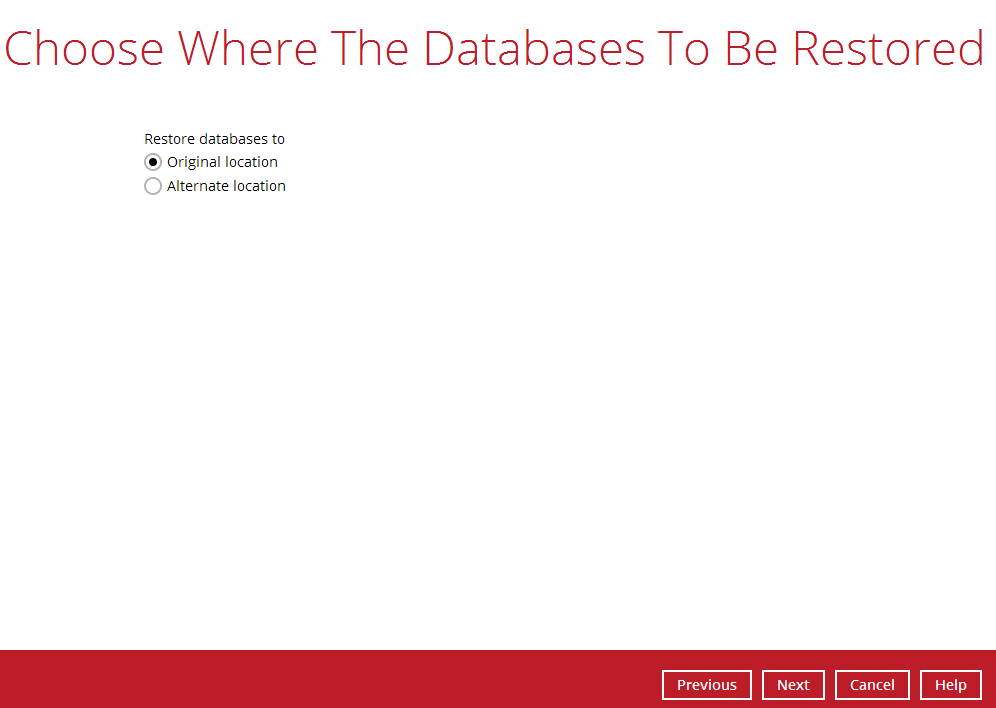
- Select to restore the database to its Original location, or to an Alternate location.
- Restore to Original location
Select the Original location option, then press Next to proceed.
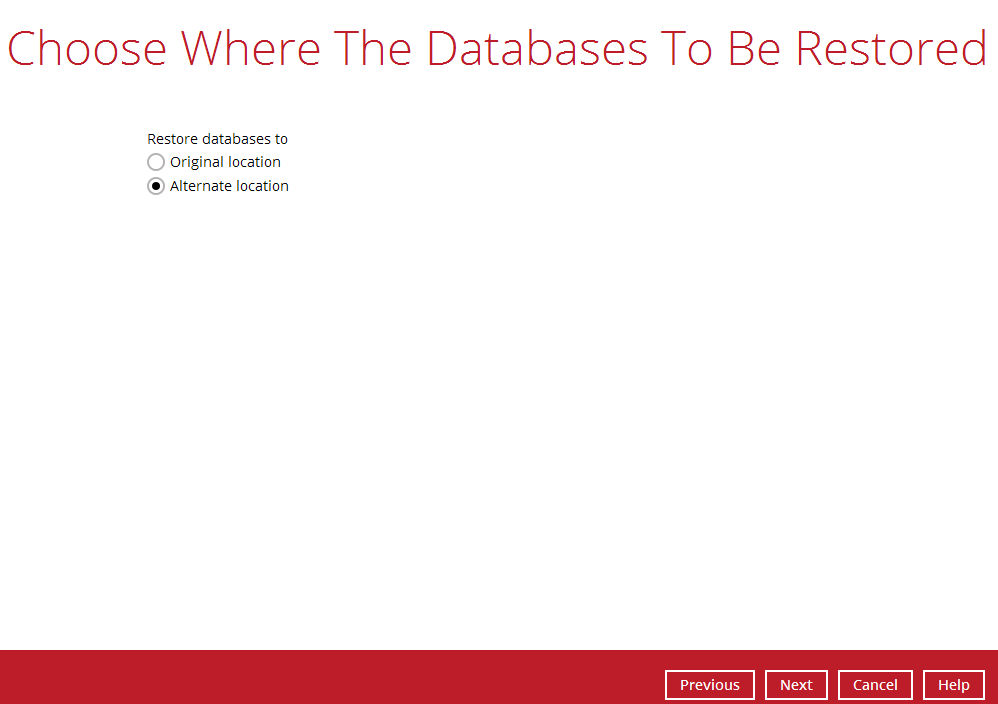
- Restore to Alternate location
- Select the Alternate location option, then press Next to proceed.
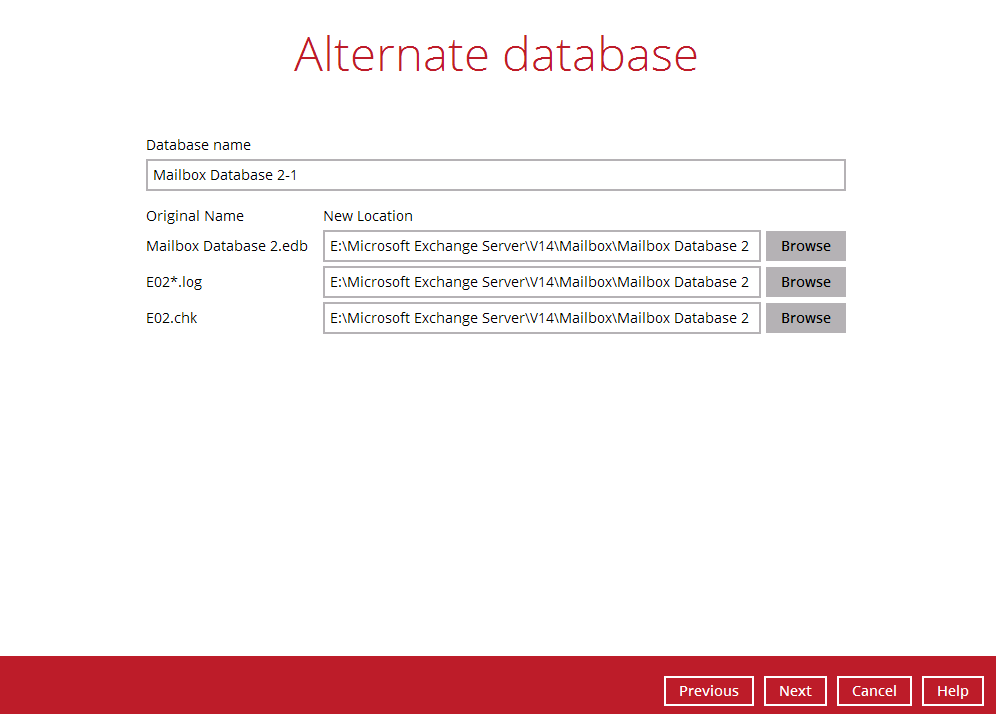
- Select the locations where you would like to restore the database to. Name the new mailbox store, then click Browse to modify the database, log and checksum file location if necessary. Click Next to proceed when you are done with the settings.
- Select the temporary directory for storing temporary files, such as delta files when they are being merged, click Restore to start the restoration.
- The following screen with the text Restore Completed Successfully shows when the restoration is completed.
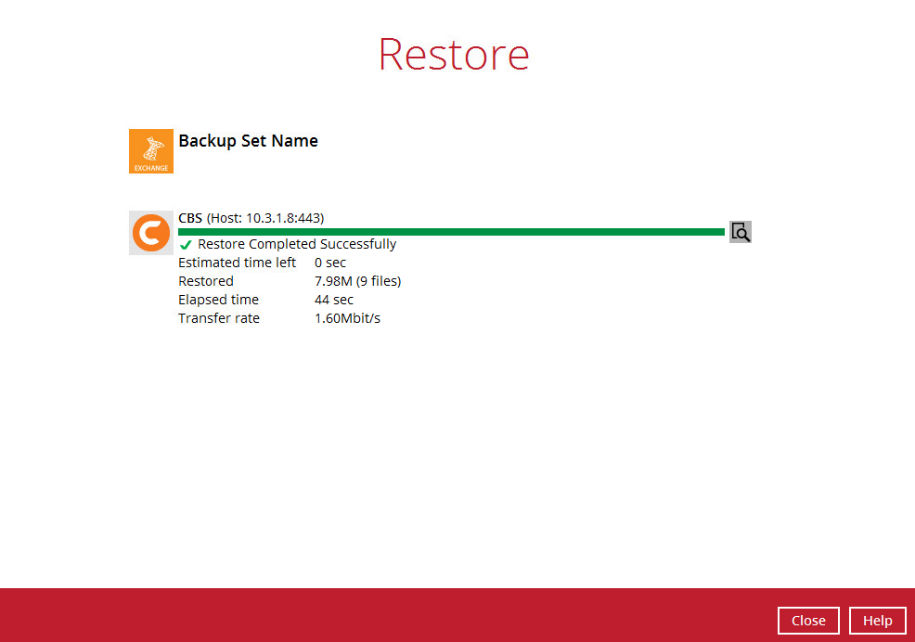
- For details regarding verifying the restoration activities log between Retrospect Virtual Host Server and the Exchange Server, refer to Appendix B Restore Activities Log.
Backing up Microsoft Exchange Server in Database Availability Group (DAG)
License Requirement to Backup all Exchange Server 2010/2013/2016 in DAG environment
One Retrospect Virtual Host Server license CAL with one Exchange Server Add-on Module is deducted from each installation of the Retrospect Virtual Host Server on the DAG environment. Please check with your backup service provider if more Retrospect Virtual Host Server with Exchange backup is required.
Creating Backup Set for Microsoft Exchange Server 2010/2013/2016 (DAG)
- Click the Backup Sets icon on the main interface of Retrospect Virtual Host Server.
- Create a new backup set by clicking the “+” icon next to Add new backup set.
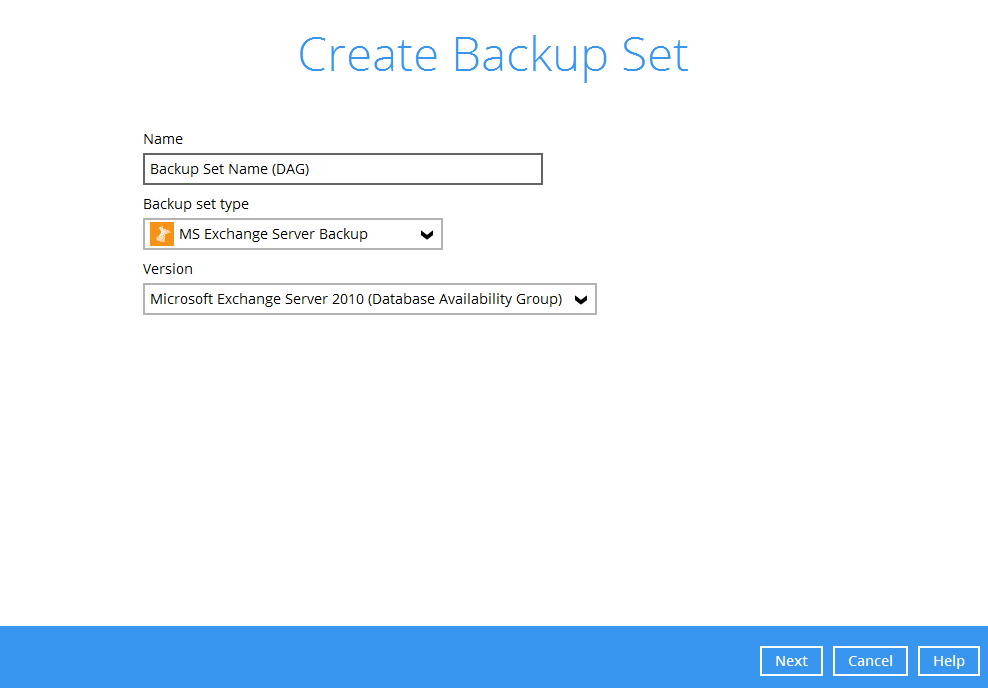
- Select the Backup set type as MS Exchange Server Backup. Make sure you choose the correct Exchange Server version with “Database Availability Group”. Name your new backup set and then click Next to proceed.
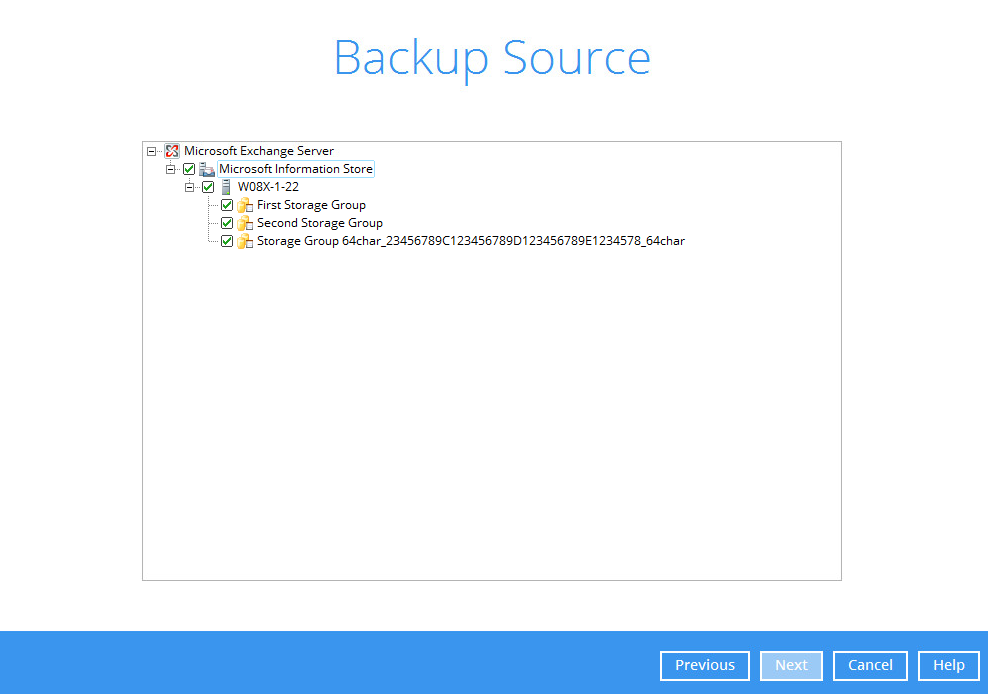
- In the Backup Source menu, select the Information Store for backup. Click Next to proceed.
In the Schedule menu, you can configure a backup schedule for backup job to run automatically at your specified time interval. Click Add to add a new schedule, then click Next to proceed when you are done setting.
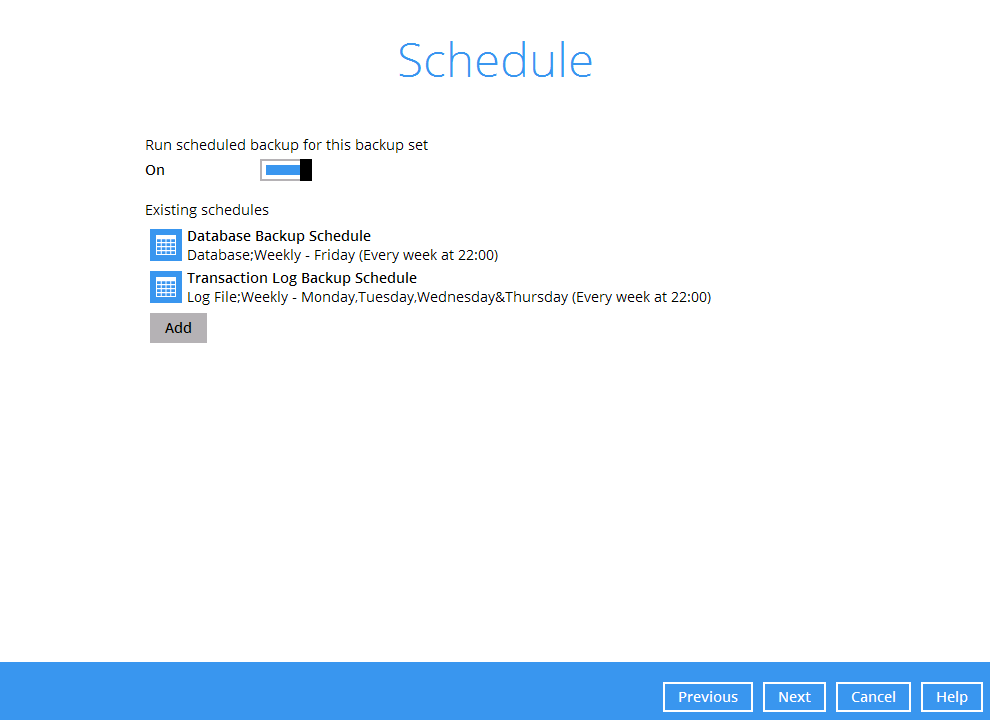
*Note:* By default, a database backup scheduled for every Friday at 22:00 and a log backup scheduled daily (except Friday) at 22:00 are created.
- In the Destination menu, select a backup destination where the backup data will be stored. Click the “+” icon next to Add new storage destination / destination pool.
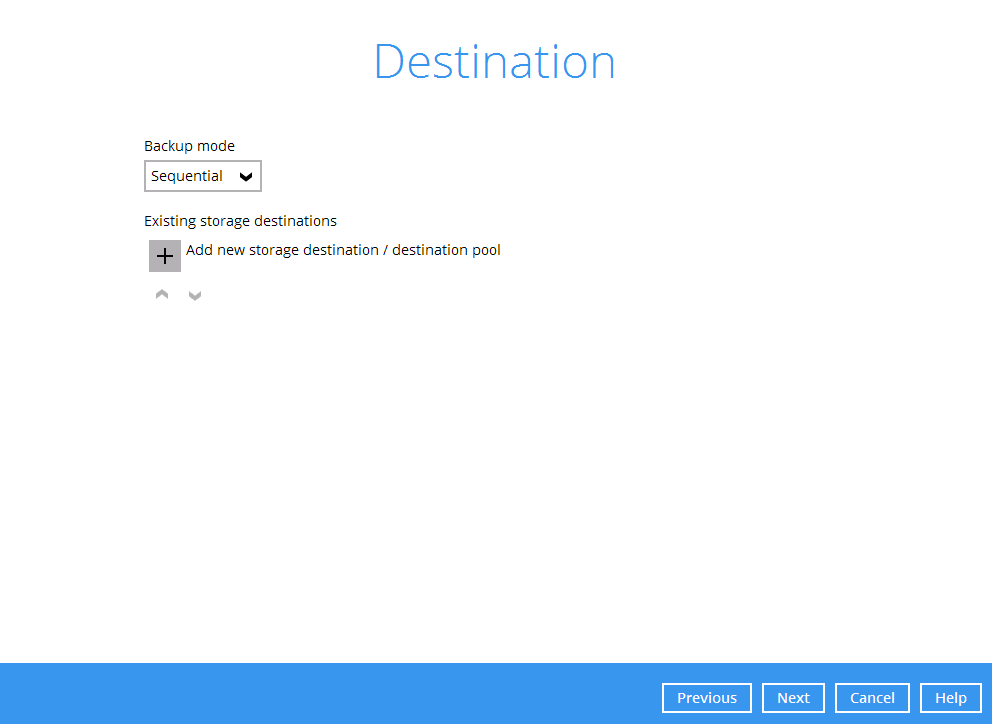
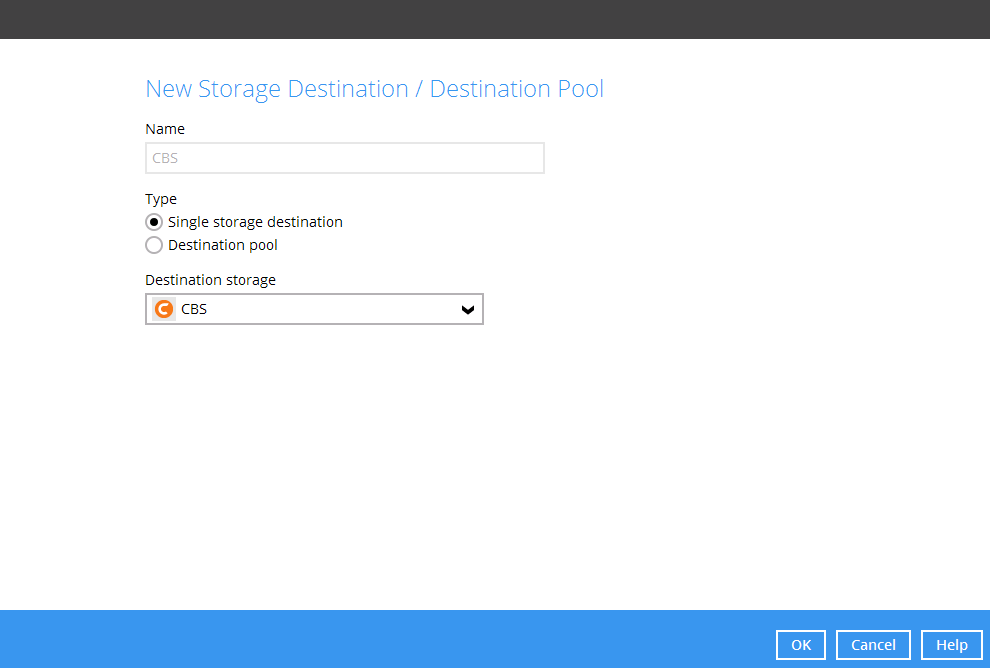
- Select the destination type and destination storage, then click OK to proceed.
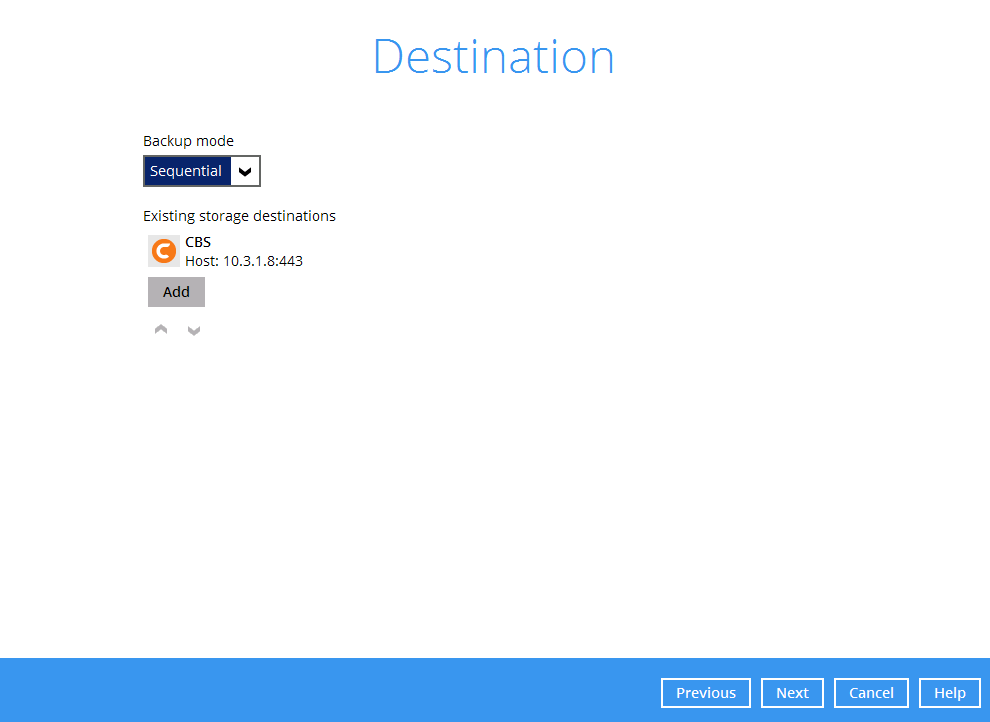
- When you are done with the settings, click Next on the Destination menu page to proceed.
- By default, the Encrypt Backup Data option is enabled with an encryption key preset by the system which provides the most secure protection. You can also change the Encryption Type to Custom to set your own encryption key, key length, algorithm and method. Click Next to continue.
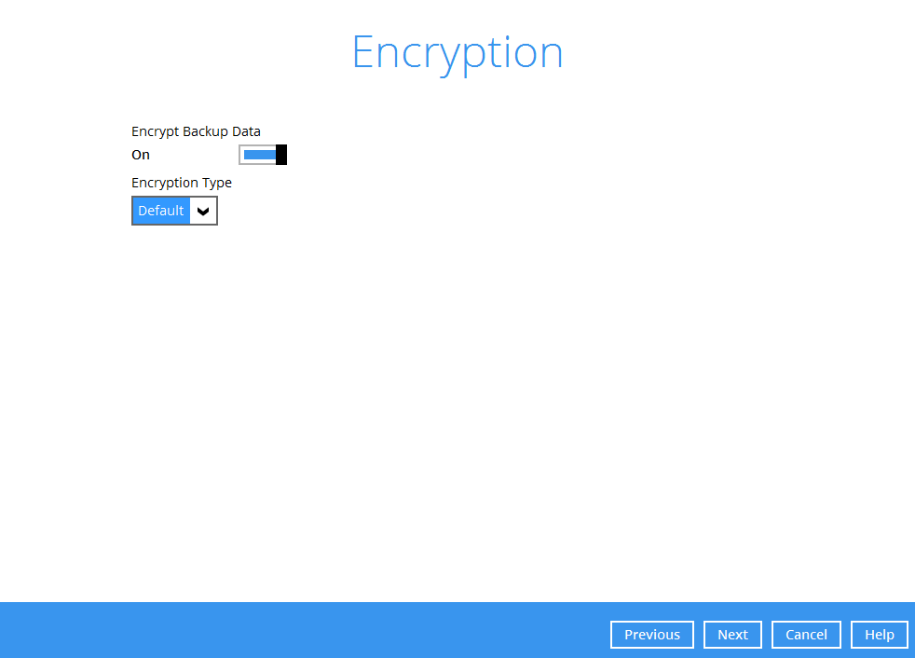
- If you have enabled the Encryption Key feature in the previous step, the following pop-up window shows, whether you set the Encryption Type as Default or Custom.
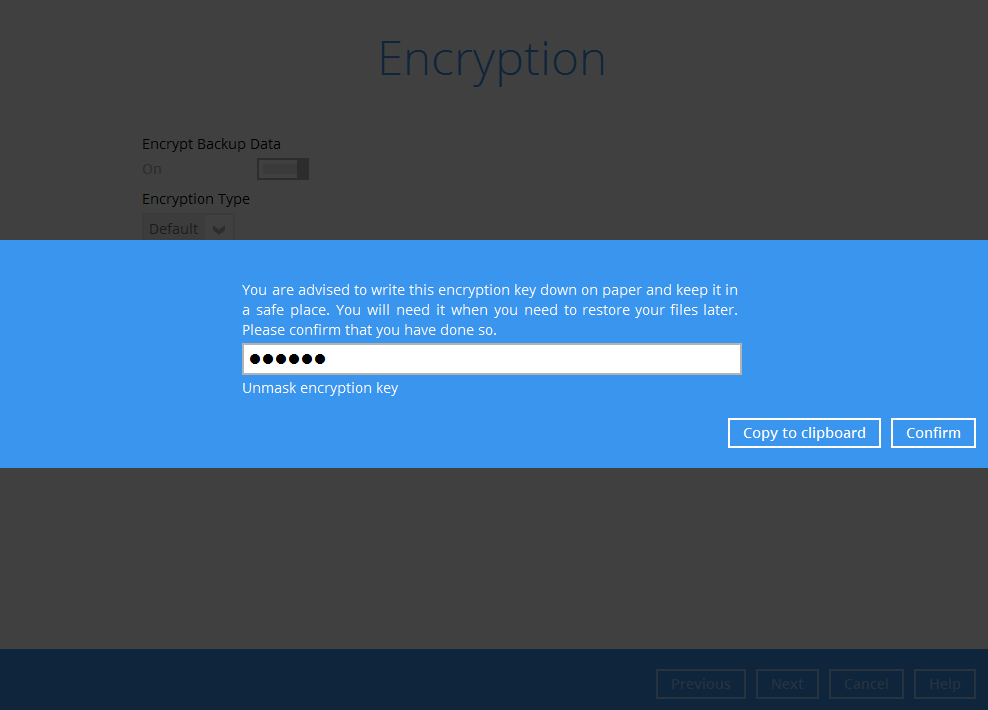
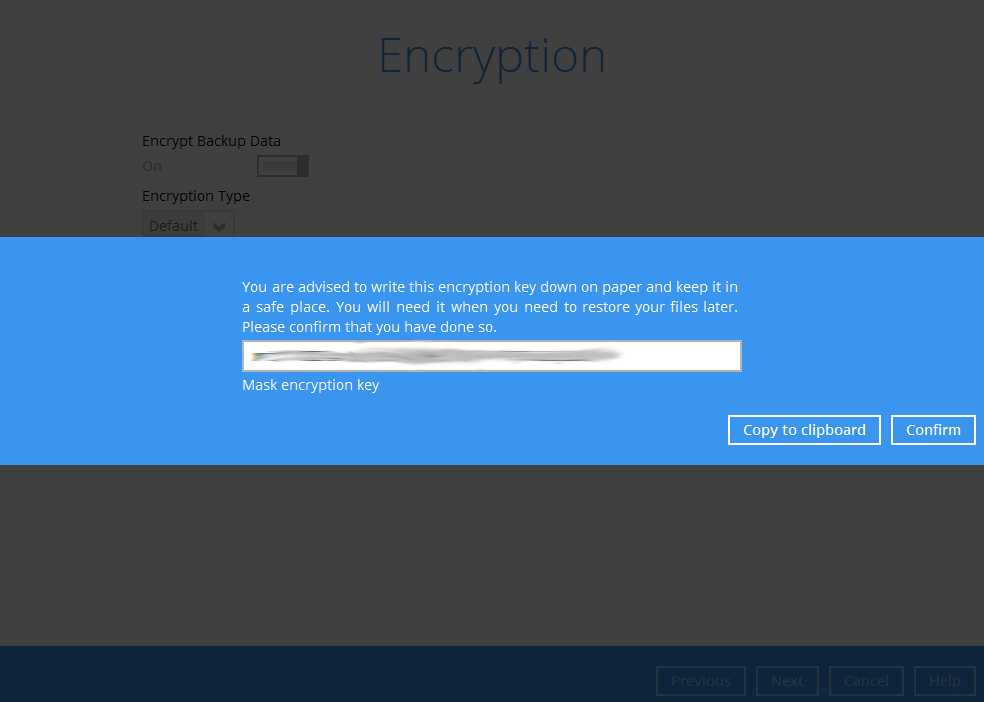
The pop-up window has the following three options to choose from: * Unmask encryption key – The encryption key is masked by default. Click this option to show the encryption key.
+ 
- Copy to clipboard – Click to copy the encryption key, then you can paste it in another location of your choice.
- Confirm – Click to exit this pop-up window and proceed to the next step.
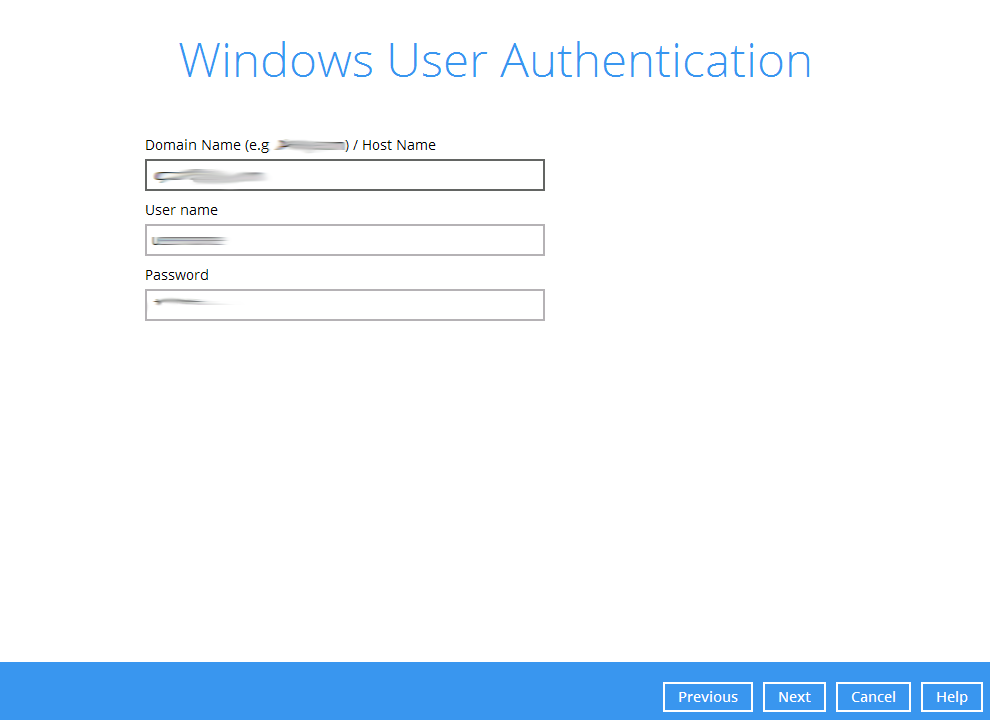
- Enter the Windows login credentials for user authentication. Click Next to proceed.
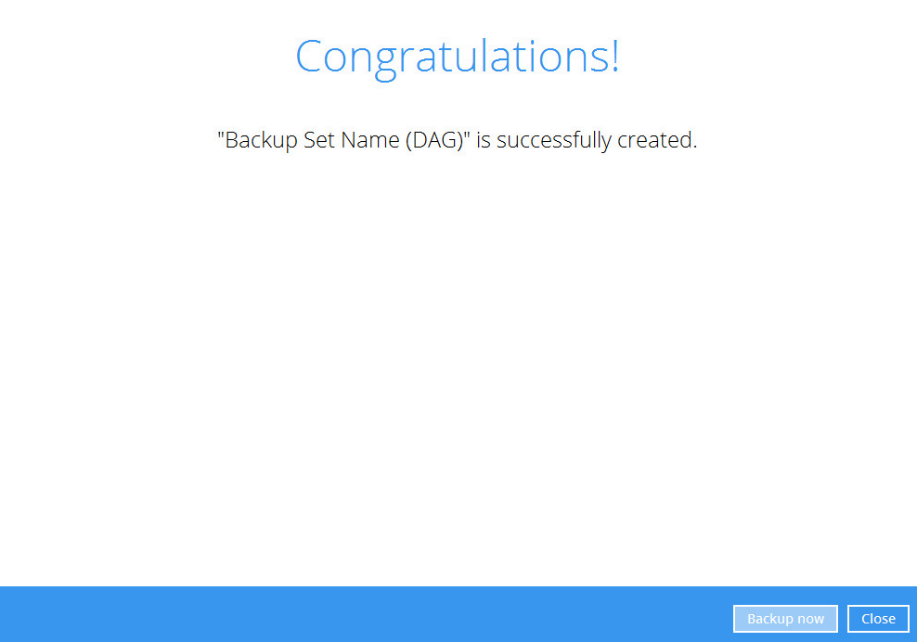
- The following screen shows when the new backup set is created successfully. Backup will run automatically at the configured scheduled time.
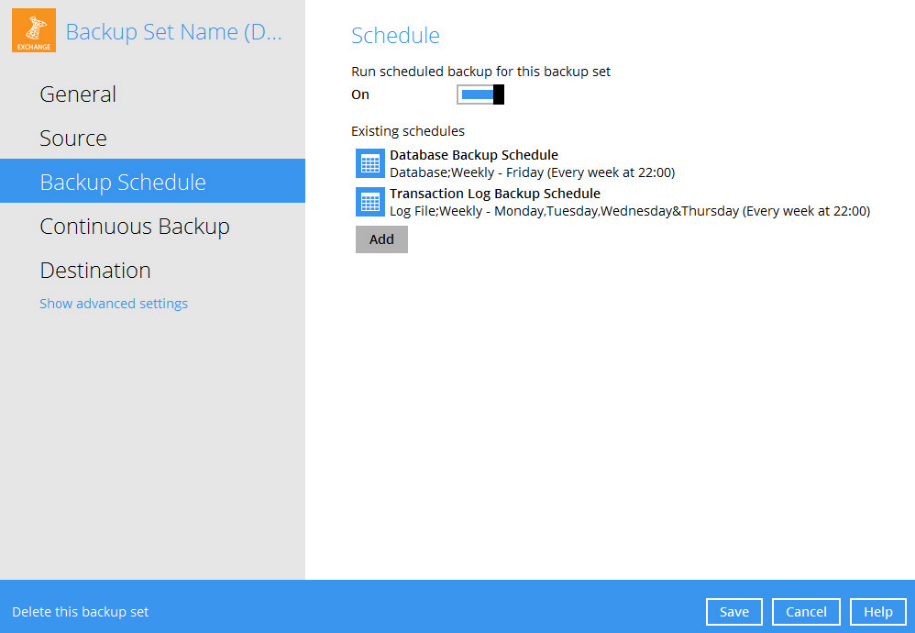
- On all other Exchange Servers within the same DAG, logon to Retrospect Virtual Host Server using the same login account. Click the same backup set, and make sure the Run scheduled backup for this backup set is turned on the Backup Schedule menu page. Make sure you save the setting before exiting the application.
Restore Microsoft Exchange Server 2010/2013/2016 in Database Availability Group (DAG)
Pre-restoration requirements
Refer to the following instructions to restore your Exchange database in Database Availability Group (DAG).
The database restoration is required to restore on the active database only. You can identify the Exchange server with the active database from the Exchange Management Shell.
Type the following command in the Exchange Management Shell.
Get-MailboxDatabase | ft name, server
It will show which Exchange server is hosting the active mailbox database, i.e. Mailbox Database 01 and 03 are hosted on EX1, while Mailbox Database 02 and 04 are hosted on EX2.
[PS] C:\>Get-MailboxDatabase | ft name, server
Name Server
Mailbox Database 02 EX2
Mailbox Database 01 EX1
Mailbox Database 03 EX1
Mailbox Database 04 EX2
When you can identify which Exchange server is hosting the active database, you can logon to that Exchange server to restore the database.
Restore Exchange Database to the Exchange with the active database
- In the Retrospect Virtual Host Server main interface, click Restore.
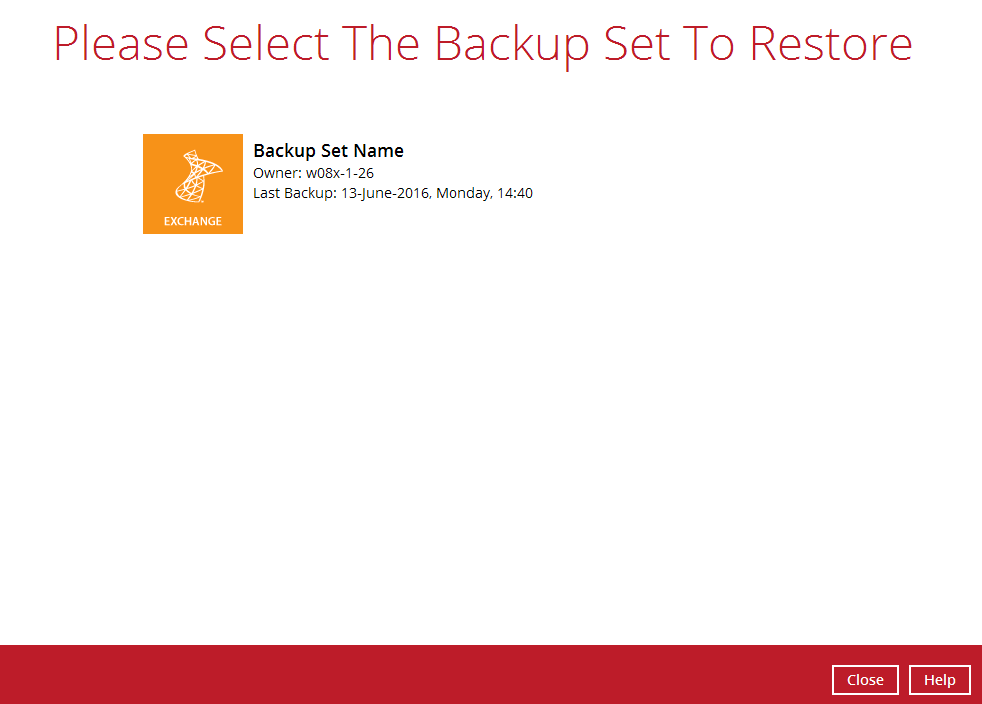
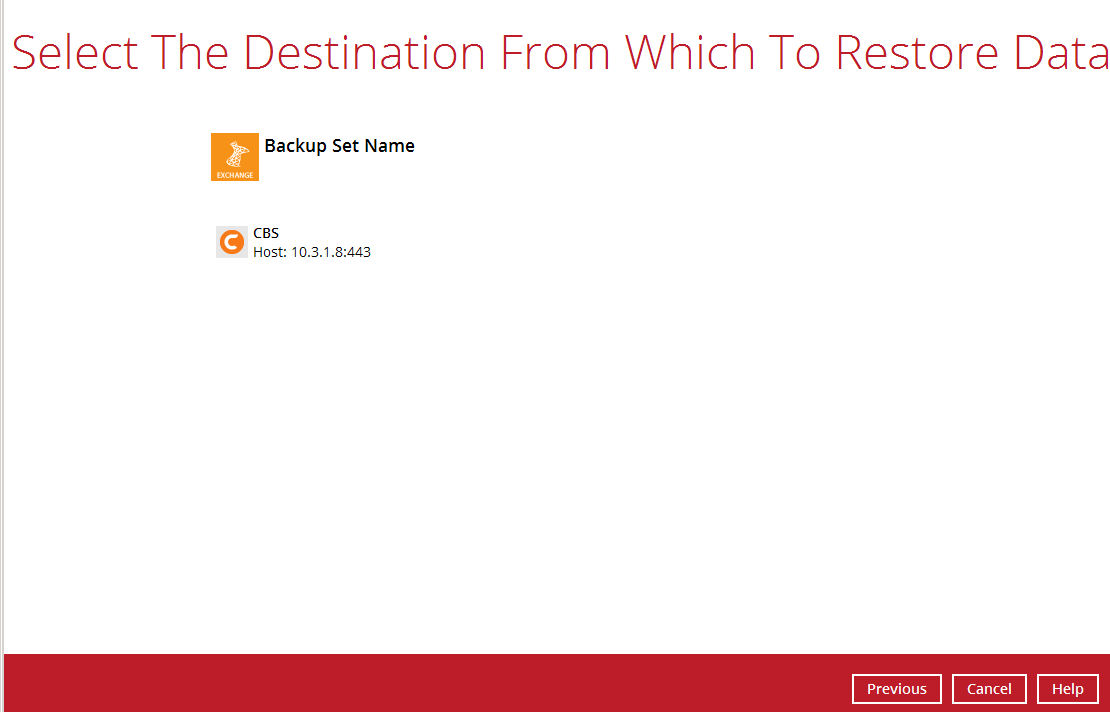
- Select the backup set that you would like to restore data from.
- Select the backup destination that contains the files or folders that you would like to restore.
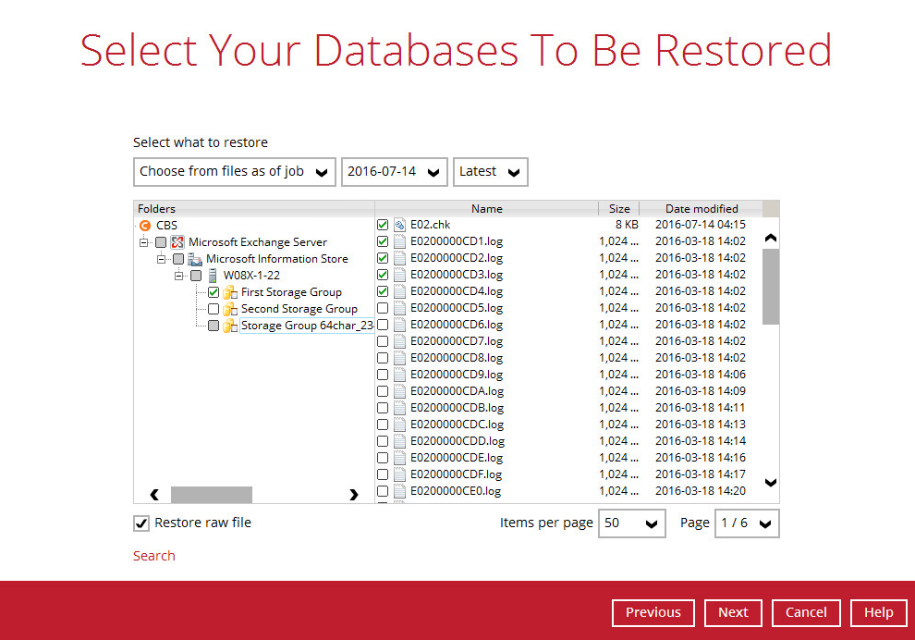
- Click to expand the menu tree to select which Information Store to restore. You can also select individual database file to restore by clicking the Restore raw file checkbox at the left bottom corner.
In addition, you can also choose to restore backup item(s) from a specific backup job using the drop-down menu at the top. Click Next to proceed when you are done with the settings.
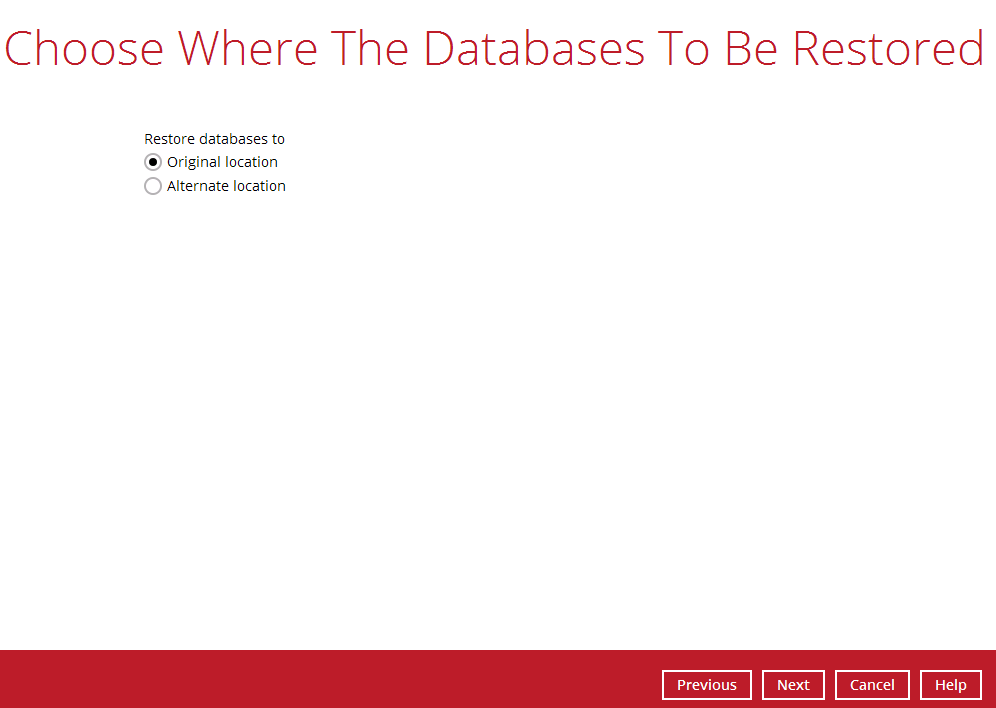
- Select to restore the files to their Original location, or to an Alternate location.
- Restore to Original location
Select the Original location option, then press Next to proceed.
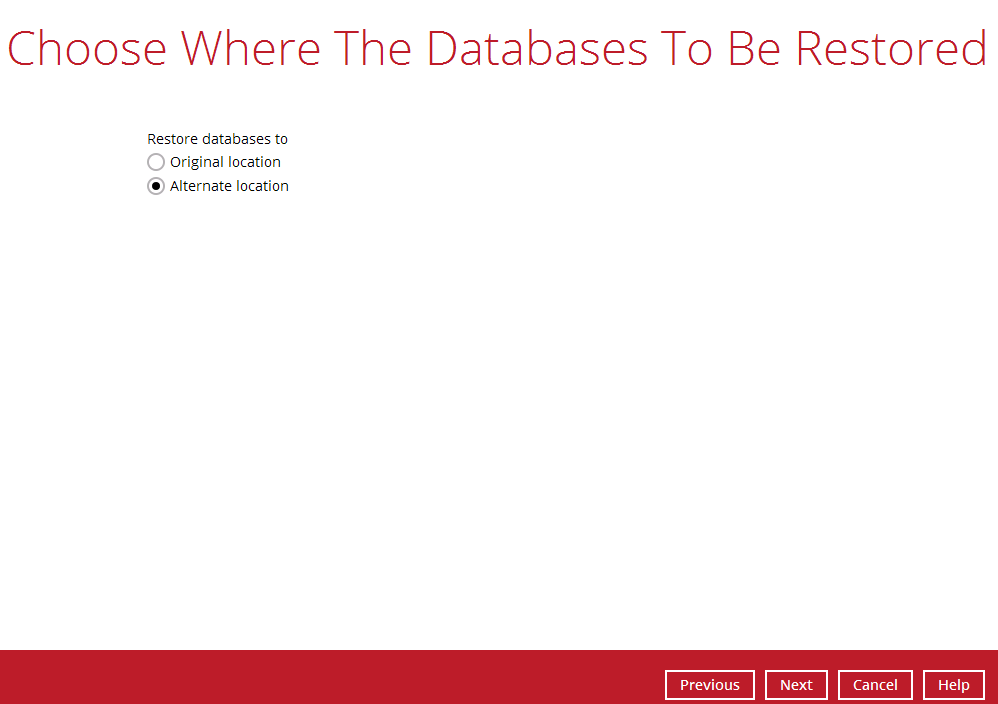
Restore to Alternate location
- Select the Alternate location option, then press Next.
- Select the locations where you would like to restore the database to. Name the new mailbox store, then click Browse to modify the database, log and checksum file location if necessary. Click Next to proceed.
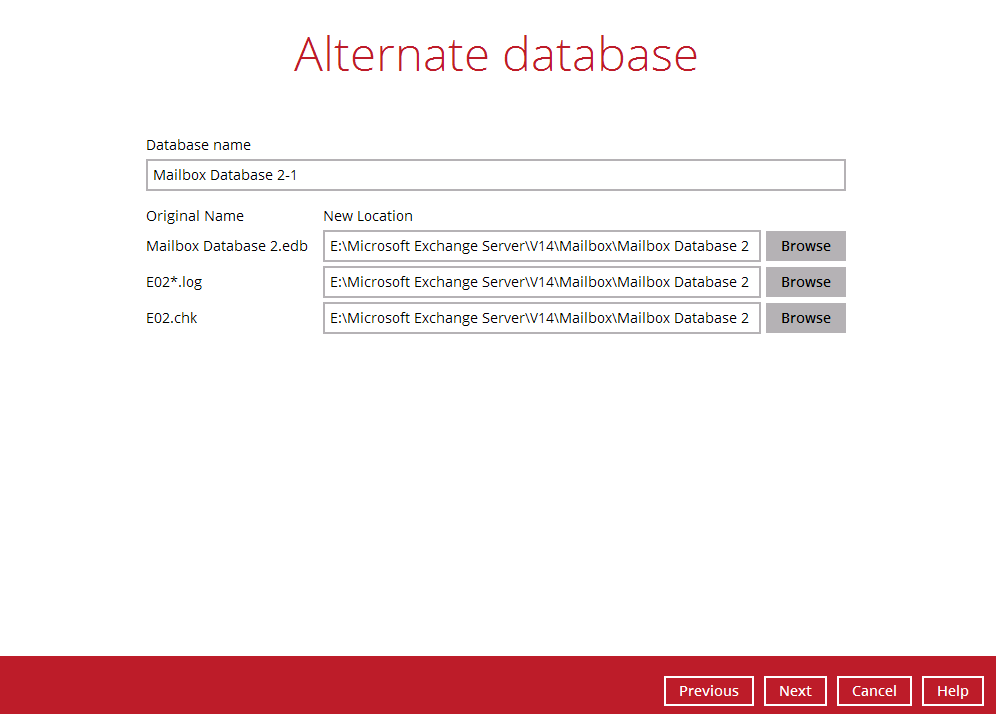
- Select the temporary directory for storing temporary files, such as delta files when they are being merged, then click Restore to start the restoration.
- The following screen with the text Restore Completed Successfully shows when the restoration is completed.
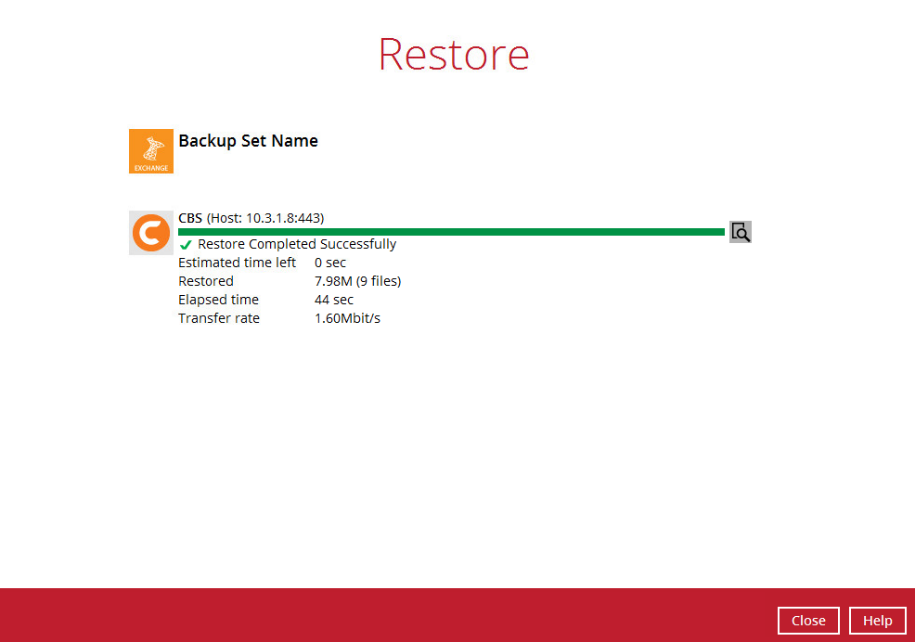
- For details regarding verifying the restoration activities log between Retrospect Virtual Host Server and the Exchange Server, refer to Appendix B Restore Activities Log.
Technical Assistance
To contact Retrospect support representatives for technical assistance, visit the following website: https://www.retrospect.com/support.
To access Retrospect Knowledgebase, visit the following website: https://www.retrospect.com/support/kb.
Appendix
Exchange Server Backup Type
Retrospect Virtual Host Server utilizes the Volume Shadow Copy Service and the Microsoft Exchange Server 2010 Writers for backup of MS Exchange 2010 databases. It offers the following types of backup options:
Database backup
Backs up the databases (EDB), transaction logs (LOG), checkpoint files (CHK), and then truncates the transaction logs for a specific database.
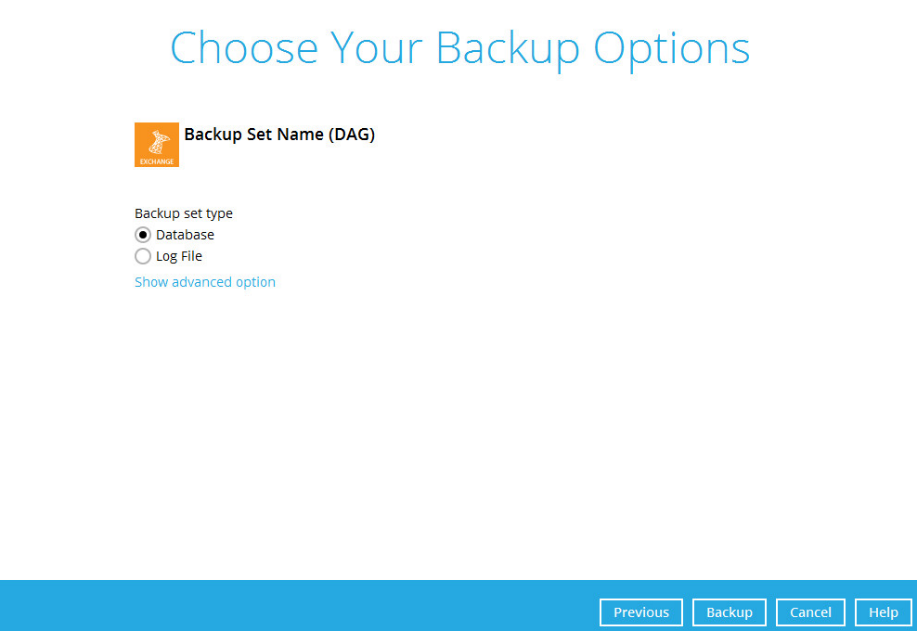
A full backup of an Exchange database creates and stores a complete copy of the database file, transaction logs, and checkpoint files. A Microsoft Exchange Server 2010 database has one set of transaction log files dedicated to that one database.
After the database has been backed up, the transaction log files on the disk are truncated so that only database changes that occur after the backup was made will remain. During this process, either the Store Writer or the Replication Service deletes all log entries up to the checkpoint, based on the assumption that the databases have now been backed up in a consistent state that contains all changes up to the most recent checkpoint.
If the database being backed up is dismounted during the backup operation, Exchange Server 2010 will not truncate the transaction logs and the result will be the equivalent of a copy backup operation, not a Full backup operation.
At the completion of Full or Incremental backups, the headers of the active mounted database get updated with the current backup information. A Full backup is required in order to run Incremental or Differential backups. There is no restriction as to which copy the Full backups are taken from as long as it is a backup.
Full backups are used in the following restoration scenarios:
- A database becomes corrupted or is lost, but the transaction log files on disk are intact. In this scenario, the affected database files can be restored from the Full backup, and then recovered by replaying the transaction logs that are still on disk.
- Transaction log files, as well as the database file on disk, are lost. In this scenario, the transaction log files that were backed up at the time of the Full backup are restored together with the database.
Log File backup
Backs up the transaction logs (LOG) to record changes since the last full or incremental backup, and then truncates the transaction logs.
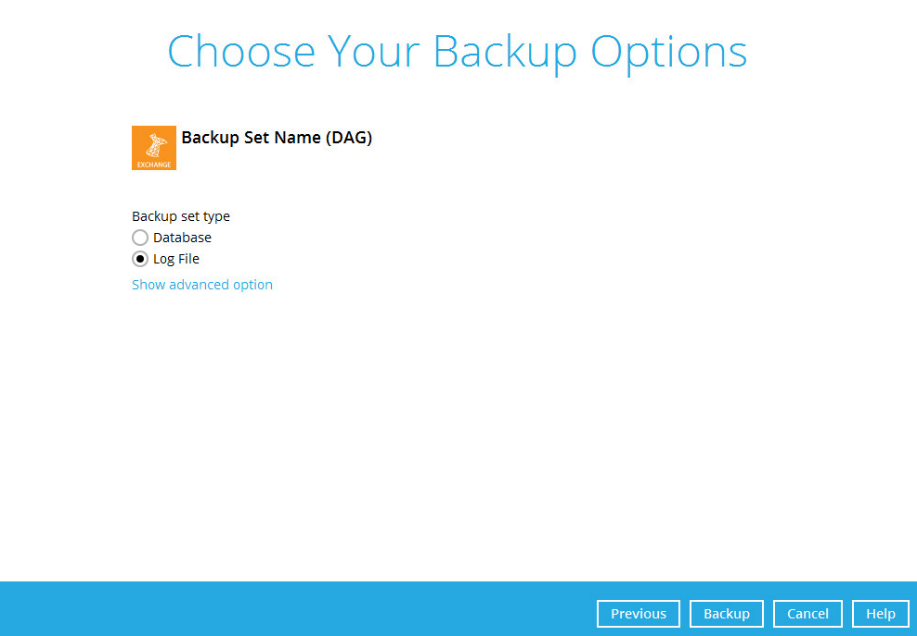
An Incremental backup of Microsoft Exchange Server 2010 database saves changes to the database that have occurred since the last Full or Incremental backup. When all the database files and log files are restored to the system, they can be recovered to the state they were in at the time of the last Incremental backup. The data stored in an Incremental backup includes only the transaction log files up to the current time.
When the backup is completed, the Exchange Server truncates the log files and marks the backup time in the database headers. Using an Incremental backup to recover a database requires the restoration of at least two data sets: the last Full backup, and then every Incremental backup taken after the last Full backup. The benefit of using Incremental backup is that an individual Incremental backup is much smaller than a Full backup and an individual Incremental backup is often smaller than an individual Differential backup.
The disadvantage of using Incremental backups is that if there are many Incremental backups made between Full backups, recovering the storage group may involve recovering many Incremental backups. Exchange does not allow an Incremental backup to occur when there has been no previous Full backup to establish the starting point for the incremental changes.
Restore Activities Log
The information below demonstrates how you can verify the restoration activities log between the Retrospect Virtual Host Server and the Microsoft Exchange Server.
To verify the restoration activities log, open both the Restore Report in Retrospect Virtual Host Server and the Event Viewer in the Microsoft Exchange Server.
Opening Restore Report in Retrospect Virtual Host Server
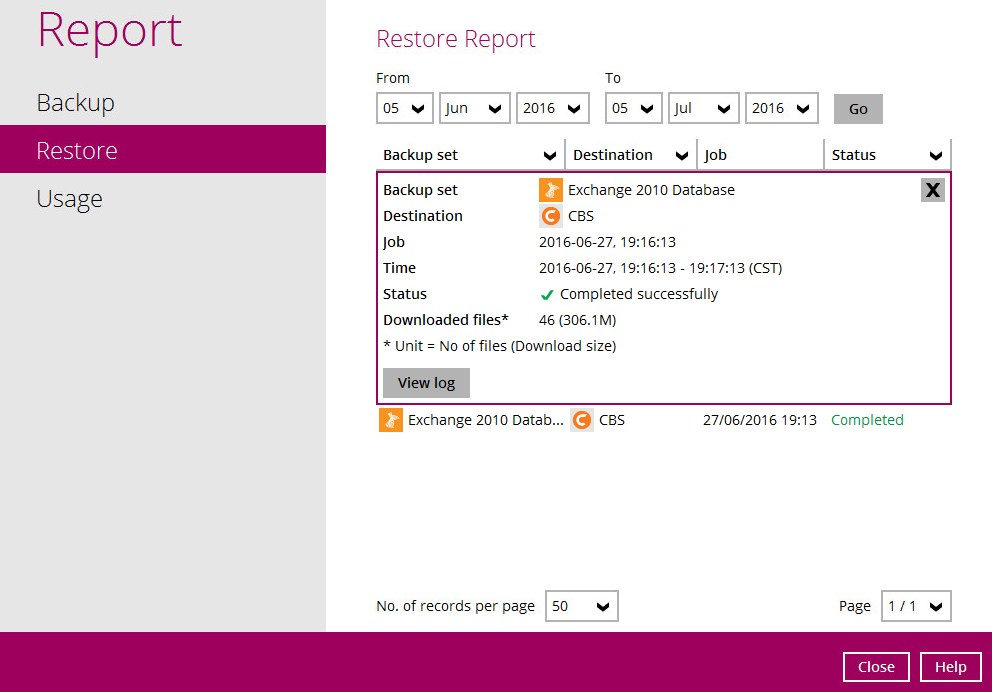
- Open Retrospect Virtual Host Server, then click the Report icon on the main interface page.
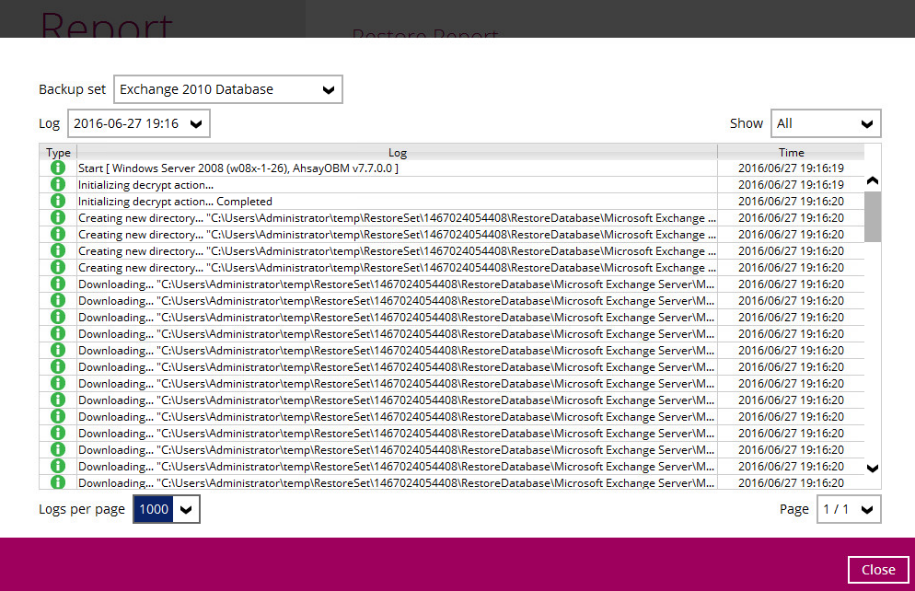
- Click the Restore option on the left, then click the restore report you want to verify on the right. Click the View Log button to show all the restoration activities log.
Opening Event Viewer in Microsoft Exchange Server
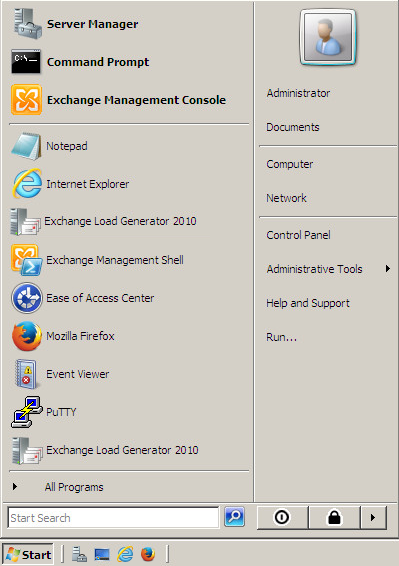
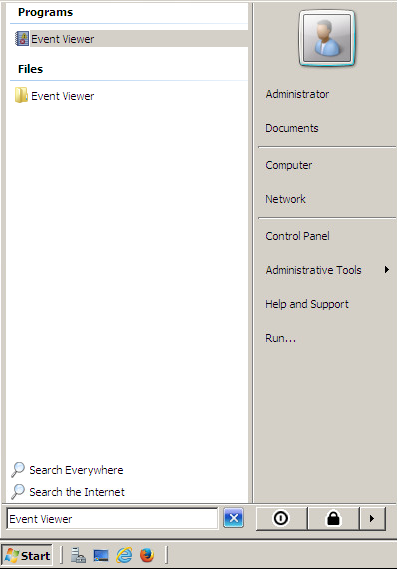
- Click the Start button on the left bottom corner in the Exchange Server, then type Event Viewer in the search bar at the bottom.
- When the Event Viewer is opened, click Windows Log on the left to expand the menu tree, then select Application. All Application activities logs are shown on the right now.
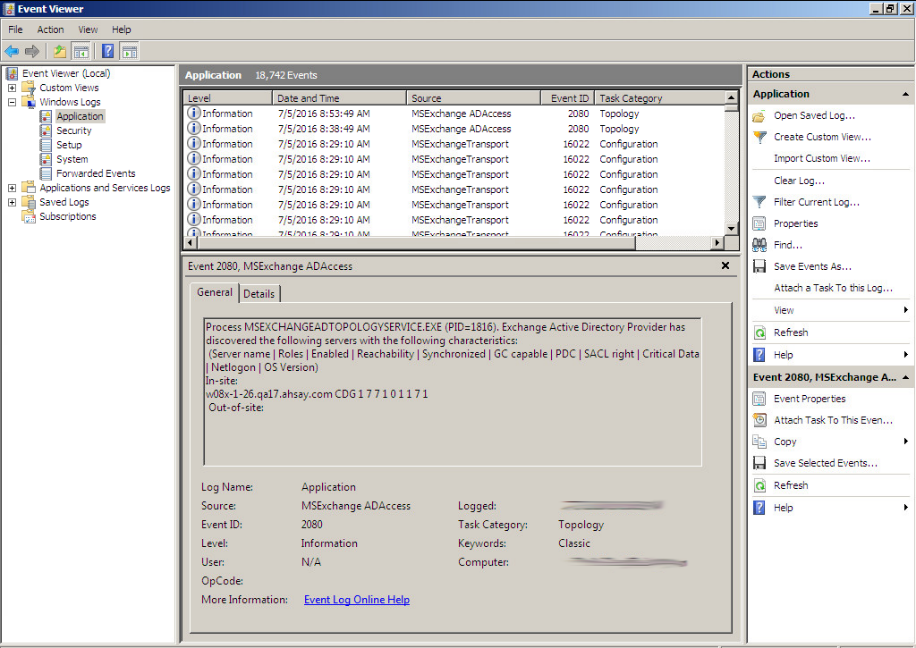
Cross-checking activities log on Retrospect Virtual Host Server Restore Report and Exchange Server Event Viewer
Each restoration action item initiated by Retrospect Virtual Host Server represented by individual activity log in the Restore Report in Retrospect Virtual Host Server, and the corresponding action taken place in the Exchange Server is shown in the Event Viewer as well.
There are 5 major parts to take place during the database restoration progress as shown below.
- Download files from Retrospect Virtual Console to Temp Folder: Retrospect Virtual Host Server Restore Report

- Dismount Exchange Server Database

- Restore files to Exchange Server Database

- Remount Exchange Server Database

- Delete files from Temp Folder
