Microsoft Azure Blob Storage provides a low-cost, scalable cloud storage location for a multitude of corporate assets. Companies use cloud storage for all sorts of data, from website assets to affordable sharing to ingestable data, and Retrospect Backup includes cloud data protection support for cloud storage as a first-class backup volume. Cloud volumes enable businesses to protect their cloud content on-site with an incremental backup or on a different cloud with an automated policy-driven workflows.
Information for Retrospect
Retrospect needs three pieces of information to access Microsoft Azure Blog Storage:
- Account – Use the account name from above.
- Container Path – container_name/path
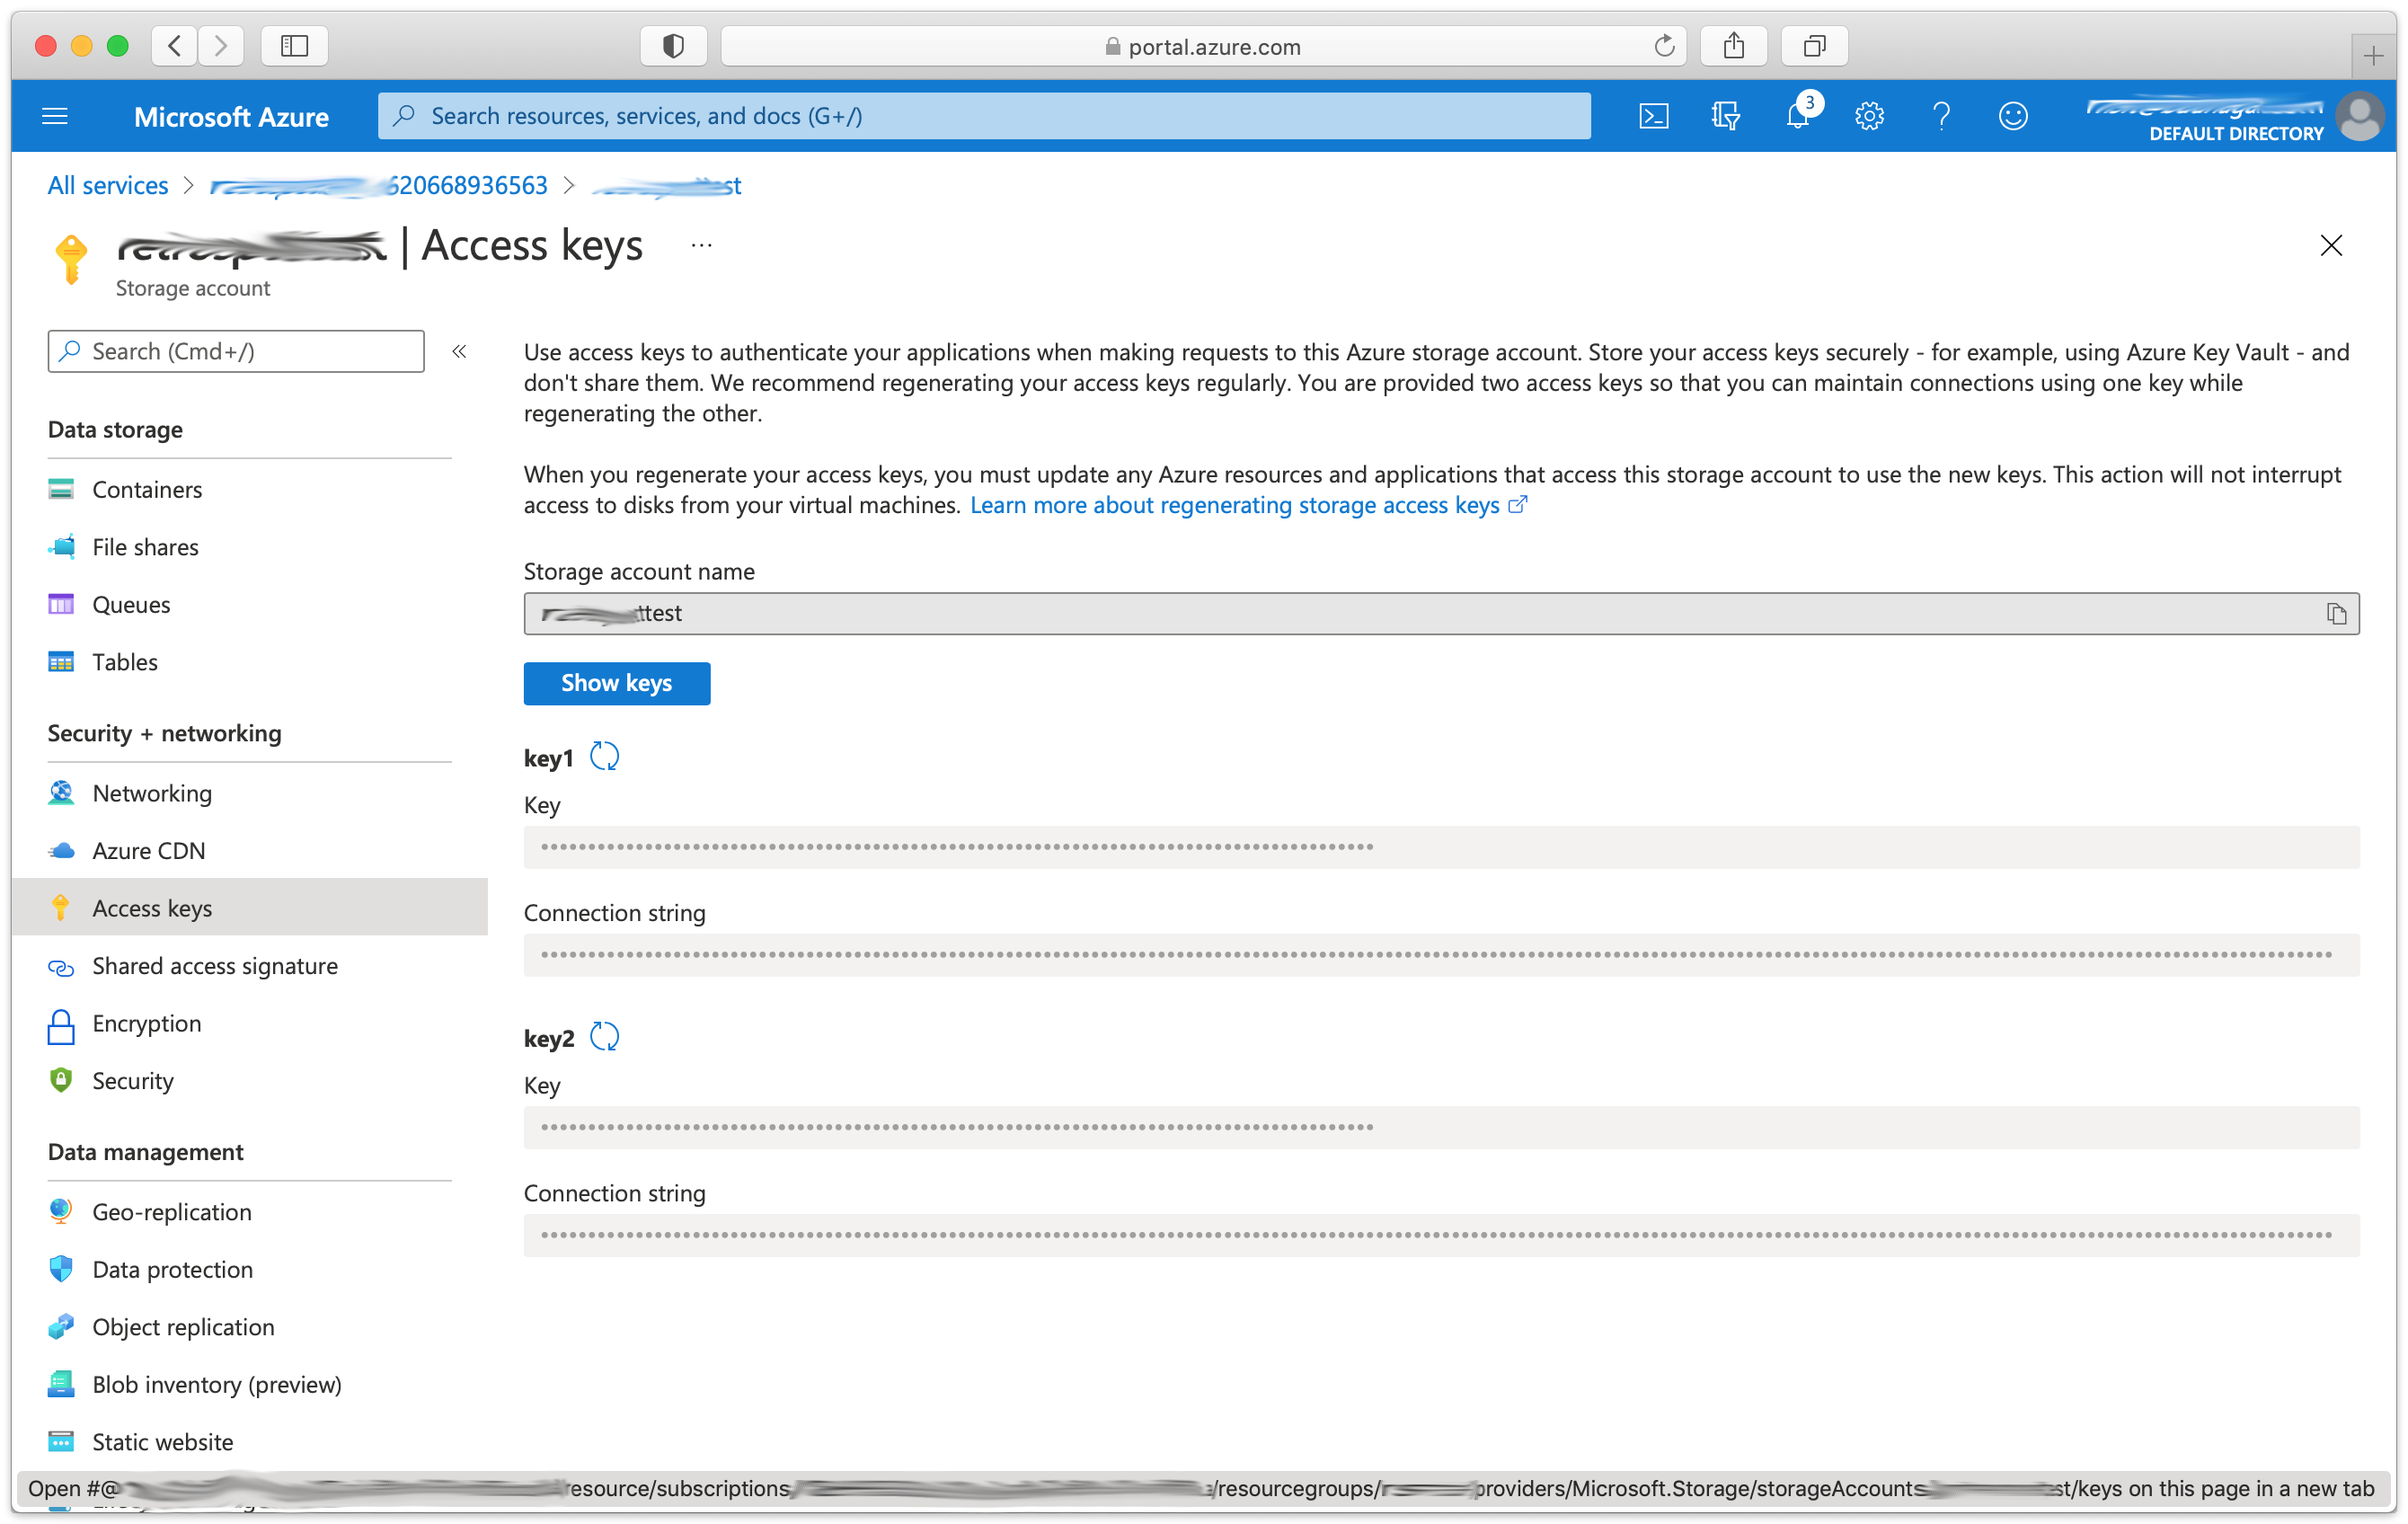
- Access Key – Use the access key from Storage Account > Access Keys > Secret.
Note that on Mac, "Account" and "Container Path" are combined into "Path", separated with a forward slash.
Step-by-Step Guide
Cloud data protection is easy with Retrospect. Let’s walk through adding an Azure Blob volume to Retrospect and then setting up a policy to protect it on-premise.
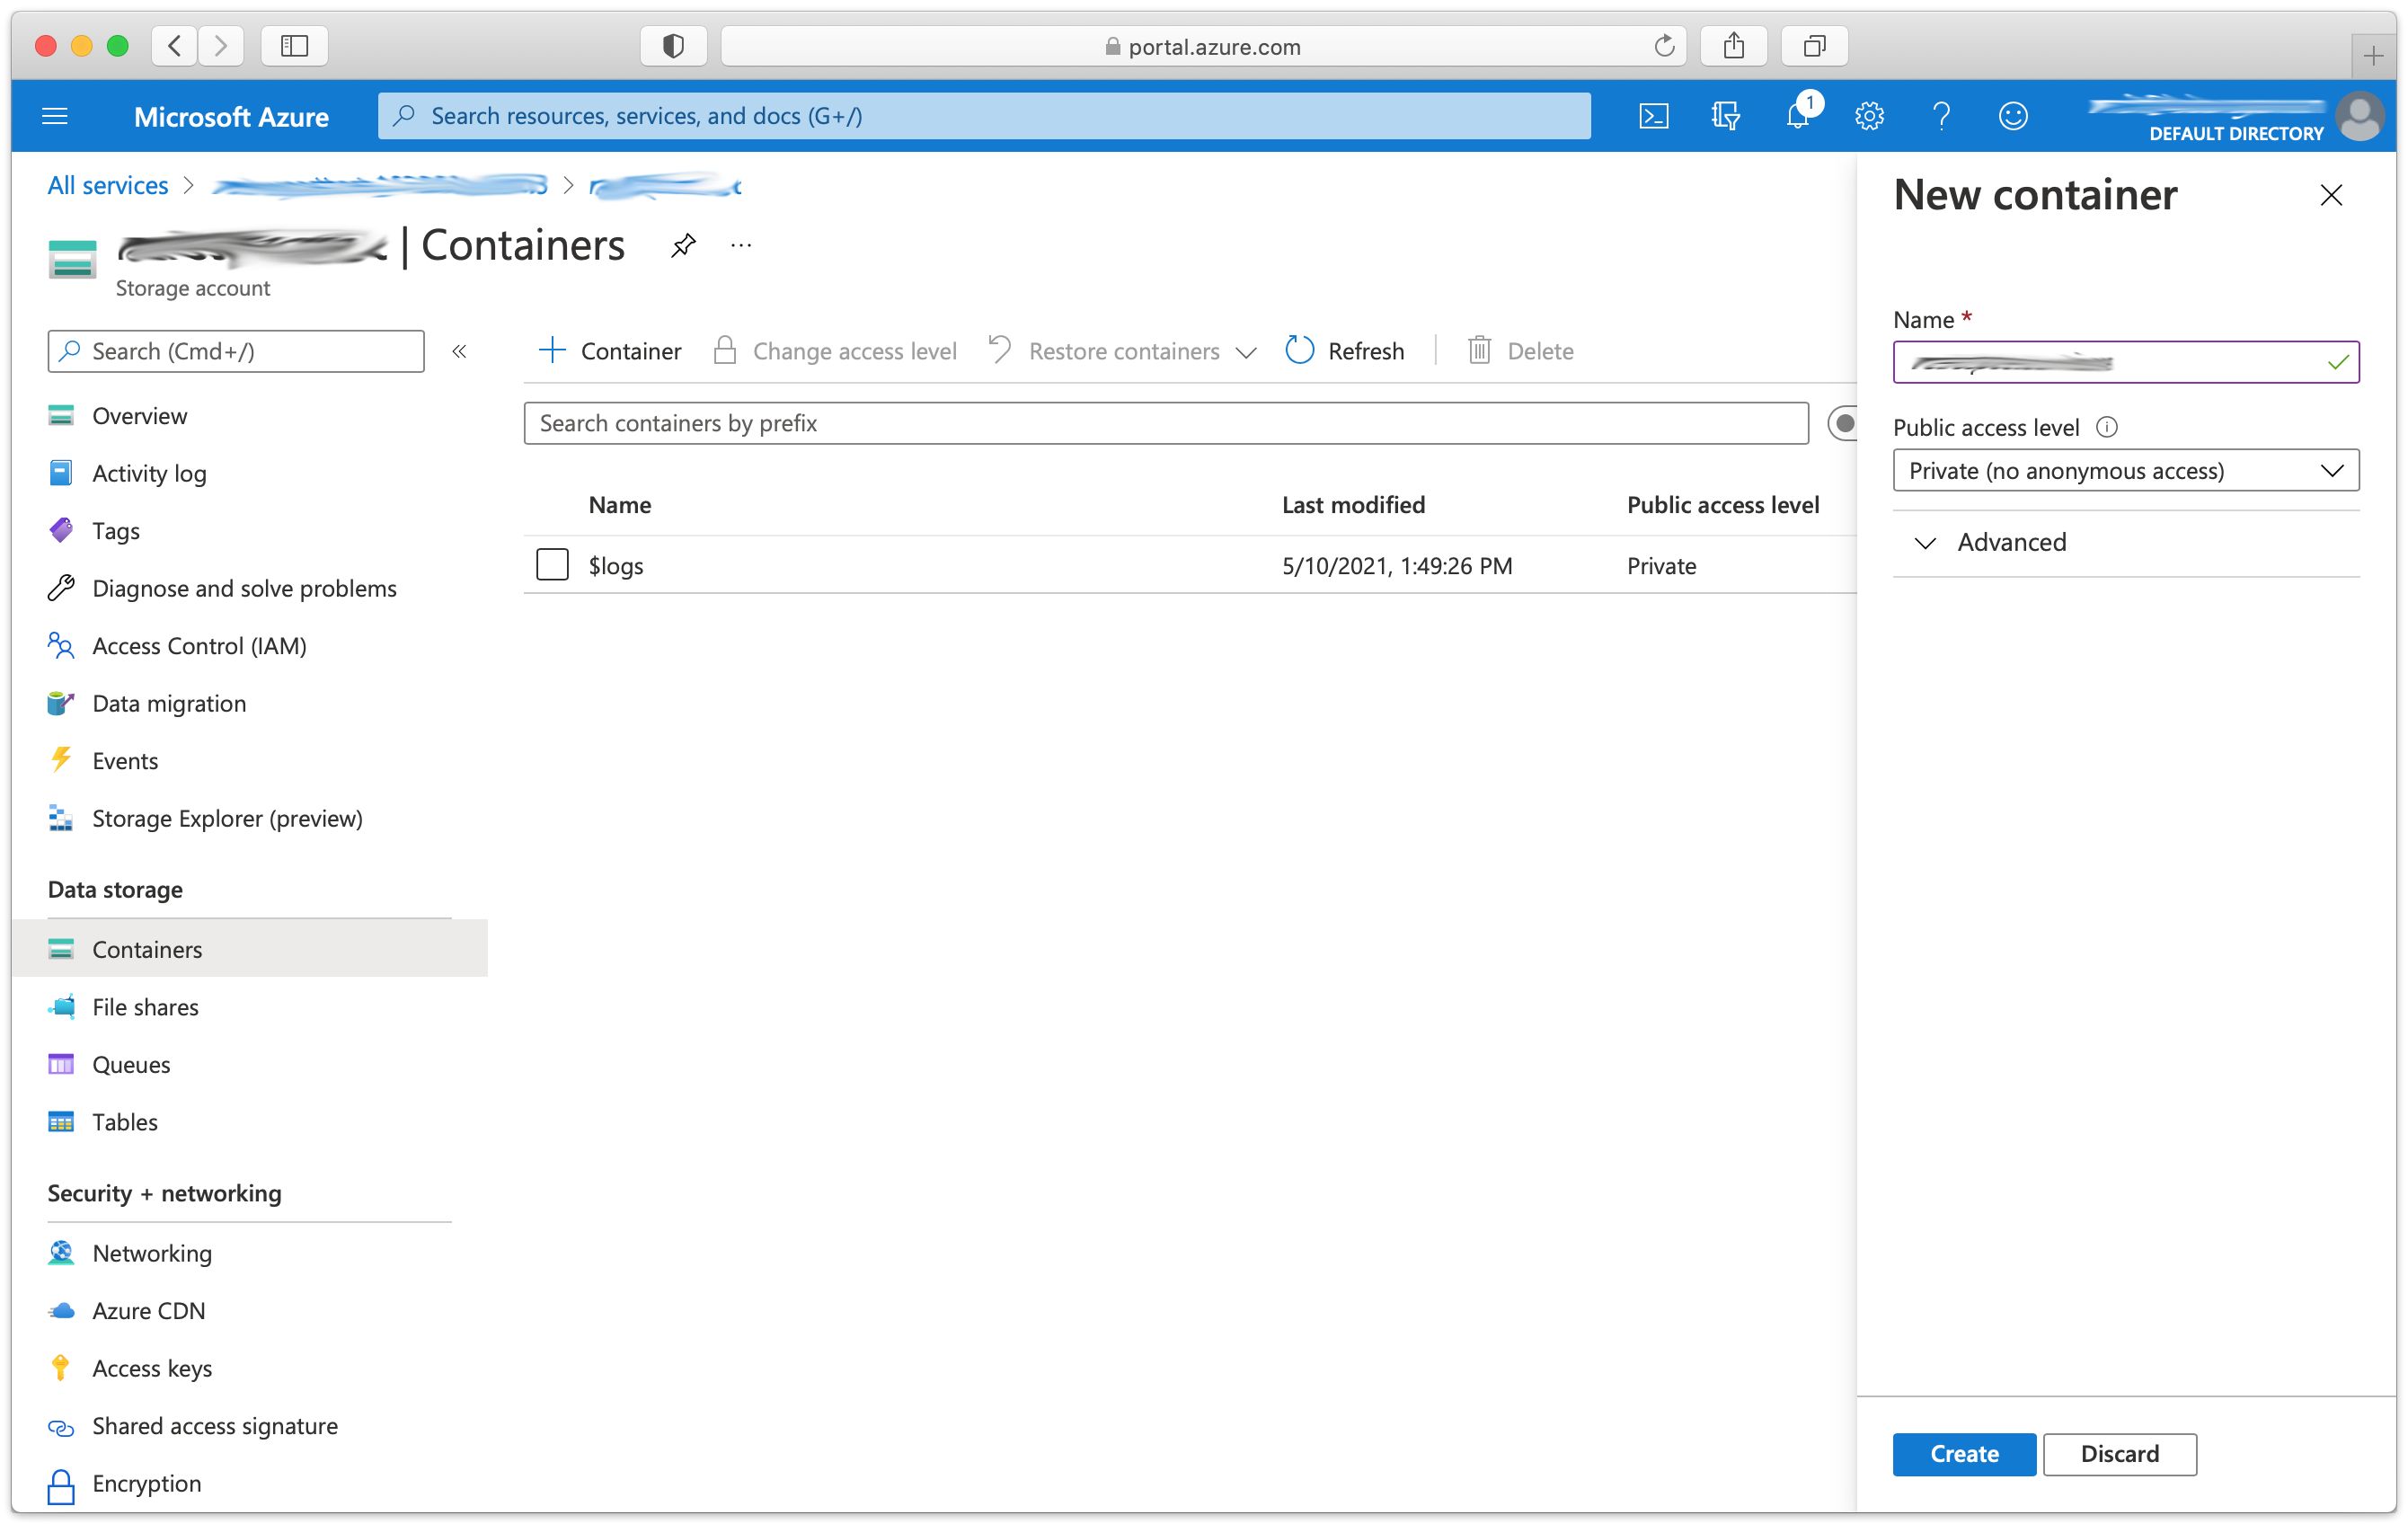
- In Azure Console, you will need the container name from Azure as well as the Account ID and Access Key. These are available in the Azure Console.
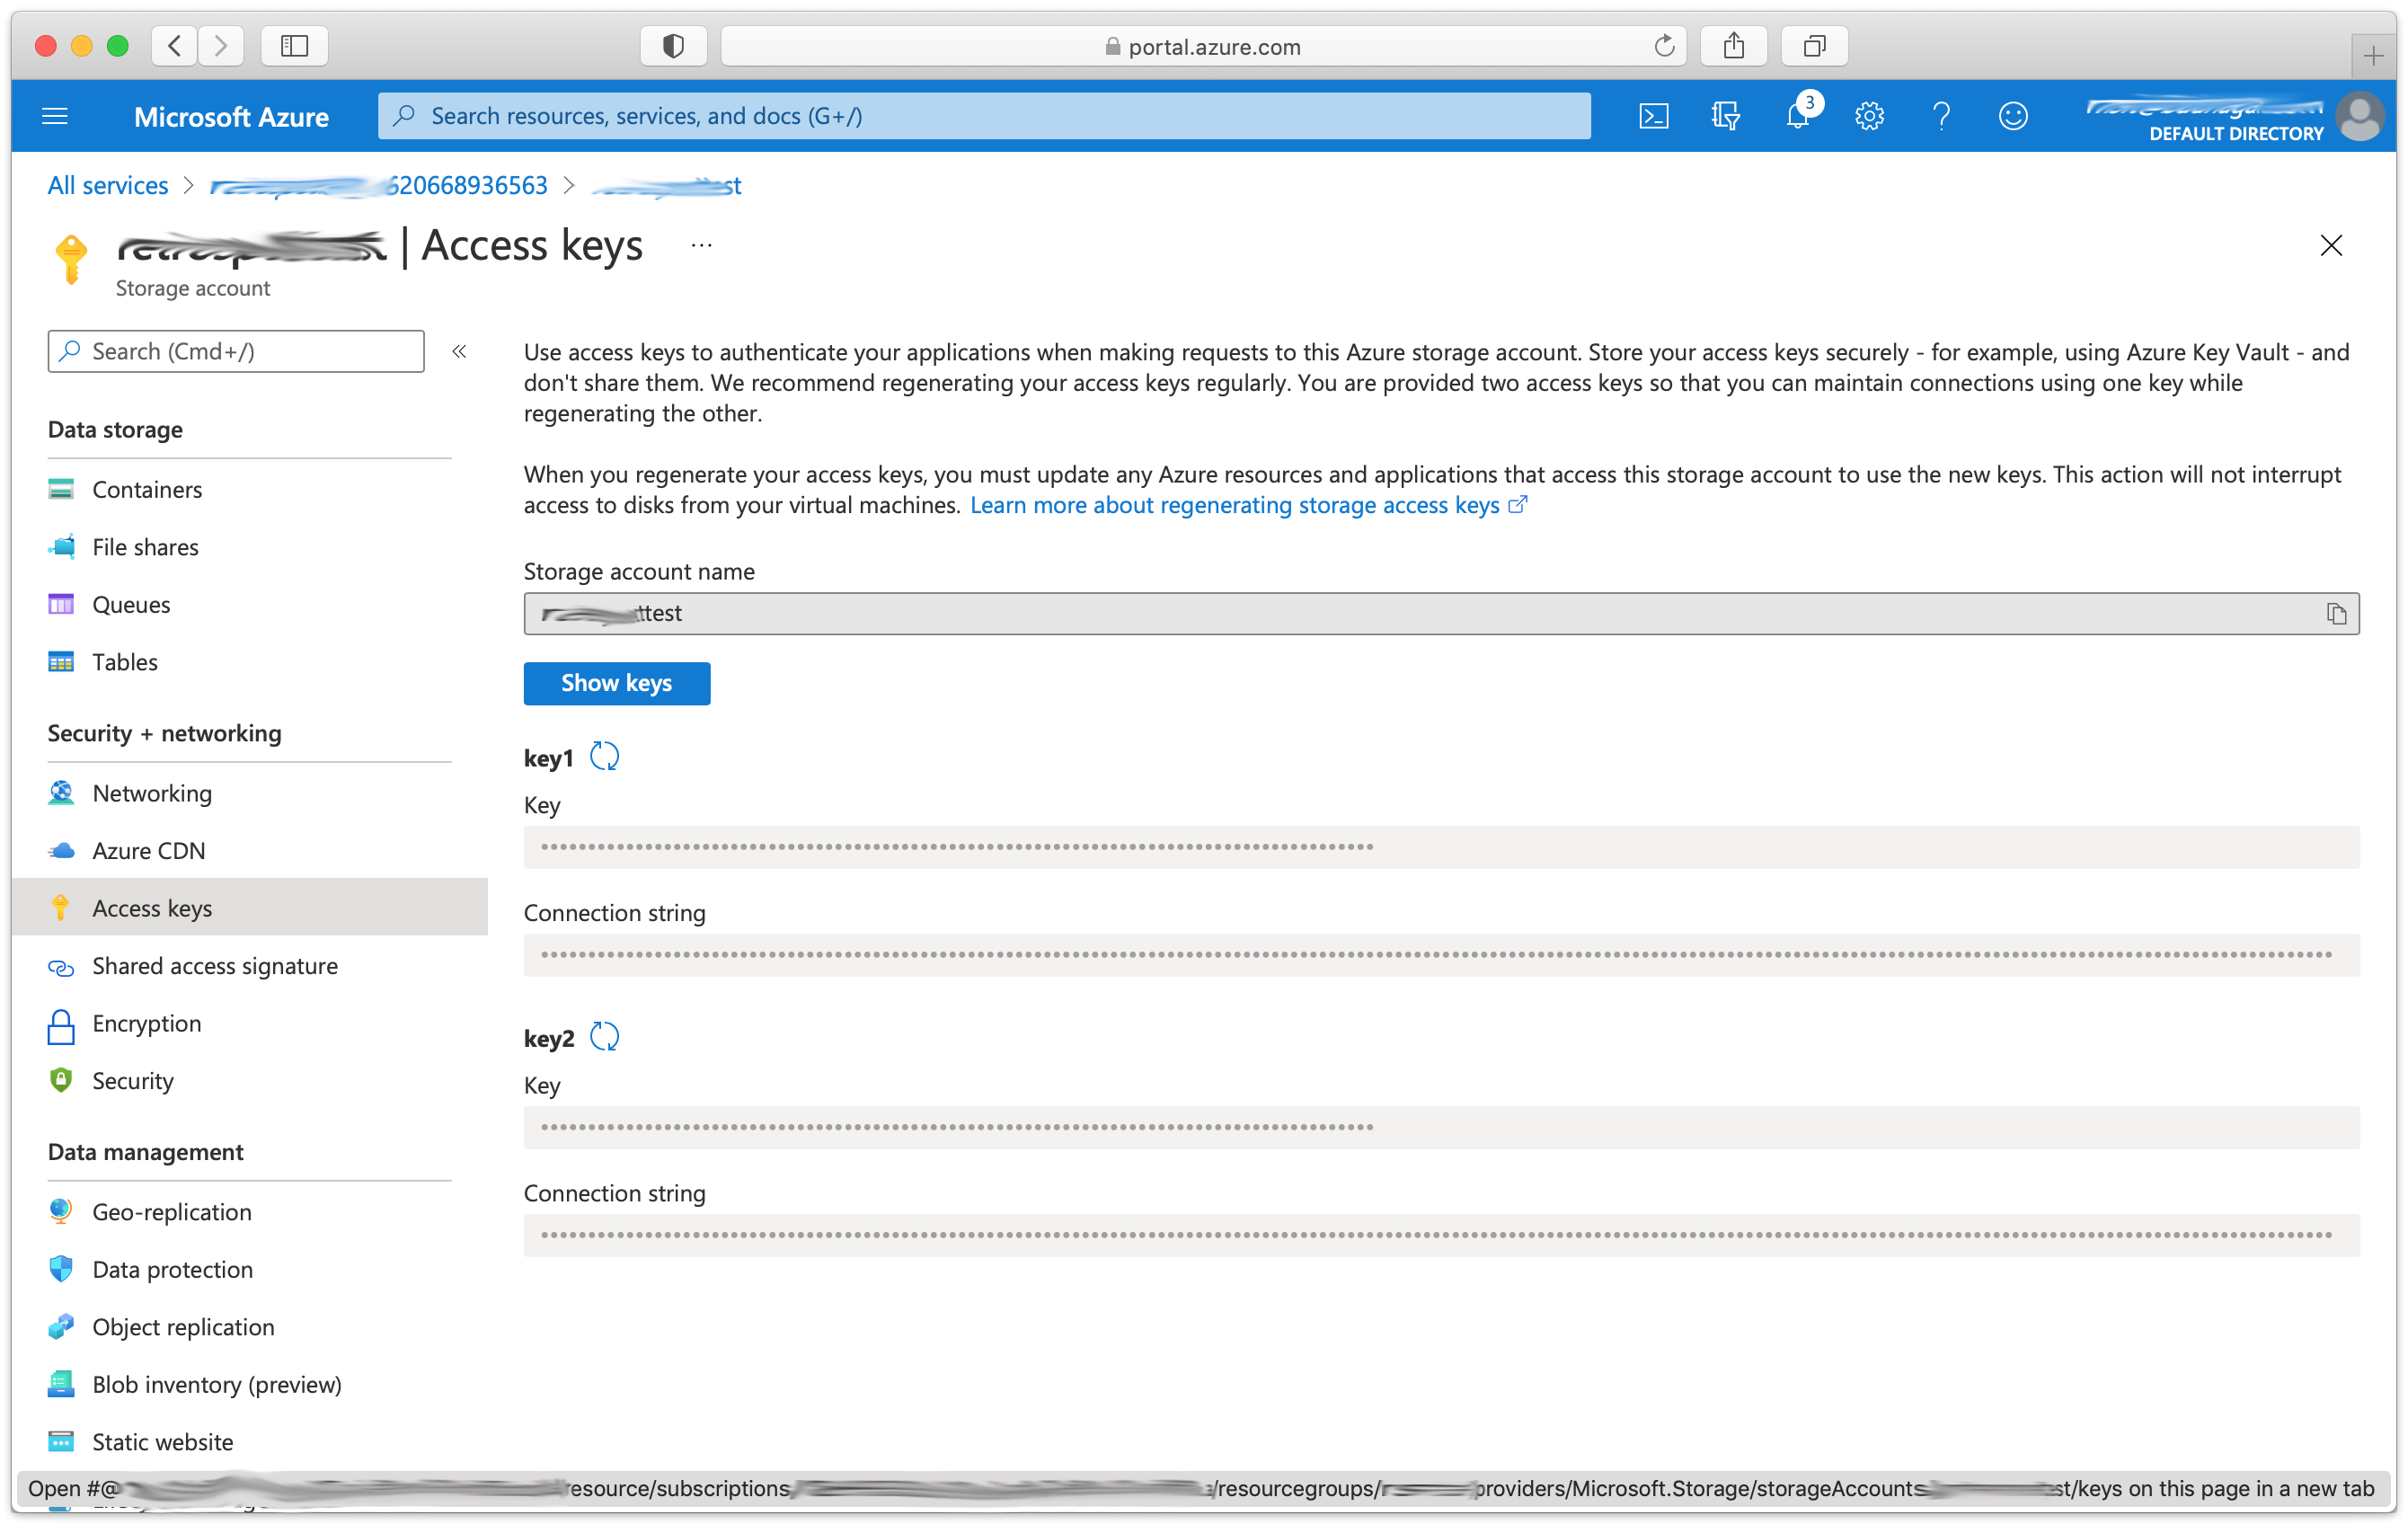
- Click on "Access keys" and click "Show keys" to get your secret key from under key1 > Key.
- In Retrospect, click on "Volumes" (Windows) or "Sources" (Mac).
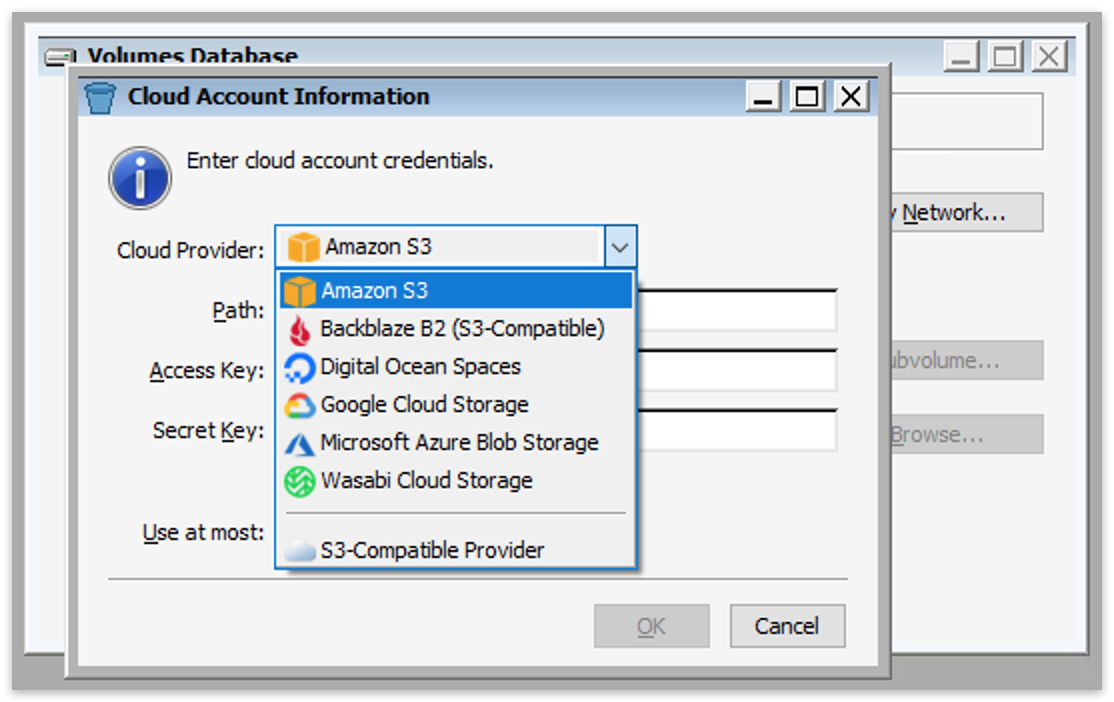
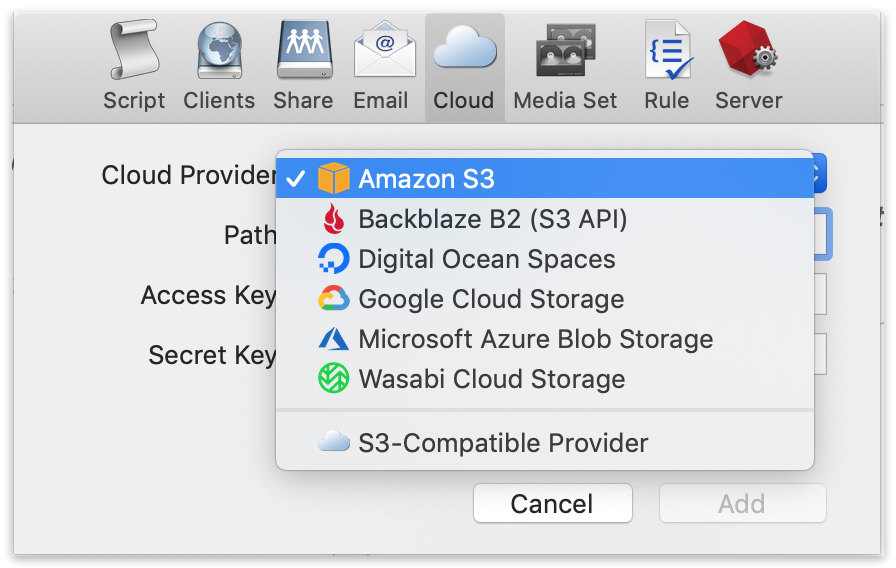
- Select "Microsoft Azure Blob Storage".
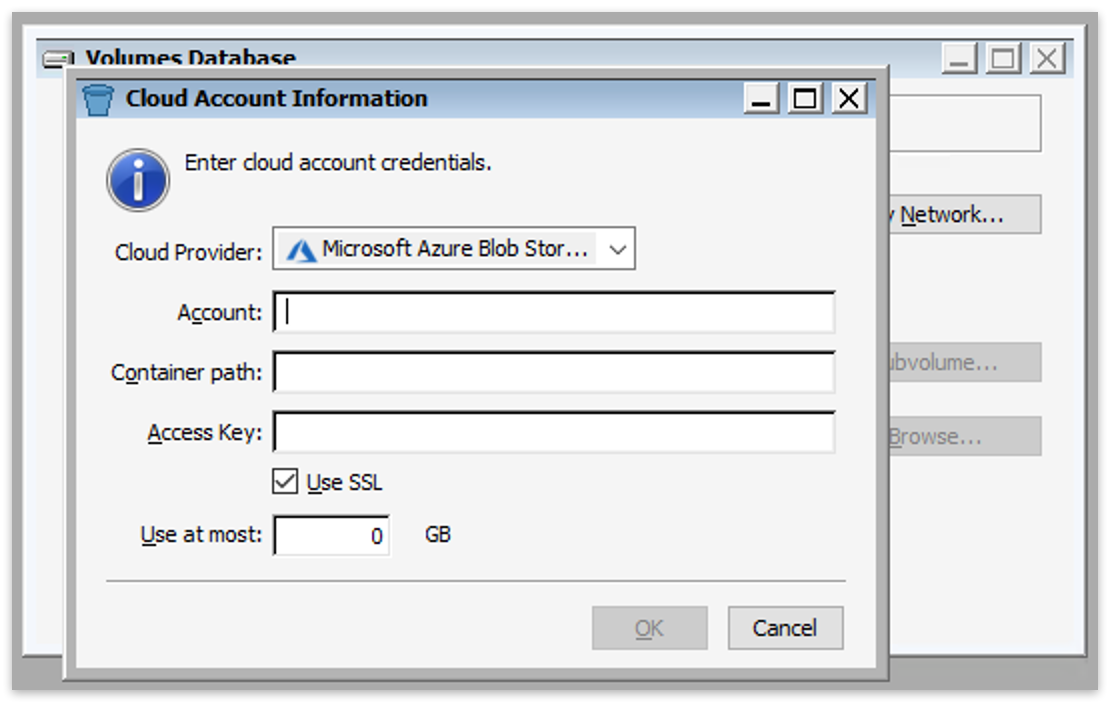
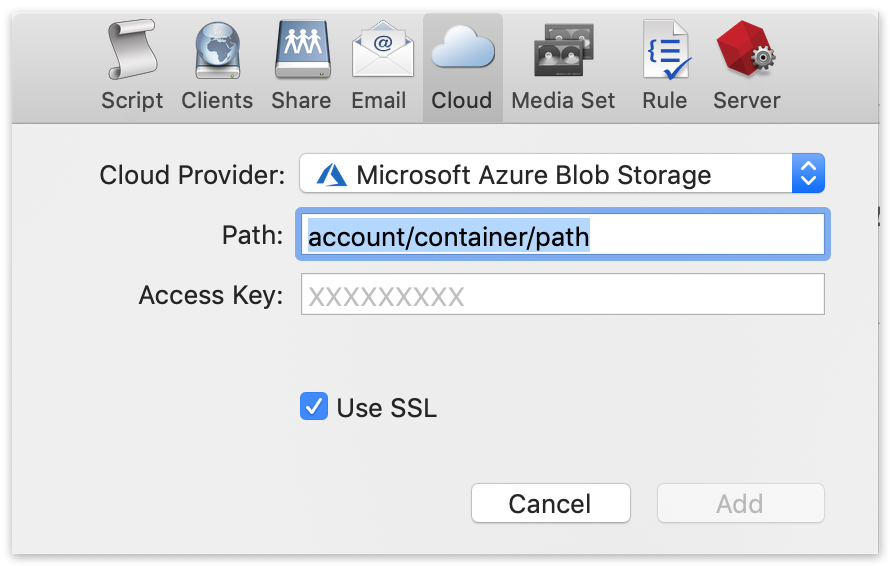
- Type in your container information from above and click "OK".
- Create a backup script policy for protecting that volume by clicking "Backup Now" (Windows) or "Backup" (Mac).
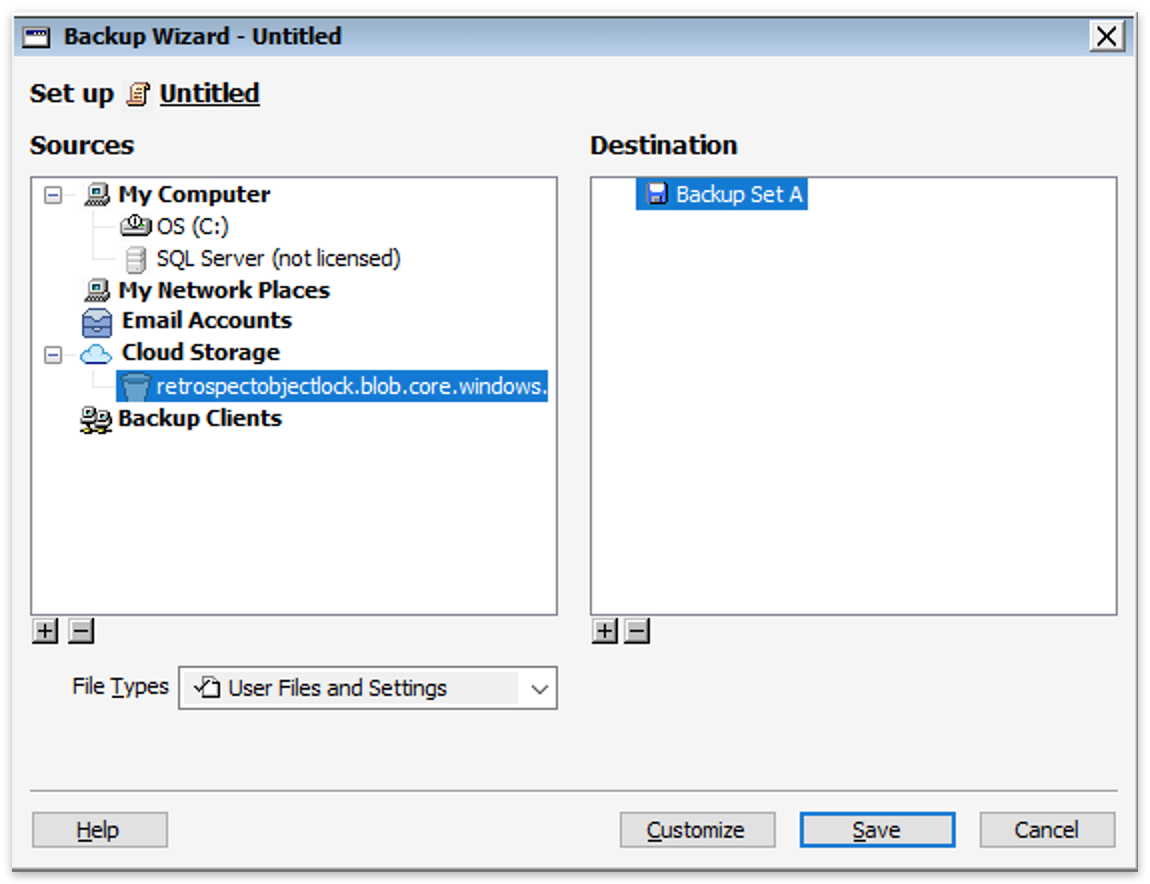
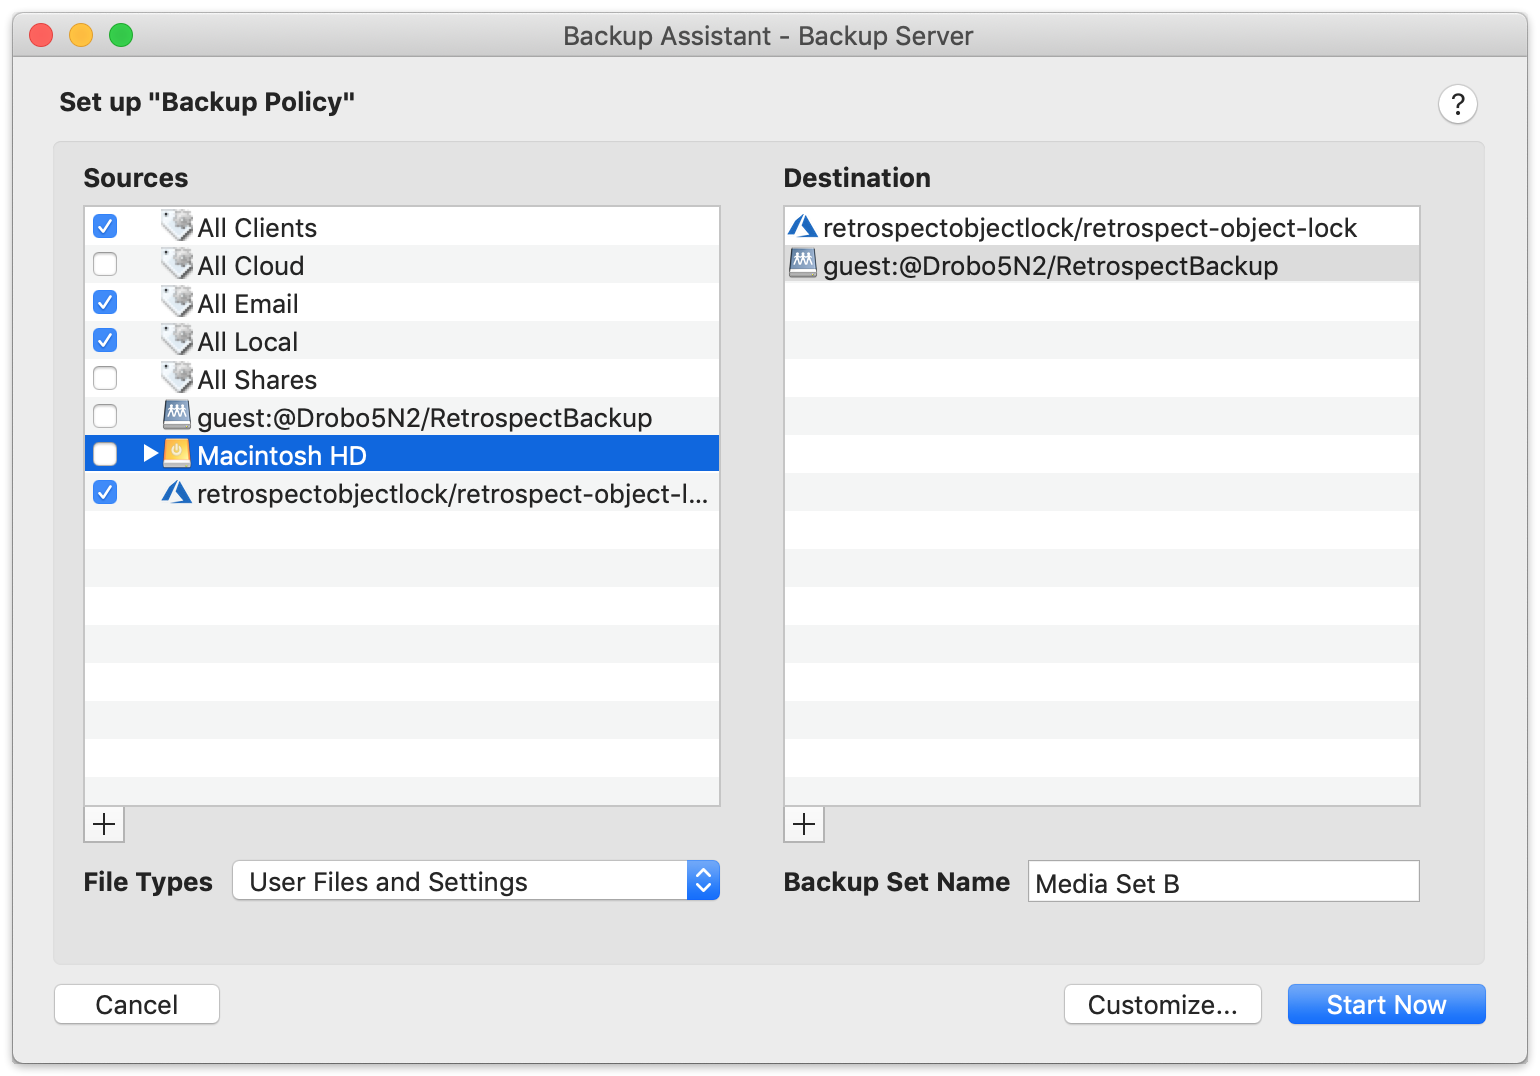
- You can now protect your cloud volume using Retrospect, either in another cloud destination or on-premise.
Account Setup Guide
Follow these steps to quickly create a Microsoft Azure Blob Storage Account. It requires an existing Microsoft Azure Account. If you do not already have one, create one for free at Microsoft Azure.
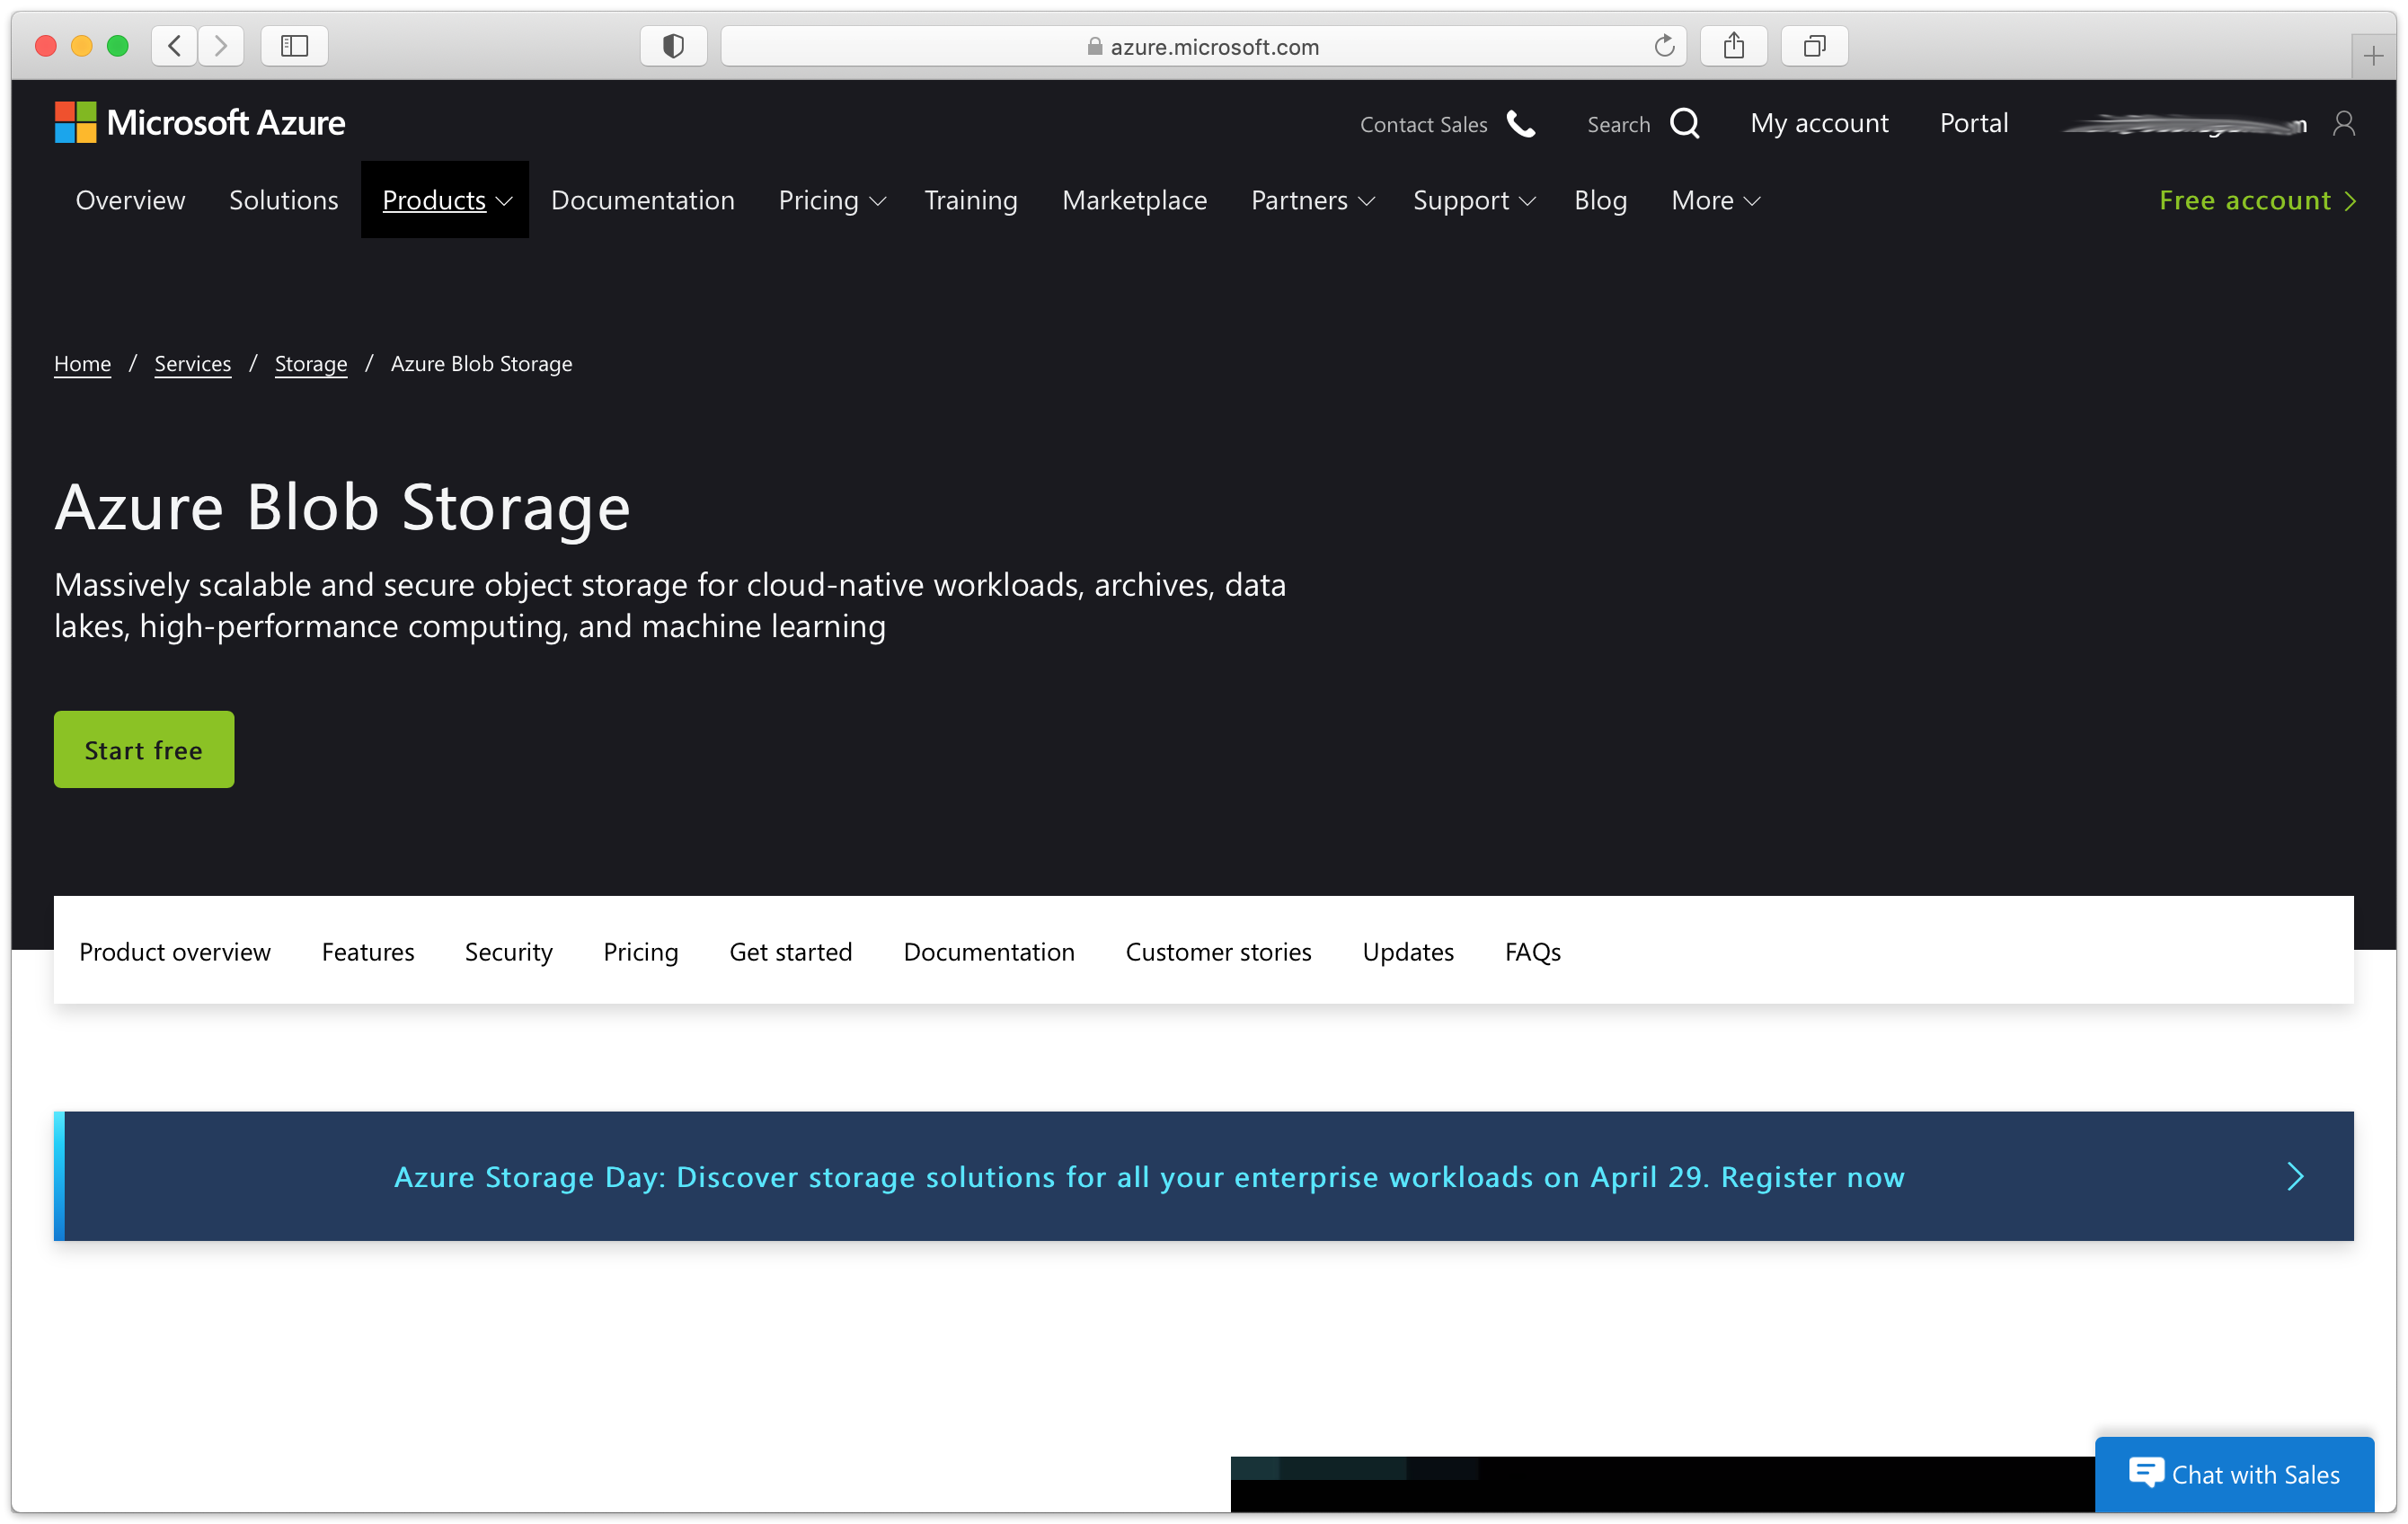
- Visit Microsoft Azure Blob Storage and click "Start free" then click "Start free" for the free Azure account. You’ll be able to connect Azure Blob Storage to your existing Azure subscription.
- Visit Microsoft Azure to see your new account.
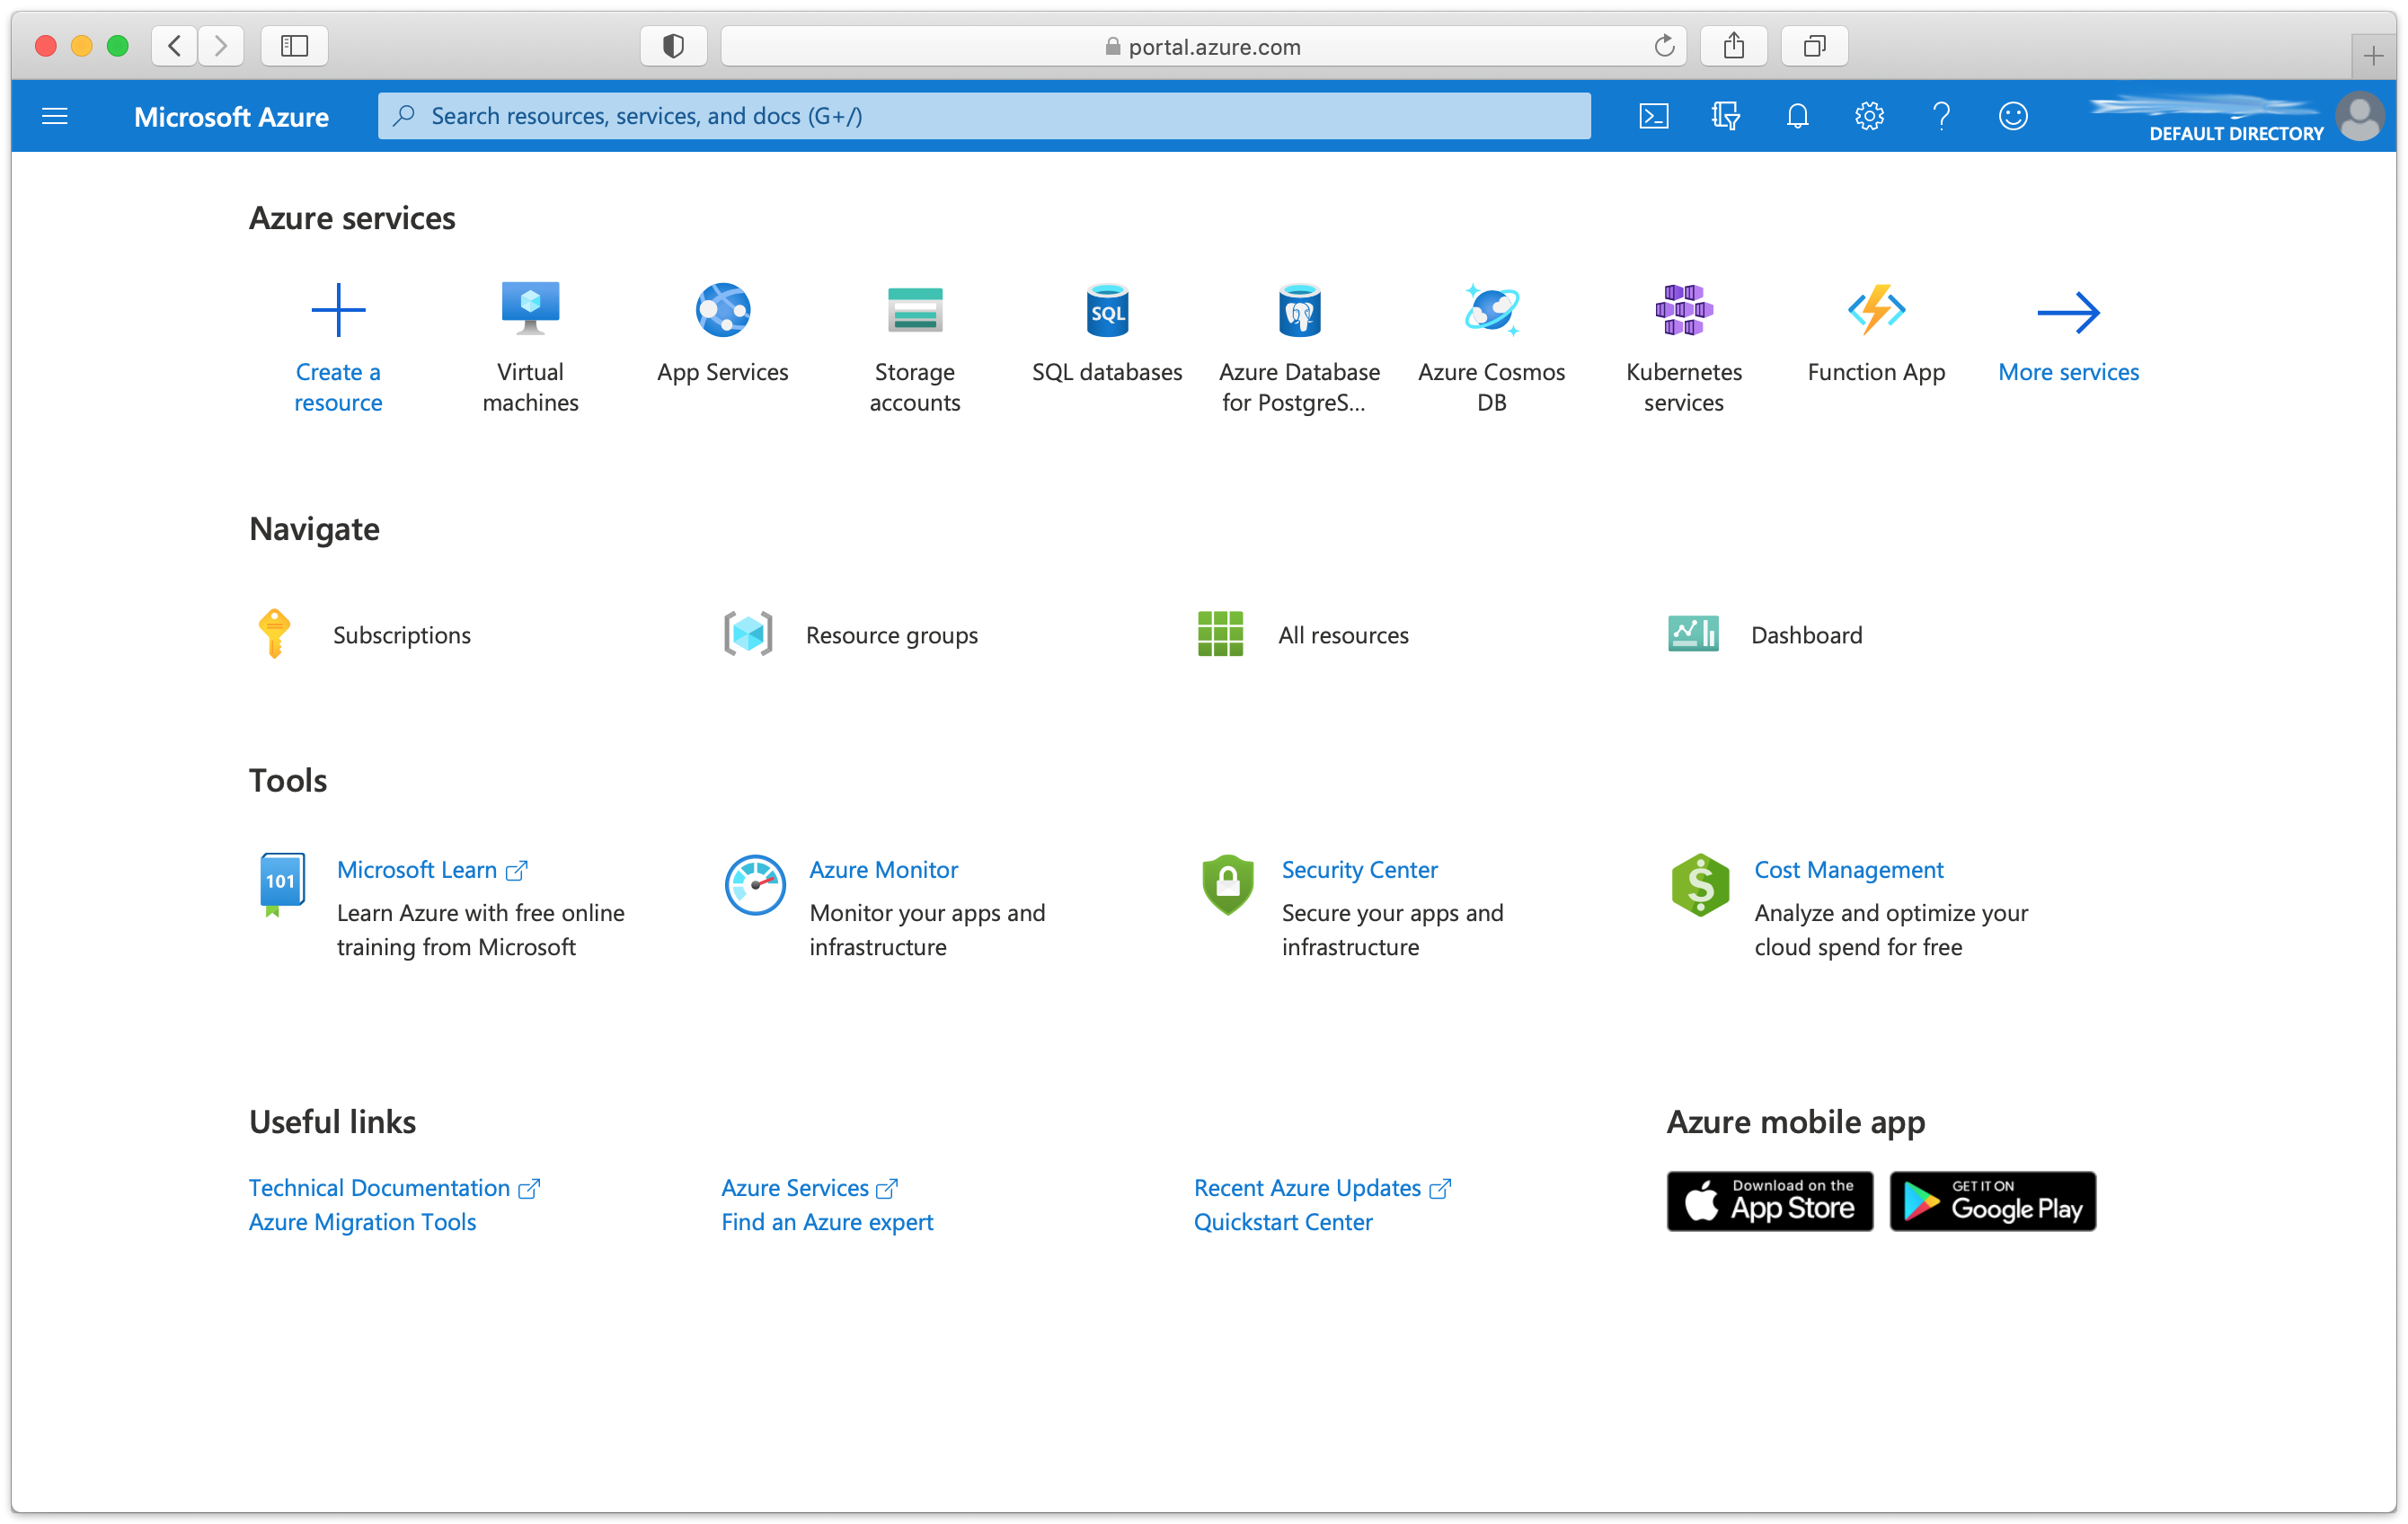
- Create a storage account.
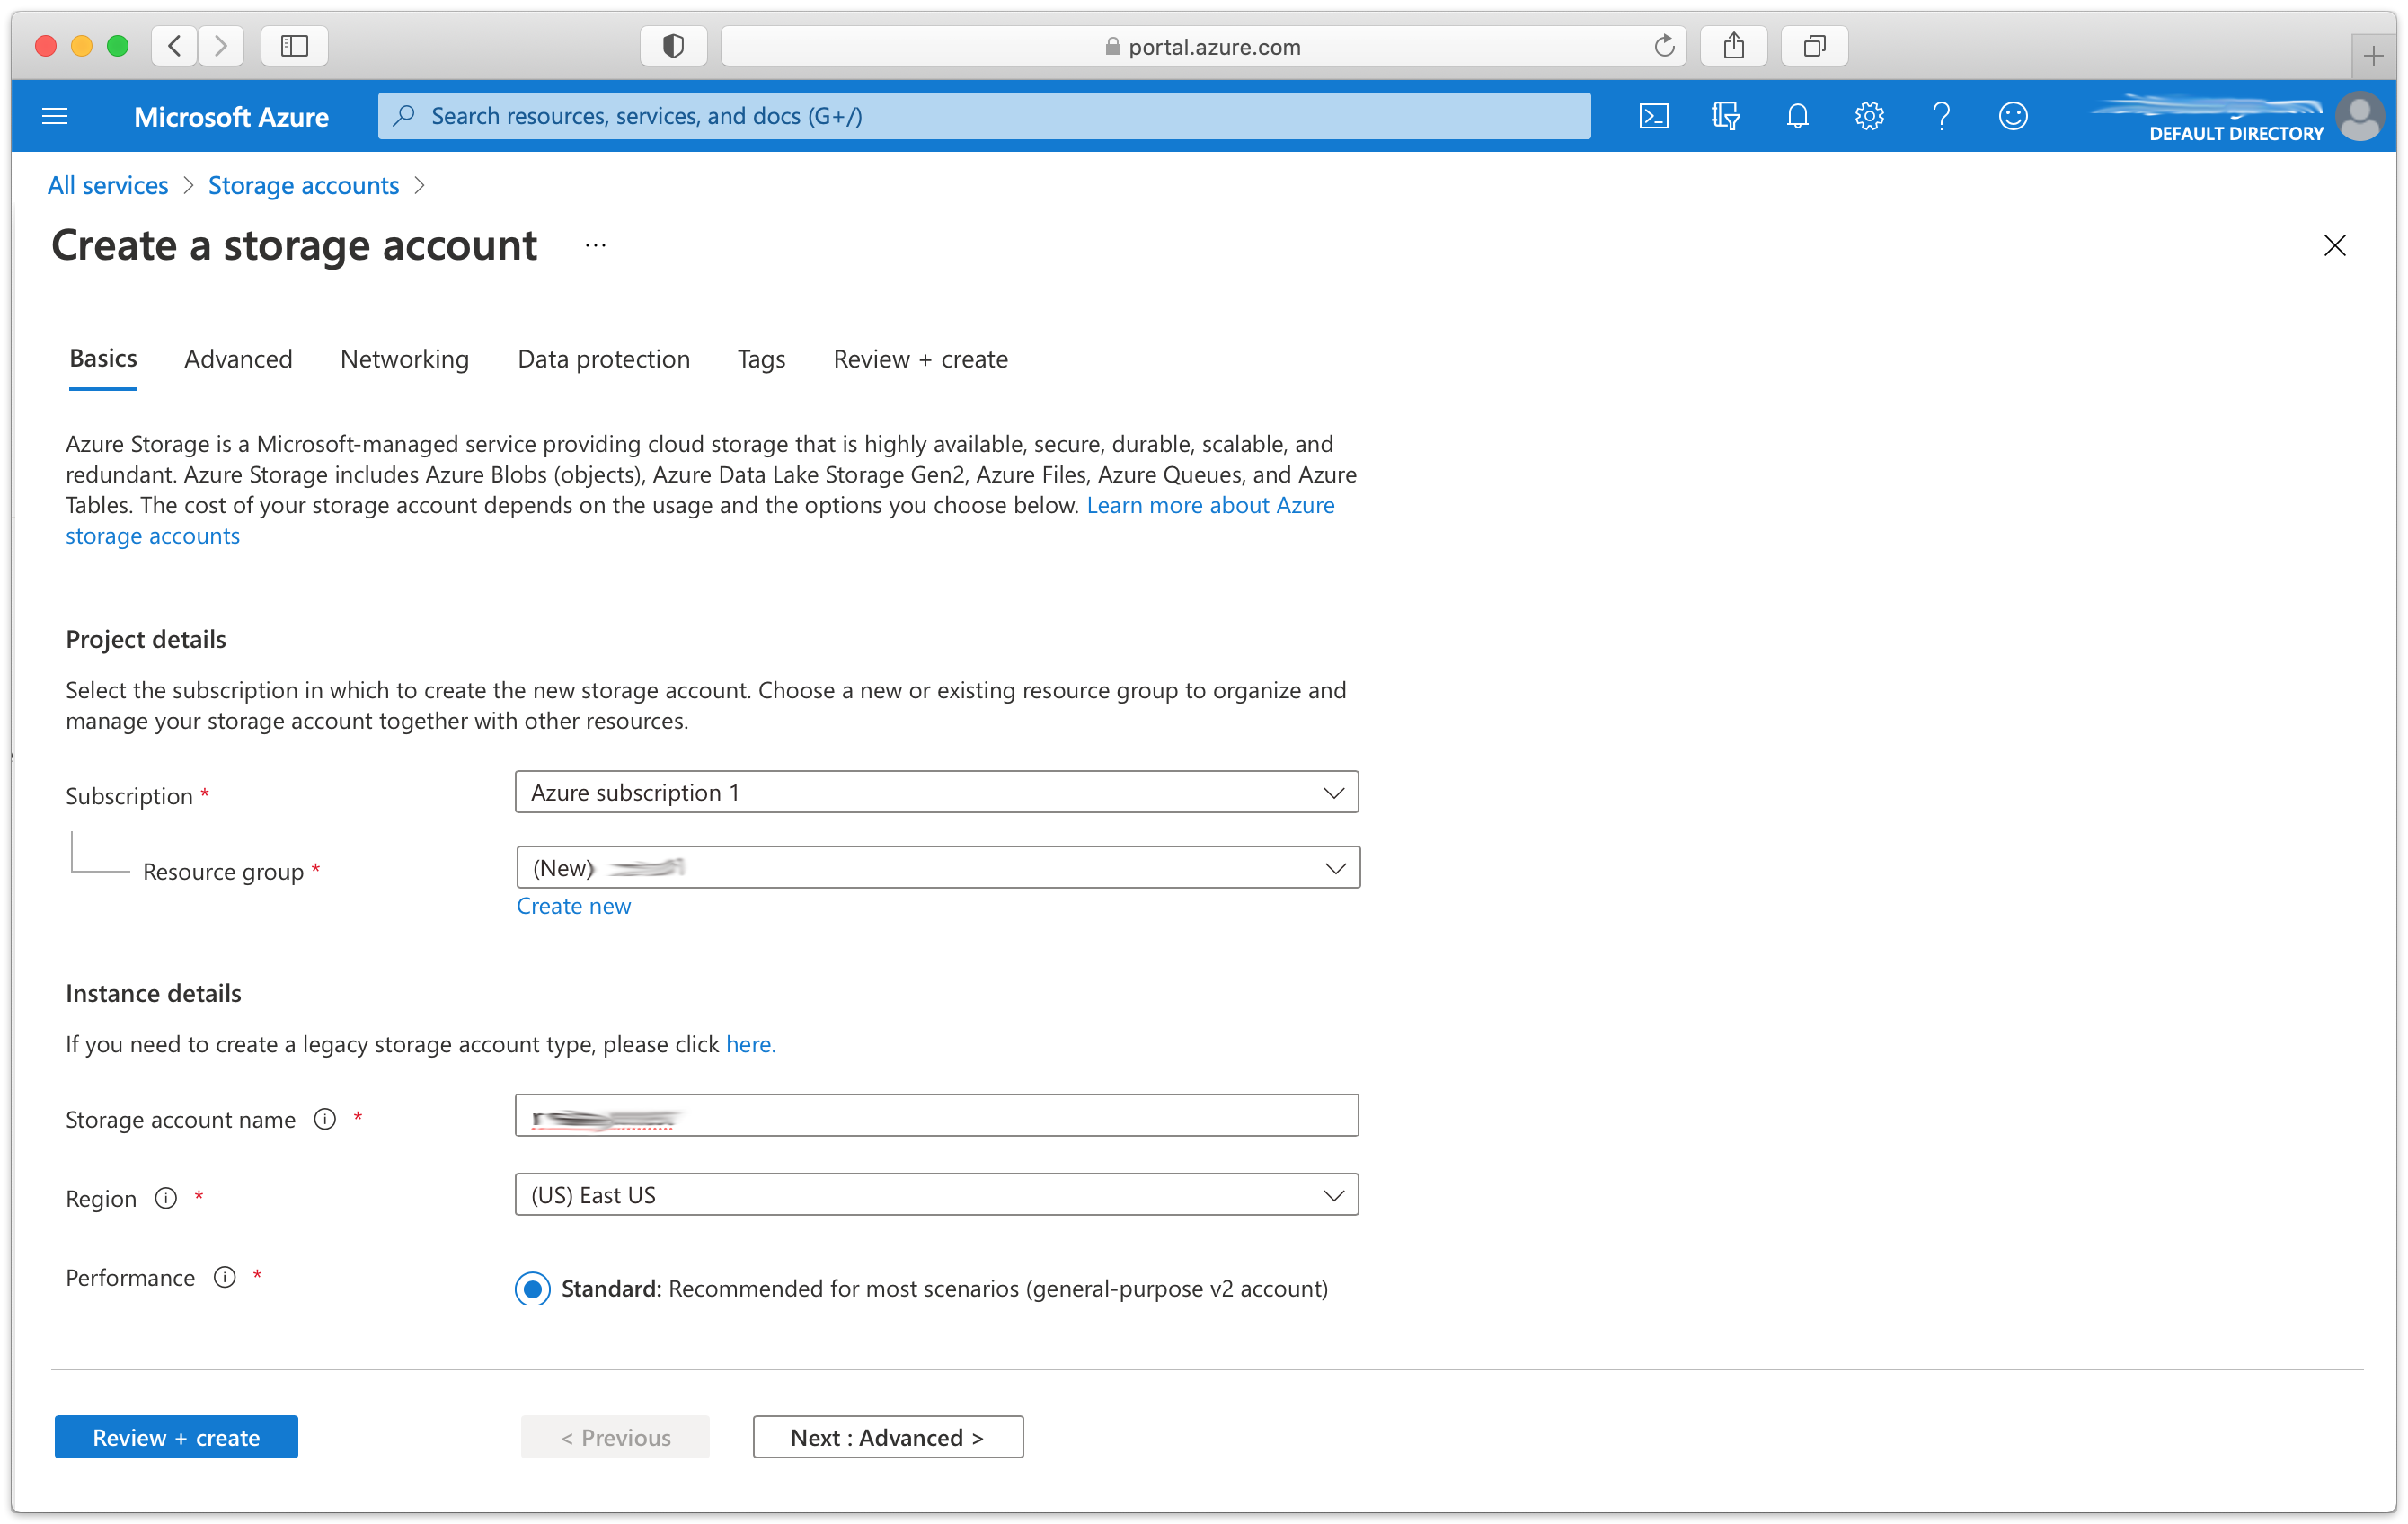
- Configure your storage account and click "Create".
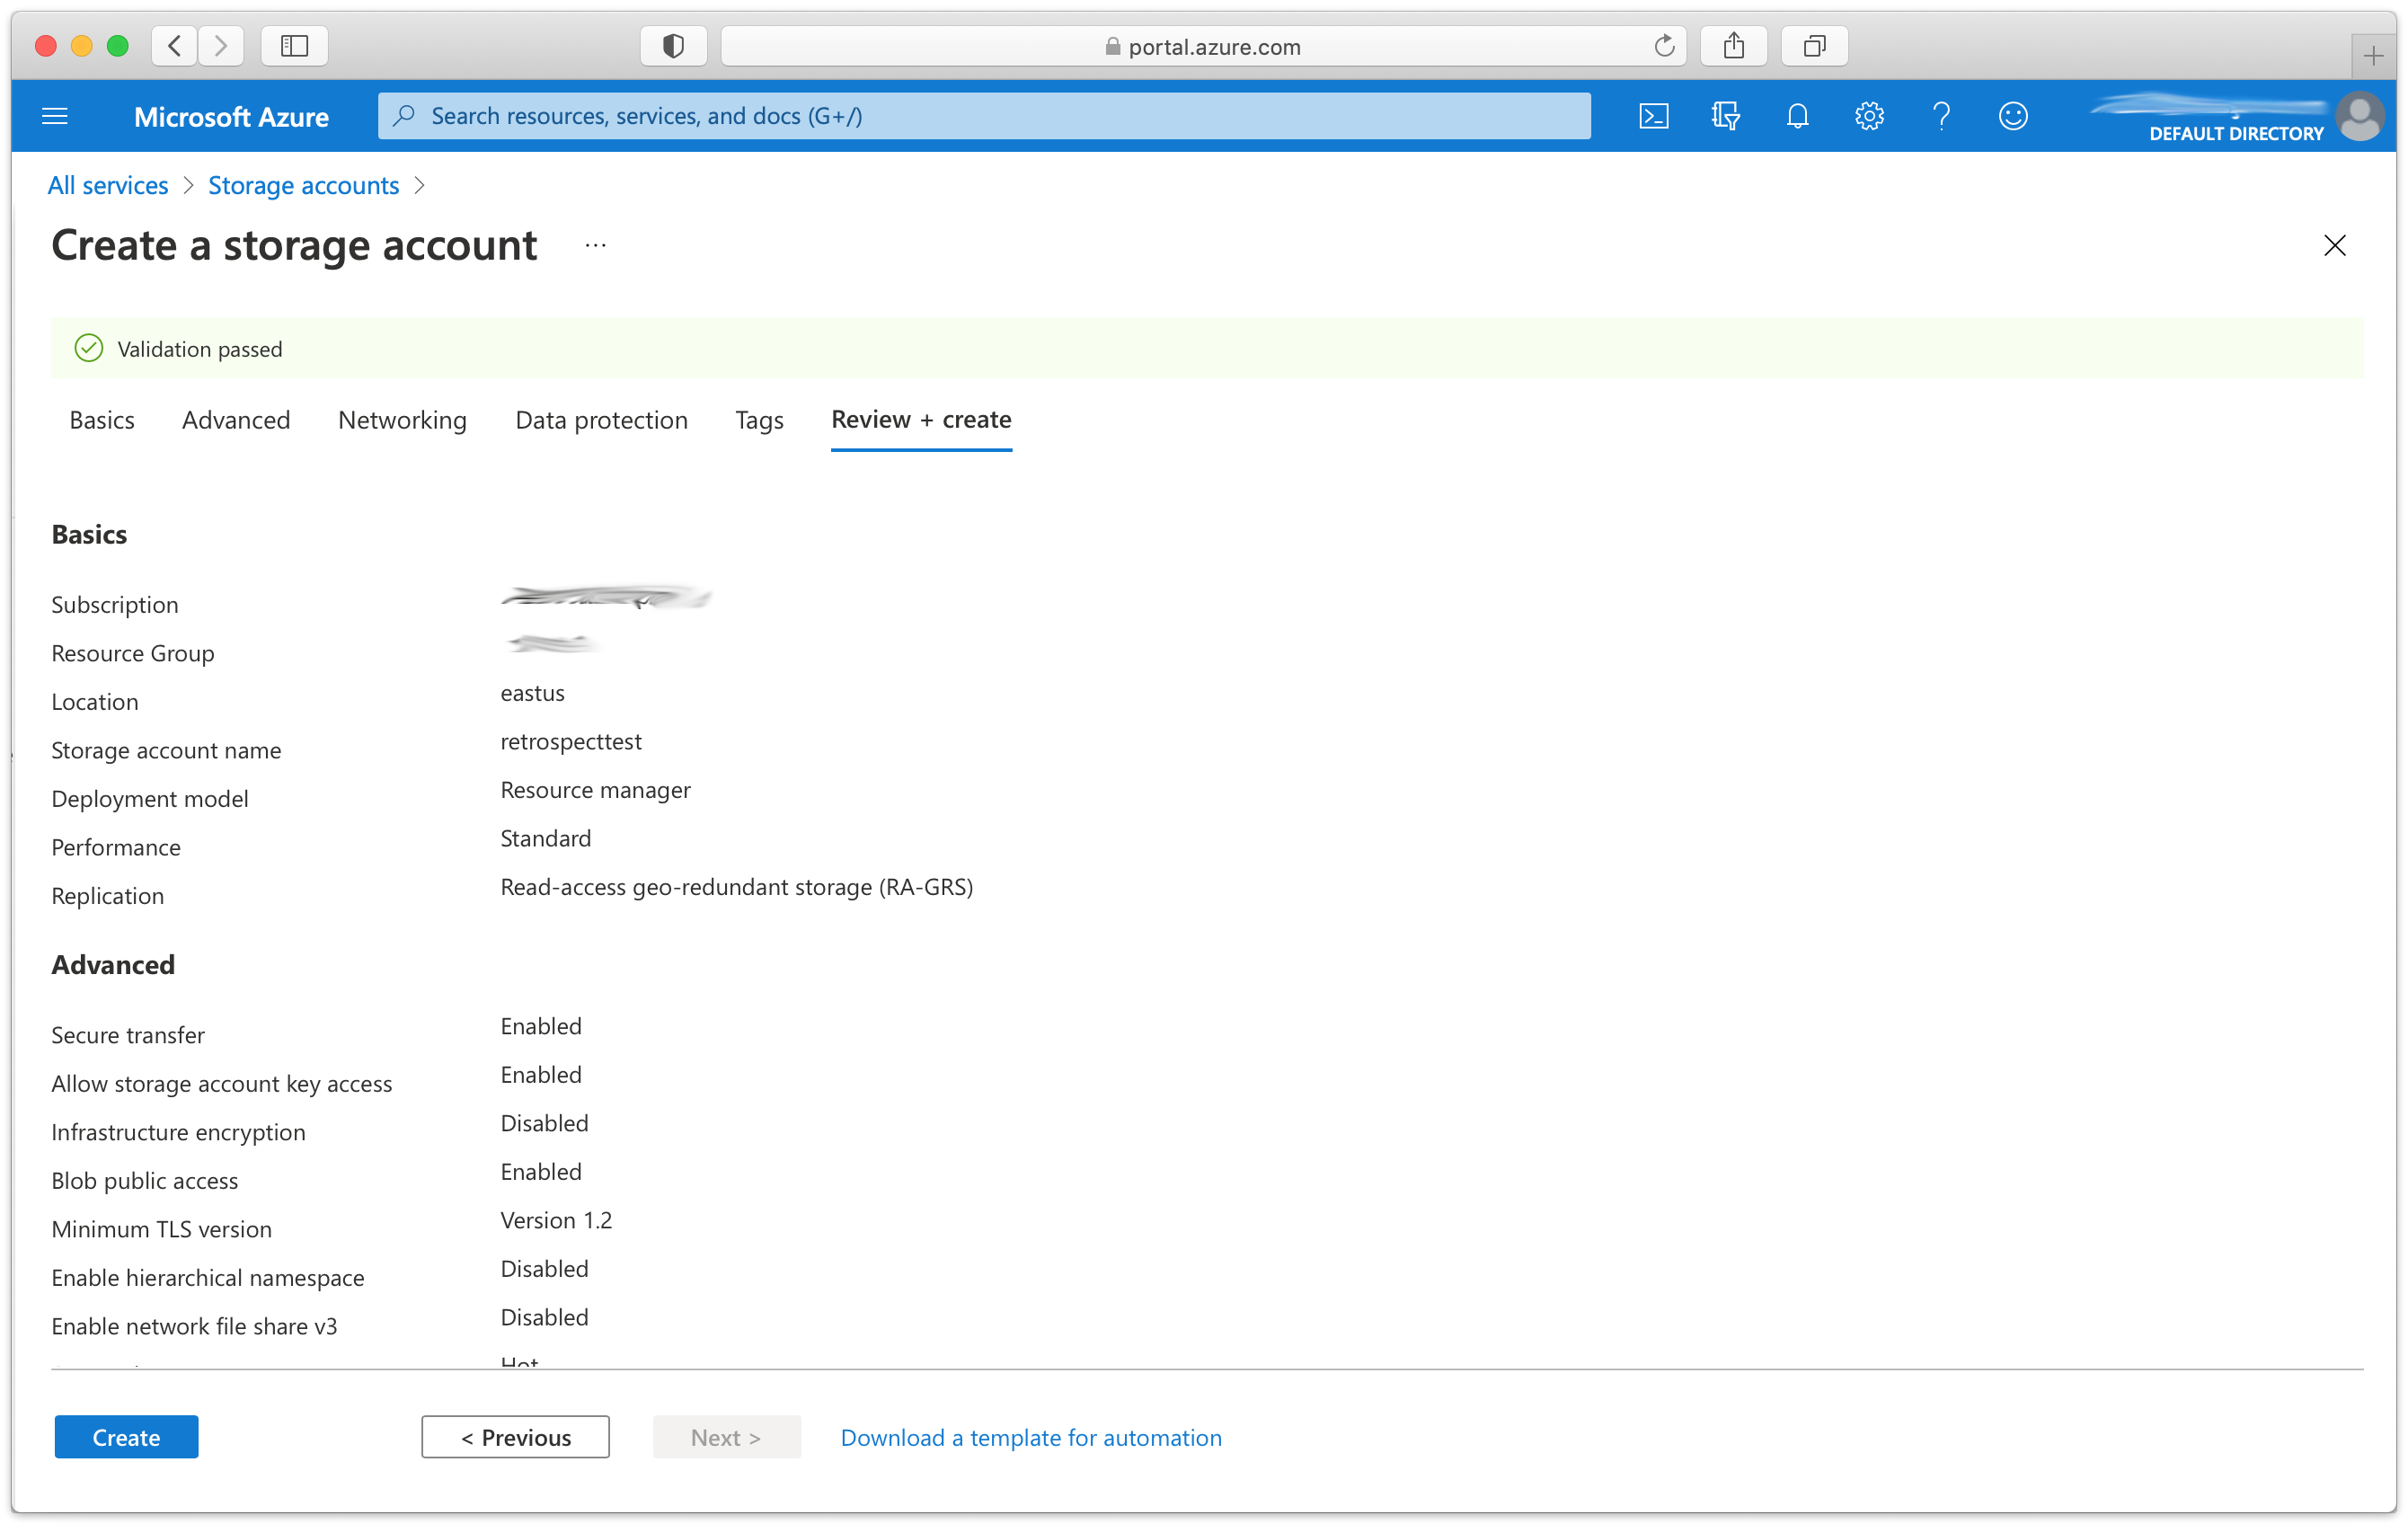
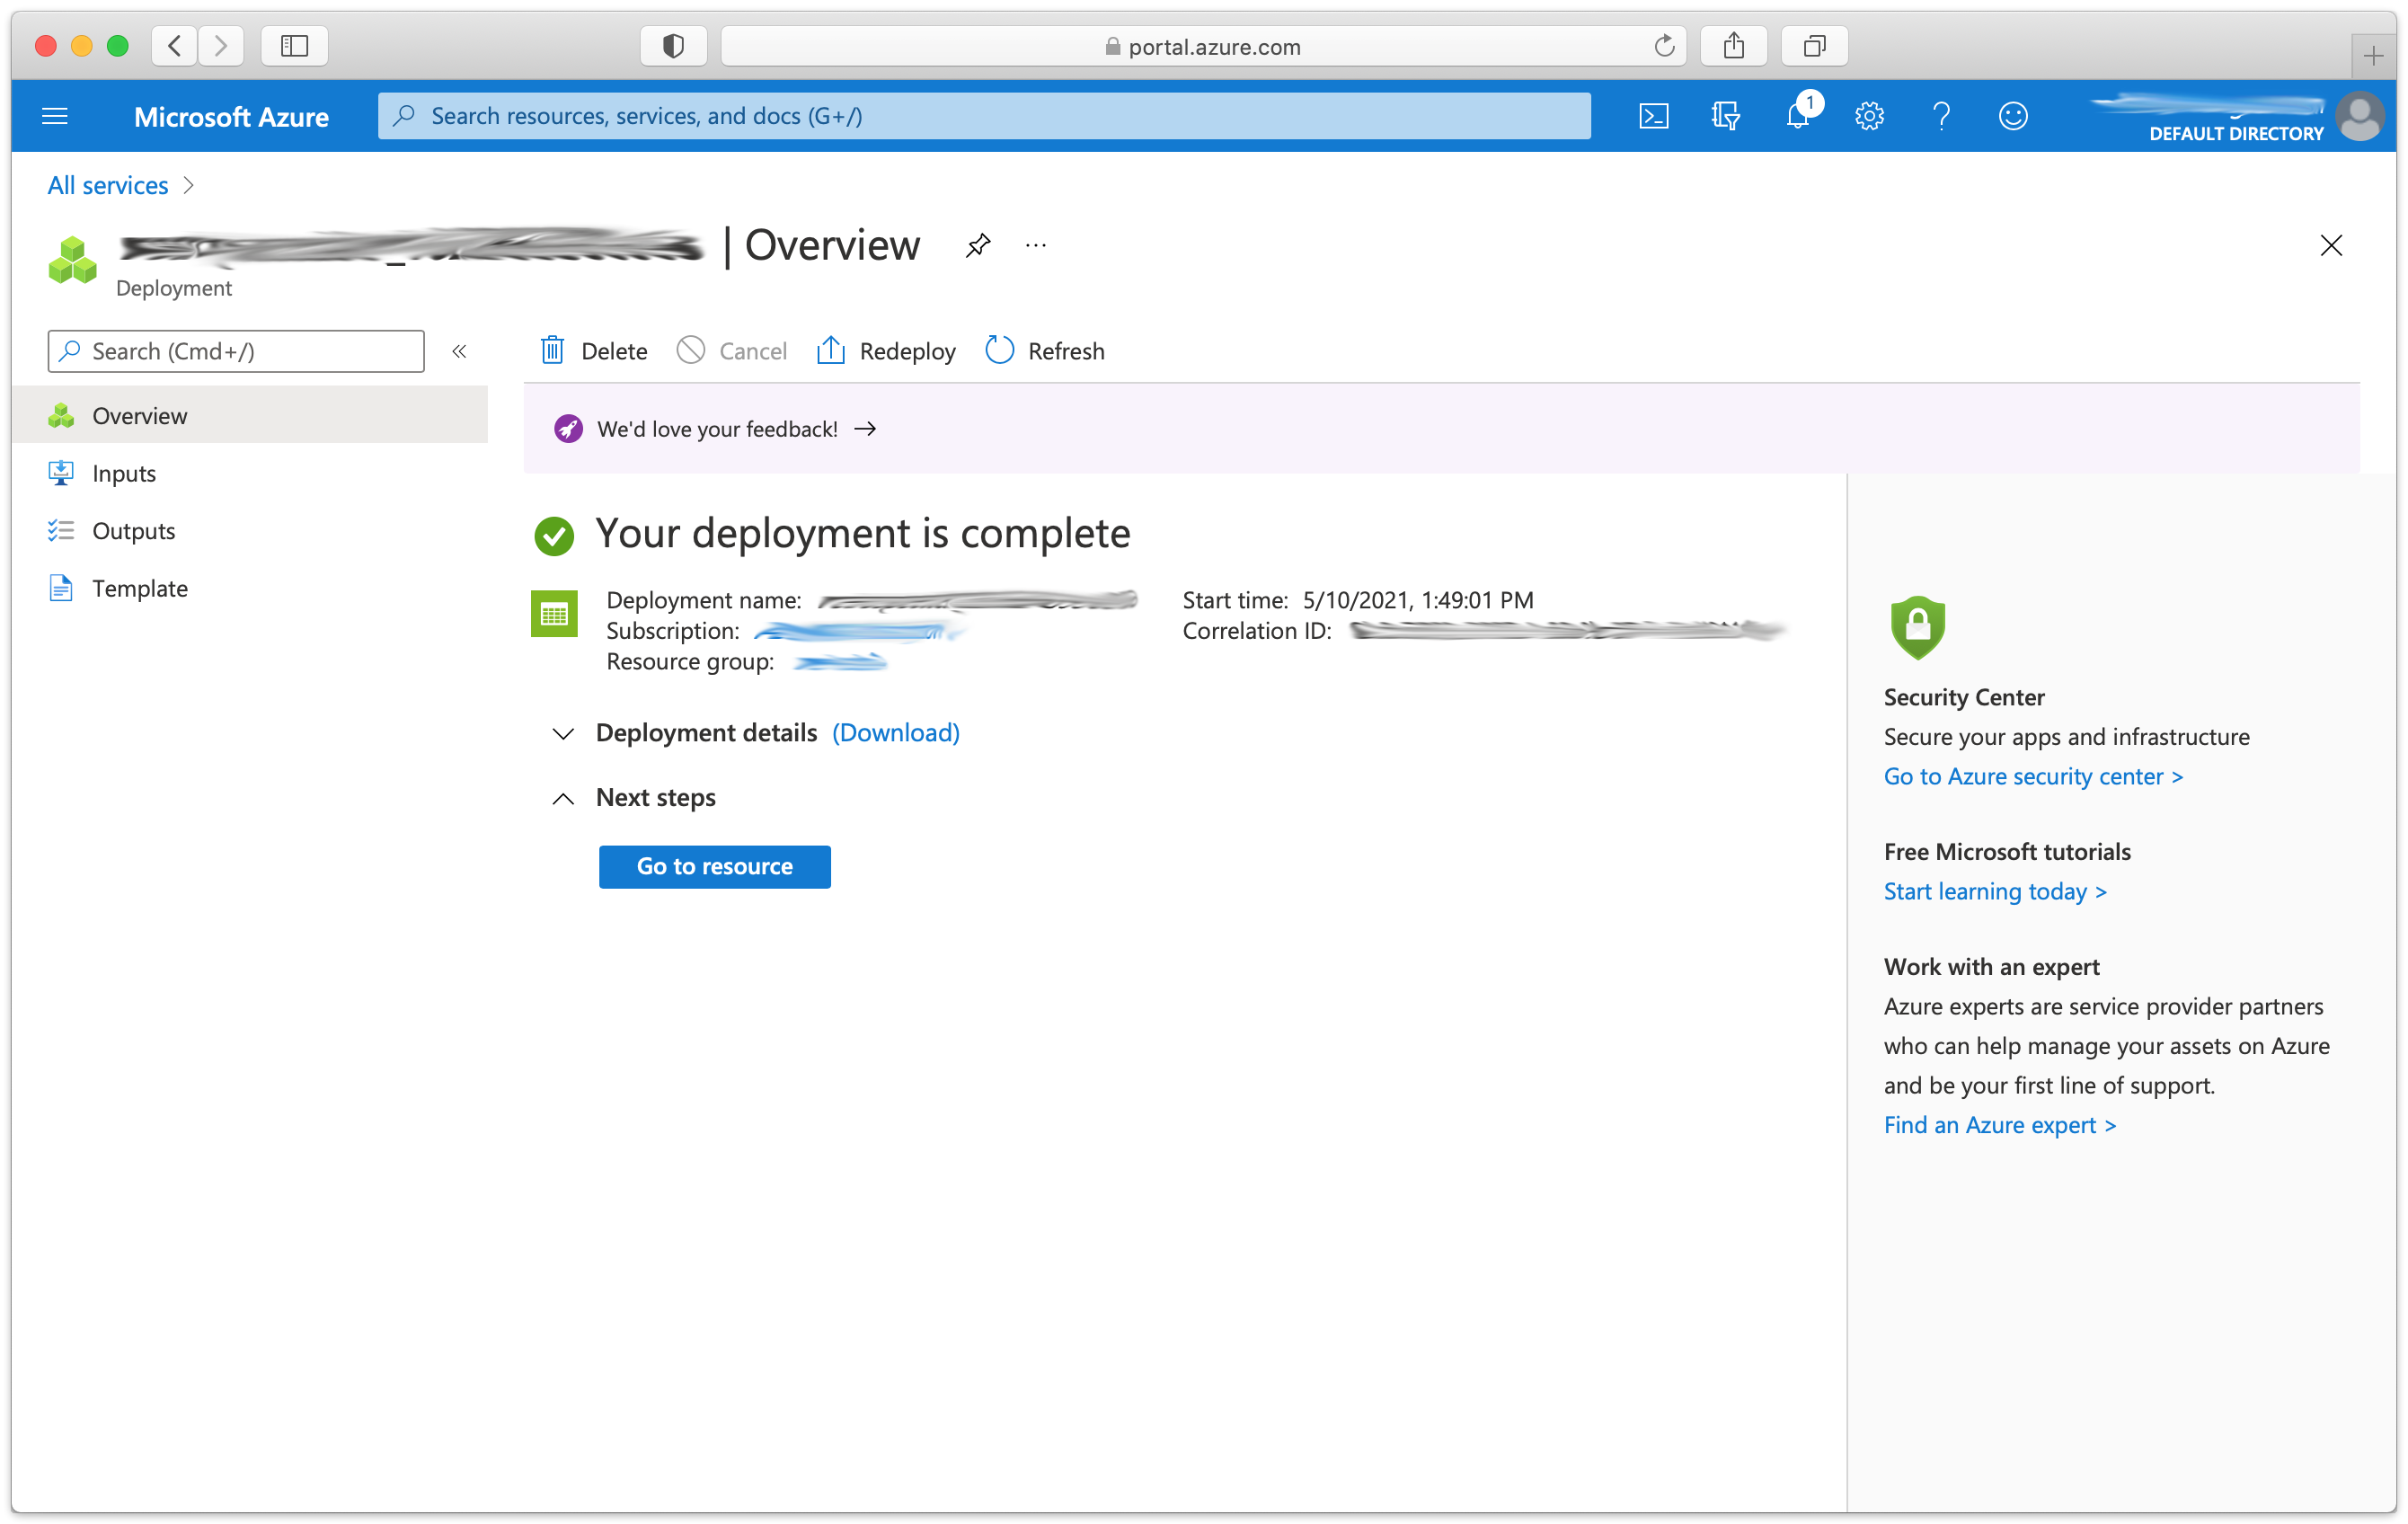
- Click "Go to resource" to vist your new storage account.
Storage Setup Guide
Now we will create a container that Retrospect can use to store backups.
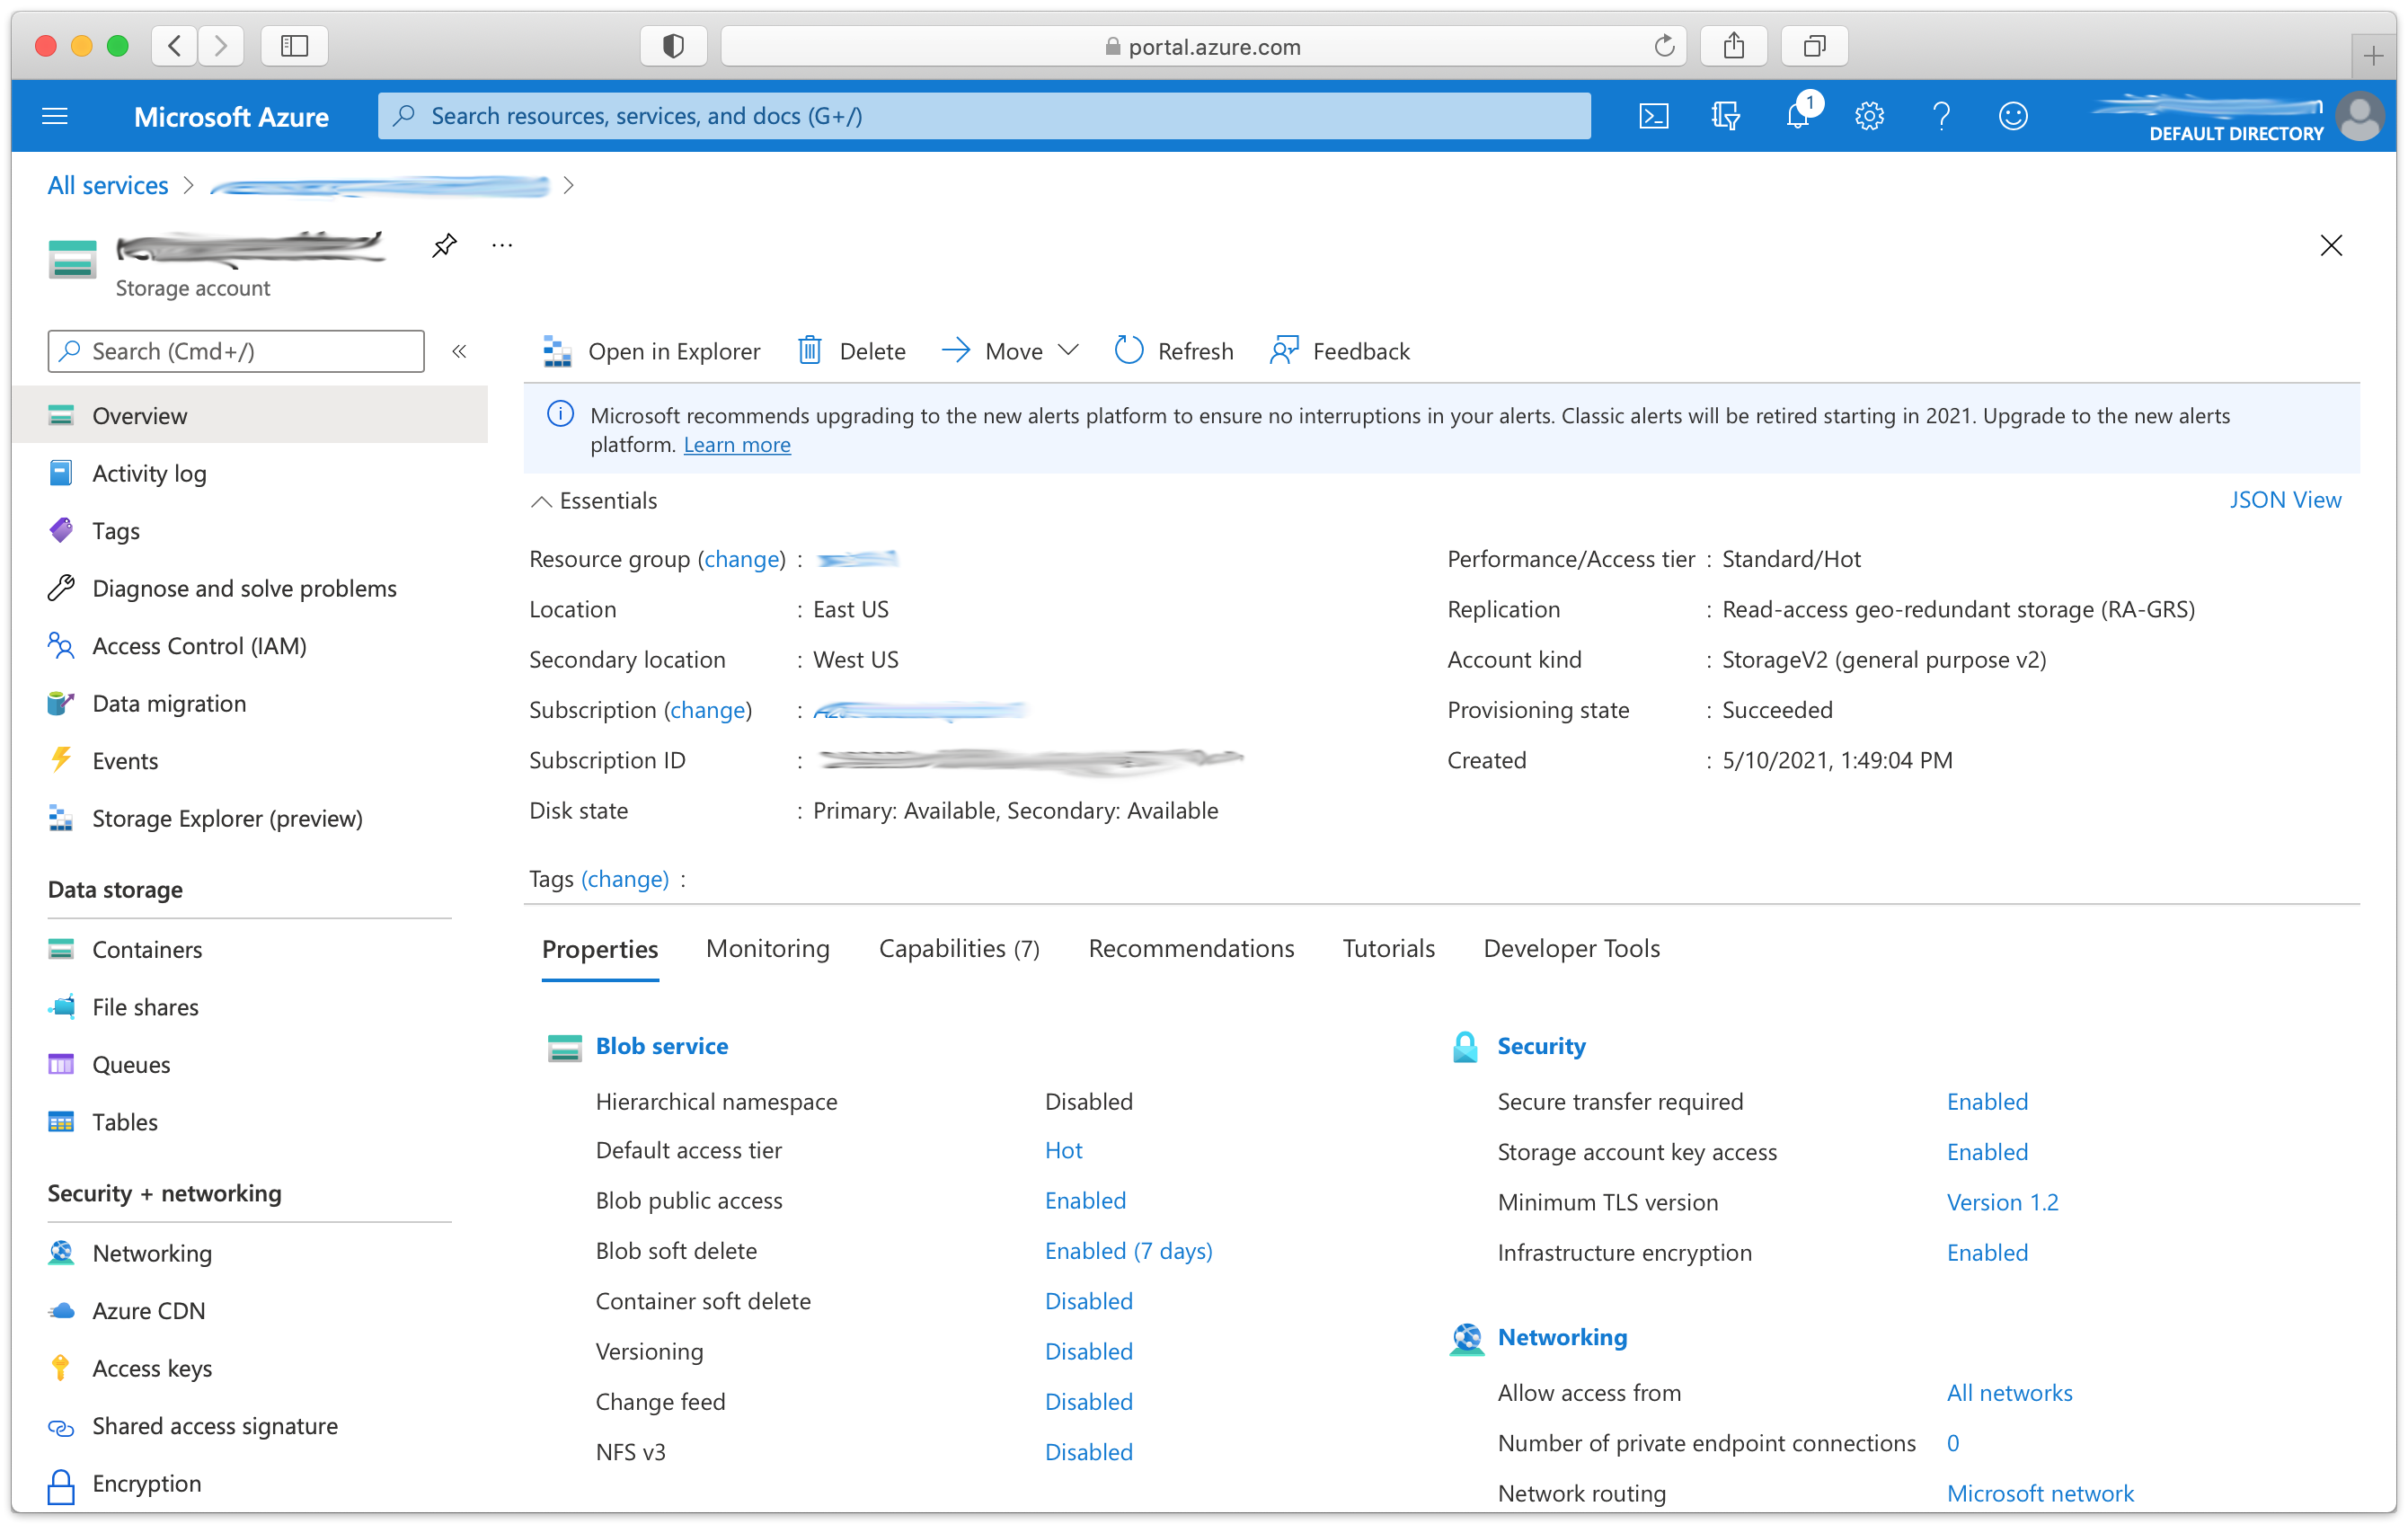
- In your storage account, click on "Containers".
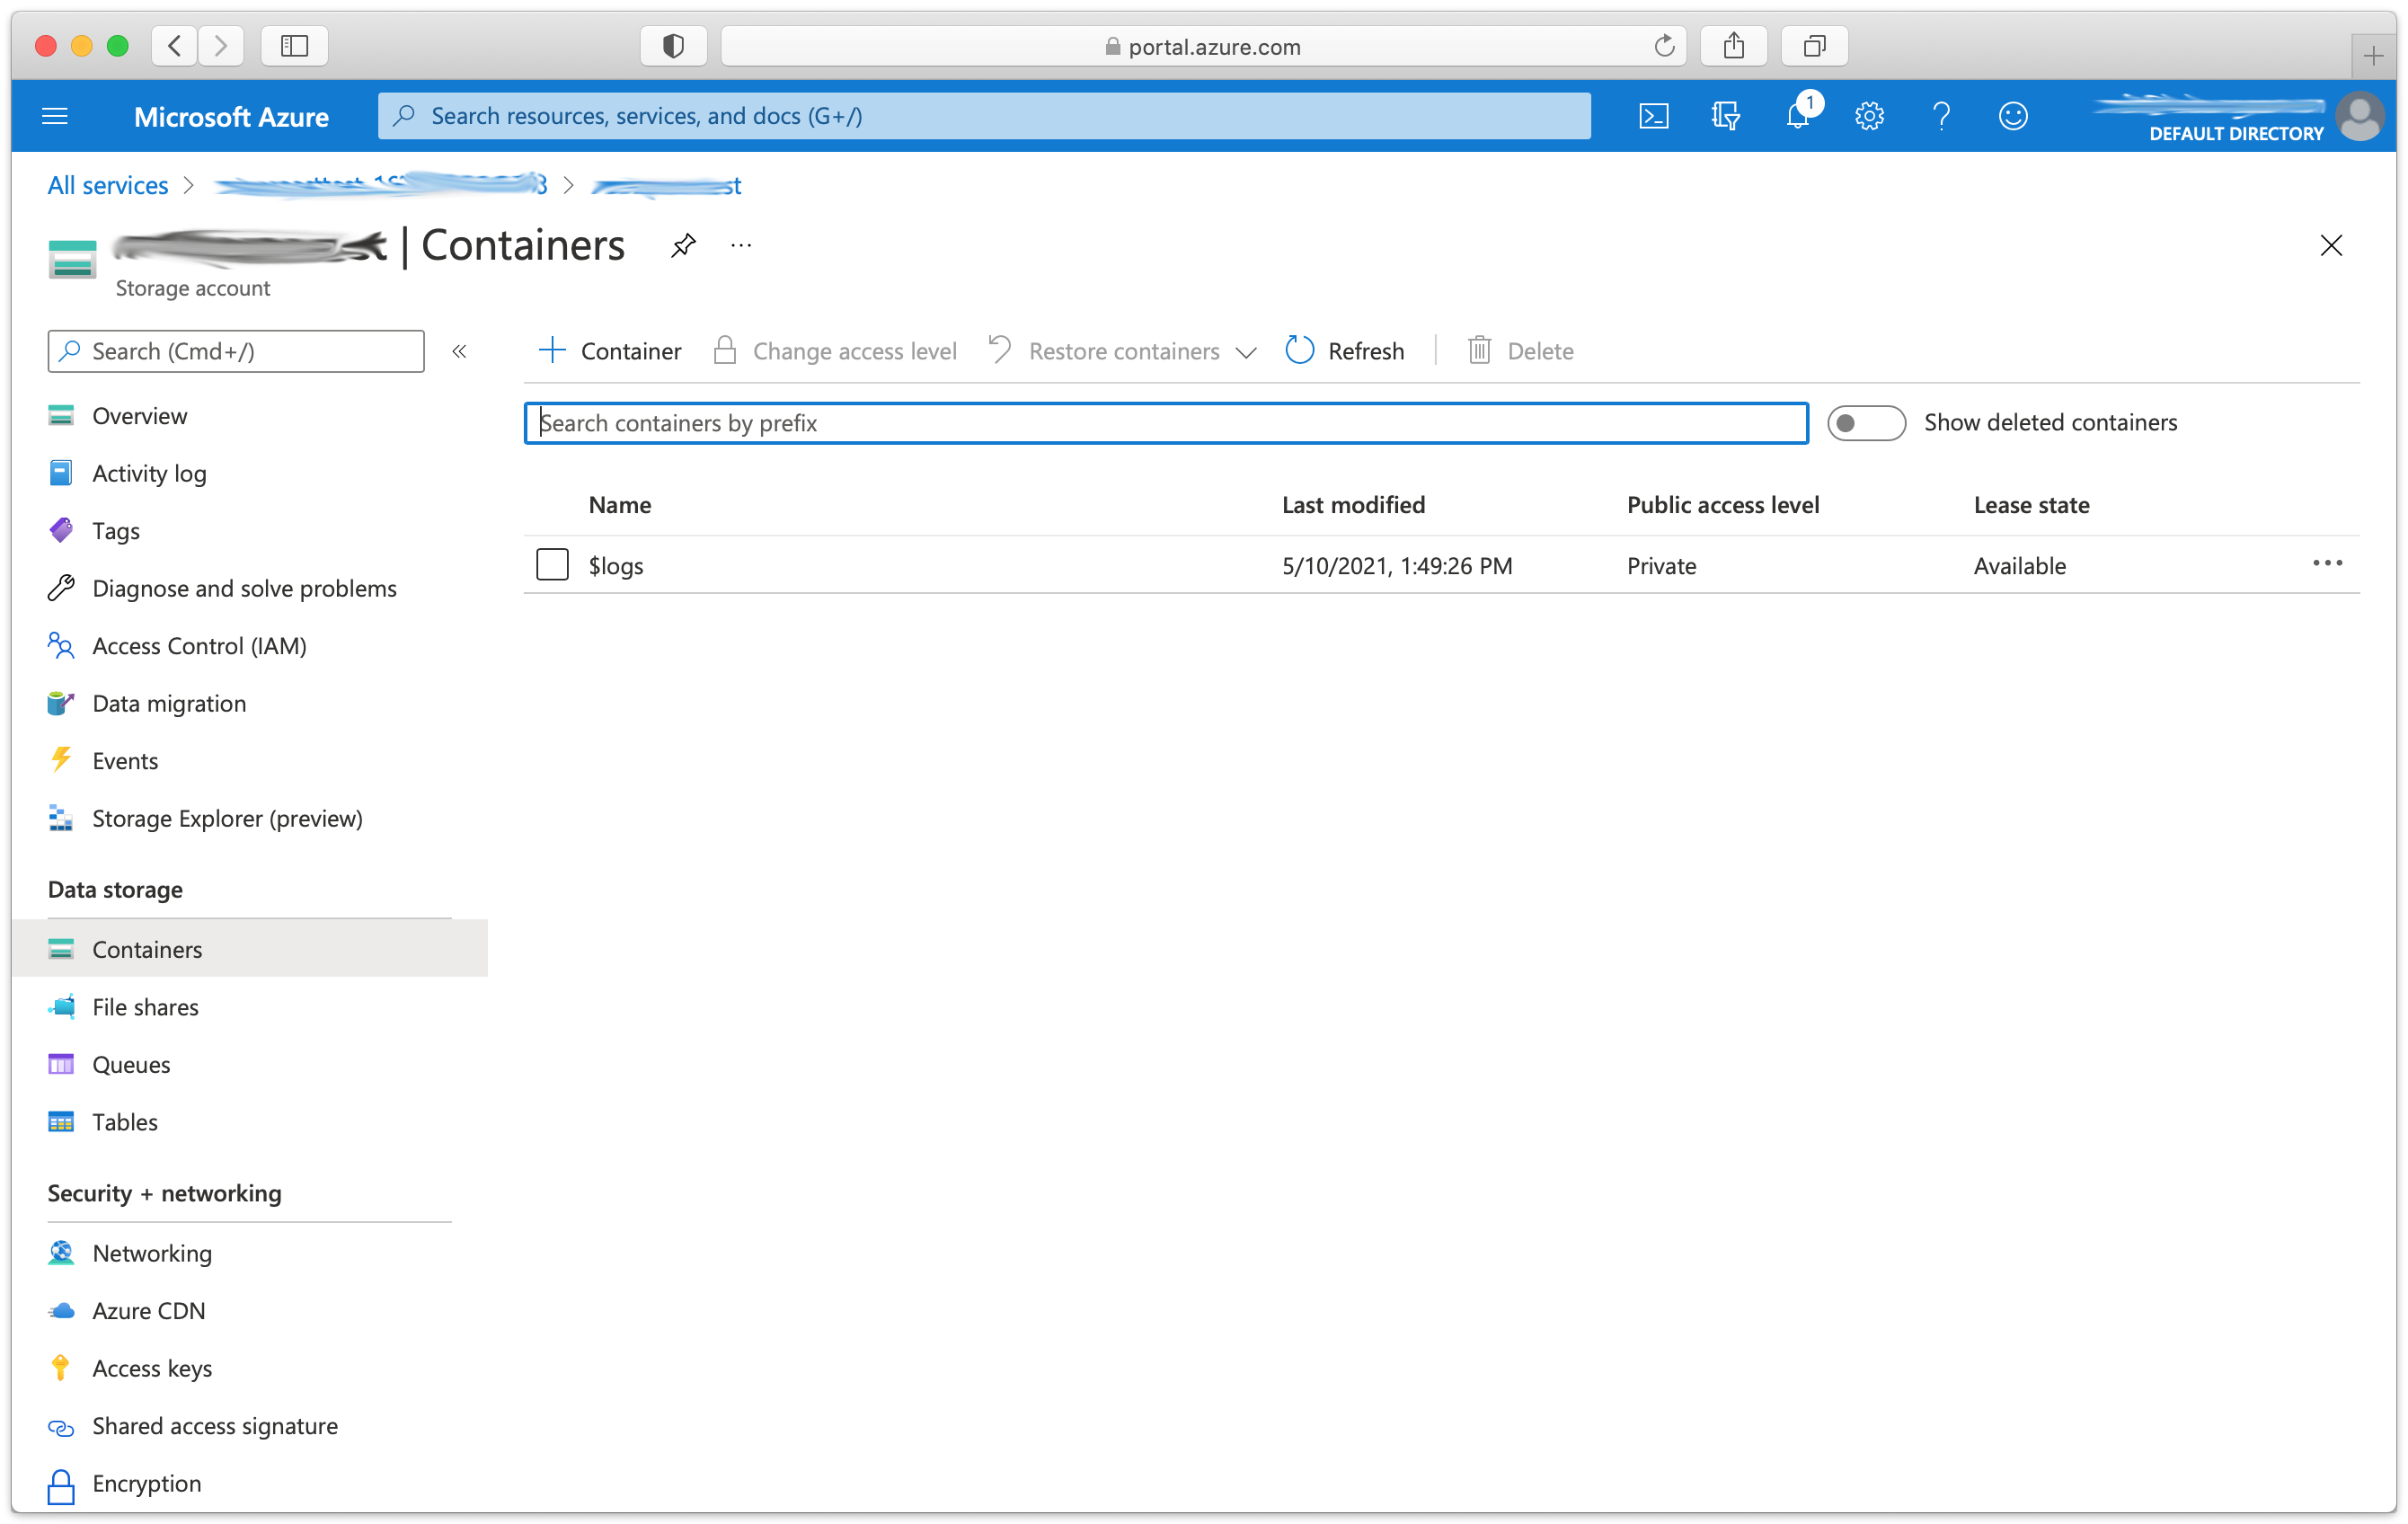
- Click "+ Container".
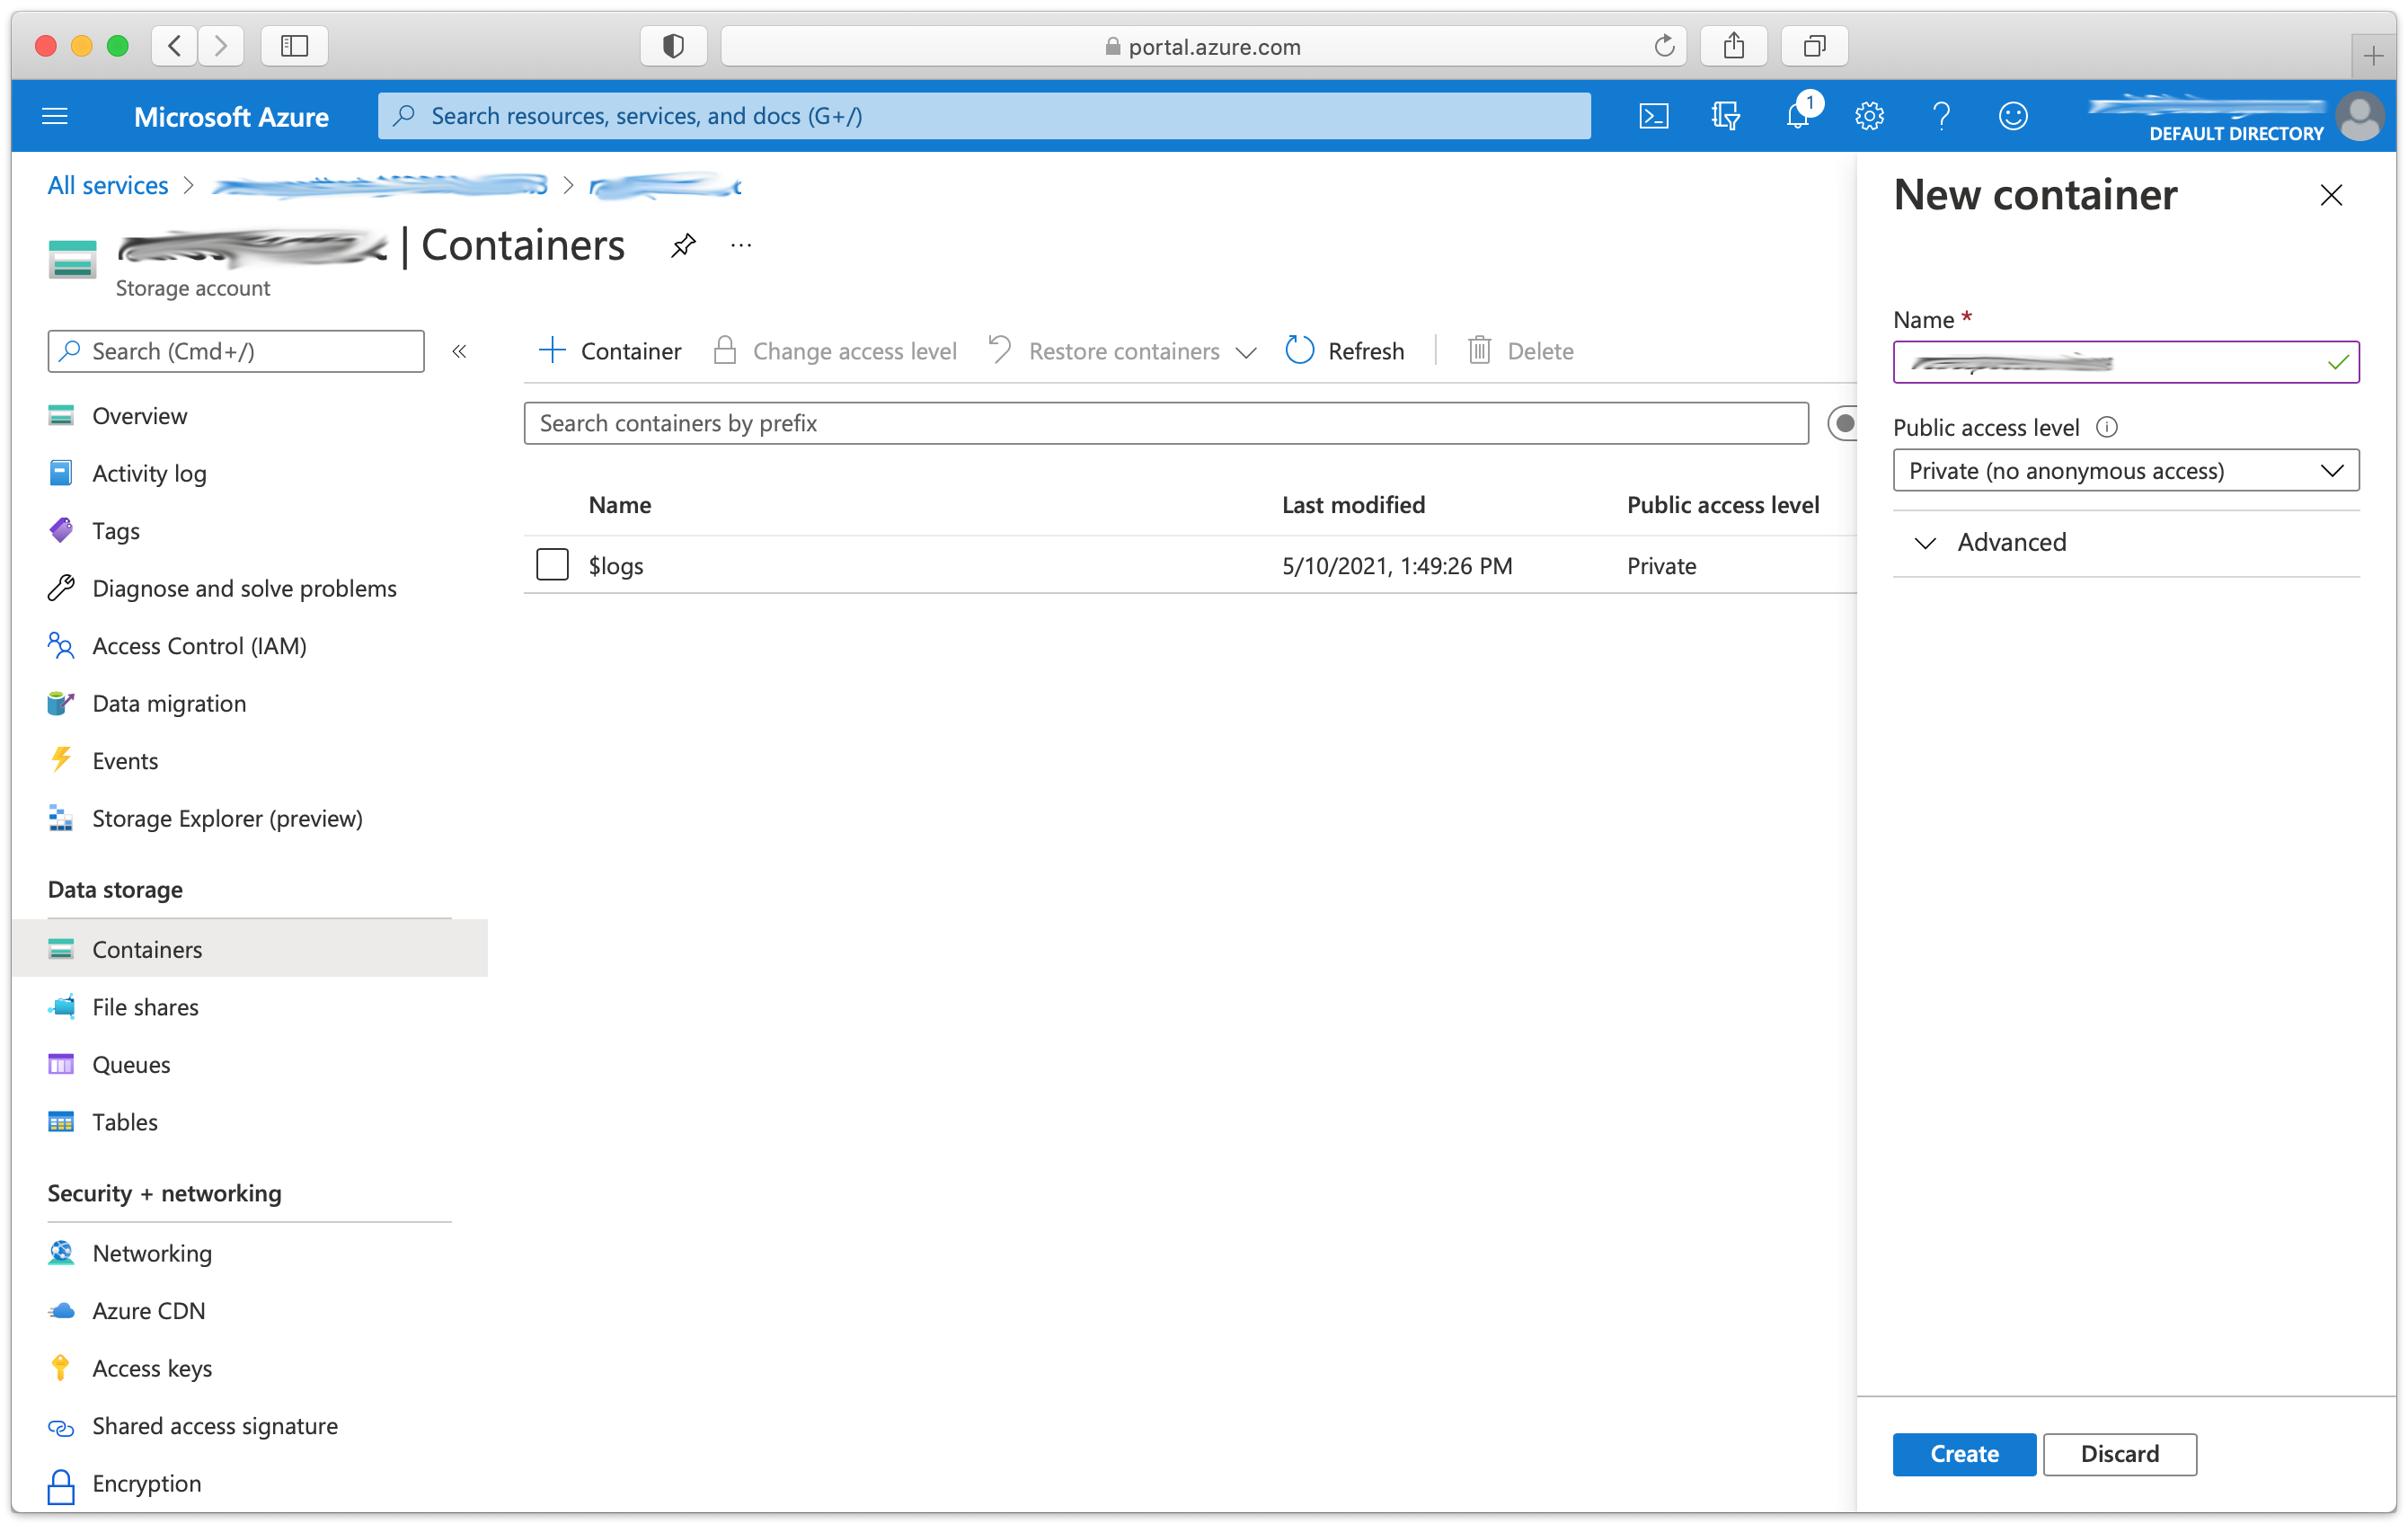
- Fill in your container name and click "Create".
- Click on "Access keys" and click "Show keys" to get your secret key from under key1 > Key.
Last Update: July 14, 2021