Retrospect Backup allows you to protect your data in the cloud with seamless integration with the following unique features:
- Multiple Providers: Retrospect supports more than twenty cloud storage providers, located around the world, for affordable fast offsite storage.
- No Lock-In: Migrate backups from one cloud to another with a simple transfer, all within Retrospect.
- Zero-Knowledge Security: With AES-256 encryption in-transit and at-rest, only customers can access their backups, no matter where they store them.
- Fast Upload: Retrospect can saturate any connection with multiple simultaneous backups or restores.
Every edition of Retrospect, from Solo to Multi Server, supports backing up to the following cloud services.
Below is a step-by-step guide for integrating Amazon S3 into your workflow. See our Knowledgebase for many more step-by-step guides to other cloud storage providers.
Amazon S3 Account Setup Guide
Amazon S3 provides a low-cost, scalable cloud storage location for secure off-site data protection. It offers a free tier to its cloud services that includes 5GB of storage for a year. Retrospect 11 and higher for Windows and Retrospect 13 and higher for Mac are certified for Amazon S3. Follow these step-by-step instructions for setting up an Amazon S3 account, configuring a storage location (called a "bucket"), and creating a set of security credentials (an Access Key and a Secret Key, similar to a username and password).
See the following video or the steps below to quickly create an Amazon AWS account.
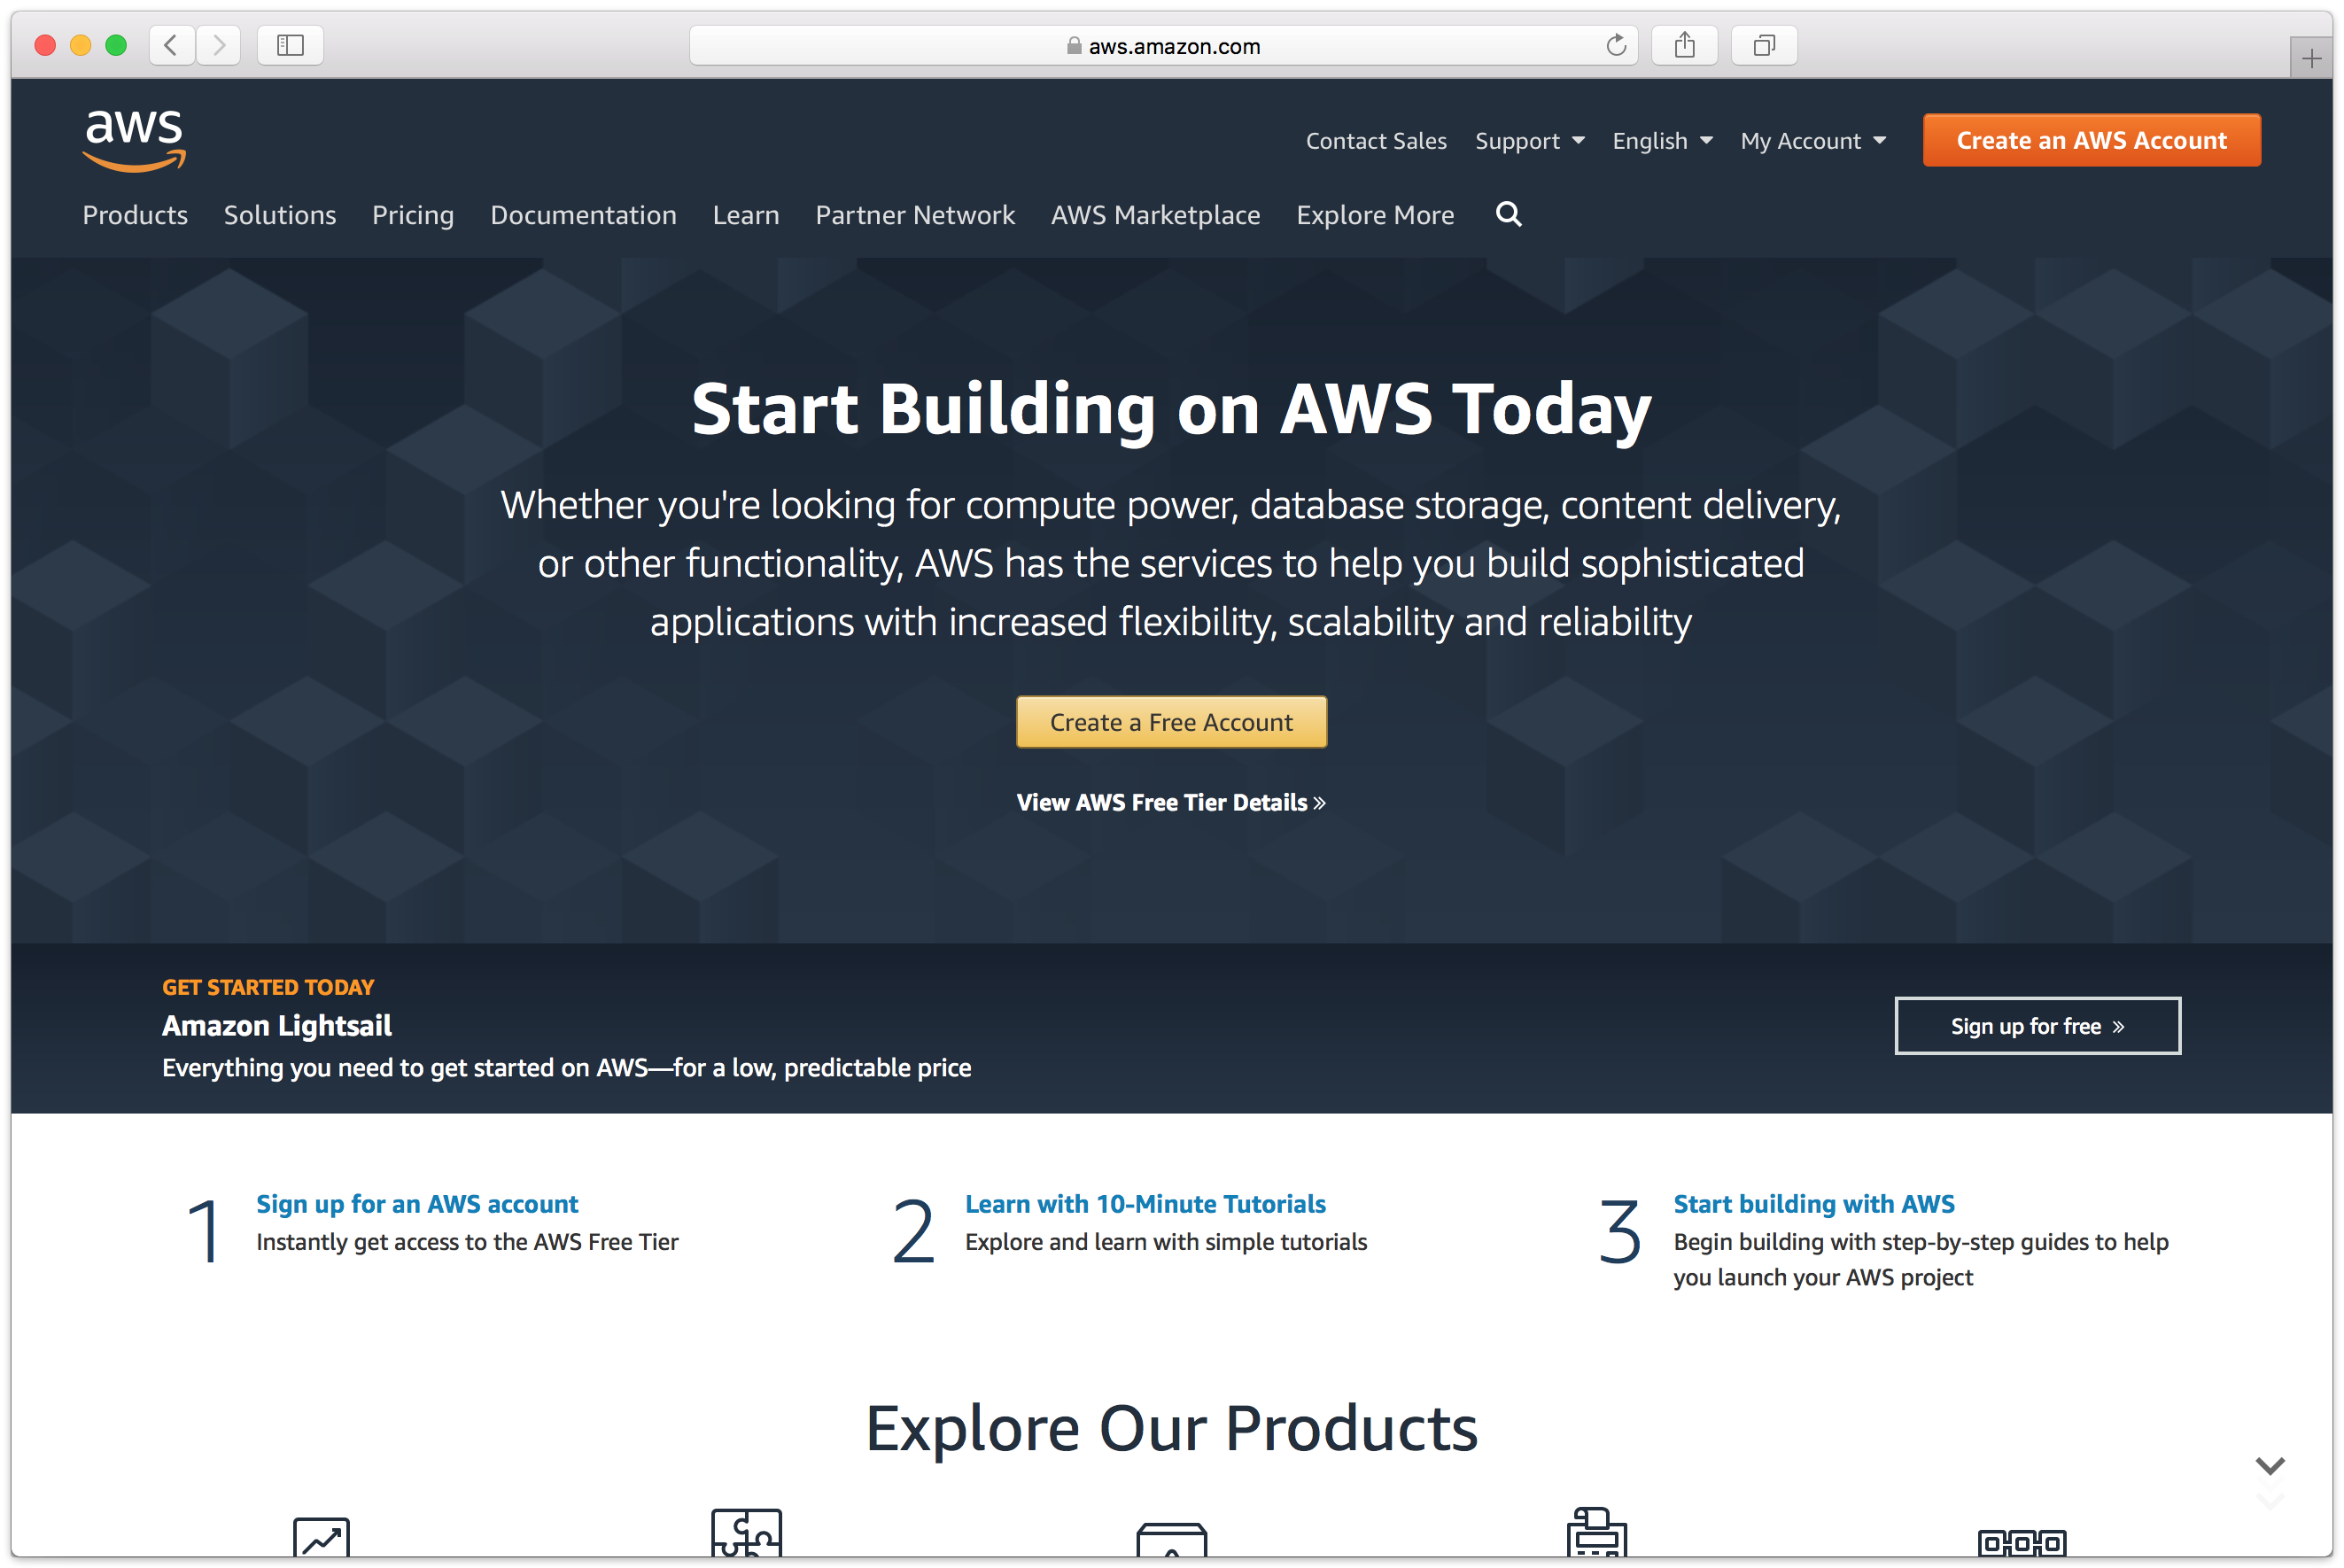
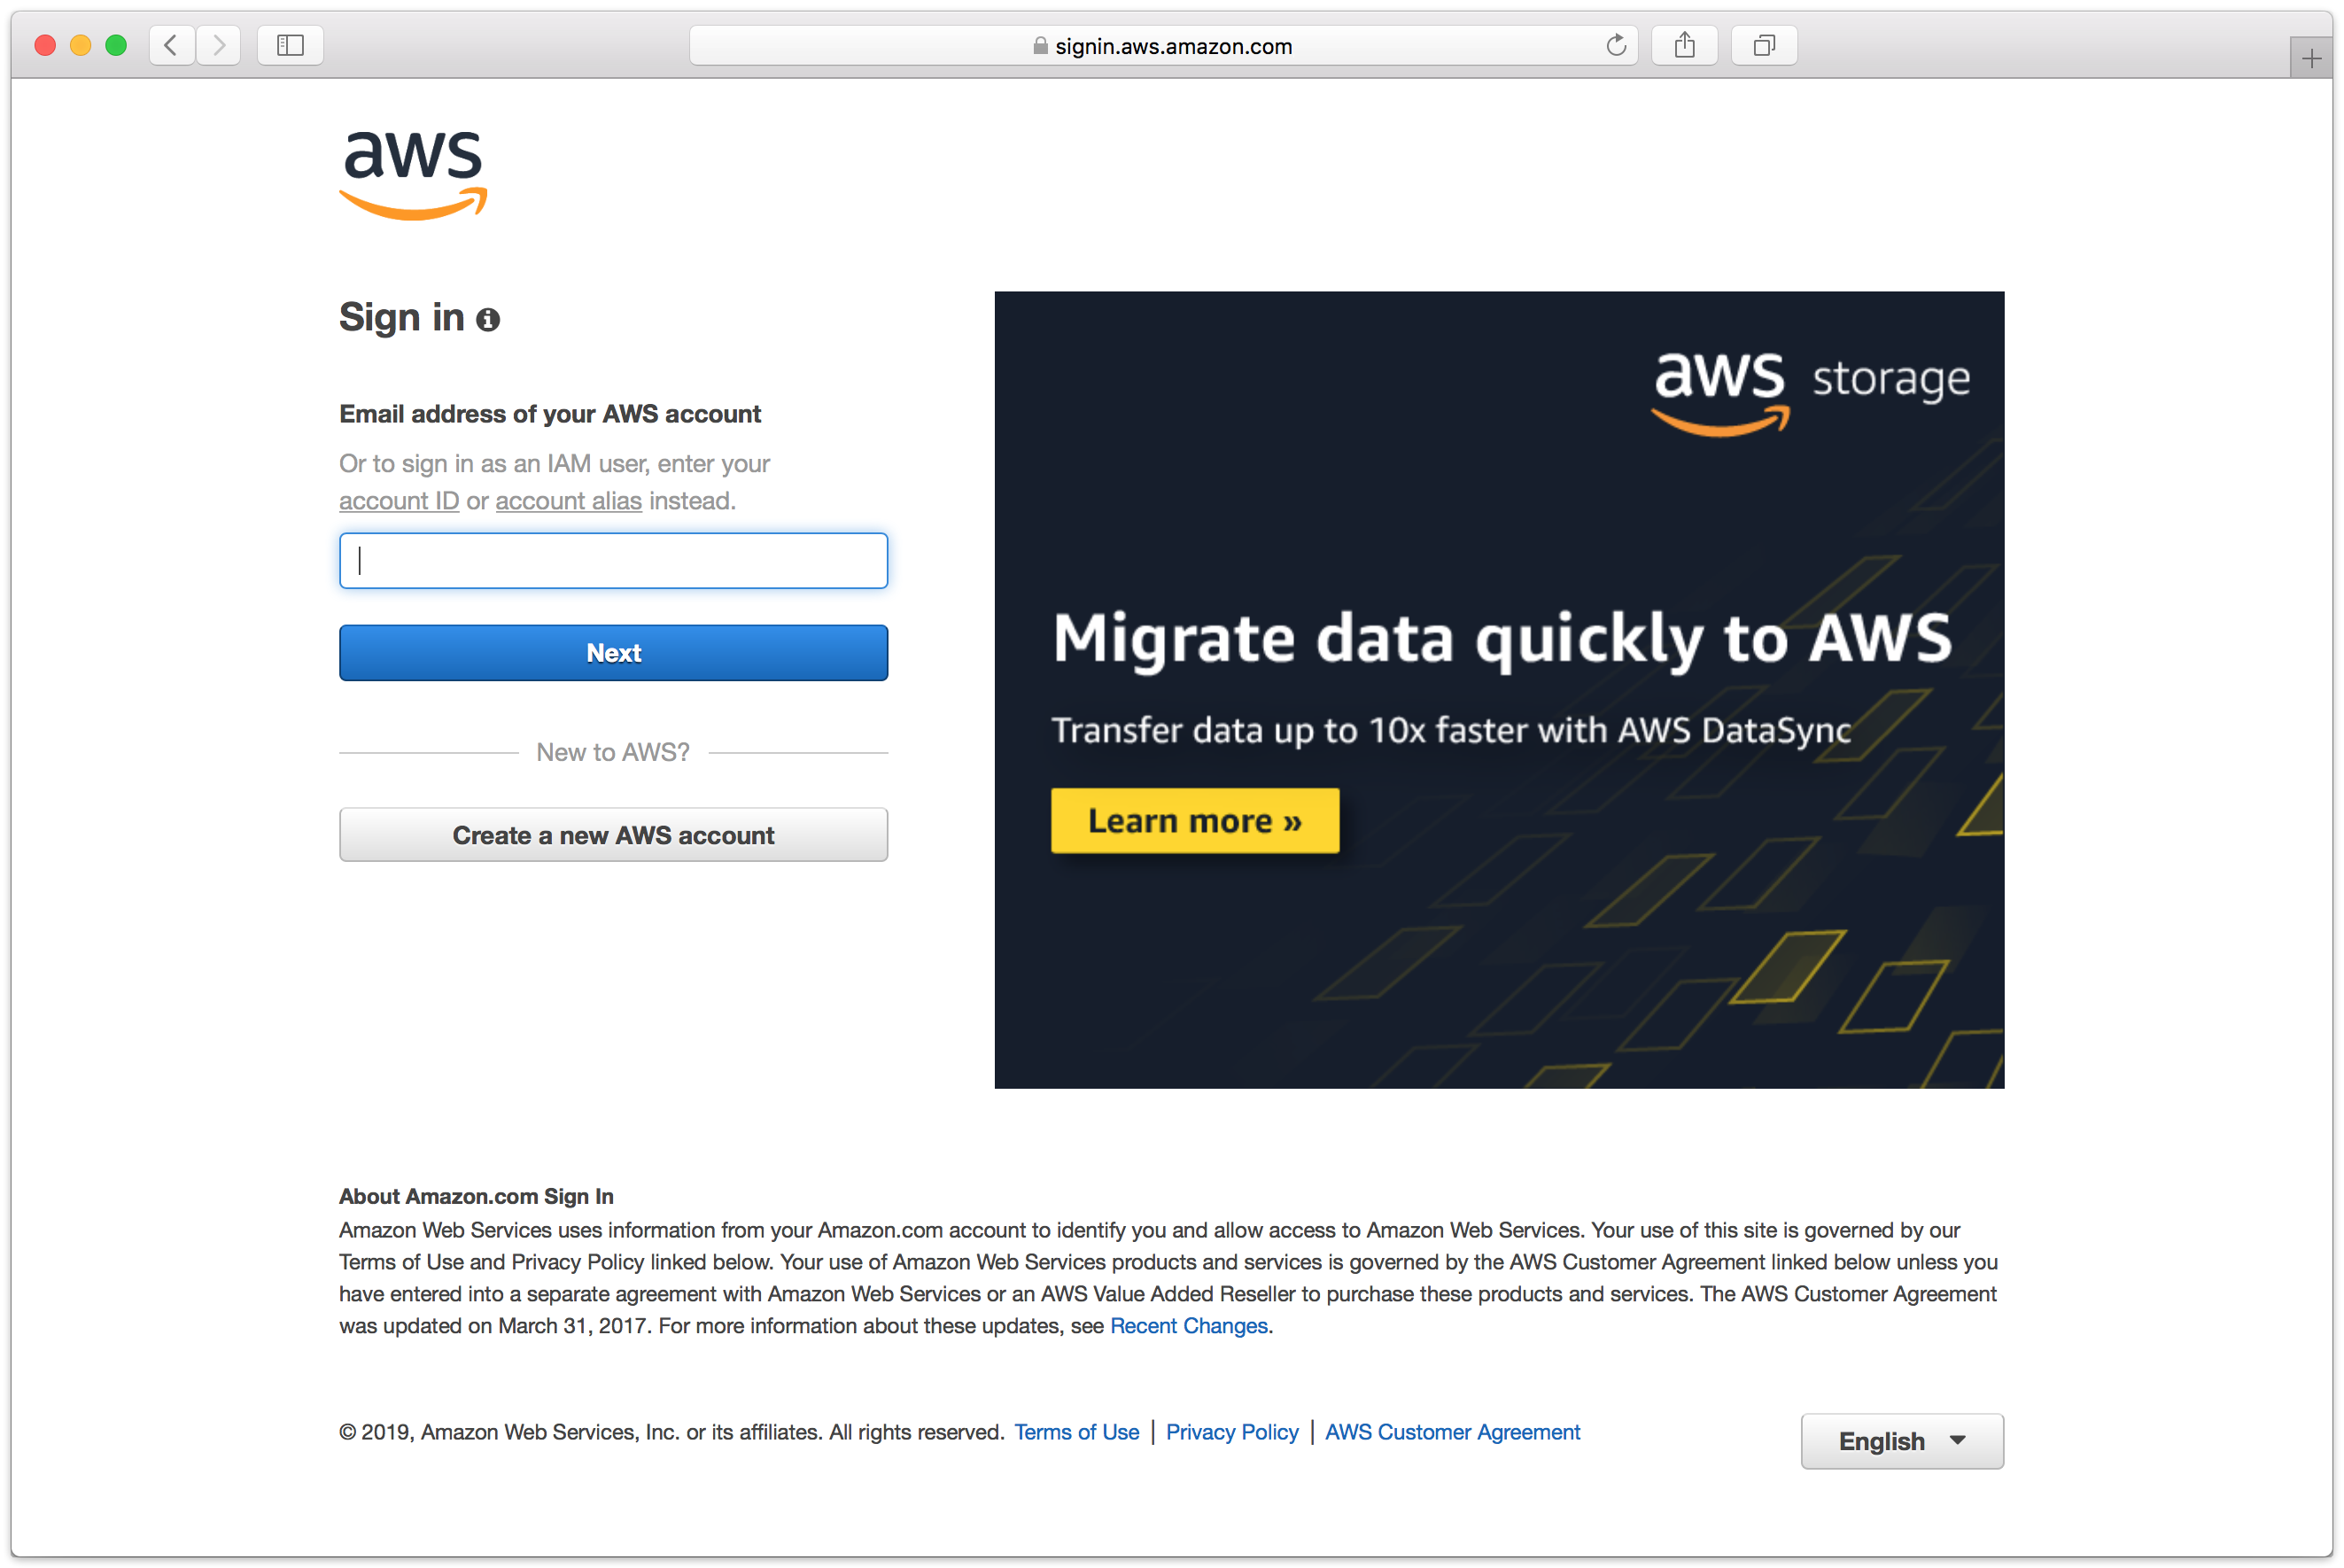
Visit Amazon AWS to start the account creation process and click "Create an AWS Account".
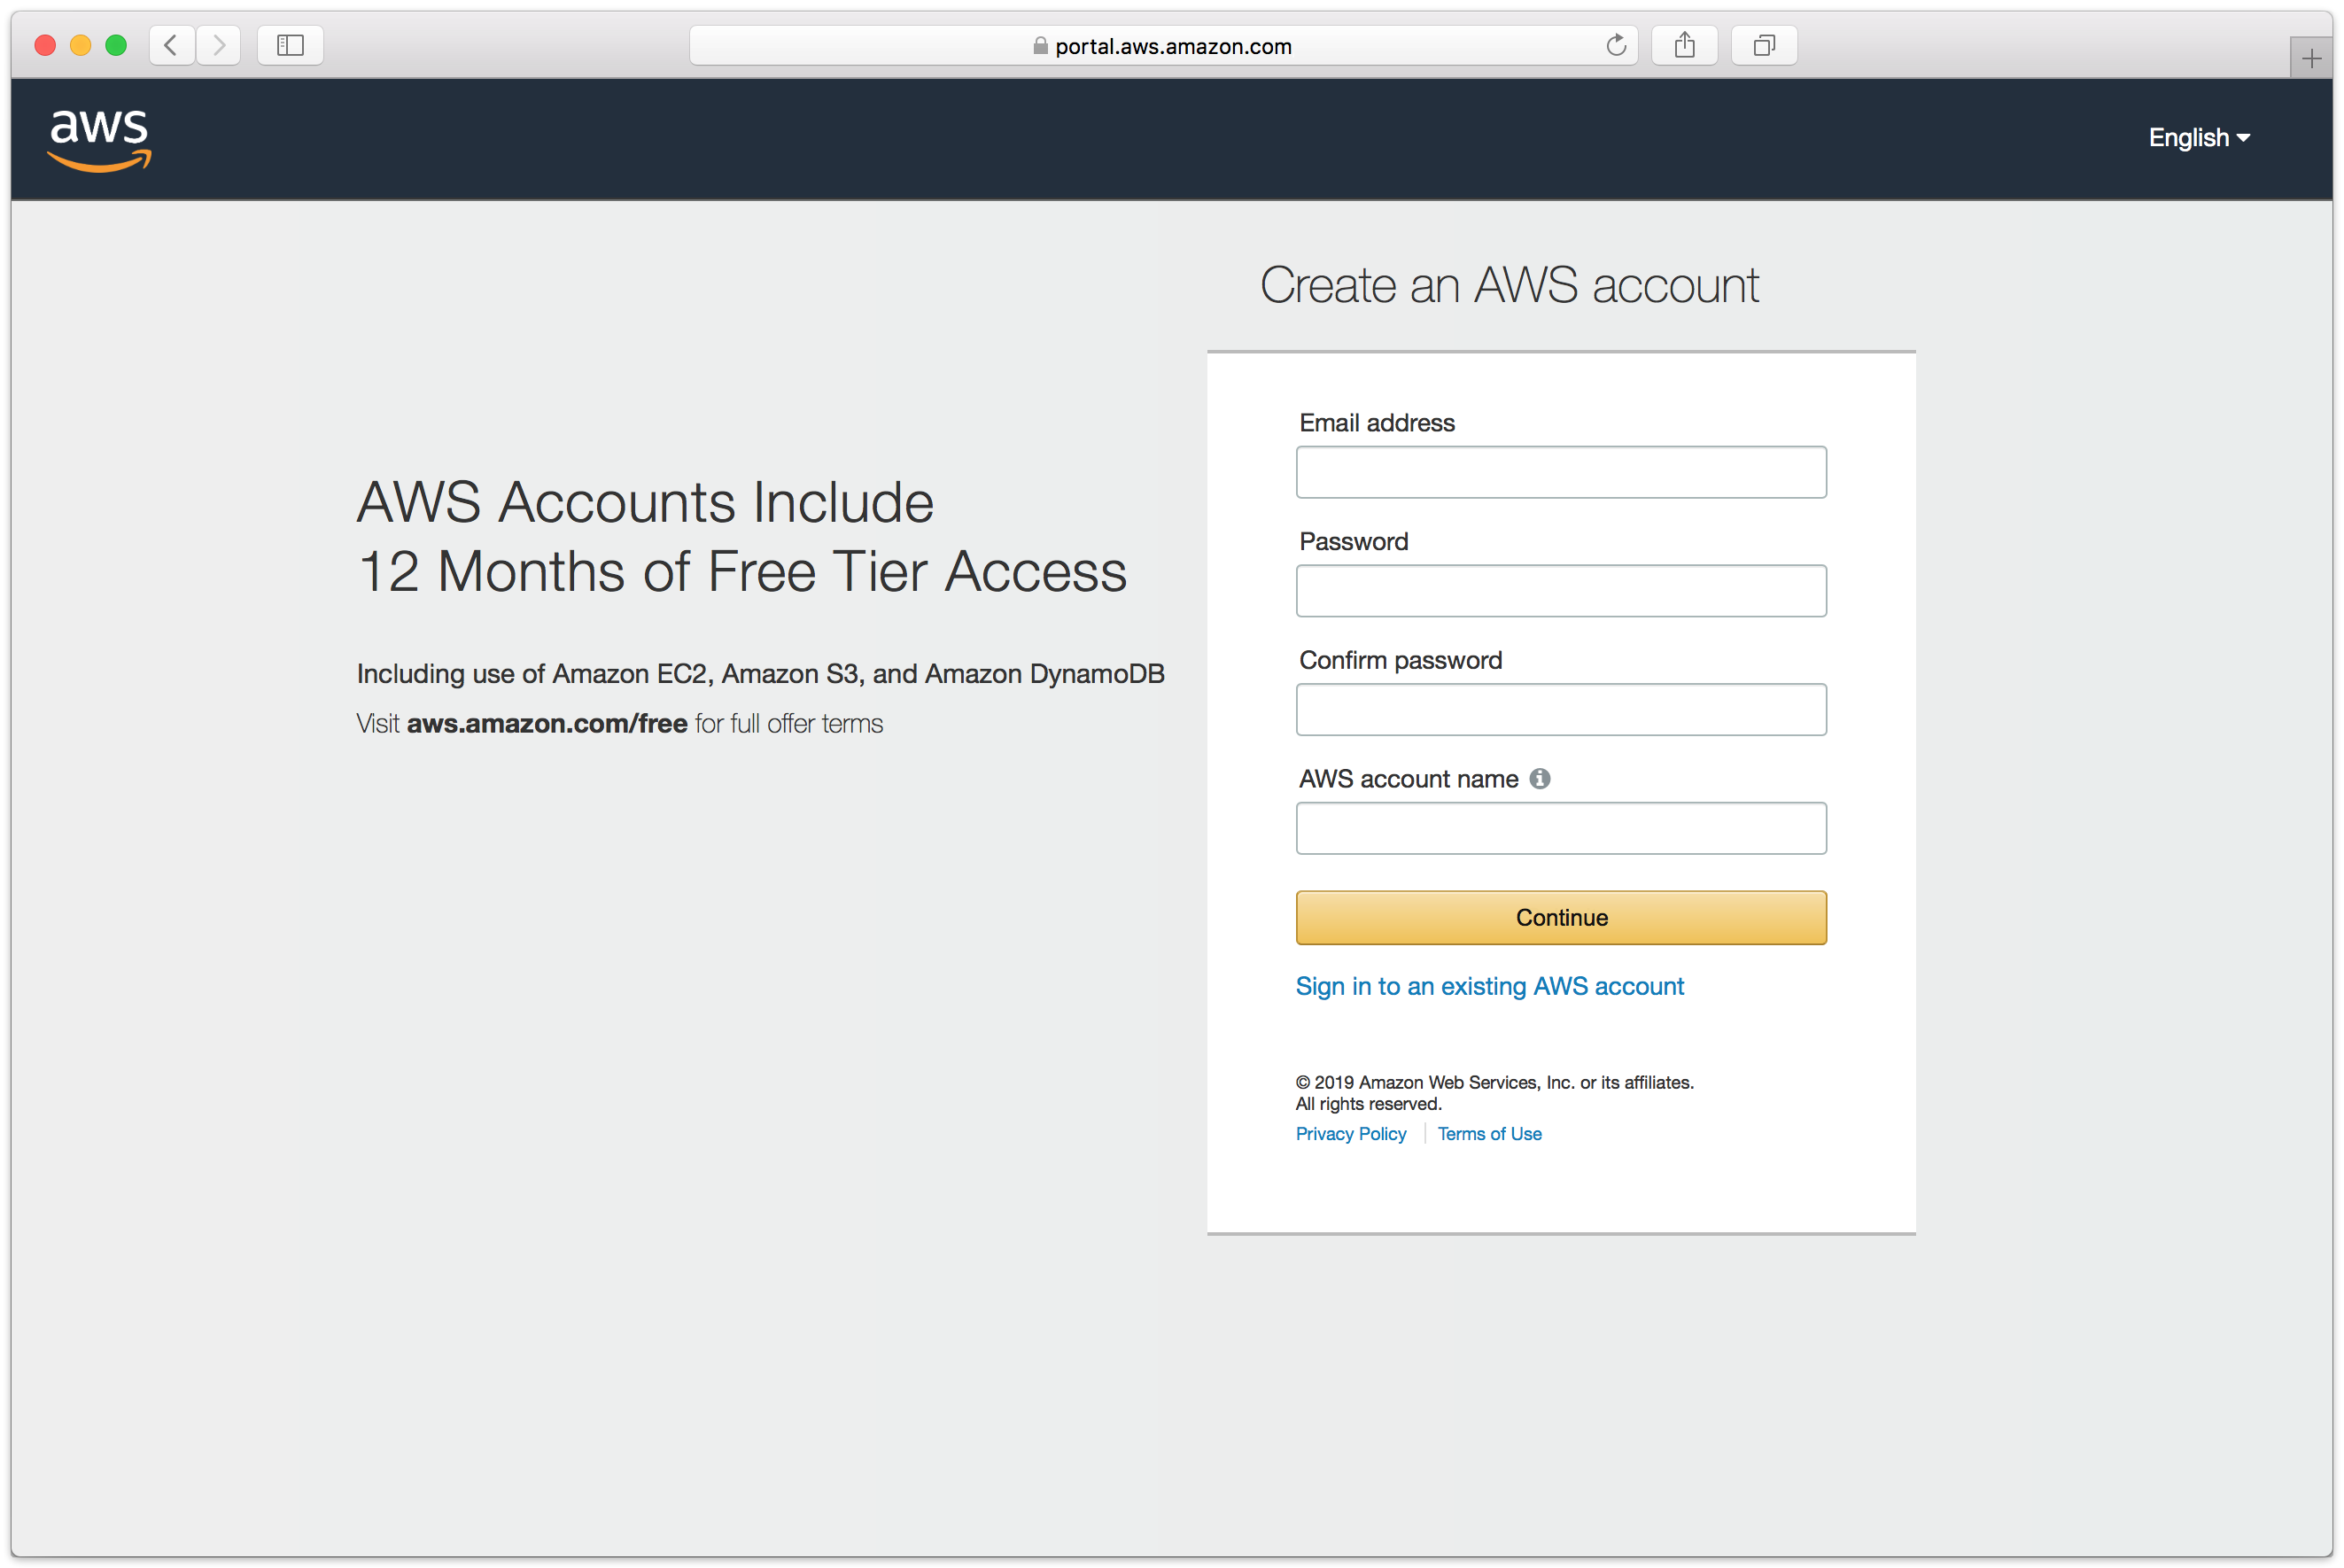
Fill in an email address and password.
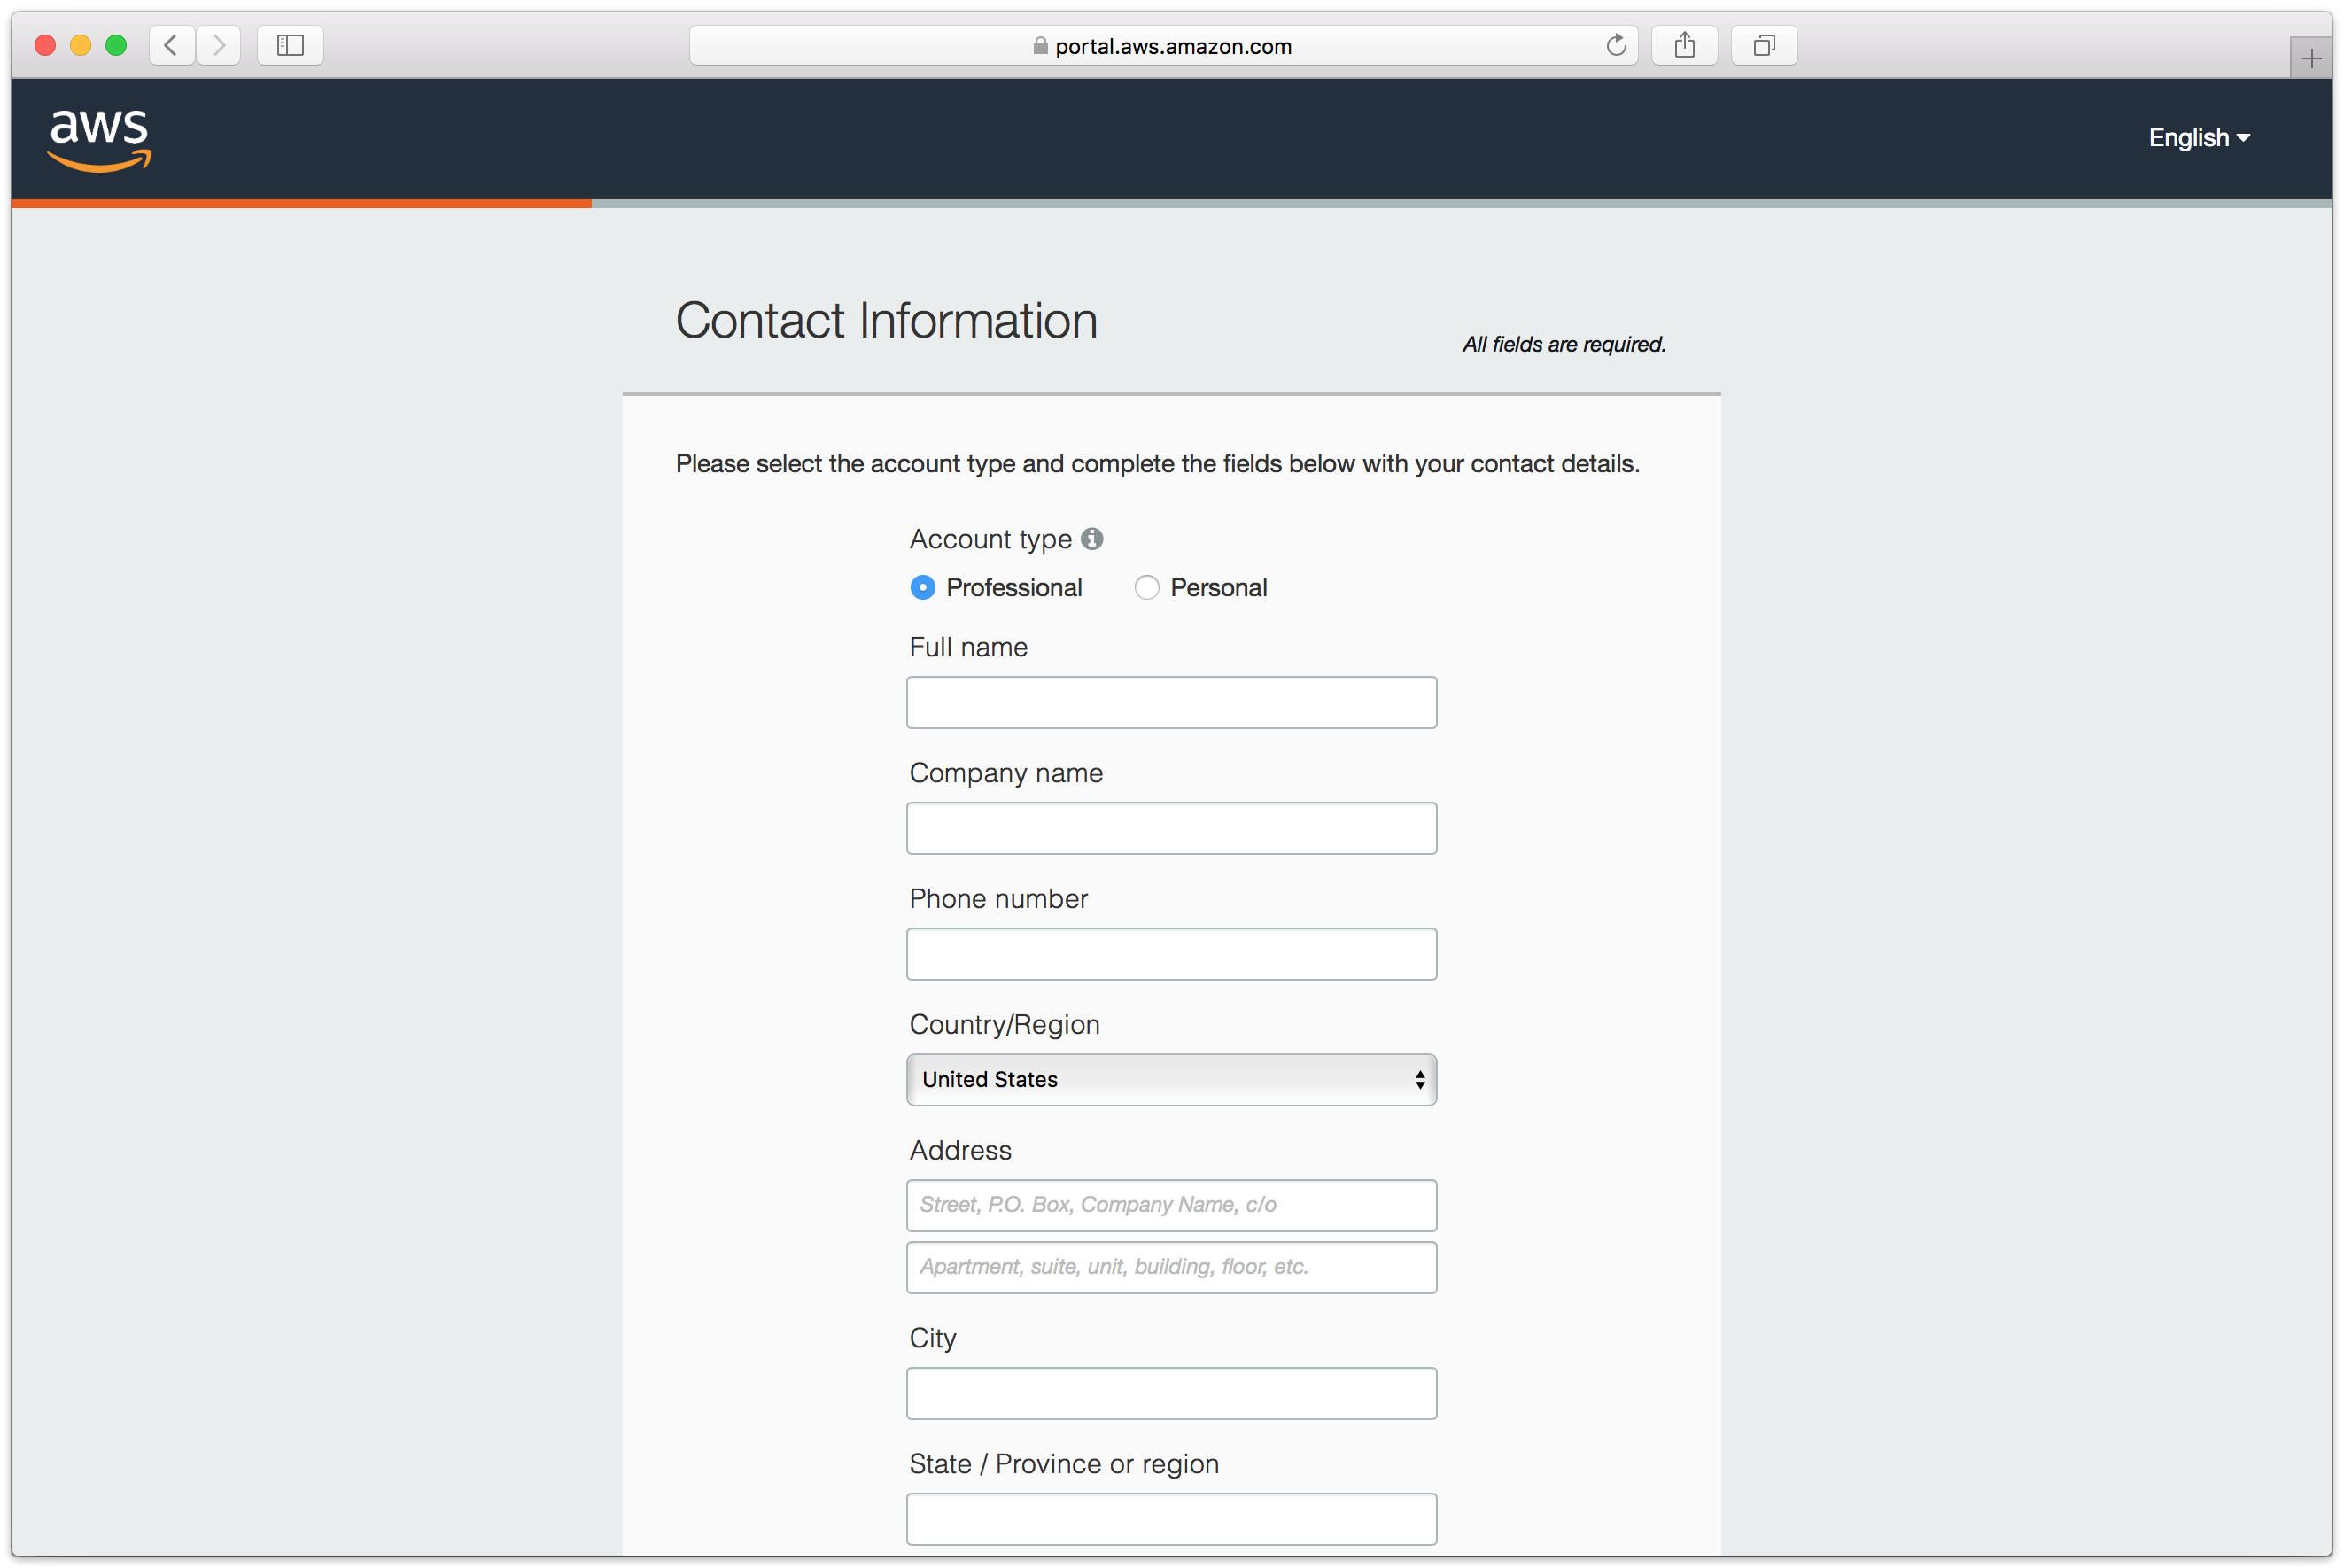
Complete the contact information form.
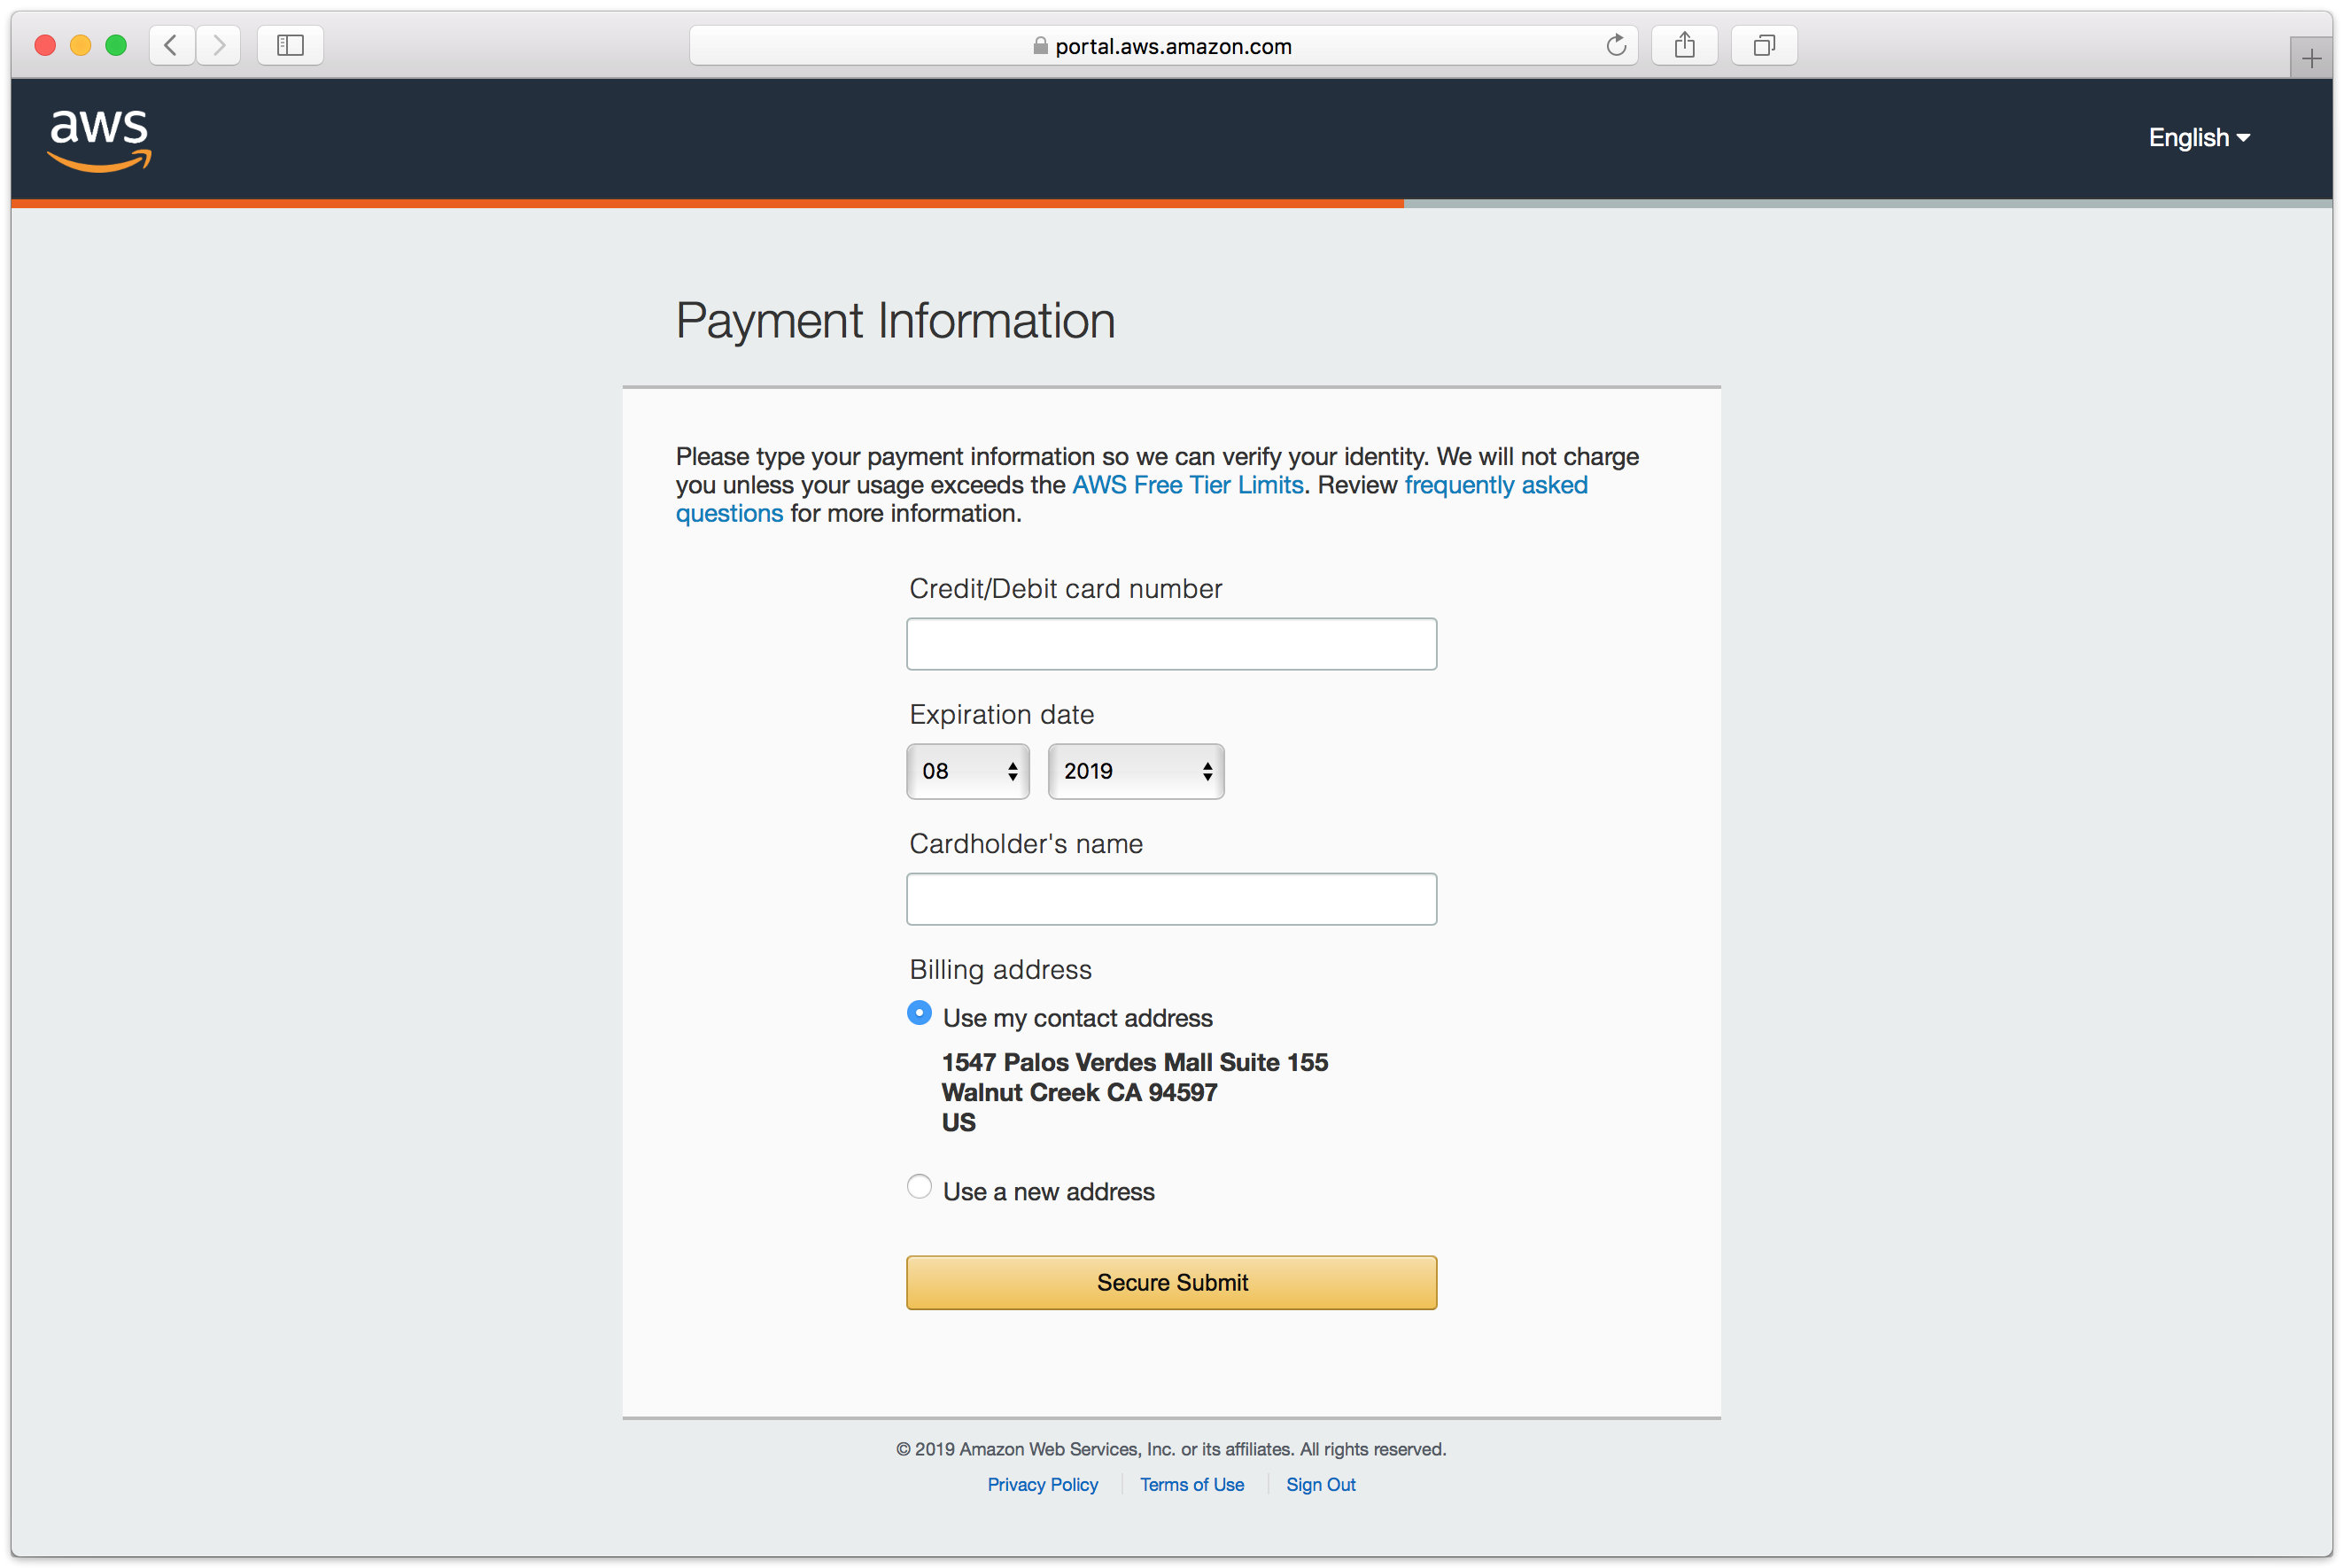
Complete the payment information form.
Complete the identity verification.
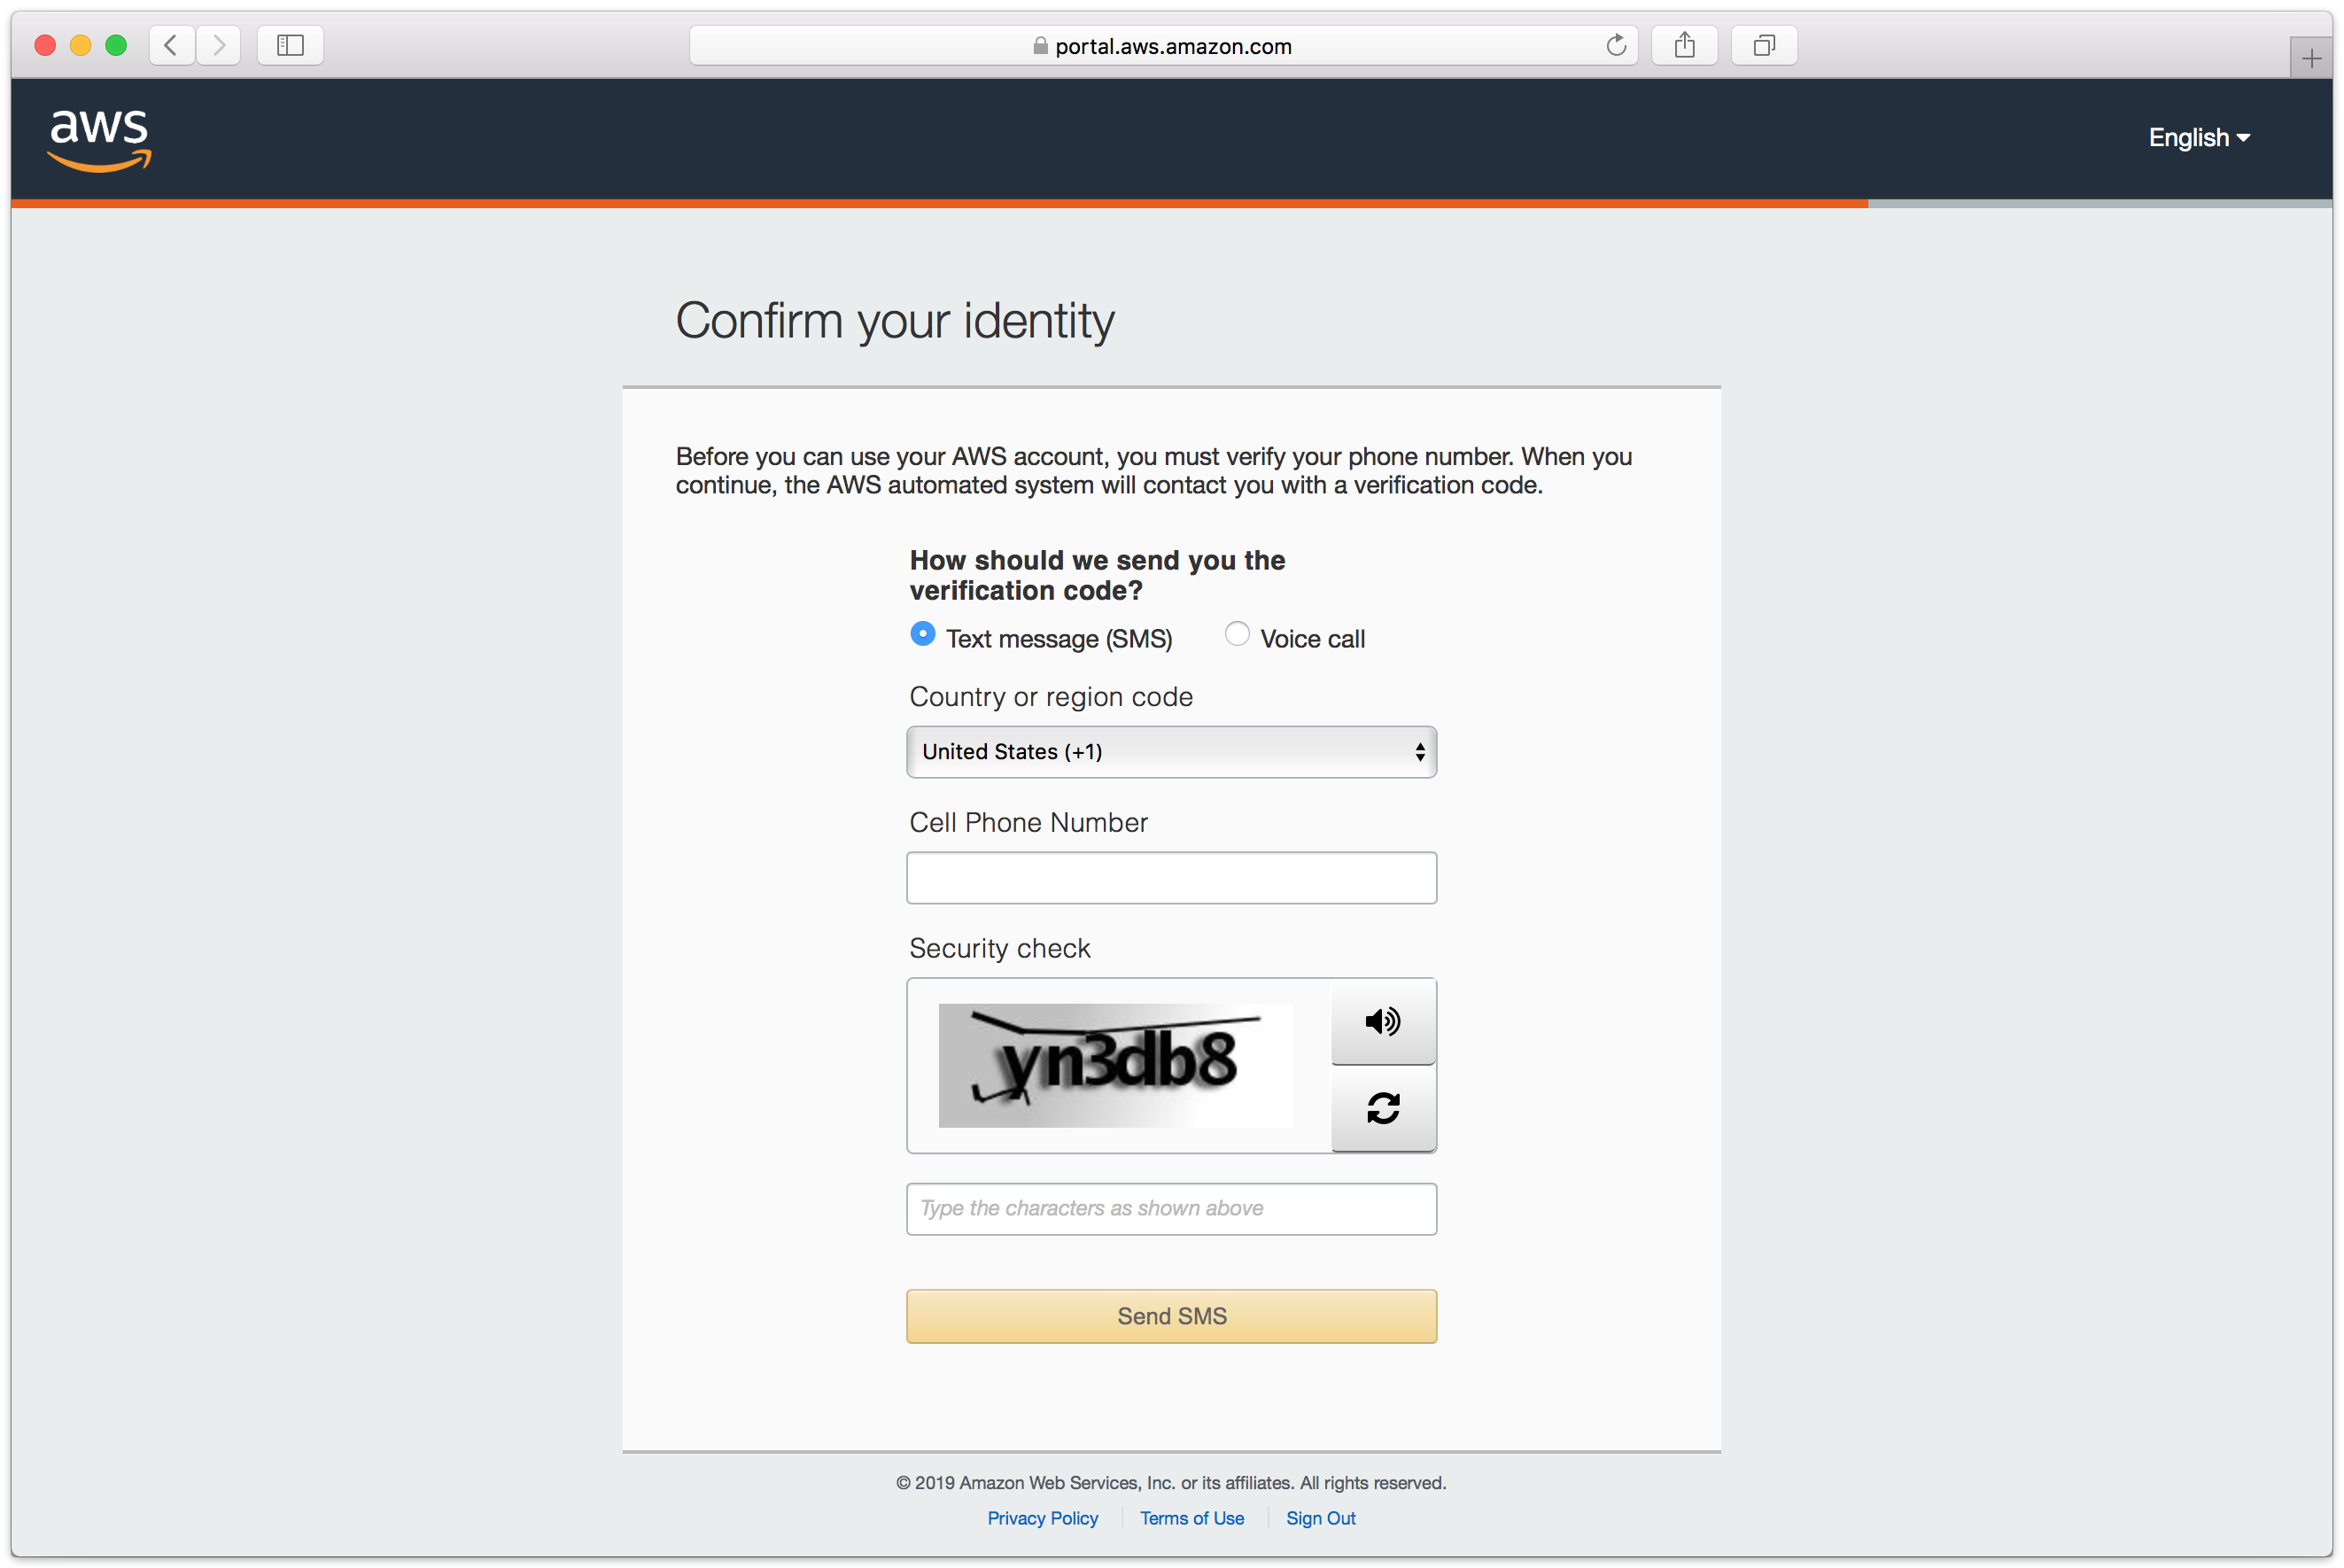
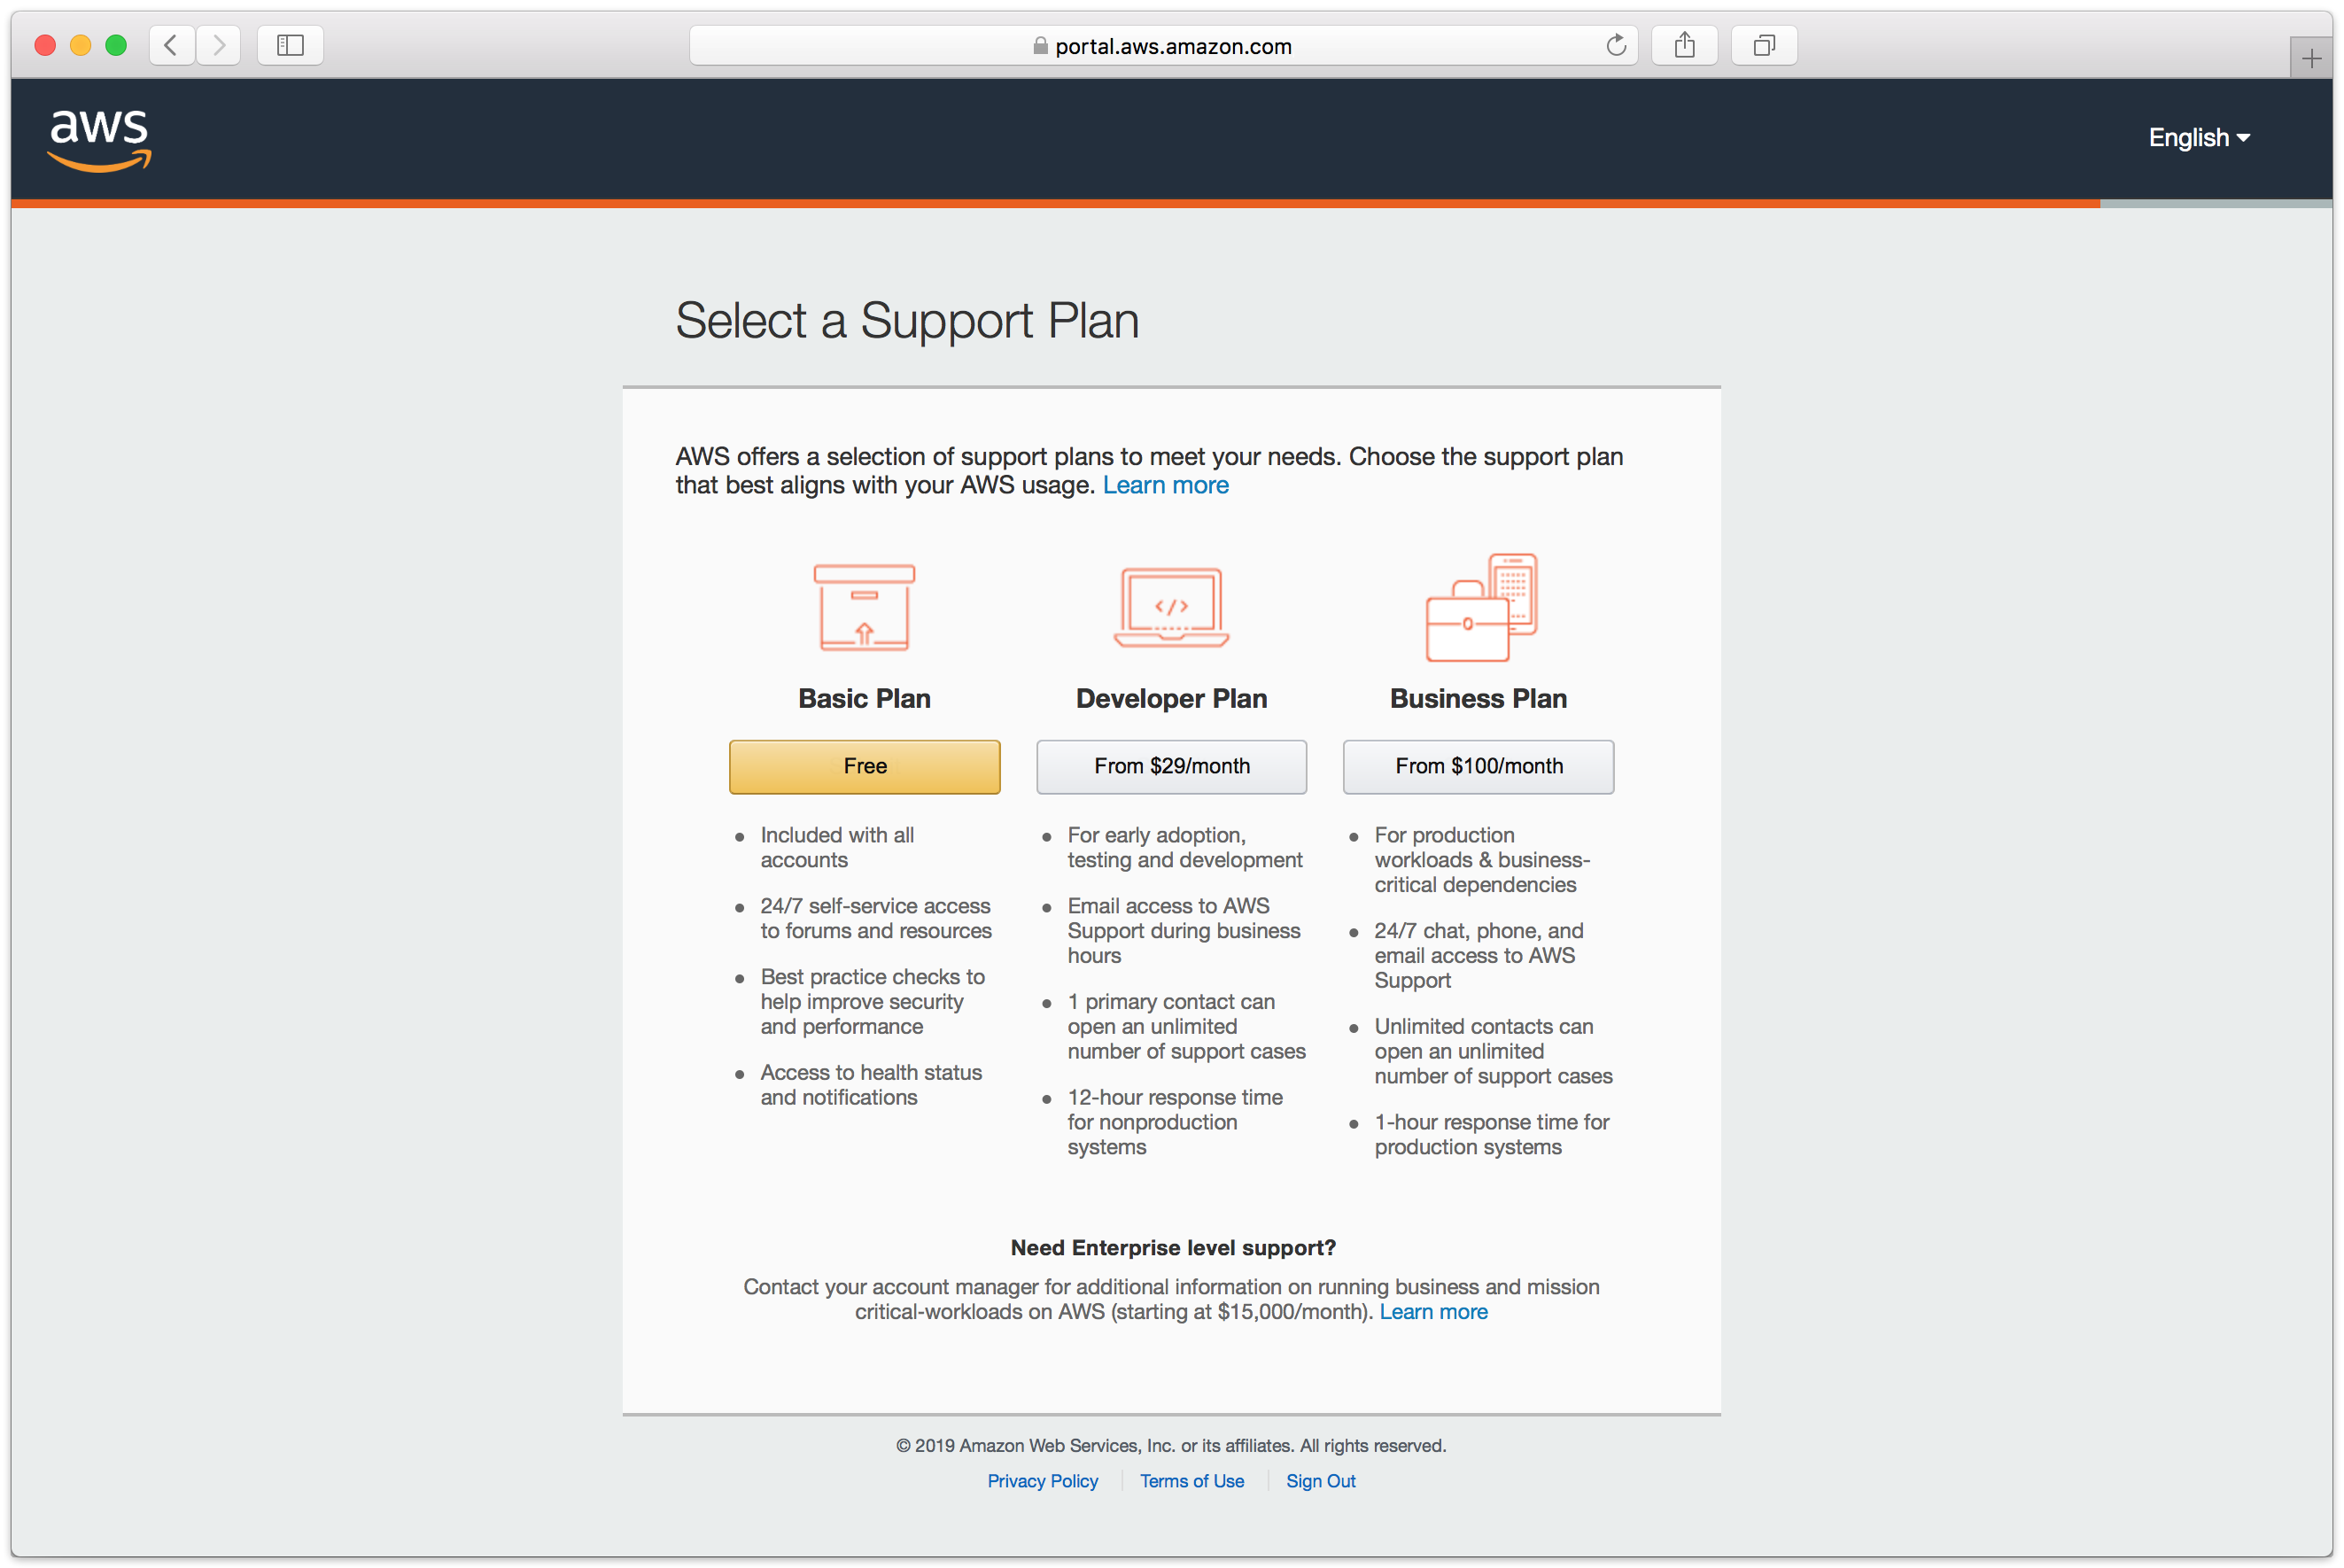
Select an appropriate Support Plan.
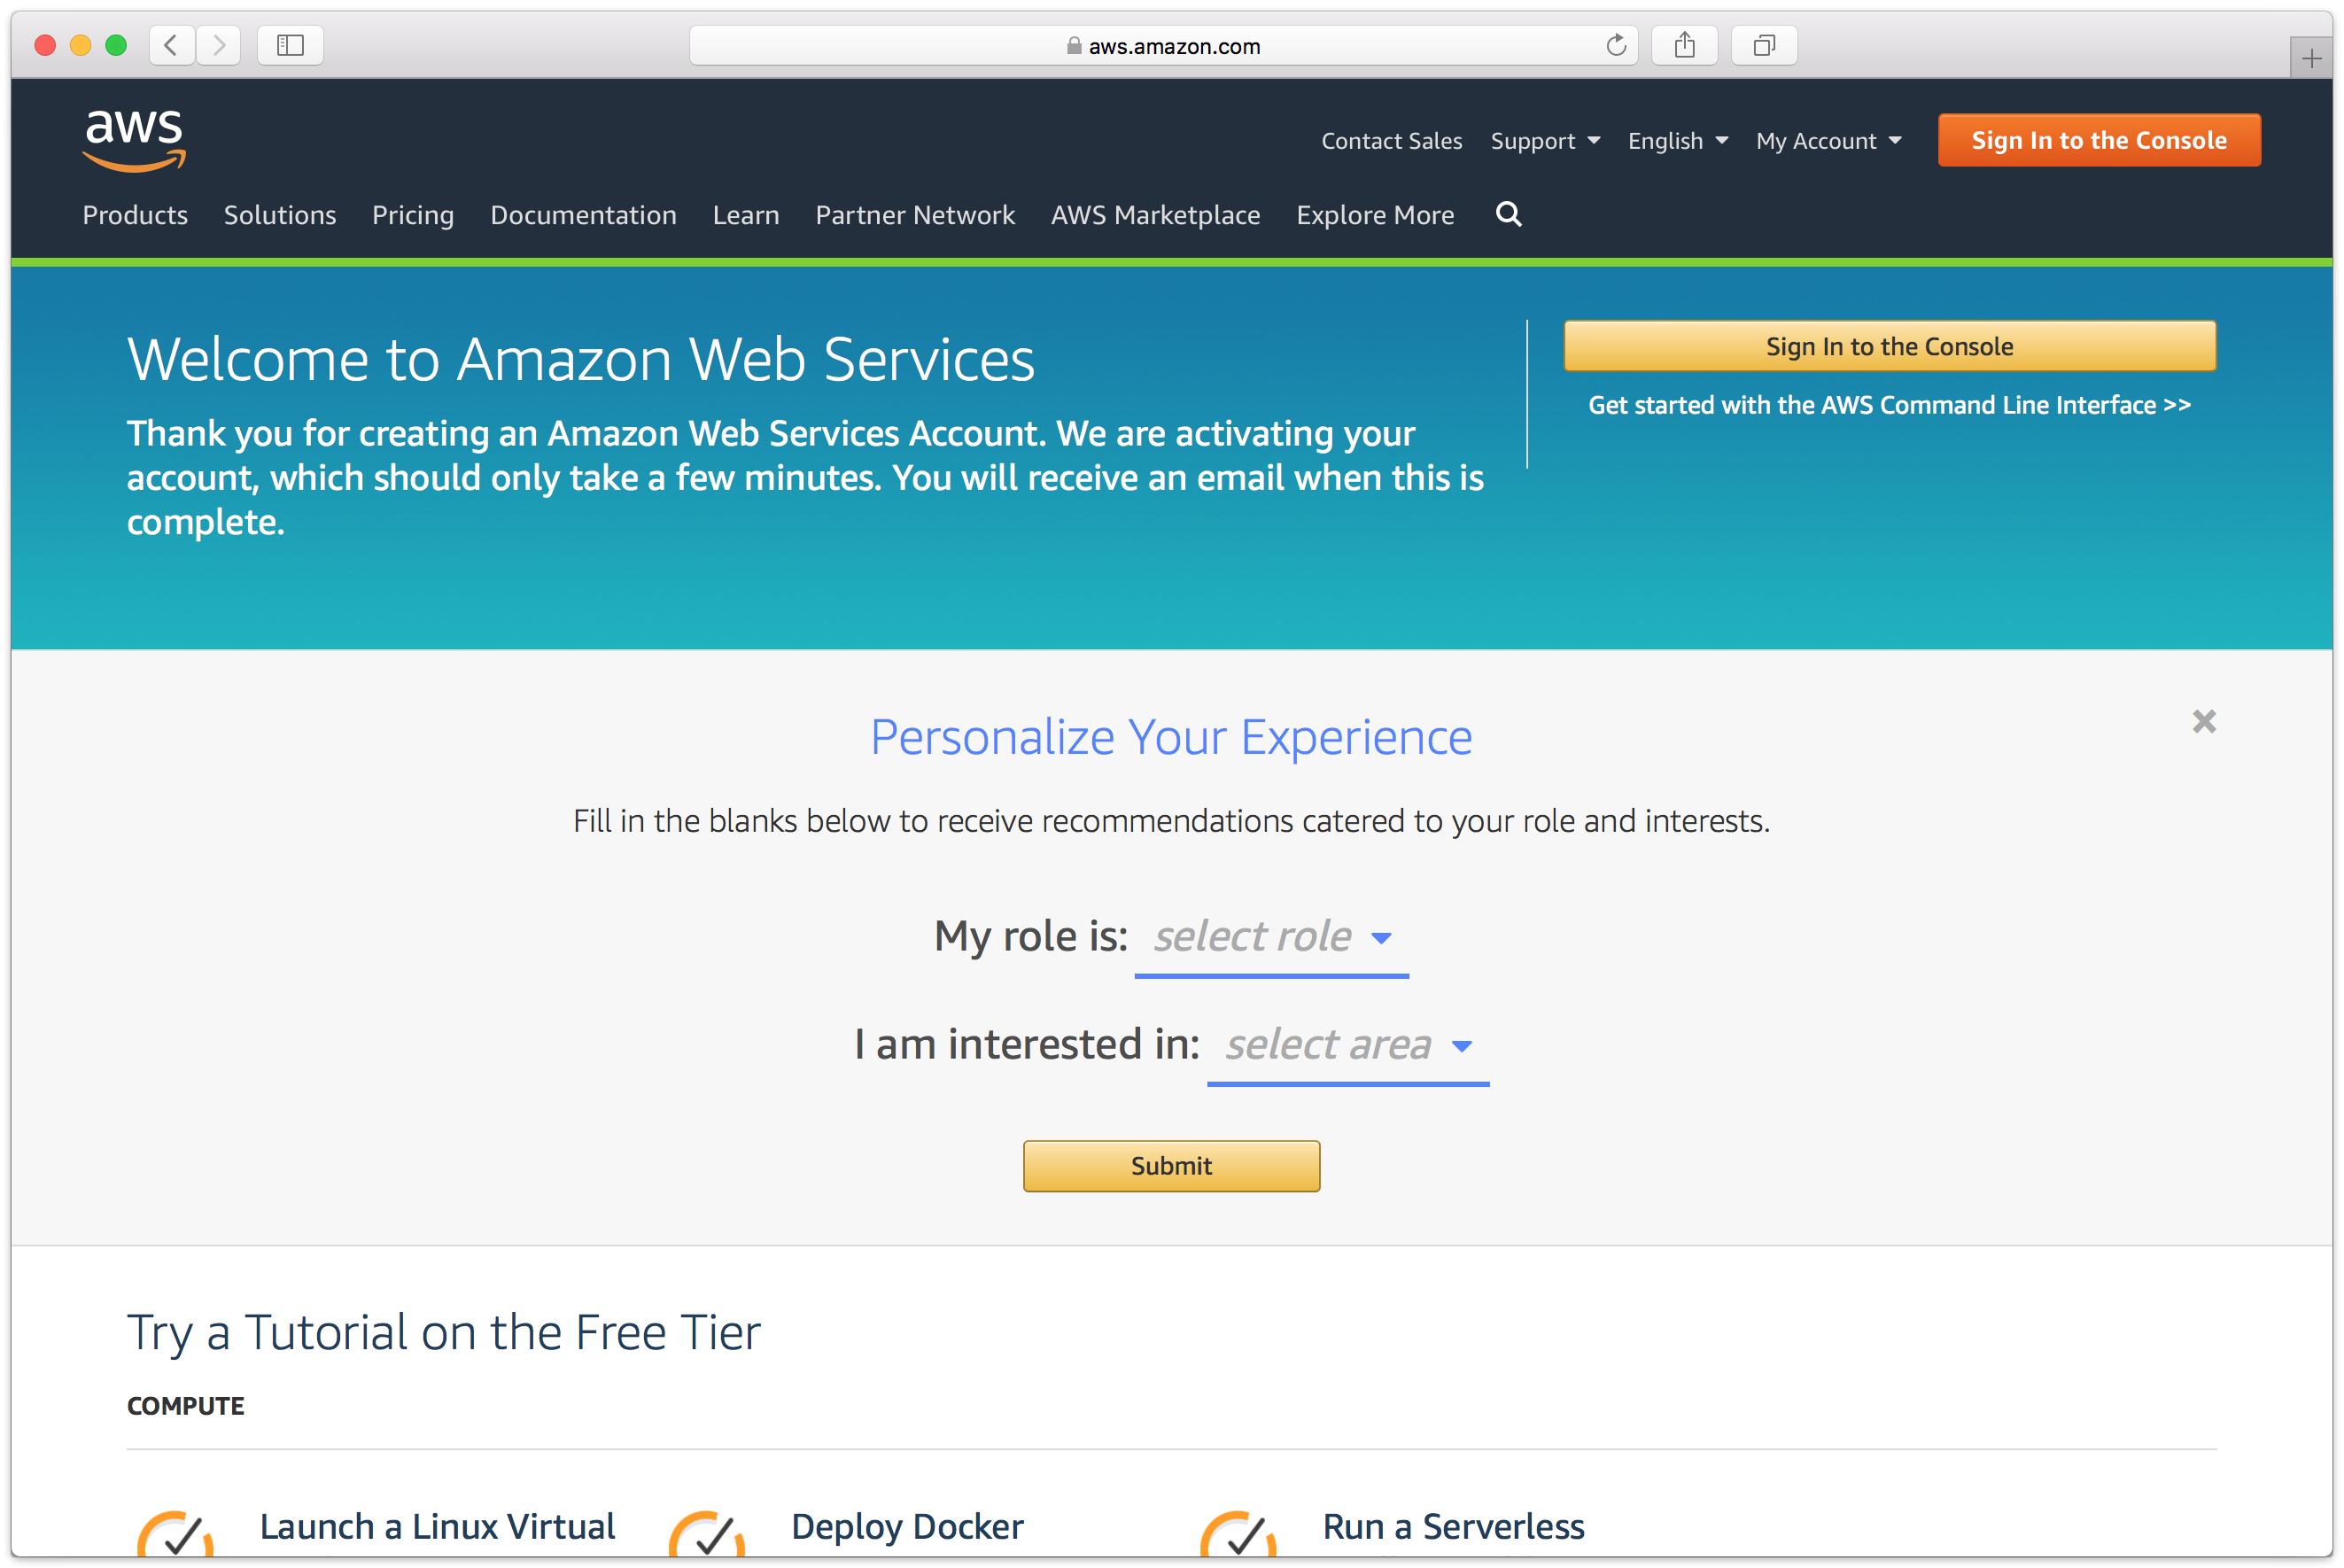
The new account is created. You’re ready to set up the storage location.
Storage Setup Guide
Now we will create a bucket that Retrospect can use to store backups.
Log into AWS Console.
Search for S3 and select.
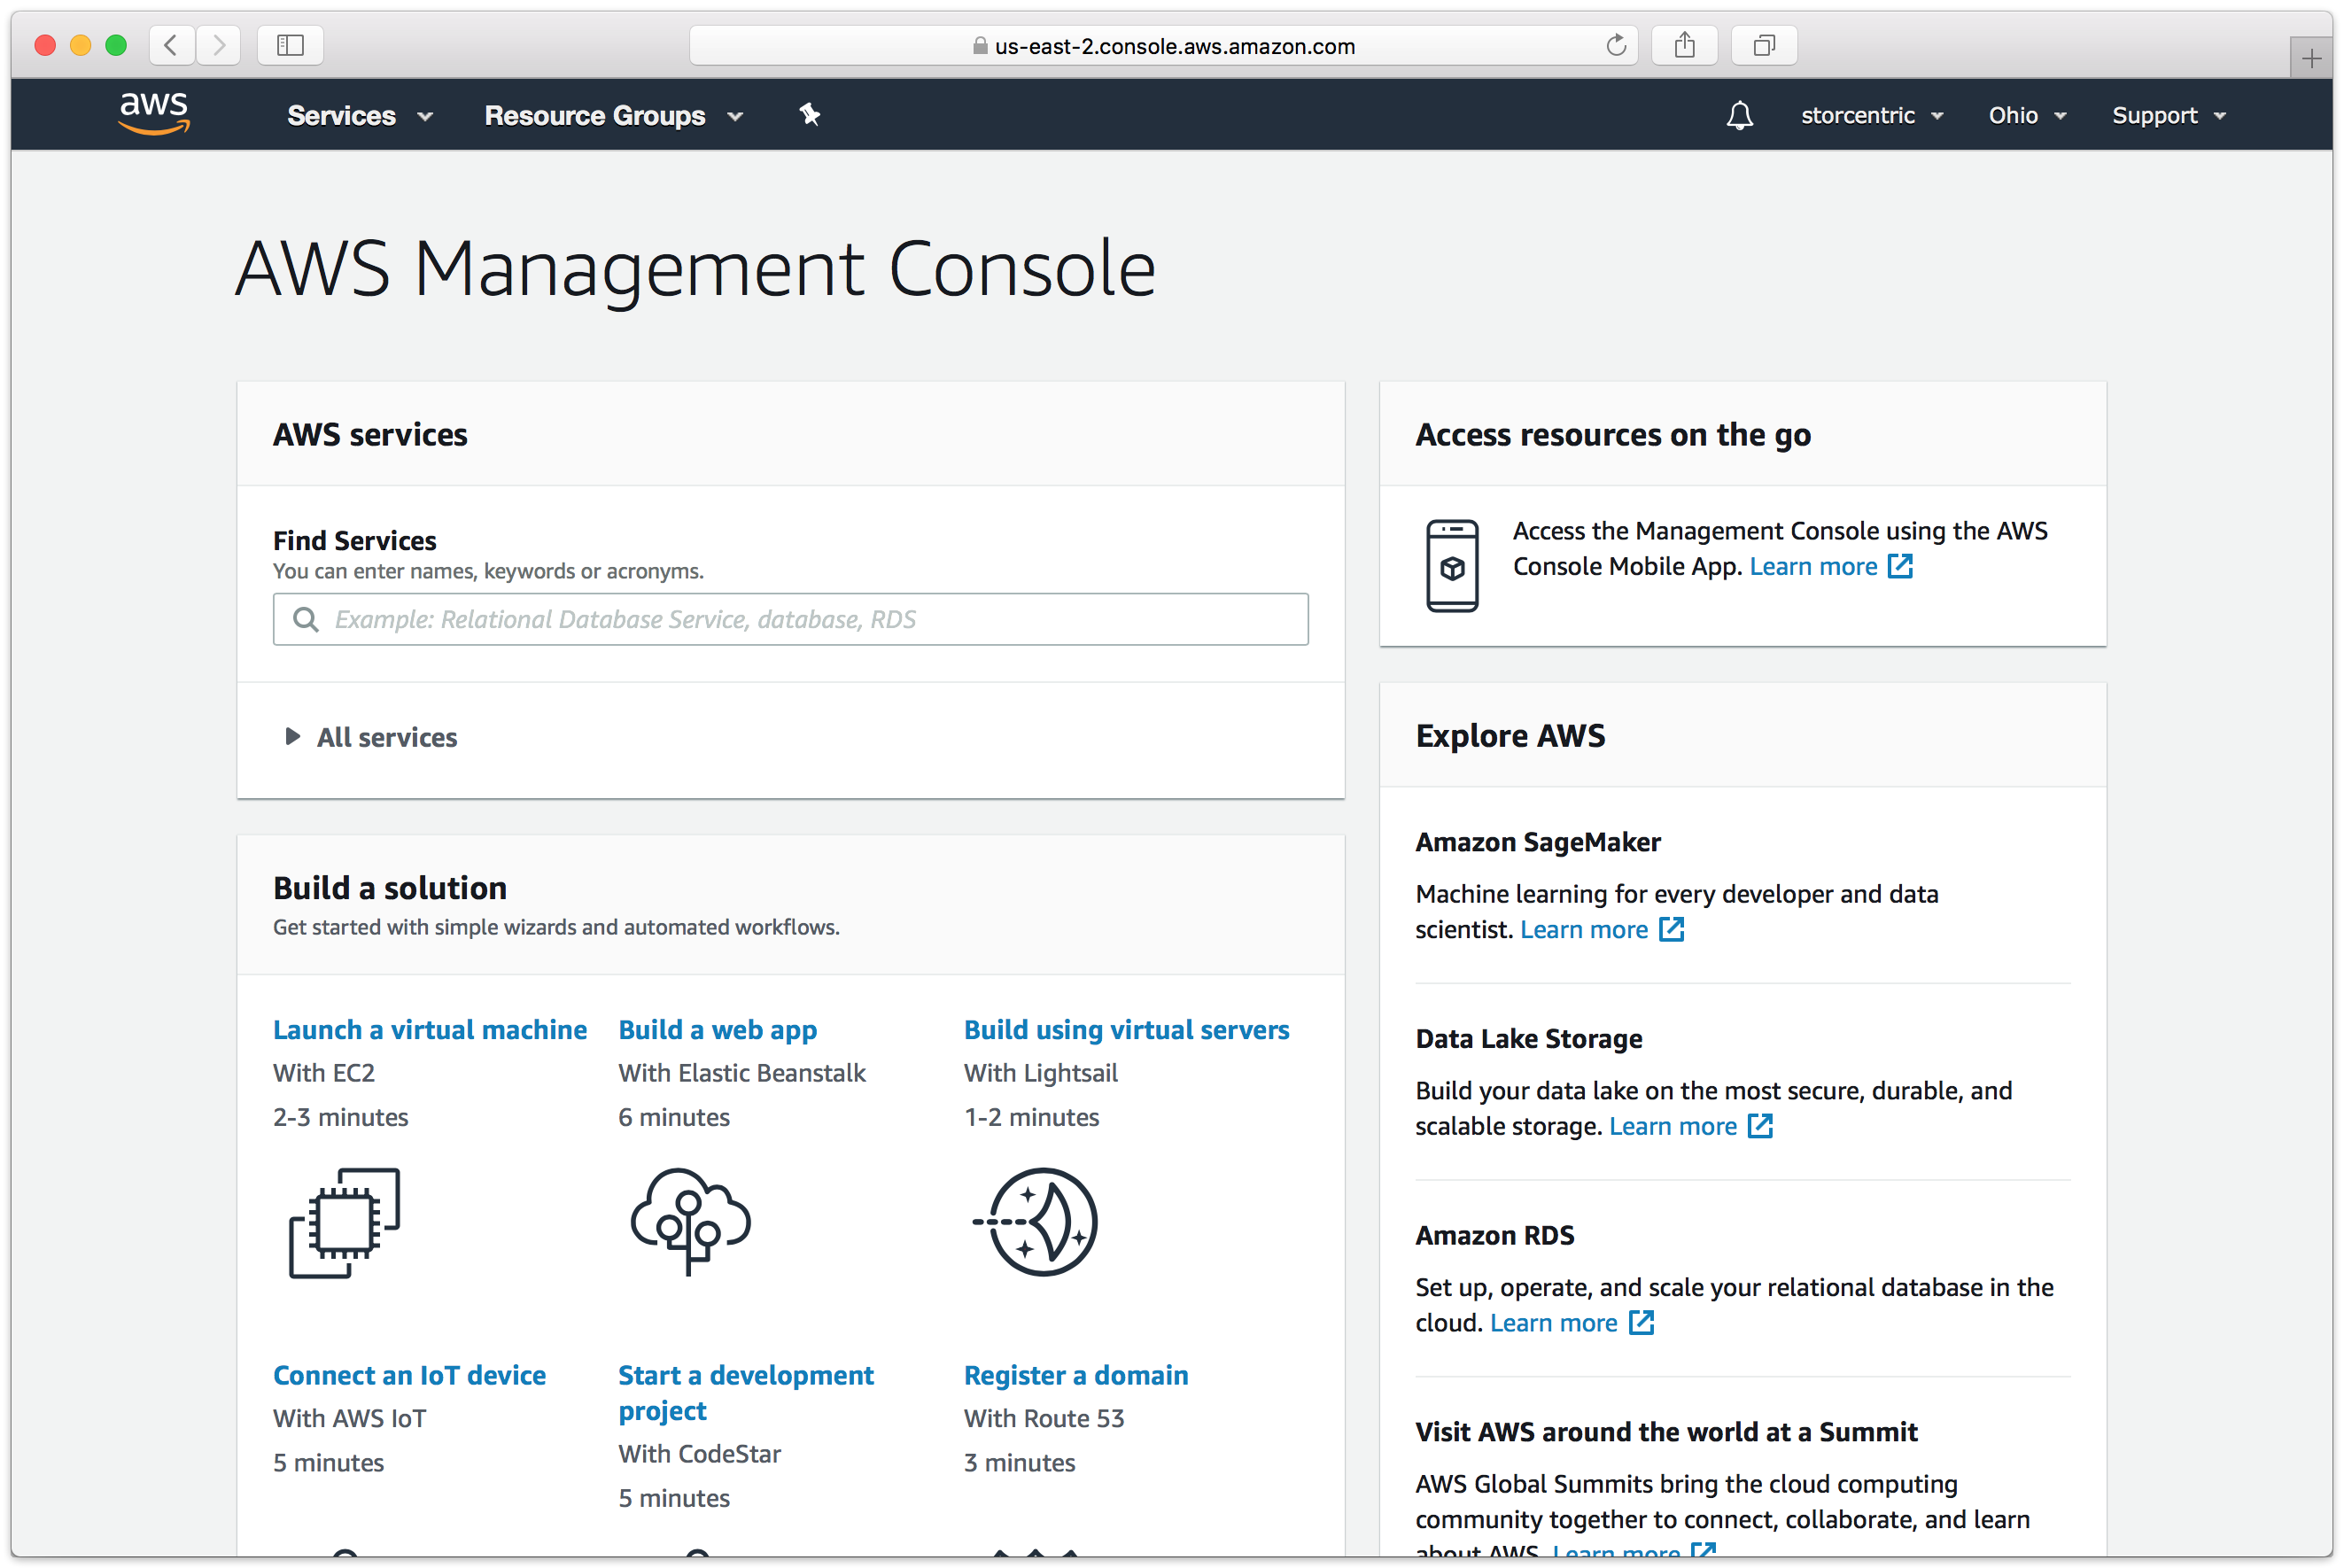
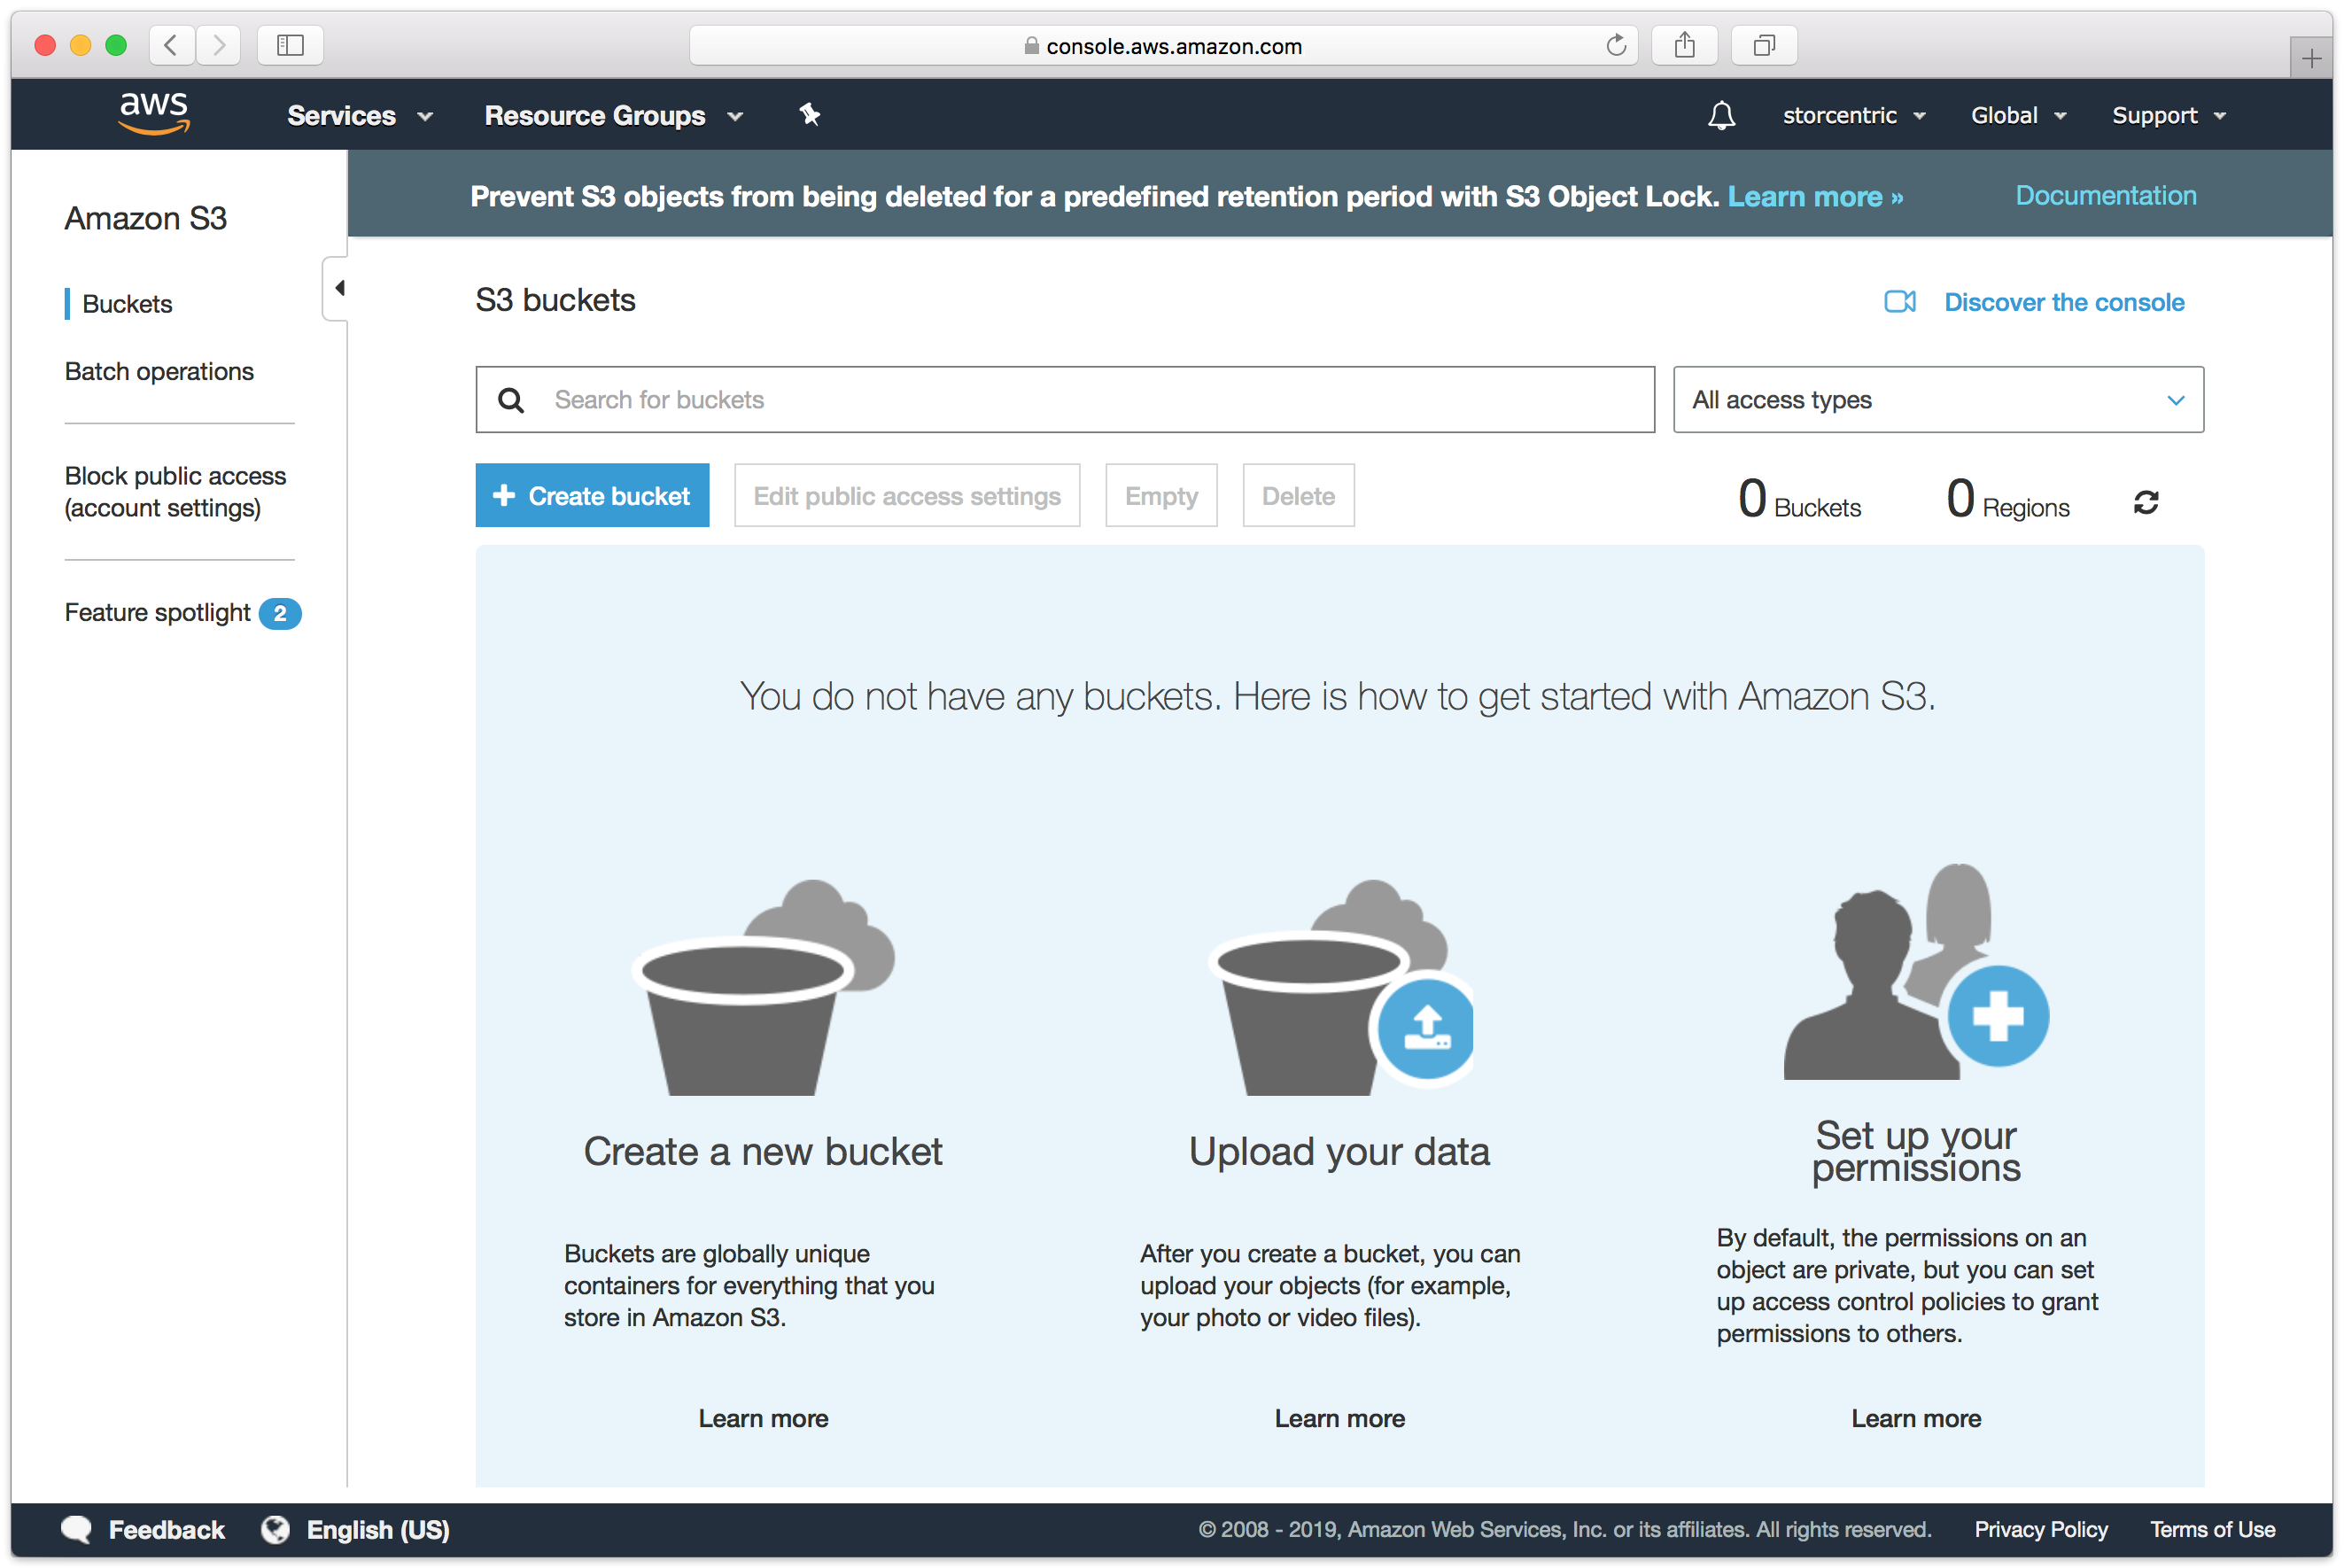
Click "Create Bucket".
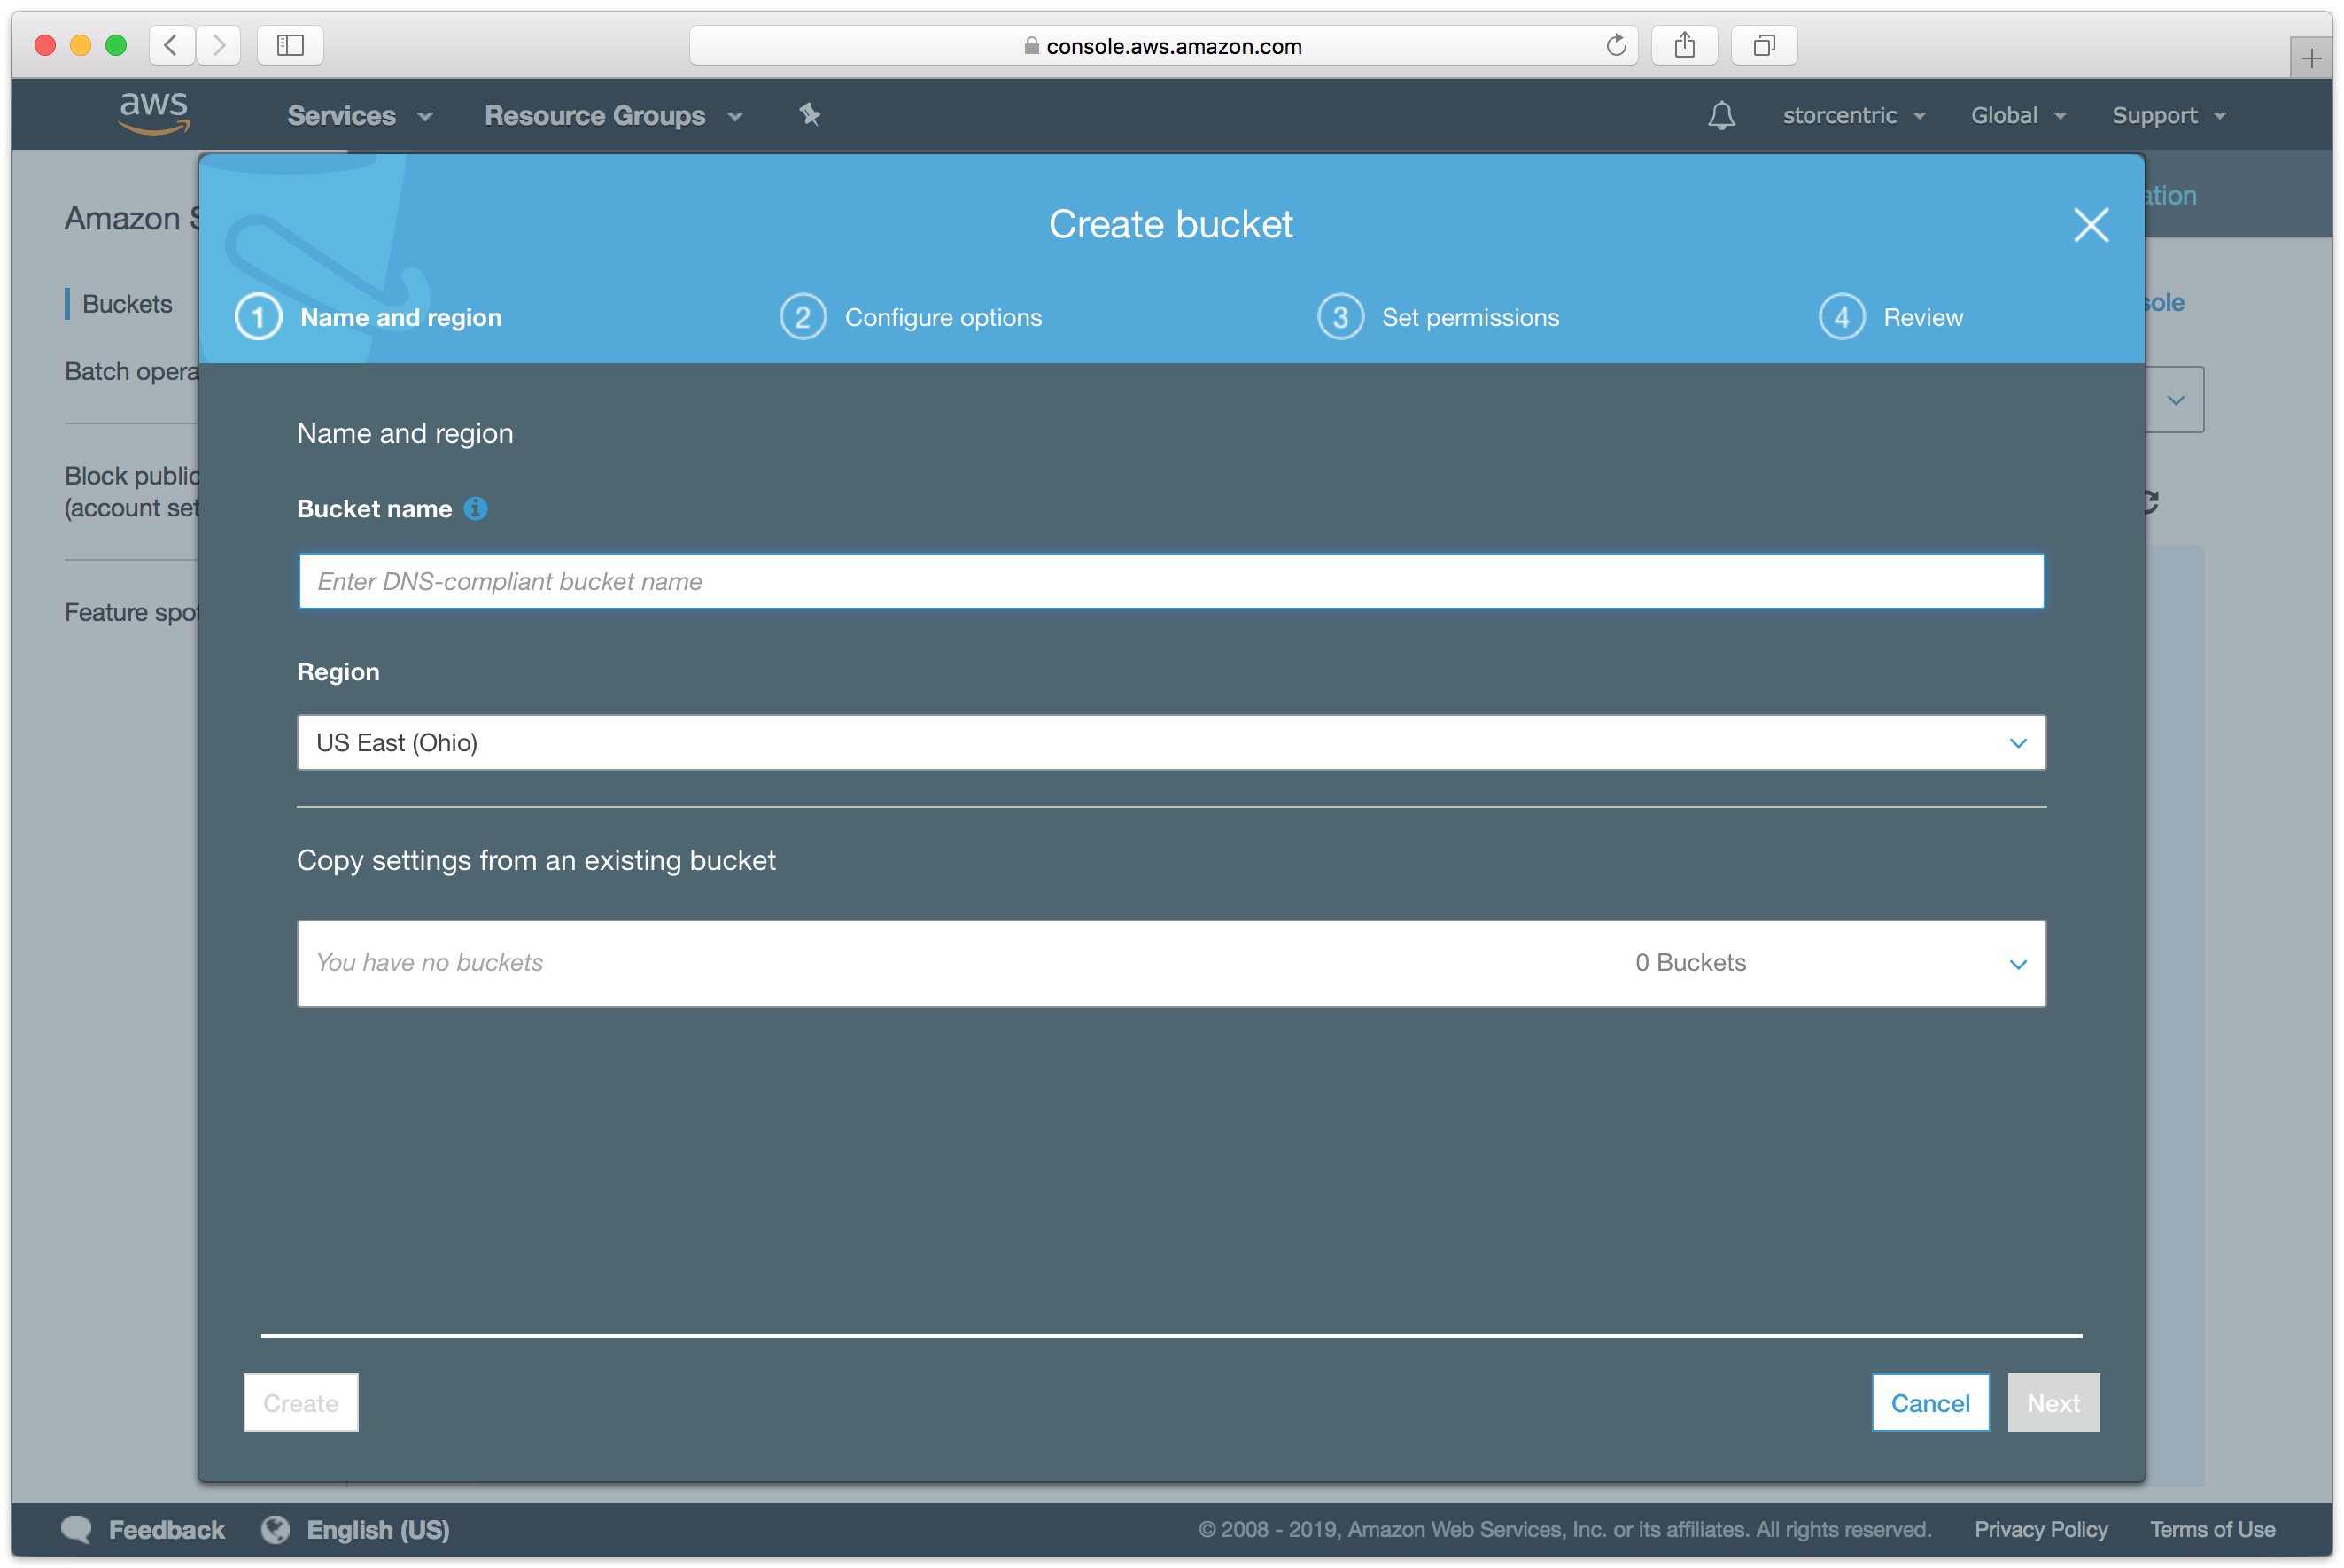
Type in an appropriate name for the bucket. Note that these are globally-unique names.
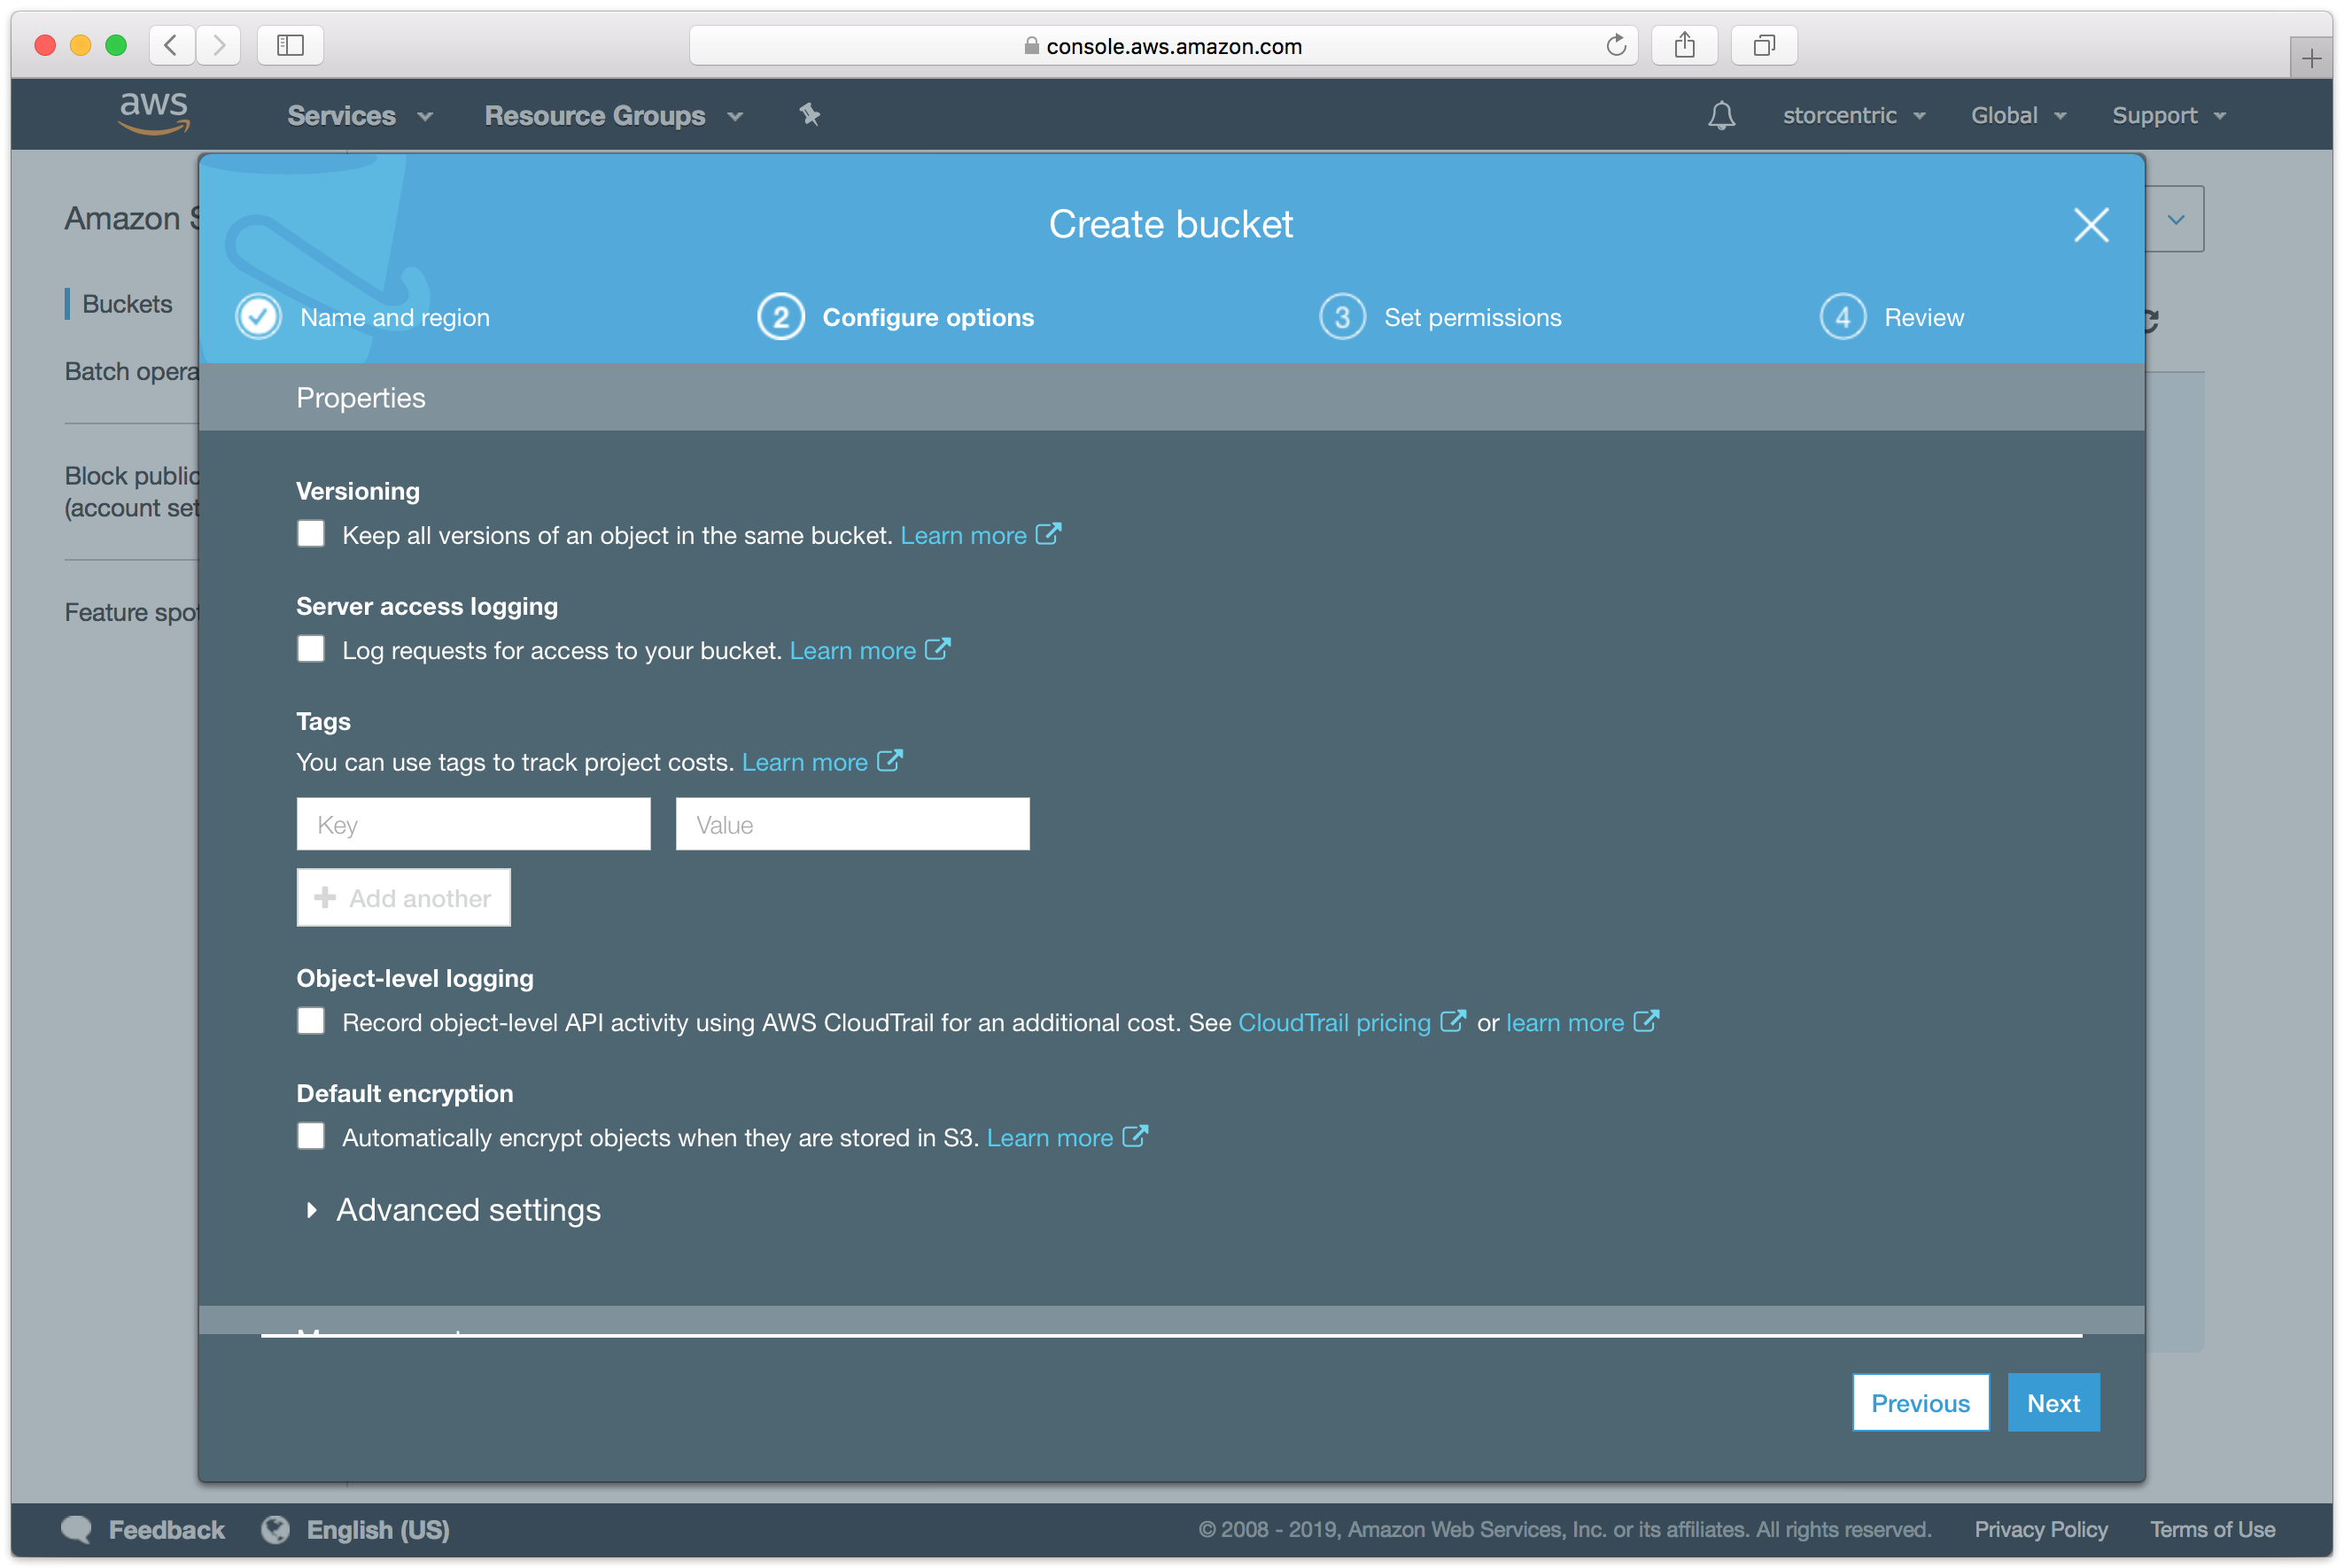
Continue through the rest of the wizard with default options.
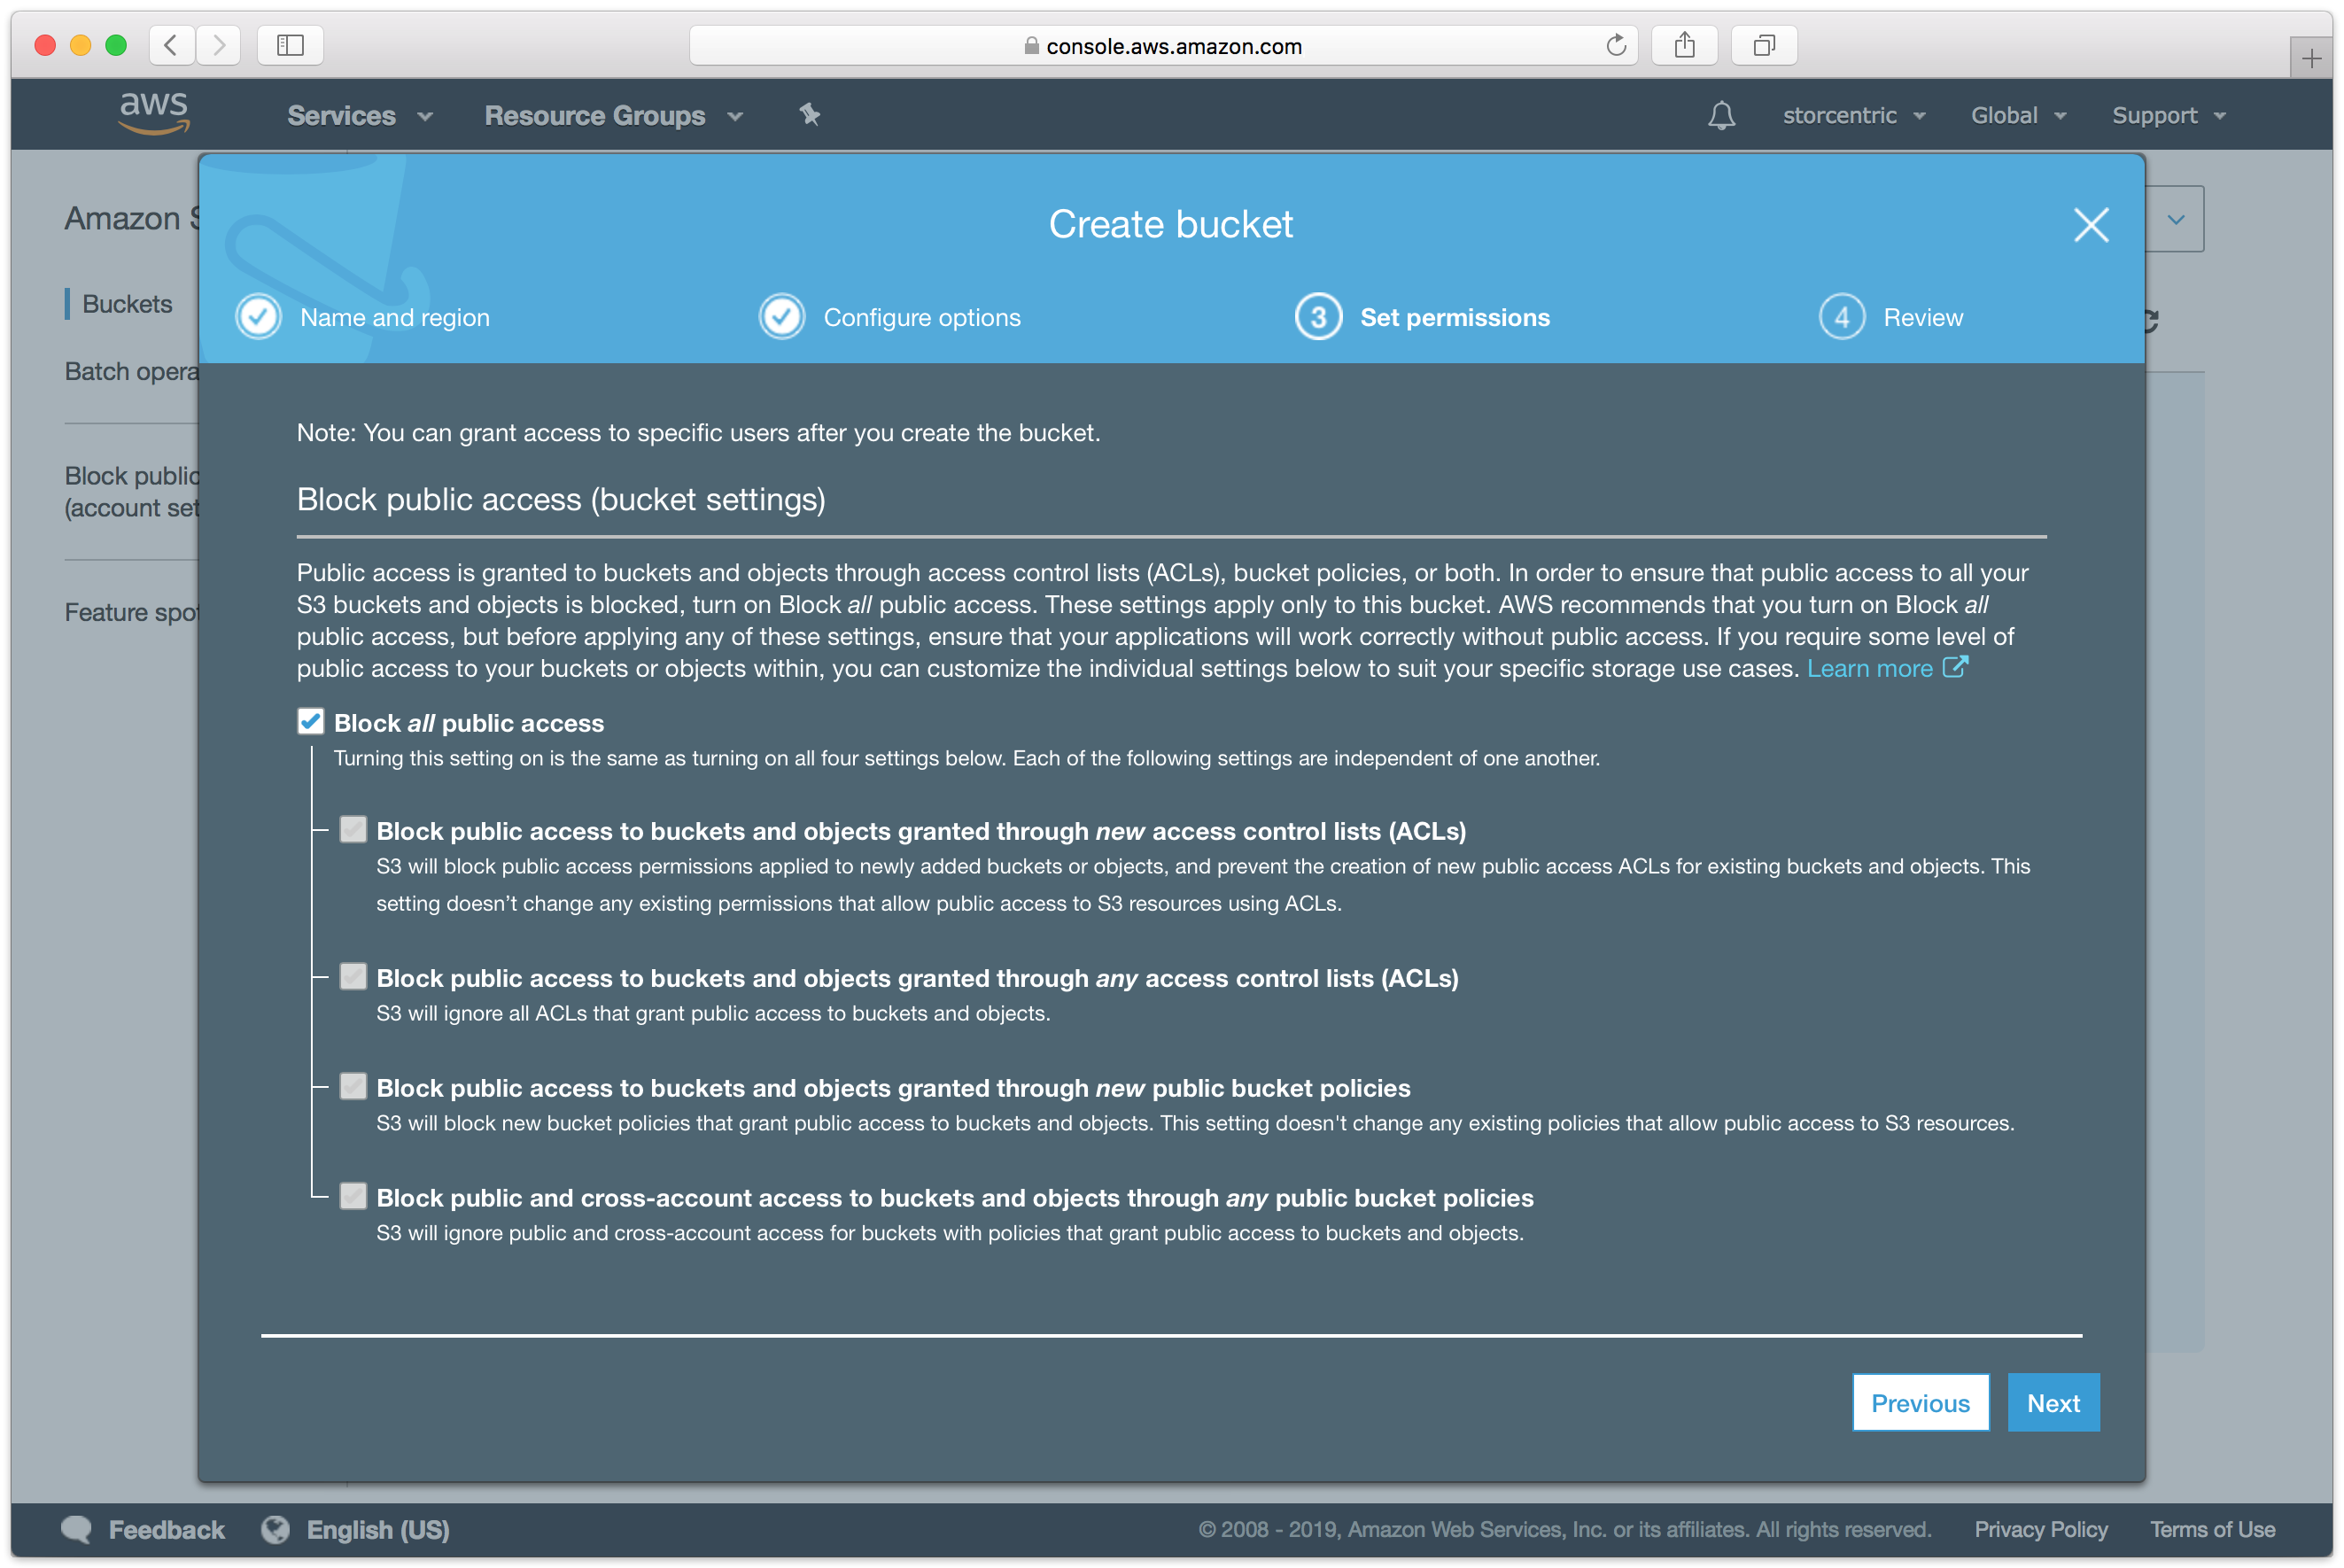
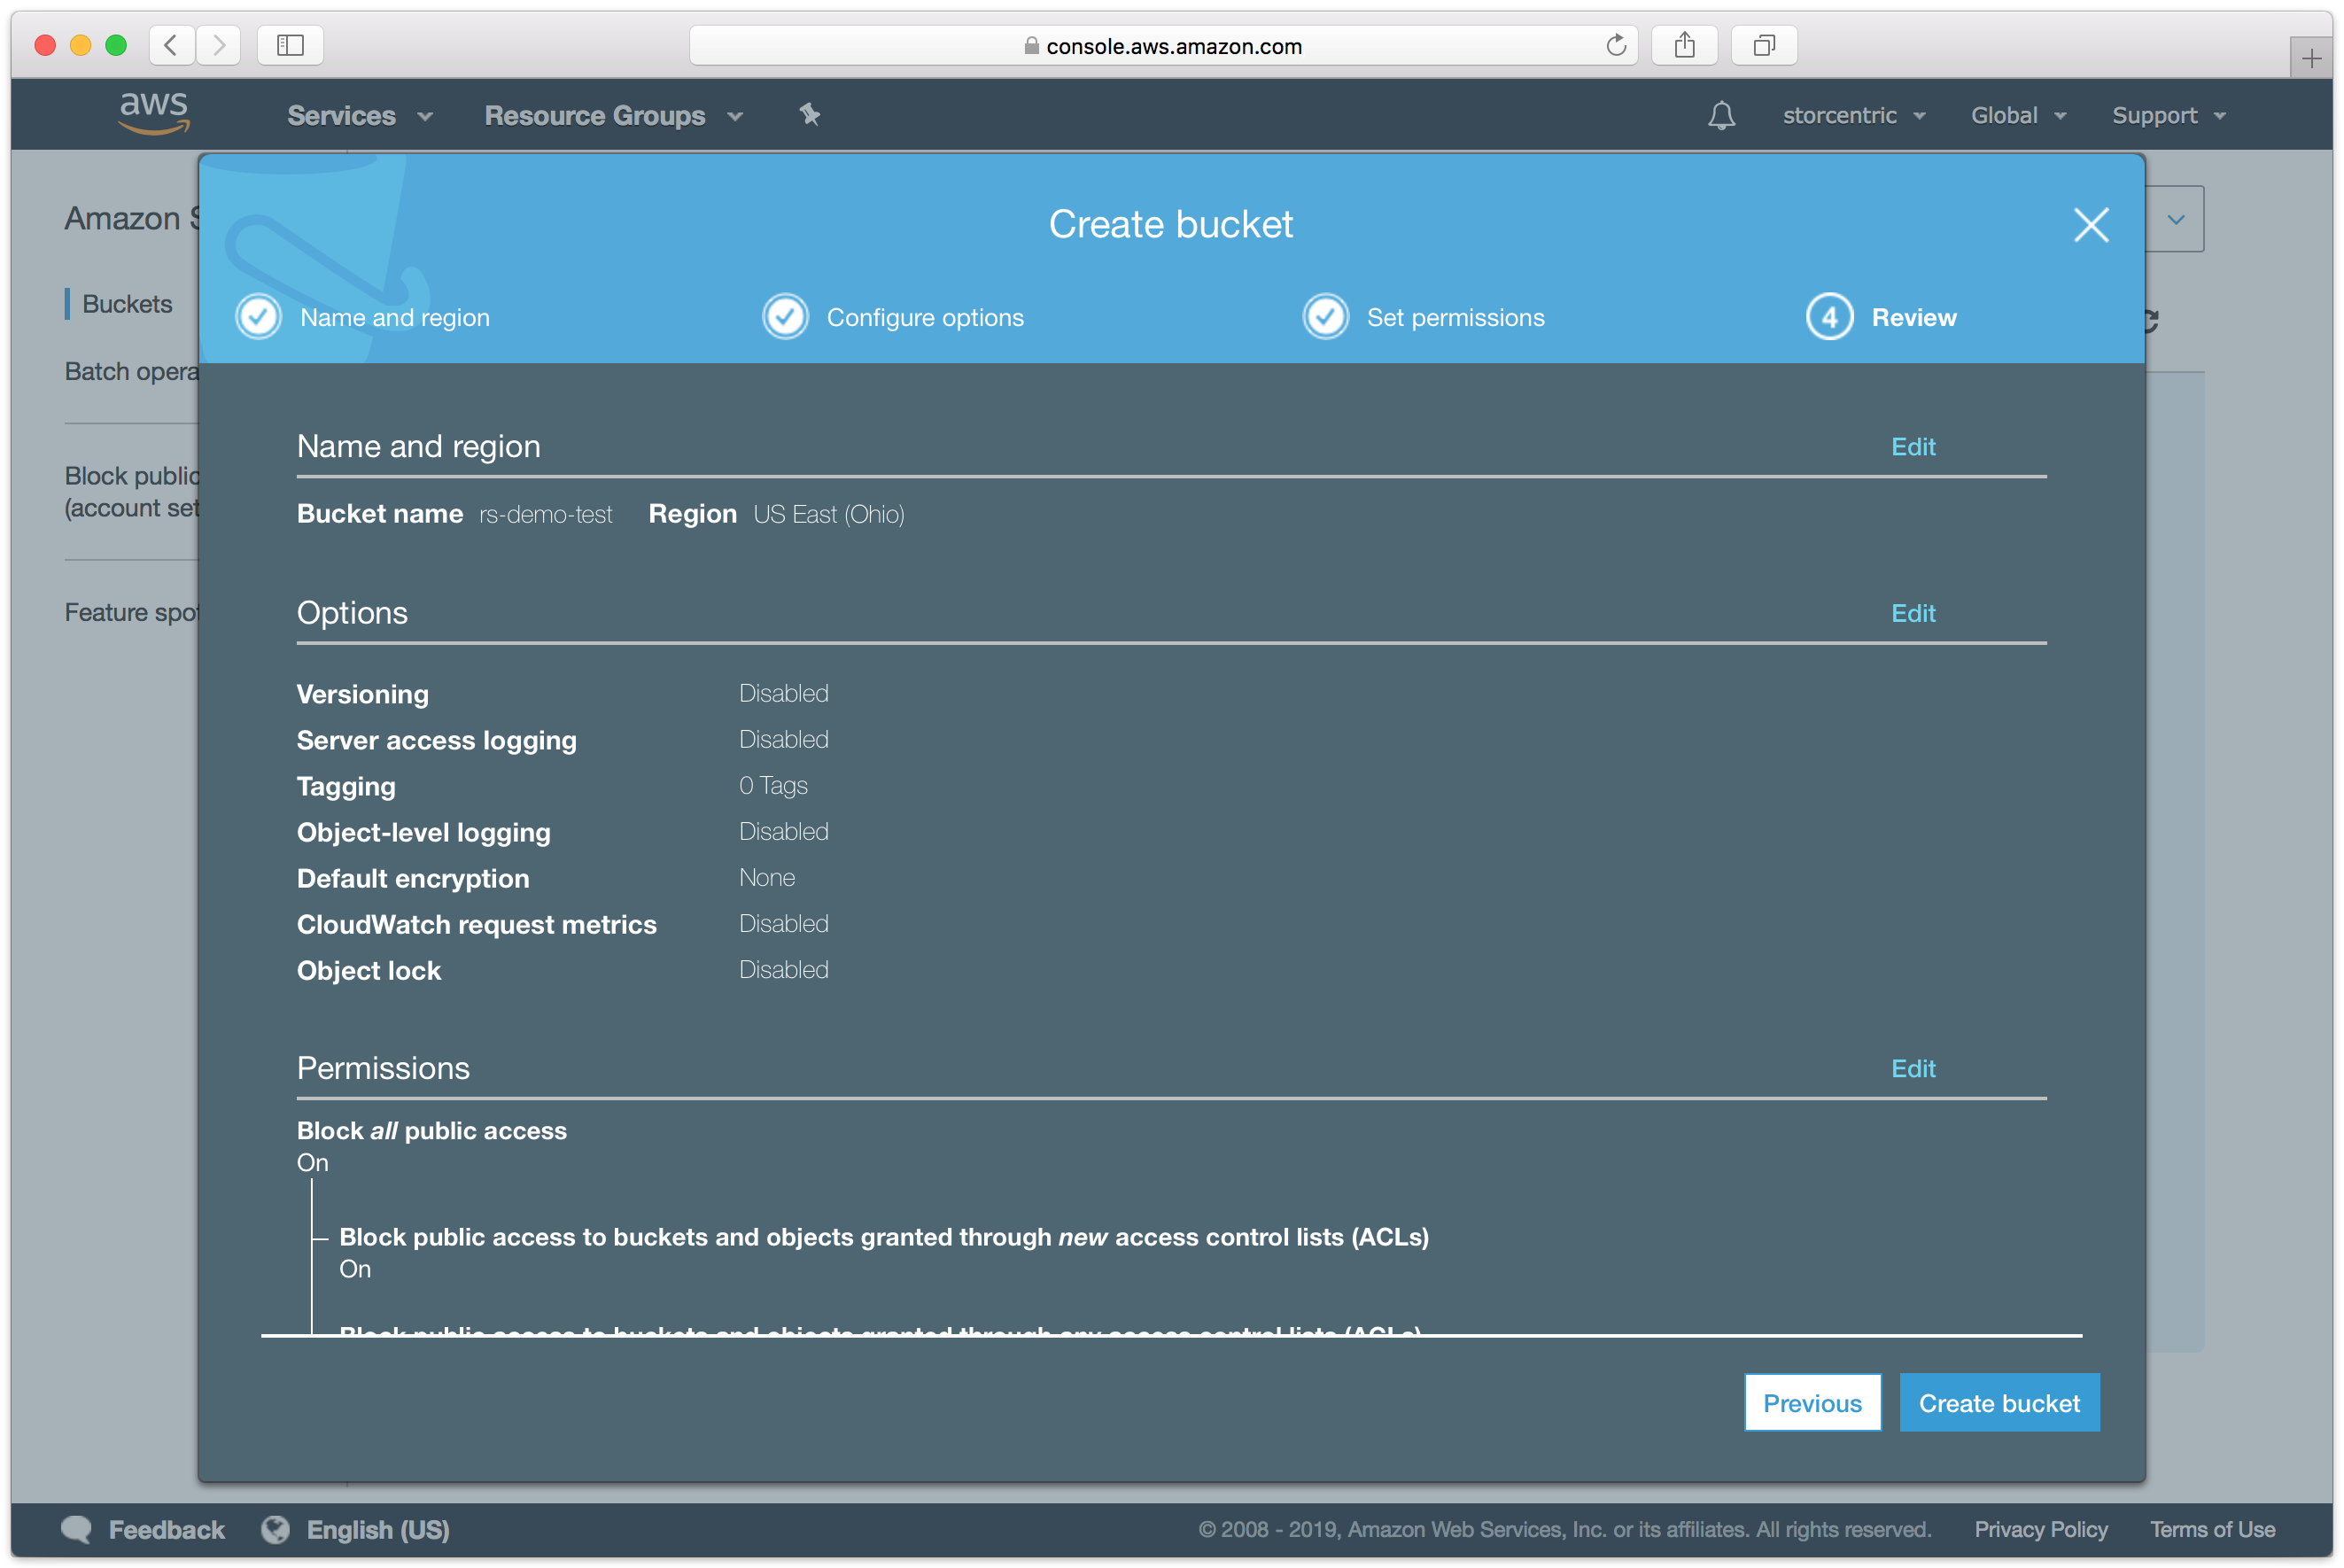
Your bucket is now ready. In Retrospect, the "Path" is s3.amazonaws.com/your_bucket_name. Next, you need a set of security credentials for Retrospect to use to access it.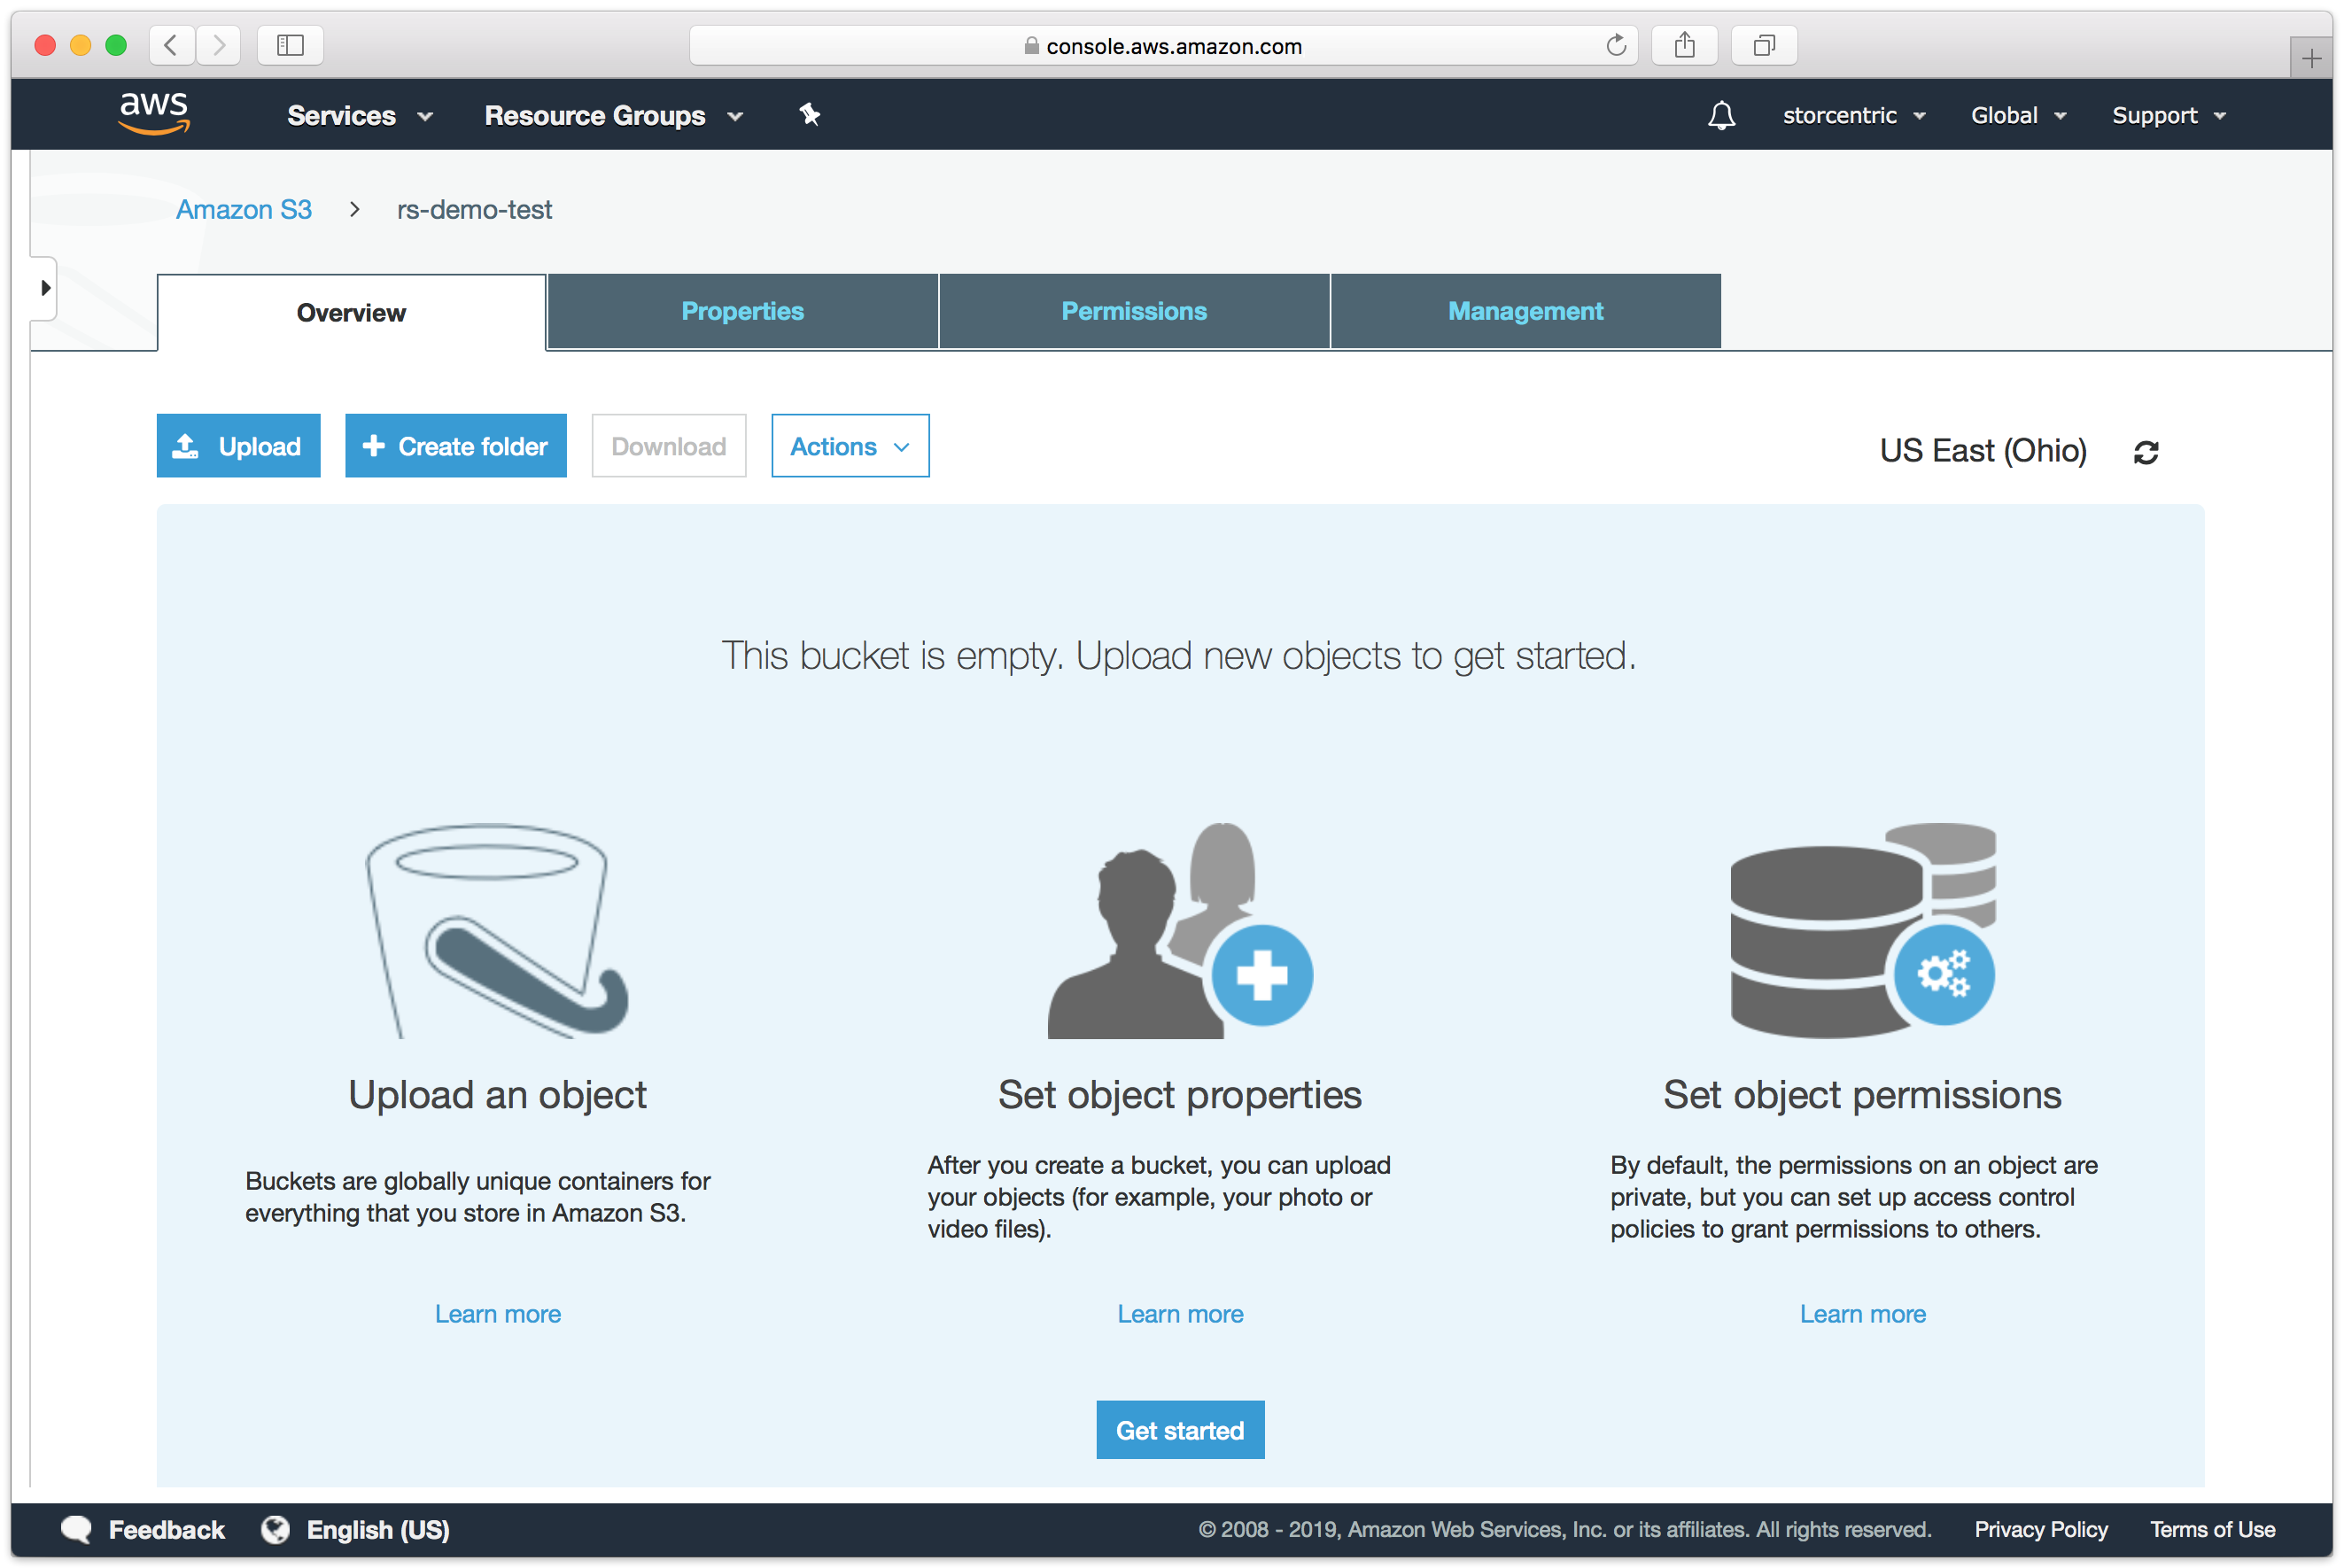
Choosing a Storage Class
Amazon S3 offers different storage classes to tailor its feature set and pricing model to different use cases. Retrospect supports "Standard", "Reduced Redundancy", "Infrequent Access", "One-Region", and "Glacier". The default storage class is "Standard". See below for how to use the other storage classes.
#== Using "Infrequent Access" Storage Class
You can use Amazon’s guide to Lifecycle Management or follow the steps below.
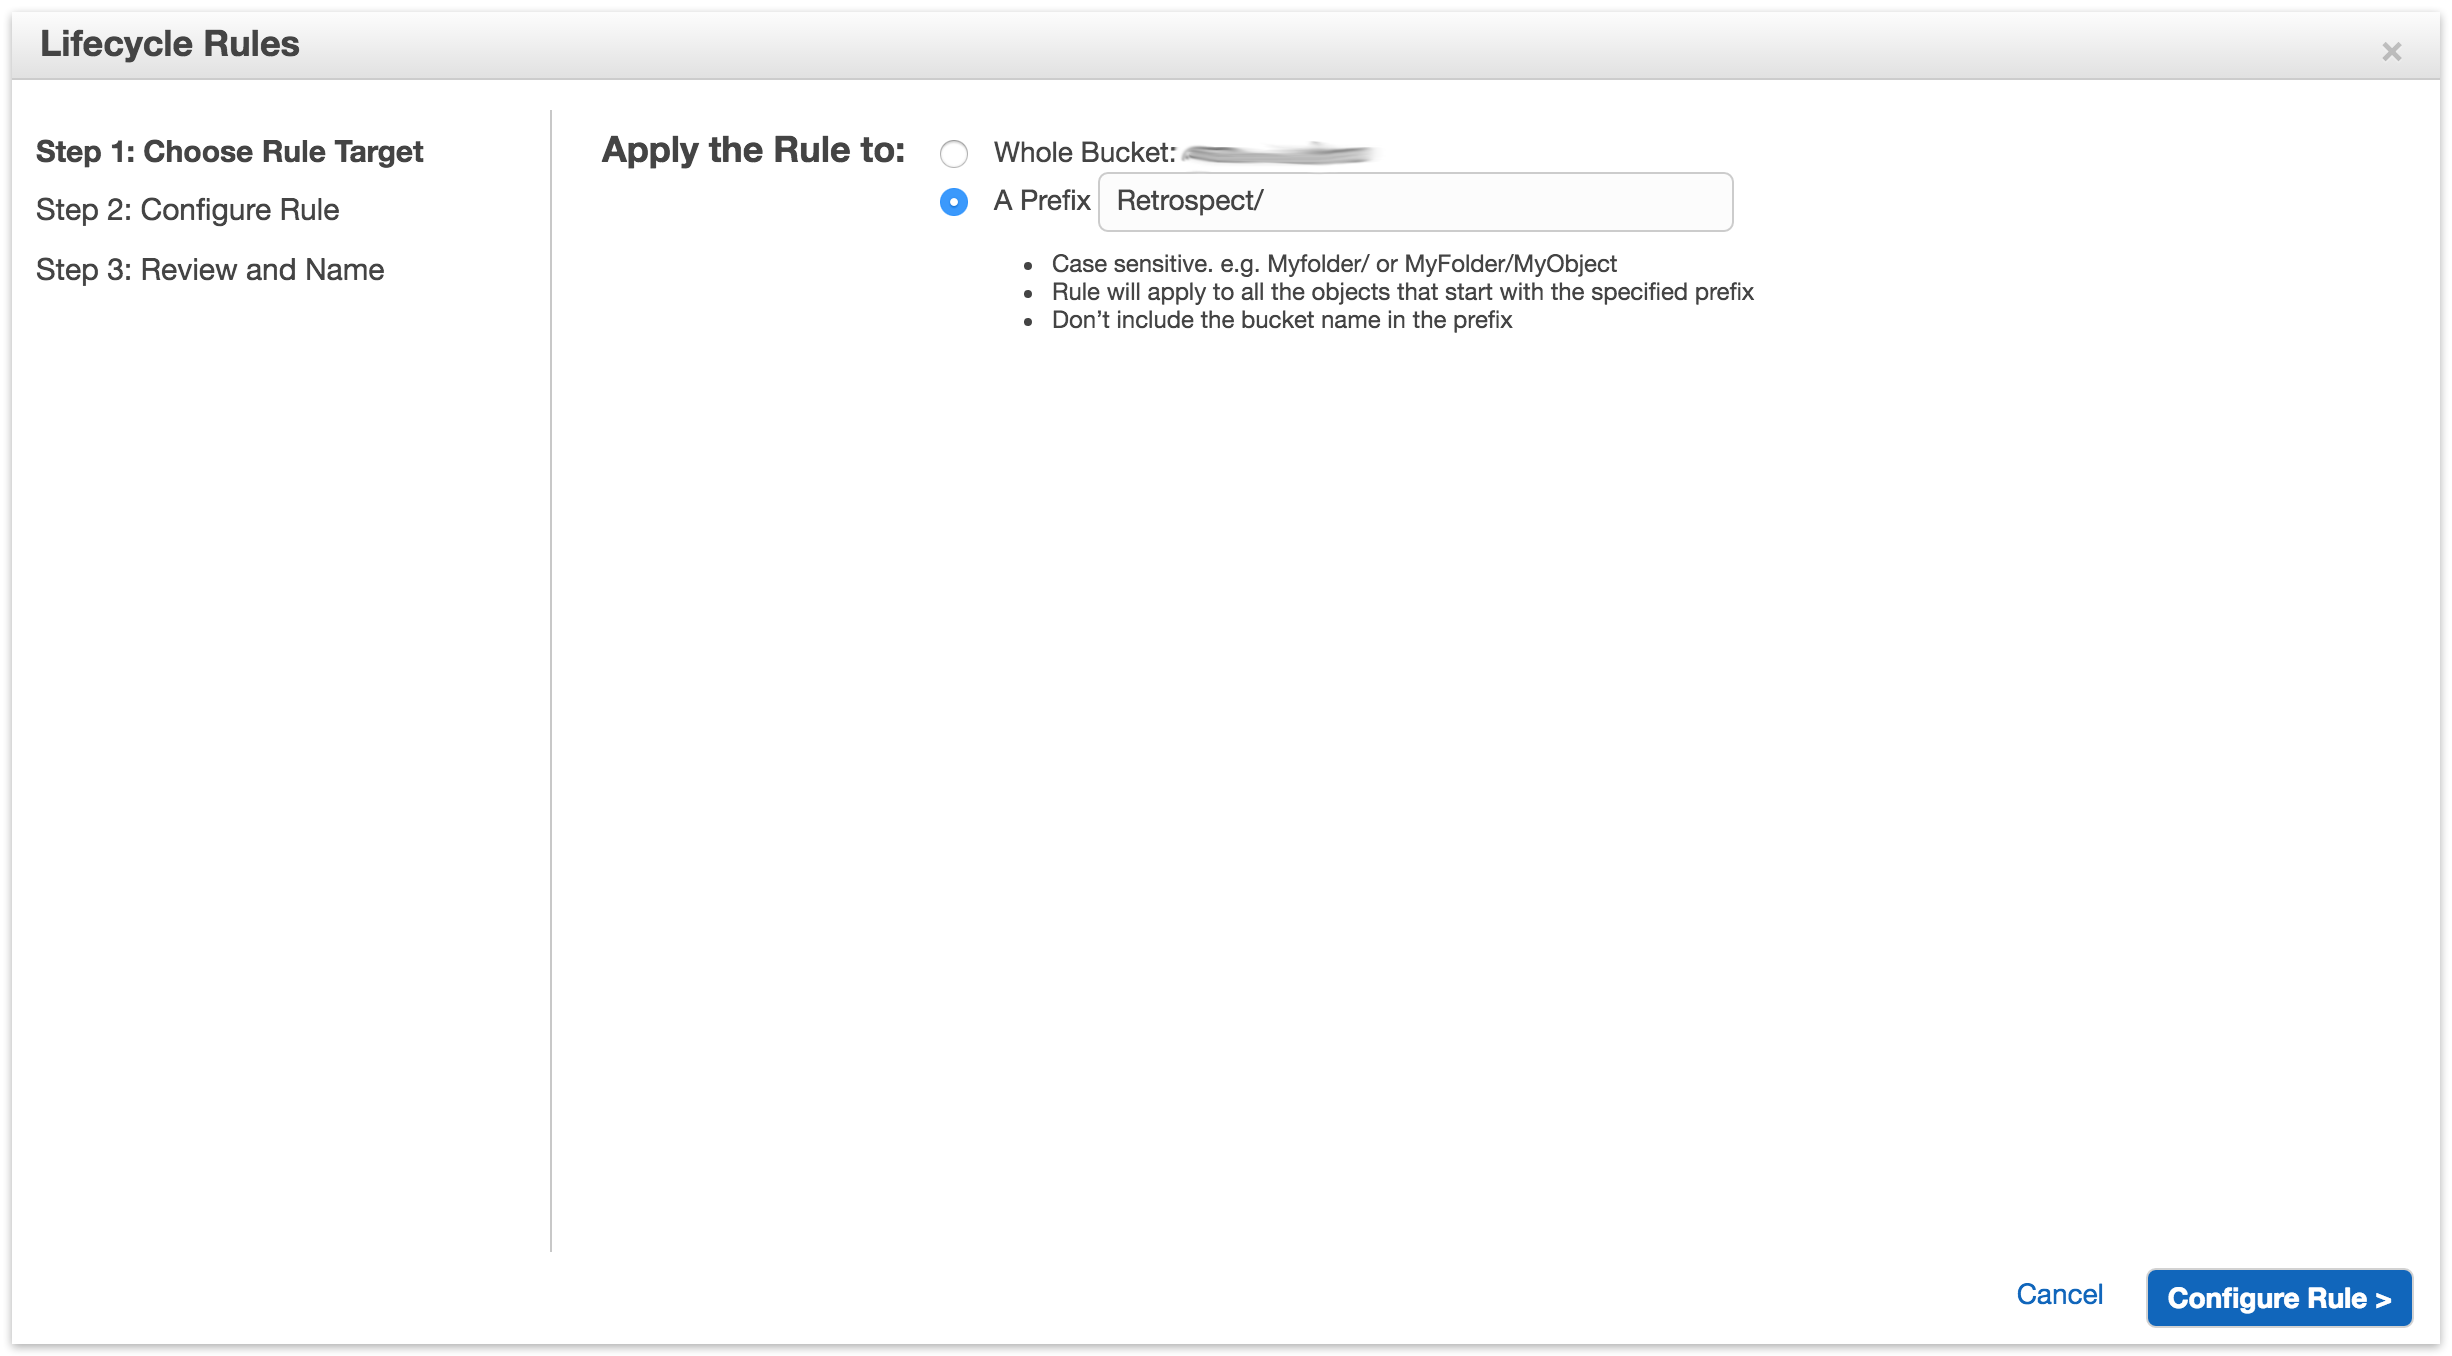
- Go to S3, select your Retrospect bucket, click on Properties, select Lifecycle, and click "Add Rule".
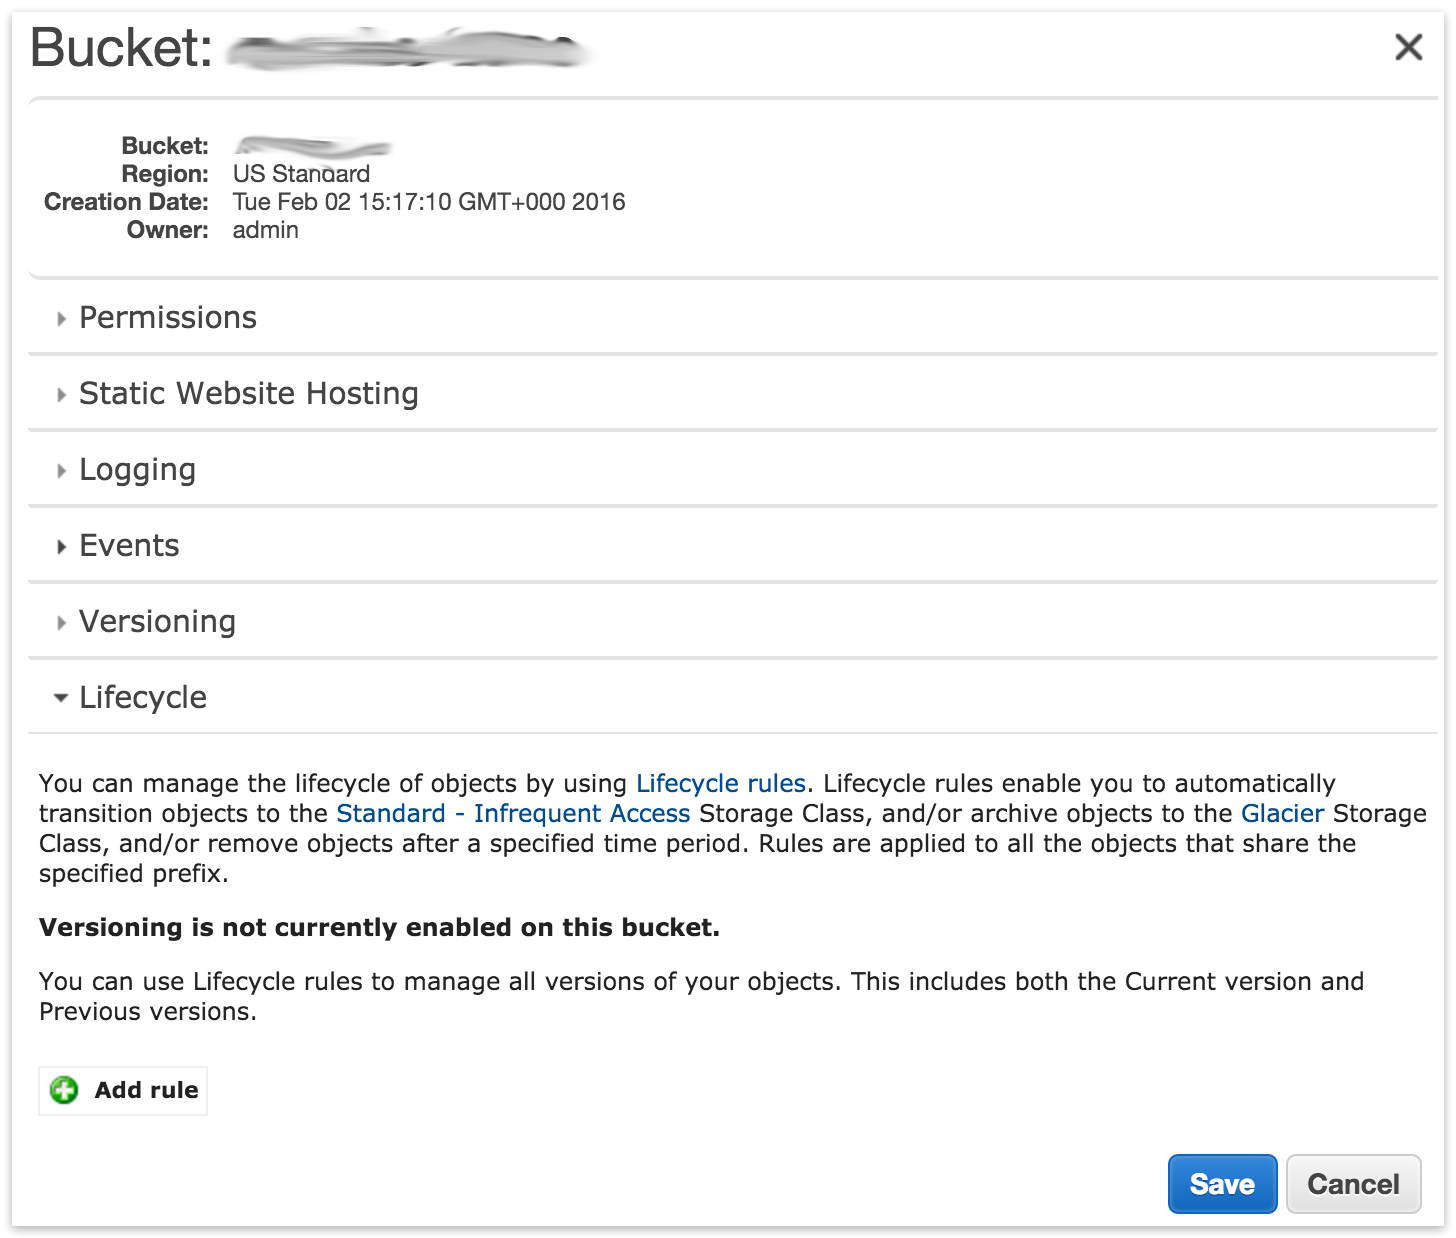
Choose the target for the rule. This must include your set.
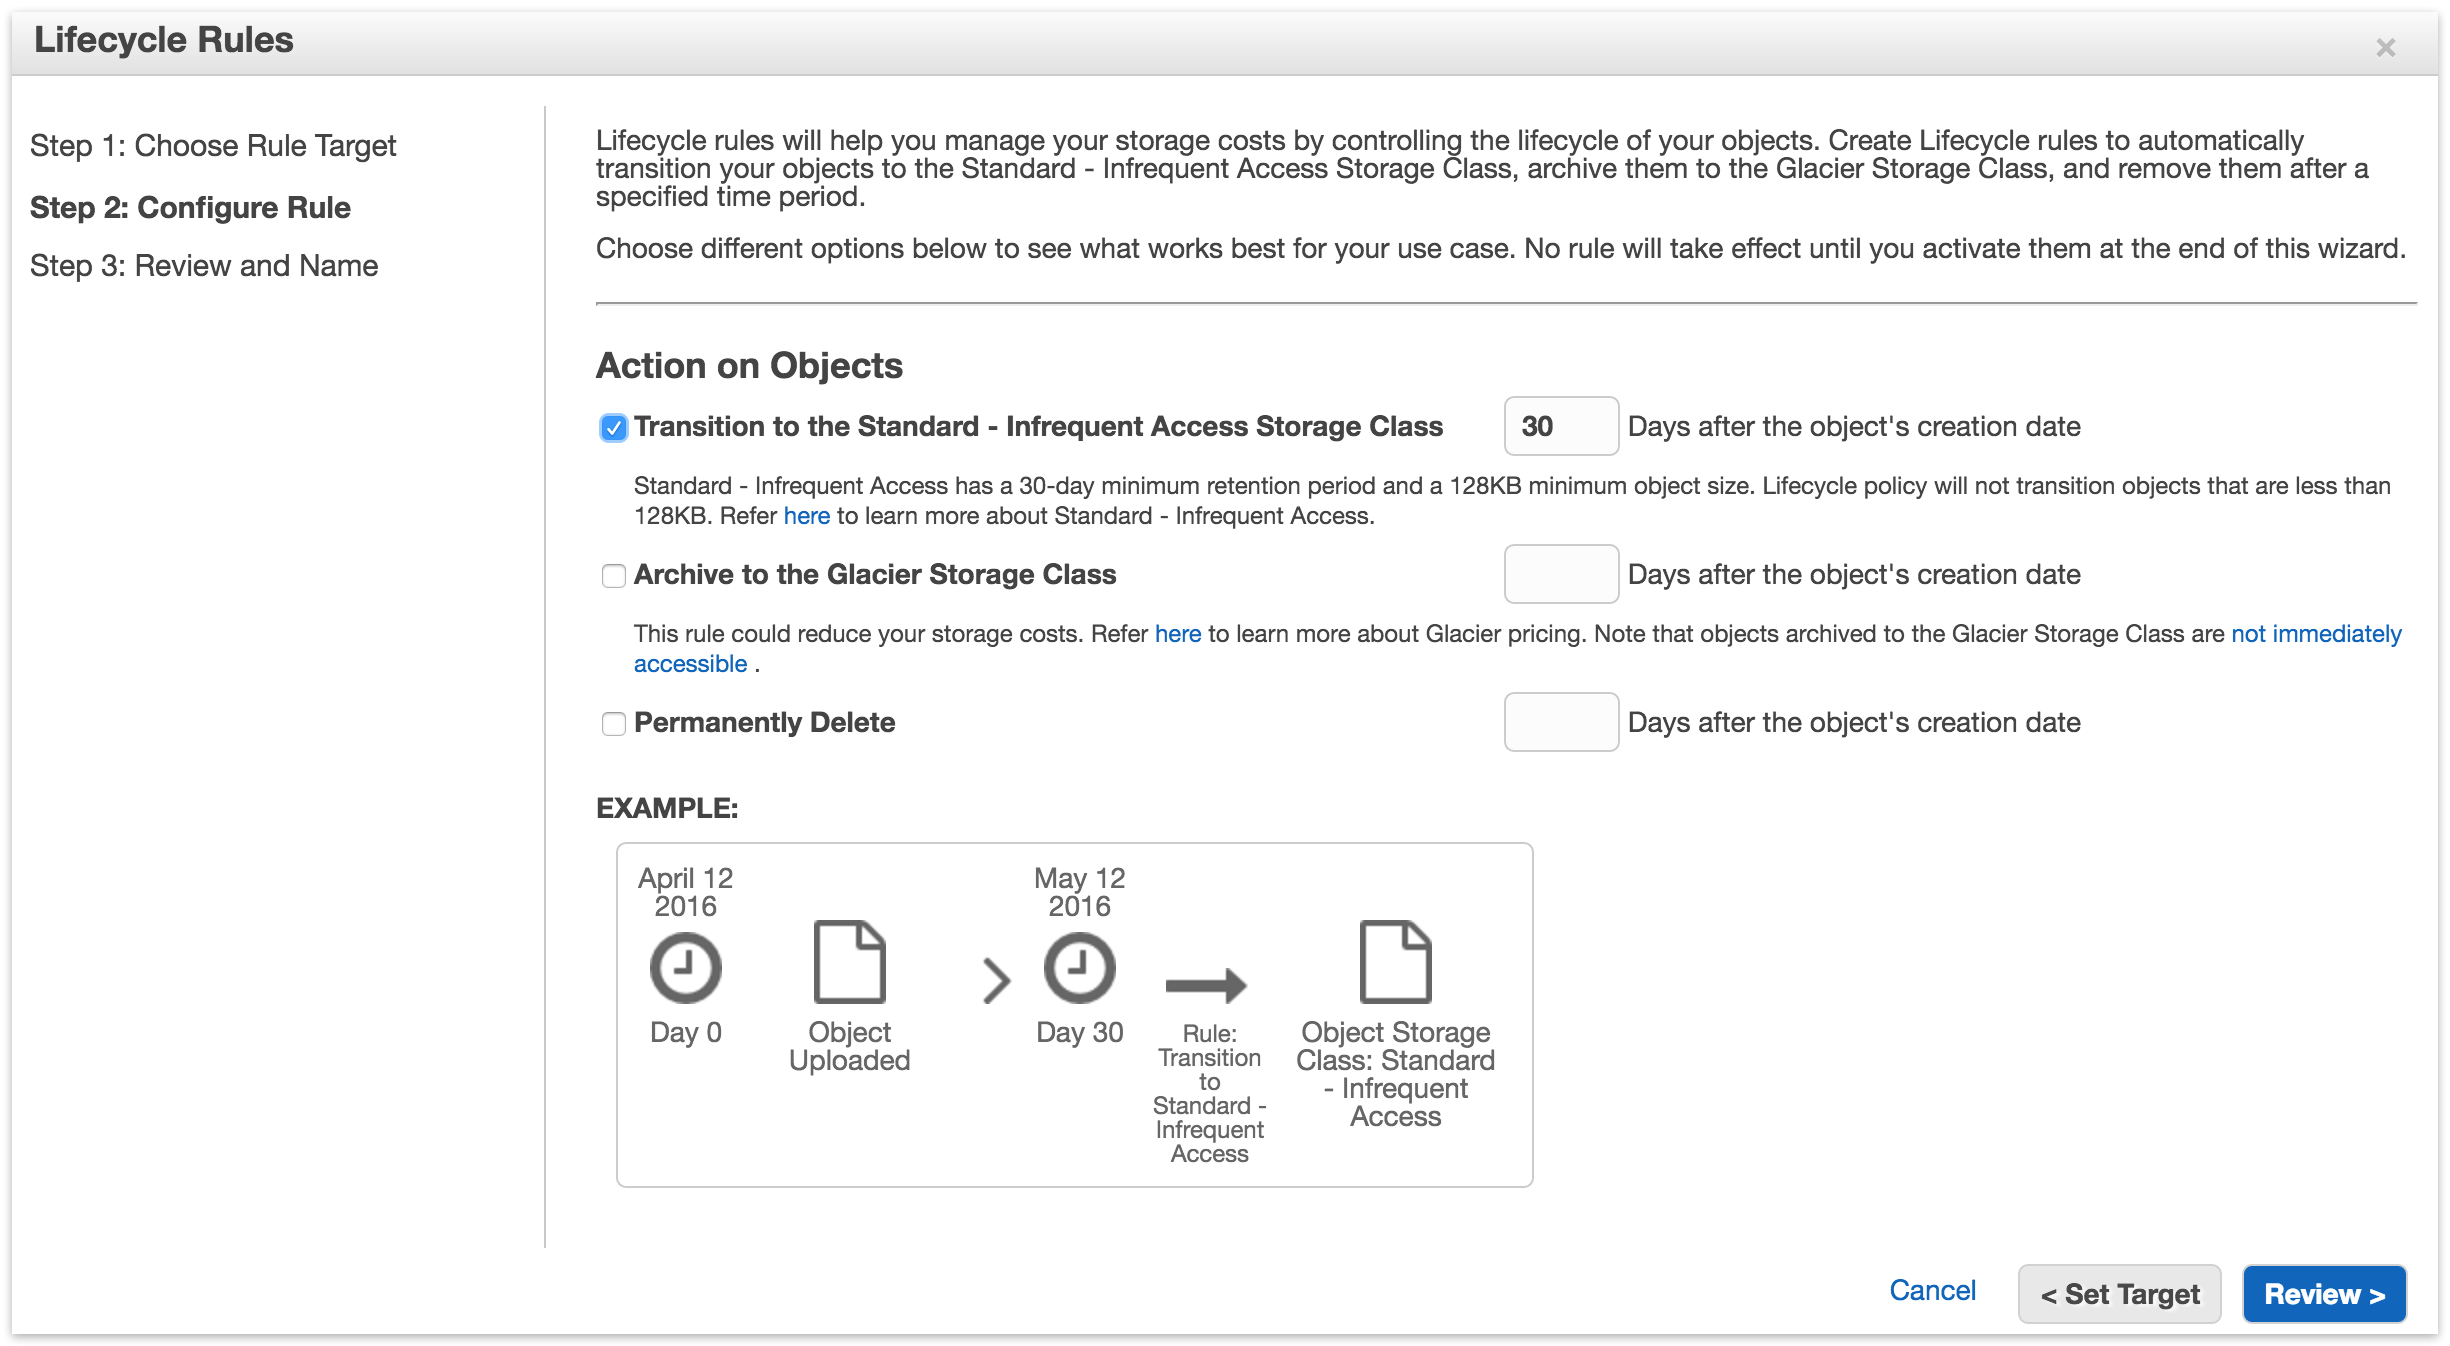
Select "Transition to the Standard - Infrequent Access Storage Class". The minimum number of days is 30. Click "Review" and then "Create and Activate Rule"
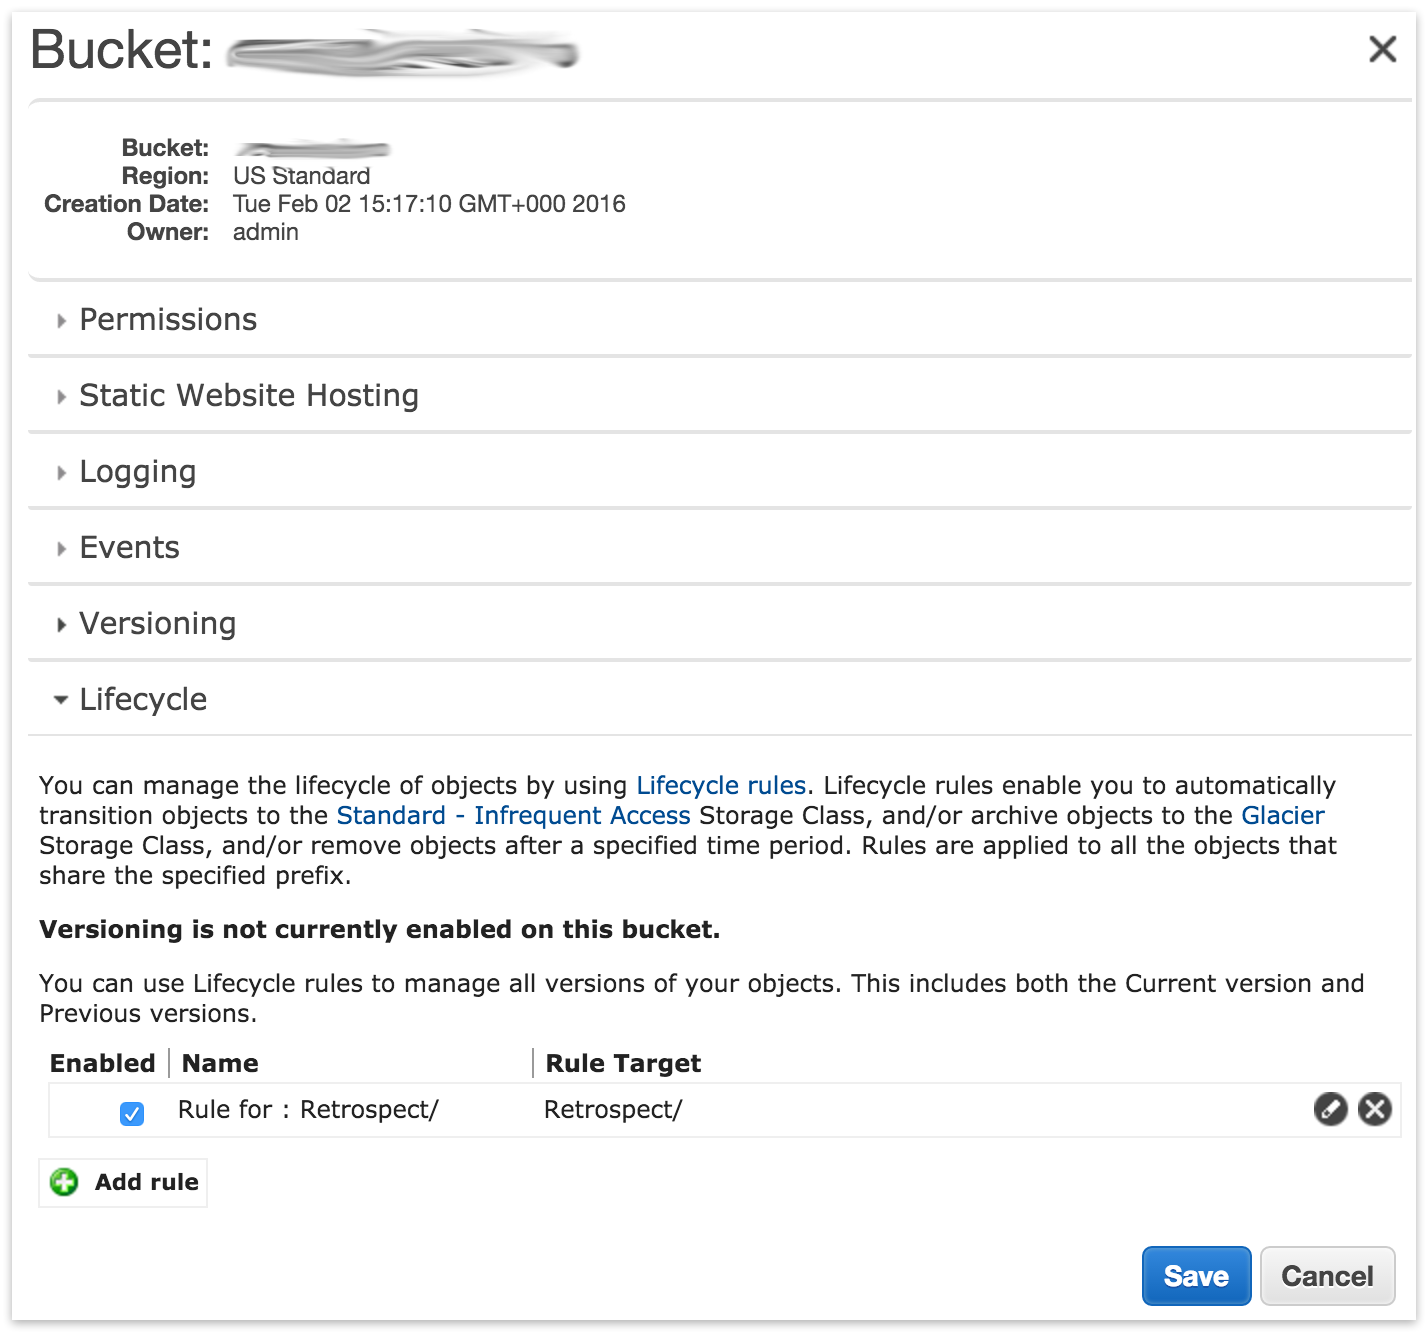
You will see the rule listed in your bucket’s Properties under Lifecycle.
#== Using "Glacier" Storage Class
You can use Amazon’s guide to Lifecycle Management or follow the steps below.
- Go to S3, select your Retrospect bucket, click on Properties, select Lifecycle, and click "Add Rule".
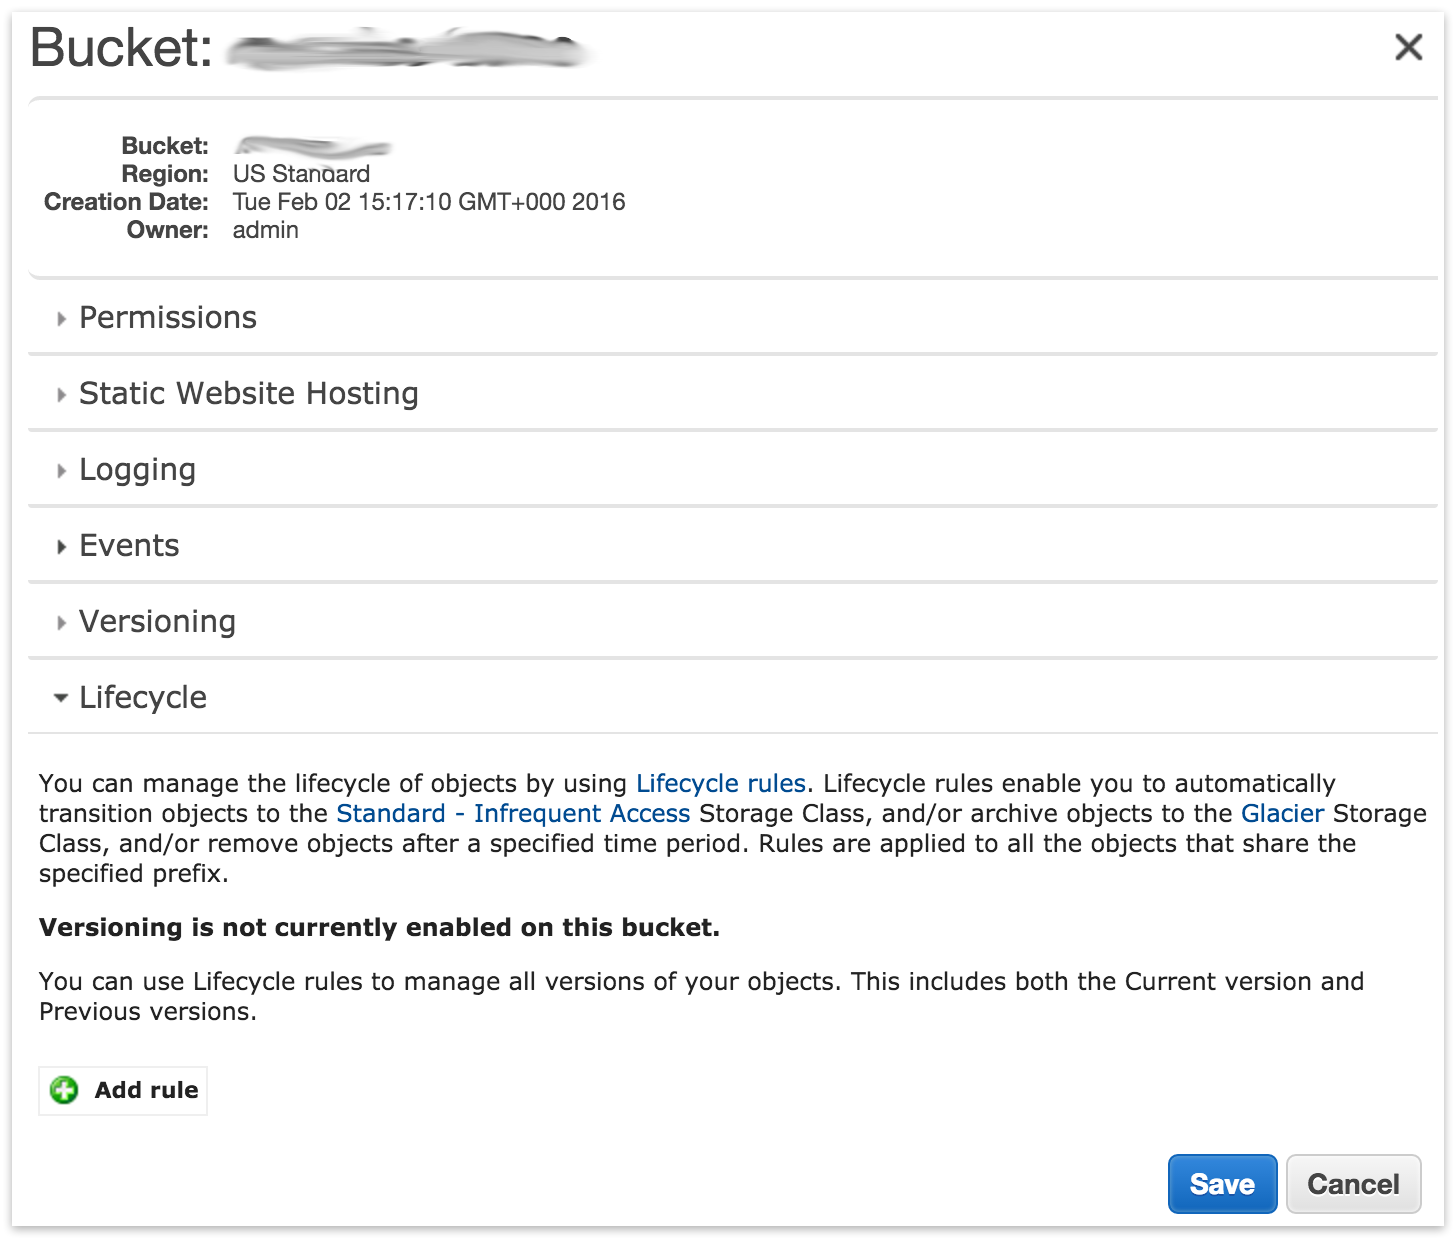
Choose the target for the rule. This must include your set.
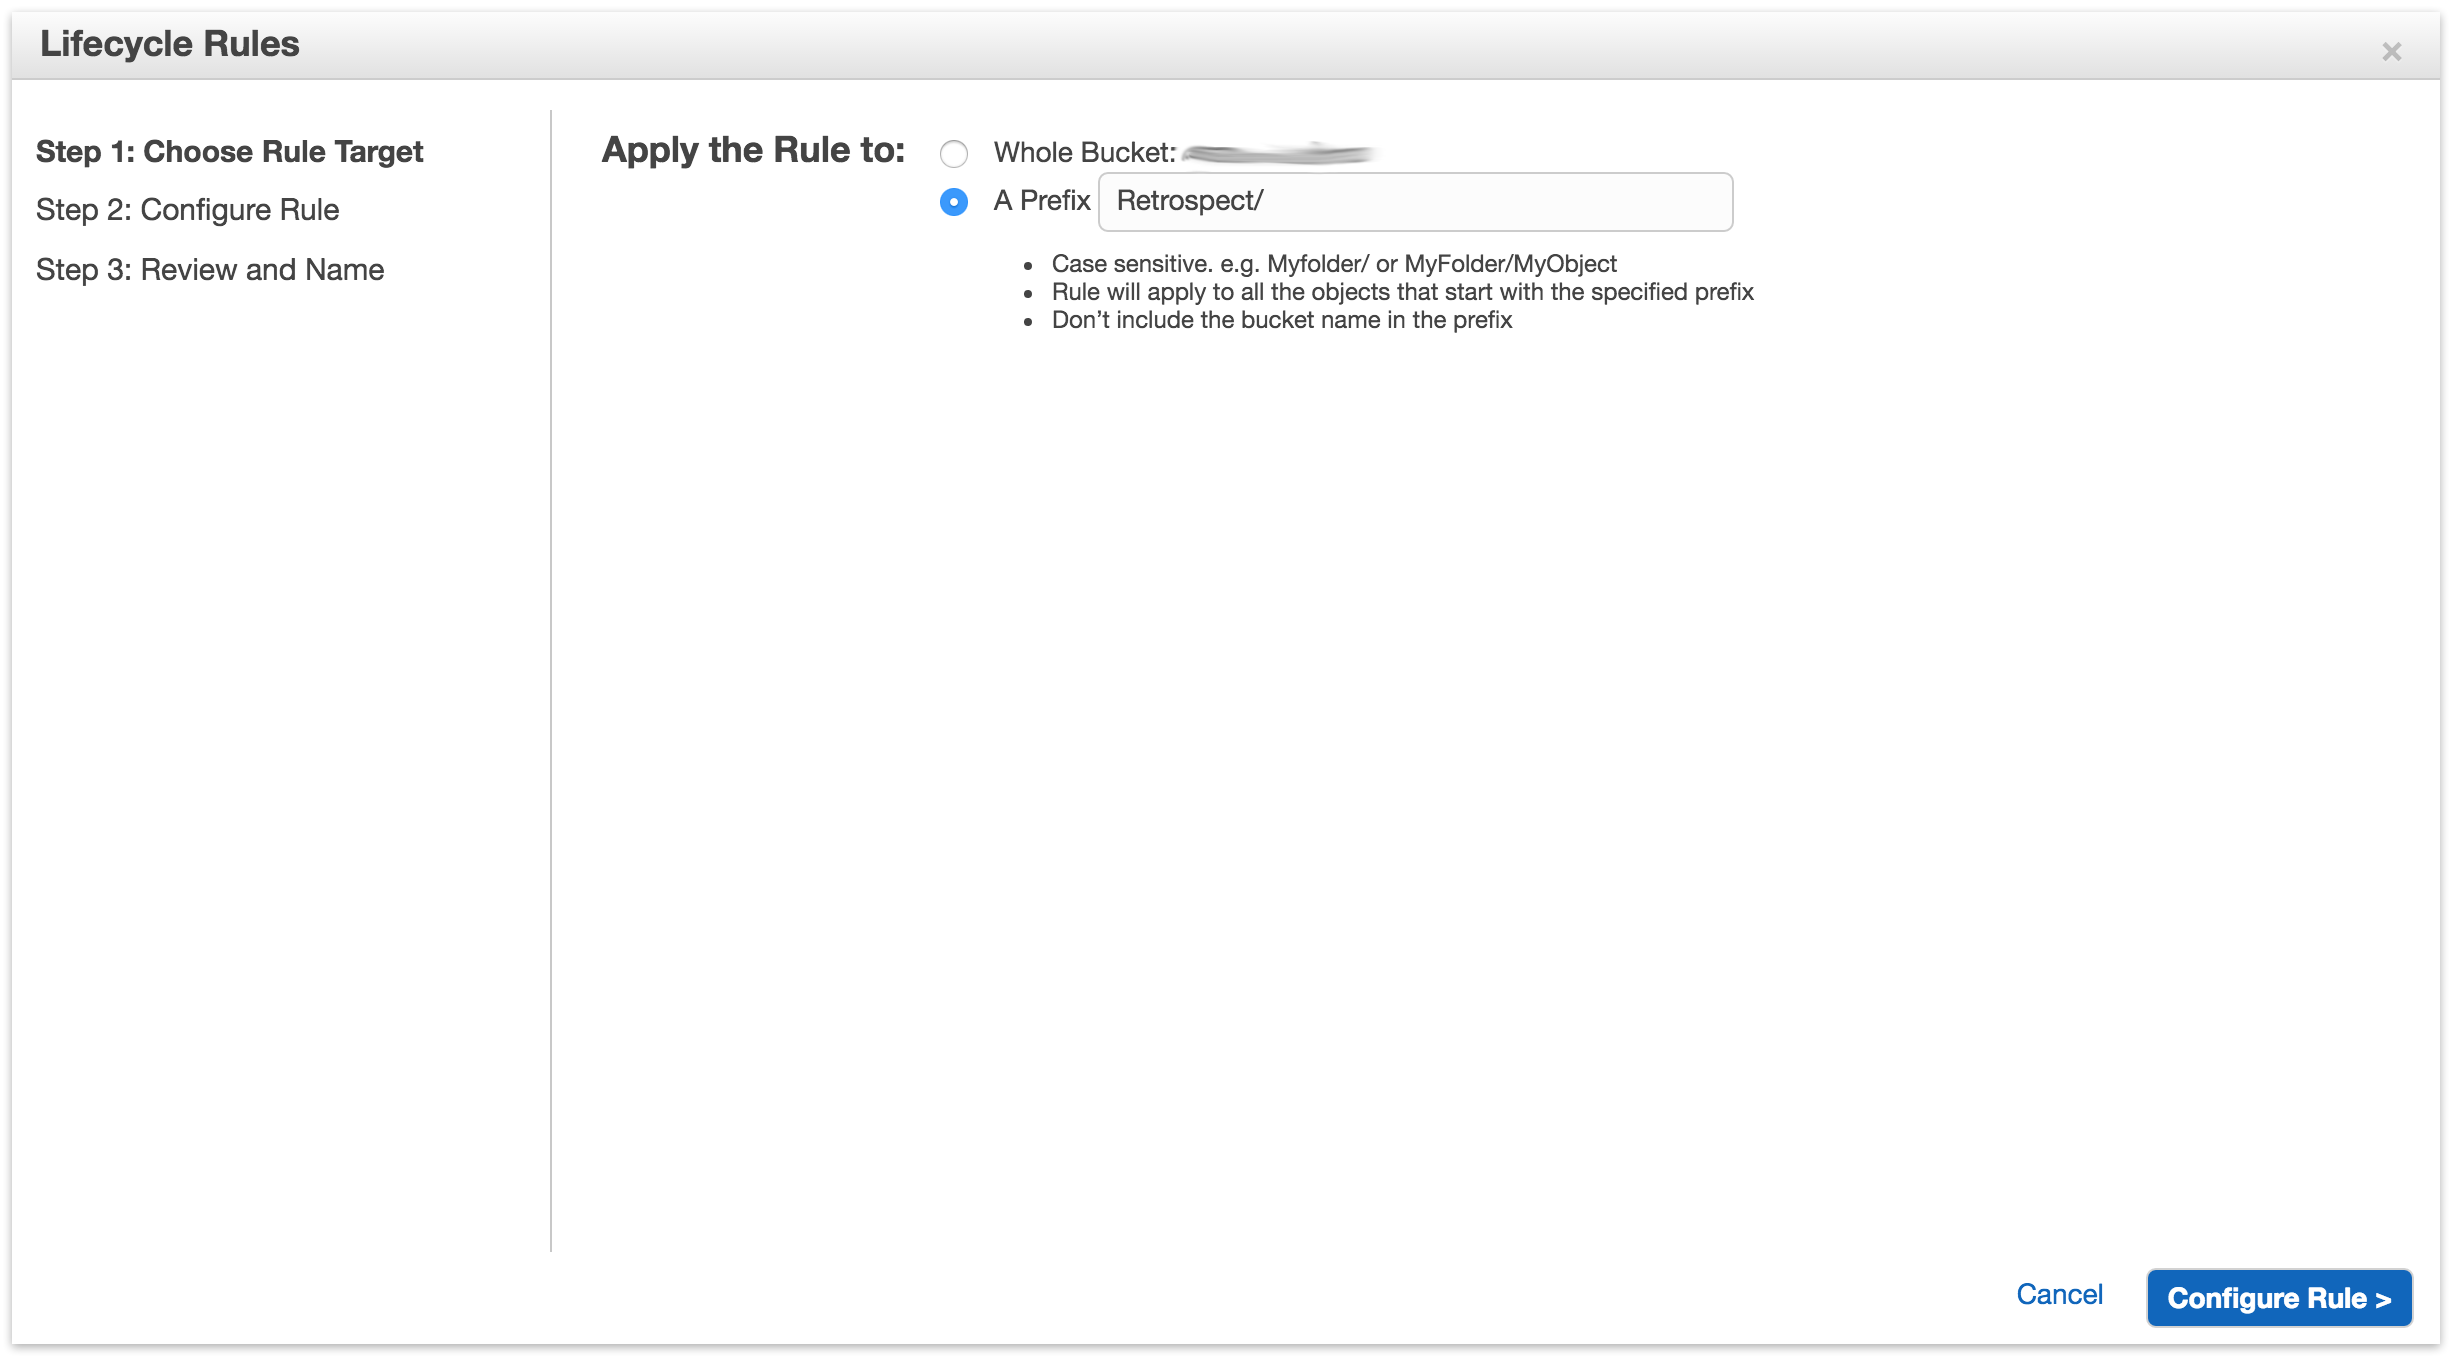
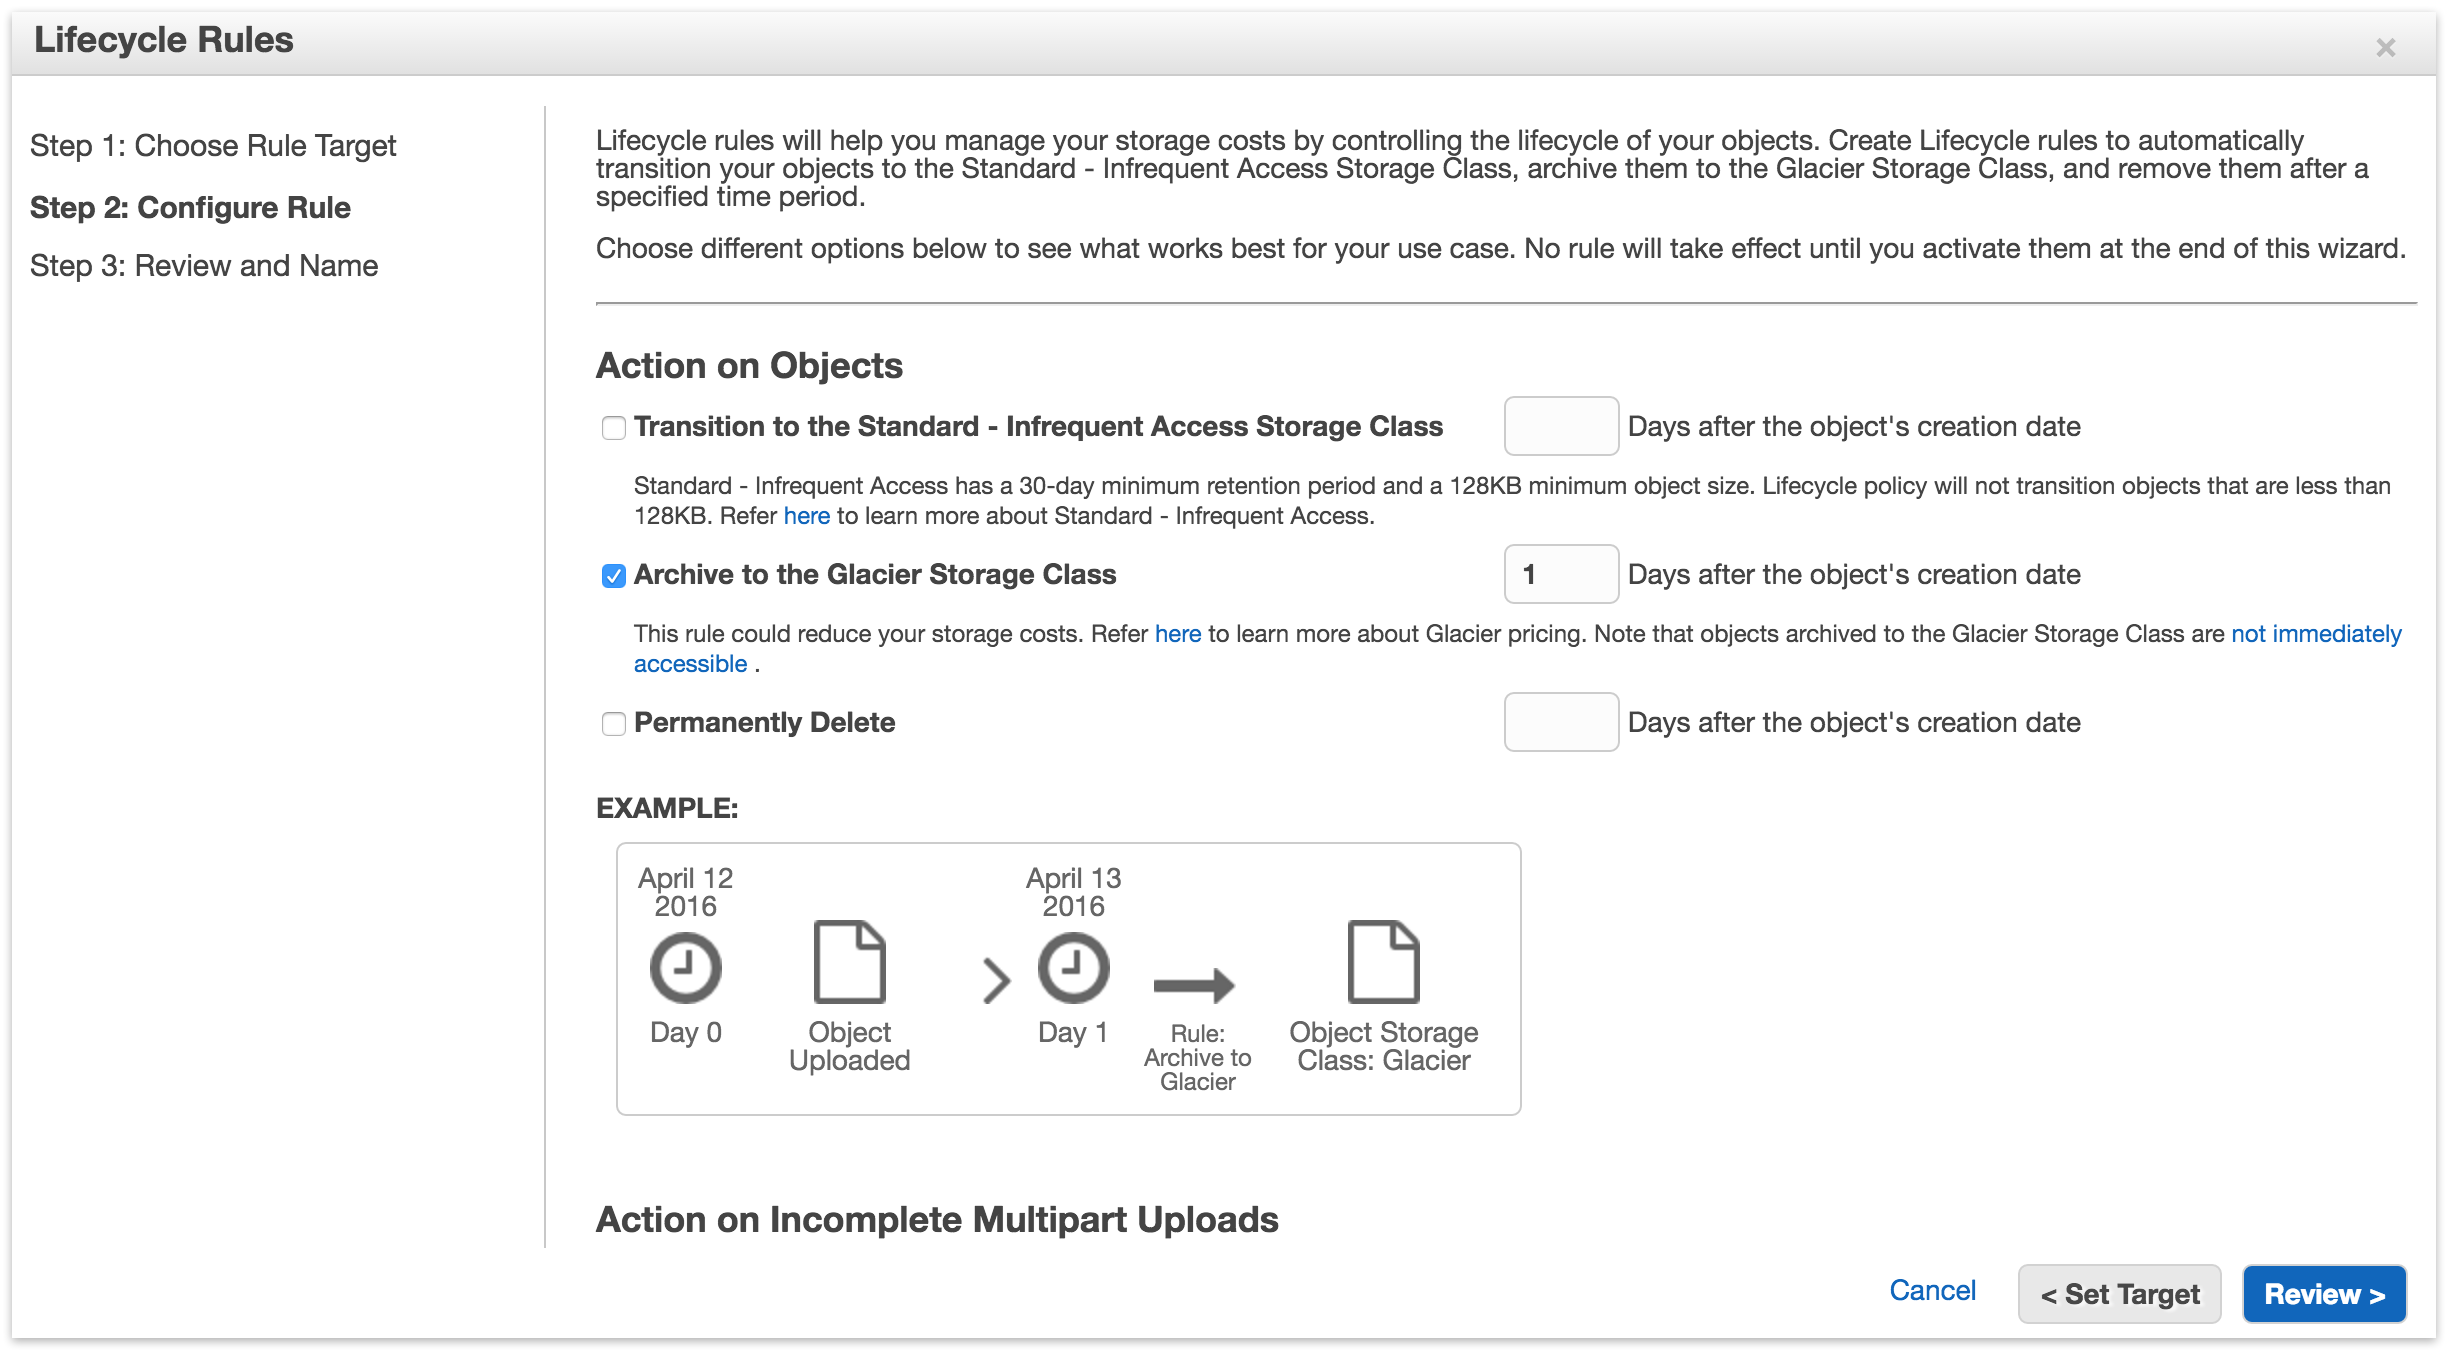
Select "Archive to the Glacier Storage Class". The minimum number of days is 1. Click "Review" and then "Create and Activate Rule"
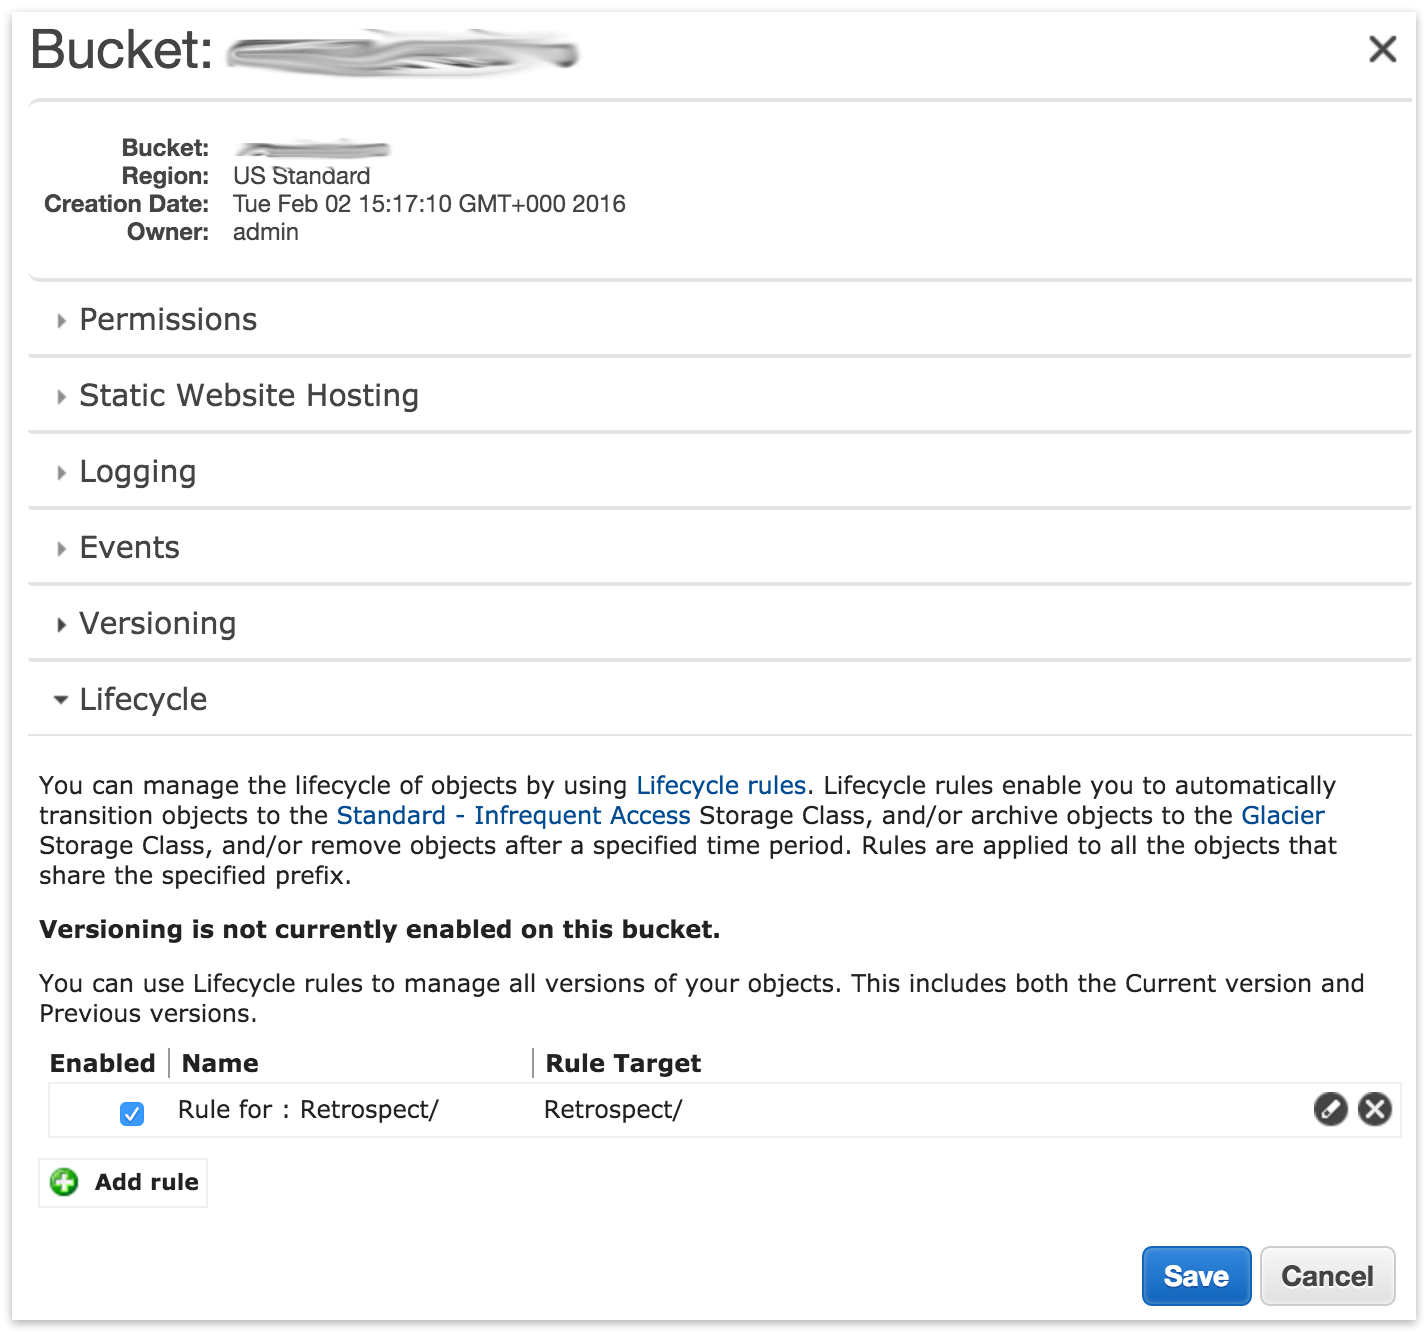
You will see the rule listed in your bucket’s Properties under Lifecycle.
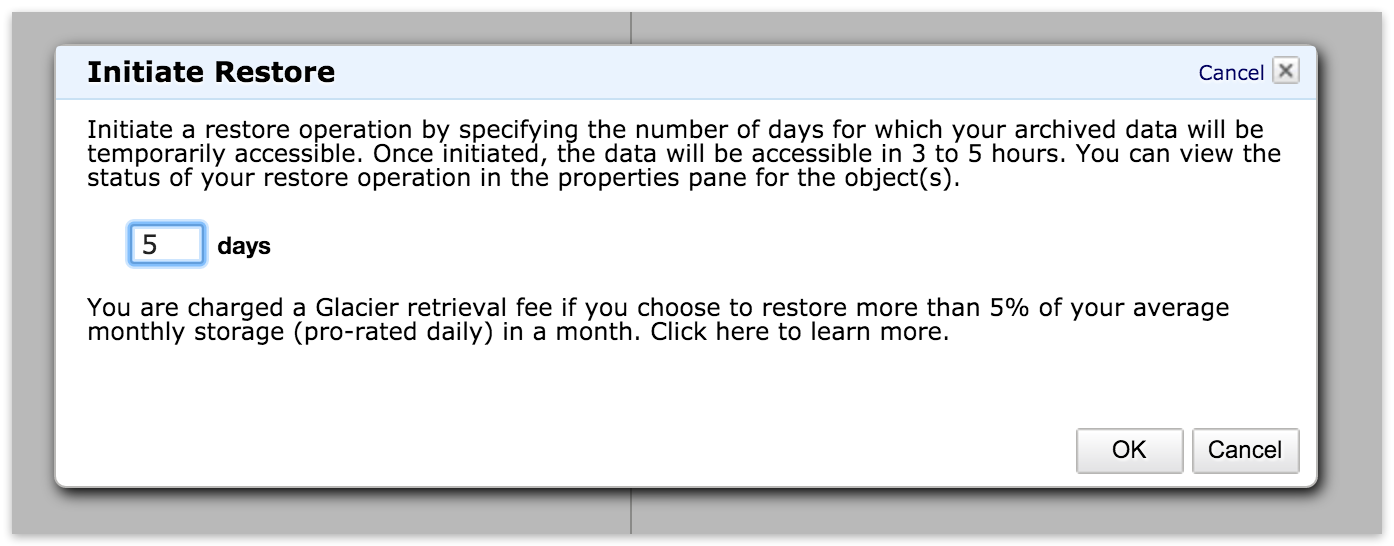
Files stored on Glacier require a separate restore process before Retrospect can access them. You need to select the files in the set and click "Initiate Restore".
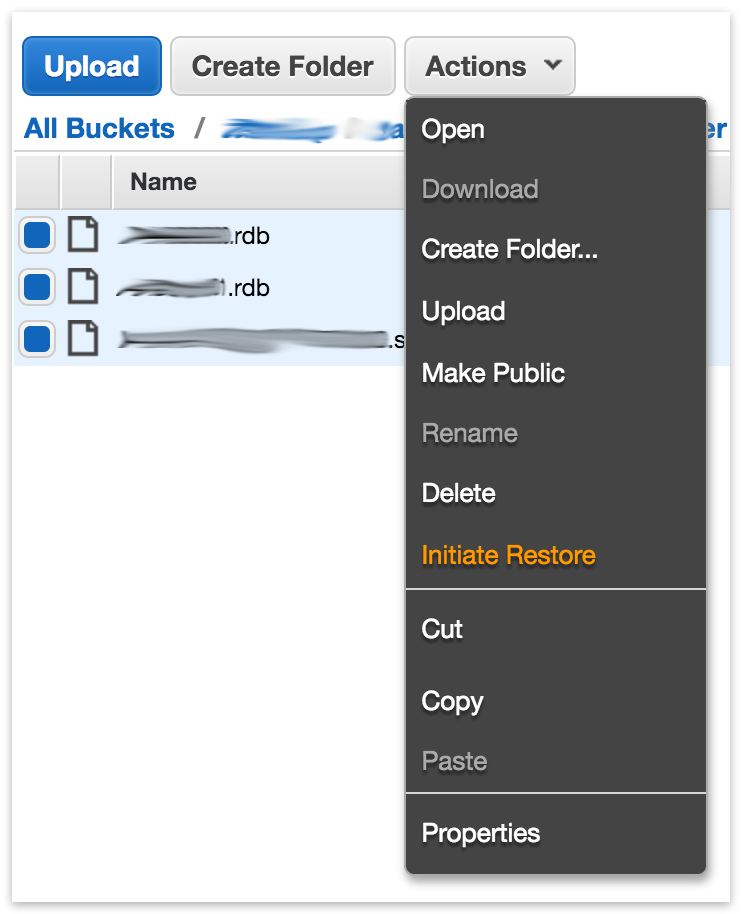
Select the number of days you need to files temporarily available. The Glacier restore will start, and the set will be available for Retrospect within a few hours. You can see verify what storage class the set is by looking at the file browser.
#== Using "Reduced Redundancy" Storage Class
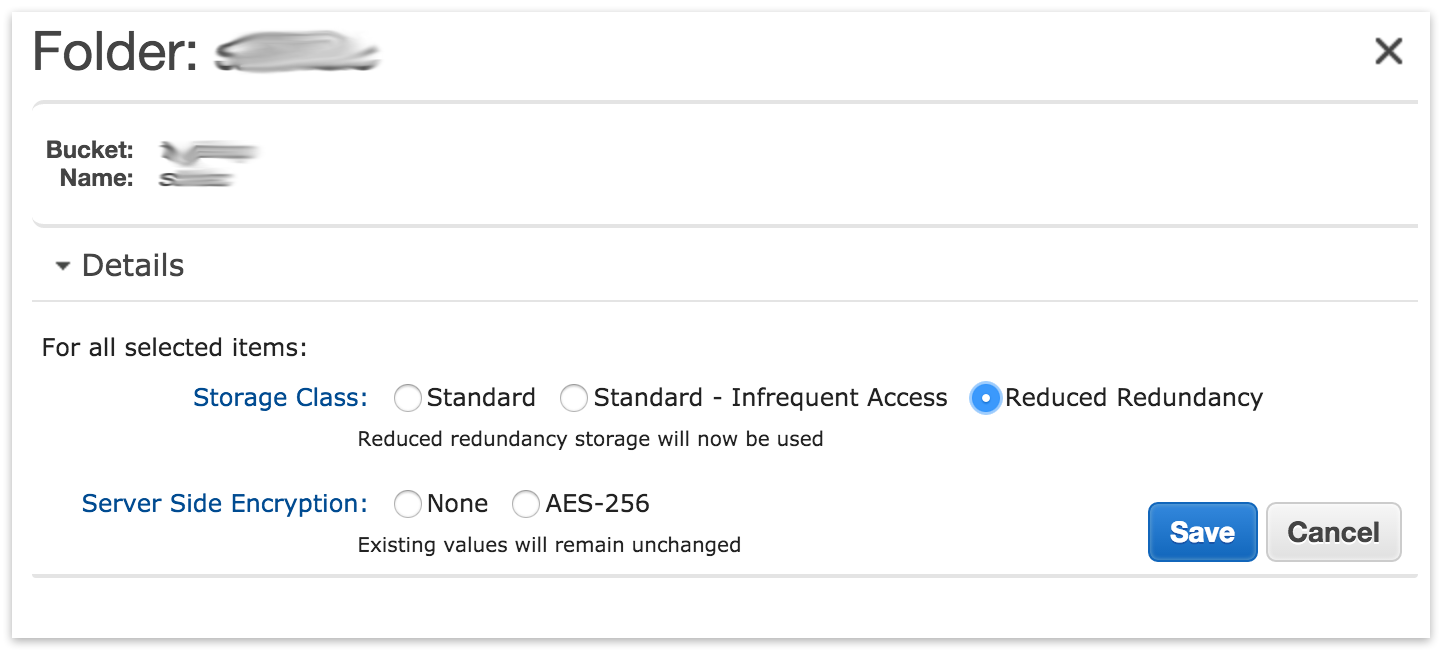
The "Reduced Redundancy" storage class is not available in Lifecycle. You must set this storage class periodically after a backup. You can use the AWS Console or a third-party tool like Cyberduck.
Go to S3, select your Retrospect bucket, navigate to your set, click on Properties, select "Reduced Redundancy, and click "Save".
Simple Access Setup Guide
Now we will create the security credentials it can use to access that bucket. To grant Retrospect more granular access to your S3 account, please see the Advanced Access Setup Guide.
- Open the IAM console.
- In the navigation pane, choose Users.
- Choose your IAM user name (not the check box).
- Choose the Security Credentials tab and then choose Create Access Key.
- To see your access key, choose Show User Security Credentials. Your credentials will look something like this:
- Access Key ID: AKIAIOSFODNN7EXAMPLE
Secret Access Key: wJalrXUtnFEMI/K7MDENG/bPxRfiCYEXAMPLEKEY
- Choose Download Credentials, and store the keys in a secure location. Note that your secret key will no longer be available through the AWS Management Console; you will have the only copy. Keep it confidential in order to protect your account, and never email it. Do not share it outside your organization, even if an inquiry appears to come from AWS or Amazon.com. No one who legitimately represents Amazon will ever ask you for your secret key.
Advanced Access Setup Guide
Go to IAM and click on "Users".
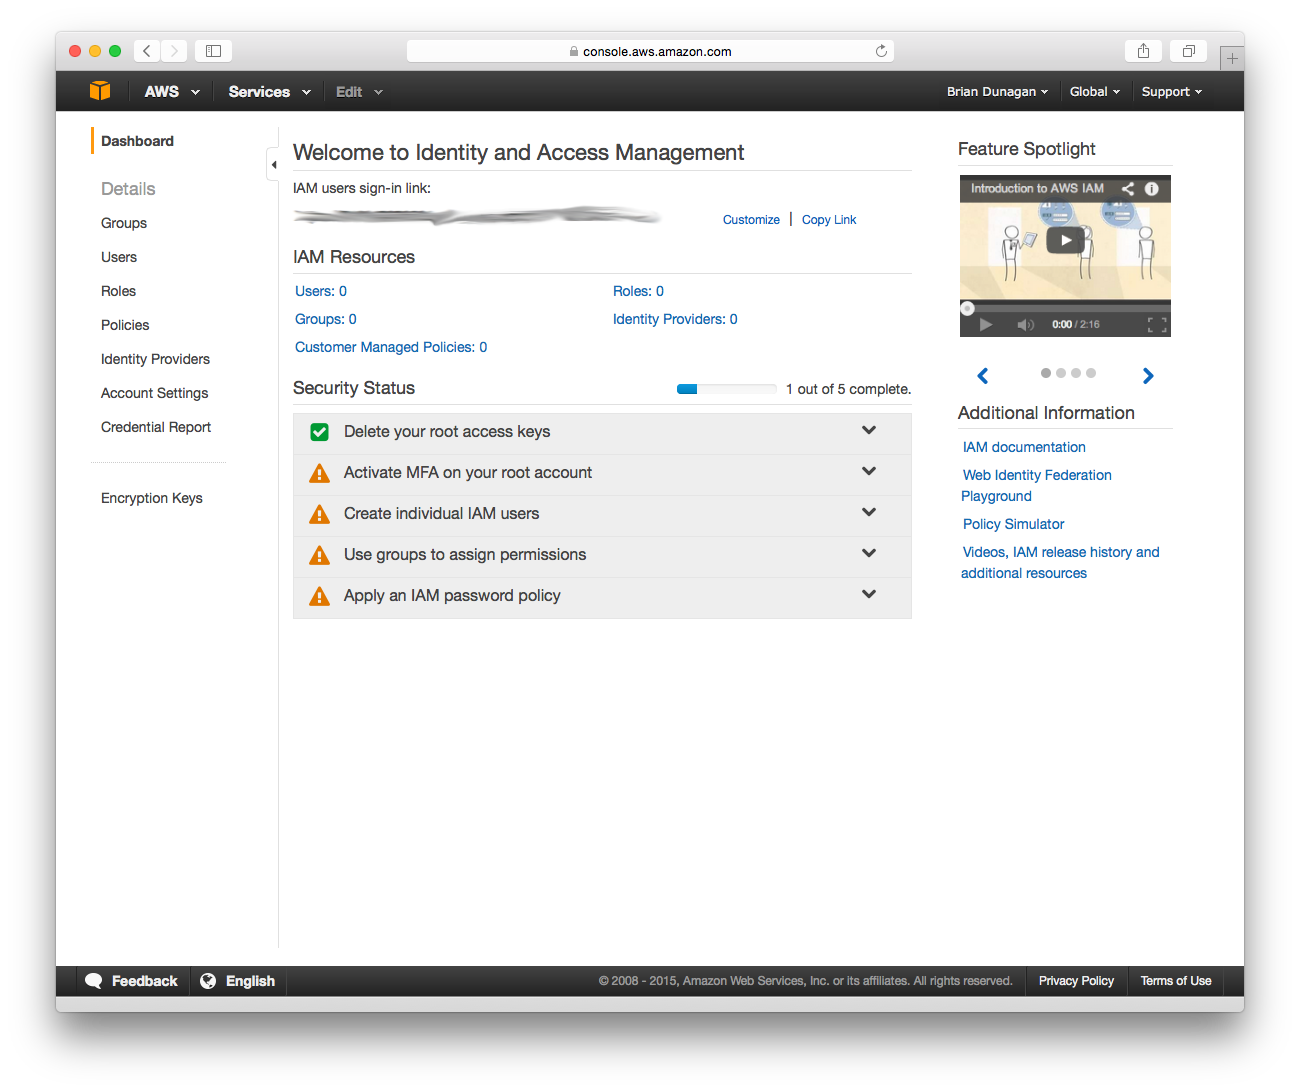
Click on "Create New Users".
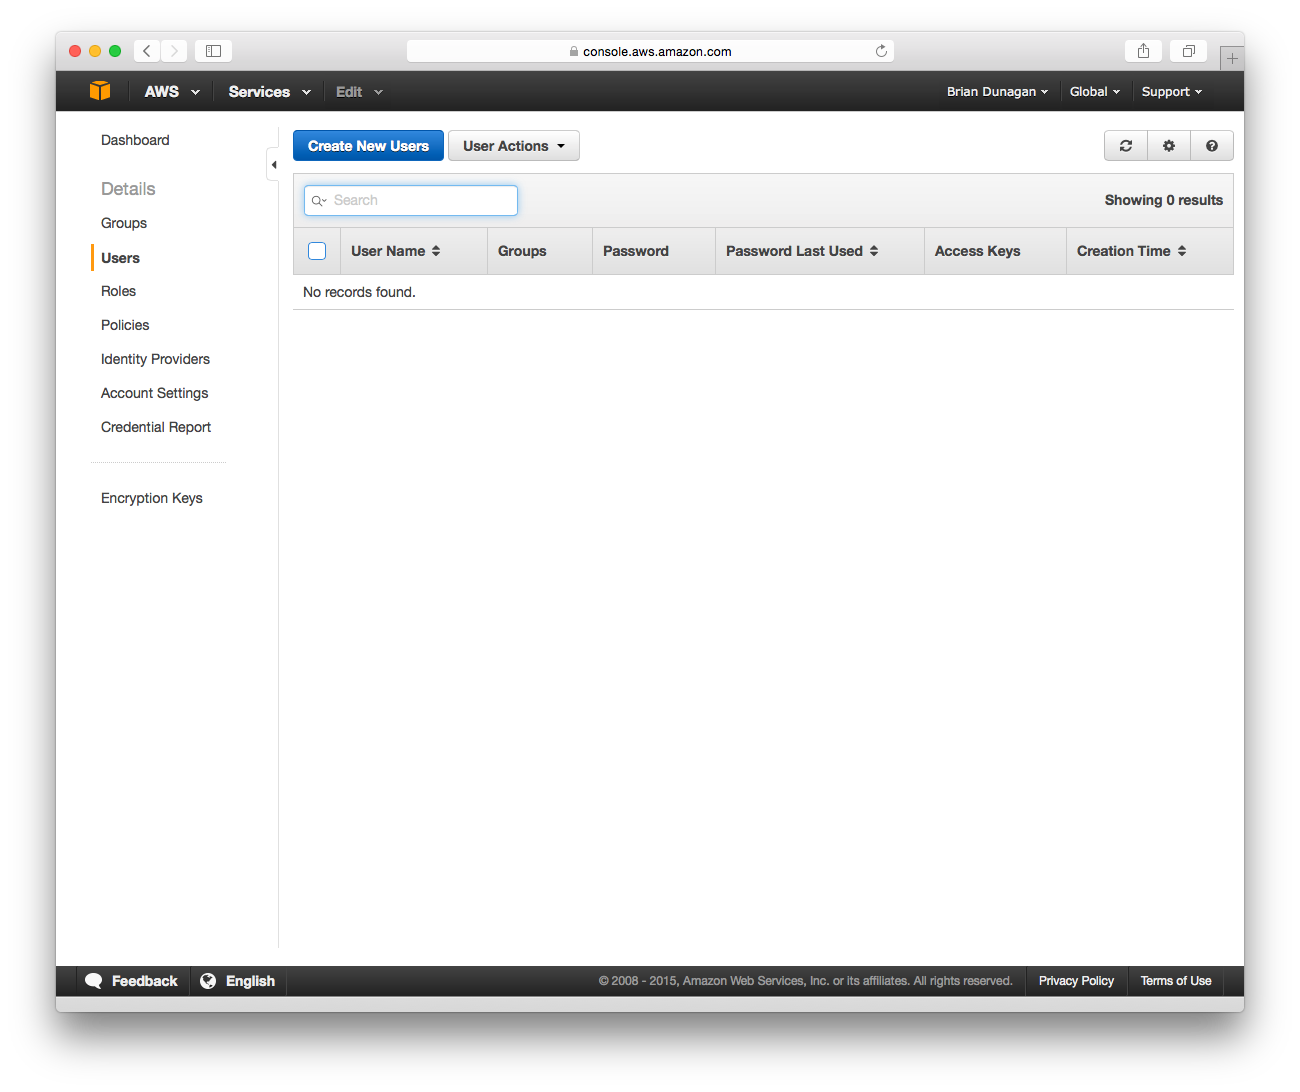
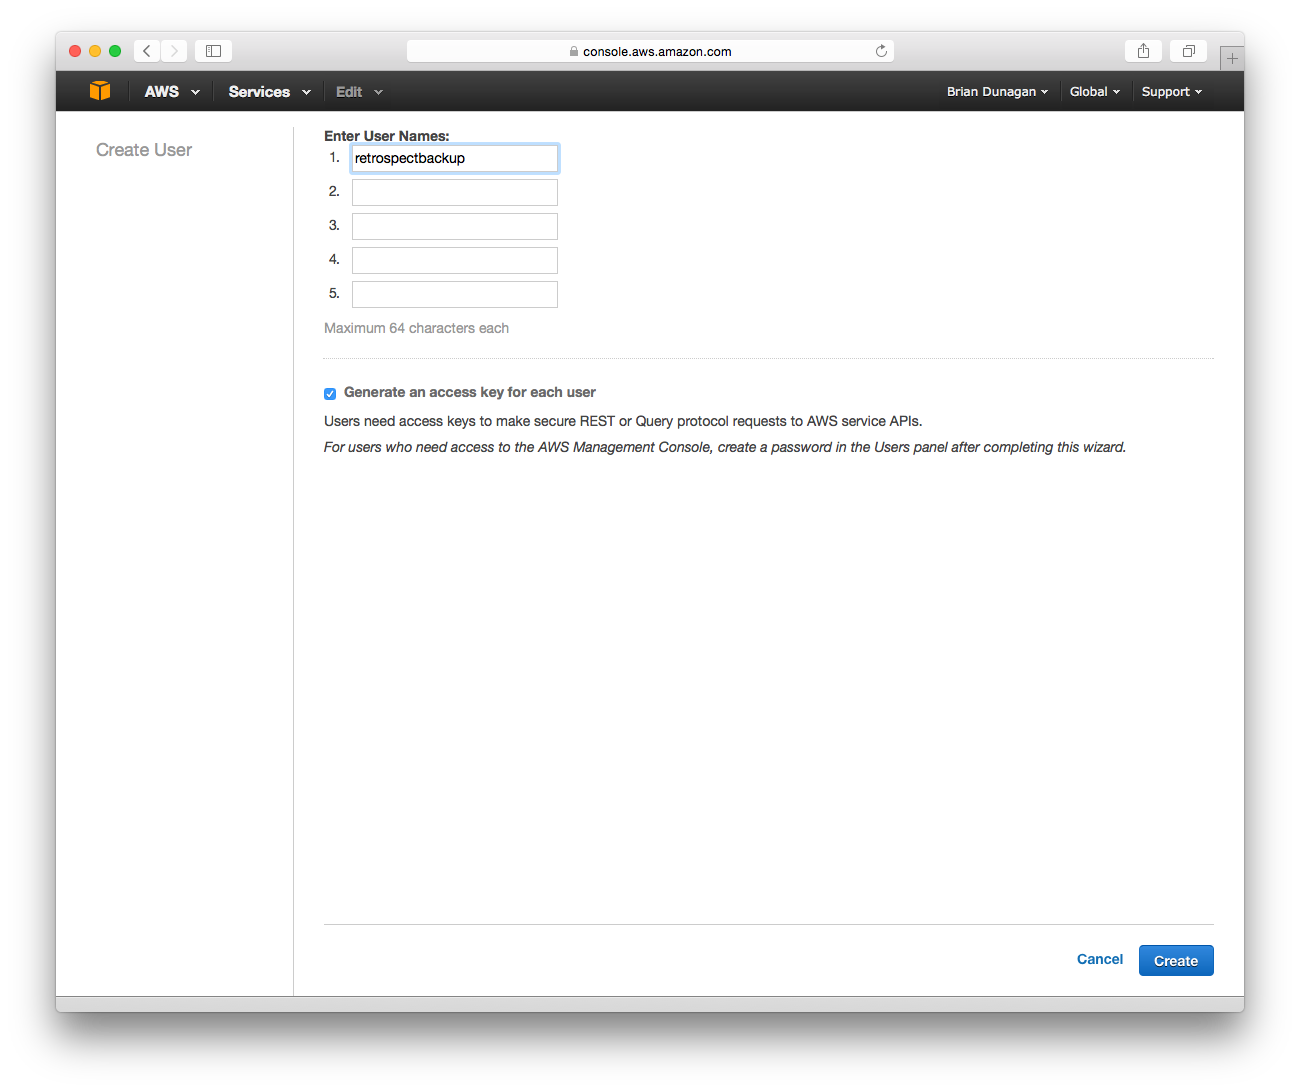
Type in an appropriate username for Retrospect and click "Create". AWS will show you a set of credentials: an Access Key and a Secret Key. This is the only time AWS will show these, so download them to a safe place.
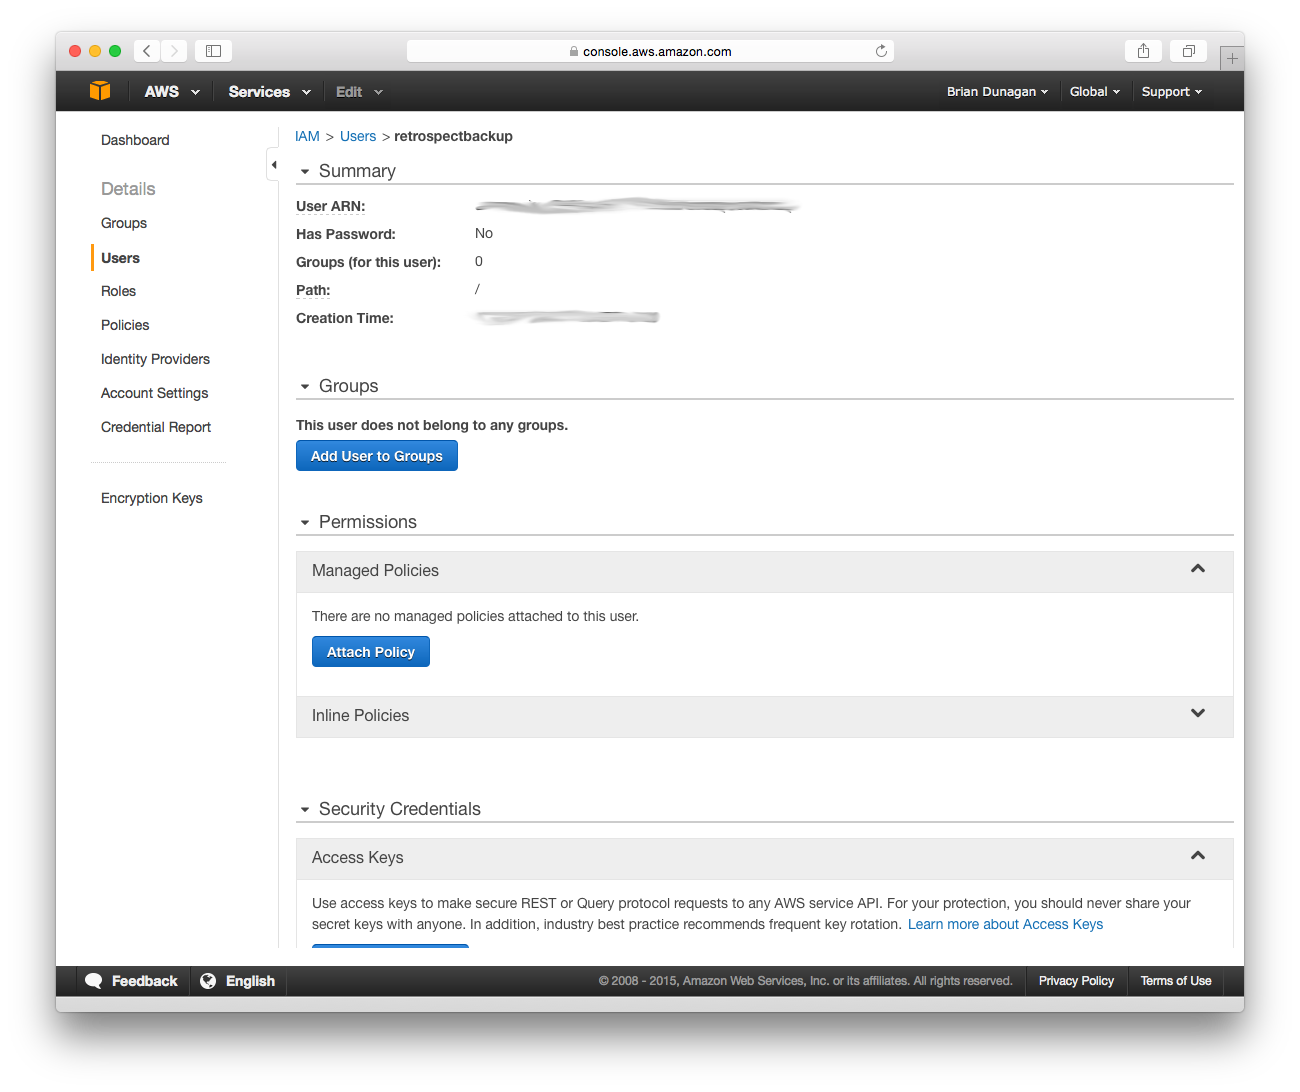
On the new user’s account, click "Inline Policy" and then "Create User Policy". We are going to restrict this user’s access to only the bucket we just created.
Choose "Custom Policy" and click "Select". Enter the following policy, replacing "your_bucket_name" with the name of the bucket you created.
When you’re done, click "Validate Policy" then "Apply Policy". With this, Retrospect will have full access to that bucket but no access to anything else on S3 or other AWS services.
Information for Retrospect
Retrospect needs three pieces of information to access Amazon S3:
- Path – s3.amazonaws.com/your_bucket_name
- Access Key – Use the Access Key from above.
- Secret Key – Use the Secret Key from above.
For the path, Amazon S3 supports different paths for its regions. Please see the following paths for the region you specified when creating the bucket:
- Ireland – s3-eu-west-1.amazonaws.com/your_bucket_name
- Sydney – s3-ap-southeast-2.amazonaws.com/your_bucket_name
- Singapore – s3-ap-southeast-1.amazonaws.com/your_bucket_name
- Tokyo – s3-ap-northeast-1.amazonaws.com/your_bucket_name
- Sao Paulo – s3-sa-east-1.amazonaws.com/your_bucket_name
See Amazon S3 Regions/Endpoints for further details.
Note that if you use the default path of s3.amazonaws.com for a region outside of the United States, you may receive the following error: "These credentials are not valid". Please use the region-specific URL above to correct this.
Adding Cloud Storage in Retrospect
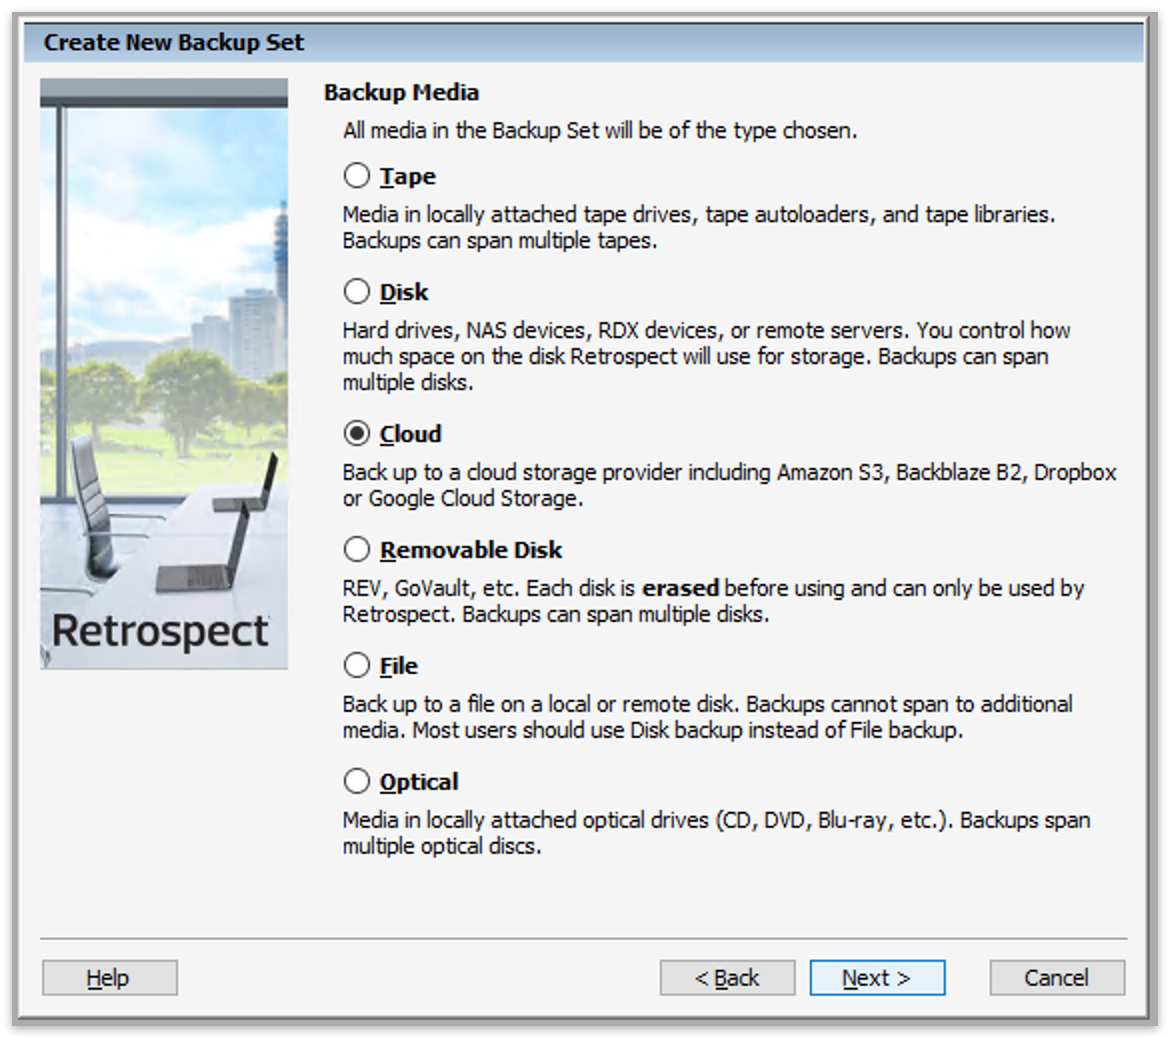
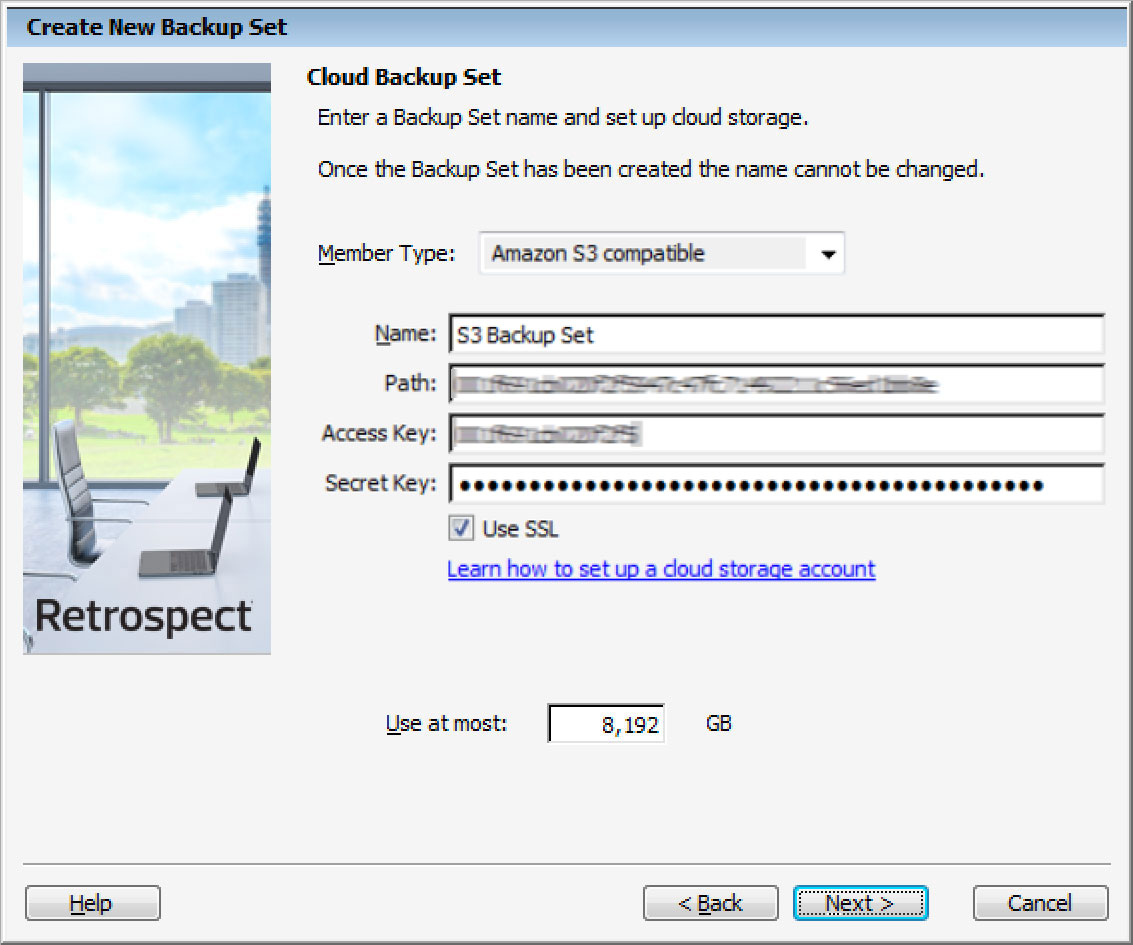
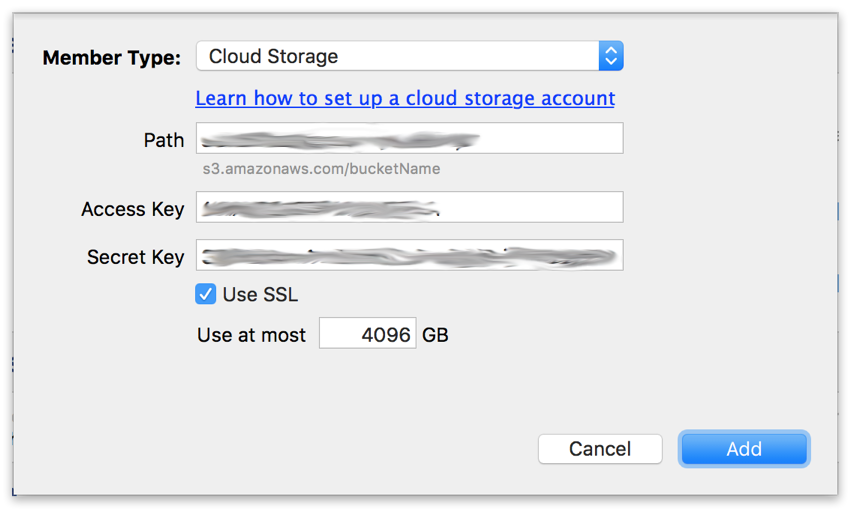
Adding cloud storage as a destination is simple. Retrospect has a new set type called "Cloud". Create a new backup set/media set and select "Cloud" as the type.
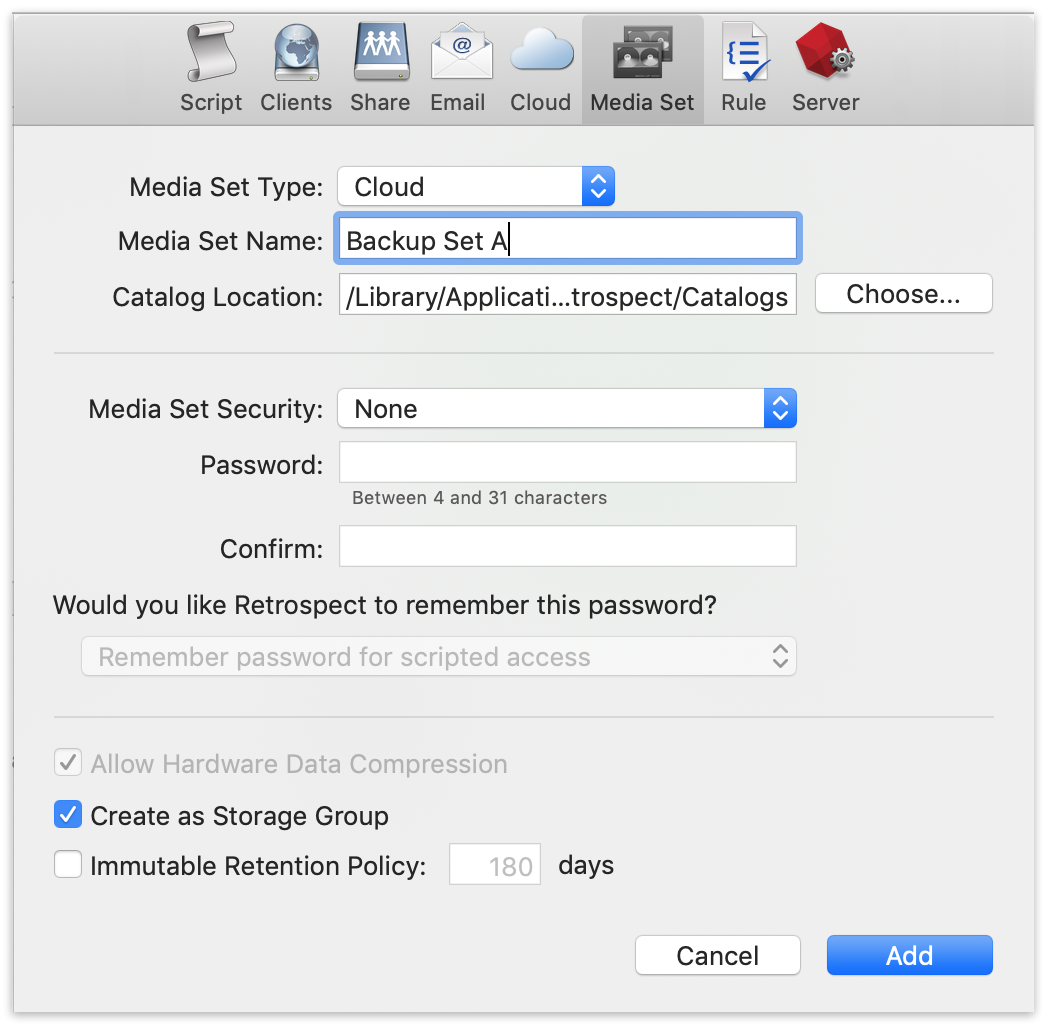
Next you’ll need to enter your cloud storage credentials. Retrospect allows customers to enable or disable SSL encryption (HTTP or HTTPS) and to set the maximum storage usage, up to 8TB per cloud member.
Using Cloud Storage in Retrospect
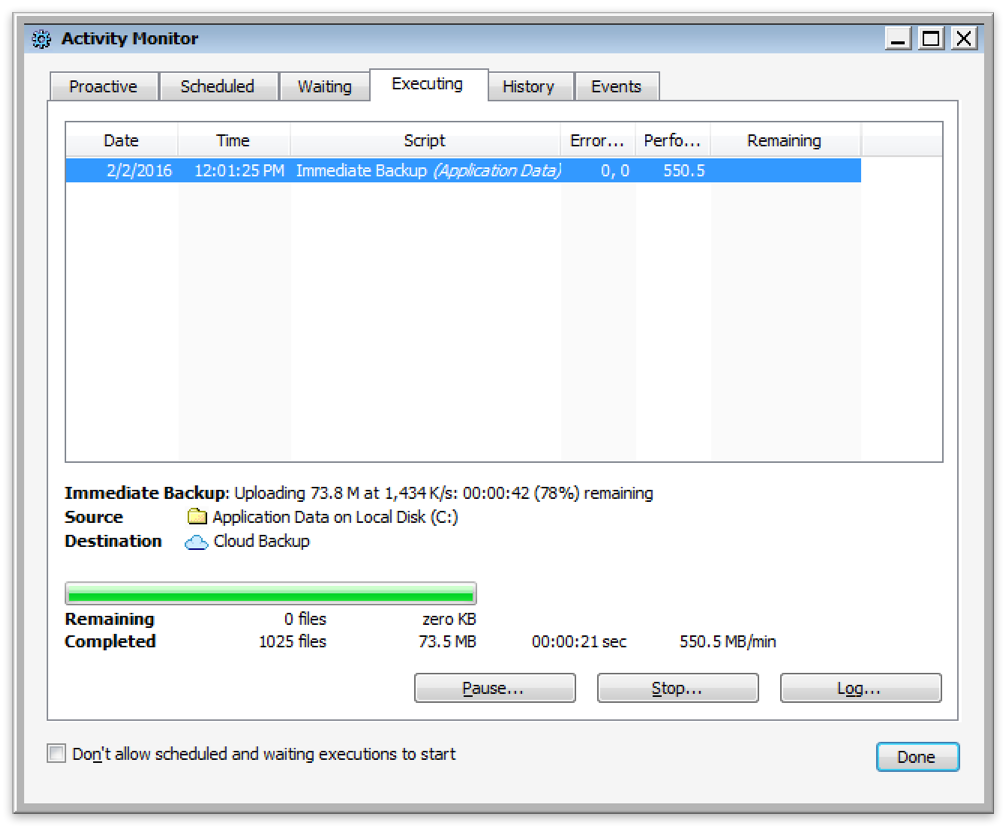
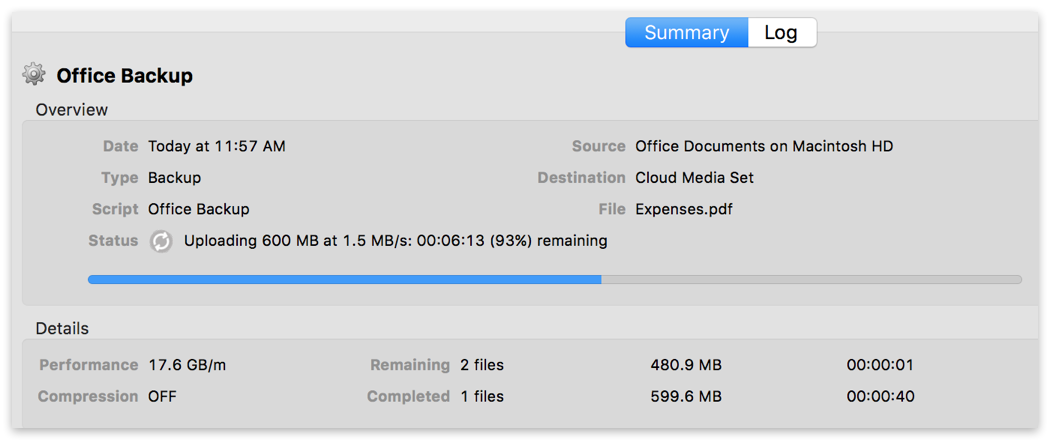
Using cloud storage is simple. After you have created a cloud set, create a new script or add it to an existing one, and click "Run". The backup will begin with the contents of the set being uploaded to your cloud storage location. You can track the progress in the execution/activity.
Throttling Cloud Backups in Retrospect
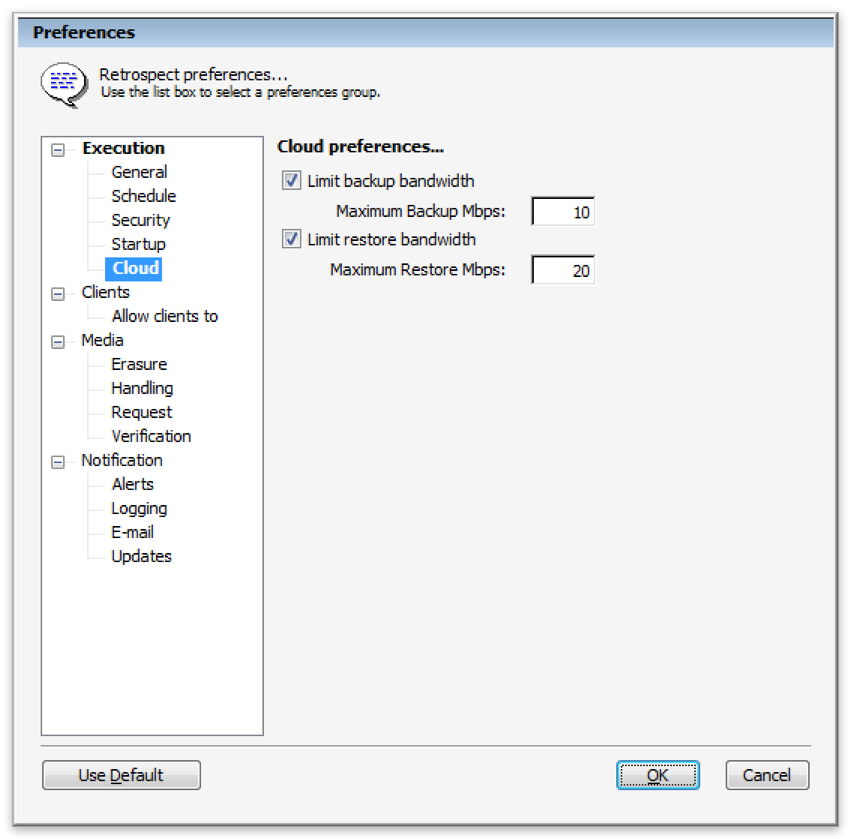
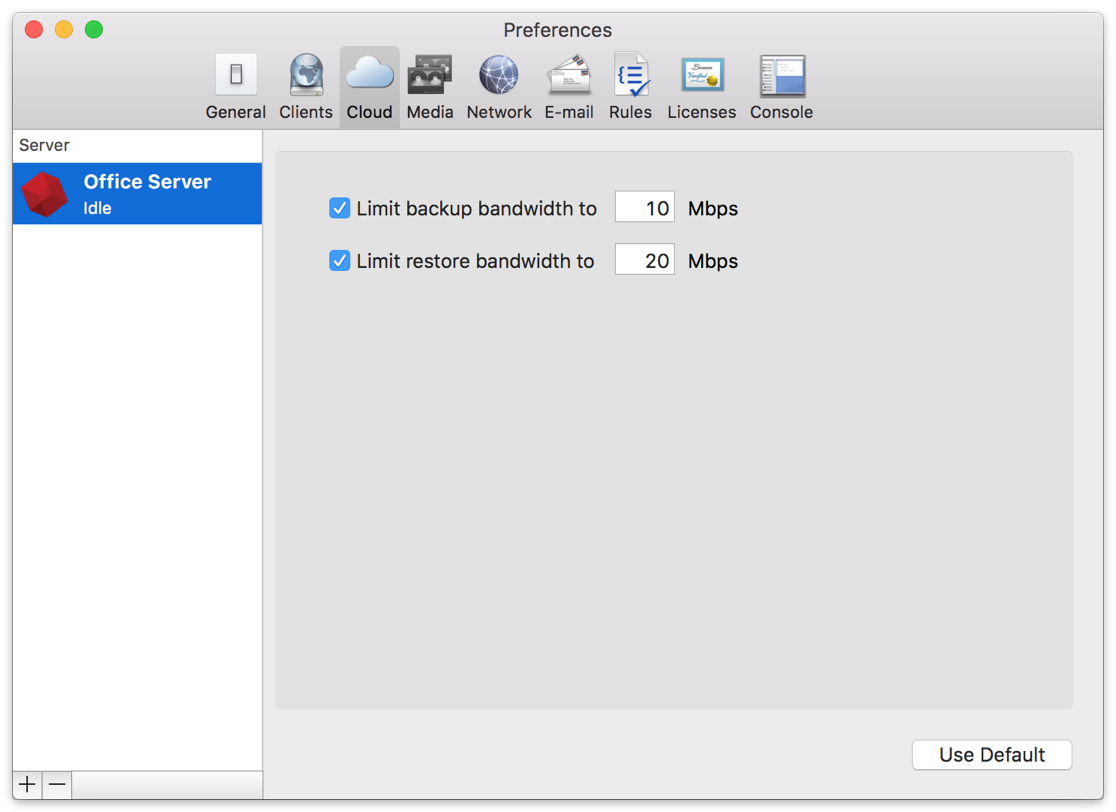
Throttling for cloud backup and cloud restore is available in Preferences.
General Tips
Below are a number of tips for using cloud storage in Retrospect:
- Bandwidth Measurement Tool – Measure your upload and download bandwidth with this free tool: Speedtest.net.
- Disable Backup Verification – Verification will download all of the data that you upload. See more details about why you should disable it for cloud backups in Cloud Backup - Best Practices for Data Protection with Cloud Storage.