Cloud Data Protection
- 13 Nov 2023
- 1 Minute to read
- Print
- DarkLight
- PDF
Cloud Data Protection
- Updated on 13 Nov 2023
- 1 Minute to read
- Print
- DarkLight
- PDF
Article Summary
Share feedback
Thanks for sharing your feedback!
Companies use cloud storage for all sorts of data, from website assets to affordable sharing to ingestable data, and Retrospect Backup includes cloud data protection support for cloud storage as a first-class backup volume. Cloud volumes enable businesses to protect their cloud content on-site with an incremental backup or on a different cloud with an automated policy-driven workflows.
Let’s walk through protecting an Amazon S3 location. Retrospect also supports Microsoft Azure, Google Cloud, Backblaze B2, Wasabi, MinIO, and any other S3-compatible certified cloud provider listed on Cloud Backup.
Information for Retrospect
Retrospect needs three pieces of information to access Amazon S3:
- Virtual-Host Path – your_bucket_name.s3.us-east-1.amazonaws.com
- Access Key – Use the Access Key from above.
- Secret Key – Use the Secret Key from above.
For more information about Amazon S3 and Retrospect, see How to Set Up an Amazon S3 Account.
Step-by-Step Guide
Cloud data protection is easy with Retrospect. Let’s walk through adding an Amazon S3 volume to Retrospect and then setting up a policy to protect it on-premise.
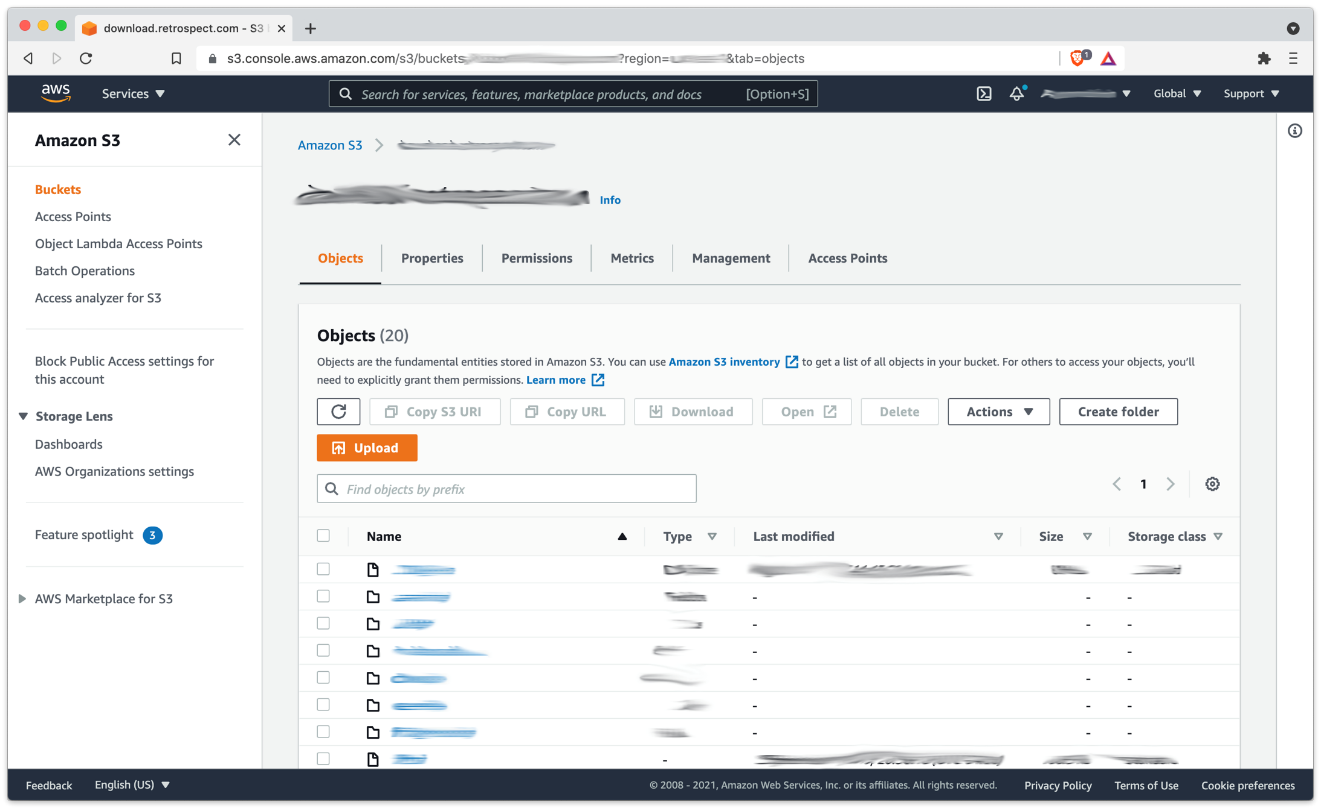
- AWS Console: You will need a bucket and path location.
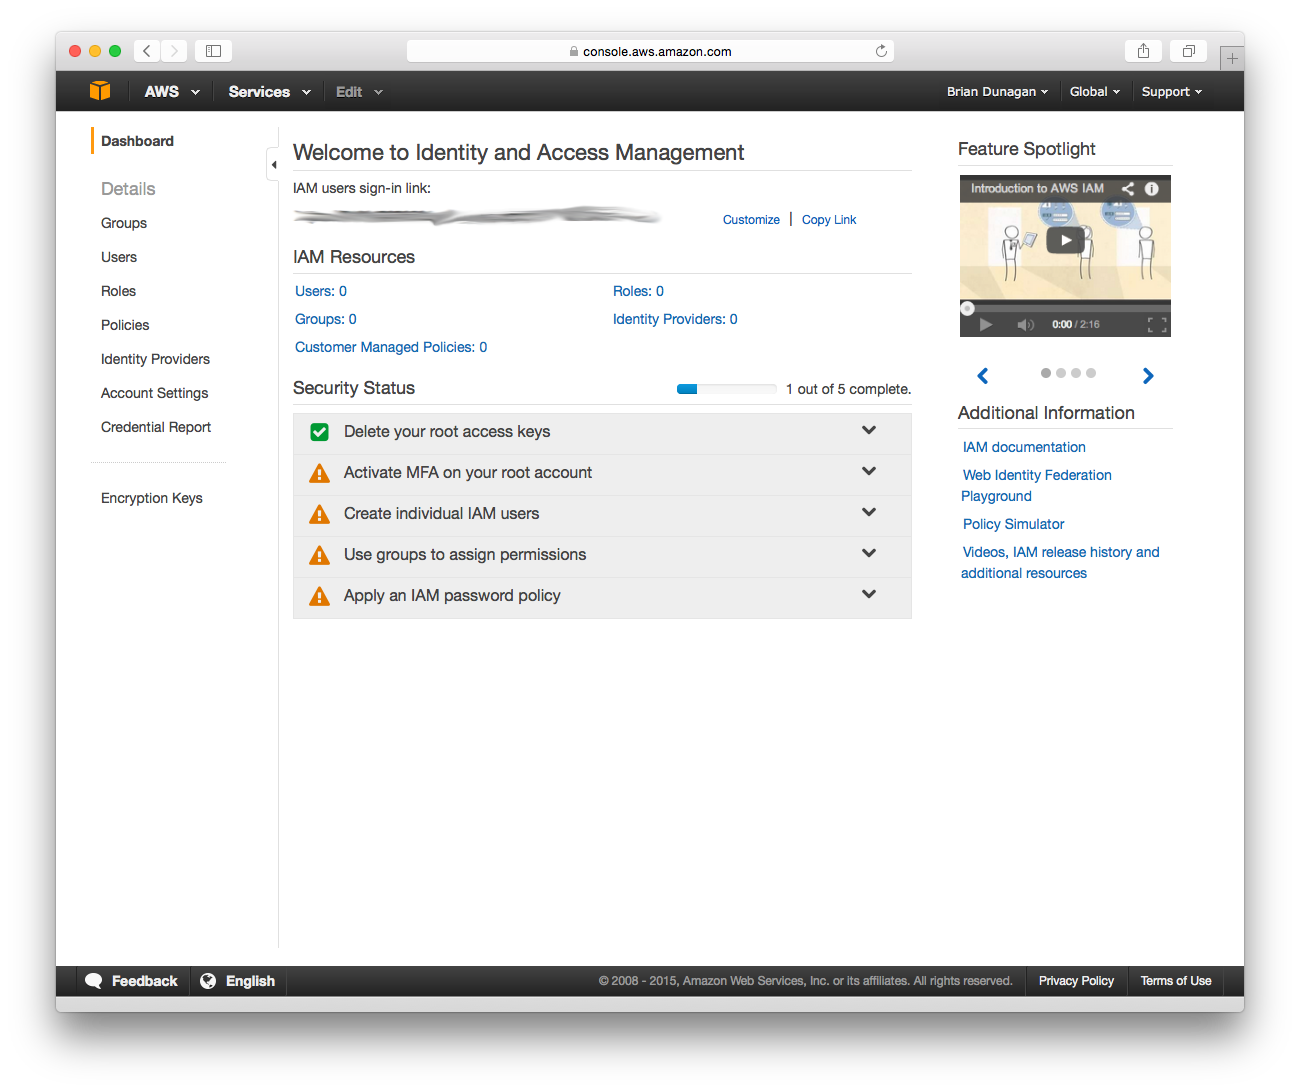
- AWS Console: When you created your AWS account, you receive a root Access Key and Secret Key. You can also use IAM to create a user with a specific policy.
- In Retrospect, click on "Volumes" (Windows) or "Sources" (Mac).
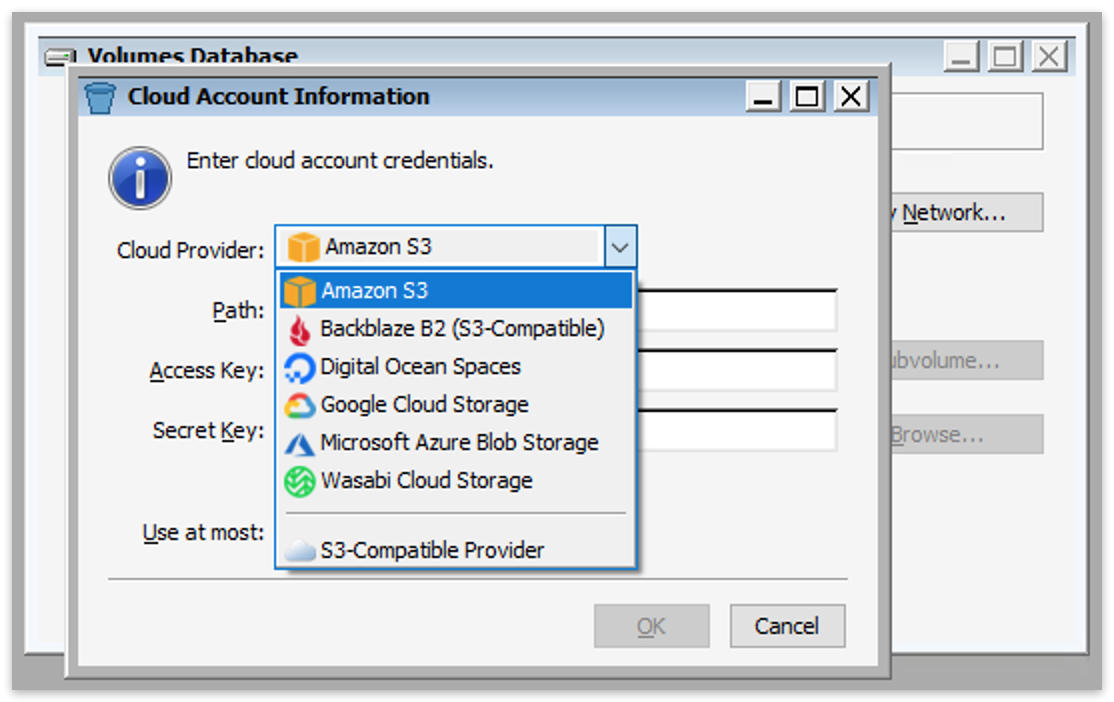
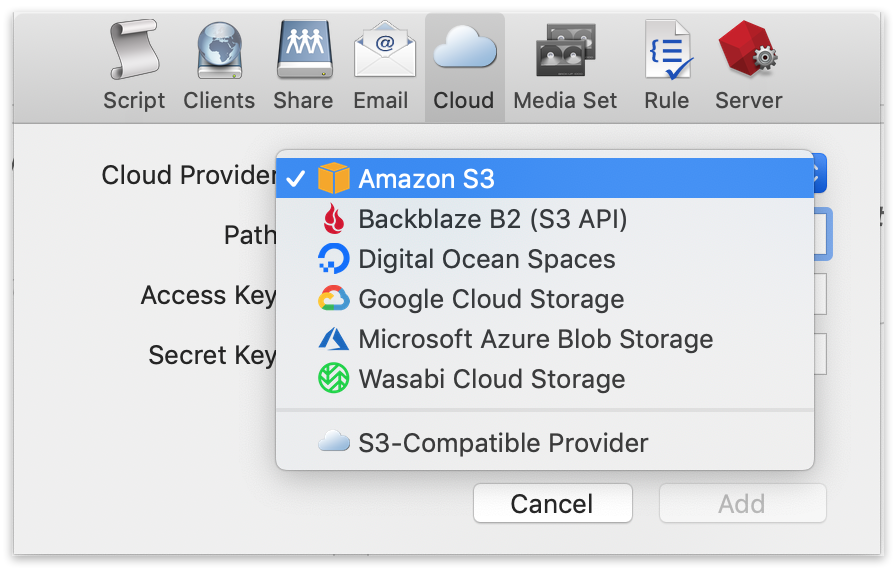
- Select "Amazon S3".
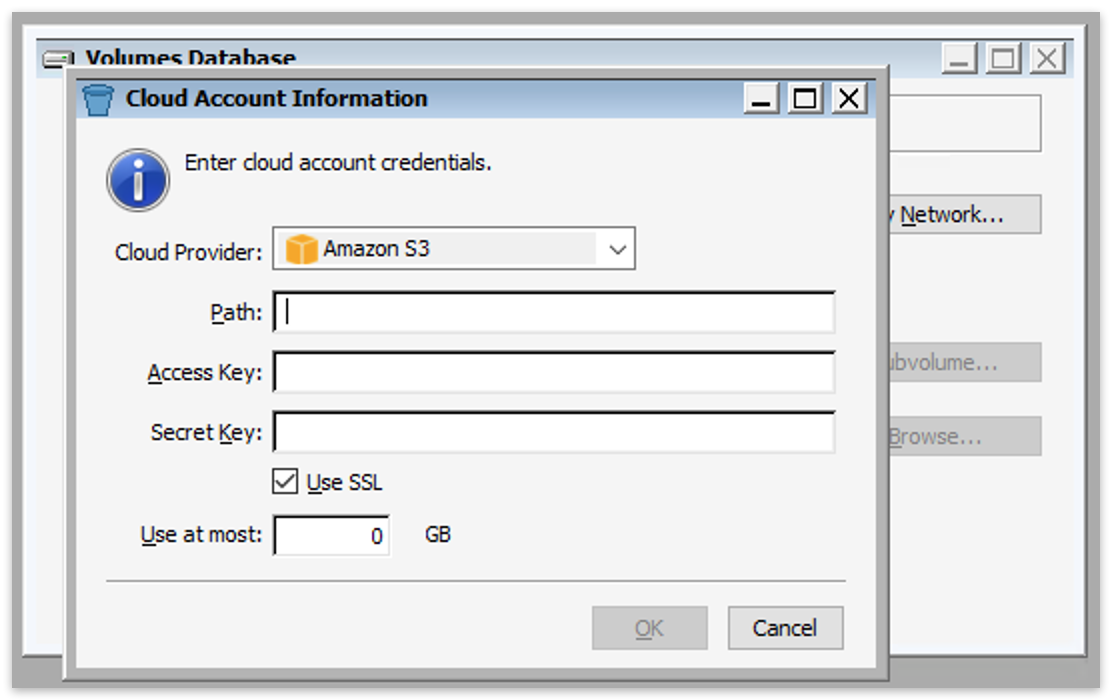
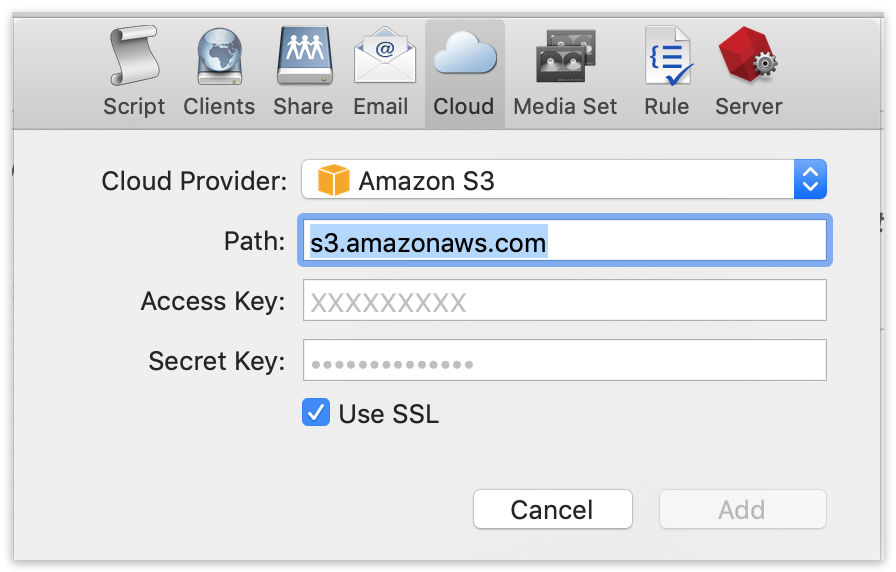
- Type in your path information and credentials from above and click "OK".
- Create a backup script policy for protecting that volume by clicking "Backup Now" (Windows) or "Backup" (Mac).
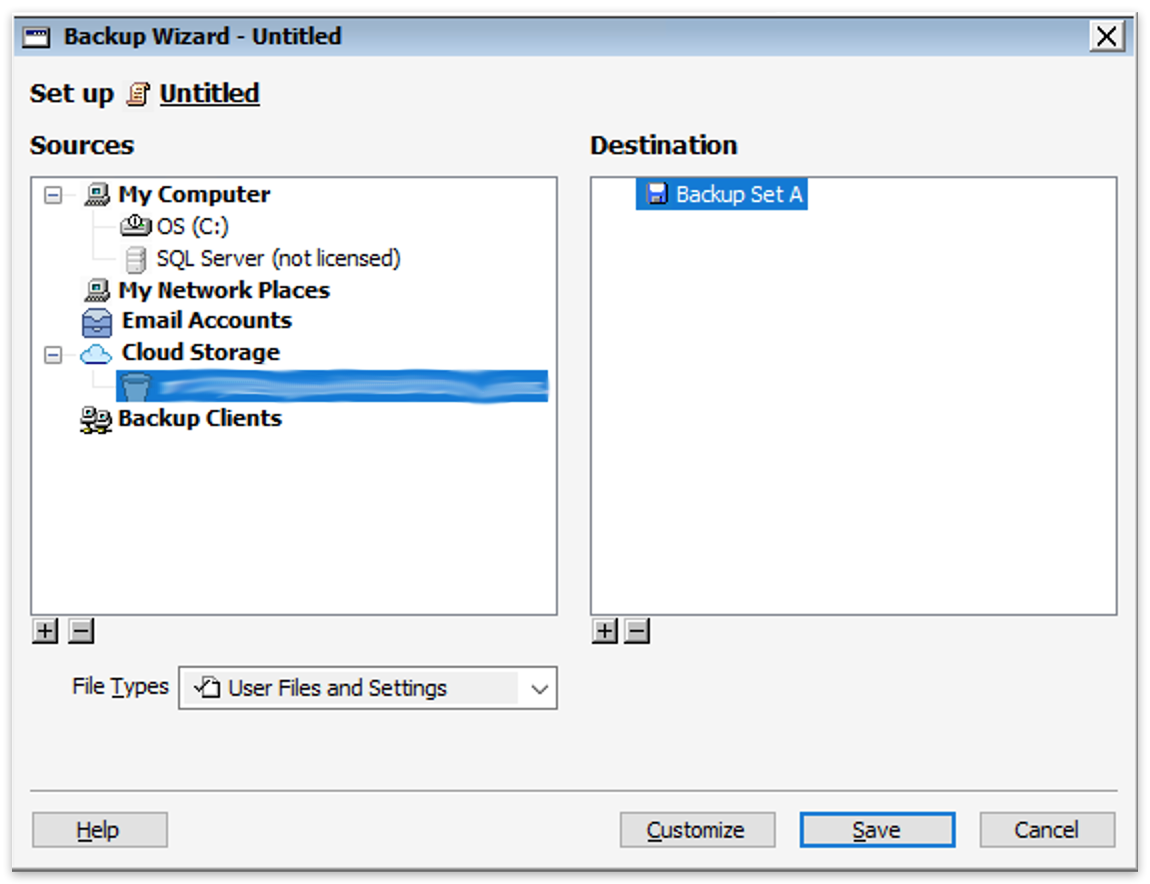
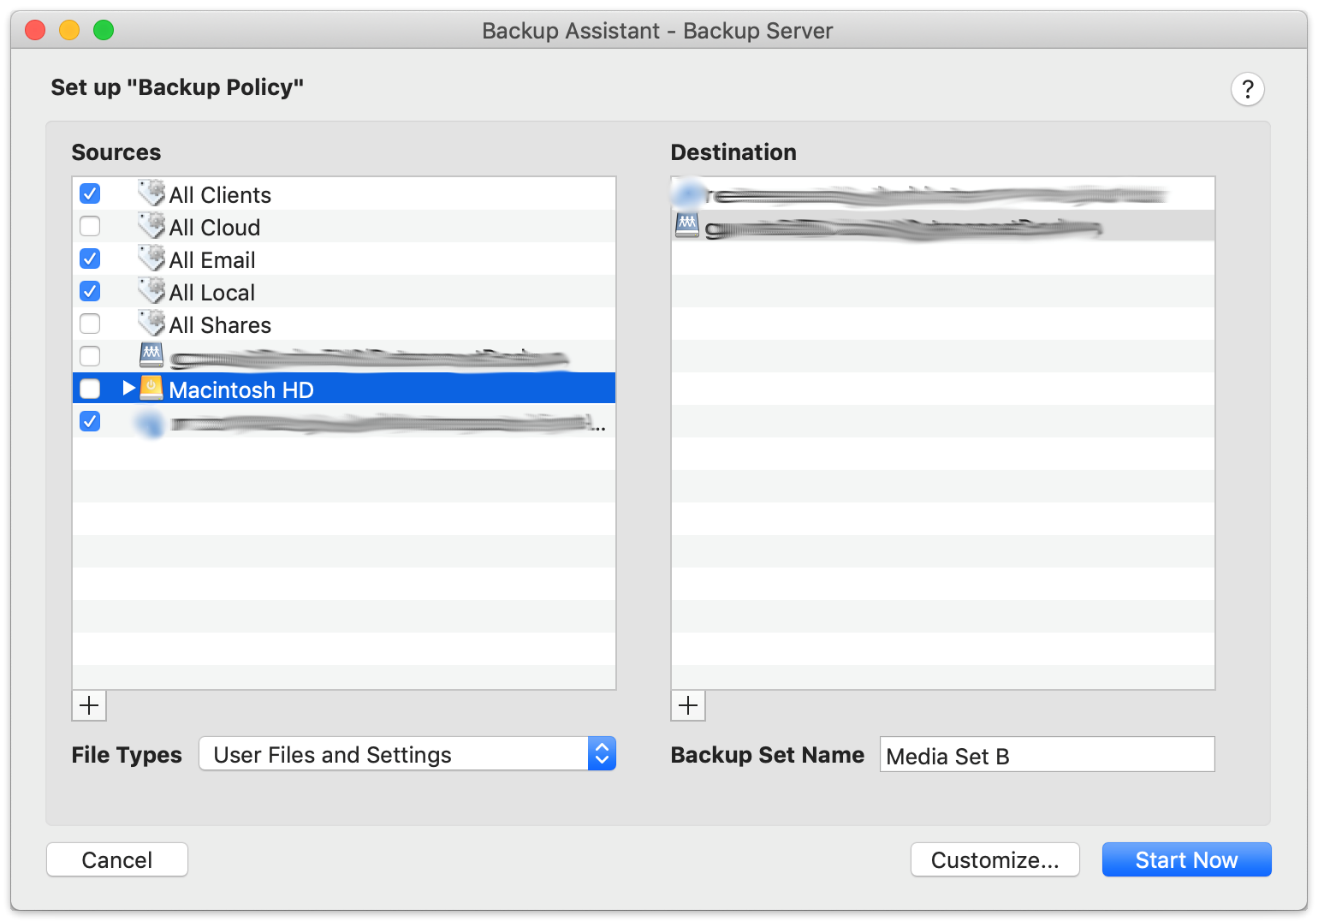
- You can now protect your cloud volume using Retrospect, either in another cloud destination or on-premise.
Account Setup Guide
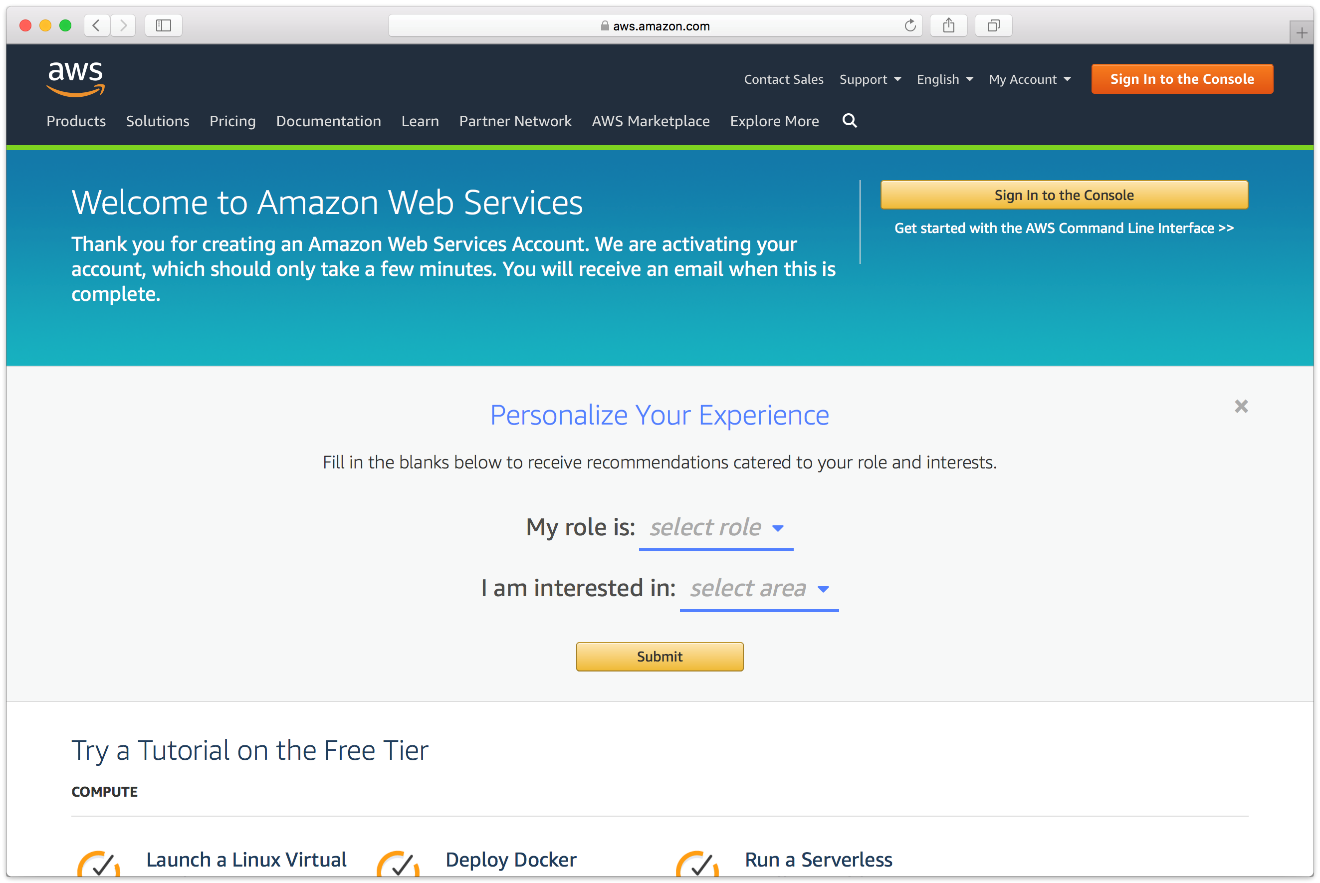
Follow these steps to quickly create a Amazon AWS Account. If you do not already have one, create one for free at Amazon AWS.
See the following video or the steps below to quickly create an Amazon AWS account.
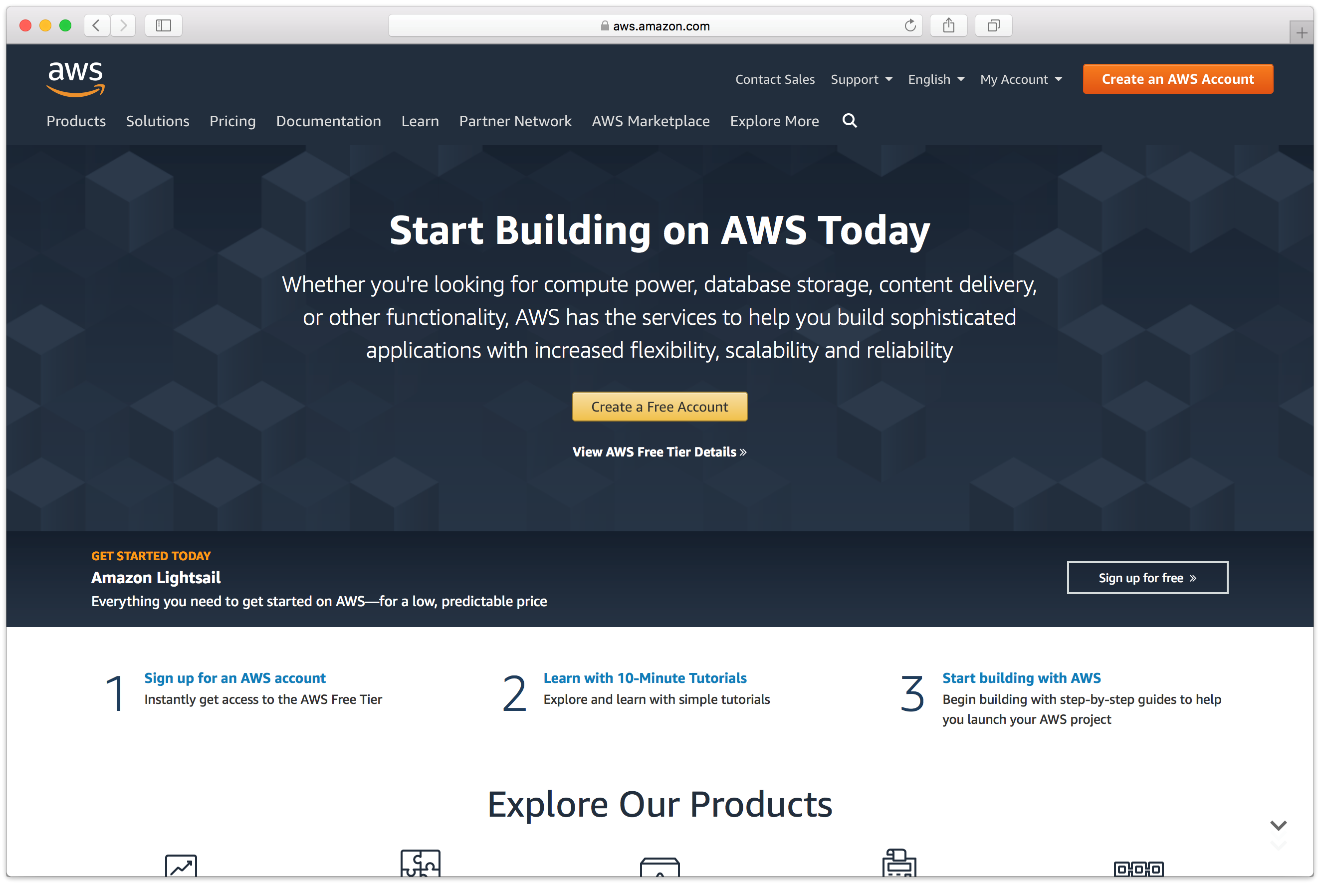
- Visit Amazon AWS to start the account creation process and click "Create an AWS Account".
- Fill in an email address and password.

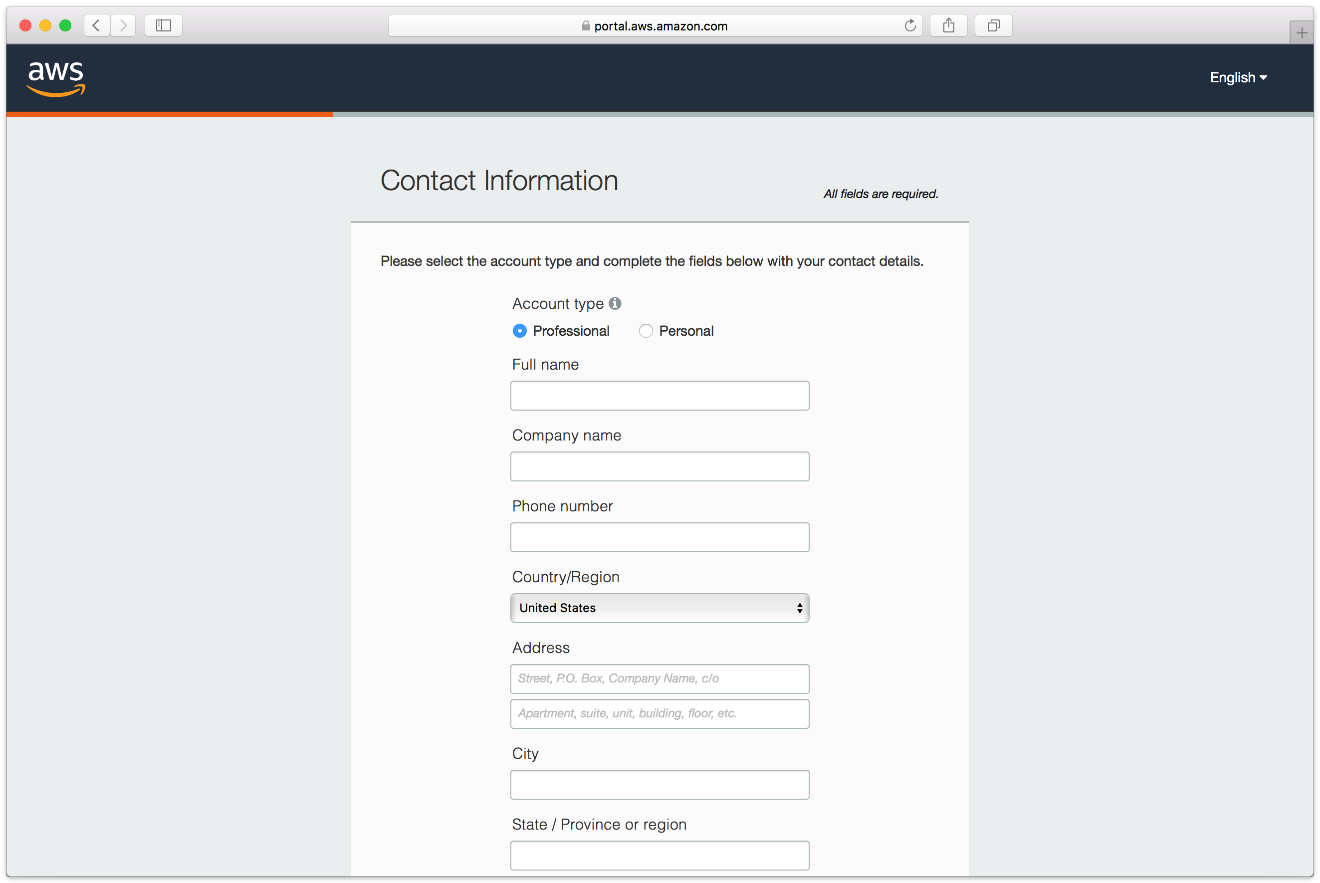
- Complete the contact information form.
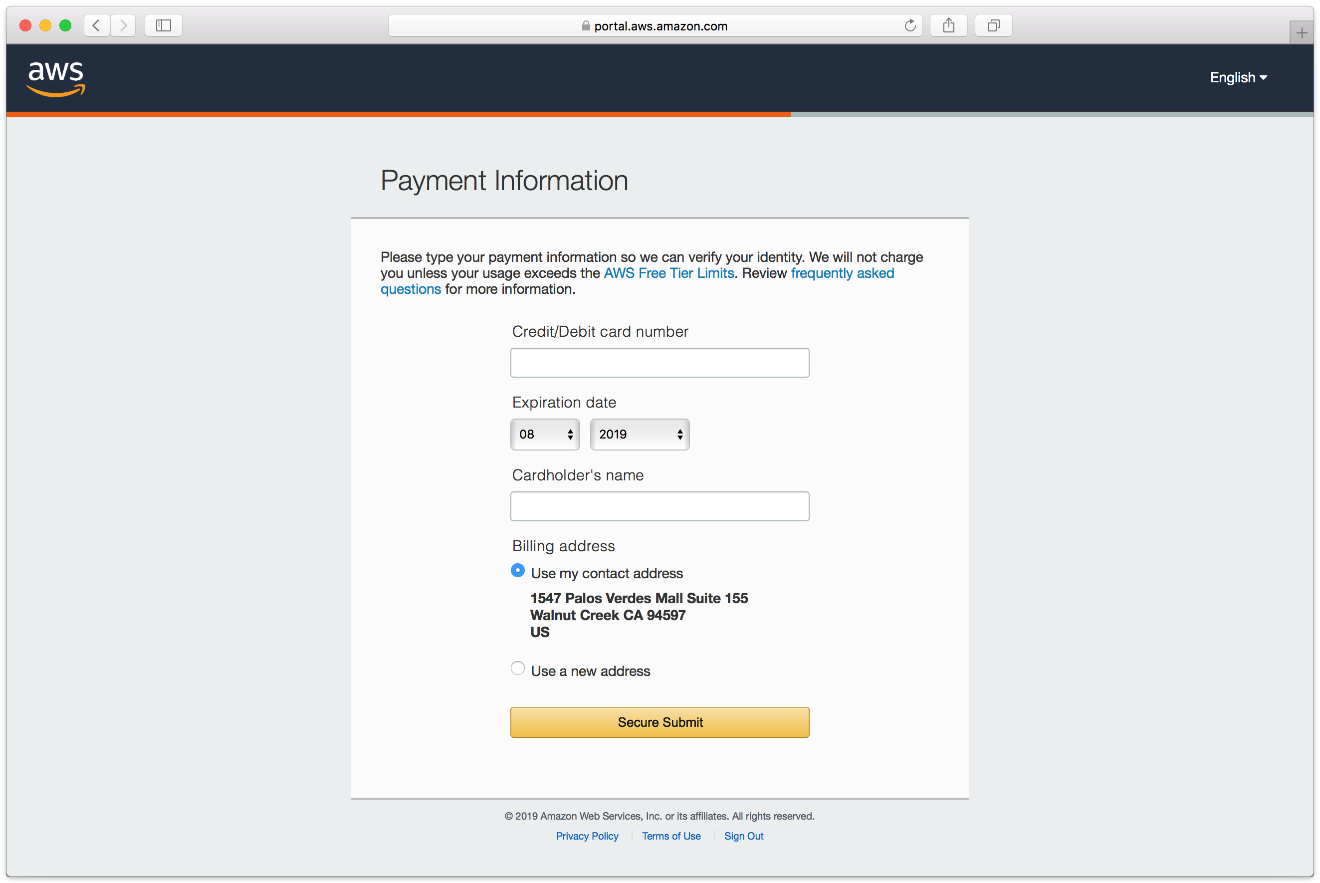
- Complete the payment information form.
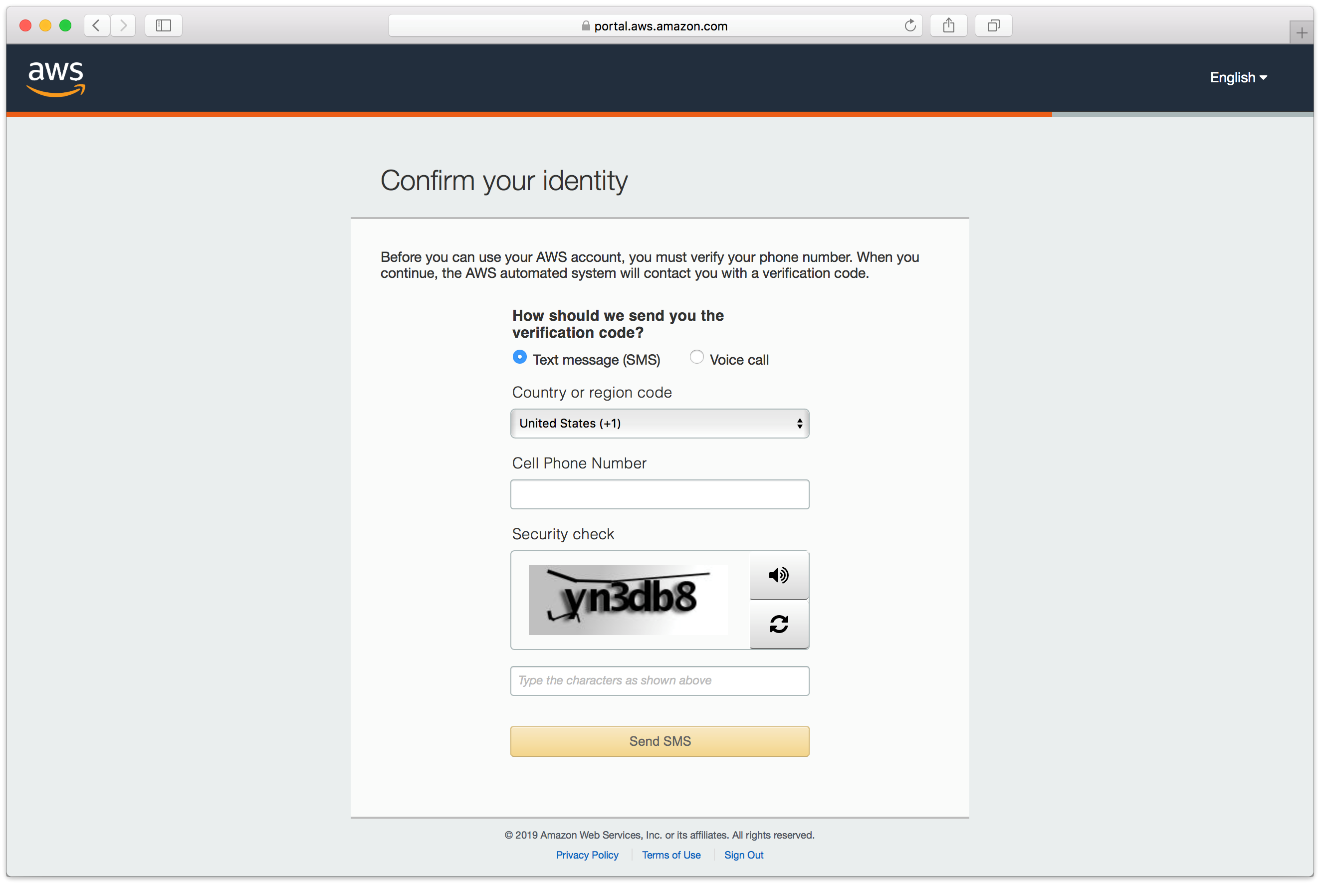
- Complete the identity verification.
- Select an appropriate Support Plan.

- The new account is created.
Storage Setup Guide
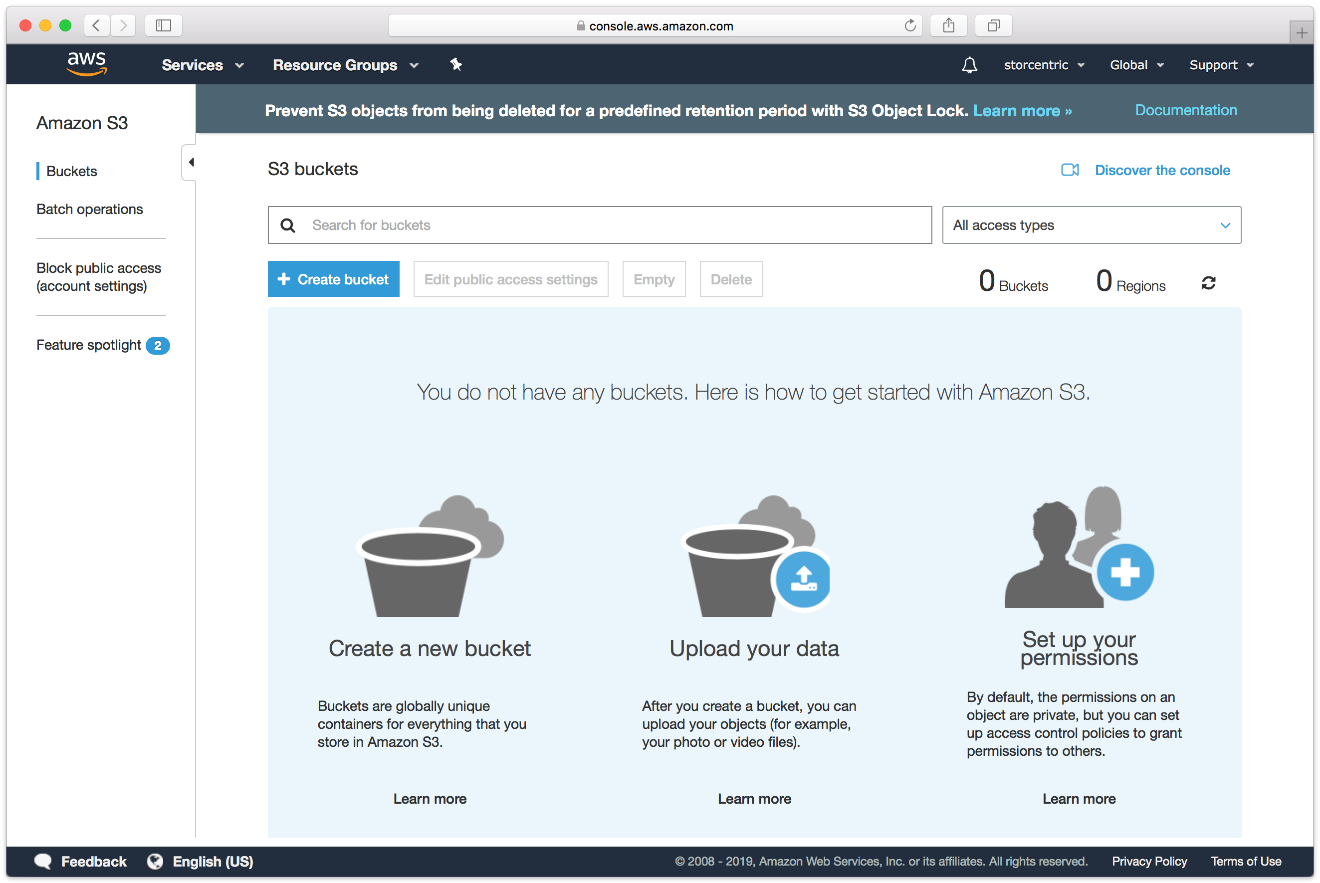
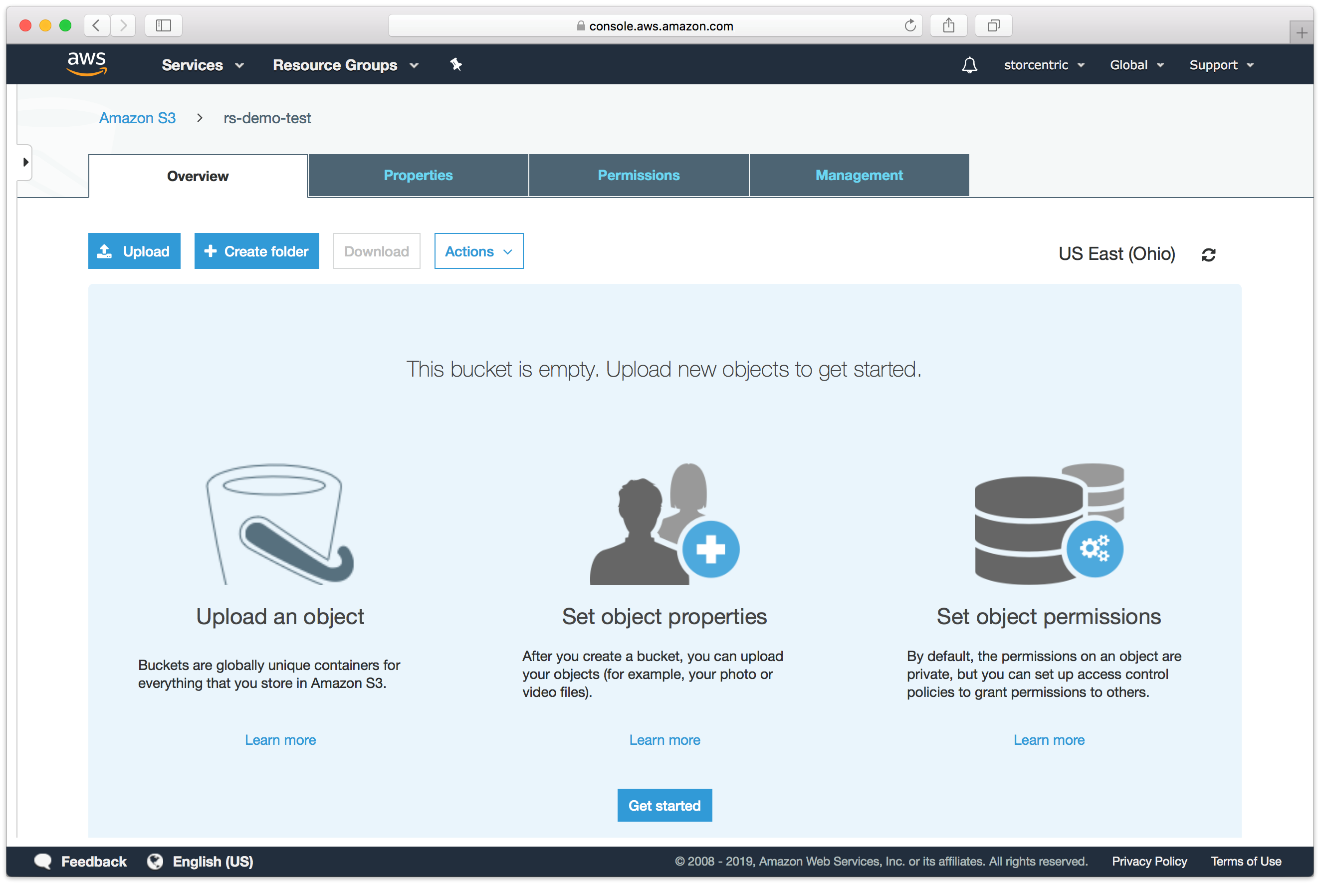
Now we will create a bucket that Retrospect can use to store backups.
- Log into AWS Console.
multicasmultica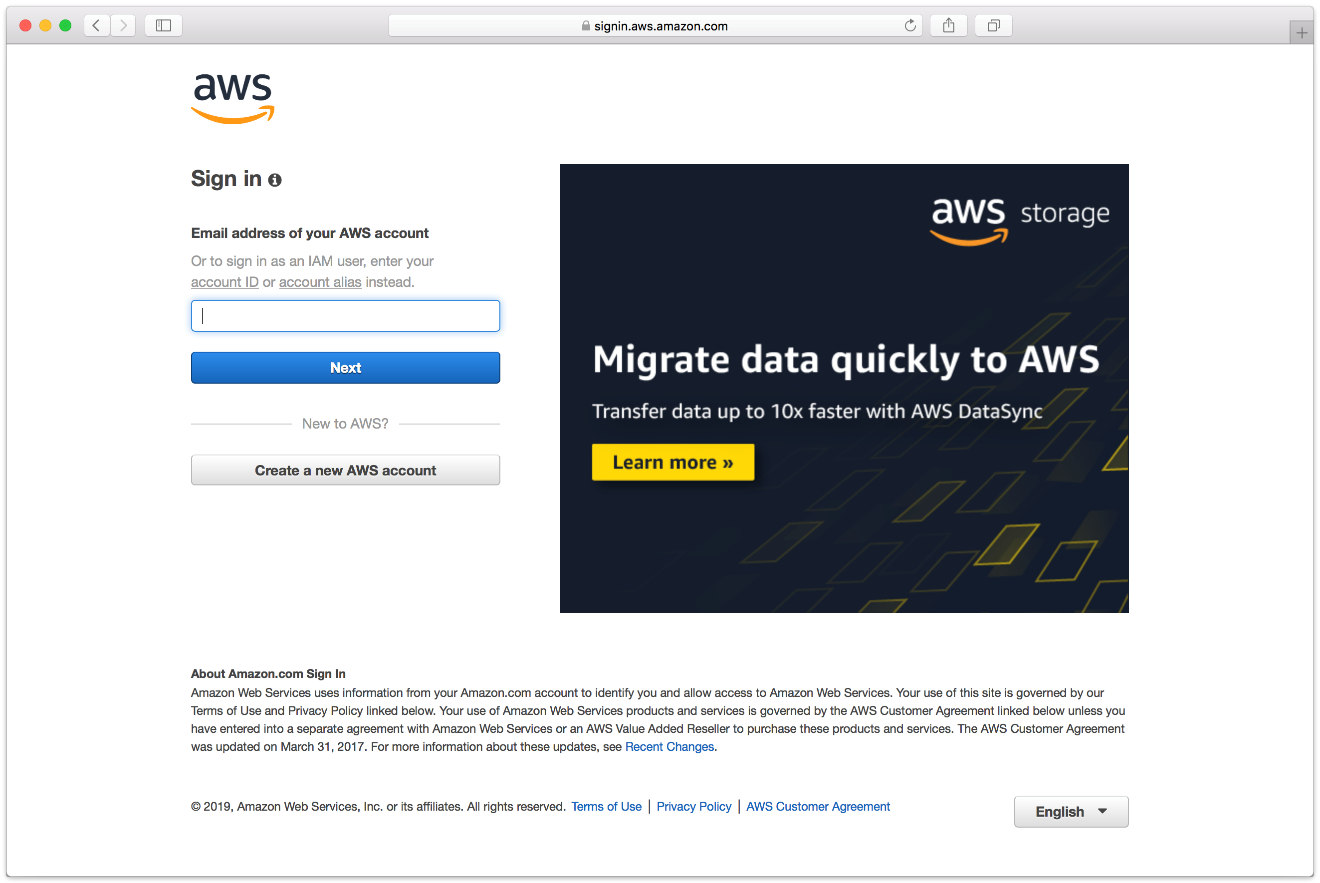
- Search for S3 and select.
- Click "Create Bucket".
- Type in an appropriate name for the bucket. Note that these are globally-unique names.
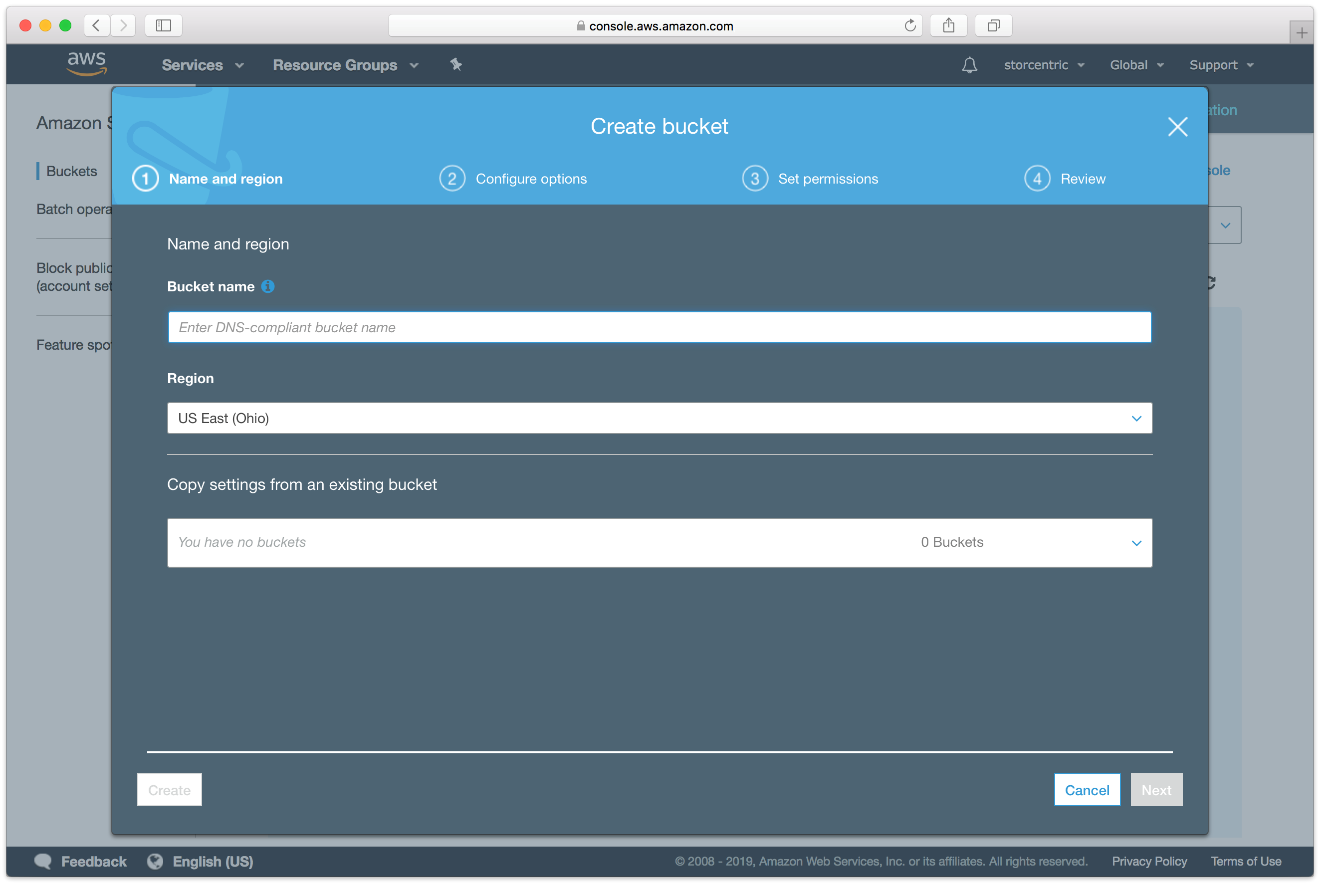
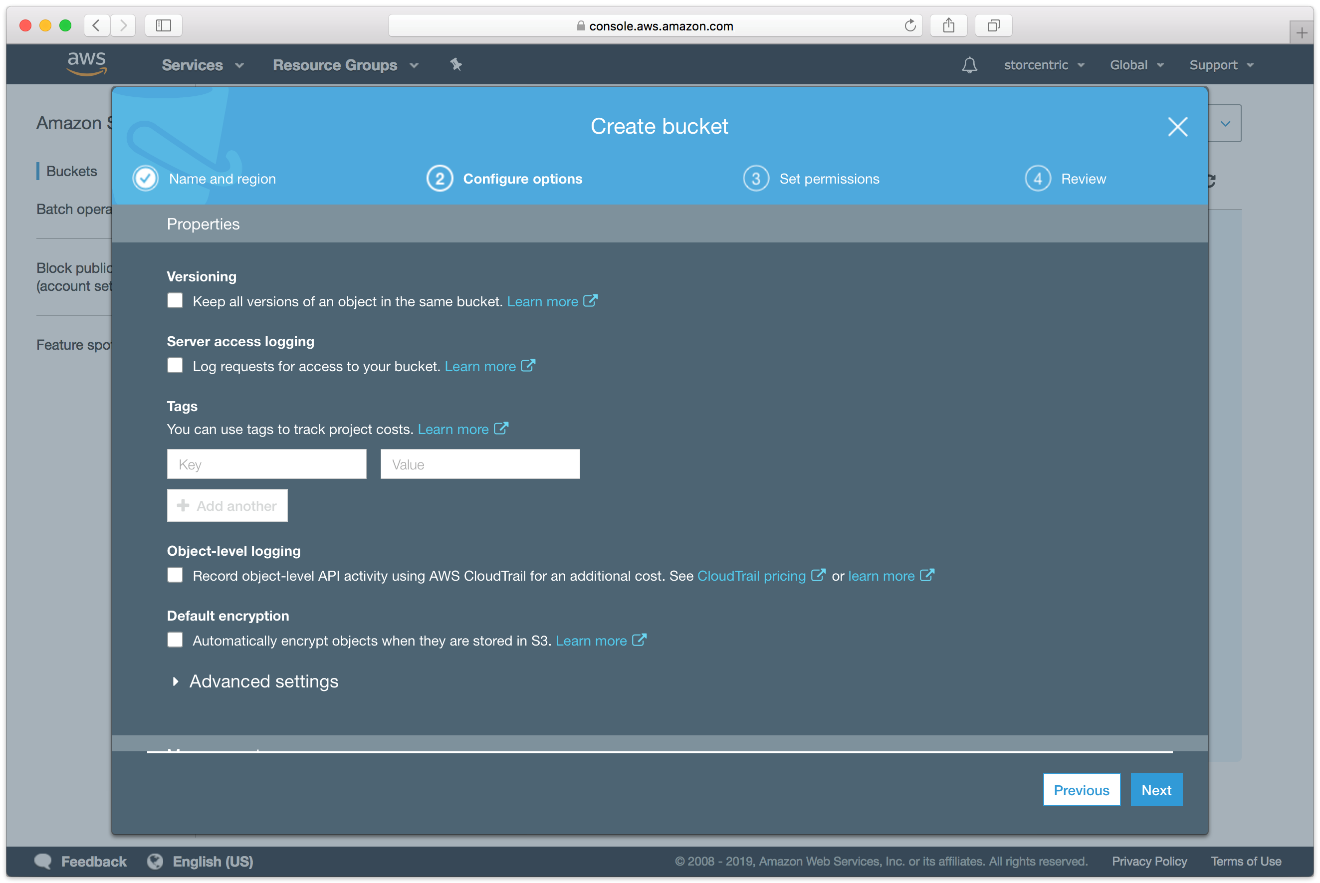
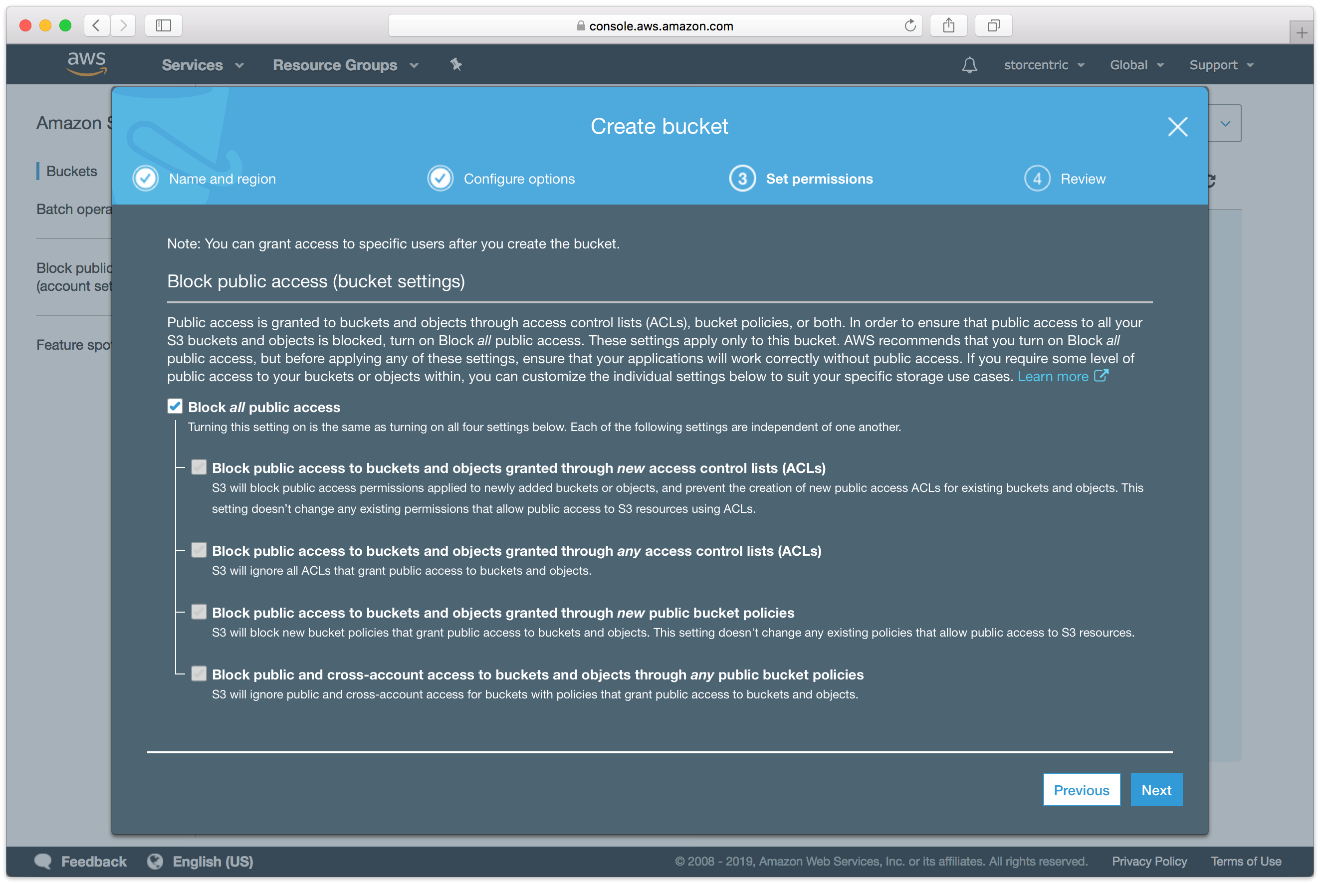
- Continue through the rest of the wizard with default options.
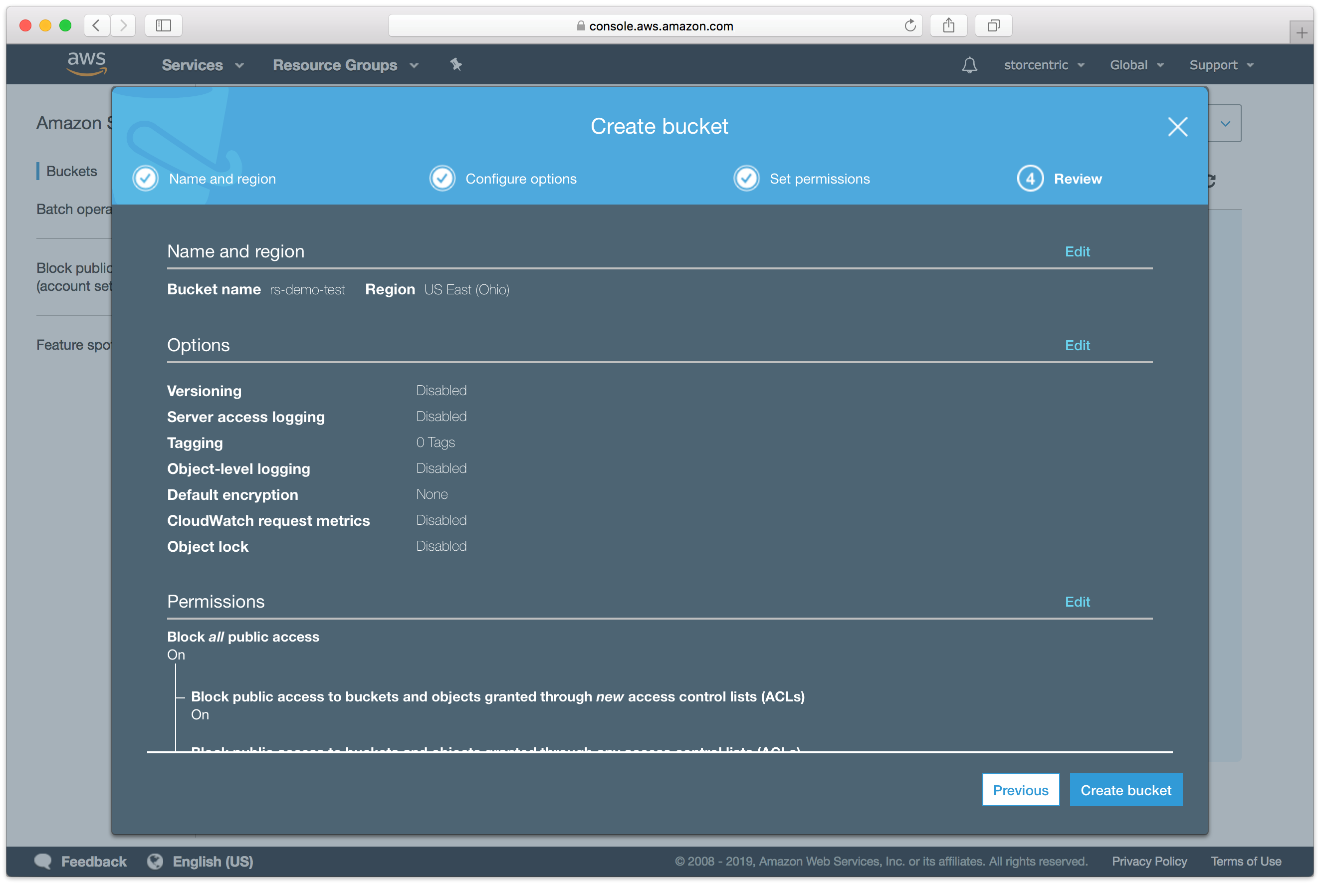
- Your bucket is now ready. In Retrospect, the "Path" is s3.amazonaws.com/your_bucket_name. Next, you need a set of security credentials for Retrospect to use to access it.
Was this article helpful?